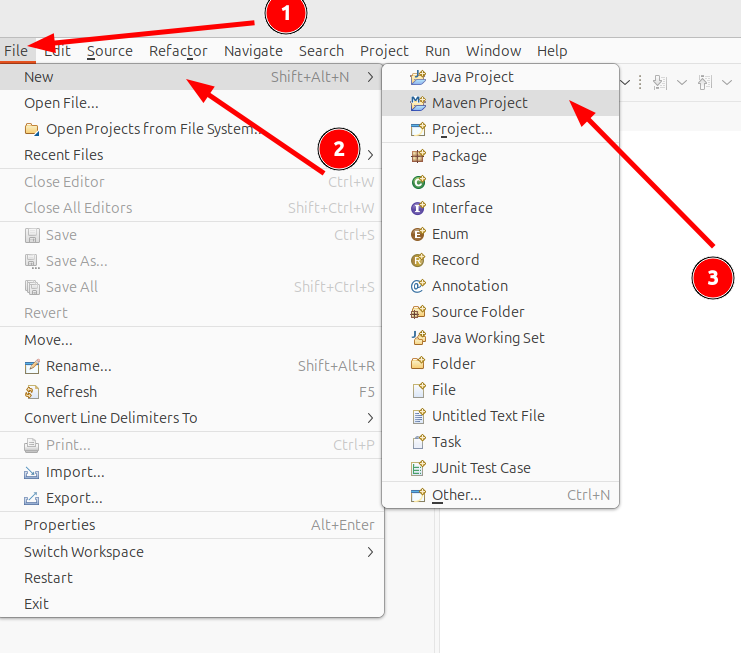
一、创建项目
File-->New-->Maven Project
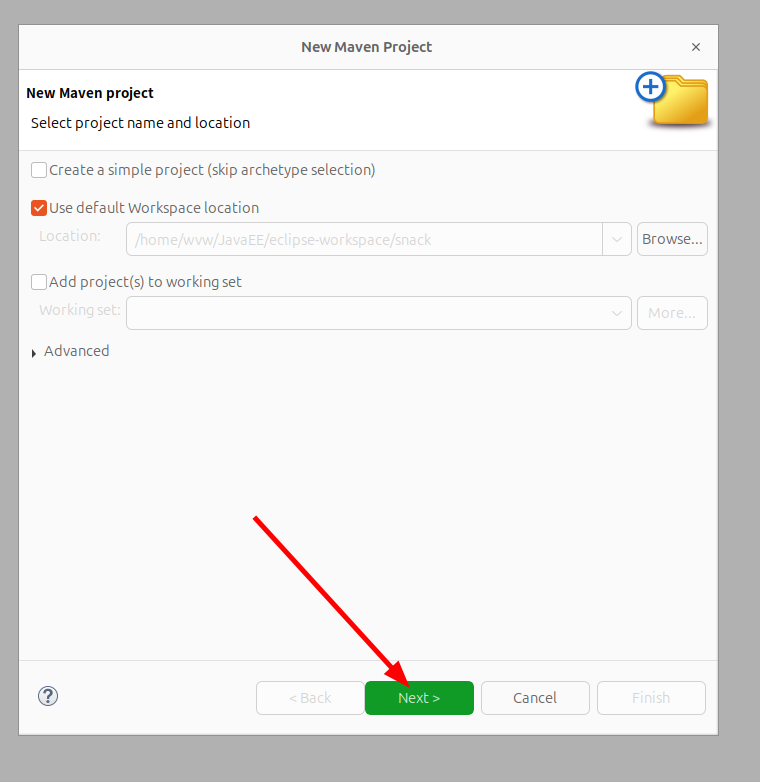
直接Next
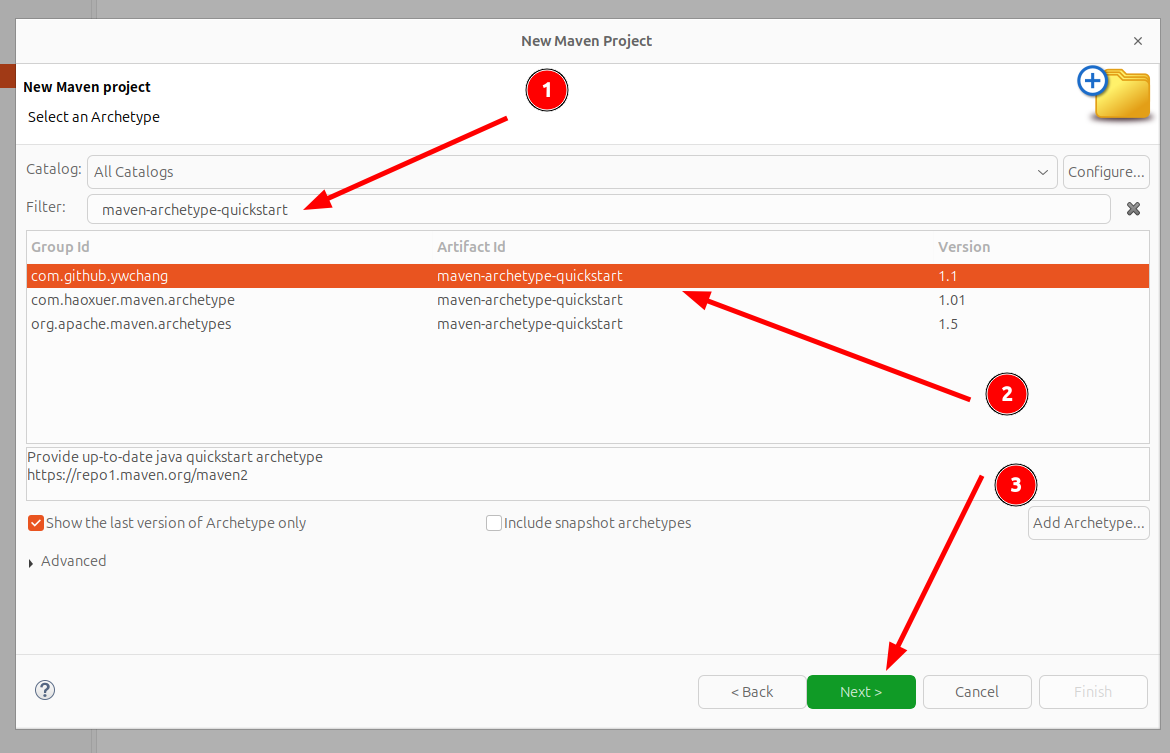
筛选框输入maven-archetype-quickstart,然后选中
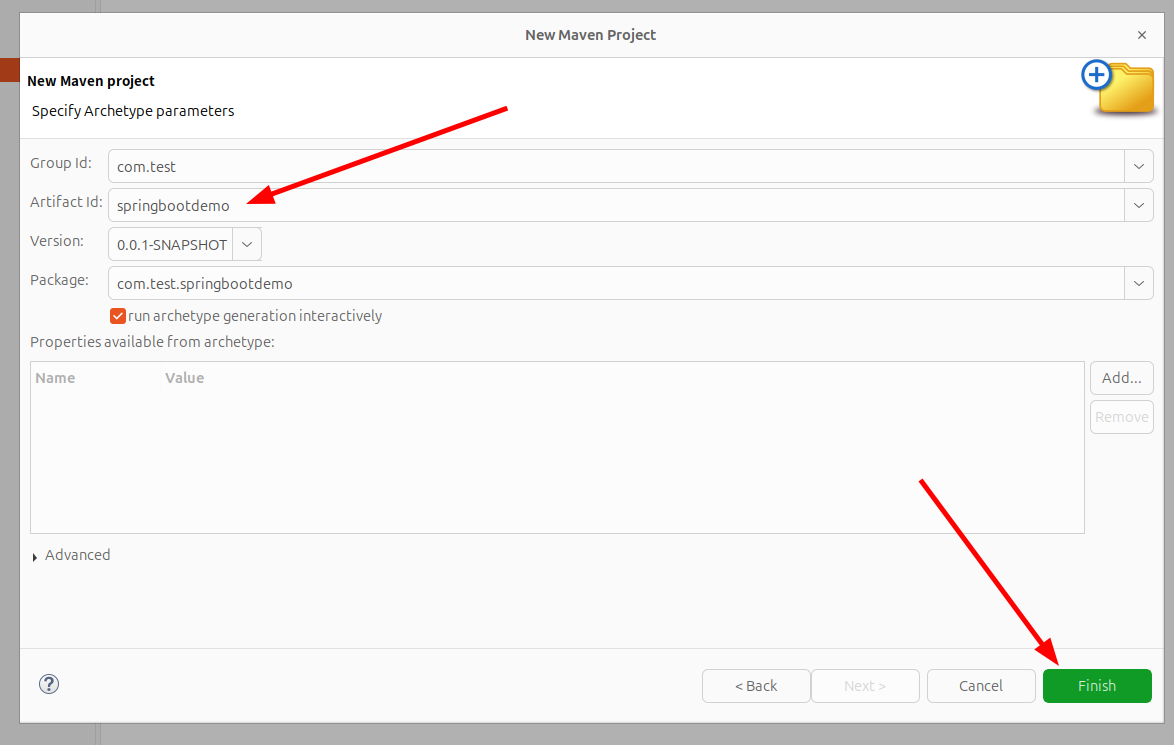
填入信息后点击Finish
等待控制台加载
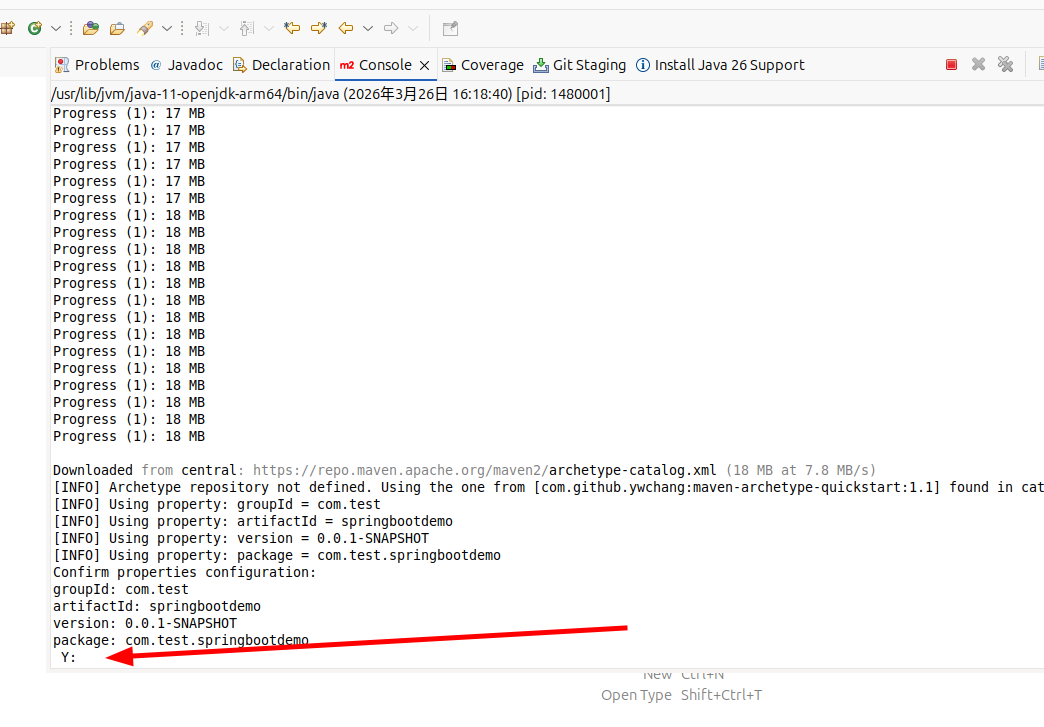
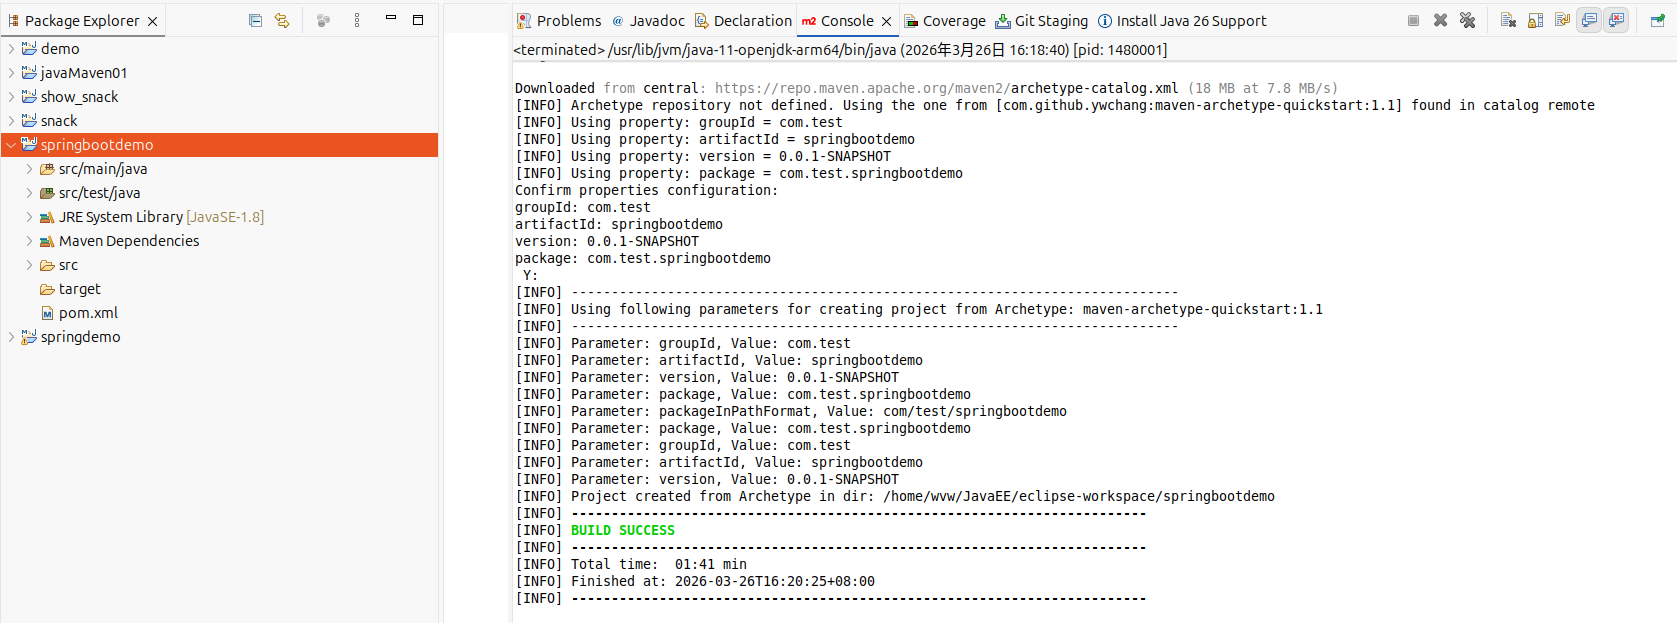
点击控制台,按回车键,就建好初始目录了。
二、添加相关依赖、配置
在pom.xml中对应地方添加以下内容
xml
  <!-- SpringBoot相关的jar包 -->
   <parent>
  	<groupId>org.springframework.boot</groupId>
  	<artifactId>spring-boot-starter-parent</artifactId>
  	<version>2.0.5.RELEASE</version>
  </parent>
xml
  	<!-- SpringBoot核心jar包 -->
  	<dependency>
  		<groupId>org.springframework.boot</groupId>
  		<artifactId>spring-boot-starter</artifactId>
  	</dependency>
  	<!-- Web开发包:Tomcat、Spring MVC -->
  	<dependency>
  		<groupId>org.springframework.boot</groupId>
  		<artifactId>spring-boot-starter-web</artifactId>
  	</dependency>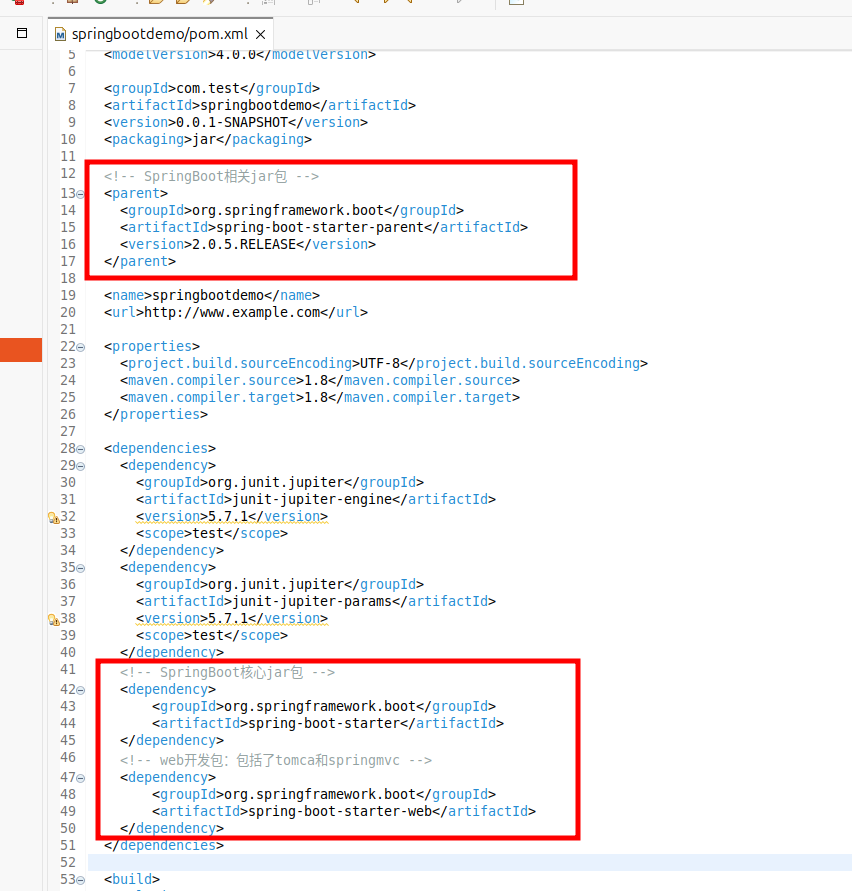
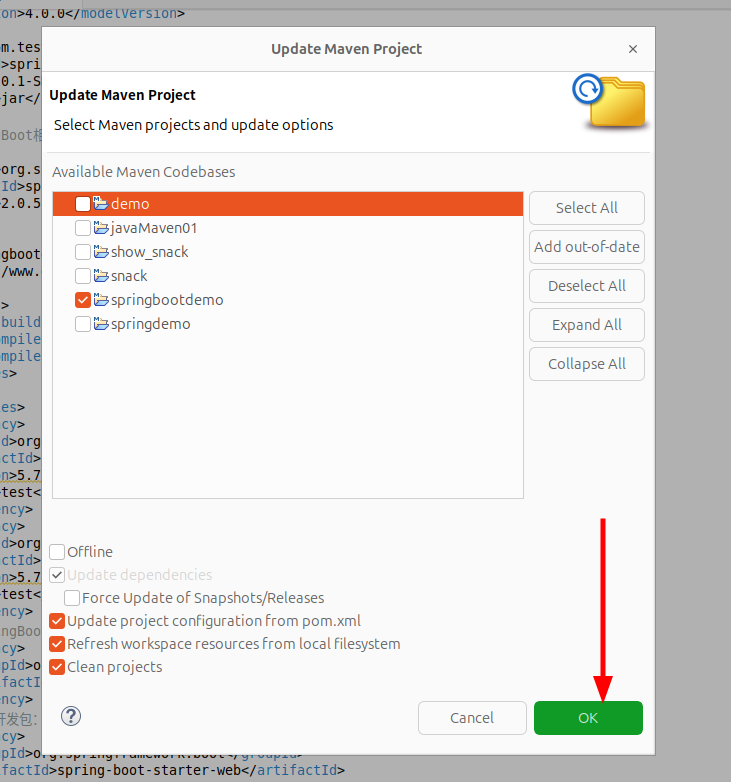
添加后,右键项目-->Maven-->Update Project
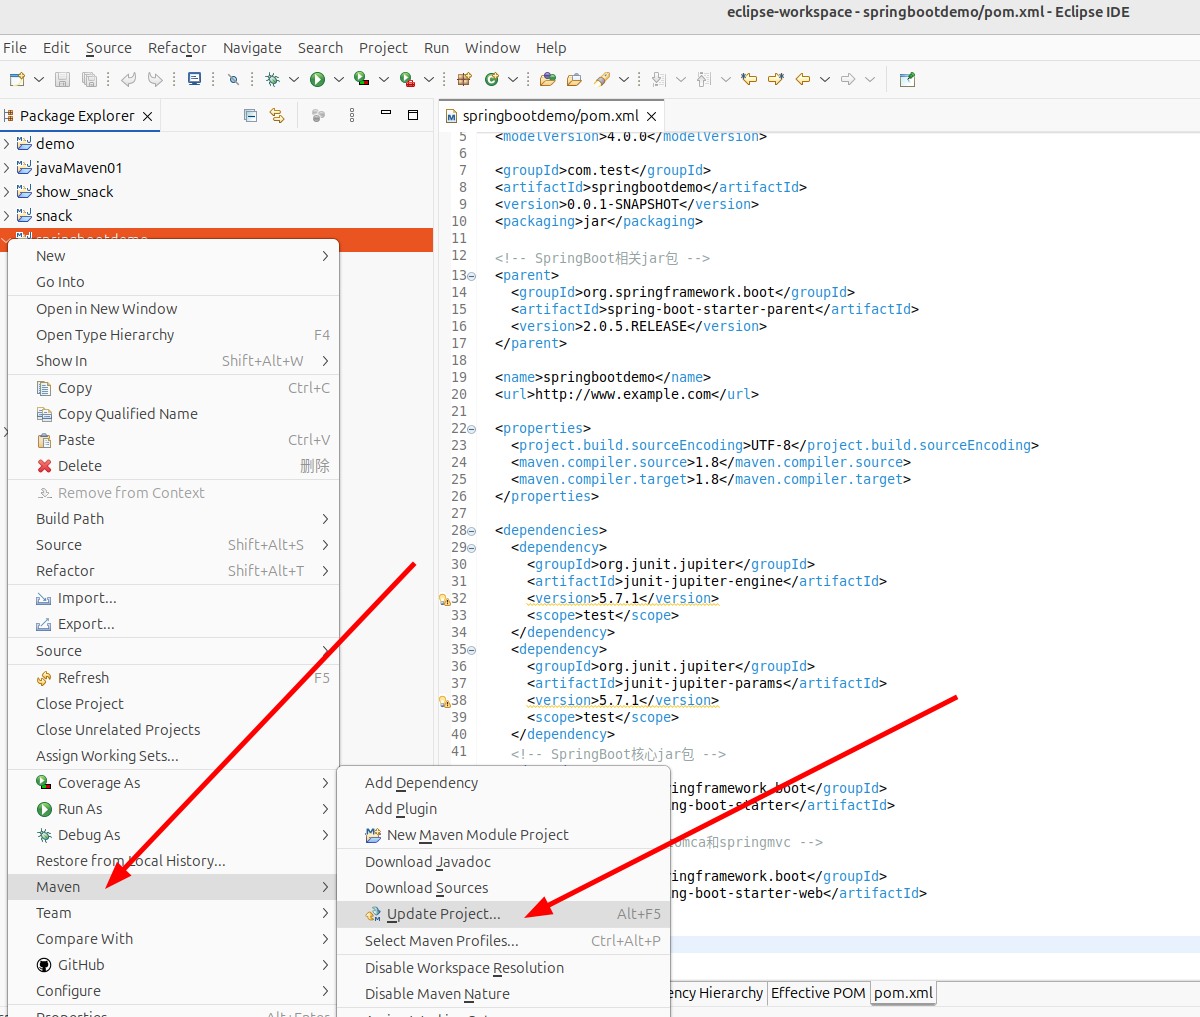
然后直接点击OK
三、启动项目
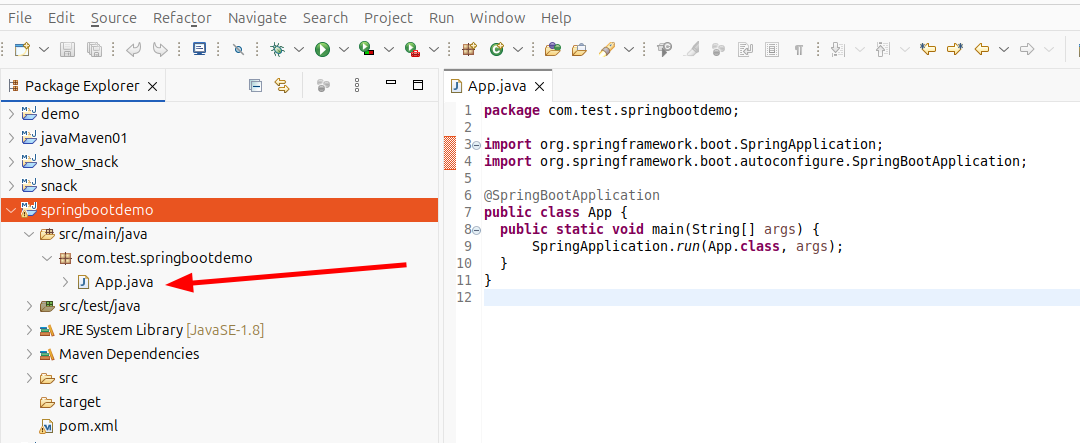
首先修改启动文件App.java
java
import org.springframework.boot.SpringApplication;
import org.springframework.boot.autoconfigure.SpringBootApplication;

@SpringBootApplication
public class App {
  public static void main(String[] args) {
	  SpringApplication.run(App.class, args);
  }
}
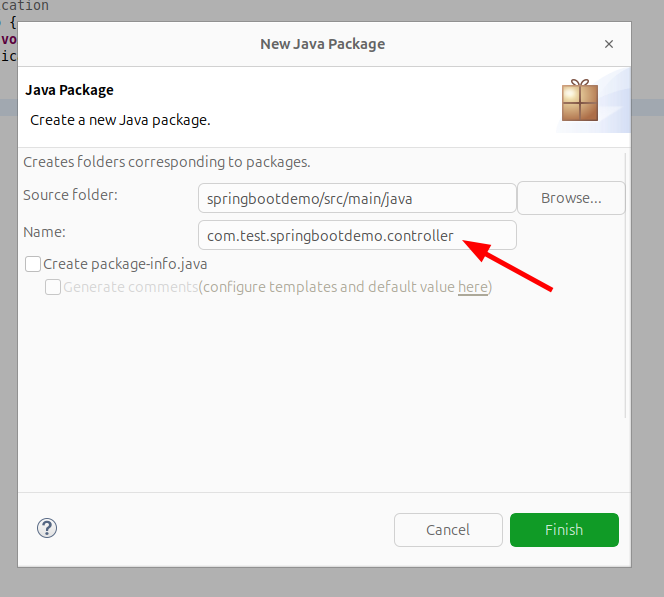
然后在src/main/java中新建包com.test.springbootdemo.controller
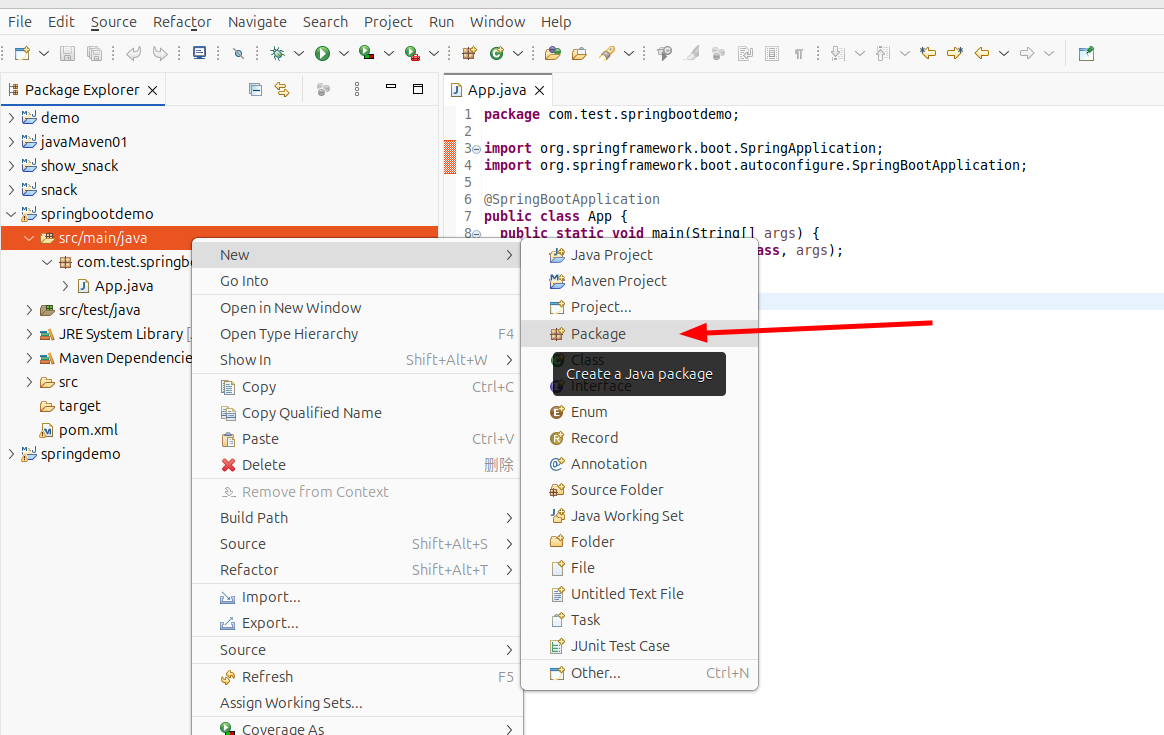
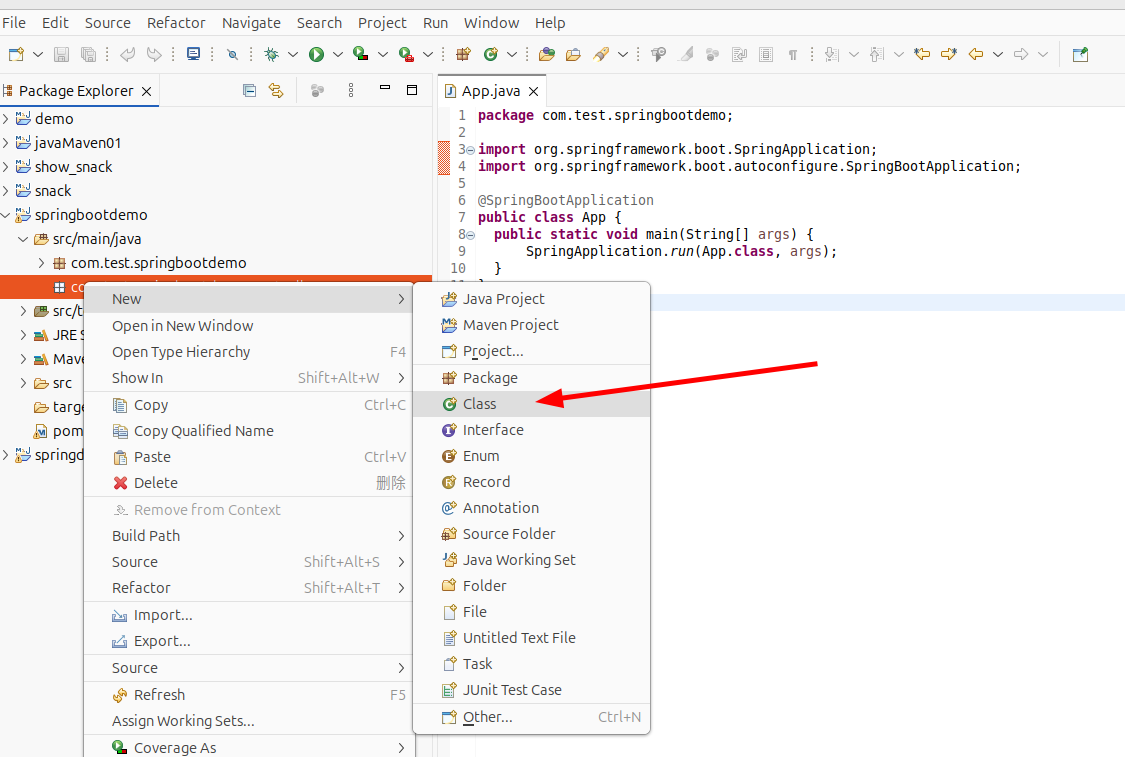
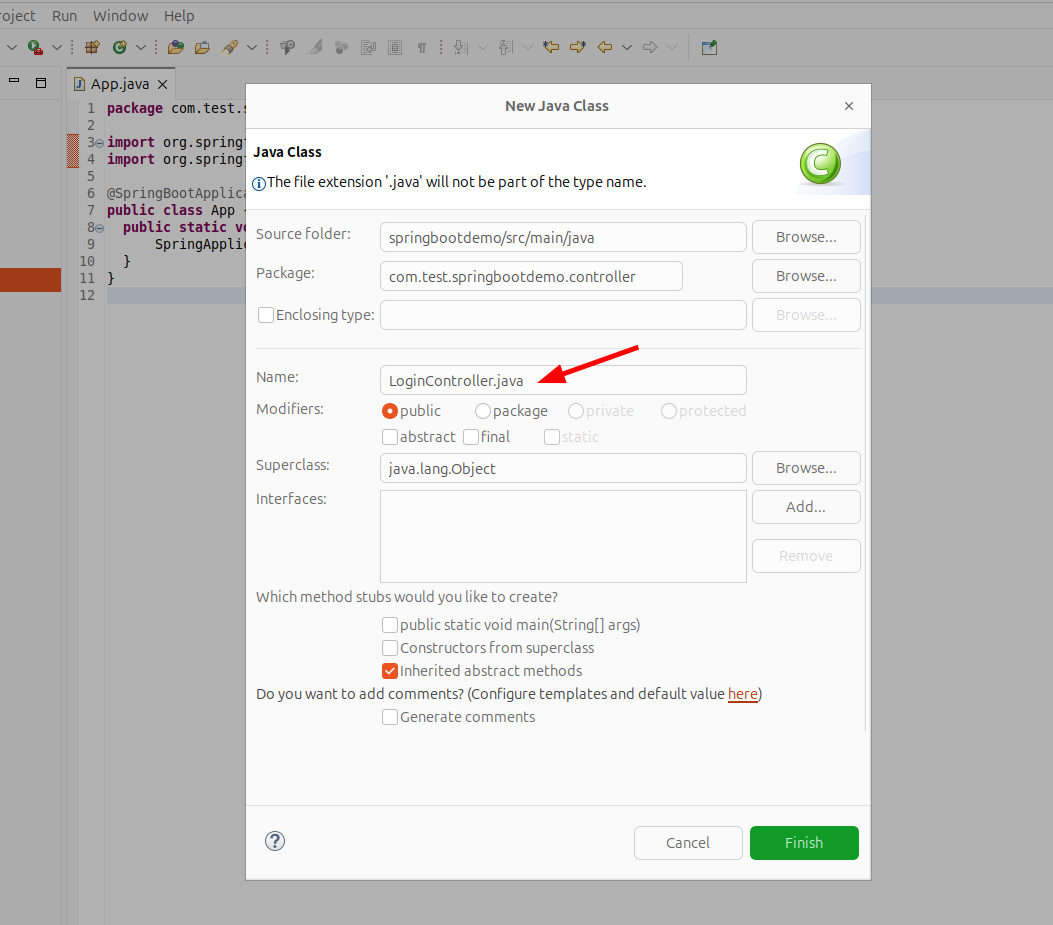
接着在新建的包中新建文件LoginController.java
文件LoginController.java粘贴以下内容
java
package com.test.springbootdemo.controller;

import org.springframework.stereotype.Controller;
import org.springframework.web.bind.annotation.RequestMapping;
import org.springframework.web.bind.annotation.ResponseBody;

@Controller
public class LoginController {

	@RequestMapping("/hello")
	@ResponseBody
	public String hello(){
		return "hello SpringBootWorld";
	    }
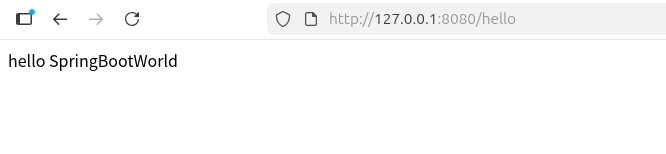
}如果运行文件App.java看见以下控制台信息就代表成功了。
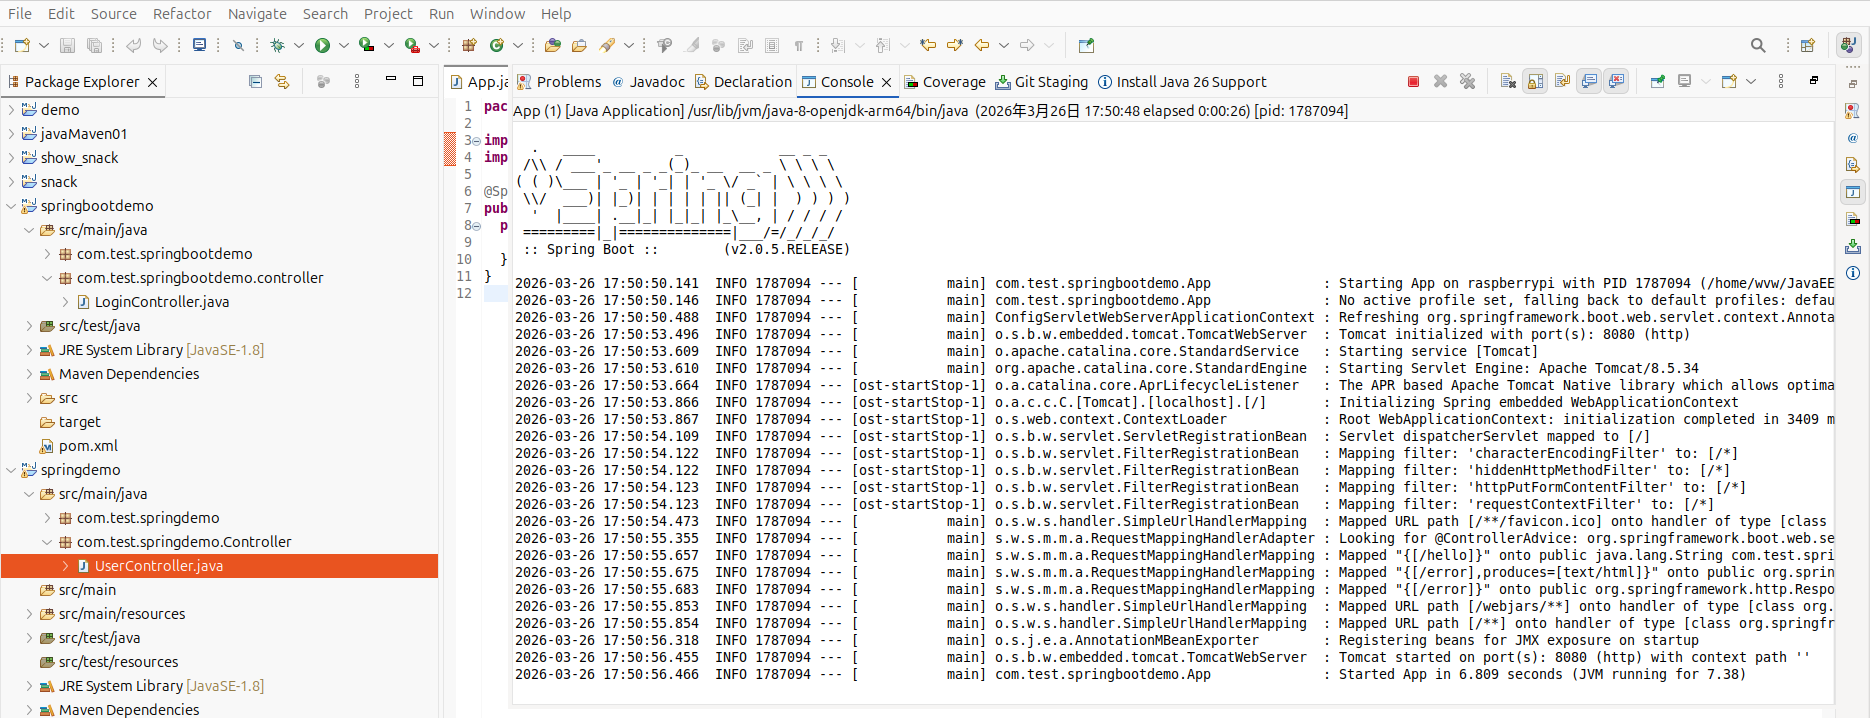
访问网页http://127.0.0.1:8080/hello