前言
在 WebGIS 开发中,地图绘制功能是一个常见且重要的需求。本文将基于 OpenLayers 框架,手把手教你构建一个完整的地图绘制系统,包含点、线、面、圆的绘制,要素编辑、选择和删除等功能。通过本文,你将深入理解 OpenLayers 的交互机制和图层管理。
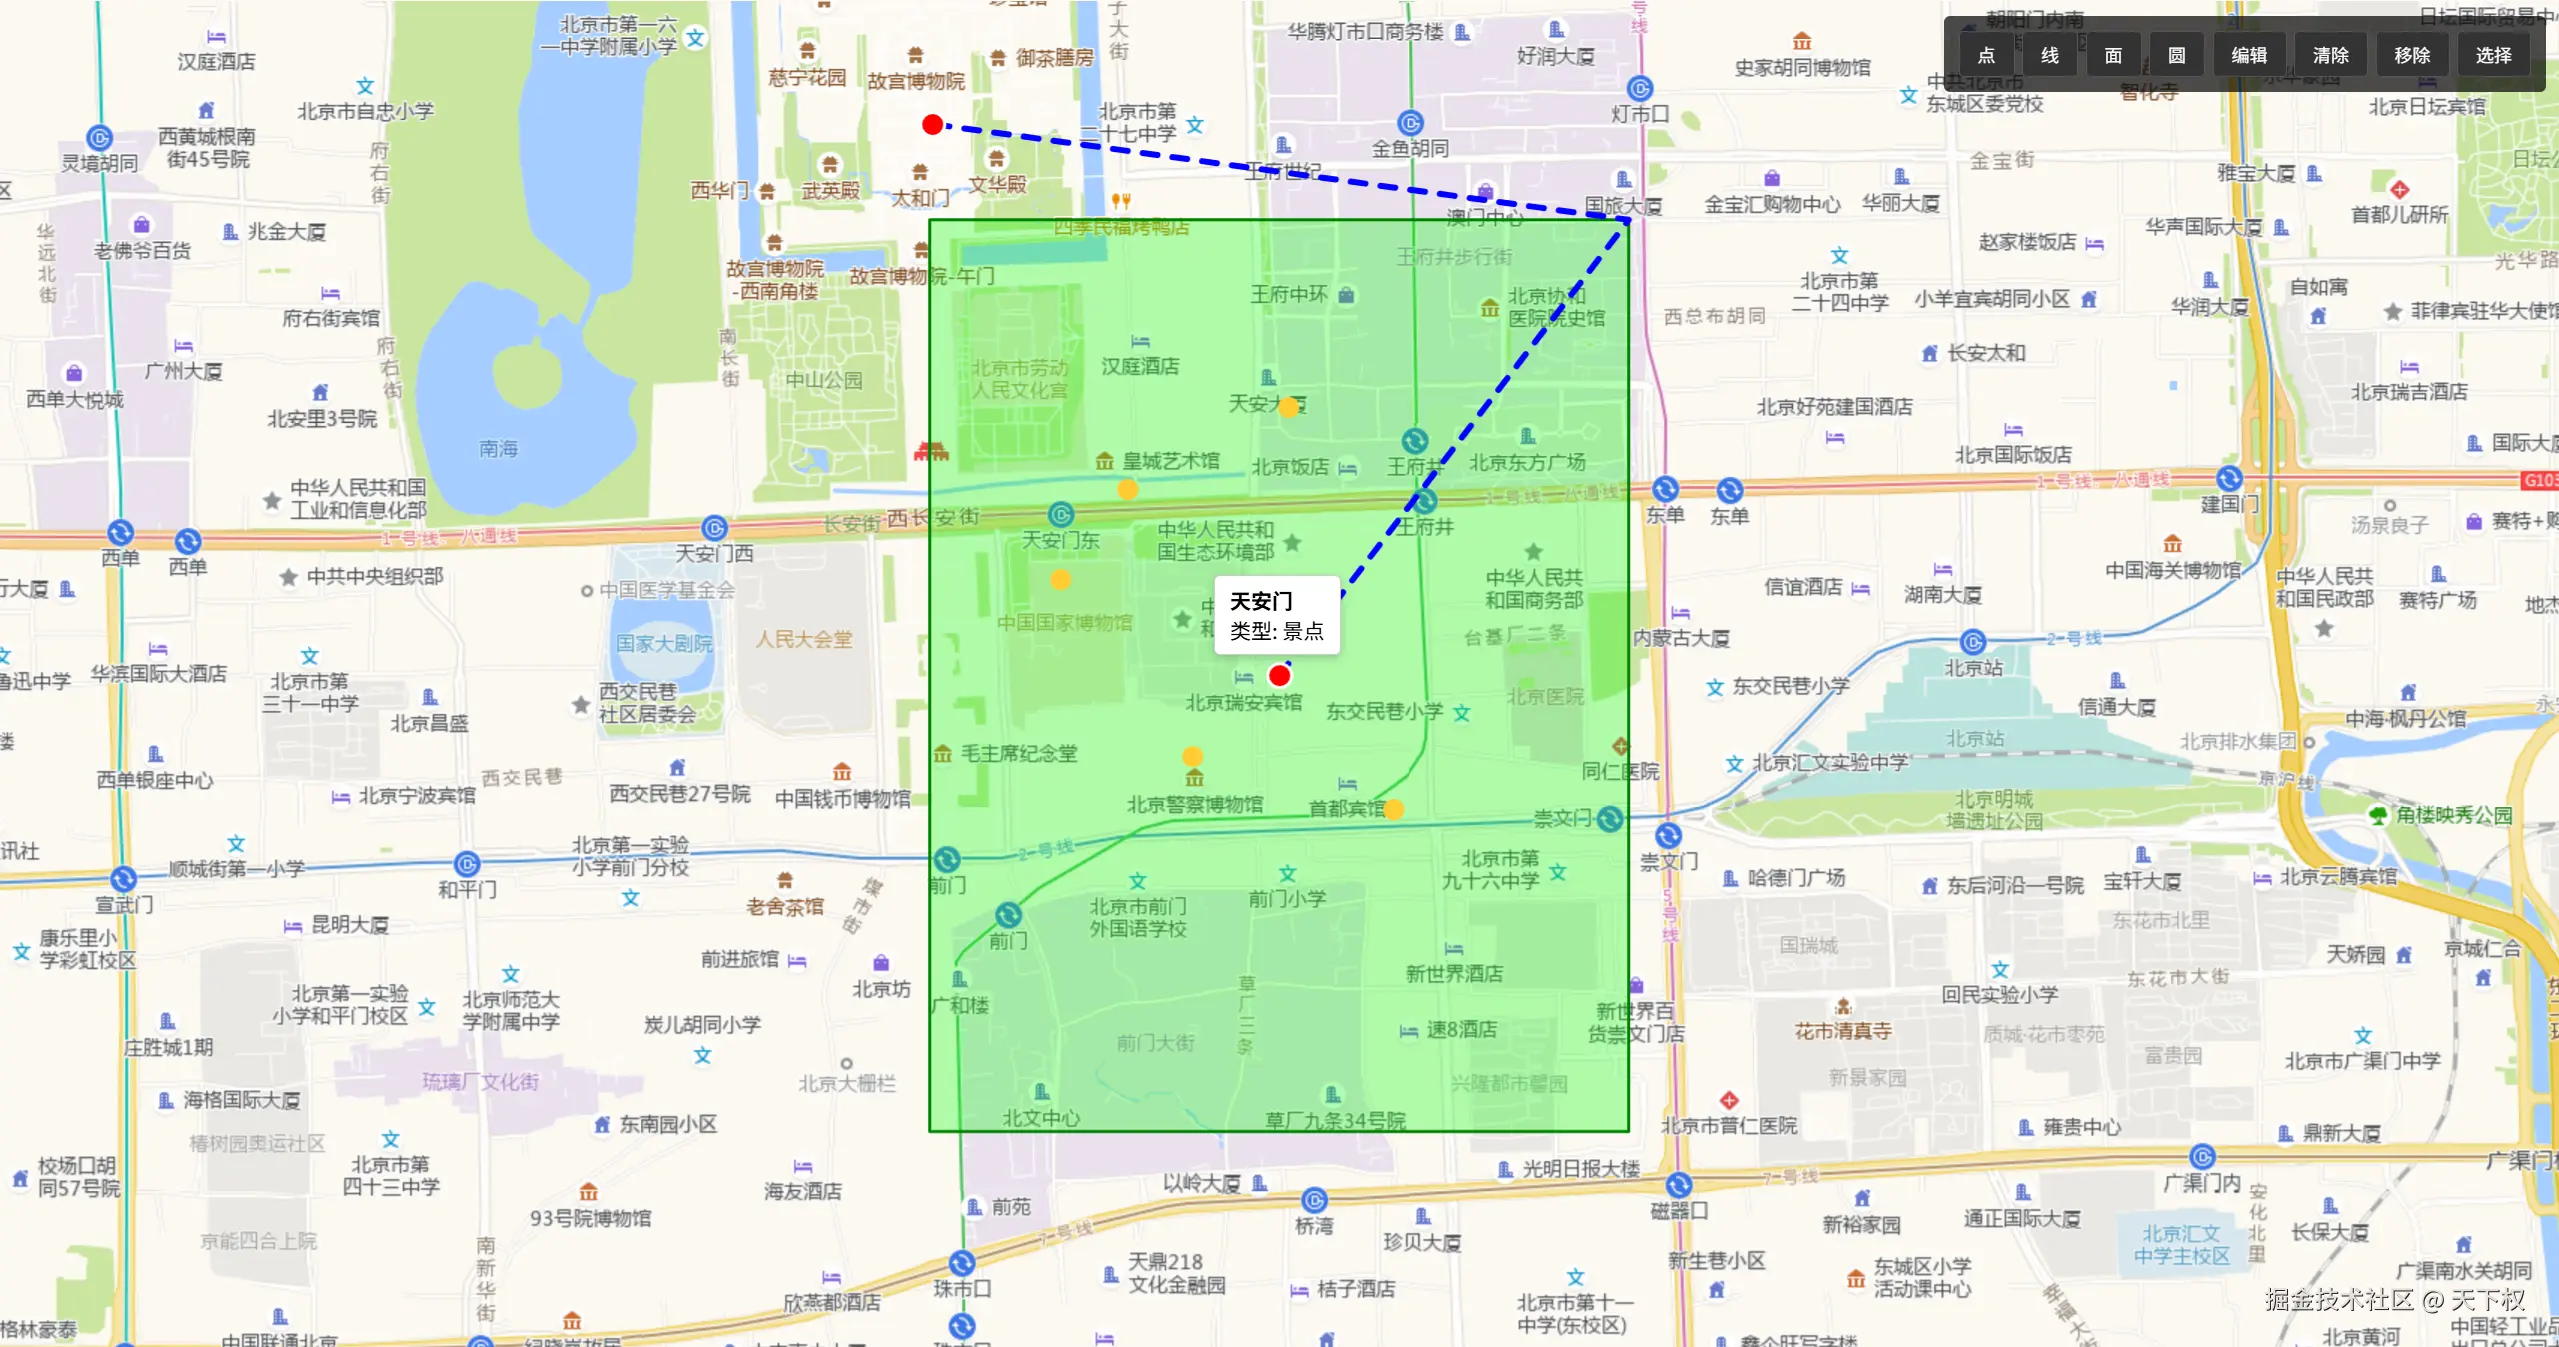
最终效果预览
我们将实现一个具有以下功能的地图应用:
- 🎯 支持绘制点、线、面、圆
- ✏️ 支持编辑已绘制的图形
- 🖱️ 支持点击选择要素
- 🗑️ 支持删除选中要素
- 🧲 支持顶点吸附功能
- 📍 支持 GeoJSON 数据展示
项目结构
bash
ol-app/
├── main.js              # 入口文件,初始化地图
├── src/
│   ├── drawLayer.js     # 绘制图层核心类
│   └── draw.js          # GeoJSON 图层初始化
├── geojsonObject.js     # GeoJSON 数据
└── style.css            # 样式文件
一、核心类设计:DrawLayer
首先,我们创建一个 DrawLayer 类来封装所有的绘制和交互逻辑。这种封装方式让代码更加模块化,便于维护和复用。
1.1 类结构初始化
javascript
import VectorLayer from 'ol/layer/Vector';
import VectorSource from 'ol/source/Vector';
import { Draw, Modify, Snap, Select } from 'ol/interaction';
import { Style, Fill, Stroke, Circle as CircleStyle } from 'ol/style';
import { click } from 'ol/events/condition';

export class DrawLayer {
  constructor(map) {
    this.map = map;

    // 创建矢量数据源
    this.source = new VectorSource();

    // 创建矢量图层
    this.layer = new VectorLayer({
      source: this.source,
      style: this.getDefaultStyle()
    });

    // 添加到地图
    this.map.addLayer(this.layer);

    // 交互对象
    this.drawInteraction = null;
    this.modifyInteraction = null;
    this.snapInteraction = null;
    this.selectInteraction = null;
    this.selectedFeature = null;
  }
}
关键点解析:
VectorSource:存储所有绘制的要素数据VectorLayer:负责将要素渲染到地图上- 各种
Interaction:OpenLayers 的交互对象,分别处理绘制、编辑、吸附、选择等功能
1.2 样式定义
javascript
/**
 * 获取默认样式
 */
getDefaultStyle() {
  return new Style({
    fill: new Fill({
      color: 'rgba(255, 255, 255, 0.2)'
    }),
    stroke: new Stroke({
      color: '#ffcc33',
      width: 2
    }),
    image: new CircleStyle({
      radius: 7,
      fill: new Fill({
        color: '#ffcc33'
      })
    })
  });
}

/**
 * 获取选中样式
 */
getSelectStyle() {
  return new Style({
    stroke: new Stroke({ color: 'red', width: 3 }),
    fill: new Fill({ color: 'rgba(255, 0, 0, 0.2)' }),
    image: new CircleStyle({
      radius: 7,
      fill: new Fill({ color: 'red' })
    })
  });
}
二、绘制功能实现
2.1 开始绘制
javascript
/**
 * 开始绘制
 * @param {string} type - 绘制类型: 'Point', 'LineString', 'Polygon', 'Circle'
 * @param {Function} callback - 绘制完成回调
 */
startDraw(type, callback) {
  // 清除之前的绘制交互
  this.stopDraw();
  // 禁用选择模式,避免冲突
  this.disableSelect();

  this.drawInteraction = new Draw({
    source: this.source,
    type: type
  });

  this.drawInteraction.on('drawend', (event) => {
    const feature = event.feature;
    if (callback) {
      callback(feature);
    }
  });

  this.map.addInteraction(this.drawInteraction);

  // 添加吸附功能
  this.snapInteraction = new Snap({
    source: this.source
  });
  this.map.addInteraction(this.snapInteraction);
}
技术要点:
Draw交互会自动将绘制的要素添加到指定的 source 中Snap交互让新绘制的点可以吸附到已有要素的顶点上,提高精度- 绘制前需要停止其他交互,避免冲突
2.2 停止绘制
javascript
/**
 * 停止绘制
 */
stopDraw() {
  if (this.drawInteraction) {
    this.map.removeInteraction(this.drawInteraction);
    this.drawInteraction = null;
  }
  if (this.snapInteraction) {
    this.map.removeInteraction(this.snapInteraction);
    this.snapInteraction = null;
  }
}
三、编辑功能实现
3.1 启用编辑
javascript
/**
 * 启用编辑模式
 */
enableModify() {
  this.disableModify();
  this.disableSelect();

  this.modifyInteraction = new Modify({
    source: this.source
  });
  this.map.addInteraction(this.modifyInteraction);
}

/**
 * 禁用编辑模式
 */
disableModify() {
  if (this.modifyInteraction) {
    this.map.removeInteraction(this.modifyInteraction);
    this.modifyInteraction = null;
  }
}
Modify 交互允许用户拖拽要素的顶点来编辑图形形状。
四、选择功能实现
4.1 启用选择模式
javascript
/**
 * 启用选择模式
 */
enableSelect() {
  this.disableSelect();
  this.stopDraw();
  this.disableModify();

  this.selectInteraction = new Select({
    layers: [this.layer],
    style: this.getSelectStyle(),
    multi: true,
    toggleCondition: click
  });

  // 监听选择事件
  this.selectInteraction.on('select', (e) => {
    const selected = e.selected;
    if (selected.length > 0) {
      this.selectedFeature = selected[0];
      console.log('选中要素:', this.selectedFeature);
    } else {
      this.selectedFeature = null;
    }
  });

  this.map.addInteraction(this.selectInteraction);
}
重点解析:
layers: [this.layer]:指定可选中的图层,使用像素检测实现精确选择multi: true:允许多选toggleCondition: click:点击切换选中状态,无需按住 Shift 键
4.2 禁用选择
javascript
/**
 * 禁用选择模式
 */
disableSelect() {
  if (this.selectInteraction) {
    this.map.removeInteraction(this.selectInteraction);
    this.selectInteraction = null;
    this.selectedFeature = null;
  }
}
五、要素管理
javascript
/**
 * 移除选中的要素
 */
removeSelectedFeature() {
  if (this.selectedFeature) {
    this.source.removeFeature(this.selectedFeature);
    this.selectedFeature = null;
    return true;
  }
  return false;
}

/**
 * 清除所有绘制
 */
clear() {
  this.source.clear();
  this.selectedFeature = null;
}

/**
 * 获取所有绘制的要素
 */
getFeatures() {
  return this.source.getFeatures();
}

/**
 * 移除指定要素
 */
removeFeature(feature) {
  this.source.removeFeature(feature);
  if (this.selectedFeature === feature) {
    this.selectedFeature = null;
  }
}
六、工具栏创建
javascript
export function createDrawToolbar(container, drawLayer) {
  const toolbar = document.createElement('div');
  toolbar.className = 'draw-toolbar';
  toolbar.innerHTML = `
    <button data-type="Point" class="draw-point">点</button>
    <button data-type="LineString" class="draw-line">线</button>
    <button data-type="Polygon" class="draw-polygon">面</button>
    <button data-type="Circle" class="draw-circle">圆</button>
    <button id="modify-btn" class="draw-modify">编辑</button>
    <button id="clear-btn" class="draw-clear">清除</button>
    <button id="remove-btn" class="draw-remove">移除</button>
    <button id="select-btn" class="draw-select">选择</button>
  `;

  let isModifying = false;
  let isSelecting = false;

  toolbar.addEventListener('click', (e) => {
    // 绘制按钮
    if (e.target.classList.contains("draw-point")) {
      drawLayer.startDraw("Point");
    }
    if (e.target.classList.contains("draw-line")) {
      drawLayer.startDraw("LineString");
    }
    if (e.target.classList.contains("draw-polygon")) {
      drawLayer.startDraw("Polygon");
    }
    if (e.target.classList.contains("draw-circle")) {
      drawLayer.startDraw("Circle");
    }

    // 编辑按钮
    if (e.target.classList.contains("draw-modify")) {
      isModifying = !isModifying;
      if (isModifying) {
        drawLayer.enableModify();
        e.target.textContent = "完成";
      } else {
        drawLayer.disableModify();
        e.target.textContent = "编辑";
      }
    }

    // 清除按钮
    if (e.target.classList.contains("draw-clear")) {
      drawLayer.clear();
    }

    // 移除按钮
    if (e.target.classList.contains("draw-remove")) {
      if (drawLayer.removeSelectedFeature()) {
        console.log("移除成功");
      } else {
        console.log("没有选中的要素");
      }
    }

    // 选择按钮
    if (e.target.classList.contains("draw-select")) {
      isSelecting = !isSelecting;
      if (isSelecting) {
        drawLayer.enableSelect();
        e.target.textContent = "退出选择";
      } else {
        drawLayer.disableSelect();
        e.target.textContent = "选择";
      }
    }
  });

  container.appendChild(toolbar);
  return toolbar;
}
七、主入口文件
javascript
import './style.css';
import {Map, View} from 'ol';
import TileLayer from 'ol/layer/Tile';
import XYZ from 'ol/source/XYZ';
import Overlay from 'ol/Overlay';
import {fromLonLat} from 'ol/proj';

import {geojsonObject1} from '/geojsonObject.js';
import { initDrawLayer } from './src/draw.js';
import { DrawLayer, createDrawToolbar } from './src/drawLayer.js';

// 1. 创建基础绘制图层(显示 GeoJSON 数据)
const vectorLayer = initDrawLayer(geojsonObject1, {
  point: {
    radius: 8,
    fillColor: 'red',
    strokeColor: 'white',
    strokeWidth: 2
  },
  line: {
    color: 'blue',
    width: 4,
    lineDash: [10, 10]
  },
  polygon: {
    fillColor: 'rgba(0, 255, 0, 0.3)',
    strokeColor: 'green',
    strokeWidth: 2
  }
});

// 2. 创建地图
const map = new Map({
  target: 'map',
  layers: [
    new TileLayer({
      source: new XYZ({
        url: 'https://webrd01.is.autonavi.com/appmaptile?lang=zh_cn&size=1&scale=1&style=8&x={x}&y={y}&z={z}'
      })
    }),
    vectorLayer
  ],
  controls: [],
  view: new View({
    center: fromLonLat([116.4074, 39.9042]),
    zoom: 15
  })
});

// 3. 创建用户绘制图层
const drawLayer = new DrawLayer(map);

// 4. 创建绘制工具栏
const toolbarContainer = document.createElement('div');
toolbarContainer.id = 'draw-toolbar-container';
document.body.appendChild(toolbarContainer);
createDrawToolbar(toolbarContainer, drawLayer);

// 5. 创建 popup 容器
const popupContainer = document.createElement('div');
popupContainer.className = 'popup';
const popupOverlay = new Overlay({
  element: popupContainer,
  positioning: 'bottom-center',
  offset: [0, -15]
});
map.addOverlay(popupOverlay);

// 6. 点击事件 - 显示要素信息
map.on('click', (evt) => {
  const feature = map.forEachFeatureAtPixel(evt.pixel, (feat) => feat);
  if (feature) {
    const props = feature.getProperties();
    popupContainer.innerHTML = `<b>${props.name}</b><br>类型: ${props.type}`;
    popupOverlay.setPosition(evt.coordinate);
  } else {
    popupOverlay.setPosition(undefined);
  }
});
八、关键技术点总结
8.1 Source vs Layer
| 特性 | Source | Layer |
|---|---|---|
| 作用 | 数据存储 | 可视化渲染 |
| 关系 | 被 Layer 引用 | 引用 Source |
| 类比 | 数据库 | 表格组件 |
8.2 交互优先级
OpenLayers 的交互是按照添加顺序执行的,后添加的优先级更高。因此需要合理管理交互的启用和禁用:
javascript
// 启用新交互前,先禁用冲突的交互
startDraw() {
  this.stopDraw();      // 停止之前的绘制
  this.disableSelect(); // 禁用选择,避免冲突
  // ... 创建新交互
}
8.3 多选实现
多选的关键在于 toggleCondition 配置:
javascript
const select = new Select({
  multi: true,
  toggleCondition: click  // 点击切换选中状态
});
如果不设置 toggleCondition,默认需要按住 Shift 键才能多选。
九、扩展思路
- 导出 GeoJSON :使用
GeoJSONformat 将绘制的要素导出 - 撤销重做:维护操作历史栈,实现撤销重做功能
- 样式编辑器:提供 UI 让用户自定义绘制样式
- 测量工具:计算绘制图形的面积和长度
十、完整代码
本文的完整代码已开源,你可以在 GitHub 上找到: github.com/yourname/ol...
结语
通过本文,我们实现了一个功能完整的 OpenLayers 绘制系统。核心思想是将功能封装成独立的类,通过交互对象管理用户操作,使用 Source-Layer 模式管理数据。希望本文对你有所帮助,如果有任何问题,欢迎在评论区讨论!
参考链接: