Vue项目初始化打包
项目地址:
git clone https://gitee.com/niumg9527/login-animation.git打开我们的前端项目在终端执行打包命令。
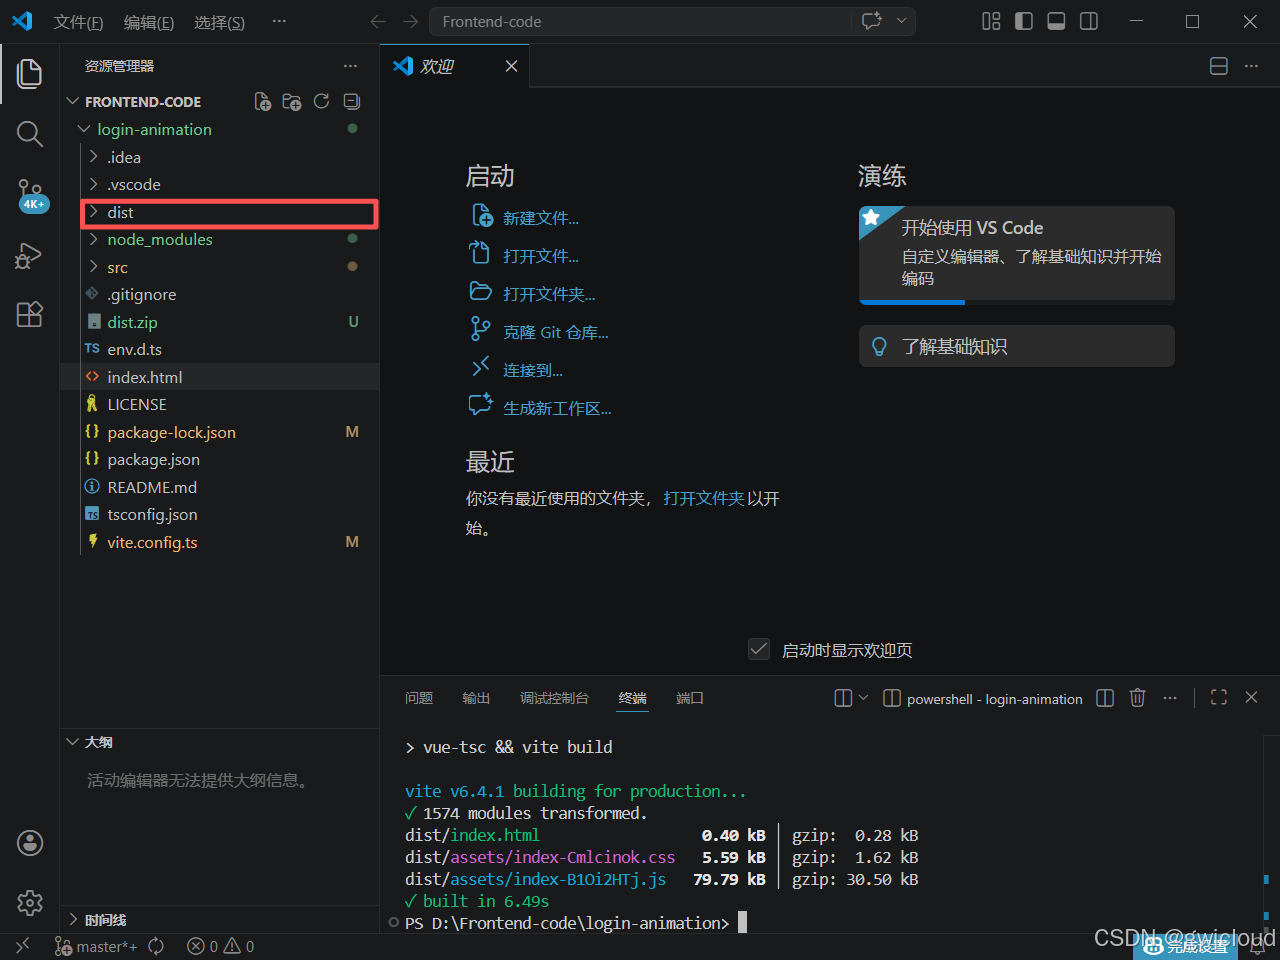
PS D:\Frontend-code\login-animation> npm run build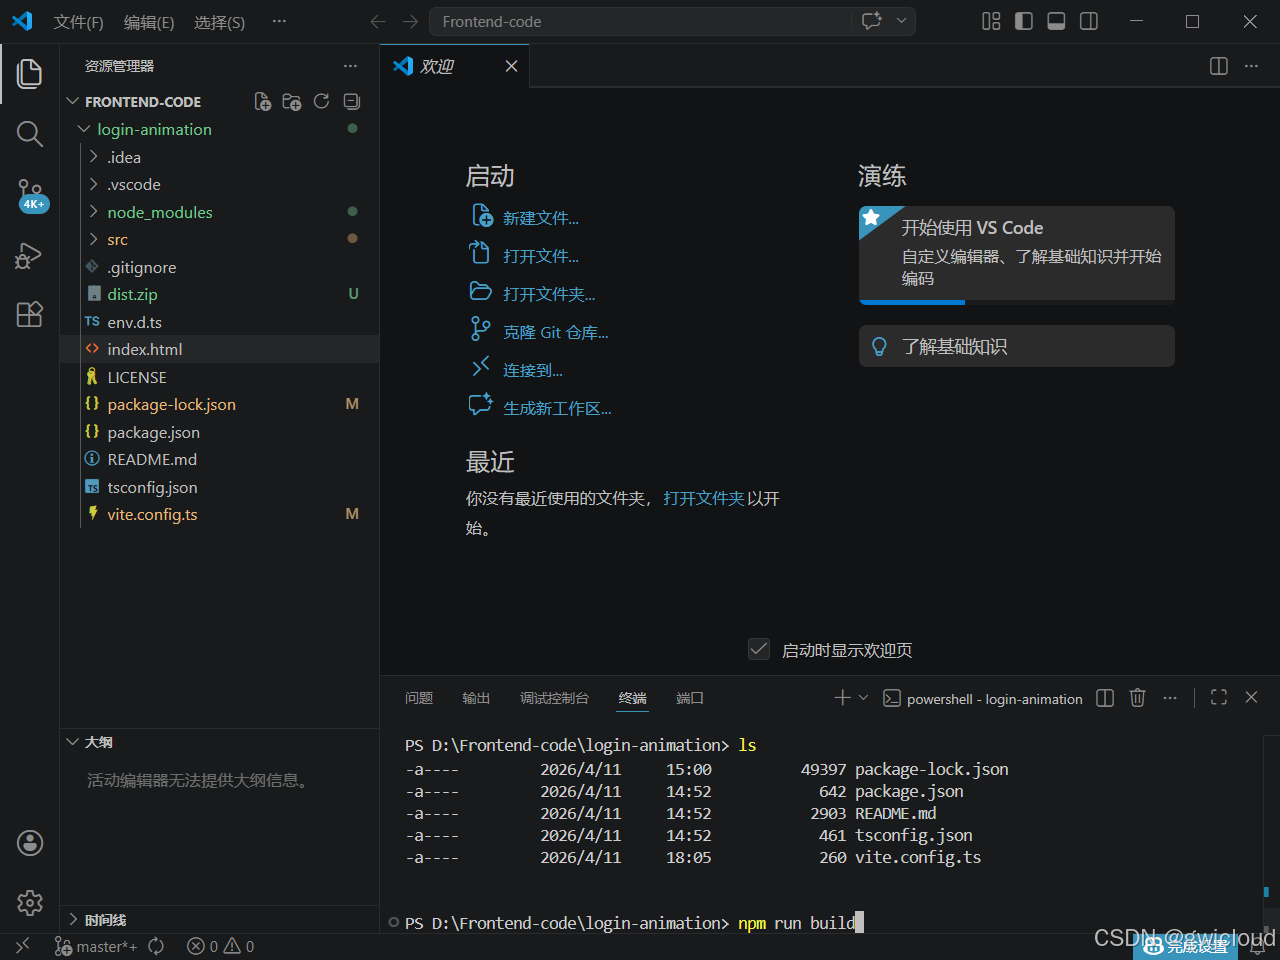
打包成功后会出现dist目录
把这个目录压缩上传到我们的linux服务器上并解压到和nginx的配置文件Dockerfile文件放一起
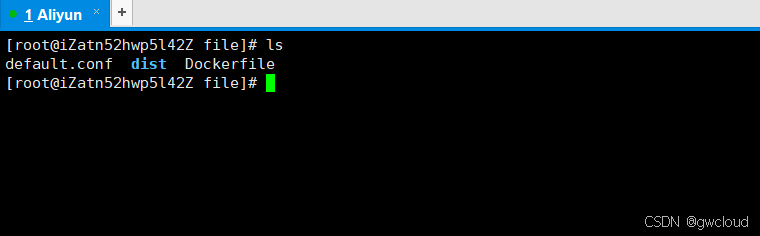
配置nginx的配置文件
[root@iZatn52hwp5l42Z file]# vim default.conf

# nginx配置
server {
    # 可以写 80 最后运行可以重新映射
    listen       80;
    server_name  localhost;

    #charset koi8-r;
    access_log  /var/log/nginx/host.access.log  main;
    error_log  /var/log/nginx/error.log  error;

    location / {
        # root 根目录,默认nginx镜像的html文件夹,可以指定其他
        root   /usr/share/nginx/html;
        index  index.html index.htm;
        # 如果vue-router使用的是history模式,需要设置这个
        try_files $uri $uri/ /index.html;
    }
    #error_page  404              /404.html;

    # redirect server error pages to the static page /50x.html
    #
    error_page   500 502 503 504  /50x.html;
    location = /50x.html {
        root   /usr/share/nginx/html;
    }
}
配置Dockerfile文件
[root@iZatn52hwp5l42Z file]# vim Dockerfile

FROM nginx:latest
COPY dist/  /usr/share/nginx/html/
COPY default.conf /etc/nginx/conf.d/default.conf
EXPOSE 80
CMD ["nginx", "-g", "daemon off;"]
构建镜像并运行
[root@iZatn52hwp5l42Z file]# docker build -t vue-login:v1.0 .
Sending build context to Docker daemon  92.16kB
Step 1/5 : FROM nginx:latest
 ---> 605c77e624dd
Step 2/5 : COPY dist/  /usr/share/nginx/html/
 ---> Using cache
 ---> 5e65e4fb3e2f
Step 3/5 : COPY default.conf /etc/nginx/conf.d/default.conf
 ---> Using cache
 ---> 96006c0e8c3e
Step 4/5 : EXPOSE 80
 ---> Using cache
 ---> 72a82a118577
Step 5/5 : CMD ["nginx", "-g", "daemon off;"]
 ---> Using cache
 ---> 64fa80fc9f80
Successfully built 64fa80fc9f80
Successfully tagged vue-login:v1.0
接下来使用镜像运行容器
[root@iZatn52hwp5l42Z ~]# docker run -d -p 80:80 --name vue-login vue-login:v1.0
34c5c2a637fec92bdac6b26b9757dc1156f25d5f504421688419d1e5e3ea7a3f
[root@iZatn52hwp5l42Z ~]# docker ps
CONTAINER ID   IMAGE            COMMAND                  CREATED         STATUS        PORTS                               NAMES
34c5c2a637fe   vue-login:v1.0   "/docker-entrypoint...."   3 seconds ago   Up 1 second   0.0.0.0:80->80/tcp, :::80->80/tcp   vue-login
访问
如果是云服务器需要在安全组开通80端口