开发环境:Visual Studio Code+PlatformIO + ESP32-S3 + Arduino 框架
测试代码1:main.cpp
#include <Arduino.h>
#include <driver/i2s.h>
#include <Wire.h>

// ===================== 你的原理图 100% 精准定义 =====================
#define I2S_SCK 18
#define I2S_WS 16
#define I2S_DIN 15
#define AMP_EN 11
#define ES8311_ADDR 0x10

#define I2C_SDA 20
#define I2C_SCL 19

#define SAMPLE_RATE 16000
#define BUFFER_SIZE 1024
// ====================================================================

int16_t sampleBuffer[BUFFER_SIZE];

// 写入 ES8311 寄存器
void esWrite(uint8_t reg, uint8_t val) {
  Wire.beginTransmission(ES8311_ADDR);
  Wire.write(reg);
  Wire.write(val);
  Wire.endTransmission();
  delay(5);
}

// 初始化 ES8311 音频芯片(官方标准配置)
void initES8311() {
  pinMode(AMP_EN, OUTPUT);
  digitalWrite(AMP_EN, HIGH);
  delay(100);

  Wire.begin(I2C_SDA, I2C_SCL);
  delay(100);

  esWrite(0x00, 0x01); delay(50);
  esWrite(0x01, 0x03);
  esWrite(0x02, 0x0F);
  esWrite(0x08, 0x3F);
  esWrite(0x09, 0x3F);
  esWrite(0x0D, 0x04);
  esWrite(0x0E, 0x04);

  Serial.println("✅ ES8311 初始化完成");
}

// 初始化 I2S 采集
void initI2S() {
  i2s_config_t i2sConfig = {
    .mode = (i2s_mode_t)(I2S_MODE_MASTER | I2S_MODE_RX),
    .sample_rate = SAMPLE_RATE,
    .bits_per_sample = I2S_BITS_PER_SAMPLE_16BIT,
    .channel_format = I2S_CHANNEL_FMT_ONLY_LEFT,
    .communication_format = I2S_COMM_FORMAT_STAND_I2S,
    .intr_alloc_flags = ESP_INTR_FLAG_LEVEL1,
    .dma_buf_count = 4,
    .dma_buf_len = BUFFER_SIZE,
    .use_apll = false,
    .tx_desc_auto_clear = false,
    .fixed_mclk = 0
  };

  i2s_pin_config_t pins = {
    .bck_io_num = I2S_SCK,
    .ws_io_num = I2S_WS,
    .data_out_num = I2S_PIN_NO_CHANGE,
    .data_in_num = I2S_DIN
  };

  i2s_driver_install(I2S_NUM_0, &i2sConfig, 0, NULL);
  i2s_set_pin(I2S_NUM_0, &pins);
  i2s_zero_dma_buffer(I2S_NUM_0);

  Serial.println("✅ I2S 初始化完成");
}

void setup() {
  Serial.begin(115200);
  delay(1000);

  initES8311();
  initI2S();

  Serial.println("\n=====================");
  Serial.println("🎤 开始录音测试");
  Serial.println("=====================\n");
}

void loop() {
  size_t bytesRead;
  i2s_read(I2S_NUM_0, sampleBuffer, BUFFER_SIZE * 2, &bytesRead, portMAX_DELAY);

  int32_t sum = 0;
  for (int i = 0; i < bytesRead / 2; i++) {
    sum += abs(sampleBuffer[i]);
  }

  if (sum > 100) {
    Serial.print("✅ 录到声音 | 音量值: ");
    Serial.println(sum);
  } else {
    Serial.println("❌ 静音");
  }

  delay(100);
}
platformio.ini 文件内容:
; PlatformIO Project Configuration File
;
;   Build options: build flags, source filter
;   Upload options: custom upload port, speed and extra flags
;   Library options: dependencies, extra library storages
;   Advanced options: extra scripting
;
; Please visit documentation for the other options and examples
; https://docs.platformio.org/page/projectconf.html

[env:freenove_esp32_s3_wroom]
platform = espressif32
board = freenove_esp32_s3_wroom
framework = arduino
ESP32-S3 手动进入烧录模式:
- 按住板子上的 BOOT 键 不松手
- 按一下 RESET(EN)键
- 保持 BOOT 按住,点击 VSCode 上传
- 看到终端出现
Connecting....后,松开 BOOT 键
原理:必须强制让 ESP32-S3 进入 ROM 下载模式,才能正常烧录。
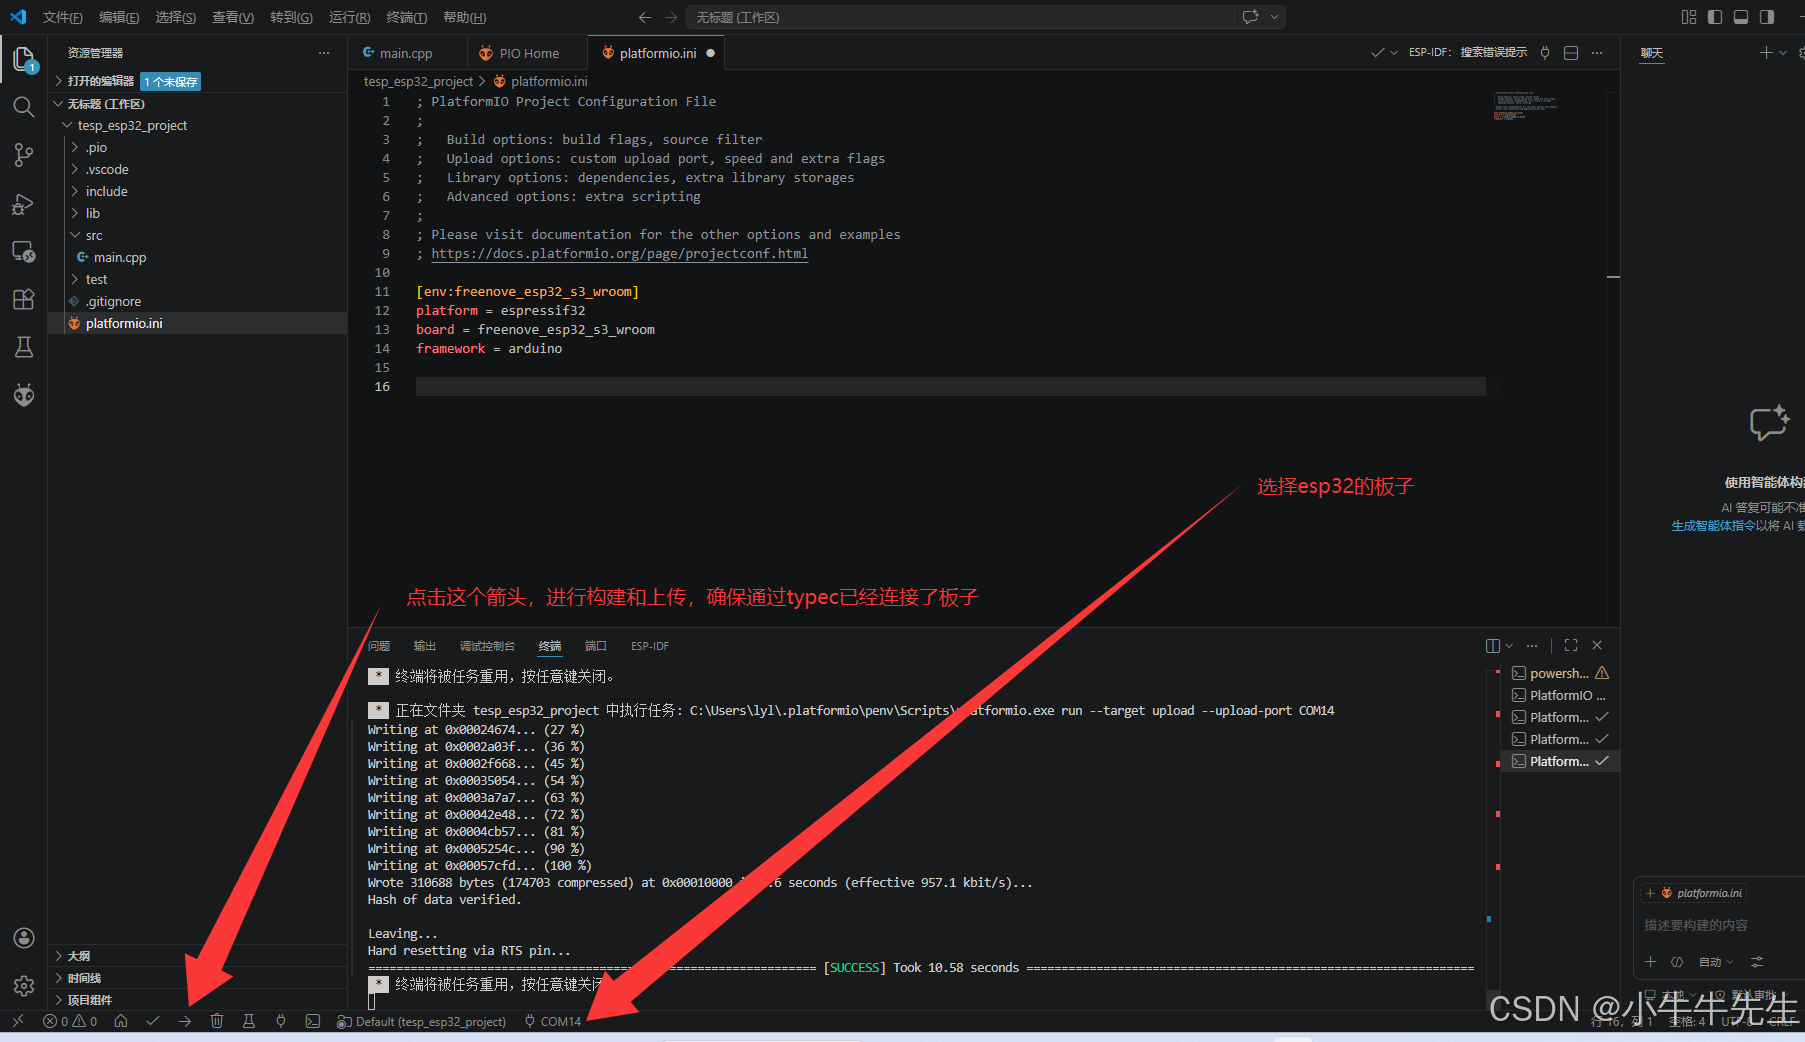
烧录的时候,按住 BOOT 不放,然后再点击那个箭头上传按钮
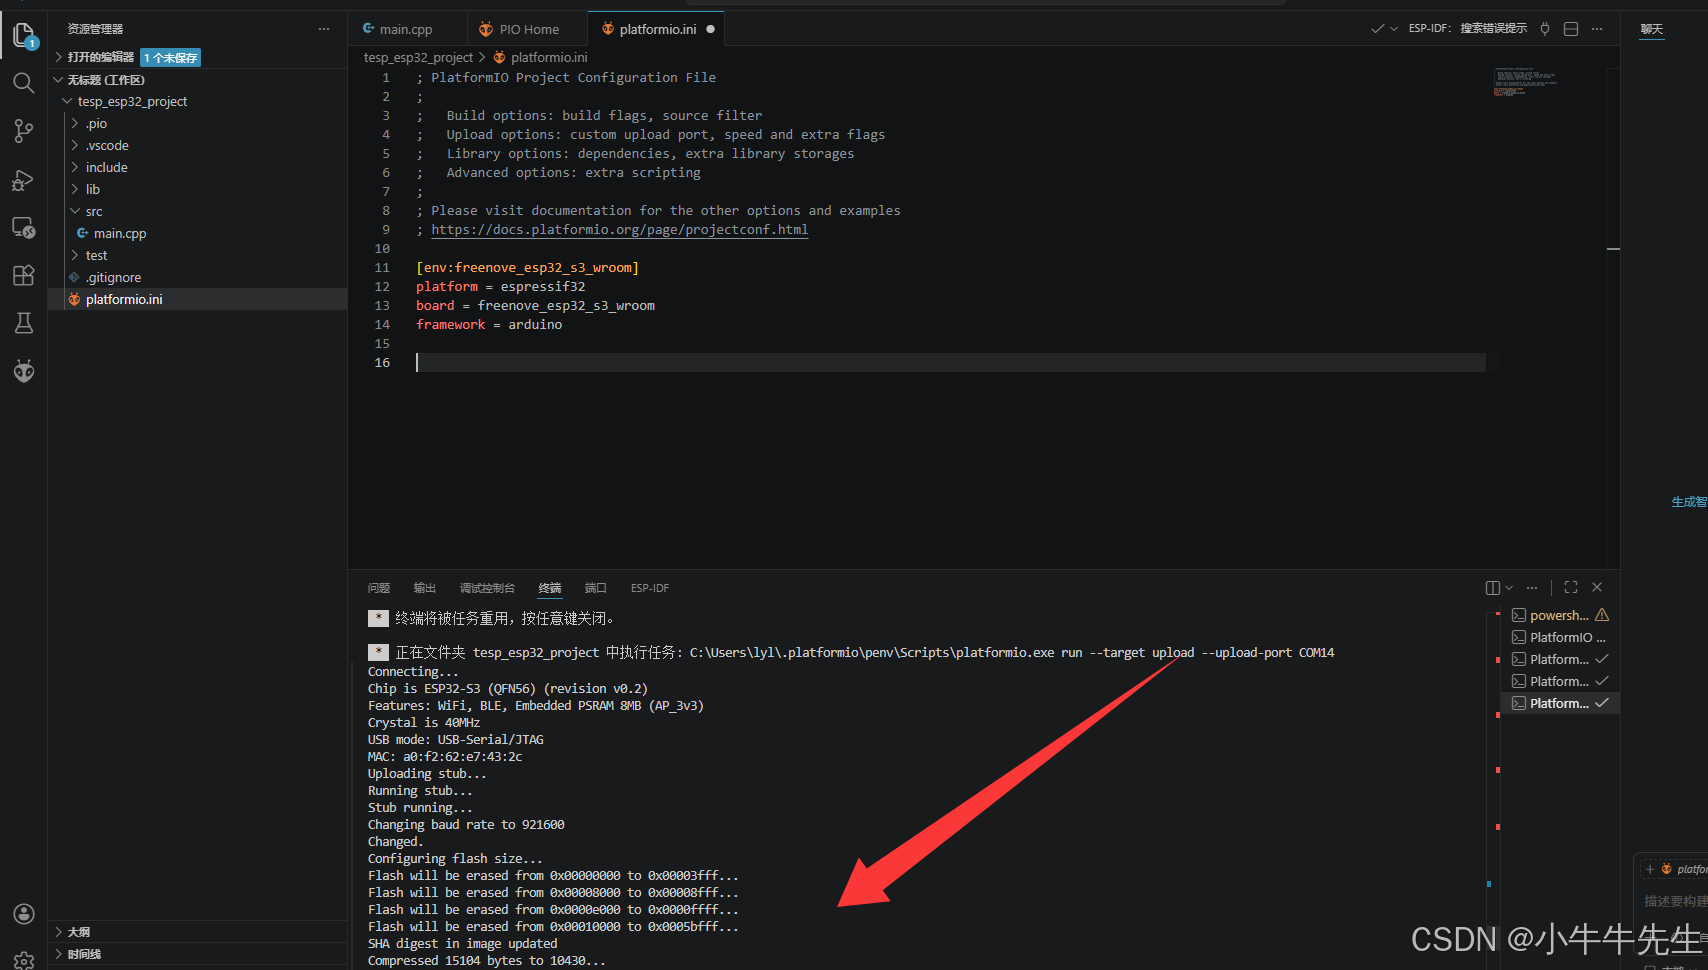
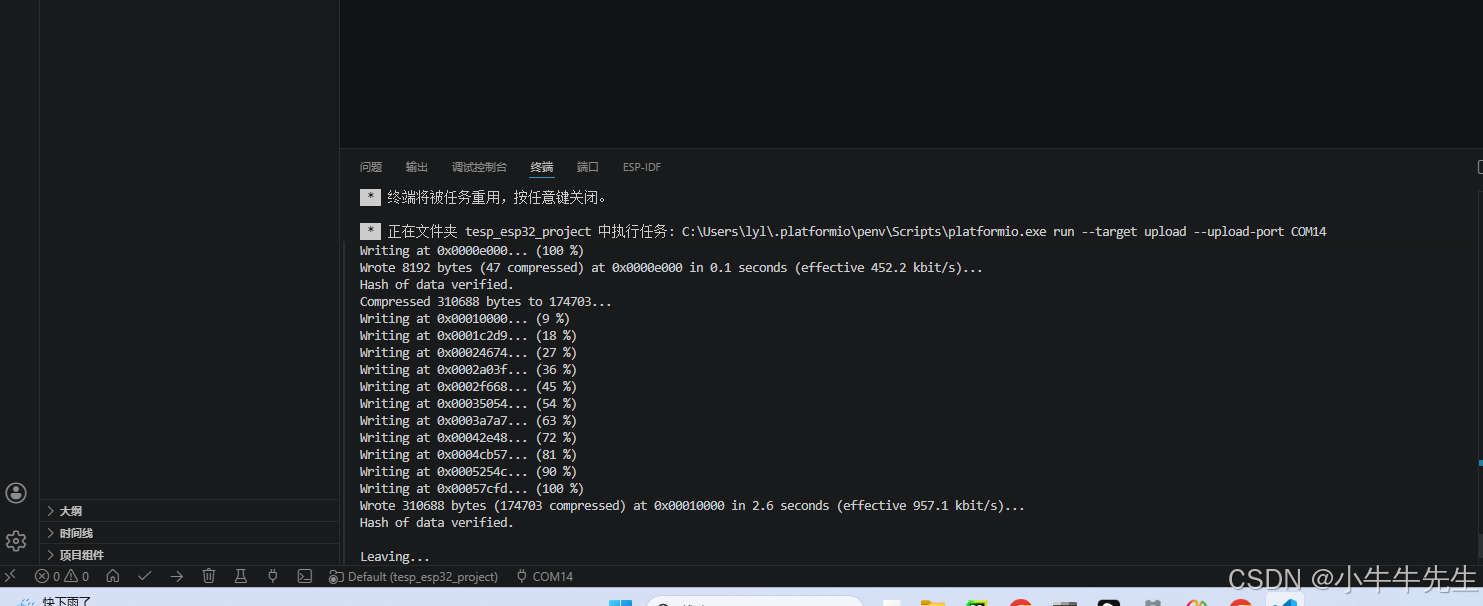
出现如下图类似的内容,就表示烧录成功了:
小提醒(以后上传更方便)
以后再上传代码,大部分时候不用按 BOOT/RESET 键 ,直接点上传就能自动烧录。只有偶尔出现通信失败时,再用一次:按住 BOOT → 按一下 RESET → 上传 → 松开 BOOT