In a headless server environment, Docker is installed and the container uses the host network mode, for example --network=host.
If you want to use a desktop environment inside your container, you can install XFCE and TigerVNC. If you want to connect to the desktop from your browser rather than through a VNC client, you also need to install noVNC.
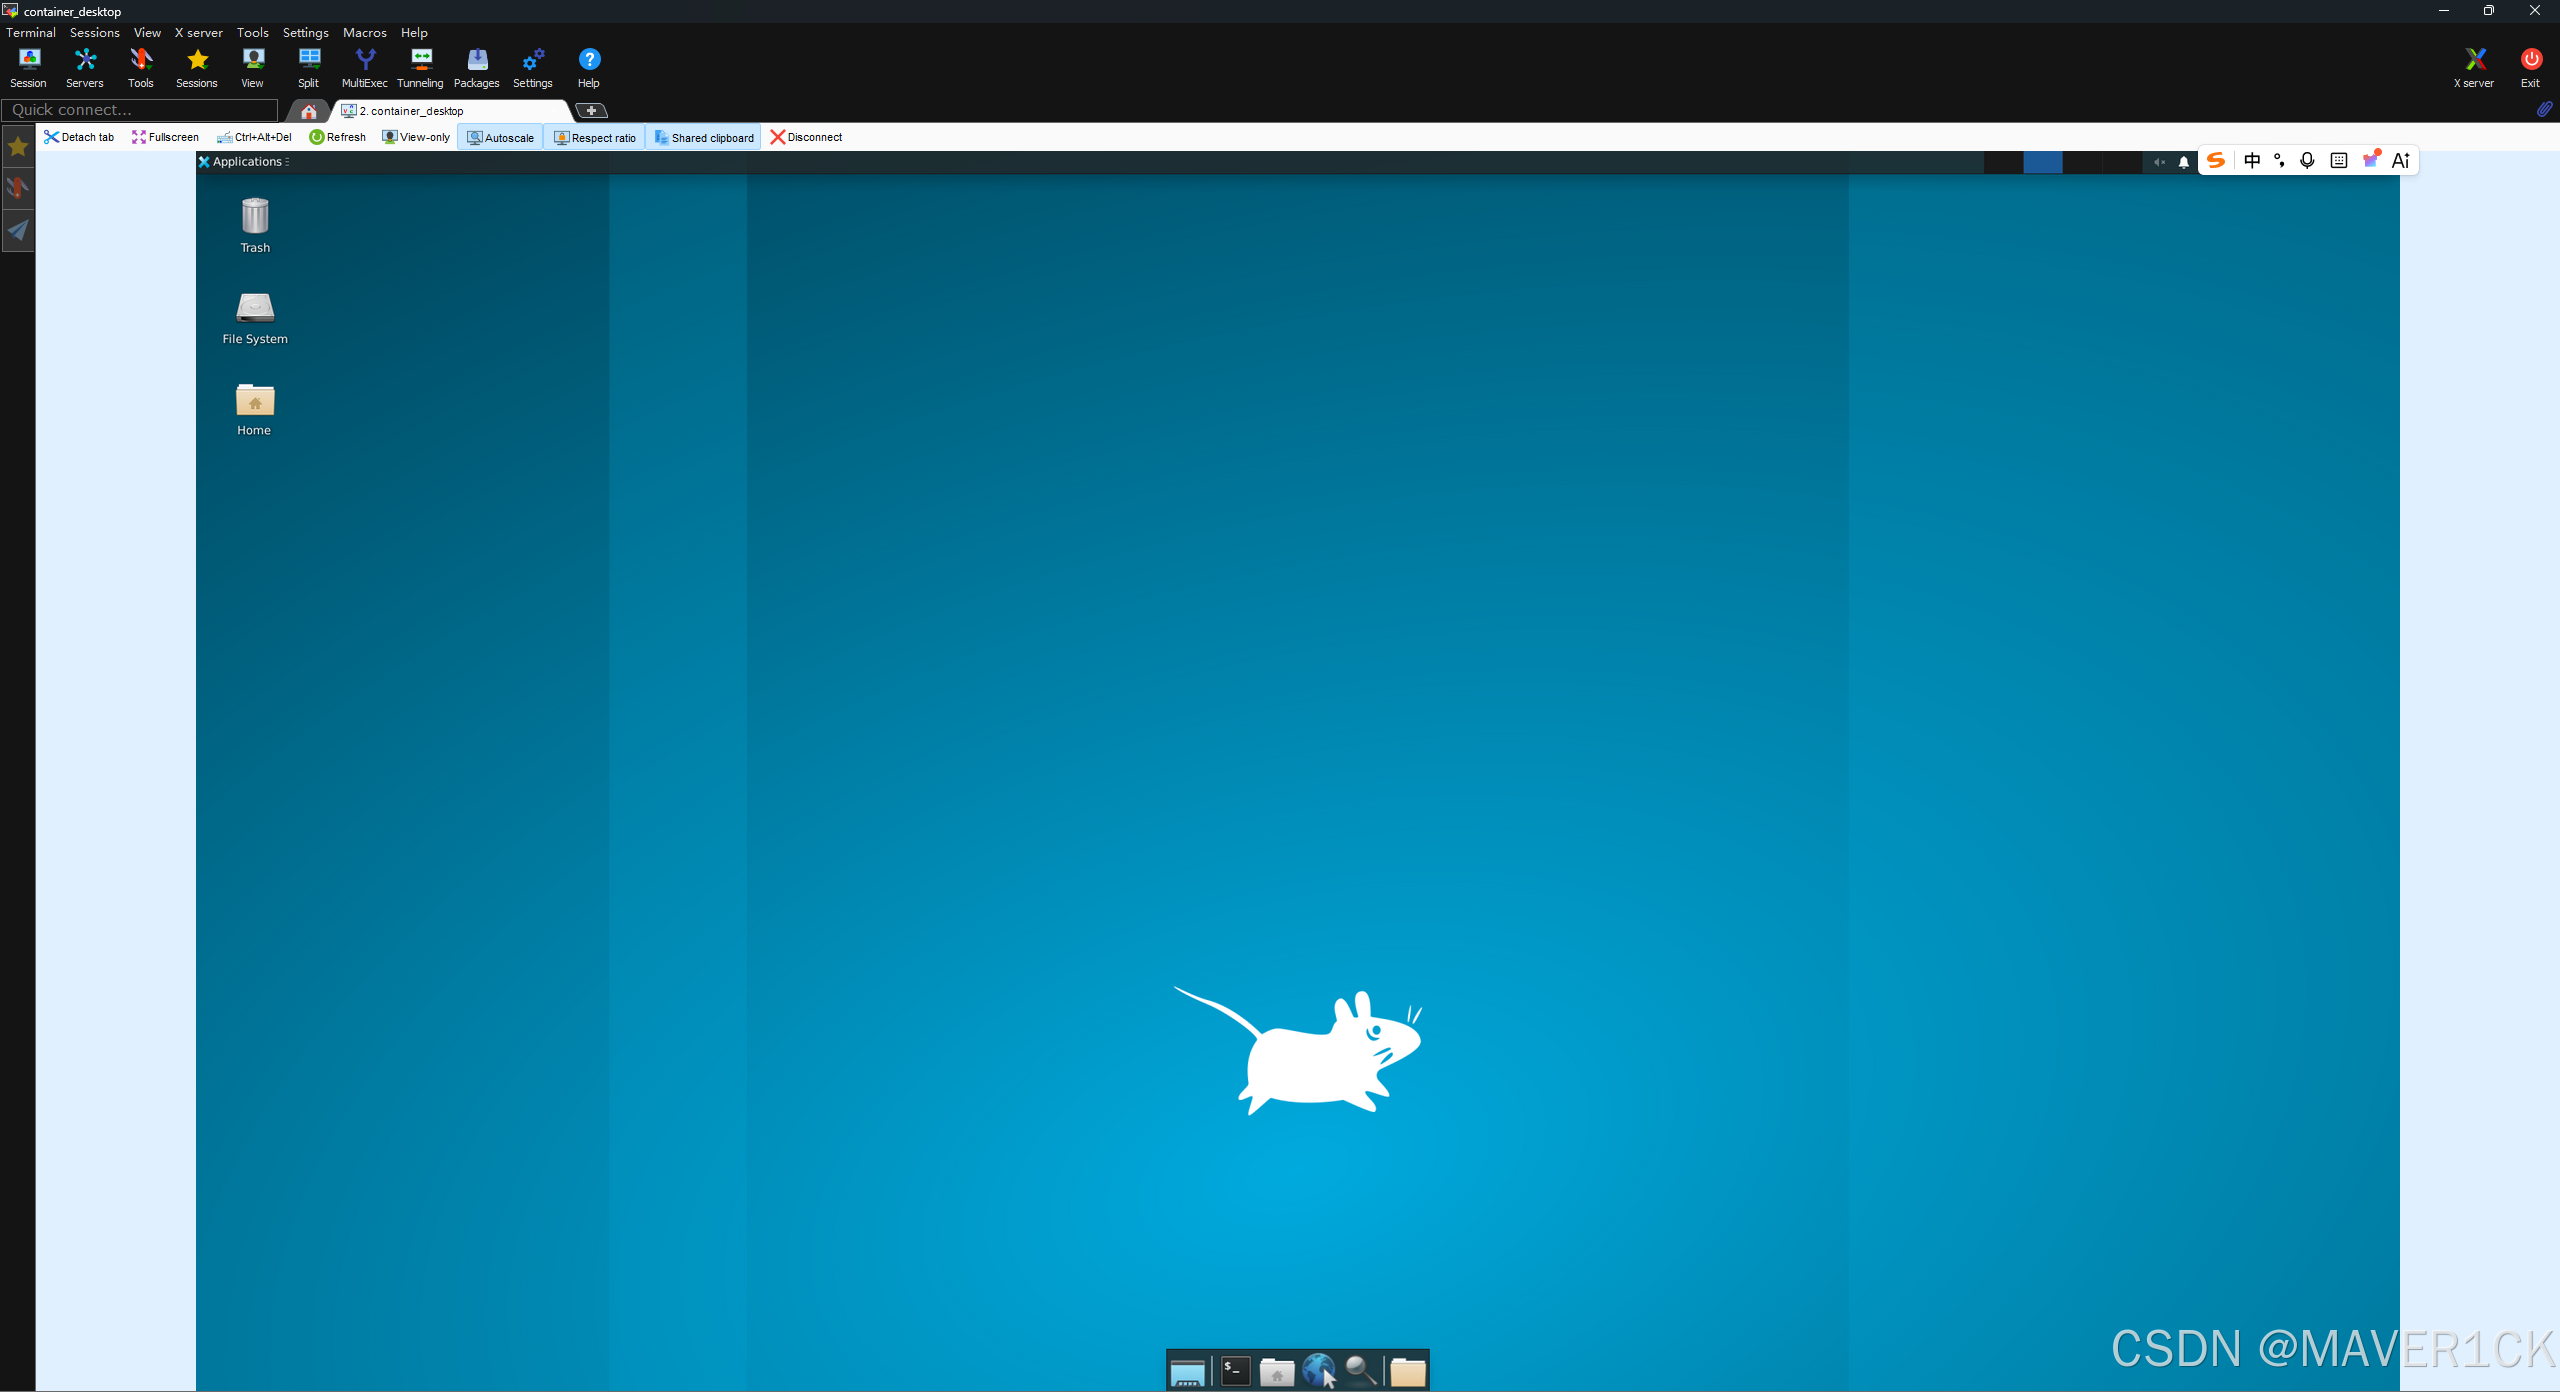
The XFCE desktop is like this:
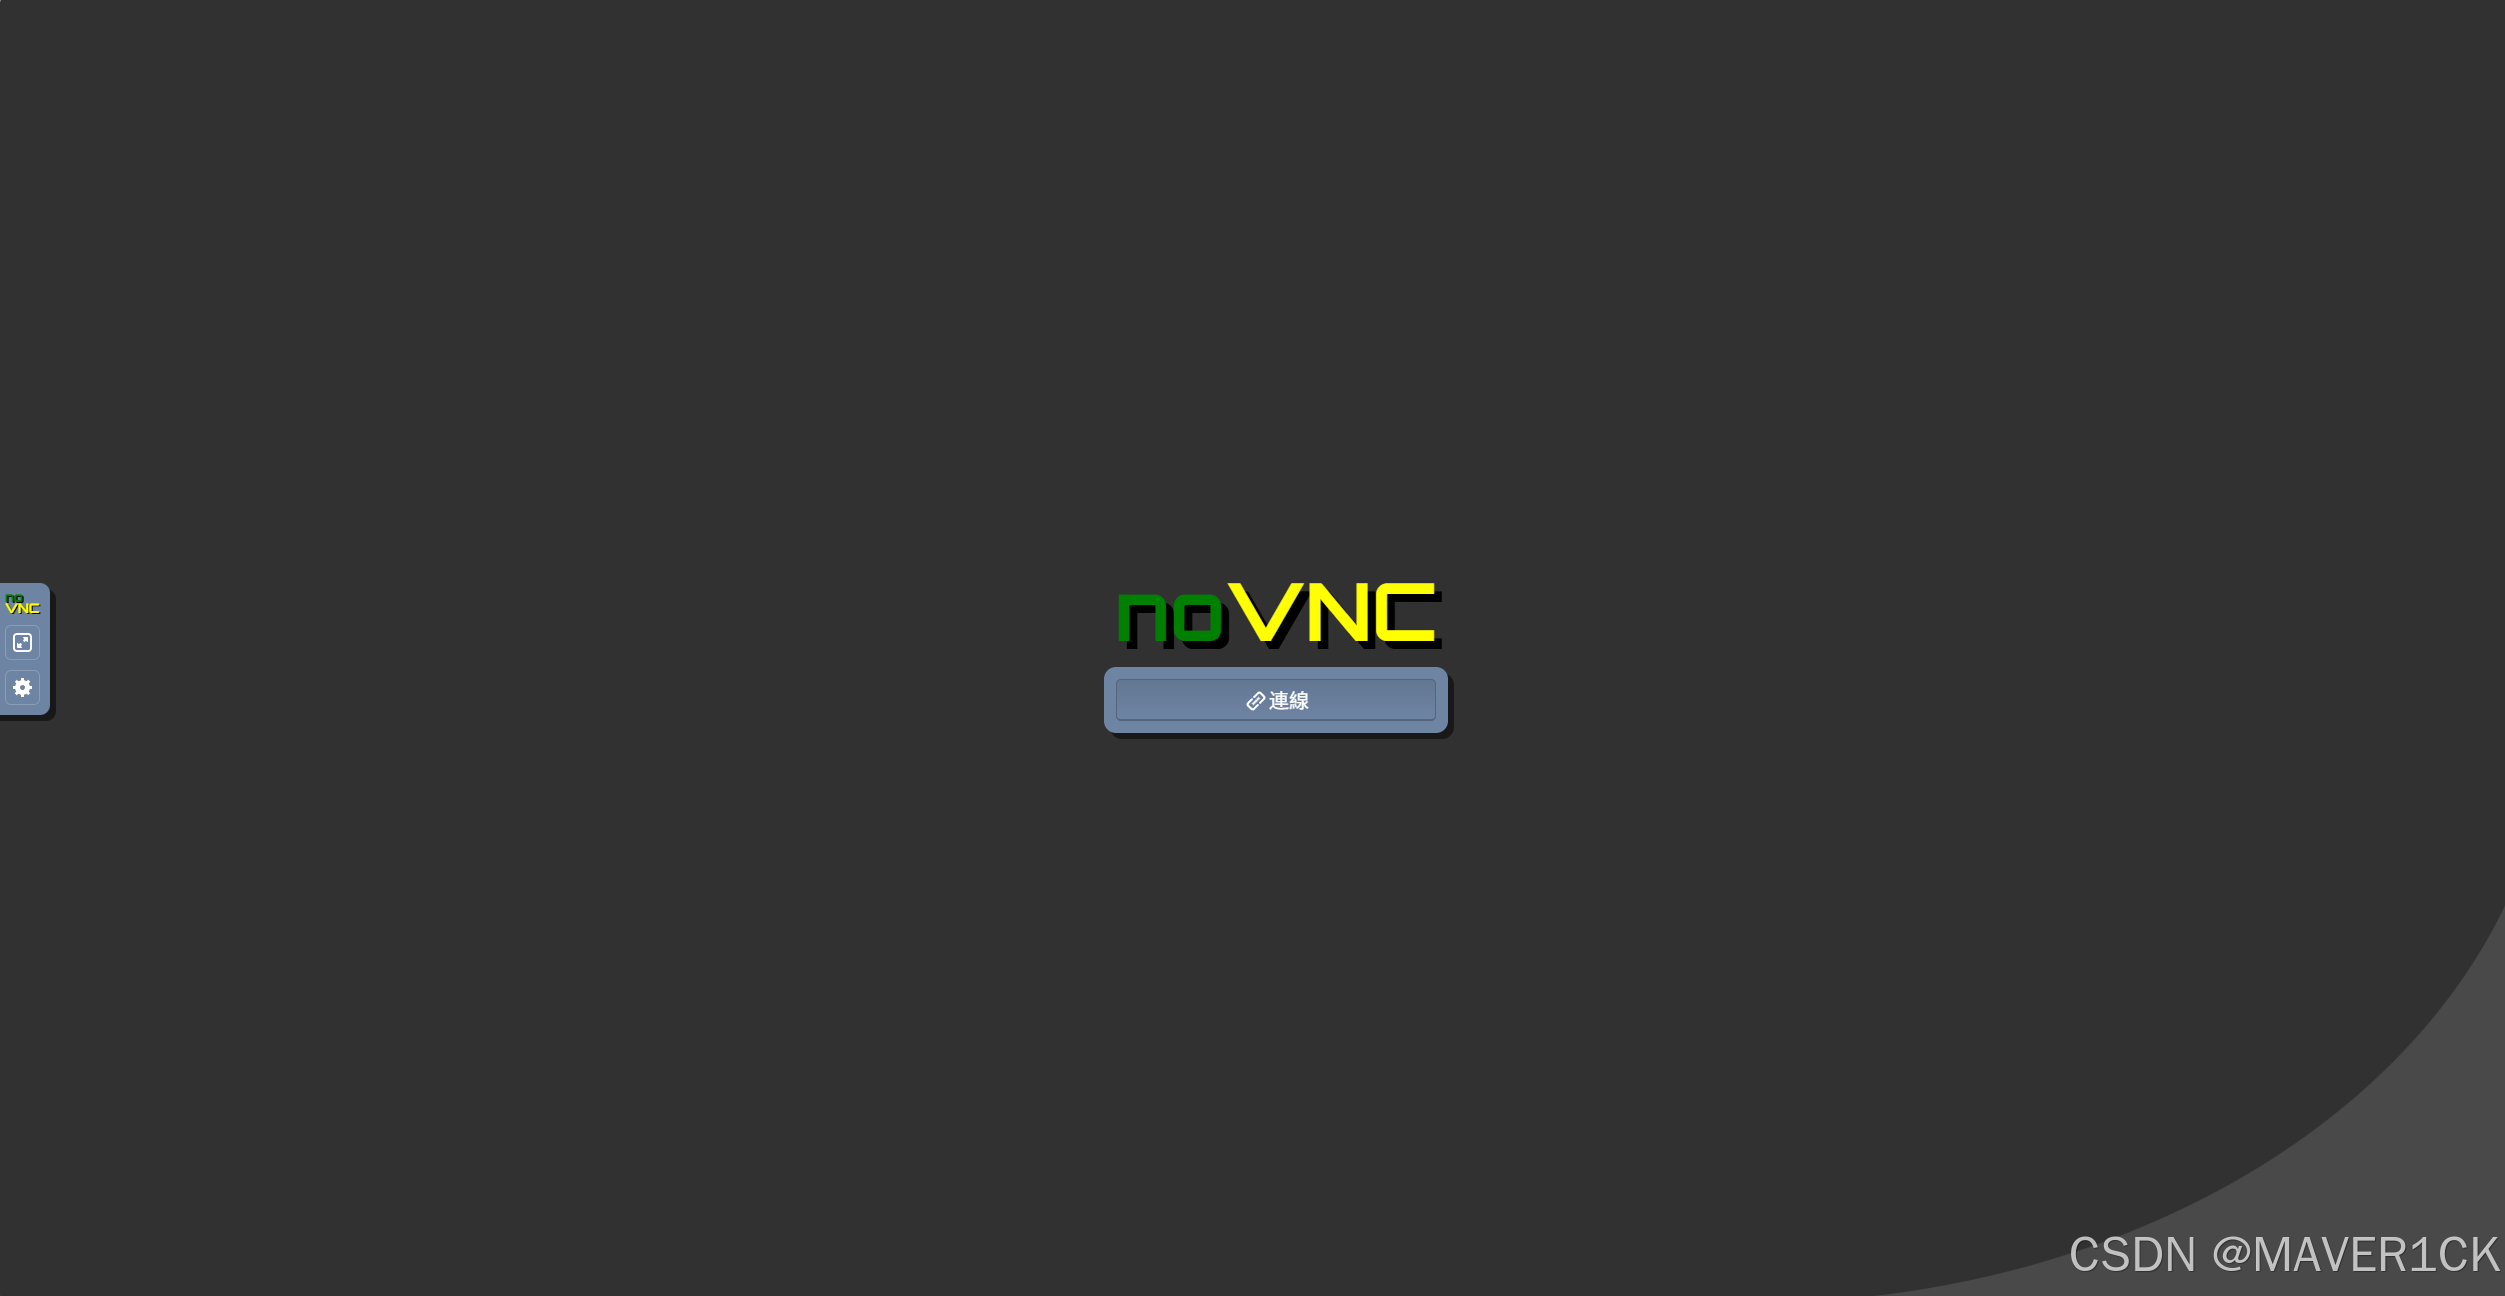
And the noVNC is like this:
In this example:
- The VNC port is
5966. - The noVNC port is
6080.
Configuration
1. Install Packages
Install XFCE, TigerVNC, noVNC, and the required supporting packages:
bash
sudo apt update && sudo apt install -y \
  xfce4 \
  dbus-x11 \
  tigervnc-standalone-server \
  tigervnc-common \
  novnc \
  websockify
2. Set Up the VNC Password
Set the VNC password. In this example, the password is vnc123456.
bash
mkdir -p ~/.vnc
printf "vnc123456\nvnc123456\nn\n" | vncpasswd
3. Write the Startup File
Create the VNC startup file so that XFCE starts when you connect to the VNC session.
bash
cat > ~/.vnc/xstartup <<'EOF'
#!/bin/sh
unset SESSION_MANAGER
unset DBUS_SESSION_BUS_ADDRESS
export XDG_SESSION_TYPE=x11
exec startxfce4
EOF

chmod +x ~/.vnc/xstartup
Start and Connect
1. Start the VNC Server
Start the VNC server and set the port to 5966.
bash
vncserver :66The display number :66 maps to port 5966. After the VNC server starts, you can connect to the desktop with a VNC client, for example by creating a VNC session in MobaXterm.
Notice: After running vncserver :66 to start the VNC service, the current terminal may become very slow or less responsive. If you need to run other commands, open a new terminal and execute them there.
For example, when I use a container, I usually first connect to the host machine through SSH with MobaXterm. Then, on the host machine, I create a new tmux session. Inside that tmux session, I use one window to SSH into the container and start the VNC service. After the VNC service is started, I switch to other tmux windows to run the other commands I need. The tmux window that was used to start the VNC service is left idle. Do not close this window, because closing it will also stop the VNC service, even if you do not explicitly run the command to kill the VNC server.
2. Stop the VNC Server
If you want to stop the VNC server on port 5966:
bash
vncserver -kill :663. Start noVNC for Browser Access
After starting the VNC server, start noVNC to allow browser-based access to the desktop:
bash
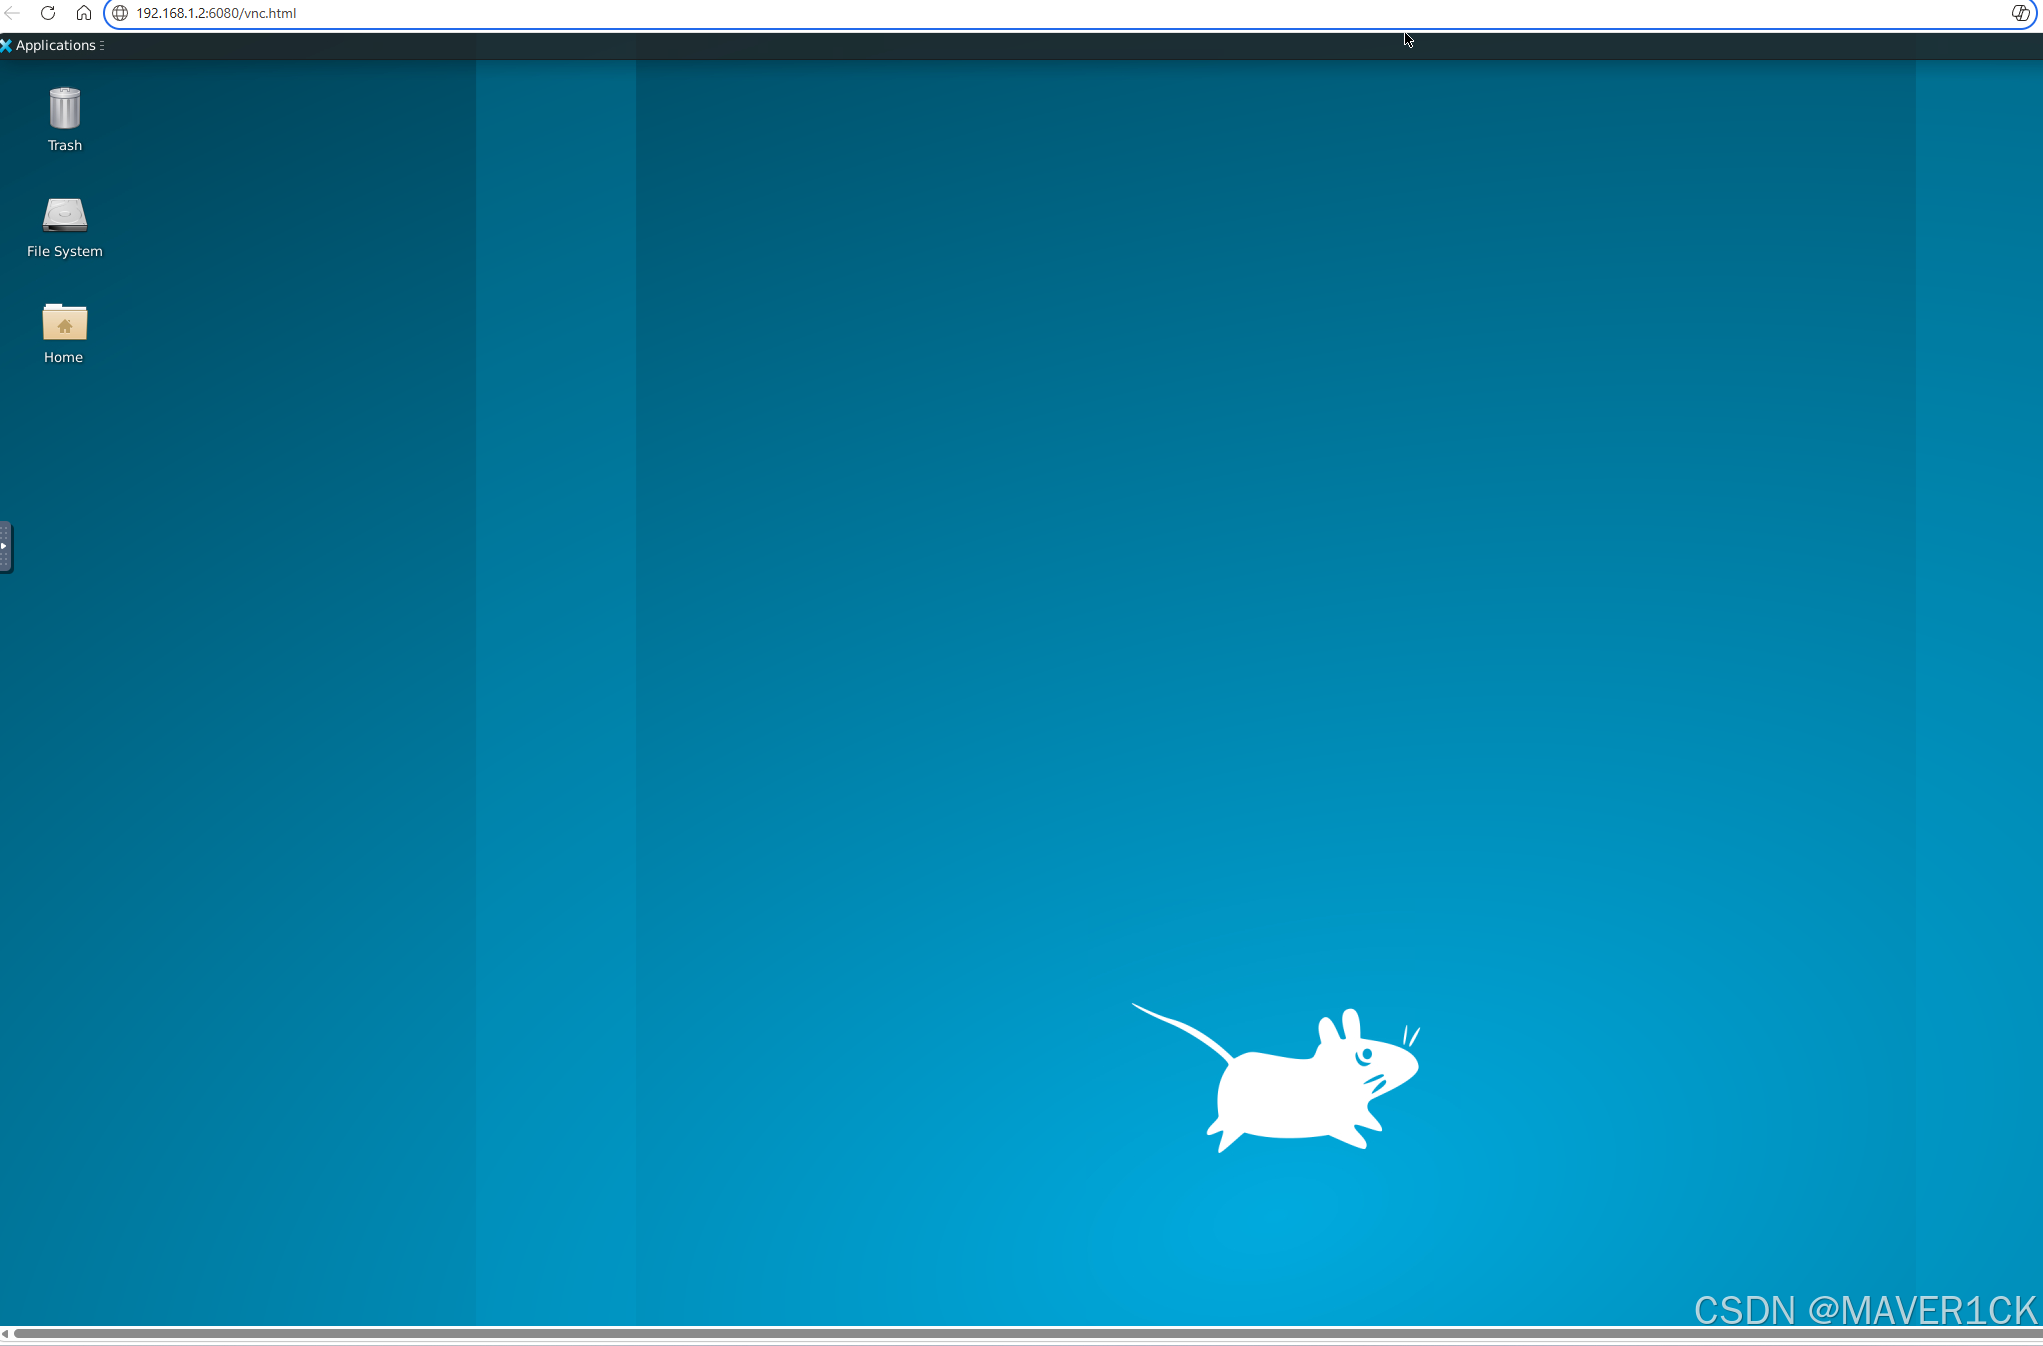
websockify --web=/usr/share/novnc/ 0.0.0.0:6080 localhost:5966Then use the following URL to connect:
text
http://IP:6080/vnc.htmlReplace IP with your actual IP address, for example:
text
http://192.168.1.2:6080/vnc.html4. Show Running VNC Services
To check the running VNC services, you can use the following command:
bash
vncserver -list