网络上很少有编译源代码,在源码上新增模块和裁剪模块的教程,所以干脆自己写一个。
完整源代码构建
该代码库使用协议缓冲区、GRPC、GRPC-Gateway、buf 以及 OpenAPI 规范作为项目的一部分。这些依赖作为源生成并提交到仓库,以便简化贡献者的构建。
要构建代码库并生成所有源代码,请遵循以下步骤。
安装工具链:
bash
go install \
    "google.golang.org/protobuf/cmd/protoc-gen-go" \
    "google.golang.org/grpc/cmd/protoc-gen-go-grpc" \
    "github.com/grpc-ecosystem/grpc-gateway/v2/protoc-gen-grpc-gateway" \
    "github.com/grpc-ecosystem/grpc-gateway/v2/protoc-gen-openapiv2"?1#上面的命令在Windows上执行不成功,改成同等功能的命令PS E:\uGit_ZhangKun\nakama-master> go install "google.golang.org/protobuf/cmd/protoc-gen-go"PS E:\uGit_ZhangKun\nakama-master> go install "google.golang.org/grpc/cmd/protoc-gen-go-grpc"PS E:\uGit_ZhangKun\nakama-master> go install "github.com/grpc-ecosystem/grpc-gateway/v2/protoc-gen-grpc-gateway"PS E:\uGit_ZhangKun\nakama-master> go install "github.com/grpc-ecosystem/grpc-gateway/v2/protoc-gen-openapiv2"
Install buf. 看起来像安装一个软件工具 :安装 - Buf Docs
有Linux,Windows,docker很多种选择,我这里选择Windows(测试方便)
bash
#You can install the Buf CLI using the Scoop installer for Windows:
scoop install buf
#To update Buf:
scoop update buf

#You can also install the Buf CLI using WinGet:(下面命令我操作成功了,安装需要外网)
winget install bufbuild.buf
#To update Buf:
winget upgrade bufbuild.buf
为两种体系结构都提供了Windows二进制文件。 你可以从GitHub版本下载最新的二进制文件。
https://github.com/bufbuild/buf/releases/tag/v1.68.3
重新生成协议缓冲区和网关代码。
bash
# Run the shell script:
./buf.sh
#如果上面的命令在Windows上执行不成功,改成同等功能的命令
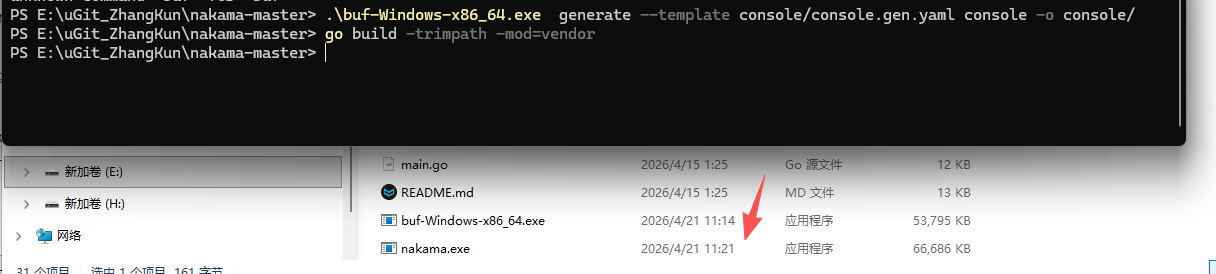
.\buf-Windows-x86_64.exe generate --template console/console.gen.yaml console -o console/
#构建代码库。
go build -trimpath -mod=vendor看结果执行成功了:
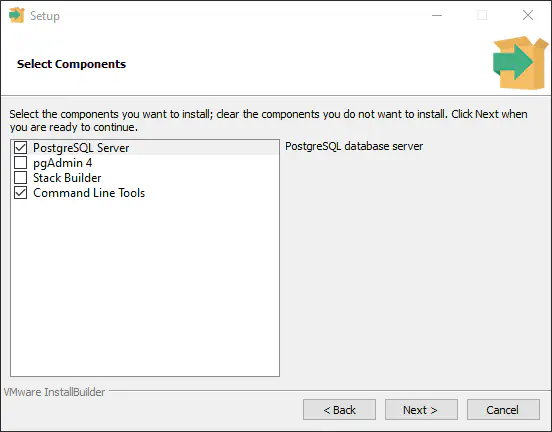
然后安装数据库,我使用postgreSQL EDB: Open-Source, Enterprise Postgres Database Management

根据Nakama官方提示Windows - Heroic Labs Documentation 只需要安装 postgreSQL server和命令行
启动参数也很简单
bash
#CMD命令行参数启动
nakama.exe migrate up --database.address postgres:password@127.0.0.1:5432

#Windows Powershell 窗口启动
./nakama.exe migrate up --database.address postgres:password@127.0.0.1:5432
当然了,现在数据库里是空的,启动立马会停止。需要对数据库进行初始化
bash
./nakama.exe migrate up --database.address postgres:postgres@127.0.0.1:5432

PS E:\uGit_ZhangKun\nakama-master> .\nakama.exe migrate up --database.address postgres:postgres@127.0.0.1:5432/nakama
{"level":"info","ts":"2026-04-21T14:51:54.150+0800","caller":"server/db.go:140","msg":"Database information","version":"PostgreSQL 18.3 on x86_64-windows, compiled by msvc-19.44.35225, 64-bit"}
{"level":"info","ts":"2026-04-21T14:51:54.154+0800","caller":"migrate/migrate.go:109","msg":"Applying database migrations","limit":-1}
{"level":"info","ts":"2026-04-21T14:51:54.225+0800","caller":"migrate/migrate.go:116","msg":"Successfully applied migration","count":19}
看到 Successfully applied migration count: 19 这行日志,说明你的数据库已经初始化成功了!Nakama 已经自动在你的 PostgreSQL 中创建了所有必要的表(如用户表、存储表、排行榜表等)。
bash
# 重新编译(等你在源代码中添加了自己的测试代码之后)
go build -o nakama.exe .

# 启动服务器
.\nakama.exe --database.address "postgres://postgres:你的密码@127.0.0.1:5432/nakama?sslmode=disable"

.\nakama.exe --database.address "postgres://postgres:postgres@127.0.0.1:5432/nakama?sslmode=disable" --runtime.http_key "zoira_key_123"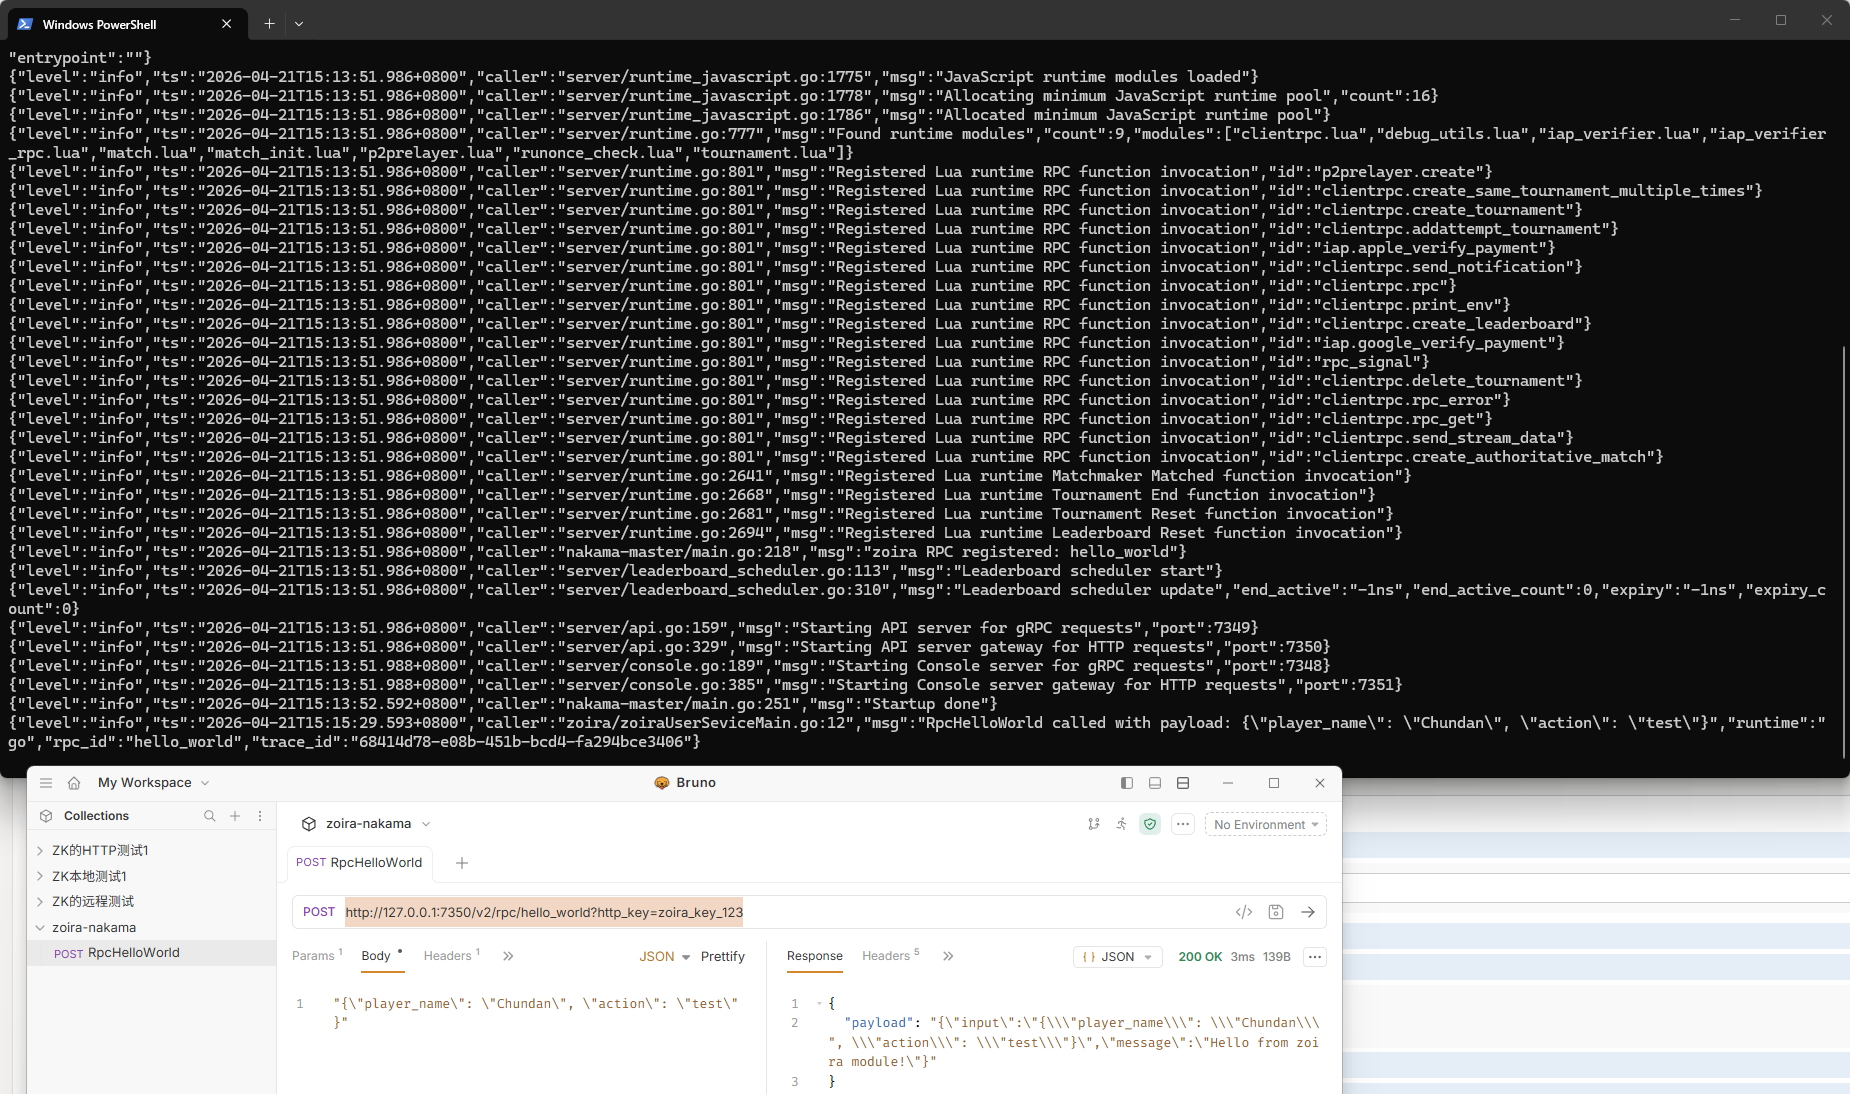
在软件Bruno中测试,选择http post,链接为: http://127.0.0.1:7350/v2/rpc/hello_world?http_key=zoira_key_123
body内容为: "{\"player_name\": \"Chundan\", \"action\": \"test\"}"
headers中添加一行:Content-Type application/json
点发送→按钮就行。