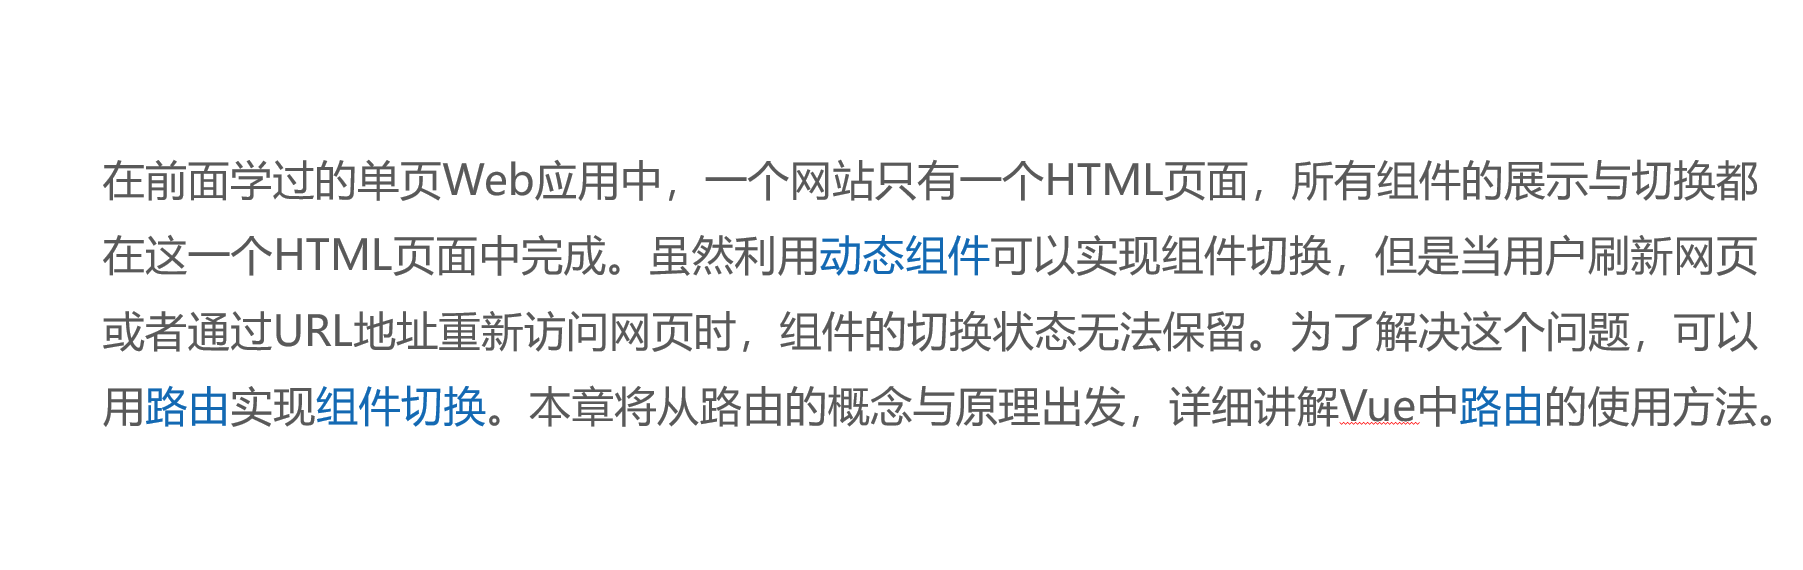
一、初始路由
1、基本概念
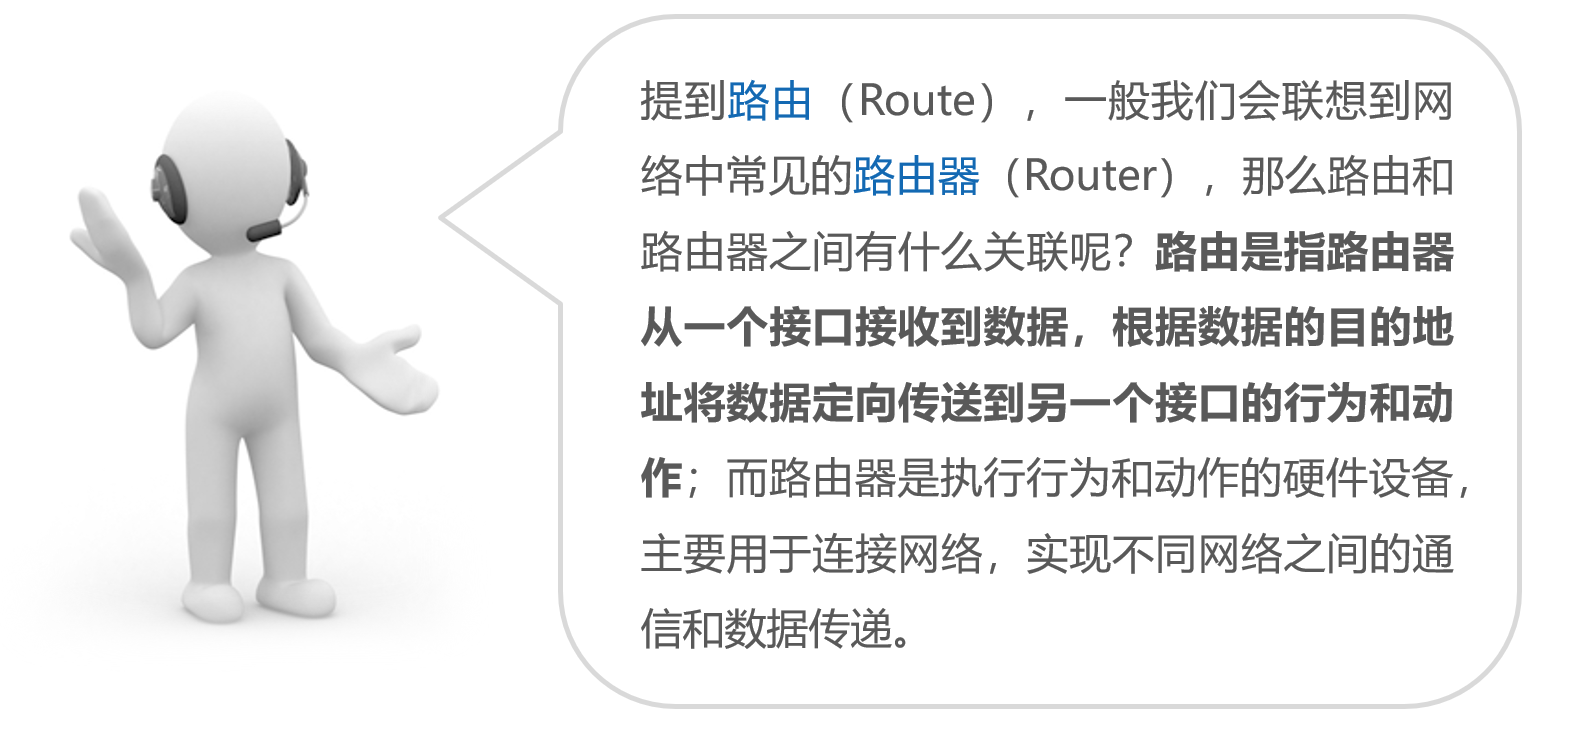
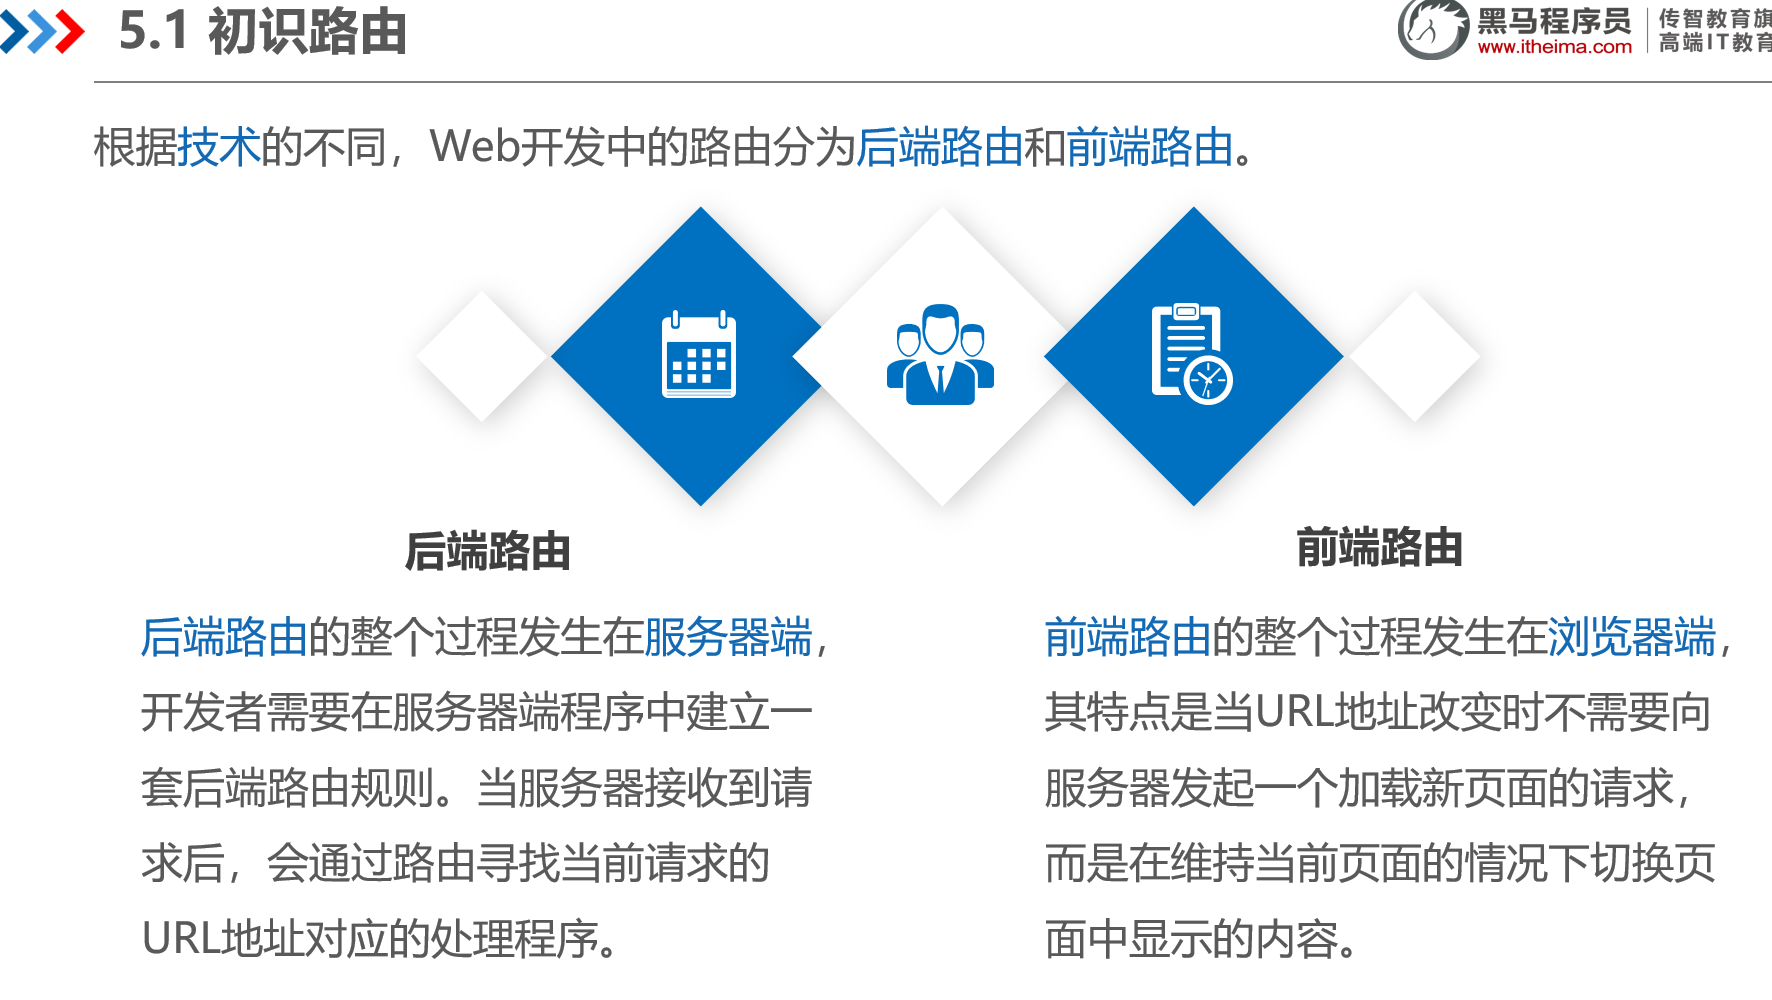
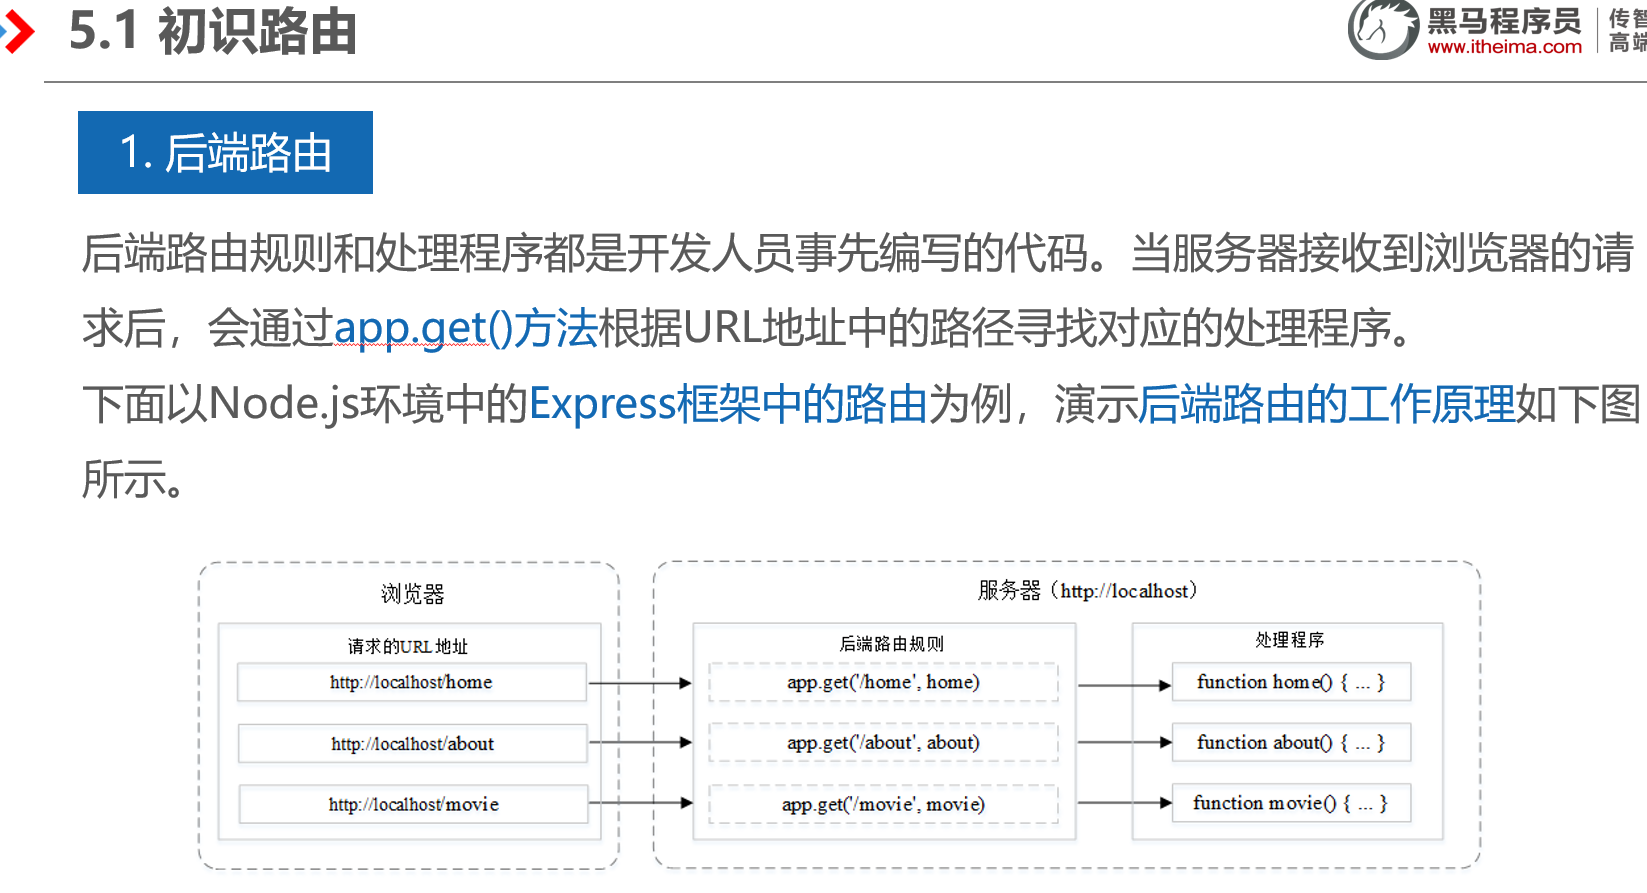
1.1路由


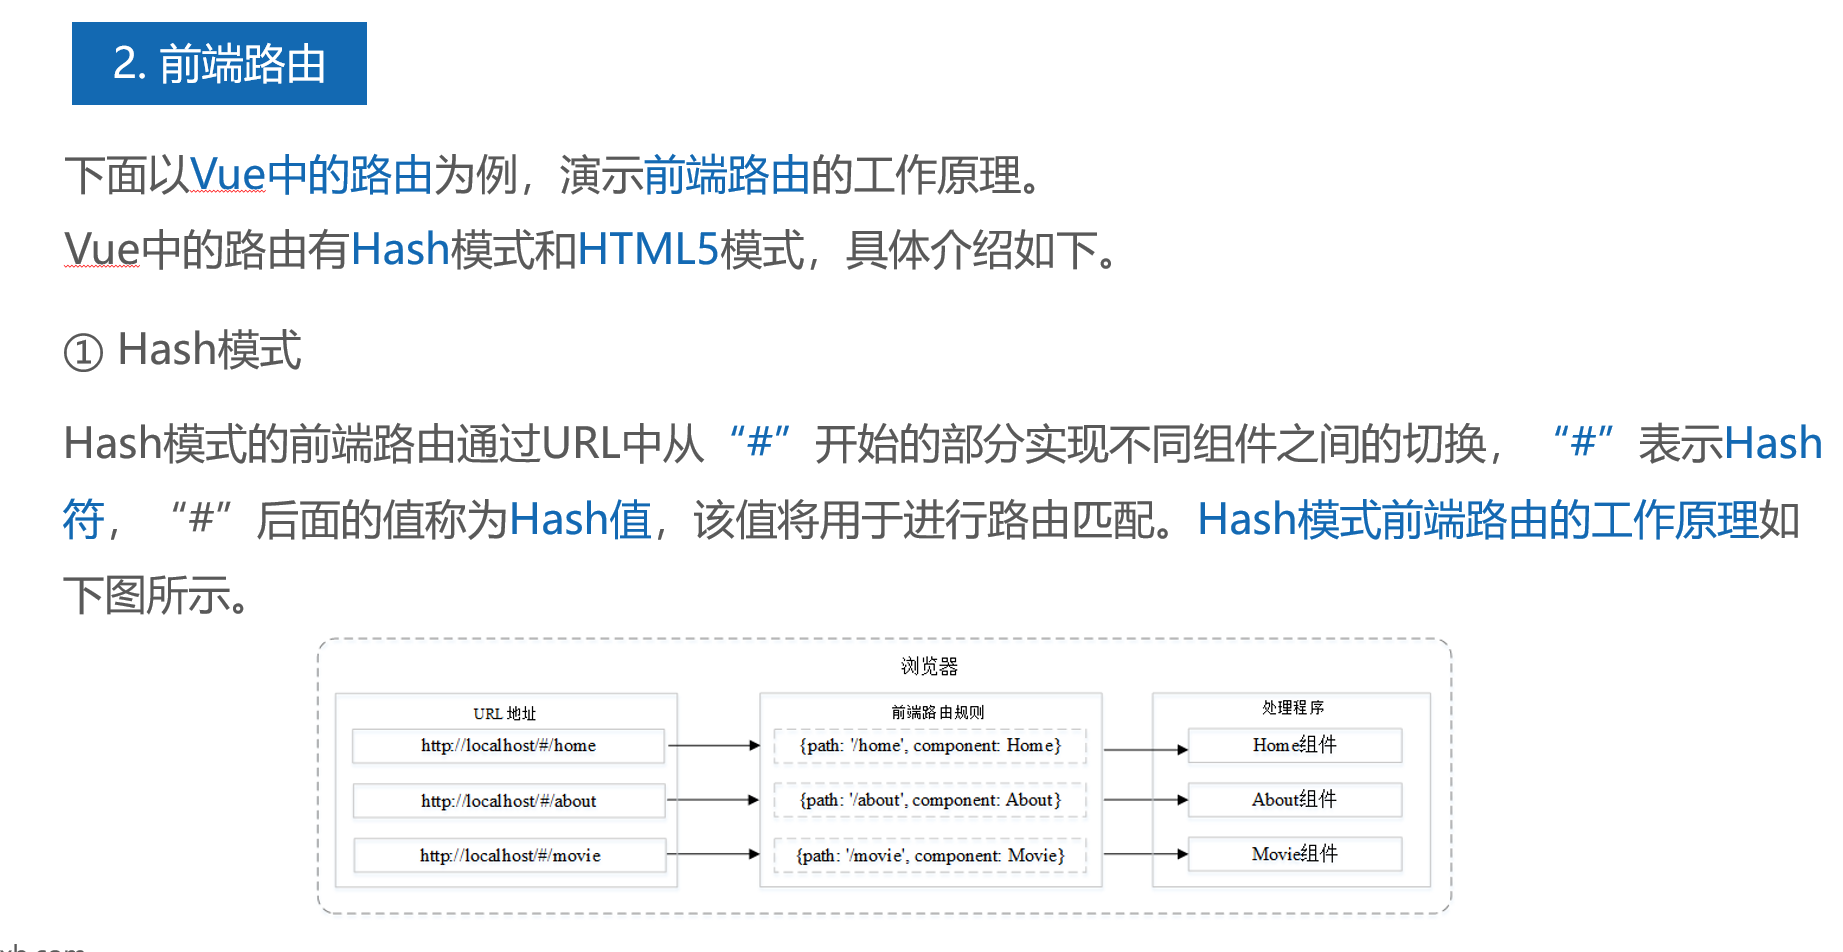

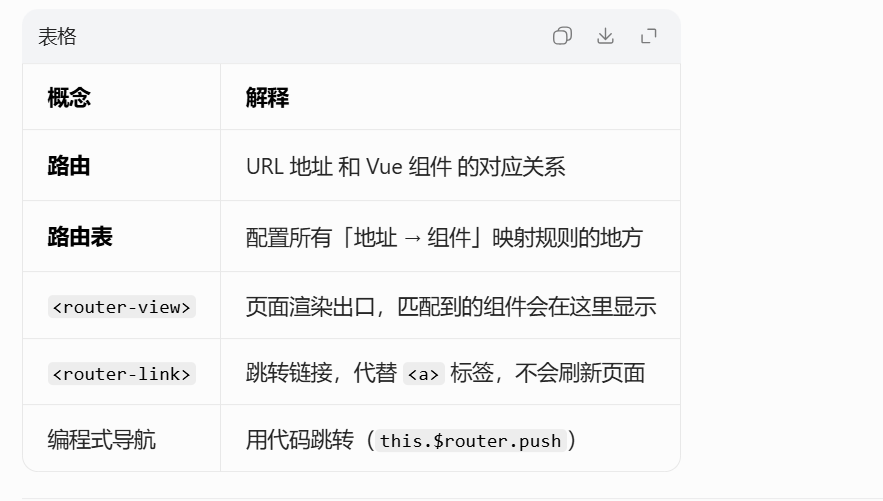
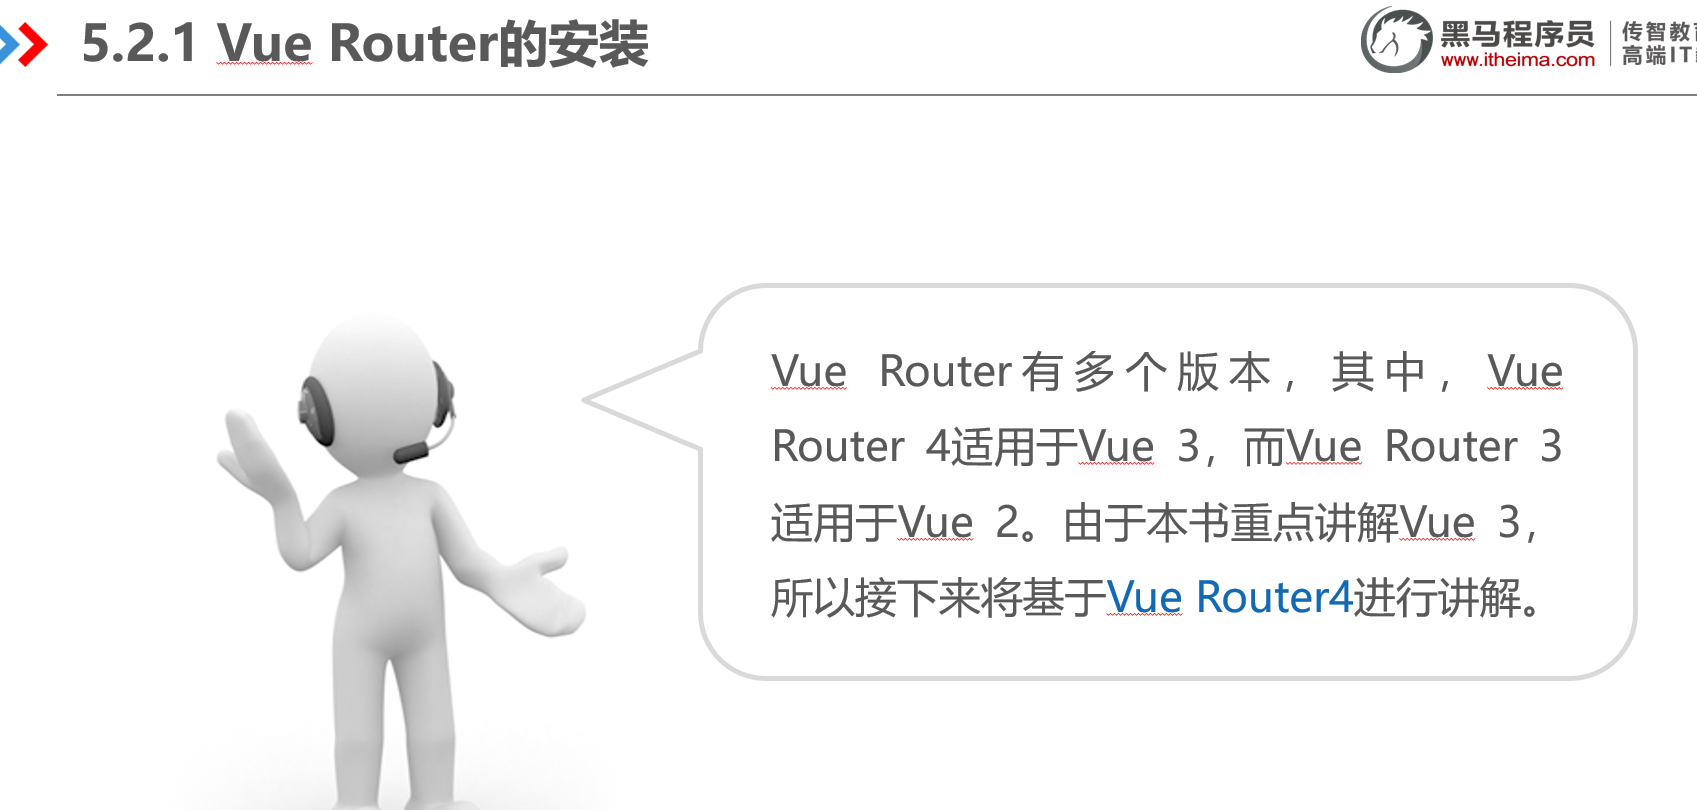
1.2 vue Router

安装方式,vscode终端输入命令
npm install vue-router@4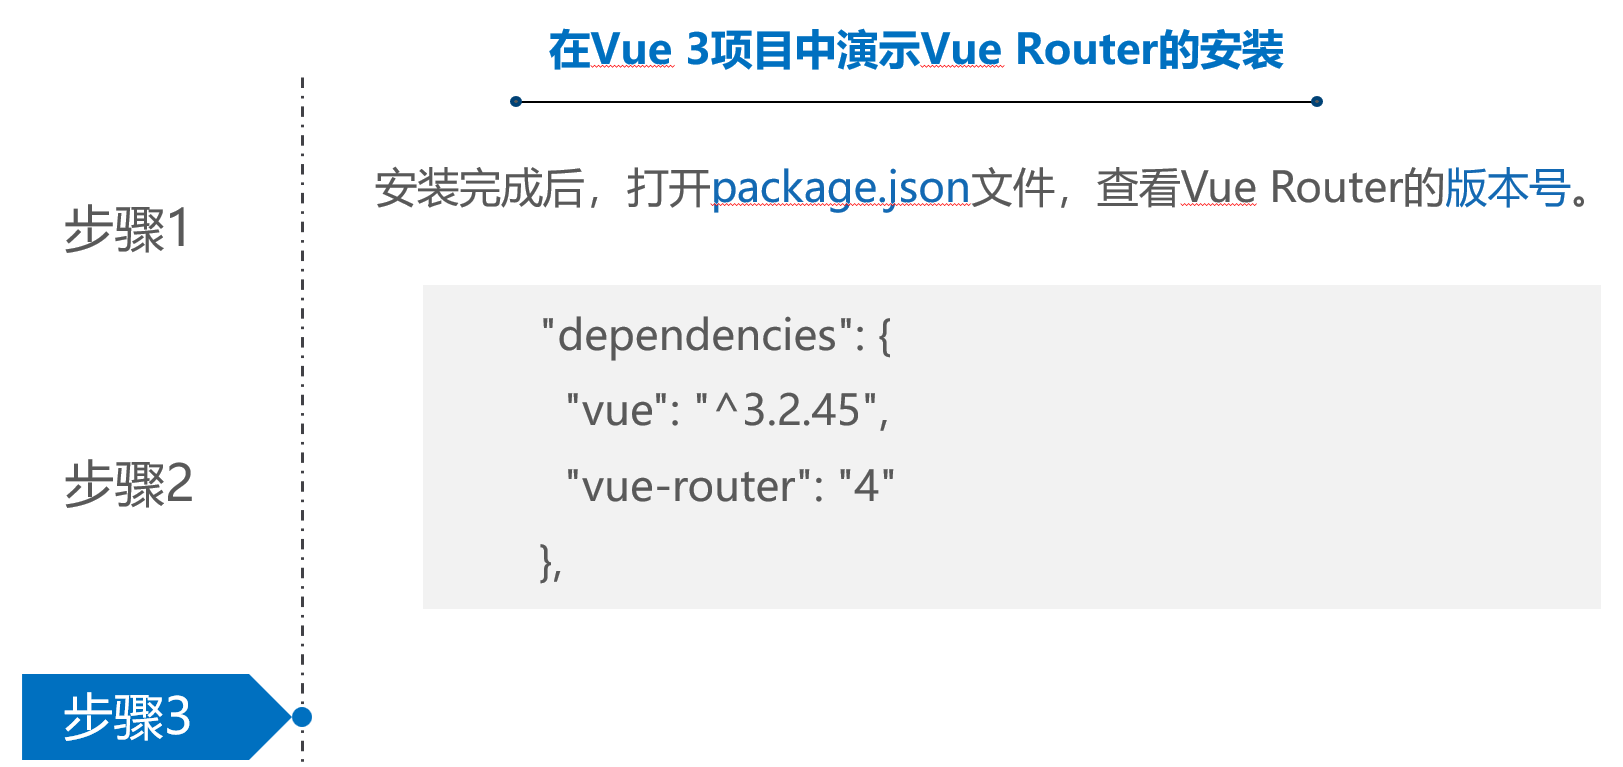
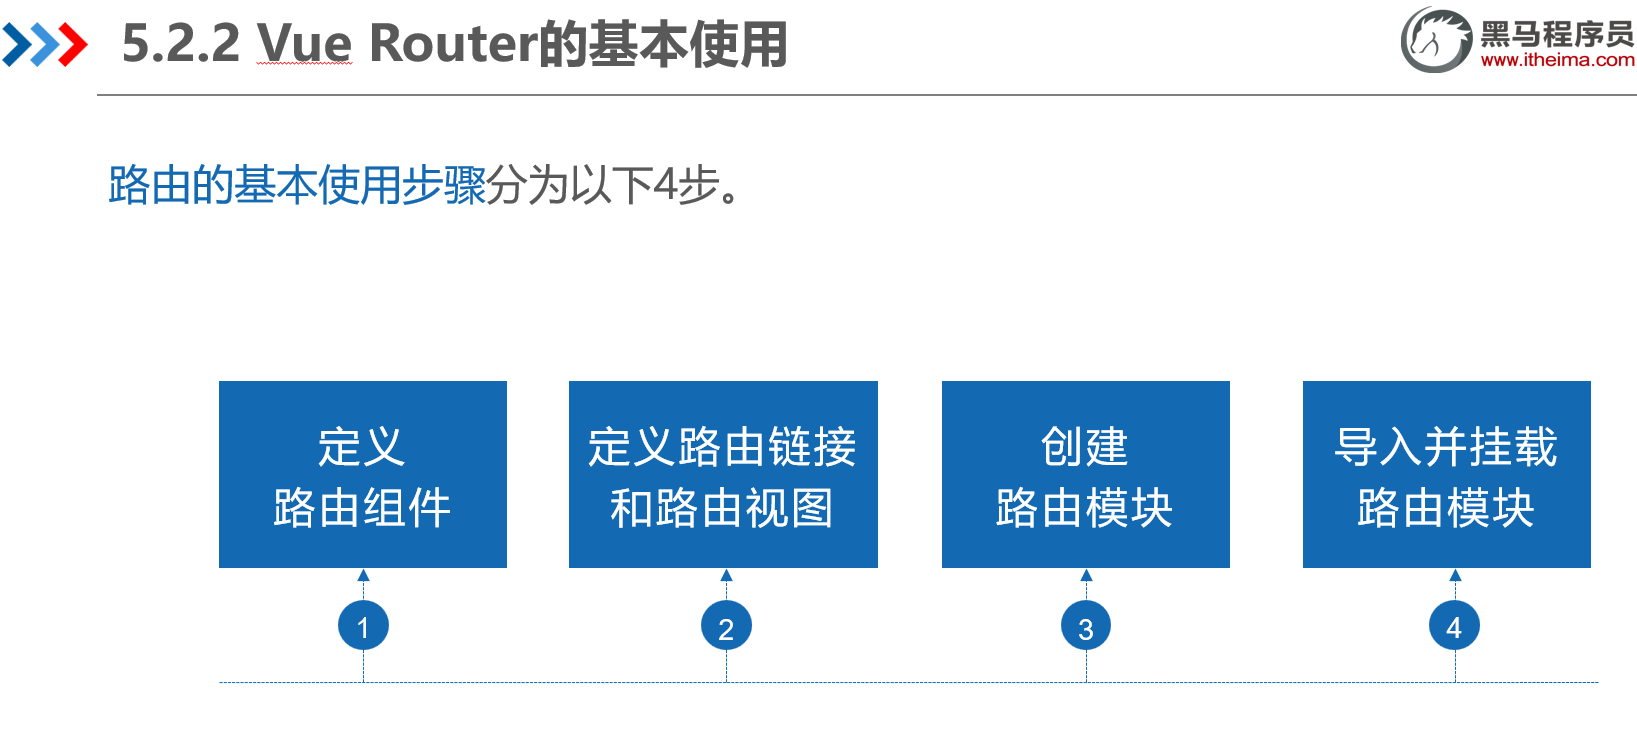
2、代码及演示
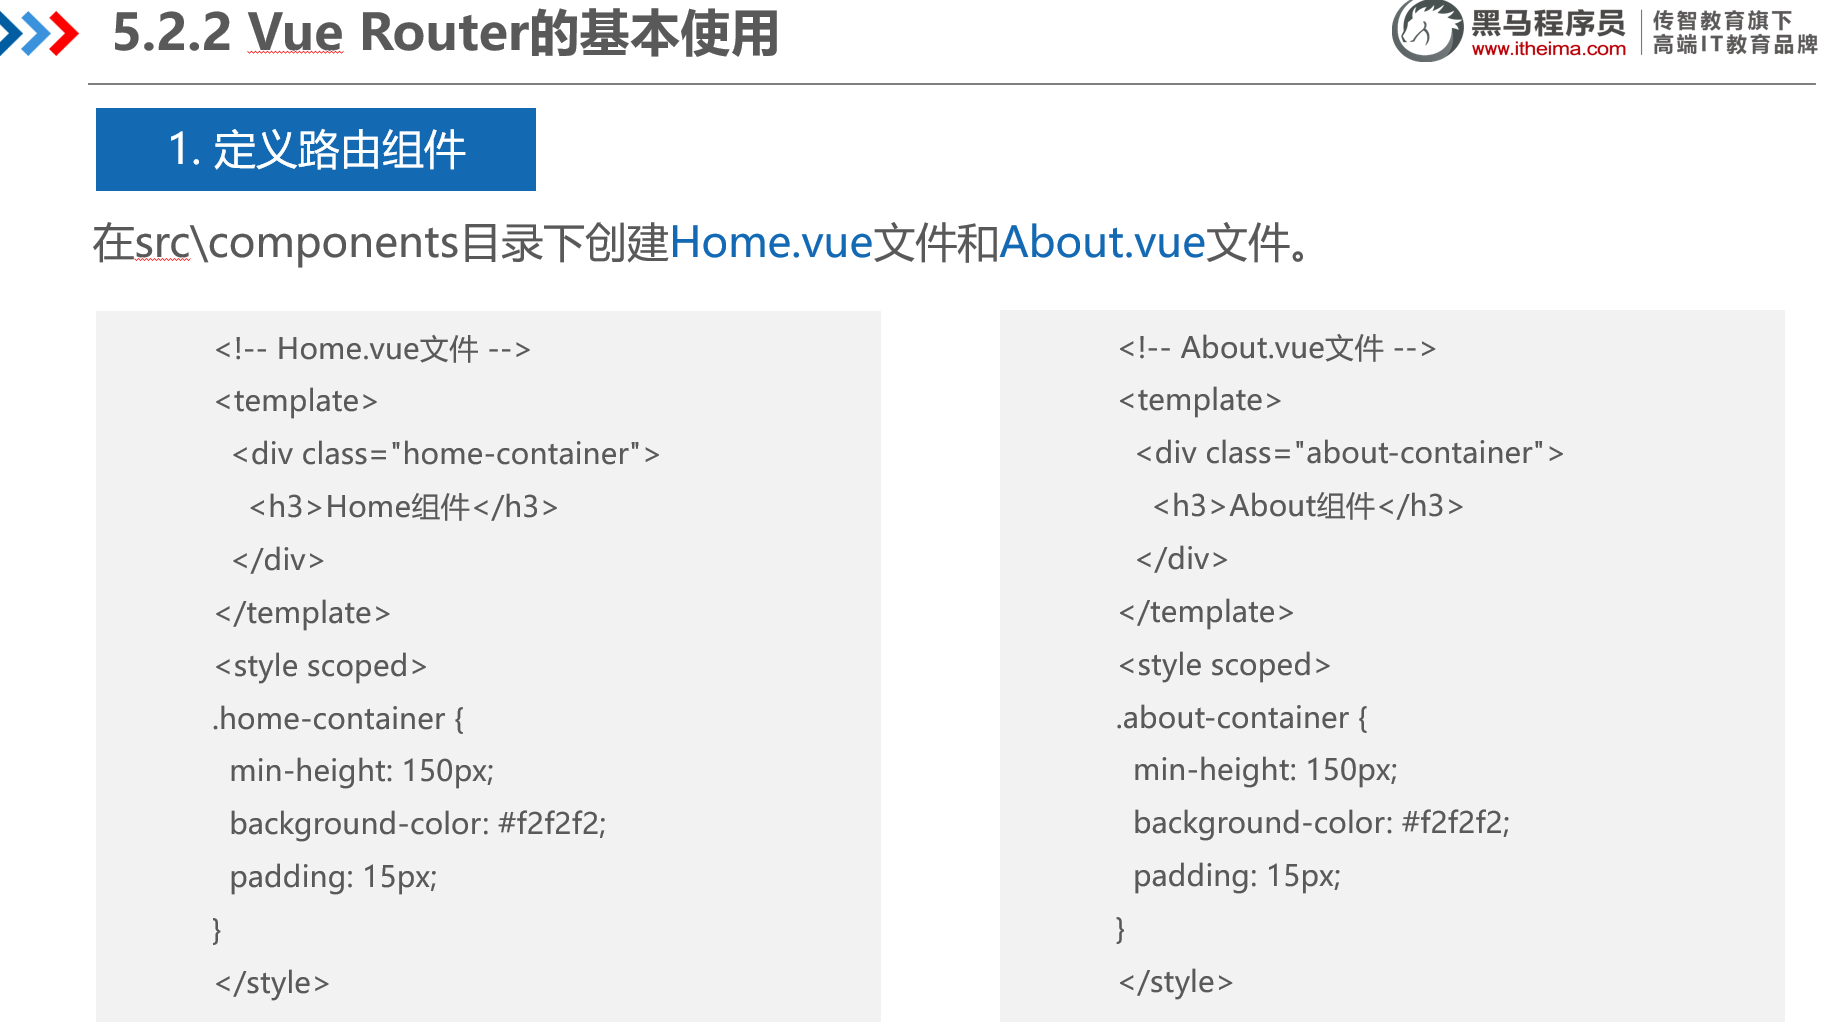
2.1 定义路由组件
新建Home.vue 页面
<template>
  <div style="text-align: center; margin-top: 30px;">
    <h3>🏠 首页内容</h3>
    <p>地址:/home<br>刷新不丢失</p>
  </div>
</template>
新建about.vue 页面
<template>
    <div style="text-align: center; margin-top: 30px;">
    <h3>ℹ️ 关于页面</h3>
    <p>地址:/about<br>刷新保留</p>
  </div>
</template>
新建list.vue 页面
<template>
<div style="text-align: center; margin-top: 30px;">
<h3>📋 列表页面</h3>
<p>地址:/list</p>
</div>
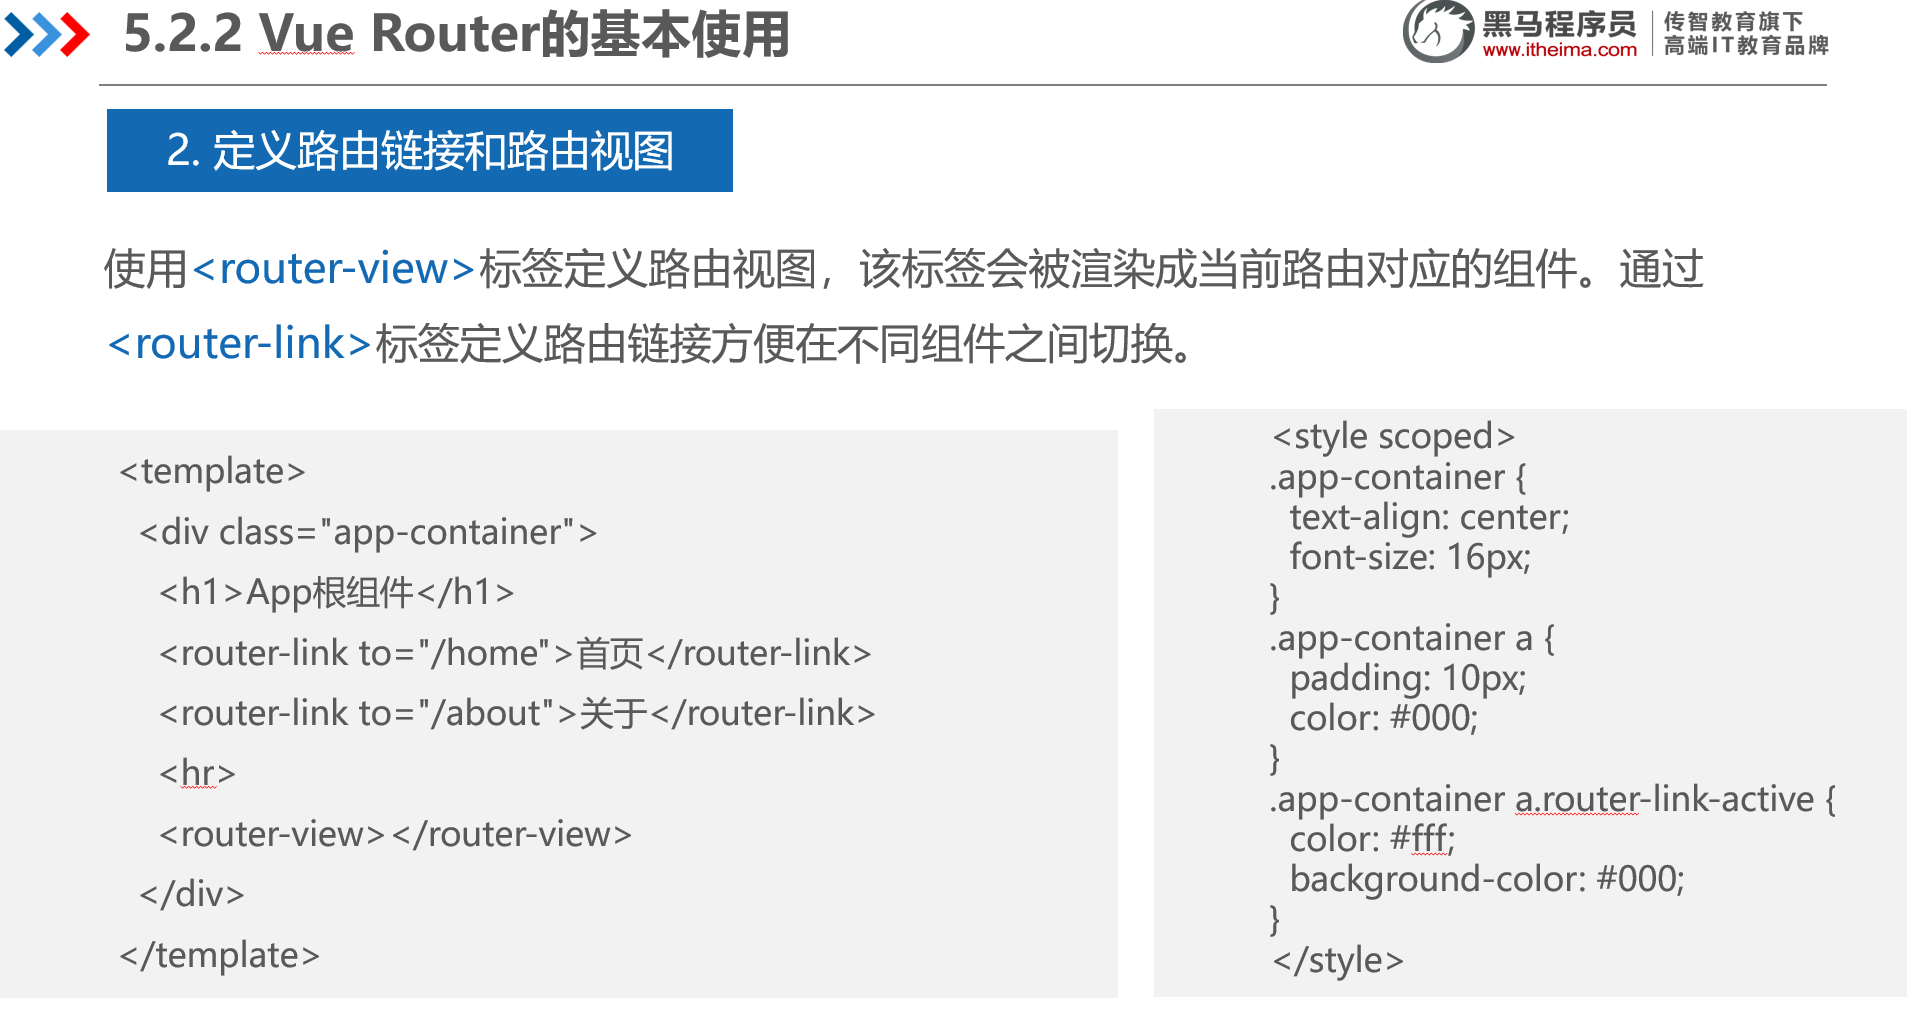
</template>2.2 定义路由链接和路由视图
新建 UseRouter.vue 页面
<template>
<div class="box">
<h2>✅ 使用路由</h2>
<div class="nav-links">
<router-link to="/home">首页</router-link>
<router-link to="/about">关于</router-link>
<router-link to="/list">列表</router-link>
</div>
<hr />
<!-- 路由出口,只在这里显示页面内容 -->
<router-view />
</div>
</template>
<style scoped>
.box {
border: 1px solid #ccc;
padding: 15px;
border-radius: 8px;
}
.nav-links {
display: flex;
gap: 20px;
justify-content: center;
margin-bottom: 15px;
}
a {
text-decoration: none;
color: #42b983;
font-size: 1.1rem;
}
/* 给当前激活的路由加高亮 */
.router-link-active {
color: #2c3e50;
font-weight: bold;
border-bottom: 2px solid #42b983;
}
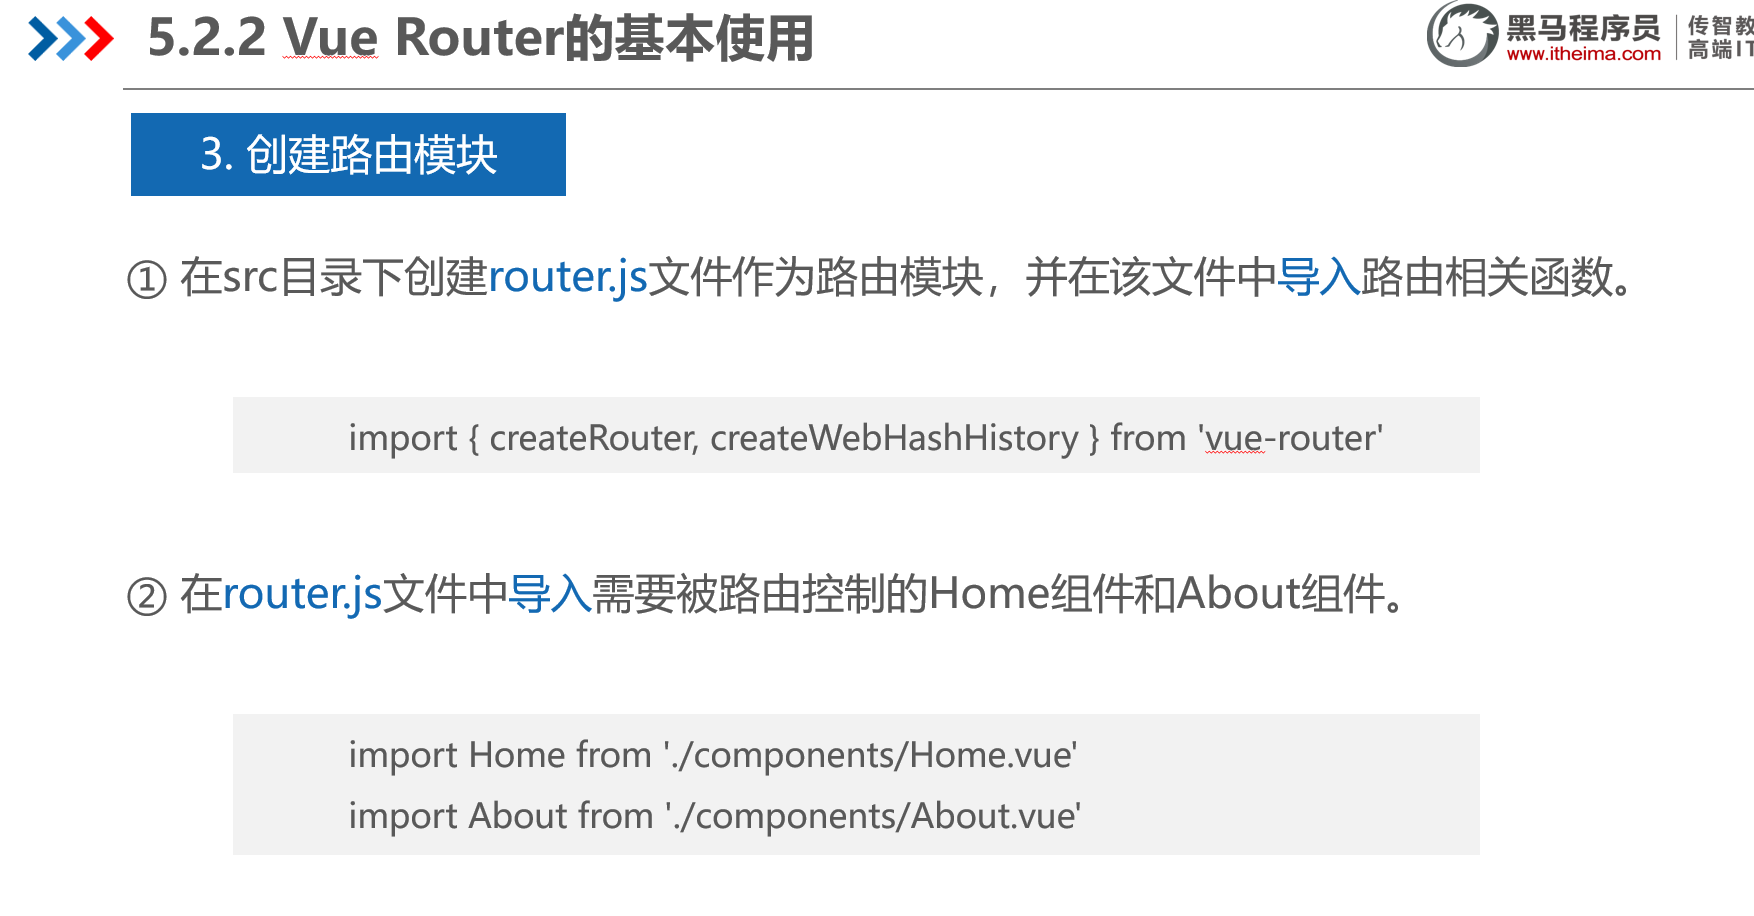
</style>2.3 创建路由模块
在src目录下创建router文件夹,下面创建index.js 作为路由模块,并在该文件中导入路由相关函数。
在index.js文件中导入需要被路由控制的Home组件和About组件。
import { createRouter, createWebHistory } from 'vue-router'
import Home from '../components/home.vue'
import About from '../components/about.vue'
import List from '../components/list.vue'
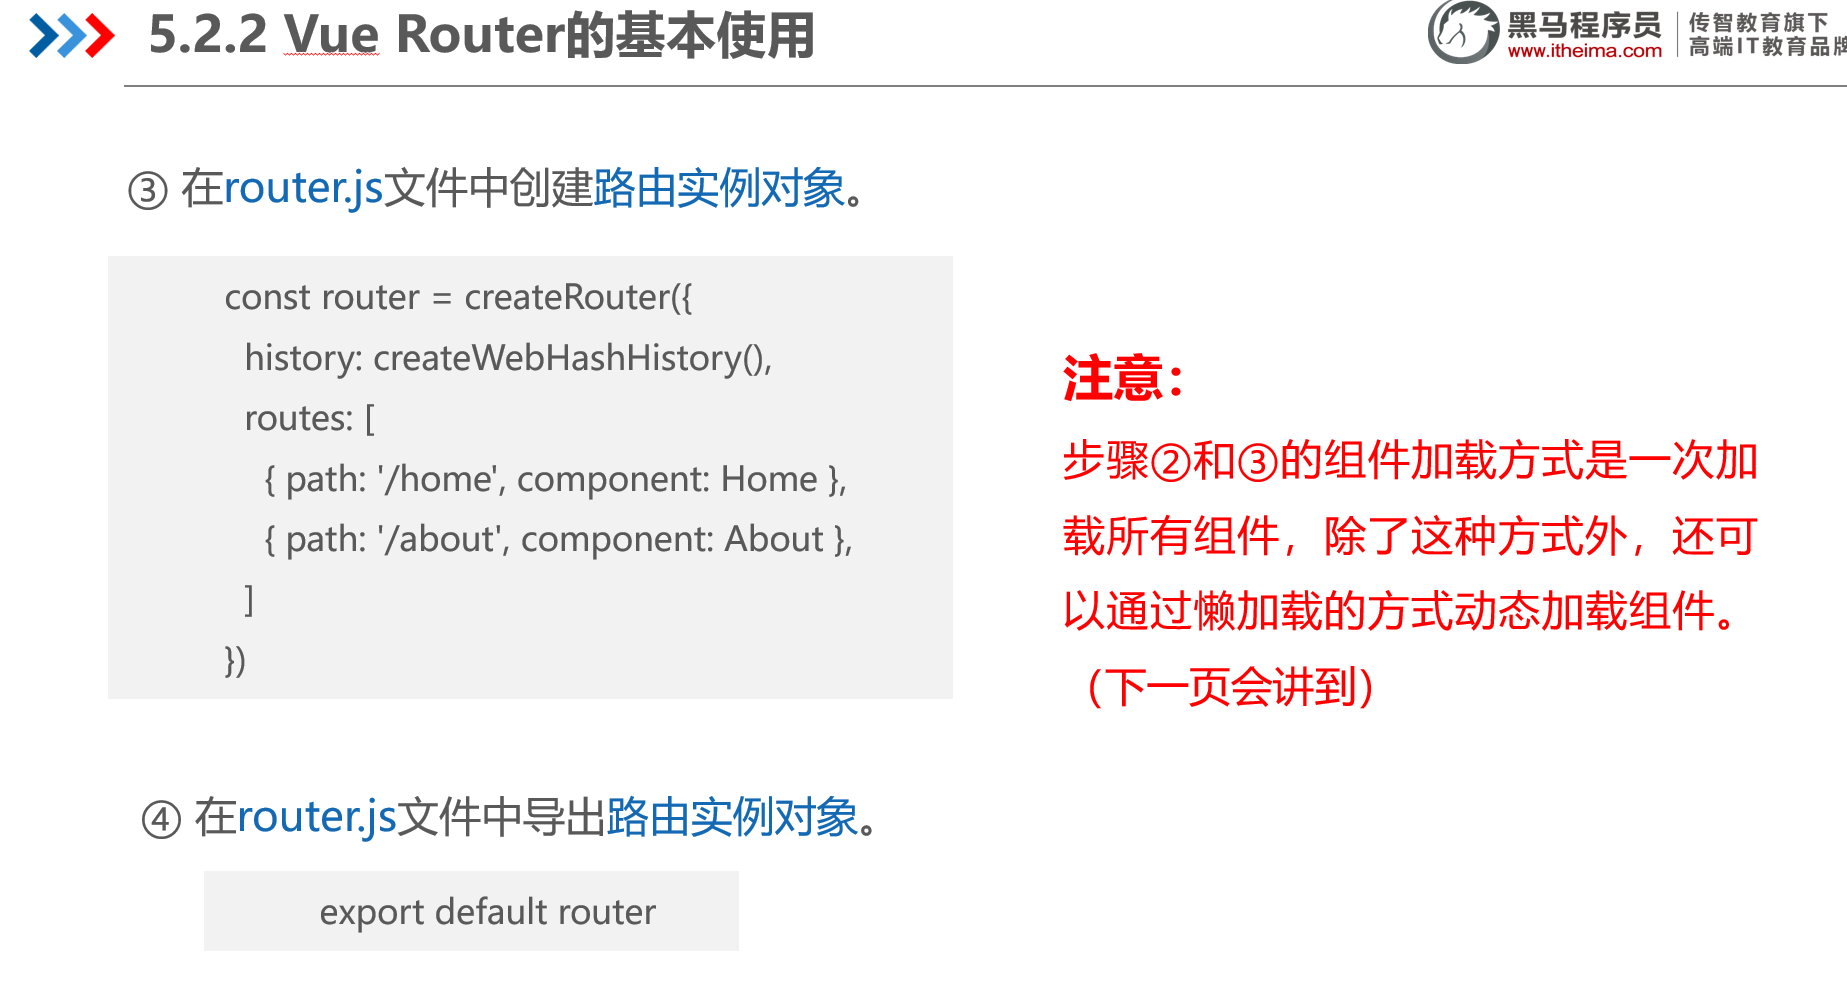
// 2. 直接配置顶级路由,不嵌套 UseRouter
const routes = [
{ path: '/', redirect: '/home' },
{ path: '/home', component: Home },
{ path: '/about', component: About },
{ path: '/list', component: List }
]
const router = createRouter({
history: createWebHistory(),
routes
})
export default router2.4 导入并挂载路由模块
在src\main.js文件中导入并挂载路由模块。
import { createApp } from 'vue'
import './style.css'
import App from './App.vue'
import router from './router.js'	// 导入路由模块
const app = createApp(App)
app.use(router)		// 挂载路由模块
app.mount('#app')
2.5 修改App.vue 页面,对比无路由和有路由2 种情况
NoRouter.vue页面代码
<template>
  <div class="box">
    <h2>❌ 不使用路由</h2>
    <button @click="page = 'home'">首页</button>
    <button @click="page = 'about'">关于</button>
    <button @click="page = 'list'">列表</button>
    <hr />

    <div v-if="page === 'home'">
      <h3>🏠 首页内容</h3>
      <p>刷新会回到这里</p>
    </div>
    <div v-if="page === 'about'">
      <h3>ℹ️ 关于页面</h3>
      <p>刷新 → 丢失当前页面</p>
    </div>
    <div v-if="page === 'list'">
      <h3>📋 列表页面</h3>
      <p>URL 永远不变</p>
    </div>
  </div>
</template>

<script setup>
import { ref } from 'vue'
const page = ref('home')
</script>

<style scoped>
.box {
  border: 1px solid #ccc;
  padding: 15px;
  border-radius: 8px;
}
button {
  margin-right: 10px;
  padding: 6px 12px;
}
</style>

<script setup>
import HelloWorld from './components/HelloWorld.vue'
import NoRouter from './components/NoRouter.vue';
import UseRouter from './components/UseRouter.vue';
</script>

<template>
 <div style="padding: 20px;">
    <h1>Vue3 路由对比演示</h1>
    <hr />

    <!-- 左边:不用路由 -->
    <div style="float: left; width: 48%;">
      <NoRouter />
    </div>

    <!-- 右边:使用路由 -->
    <div style="float: left; width: 48%; margin-left: 4%;">
      <UseRouter />
    </div>
  </div>

</template>

<style scoped>

.logo {
  height: 6em;
  padding: 1.5em;
  will-change: filter;
  transition: filter 300ms;
}
.logo:hover {
  filter: drop-shadow(0 0 2em #646cffaa);
}
.logo.vue:hover {
  filter: drop-shadow(0 0 2em #42b883aa);
}
</style>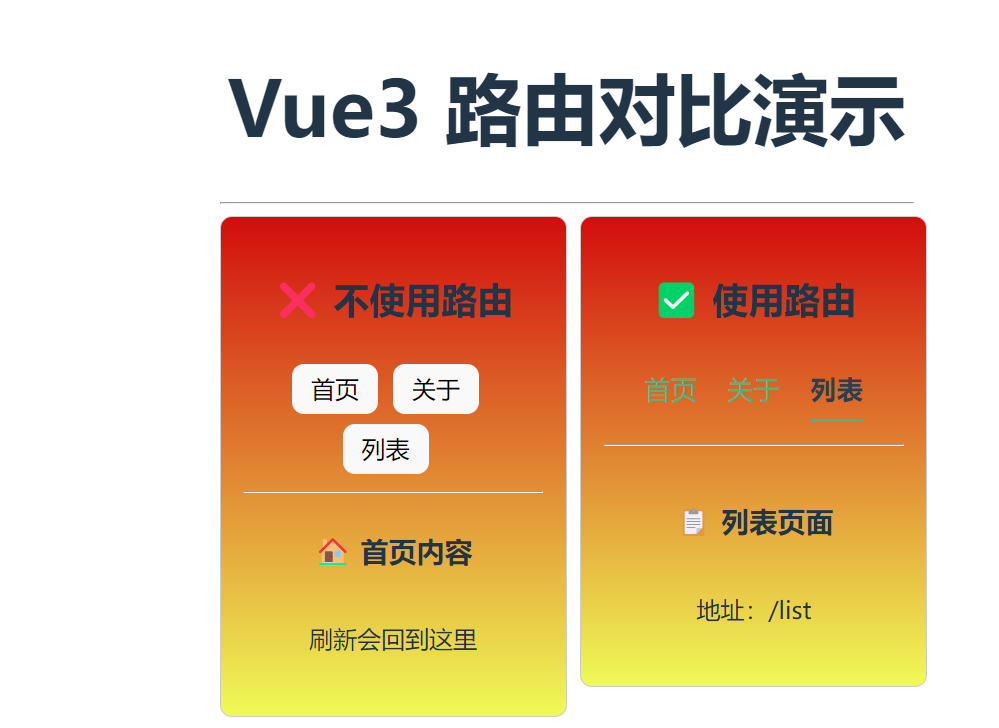
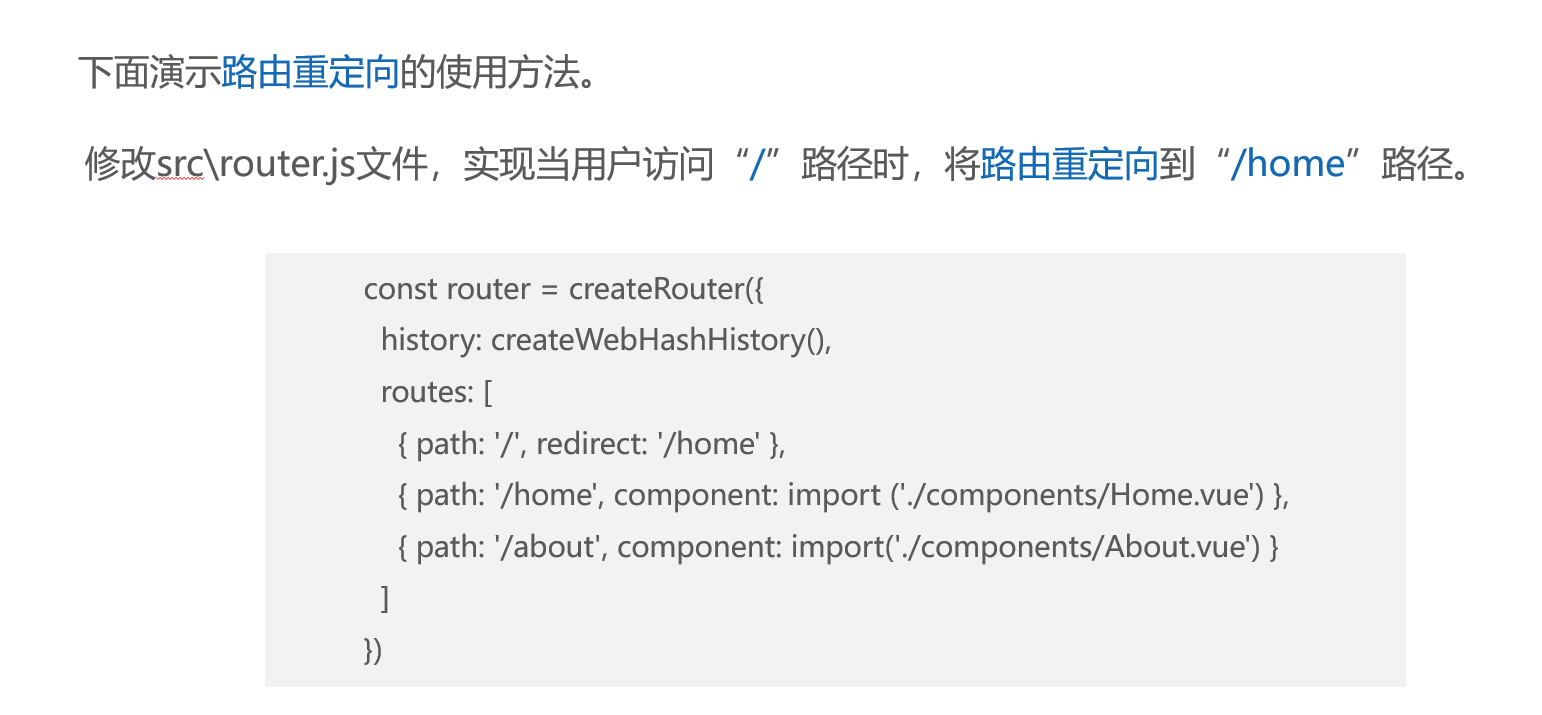
二、路由重定向

1、基本概念 什么是路由重定向

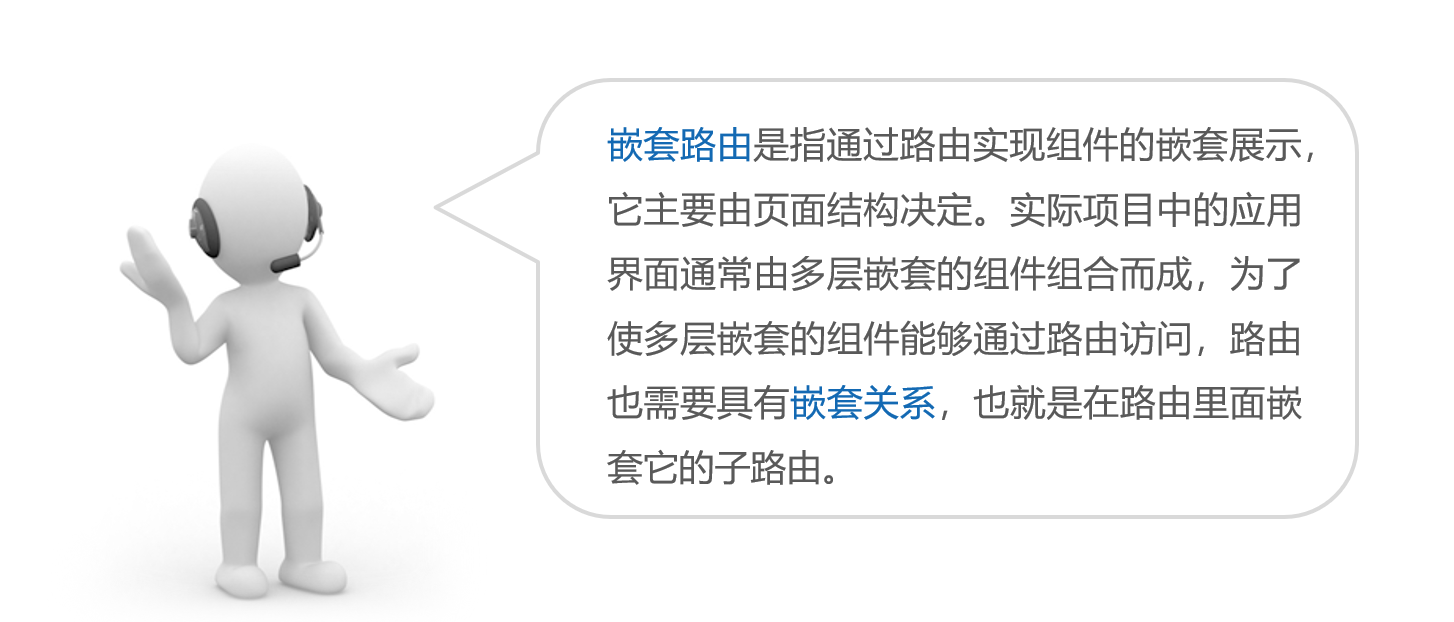
三、嵌套路由
1、什么是嵌套路由

2、代码及演示
在src\components目录下创建pages目录,用于存放子路由组件。
新建tab1.vue
<template>
  <div>Tab1组件</div>
</template>
<style scoped>
div {
  text-align: left;
  background-color: #9dc4e5;
}
</style>
新建tab2.vue
<template>
<div>Tab2组件</div>
</template>
<style scoped>
div {
text-align: left;
background-color: #ffba00;
}
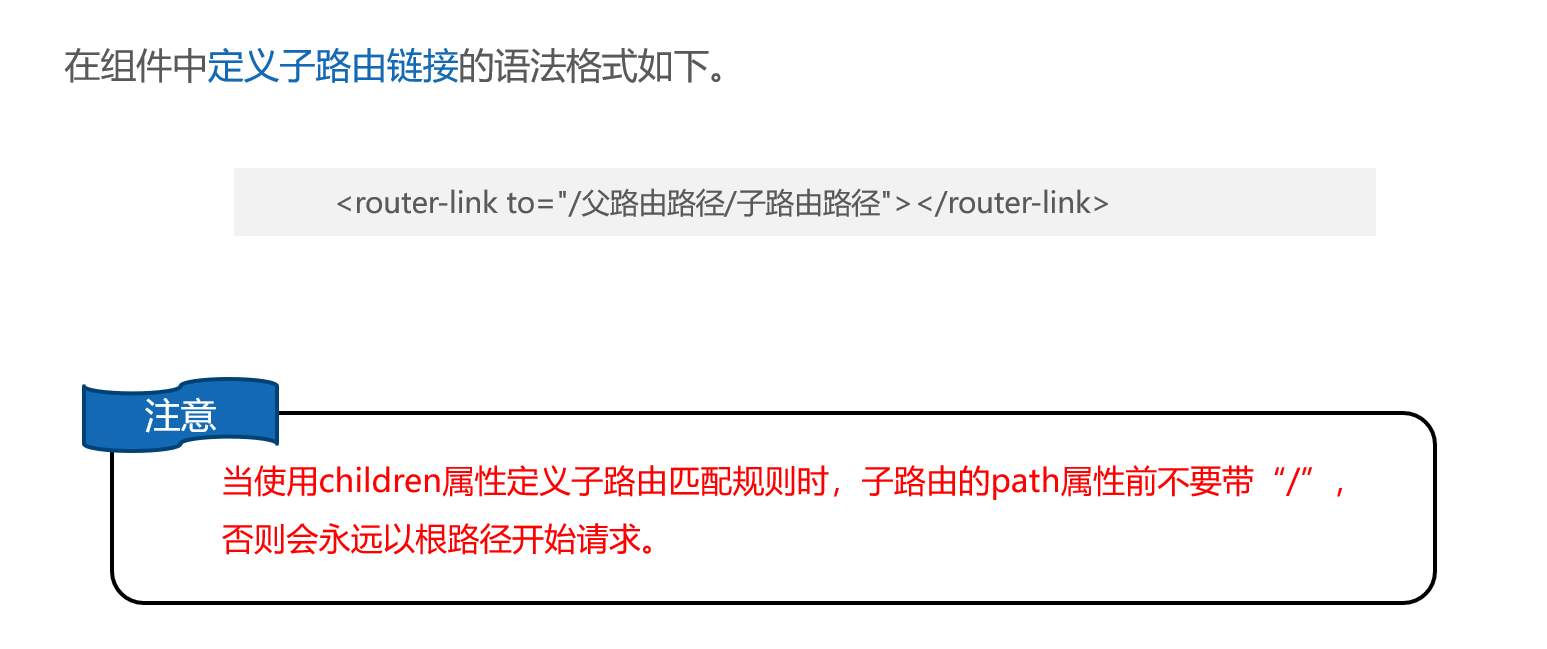
</style>在component\About1.vue文件中添加子路由链接和子路由视图
<template>
  <div class="about-container">
    <h3>About组件</h3>
    <router-link to="/about1/tab1">tab1</router-link>
    <router-link to="/about1/tab2">tab2</router-link>
    <hr>
    <router-view></router-view>
  </div>
</template>
<style scoped>
.about-container {min-height: 150px;
  background-color: #f2f2f2;
  padding: 15px;
}
.about-container a {
  padding: 10px;
  border: 1px solid #ccc;
  border-radius: 5px;
  padding: 5px 10px;
  color: #000;
  margin: 0 5px;
}.about-container a.router-link-active {
  color: #000;
  background-color: #deebf6;
}
</style>
修改router\index.js文件,在index.js中导入Tab1组件和Tab2组件,并使用children属性定义子路由匹配规则。
import { createRouter, createWebHistory } from 'vue-router'
import Home from '../components/home.vue'

import List from '../components/list.vue'

// 2. 直接配置顶级路由,不嵌套 UseRouter
// const routes = [
//   { path: '/', redirect: 'Home' },
//   { path: '/home', component: Home },
//   { path: '/about', component: About },
//   { path: '/list', component: List }
// ]
const routes=[
  { path: '/', redirect: '/about1' },
  { path: '/home', component: () => import ('../components/Home.vue') },
  {
    path: '/about1', component: () => import('../components/About1.vue'),
    children: [
      { path: 'tab1', component: () => import ('../components/pages/Tab1.vue') },
      { path: 'tab2', component: () => import ('../components/pages/Tab2.vue') }]
  }]


const router = createRouter({
  history: createWebHistory(),
  routes
})

export default router
修改main.js 运行about1.vue页面
import about1 from './components/about1.vue'
createApp(about1).use(router).mount('#app')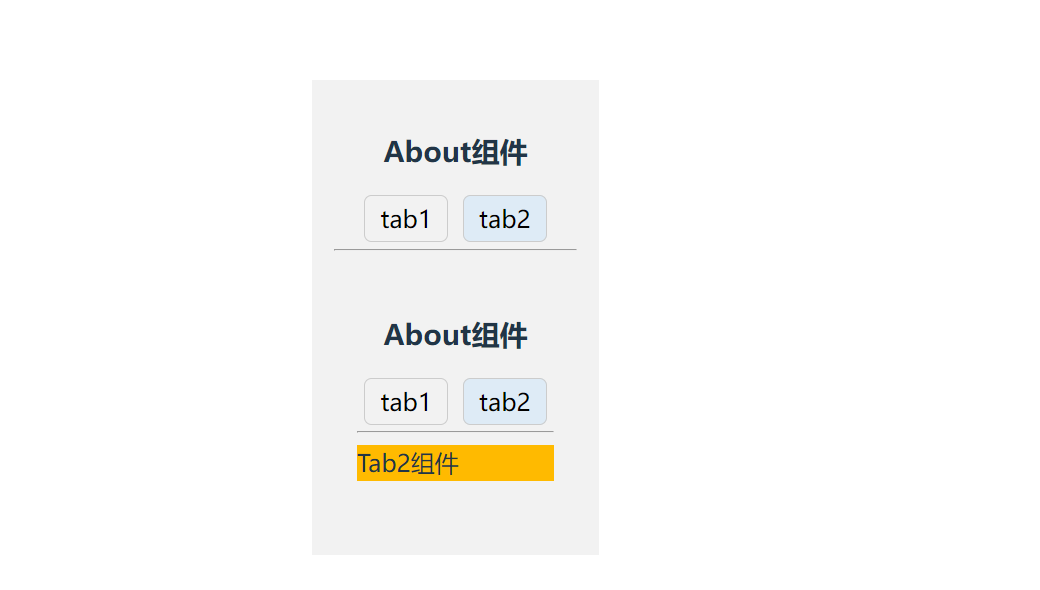
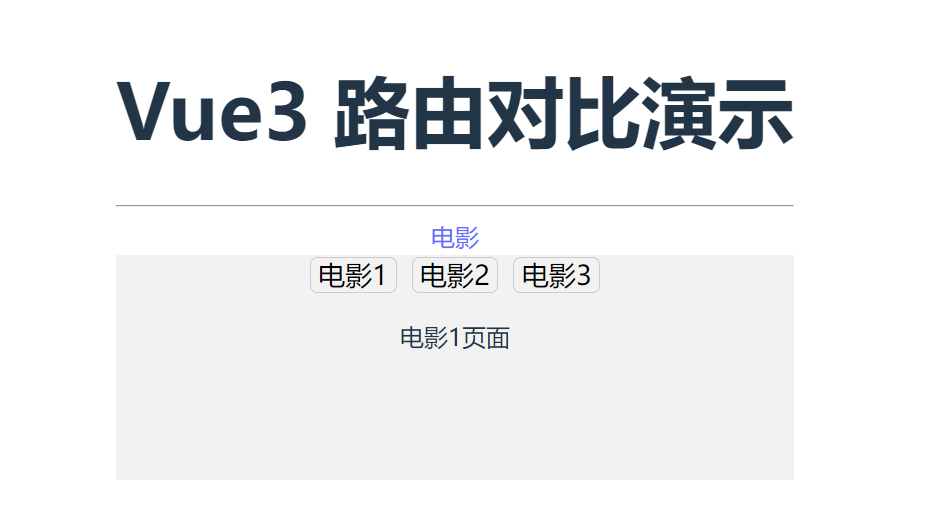
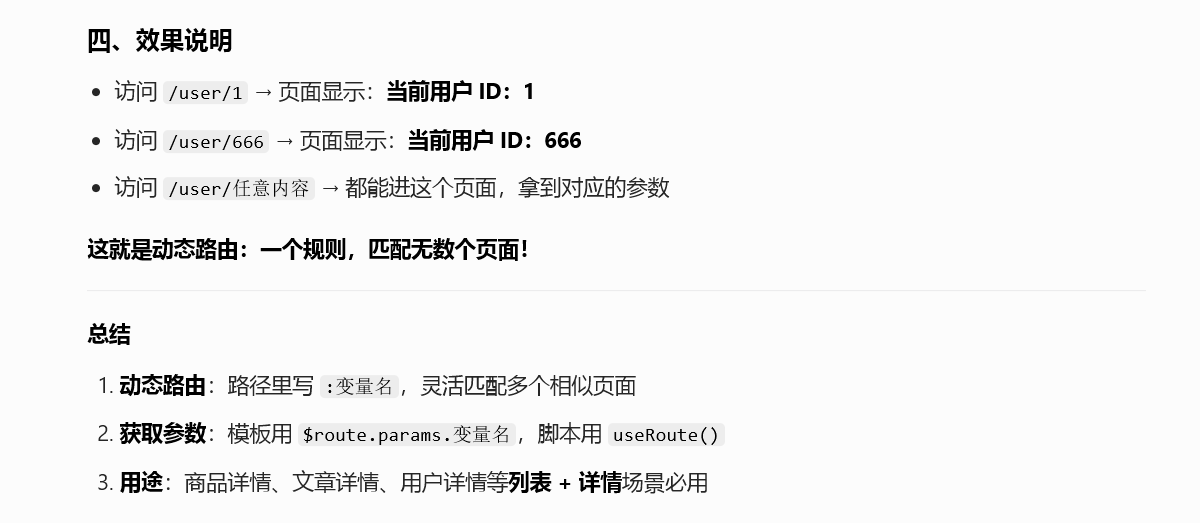
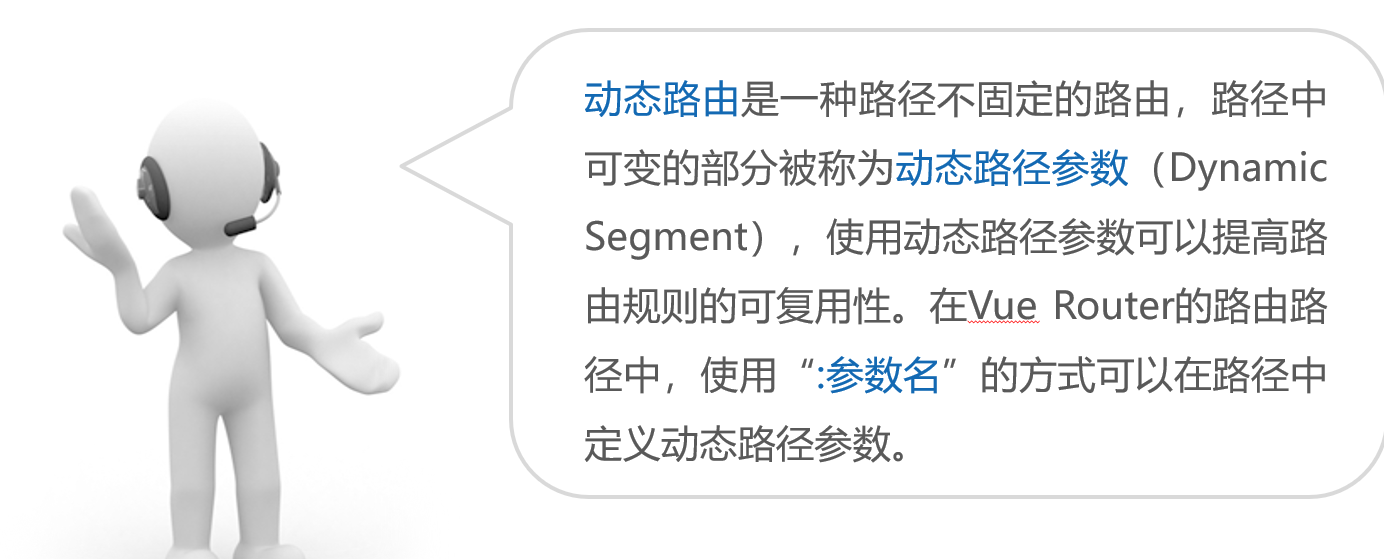
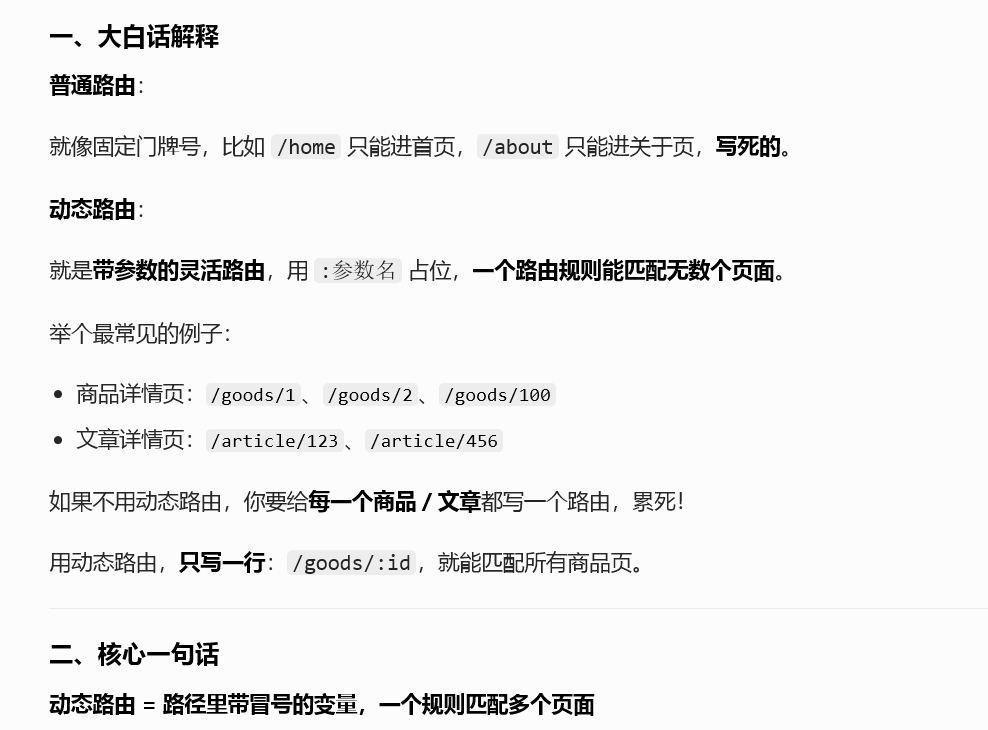
四、动态路由
1、基本概念

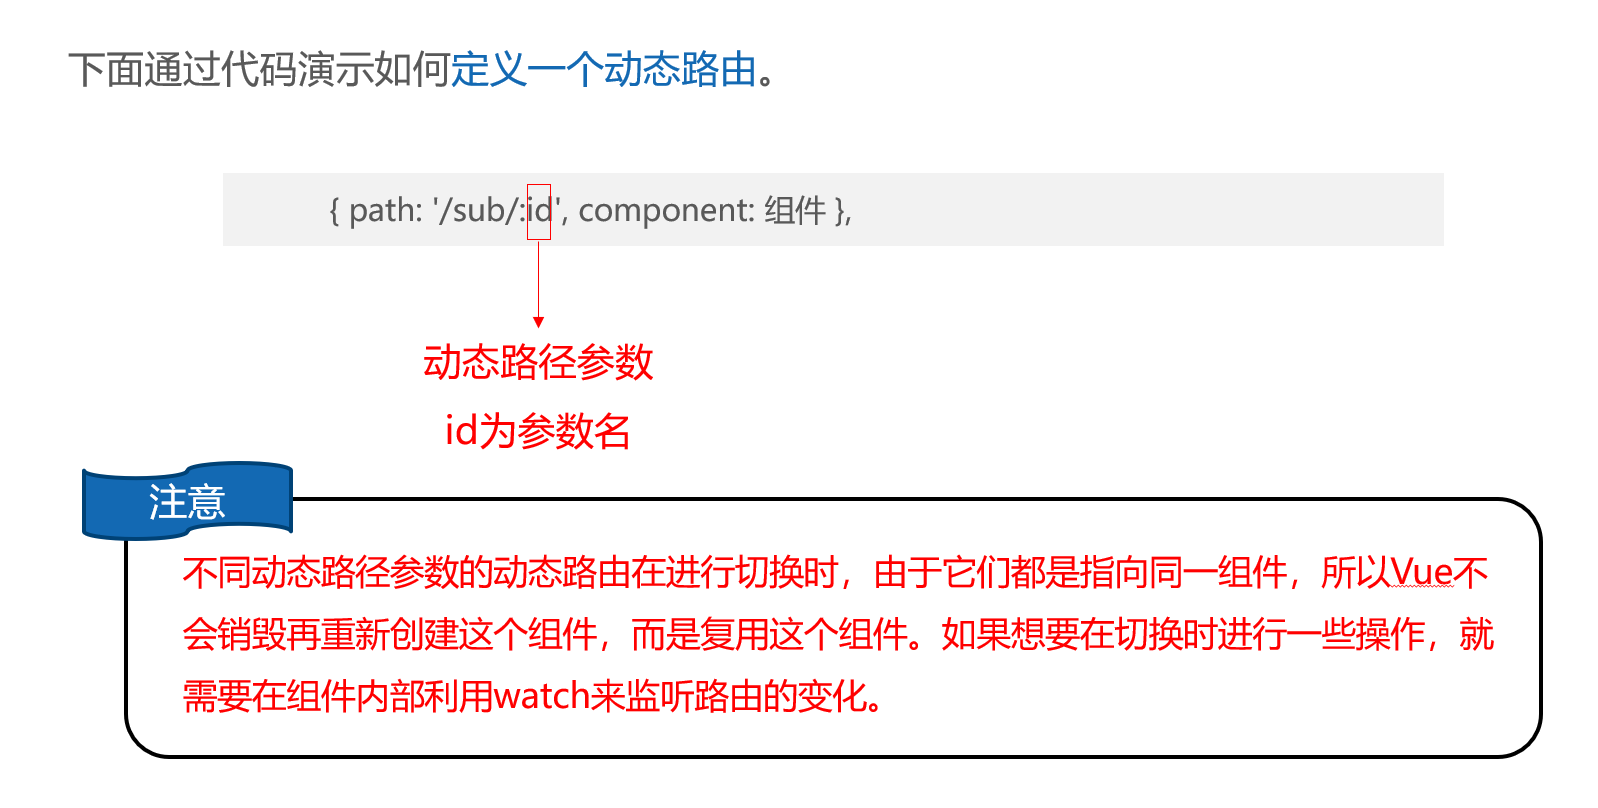

2、代码及演示
新建src\components\Movie.vue文件,在该文件中定义3个路由链接和路由视图。
<template>
  <div class="movie-container">
    <router-link to="/movie/1">电影1</router-link>
    <router-link to="/movie/2">电影2</router-link>
    <router-link to="/movie/3">电影3</router-link>
    <router-view></router-view>
  </div>
</template>
<style>
.movie-container {min-height: 150px;
  background-color: #f2f2f2;
}
.movie-container a {
  padding: 0 5px;
  font-size: 18px;
  border: 1px solid #ccc;
  border-radius: 5px;
  color: #000;
  margin: 0 5px;
}
</style>
修改src\App.vue文件,在"关于"路由链接下方补充定义"电影"路由链接。
<script setup>
import HelloWorld from './components/HelloWorld.vue'
import NoRouter from './components/NoRouter.vue';
import UseRouter from './components/UseRouter.vue';
</script>

<template>
 <div style="padding: 20px;">
    <h1>Vue3 路由对比演示</h1>
    <hr />
    <router-link to="/movie">电影</router-link>

    <!-- 路由出口,只在这里显示页面内容 -->
    <router-view />
    <!-- 左边:不用路由 -->
    <!-- <div style="float: left; width: 48%;">
      <NoRouter />
    </div> -->

    <!-- 右边:使用路由 -->
    <!-- <div style="float: left; width: 48%; margin-left: 4%;">
      <UseRouter />
    </div> -->
  </div>

</template>

<style scoped>

.logo {
  height: 6em;
  padding: 1.5em;
  will-change: filter;
  transition: filter 300ms;
}
.logo:hover {
  filter: drop-shadow(0 0 2em #646cffaa);
}
.logo.vue:hover {
  filter: drop-shadow(0 0 2em #42b883aa);
}
</style>
创建src\components\MovieDetails.vue文件,使用$route.params.id获取参数id的值。
<template>
  <p>电影{{ $route.params.id }}页面</p>
</template>
修改router\index.js文件,在routes中添加路由匹配规则。
import { createRouter, createWebHistory } from 'vue-router'
import Home from '../components/home.vue'

import List from '../components/list.vue'

// 2. 直接配置顶级路由,不嵌套 UseRouter
// const routes = [
//   { path: '/', redirect: 'Home' },
//   { path: '/home', component: Home },
//   { path: '/about', component: About },
//   { path: '/list', component: List }
// ]
// const routes=[
//   { path: '/', redirect: '/about1' },
//   { path: '/home', component: () => import ('../components/Home.vue') },
//   {
//     path: '/about1', component: () => import('../components/About1.vue'),
//     children: [
//       { path: 'tab1', component: () => import ('../components/pages/Tab1.vue') },
//       { path: 'tab2', component: () => import ('../components/pages/Tab2.vue') }]
//   }]


   const routes= [
      { path: '/', redirect: '/movie'},
      {
        path: '/movie', component: () => import ('../components/Movie.vue'),
        children: [
          { path: ':id', component: () => import ('../components/movieDetails.vue') }
        ]
      }
    ]

const router = createRouter({
  history: createWebHistory(),
  routes
})

export default router