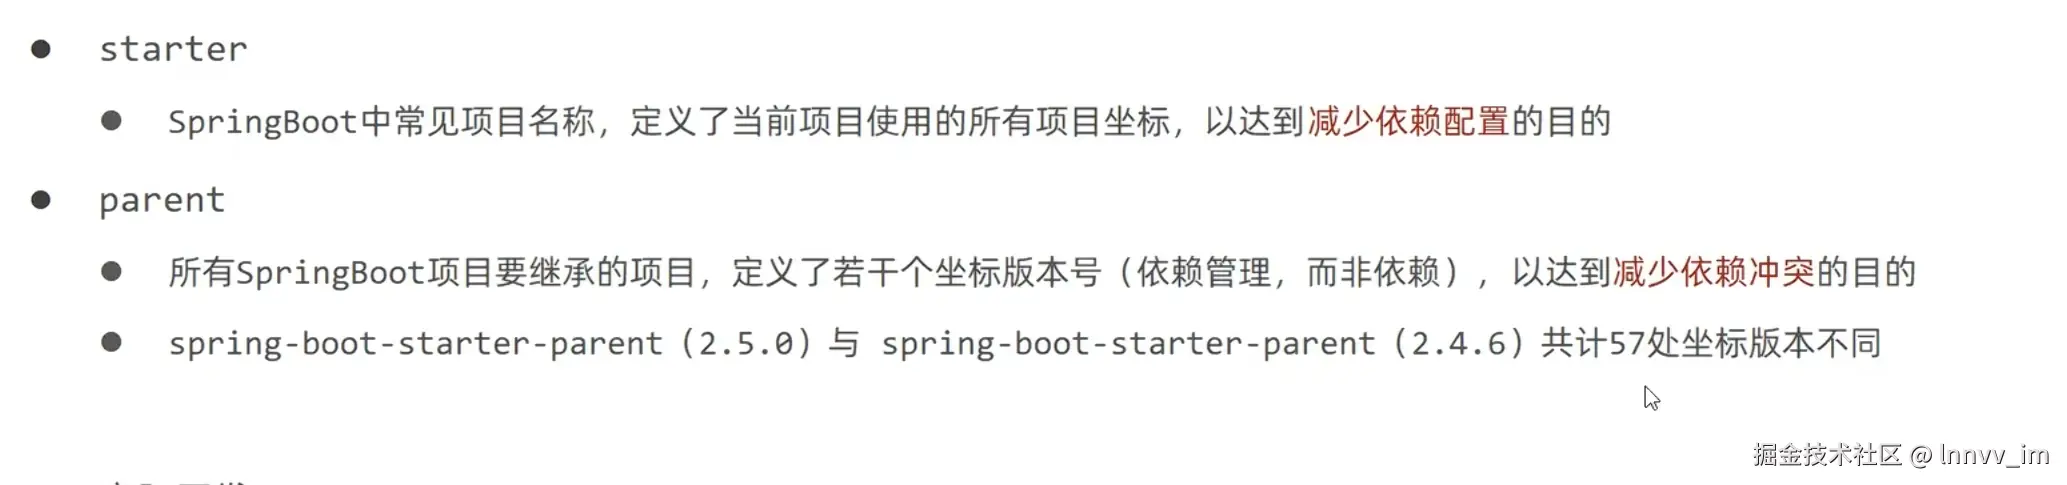
总结来说,parent是版本管理,减少冲突,starter是真正依赖
配置文件
取代properties文件
yaml和yml完全一致,推荐yml,因为少写一个字母
yml文件格式
yaml
server:
  port: 80 #注意在输入信息时,对应的:后需要加空格一个
yaml语法规则
- 大小写敏感
- 属性层级关系使用多行描述,每行结尾使用冒号结束
- 使用缩进表示层级关系,同层级左侧对齐,只允许使用空格(不允许使用Tab键)
- 属性值前面添加空格(属性名与属性值之间使用冒号+空格作为分隔)
-
表示注释
yaml
lesson: spring
server:
  port: 8080
student:
  name: "张三"
  age: 20
  skills:
    - Java
    - Rust
获取方式:
- @ Value("${}")
java
@Component
public class MyConfig {

    @Value("${student.name}")
    private String name;

    @Value("${server.port}")
    private int port;
}
java
    @Autowired
    private Environment environment;

    public String getLesson() {
        System.out.println(environment.getProperty("lesson"));
        return environment.getProperty("lesson");
    }
3.最常用
定义一个实体类,满足上方student
java
@Component
@ConfigurationProperties(prefix = "student")
public class StudentProperties {
    private String name;
    private int age;
    private List<String> skills;

    // 必须提供 Getter 和 Setter 方法
}
多环境开发
java
# 设置启用的环境
spring:
  profiles:
    active: dev

---
# 开发环境
spring:
  config:
    activate:
      on-profile: dev
server:
  port: 80

---
# 生产环境
spring:
  config:
    activate:
      on-profile: pro
server:
  port: 81

---
# 测试环境
spring:
  config:
    activate:
      on-profile: test
server:
  port: 82
:::info 前端人员在接到jar包时可以自行切换开发环境
java -jar springboot.jar --spring.profiles.active=test
如果端口号占用,还可以直接修改端口号
java -jar springboot.jar --spring.profiles.active=test --spring.port=88
如你所见,是可以一个接一个使用的
:::
boot整合
整合junit
java
package com.it.boot02;

import org.junit.jupiter.api.Test;
import org.springframework.beans.factory.annotation.Autowired;
import org.springframework.boot.test.context.SpringBootTest;

@SpringBootTest
class Boot02ApplicationTests {

    @Autowired
    private BookService bookService;
    @Test
    void contextLoads() {
        bookService.save();
    }

}
boot测试类里简化了很多,例如spring的加载配置的注解消失了,原因是@ SpringBootTest这个注解会使用引导类所扫描的配置文件,引导类就是那个启动类,他可以扫描包下的配置使用
所以就剩下了两步:
- 注入bean
- 写入自带的void contextLoads()下,这个并不特殊,可以自己写public void test()之类的都可以
整合mybatis
yml配置:
yaml
spring:
  datasource:
    driver-class-name: com.mysql.cj.jdbc.Driver
    url: jdbc:mysql://localhost:3306/your_database_name?serverTimezone=GMT%2B8&useUnicode=true&characterEncoding=utf-8
    username: root
    password: your_password
另外在@Mapper// 告诉 Spring 这是 MyBatis 的 Mapper 接口,自动注入到容器中
url的后面可以跟时区,编码集什么的
GMT%2B8 的意思是 "东八区(北京时间)"
** 加上 **serverTimezone**(时区)的作用主要有两个核心原因:防止项目启动报错 和 保证时间数据的准确性。 **