一、商品分类
1.获取商品分类的数据
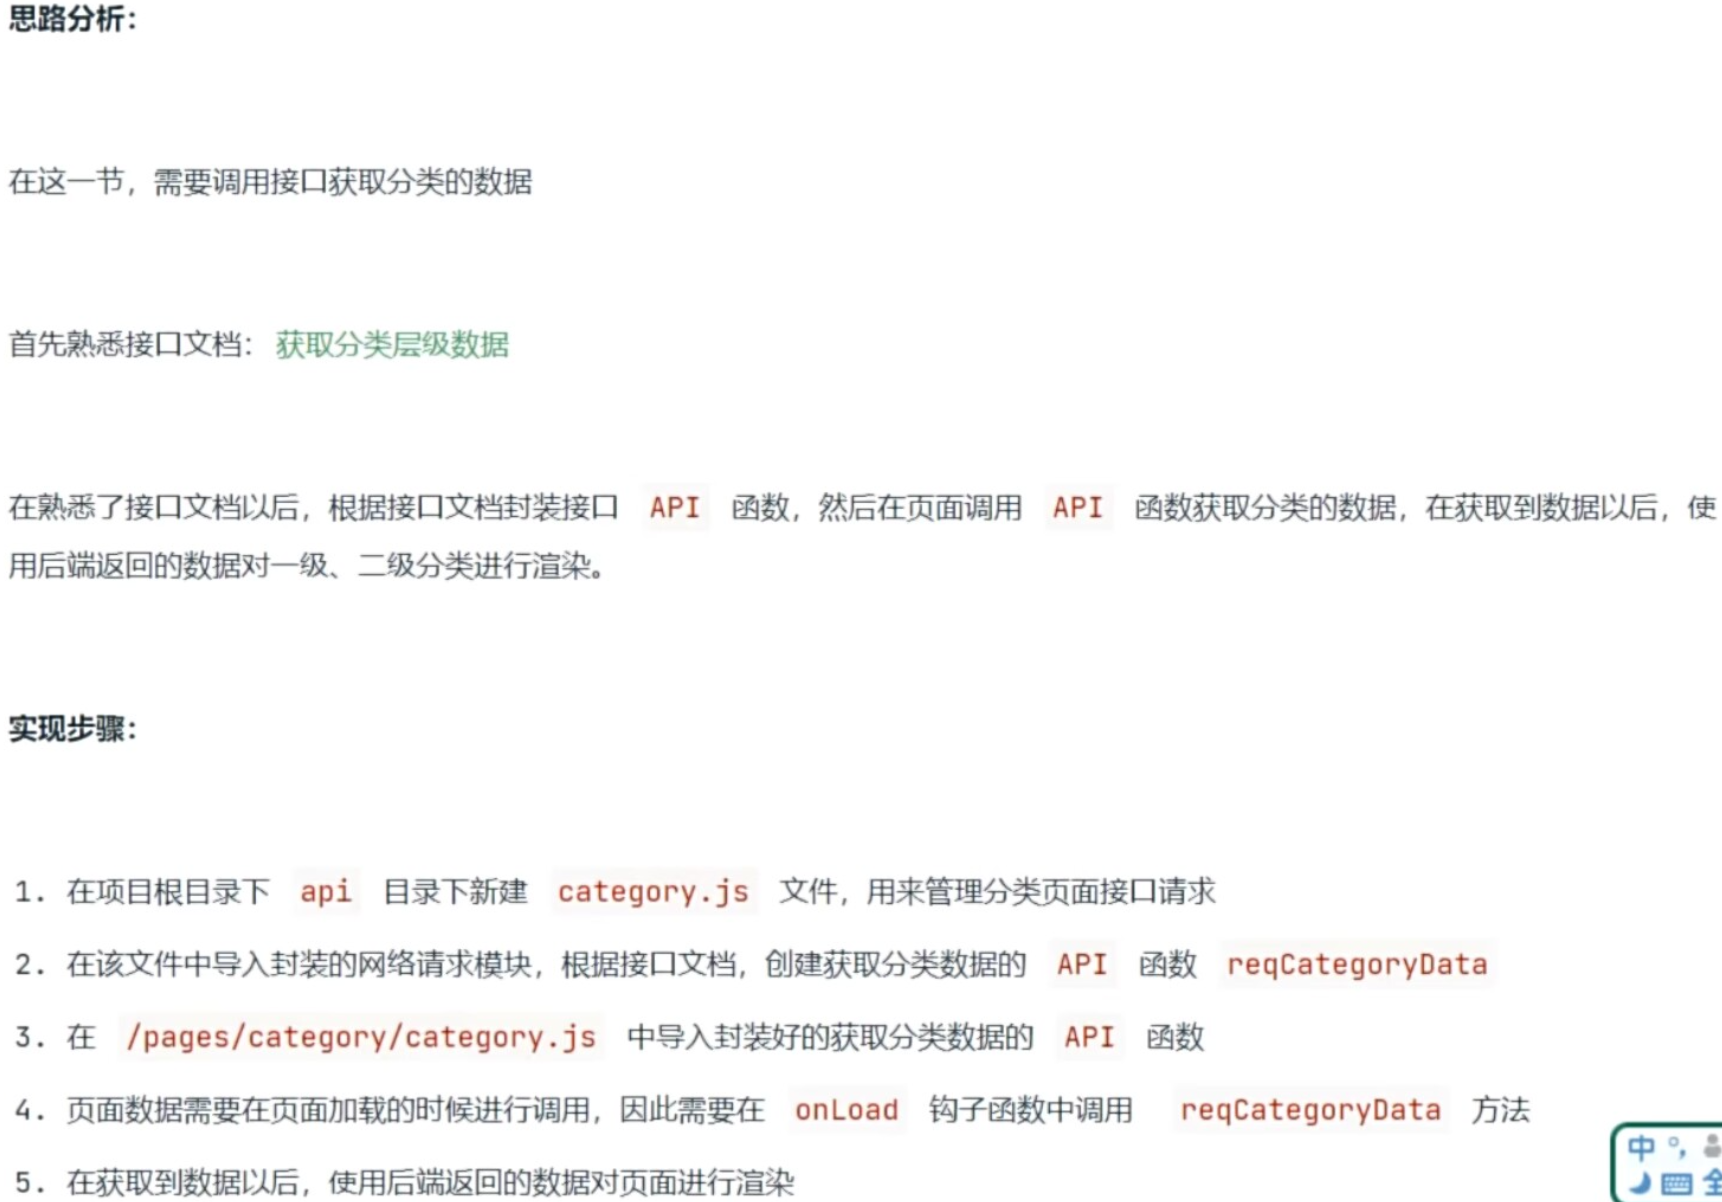
javascript
// category.js/api

// 导入封装的网络请求模块实例
import http from '../utils/http'

/**
 * @description 获取商品分类的数据
 * @returns Promise
 */
export const reqCategoryData = () => {
  return http.get('/index/findCategorTree')
}


// category.js/pages

// 导入封装的 接口 API 函数
import { reqCategoryData } from '../../api/category'

Page({

  // 初始化数据
  data: {
    categoryList: [] // 商品分类列表数据
  },

  // 获取商品分类的数据
  async getCategoryData () {

    const res = await reqCategoryData()

    if (res.code === 200) {
      this.setData({
        categoryList: res.data
      })
    }
  },

  // 监听页面的加载
  onLoad () {
    // 调用获取商品分类的数据的方法
    this.getCategoryData()
  }

})
2.渲染一级分类并且实现切换功能
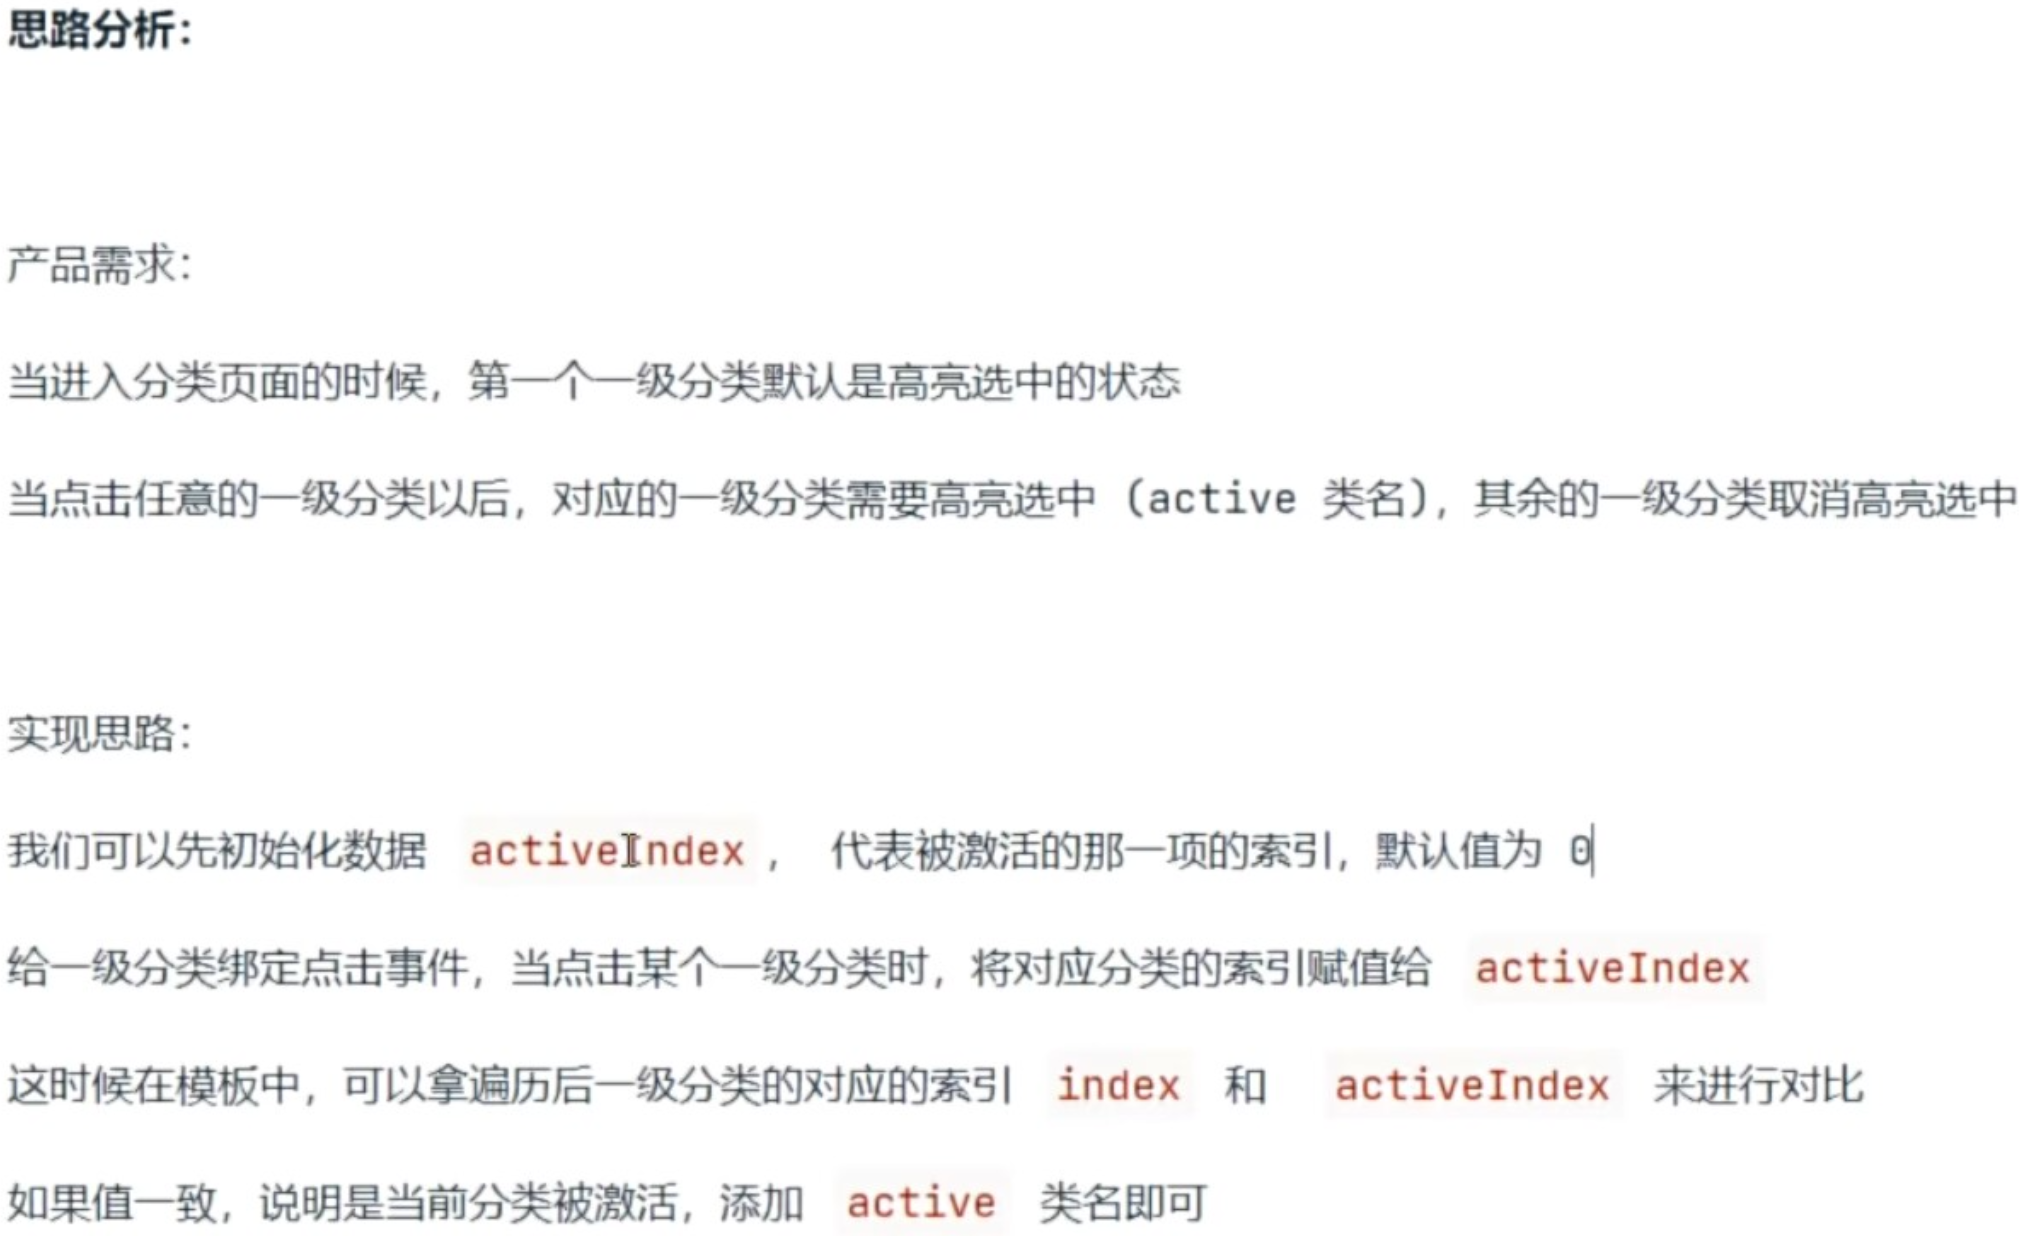
javascript
// category.js/pages

 // 初始化数据
  data: {
    categoryList: [], // 商品分类列表数据
    activeIndex: 0 // 被激活那一项的索引,默认为 0
  },

  // 实现一级分类的切换效果
  updataActive (event) {
    // console.log(event.currentTarget.dataset)
    const { index } = event.currentTarget.dataset

    this.setData({
      activeIndex: index
    })
  },
html
<view class="left-view-item {{ activeIndex === index ? 'active' : '' }}" wx:for="{{    categoryList }}"
wx:key="id"
bind:tap="updataActive"
data-index="{{ index }}"
>
   {{ item.name }}
</view>
3.获取 & 渲染二级分类数据
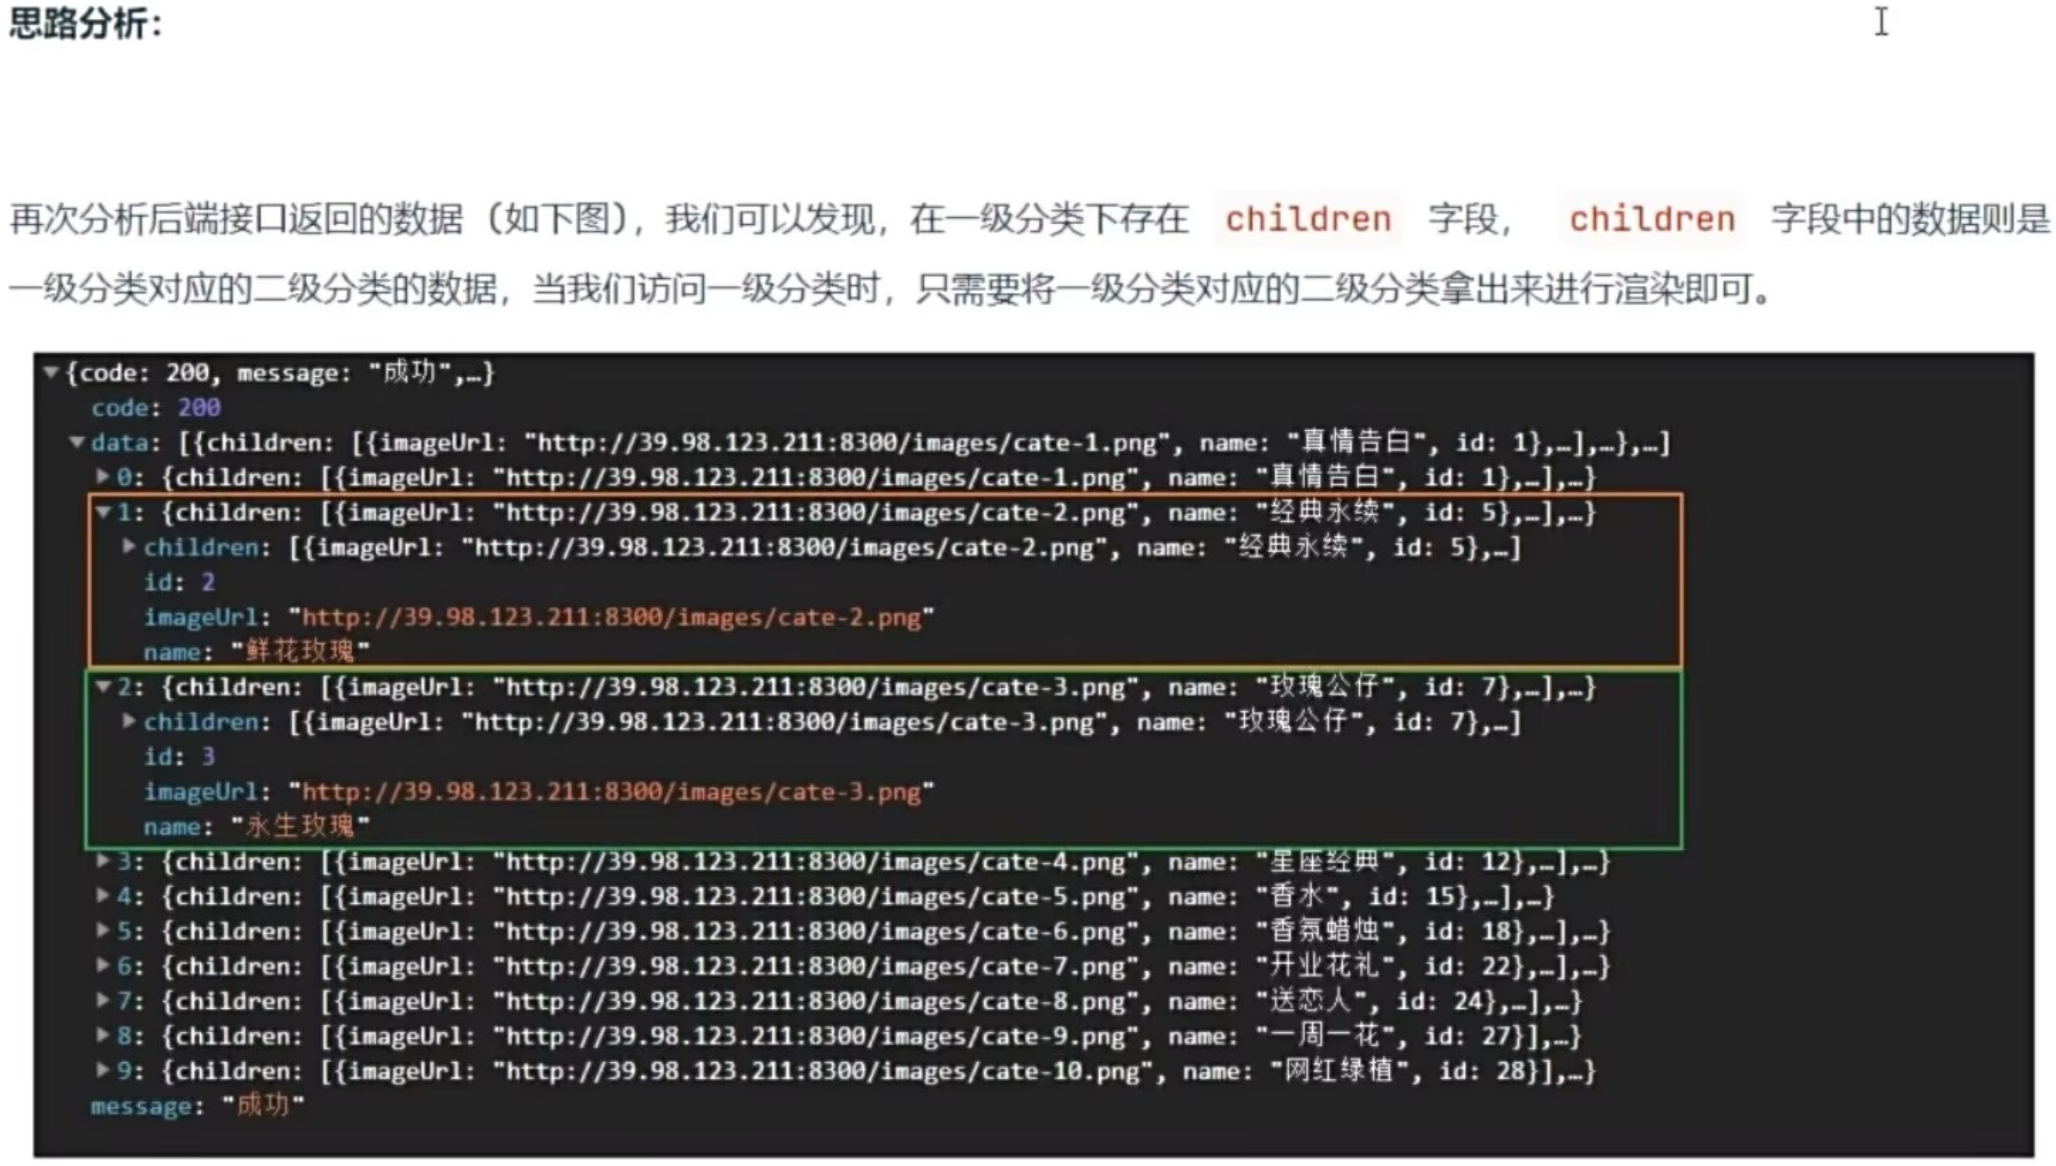
html
    <!-- 右侧的滚动视图区域 -->
    <scroll-view class="category-right-view" scroll-y>
      <!-- 二级分类 -->
      <view>
        <view
        wx:for="{{ categoryList[activeIndex] }}"
        wx:key="index" c
        lass="right-view-item"
        >
          <navigator
            class="navigator"
            url="/pages/goods/list/list?category2Id={{ item.id }}"
          >
            <image class="" src="{{ item.imageUrl }}"></image>
            <text class="goods_item_name">{{ item.name }}</text>
          </navigator>
        </view>
      </view>
    </scroll-view>
二、框架拓展
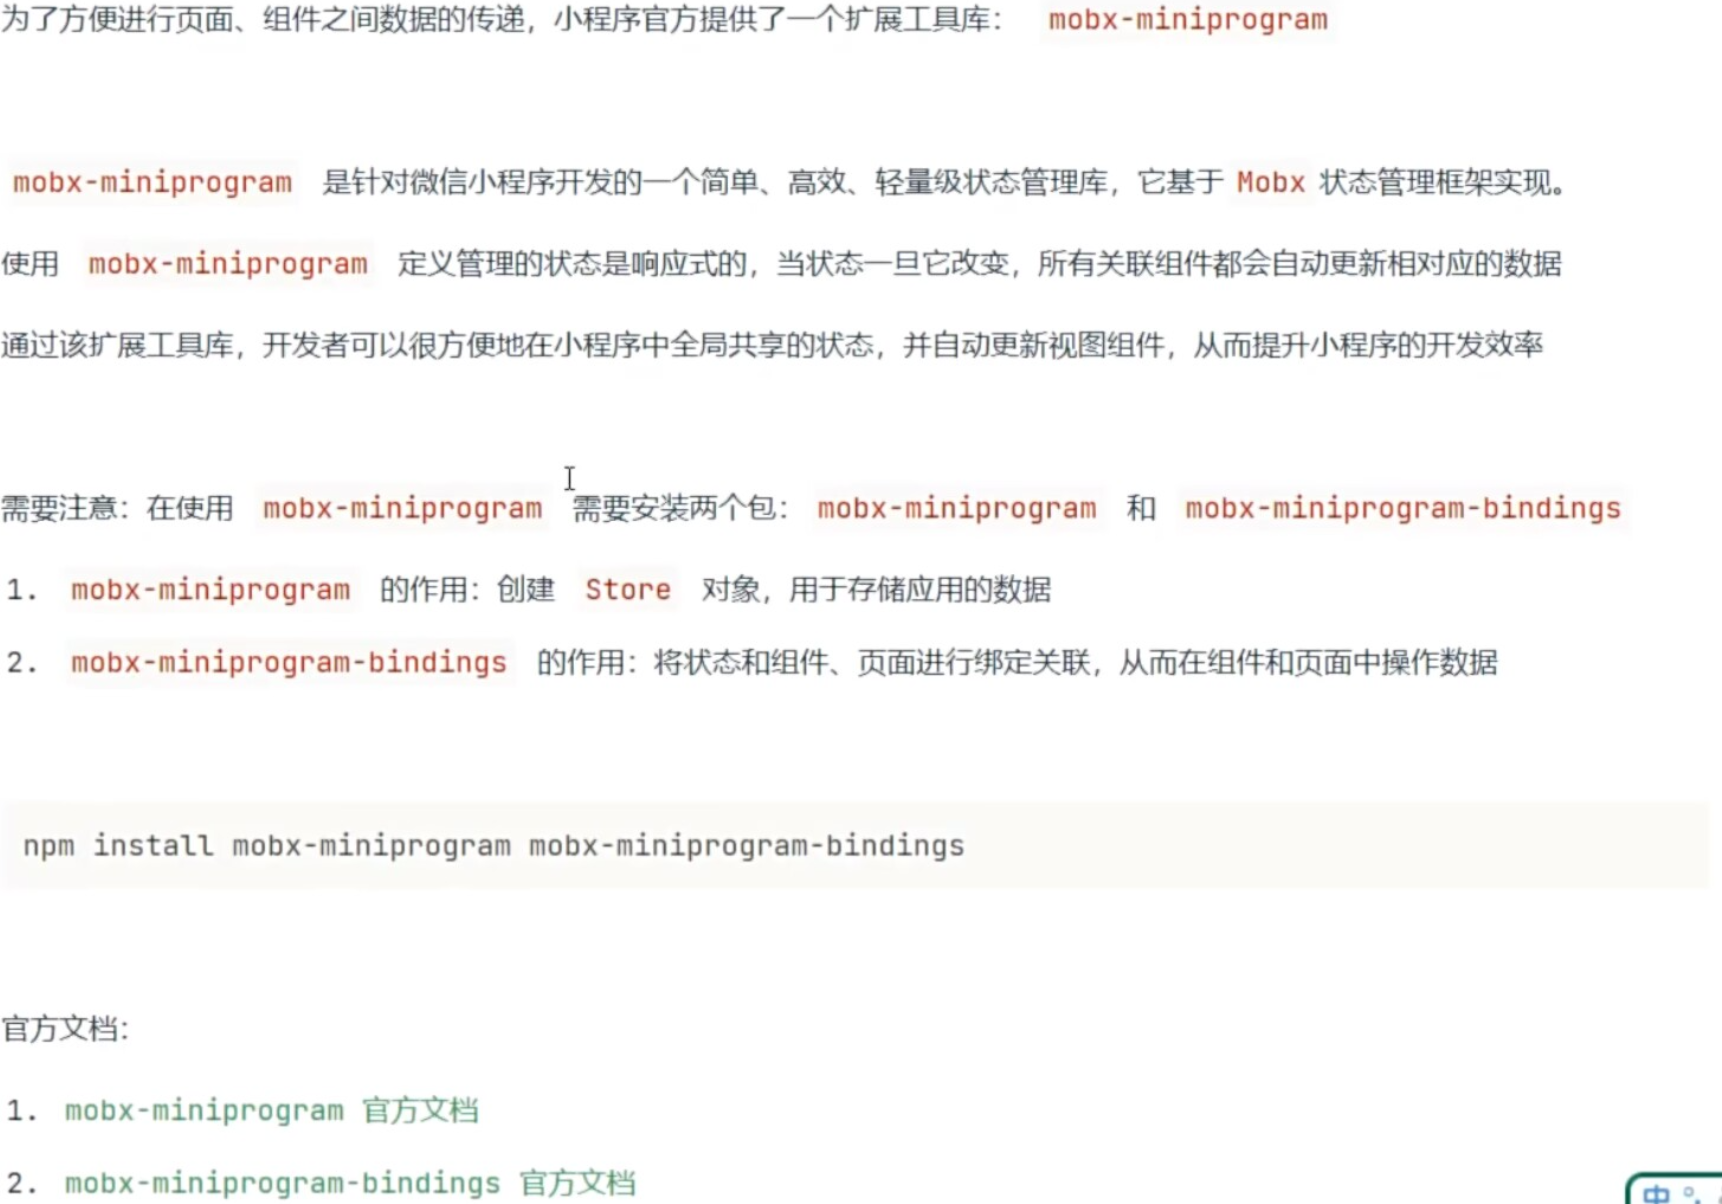
1.mobx-miniprogram
(1)介绍
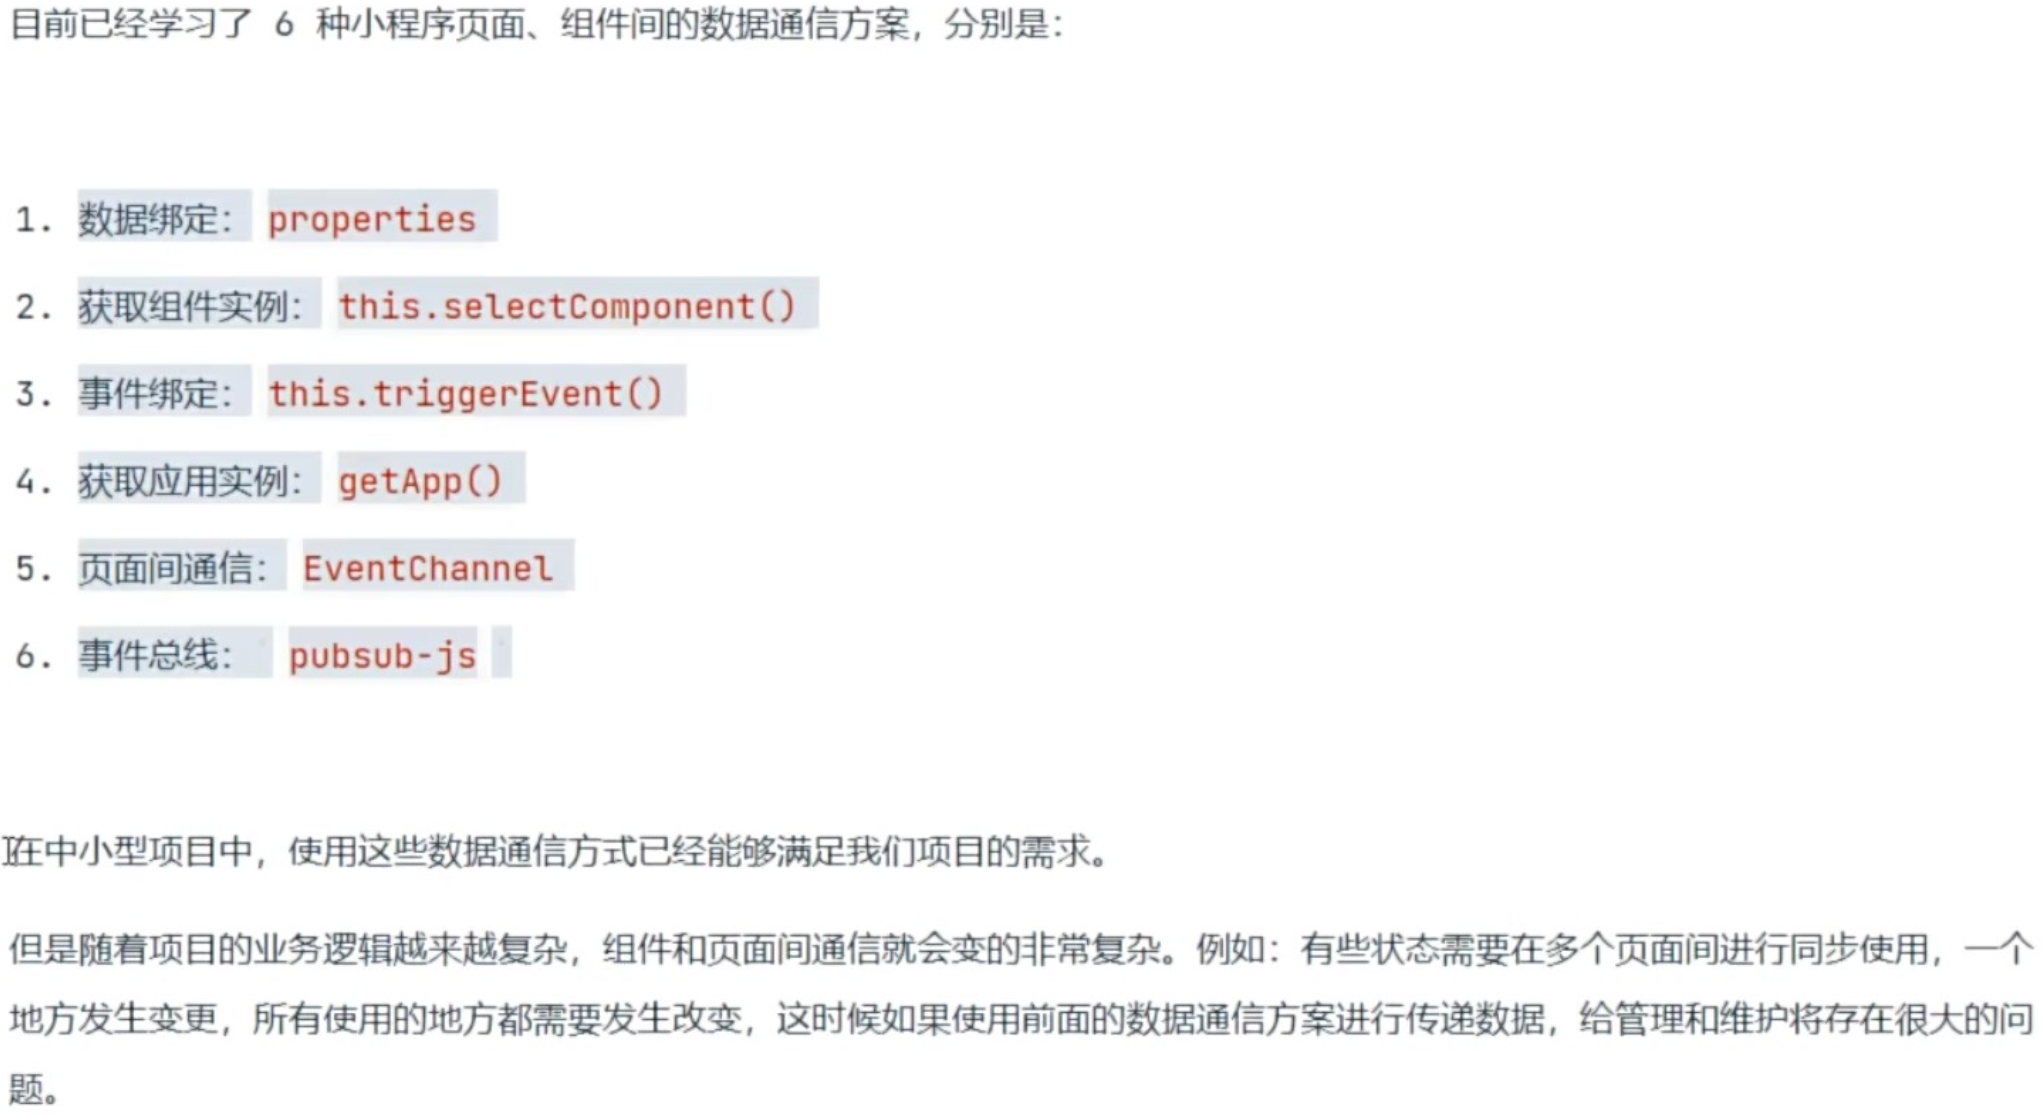
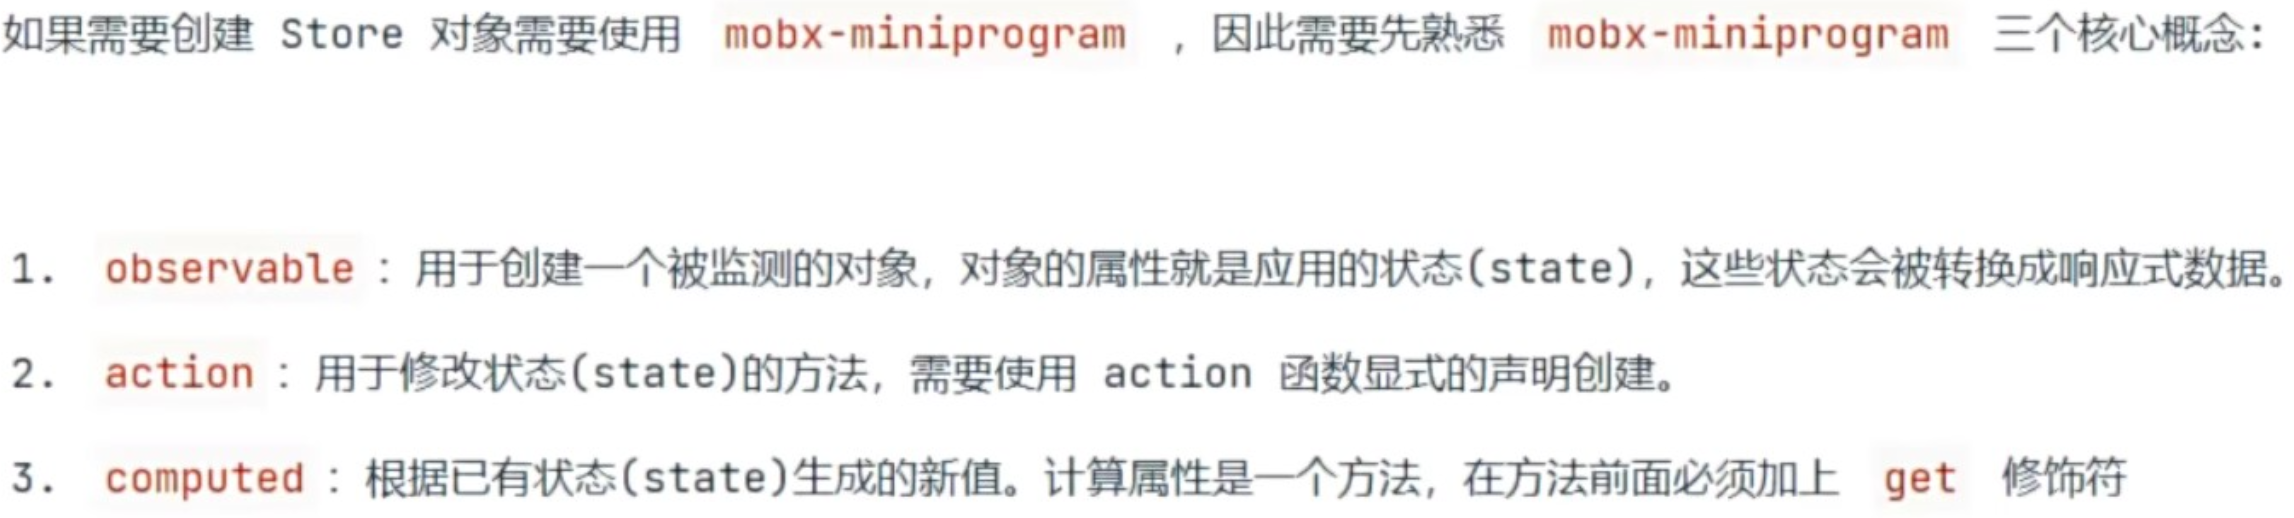
(2)创建 Store 对象
javascript
// observable 用于创建一个被监测的对象,对象的属性是应用对的状态,状态会被自动转换为响应式数据
// action 函数是用来显示的定义 action 方法,action 方法是用来修改、更新状态
import { observable, action } from 'mobx-miniprogram'

// 开始创建 Store 对象
export const numStore = observable({

  // 对象的属性就是应用的状态
  numA: 1,
  numB: 2,

  // 定义 action 方法,用来修改状态
  update: action(function () {
    // 在方法中如果需要获取状态,可以使用 this 进行获取
    this.numA += 1
    this.numB += 1
  }),

  // 计算属性 computed
  // 是根据已有的状态产生新的状态
  // 计算属性前面需要使用 get 修饰符进行修饰
  get sum () {
    // 计算属性内部必须要有返回值
    return this.numA + this.numB
  }

})
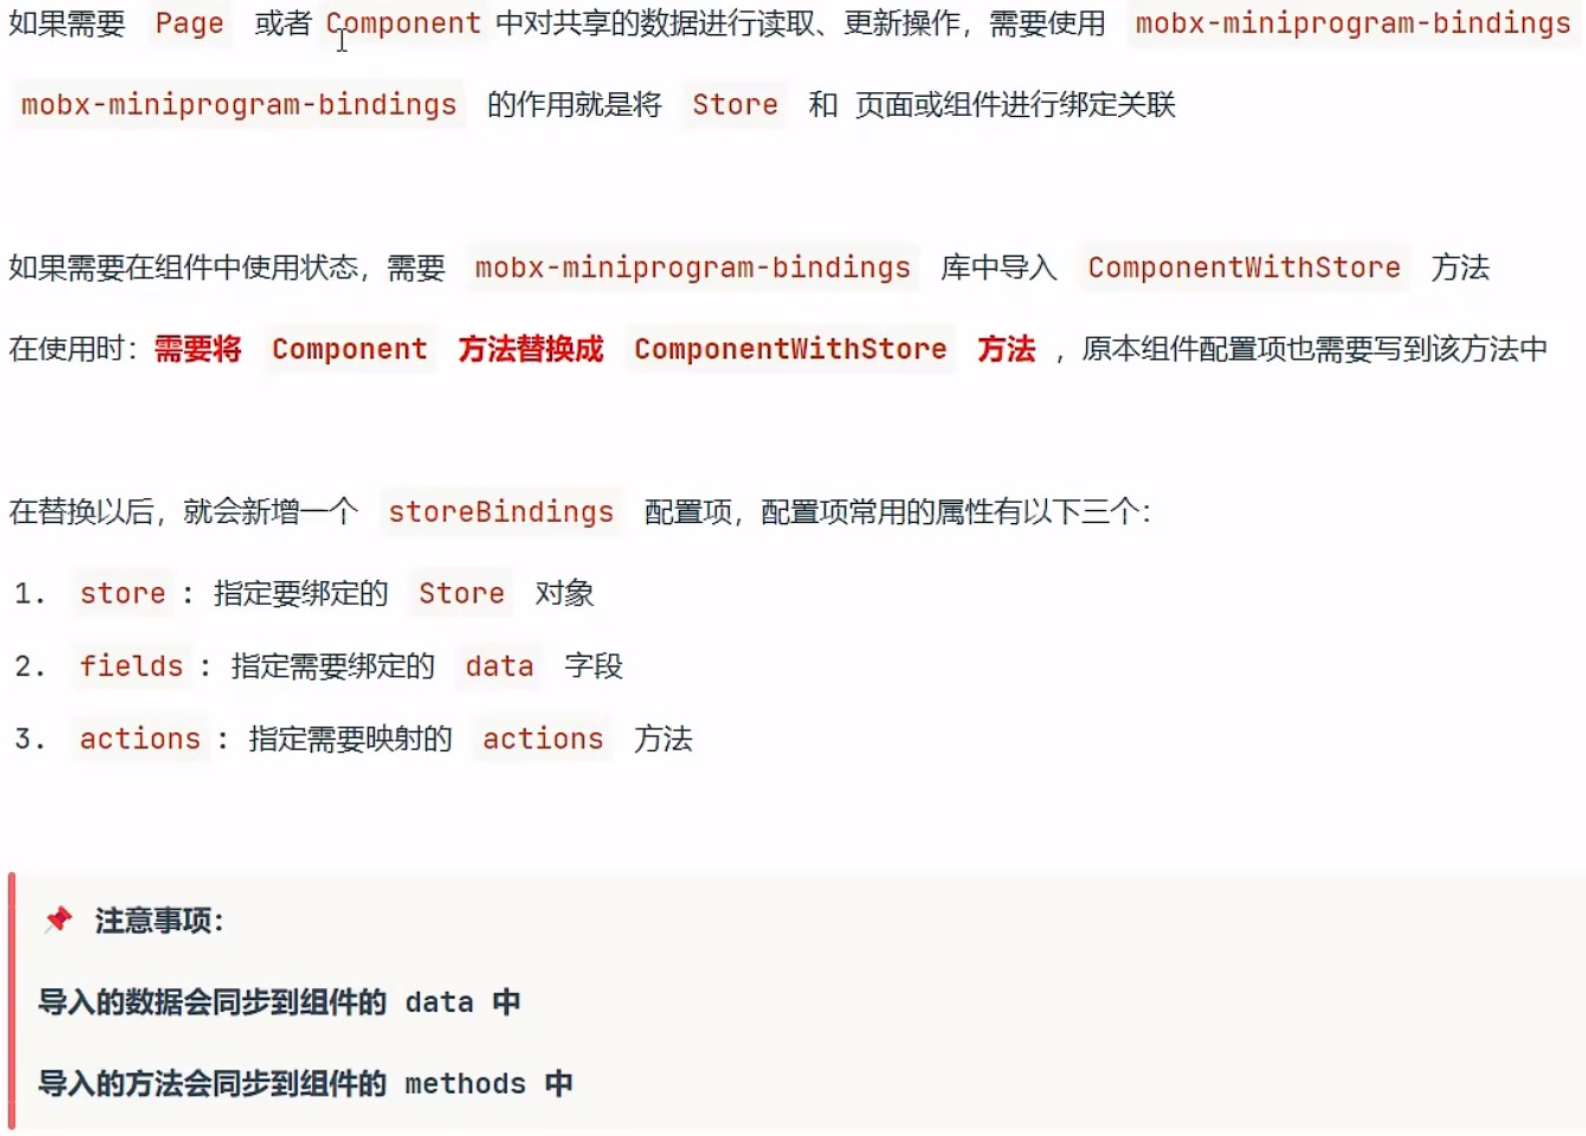
(3)在组件中使用数据
javascript
// components/custom01/custom01.js

// 如果需要在组件中使用 Store 中的数据以后方法
// 需要从 mobx-miniprogram-bindings 里面引入 ComponentWithStore 方法
import { ComponentWithStore } from 'mobx-miniprogram-bindings'
// 导入当前组件需要使用的 Store 对象
import { numStore } from '../../stores/numstore'

// 需要使用 ComponentWithStore 方法将 Component 方法进行替换
ComponentWithStore({

  // 用来配置当前组件需要与那些 Store 进行关联
  // 注意:在从 Store 对象中进行引入数据和方法以后
  // 如果是数据,会被注入到 data 对象中
  // 如果是方法,会被注入到 methods 对象中
  storeBindings: {
    store: numStore,
    fields: ['numA', 'numB', 'sum'],
    actions: ['update']
  }

})
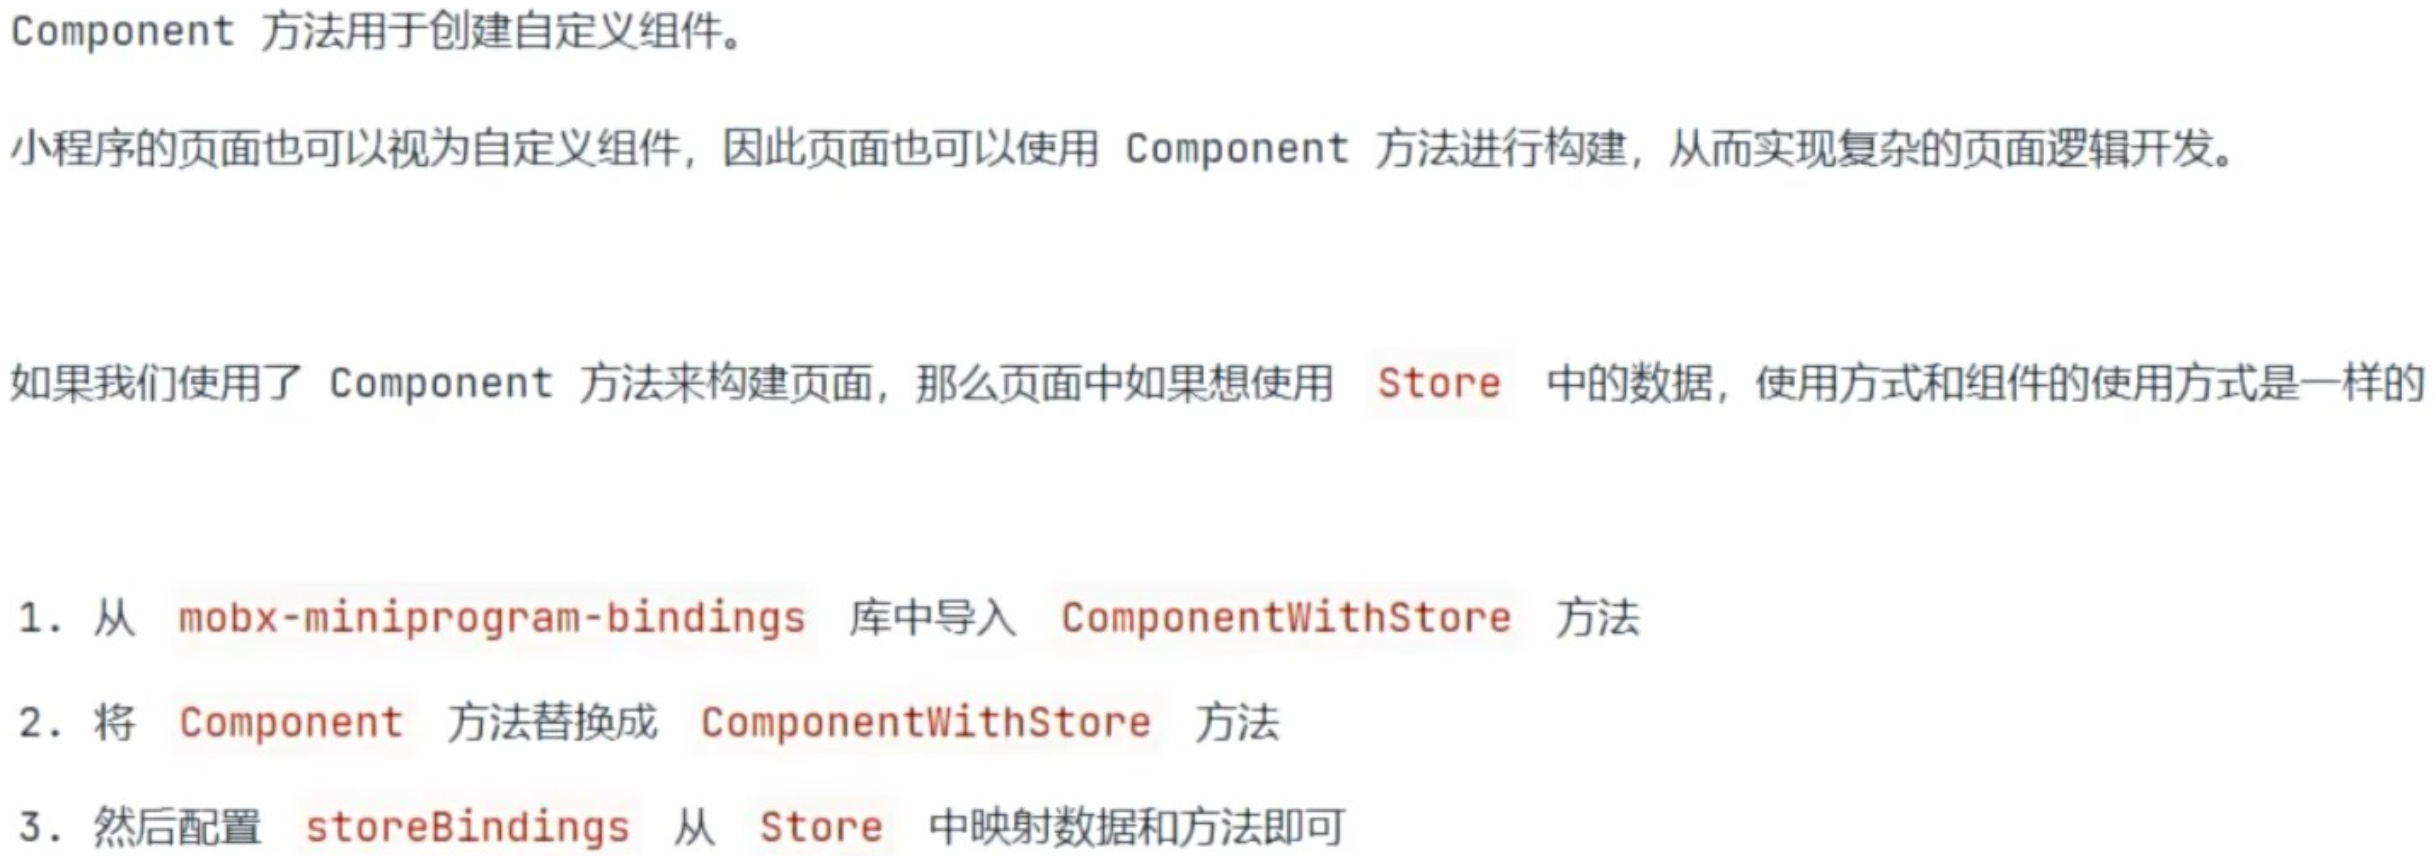
(4)在页面中使用数据-方式1
javascript
// pages/cate/cate.js
import { ComponentWithStore } from 'mobx-miniprogram-bindings'
import { numStore } from '../../stores/numstore'

// 小程序页面也可以使用 Component 方法进行构造
// 如果使用 Component 方法进行构造、构建页面
// 这时候页面如果想使用 Store 对象中的数据,使用方式和组件的使用方式是一摸一样的
ComponentWithStore({

  storeBindings: {
    store: numStore,
    fields: ['numA', 'numB', 'sum'],
    actions: ['update']
  }

})
(5)在页面中使用数据-方式2
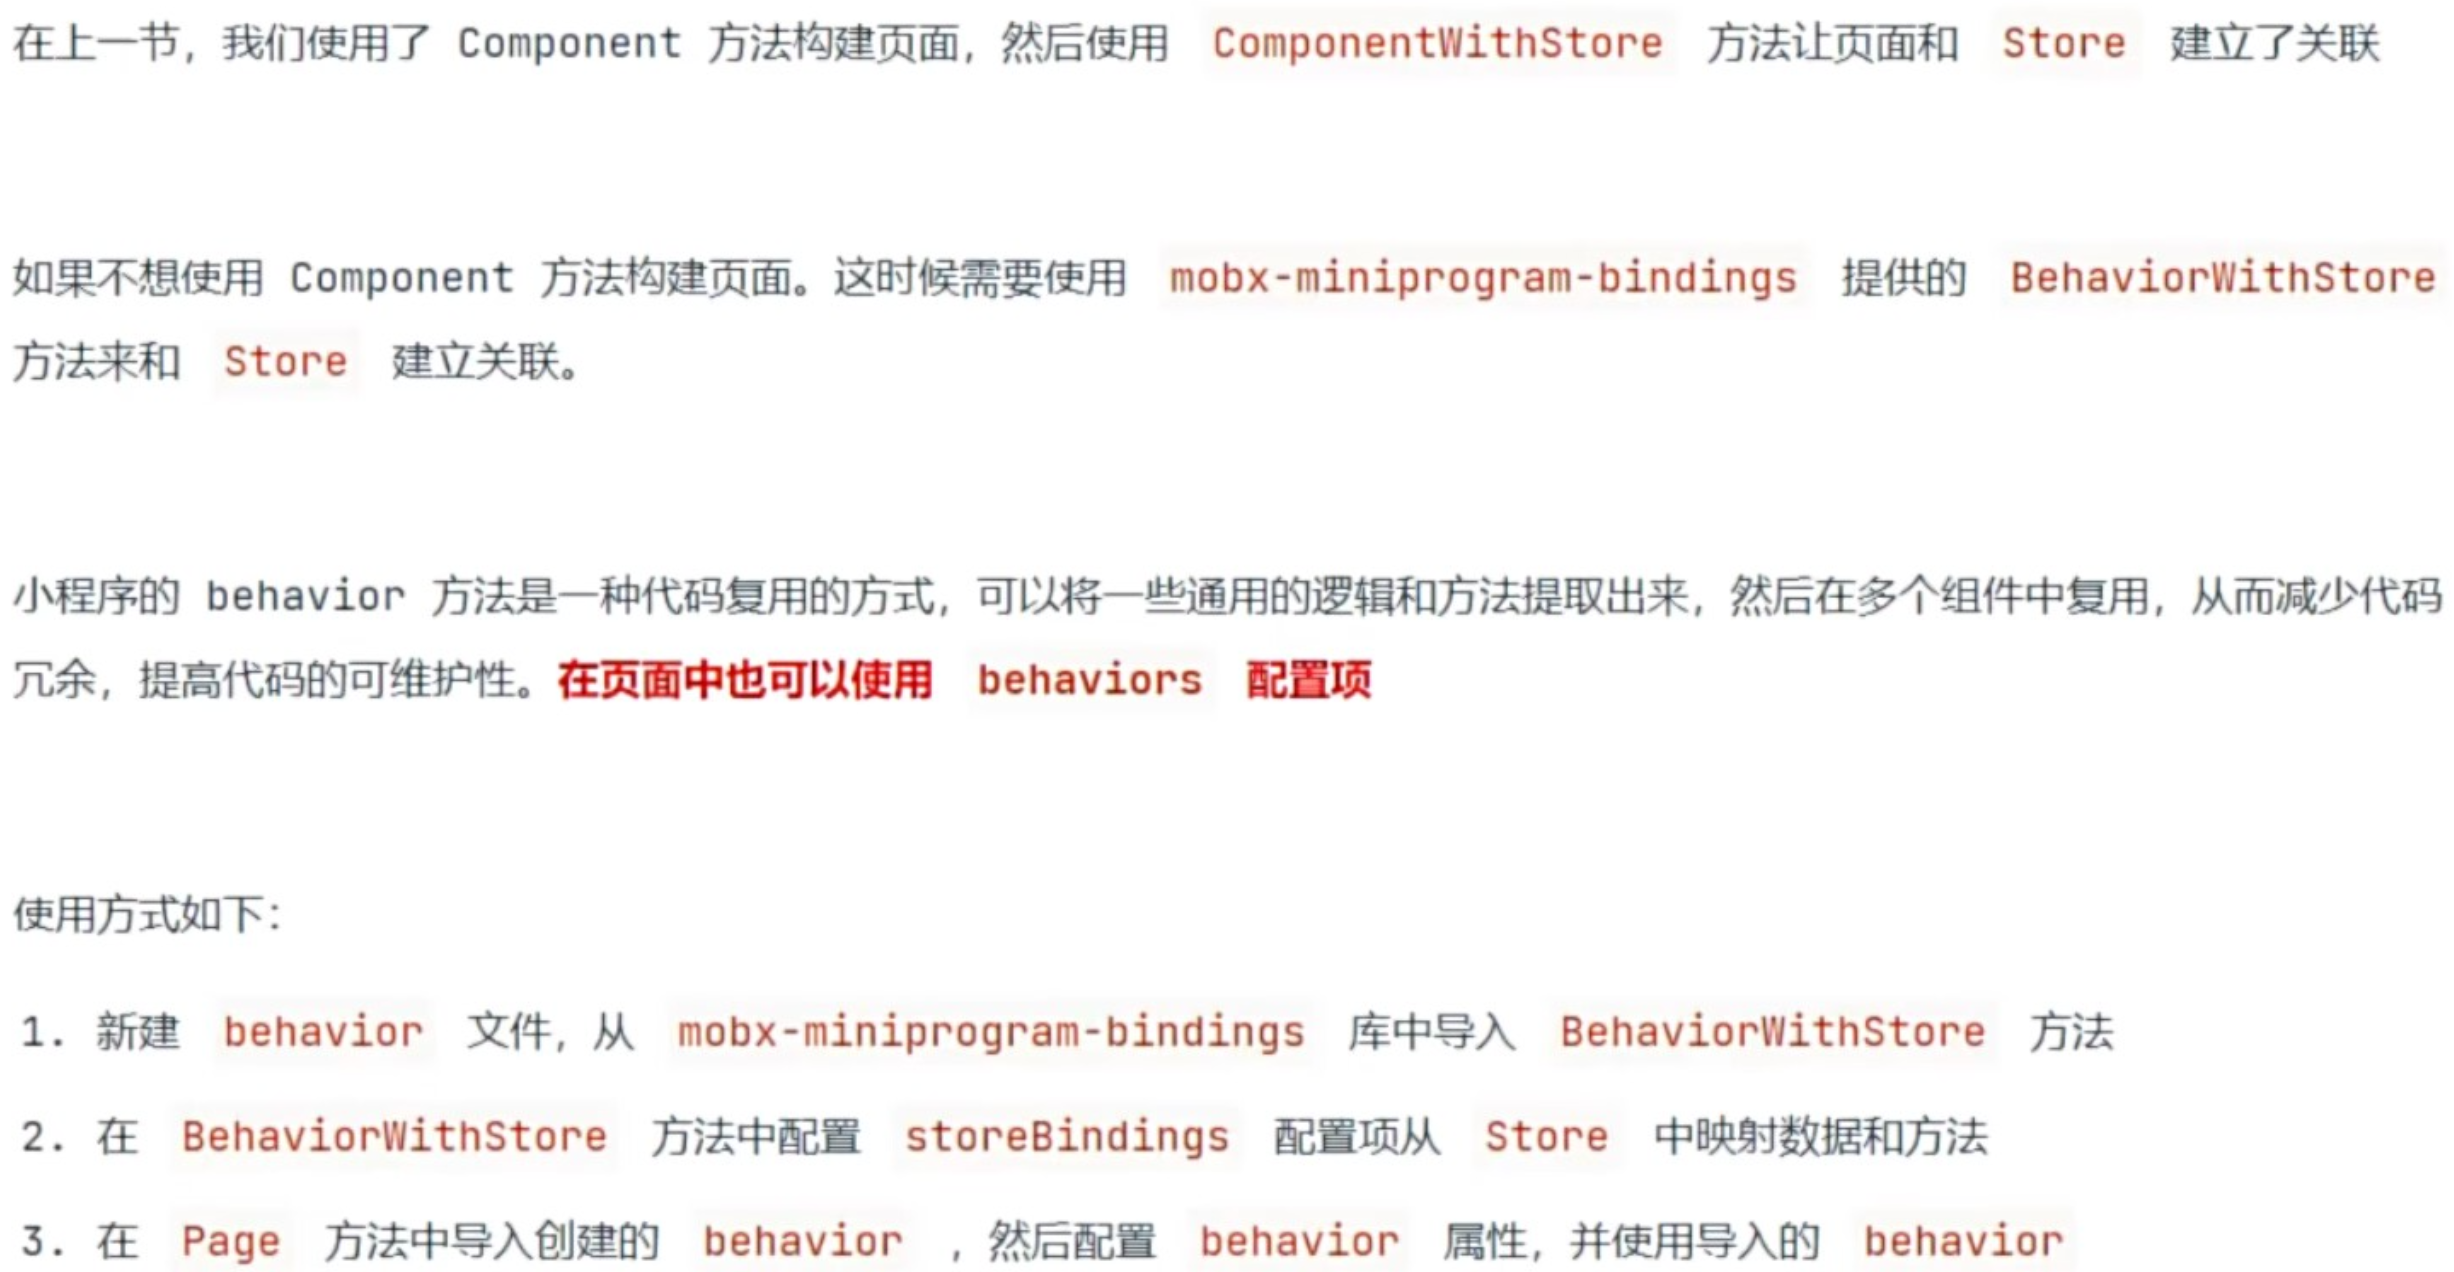
javascript
// pages/cart/behaviors.js
// 小程序页面如果想使用 Store 对象中的数据或者方法
// 需要从 mobx-miniprogram-bindings 导入 BehaviorWithStore 方法
import { BehaviorWithStore } from 'mobx-miniprogram-bindings'
import { numStore } from '../../stores/numstore'

// BehaviorWithStore 方法的作用:
// 让页面 和 Store 对象建立关联
export const cartBehavior  =  BehaviorWithStore({

  storeBindings: {
    store: numStore,
    fields: ['numA', 'numB', 'sum'],
    actions: ['update']
  }

})
javascript
// pages/cart/cart.js
// 需要先导入提取的 behavior
import { cartBehavior } from './behaviors'

Page({

  // 使用 behaviors 配置项注册提取的 behavior
  behaviors: [cartBehavior]

})
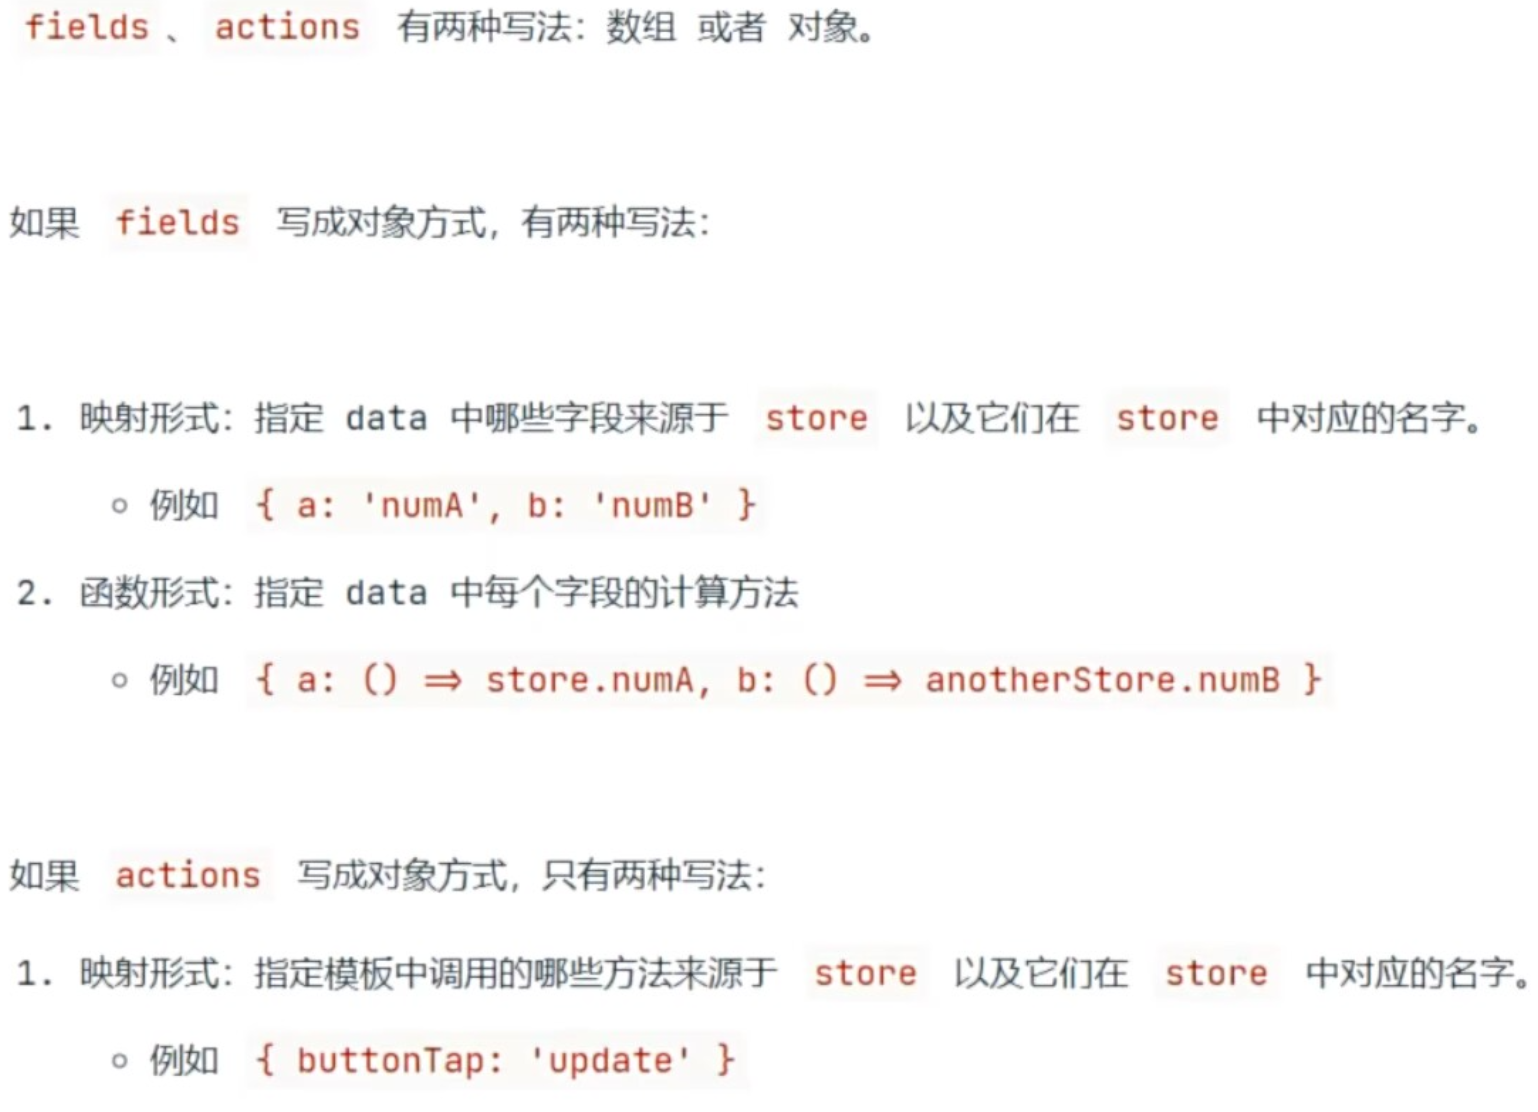
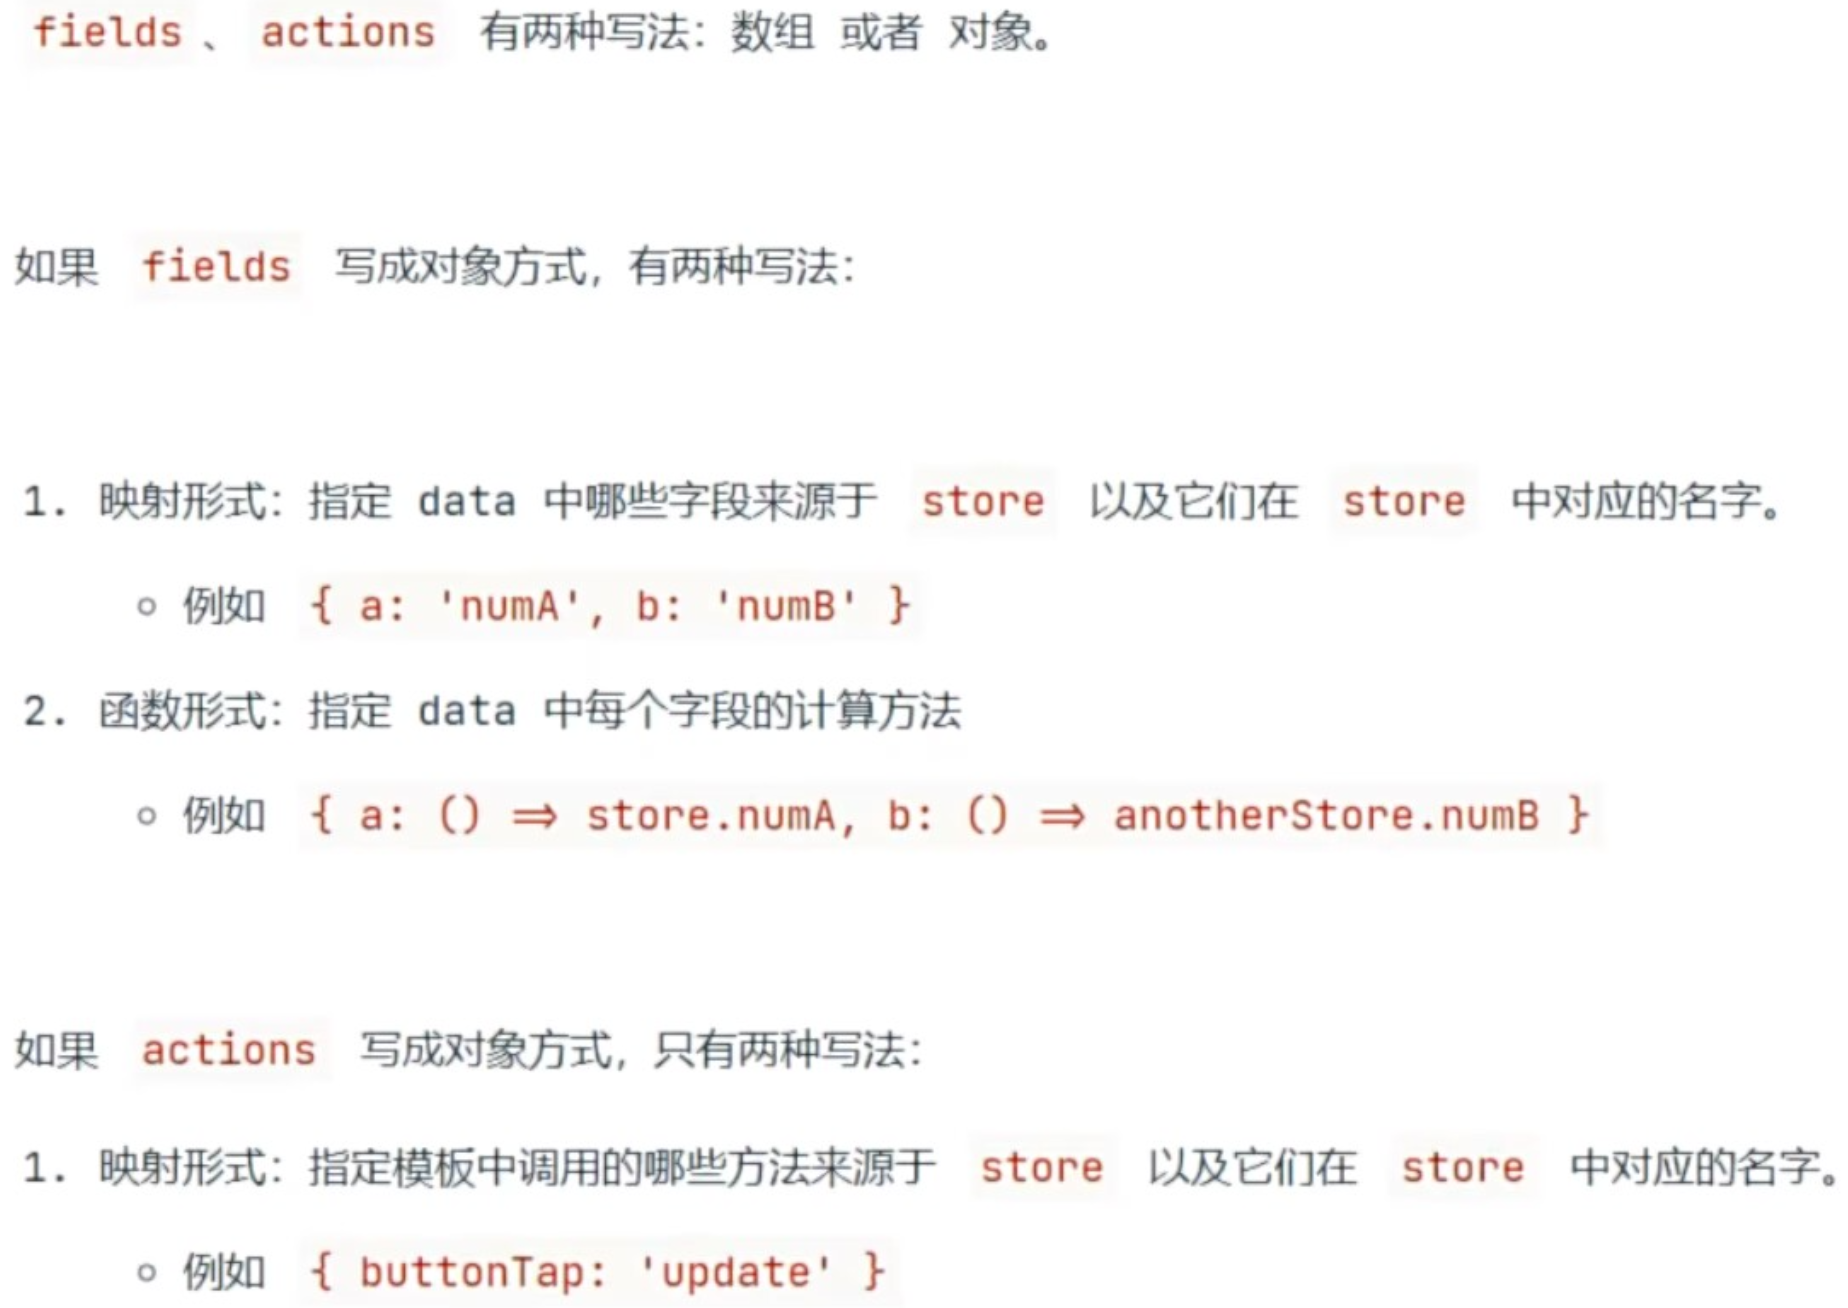
(6)fields、actions 对象写法
html
<!--components/custom01/custom01.wxml-->

<view> {{ a }} + {{ b }} = {{ total }} </view>

<button type="warn" plain bind:tap="updateData">更新 Store 中的数据</button>
javascript
  storeBindings: {
    store: numStore,

    // fields 和 actions 有两中写法:数组写法 和 对象写法

    // 数组写法
    // fields: ['numA', 'numB', 'sum'],
    // actions: ['update']

    // 对象写法
    fields: {

      // 如果 fields 改成了 对象写法
      // 数据也有两种写法

      // 映射形式:需要指定 data 中哪些字段来源于 store,以及在 store 中的名字是什么
      // numA: 'numA',
      // numB: 'numB',
      // sum: 'sum'

      // 函数形式
      // key: data 中哪些字段来源于 store
      // value: 函数、函数内部需要返回对应 store 数据的值
      // numA: () => numStore.numA,
      // numB: () => numStore.numB,
      // sum: () => numStore.sum

      // 自定义属性,如果对属性进行了自定义,模板中需要使用自定义以后的属性
      a: 'numA',
      b: 'numB',
      total: 'sum'

    },
    actions: {

      // 如果将 actions 改成对象写法
      // actions 只有映射形式一种写法
      // 指定模板中使用来源于 store,并且在 store 中的名字是什么
      updateData: 'update'

    }
  }
(7)绑定多个 store 以及命名空间
javascript
// cloneStore.js
// observable 用于创建一个被监测的对象,对象的属性是应用对的状态,状态会被自动转换为响应式数据
// action 函数是用来显示的定义 action 方法,action 方法是用来修改、更新状态
import { observable, action } from 'mobx-miniprogram'

// 开始创建 Store 对象
export const cloneStore = observable({

  // 对象的属性就是应用的状态
  numA: 10,
  numB: 20,

  // 定义 action 方法,用来修改状态
  update: action(function () {
    // 在方法中如果需要获取状态,可以使用 this 进行获取
    this.numA += 1
    this.numB += 1
  }),

  // 计算属性 computed
  // 是根据已有的状态产生新的状态
  // 计算属性前面需要使用 get 修饰符进行修饰
  get sum () {
    // 计算属性内部必须要有返回值
    return this.numA + this.numB
  }

})
javascript
// pages/cart/behaviors.js
// 小程序页面如果想使用 Store 对象中的数据或者方法
// 需要从 mobx-miniprogram-bindings 导入 BehaviorWithStore 方法
import { BehaviorWithStore } from 'mobx-miniprogram-bindings'
import { numStore } from '../../stores/numstore'
import { cloneStore } from '../../stores/clonestore'

// BehaviorWithStore 方法的作用:
// 让页面 和 Store 对象建立关联
export const cartBehavior  =  BehaviorWithStore({

  // 如果一个组件或者页面需要绑定多个 Store 对象
  // 需要将 storeBindings 配置项改造成一个数组
  // 数组每一项是一个个要绑定的 Store 对象
  storeBindings: [
    {
      store: numStore,
      fields: ['numA', 'numB', 'sum'],
      actions: ['update']
    },

    // 如果一个组件或者页面需要绑定多个 Store 对象
    // 从 Store 对象 中引入了相同的数据或者方法
    // 这时候代码就会出现异常
    {
      store: cloneStore,

      // 第一种解决方案:将 fields 以及 actions 改成对象方式
      // fields: ['numA', 'numB', 'sum'],
      // actions: ['update']
      // fields: {
      //   a: 'numA',
      //   b: 'numB',
      //   total: 'sum'
      // },
      // actions: {
      //   updateData: 'update'
      // }

      // 第二种解决方案:添加命名空间
      // 如果是数据存在冲突(存在相同的数据或者方法),添加命名空间没有问题的
      // 但是如果是方法冲突(存在相同的数据或者方法),依然需要使用对象的方式来改造
      // 注意:在添加命名空间以后,如果需要访问数据,需要加上命名空间的名字才可以
      // cloneStore.numA
      namespace: 'cloneStore',
      fields: ['numA', 'numB', 'sum'],
      actions: {
        updateData: 'update'
      }
    }
  ]
html
<!-- cart.wxml -->

<view> {{ numA }} + {{ numB }} = {{ sum }} </view>

<button type="warn" plain bind:tap="update">更新 Store 中的数据</button>


<view> {{ cloneStore.numA }} + {{ cloneStore.numB }} = {{ cloneStore.sum }} </view>

<button type="warn" plain bind:tap="updateData">更新 Store 中的数据</button>
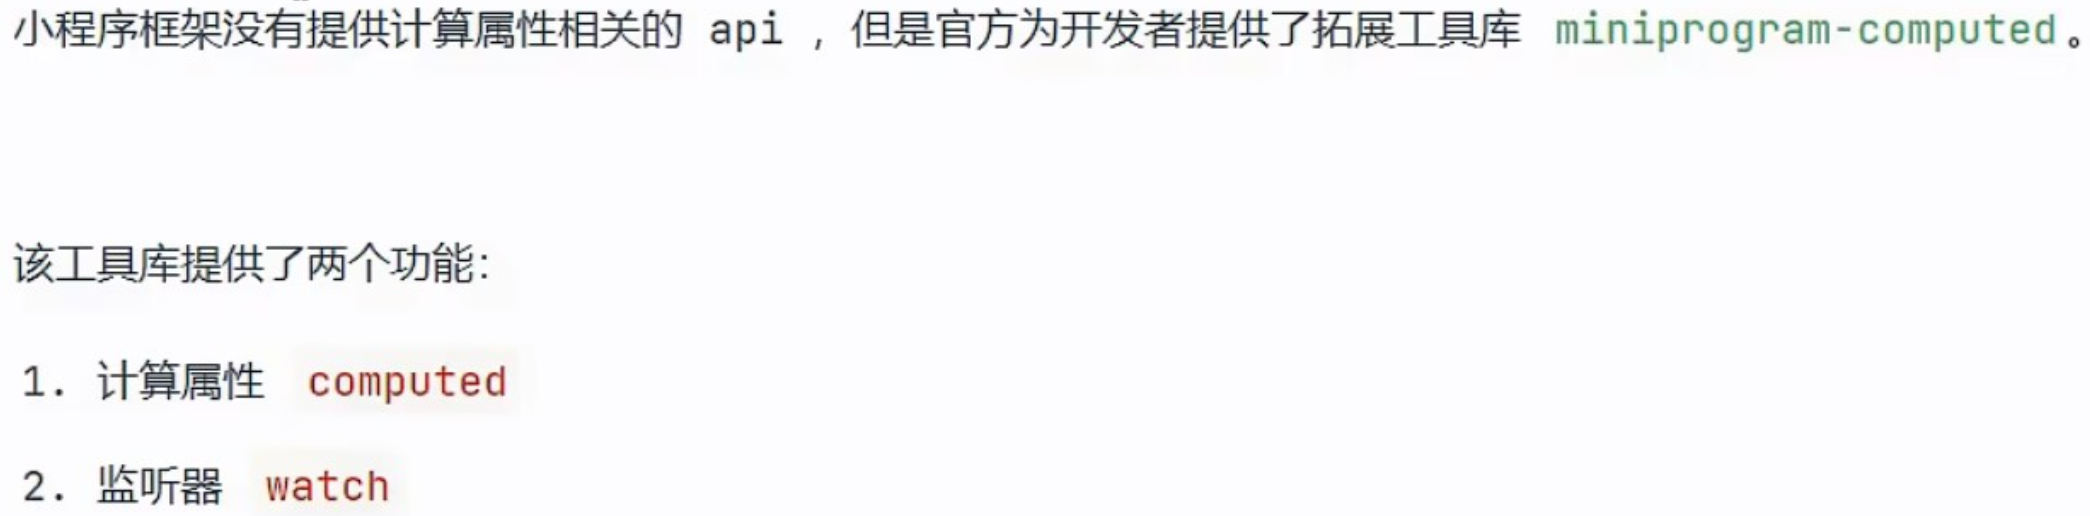
(8)miniprogram-computed 计算属性和监听器
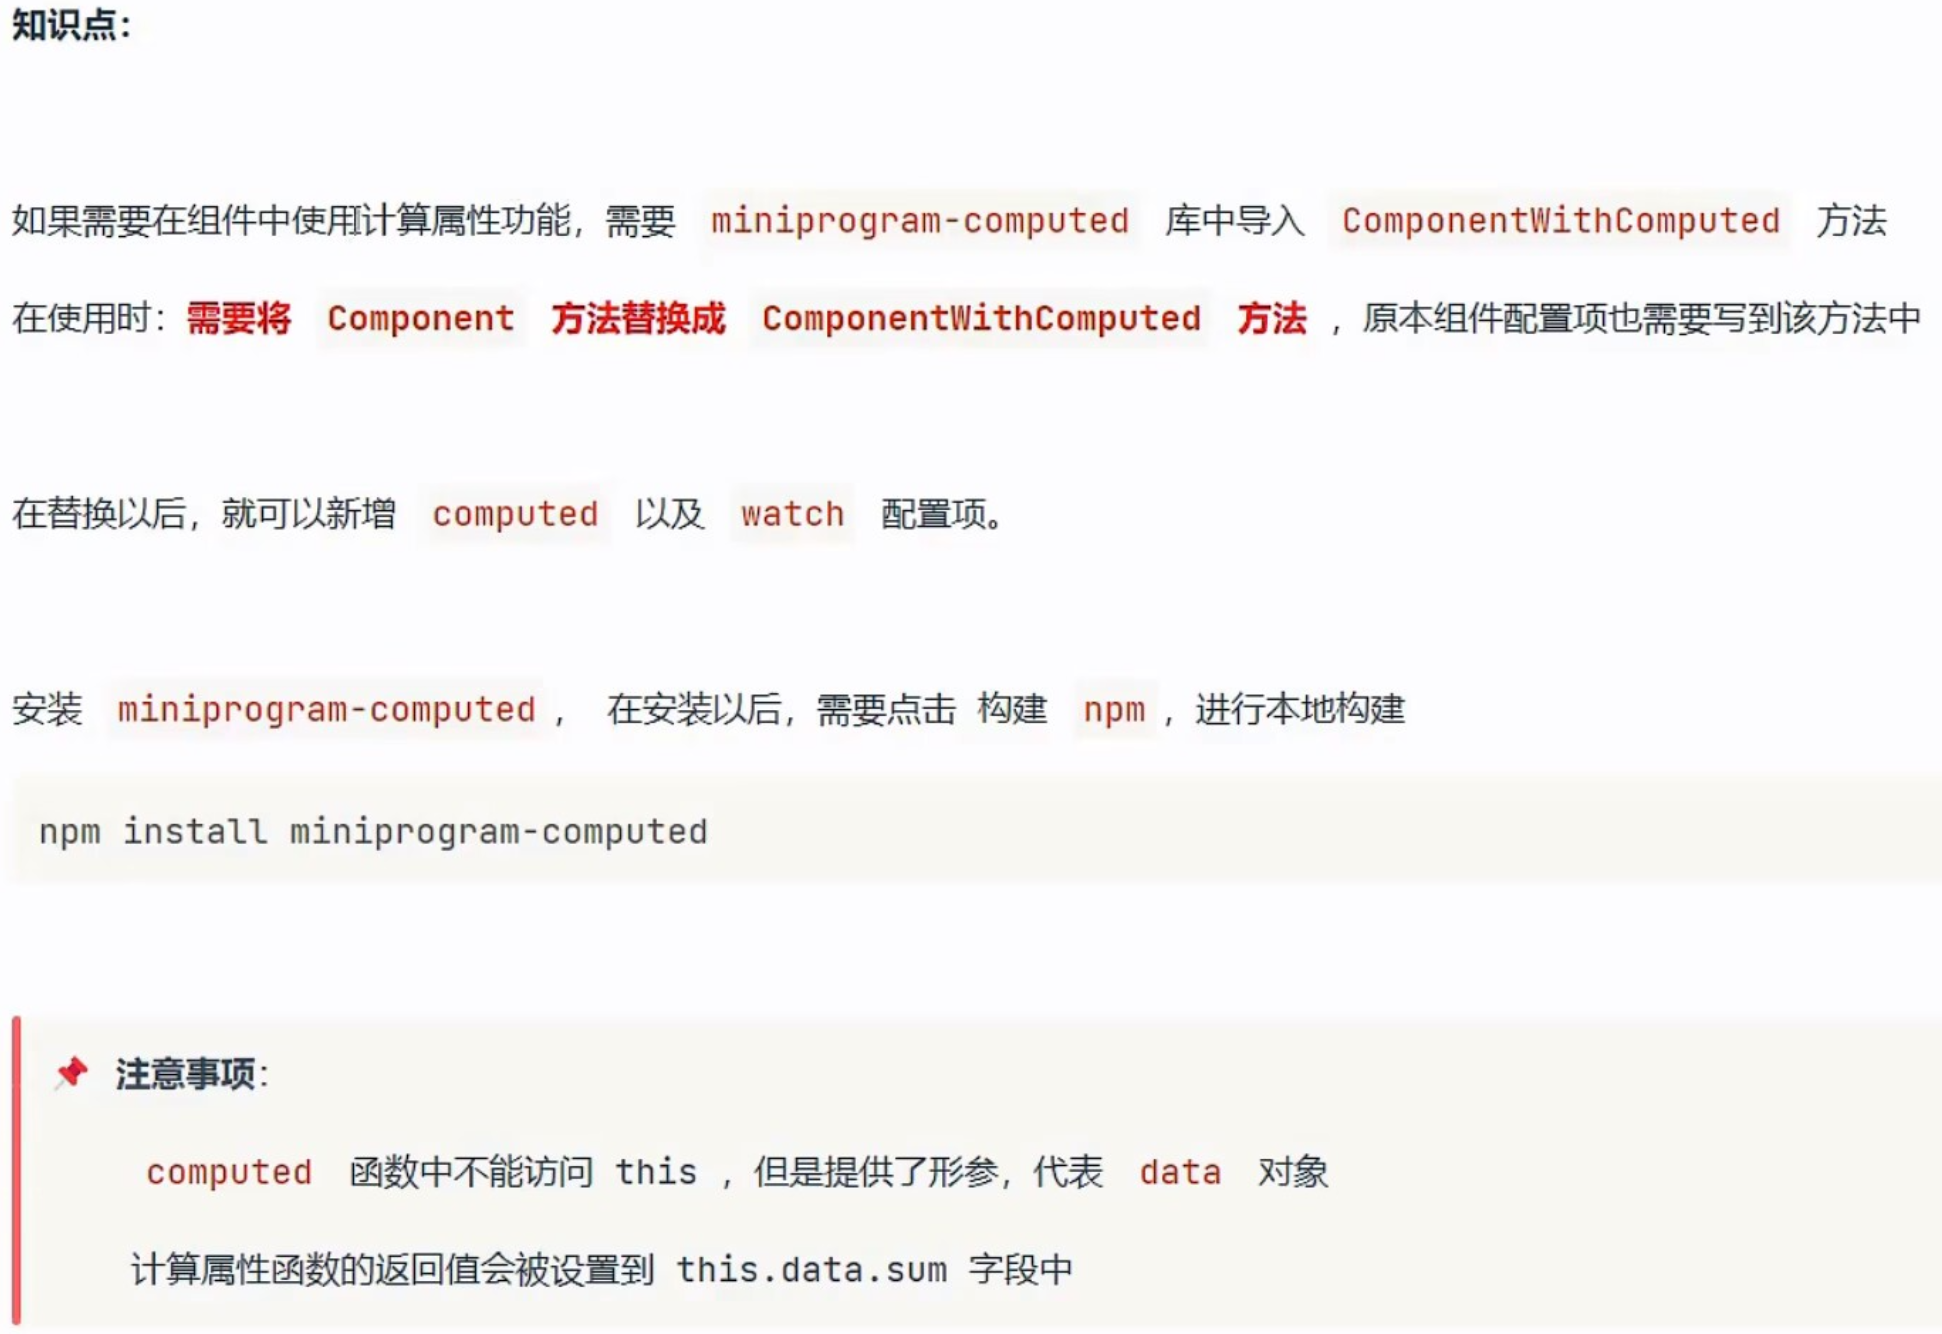

javascript
// components/custom02/custom02.js
// 如果需要在组件中使用计算属性功能,需要导入 ComponentWithComputed 方法
import { ComponentWithComputed } from 'miniprogram-computed'

// 需要使用导入的 ComponentWithComputed 替换 Component 方法
ComponentWithComputed({

  // 计算属性:基于已有的数据产生新的数据
  // 在使用 ComponentWithComputed 方法构建组件以后
  // 这时候,就可以新增两个配置项 computed 以及 watch 配置项

  computed: {
    total (data) {
      // 计算属性方法内部必须有返回值
      // 在计算属性内部,不能使用 this 来获取 data 中的数据
      // 如果想获取 data 中的数据,需要使用 形参
      // console.log(this)

      // 计算属性具有缓存特性
      // 计算属性只执行一次,后续在使用的时候,返回的是第一次执行的结果
      // 只要依赖的数据,没有发生改变,返回的始终是第一次执行的结果
      // 只要计算属性依赖的数据发生了变化,计算属性也会重新执行
      console.log('~~~~~~~~~~~~~~~~~~~~~~~')

      return data.a + data.b
    }
  },

  // watch 数据监听器,用来监听数据是否发生变化,在数据发生变化以后执行相应的逻辑
  watch: {
    // key:需要监听的数据
    // value:是回调函数,回调函数有一个形参,形参是最新的、改变以后的数据
    // a: function (a) {
    //   console.log(a)
    // },

    // b: function (b) {
    //   console.log(b)
    // }

    // 同时监听多个数据,数据与数据之间需要使用 , 进行分隔
    'a, b': function (a, b) {
      // 在 watch 内部监听到数据变化以后,就可以来执行相应的逻辑
      // console.log(a, b)
      this.setData({
        c: a + b
      })
    }
  },

  // 组件的初始数据
  data: {
    a: 1,
    b: 2,
    c: ''
  },

  // 组件的方法列表
  methods: {
    updateData () {

      this.setData({
        a: this.data.a + 1,
        b: this.data.b + 1
      })

    }
  }
})
html
<!--components/custom02/custom02.wxml-->
<!-- <text>components/custom02/custom02.wxml</text> -->

<view>{{ a }} + {{ b }} = {{ total }}</view>

<view>{{ c === '' ? a + b : c }}</view>

<button type="primary" plain bind:tap="updateData">更新数据</button>
(9)拓展:Mobx 与 Computed 结合使用
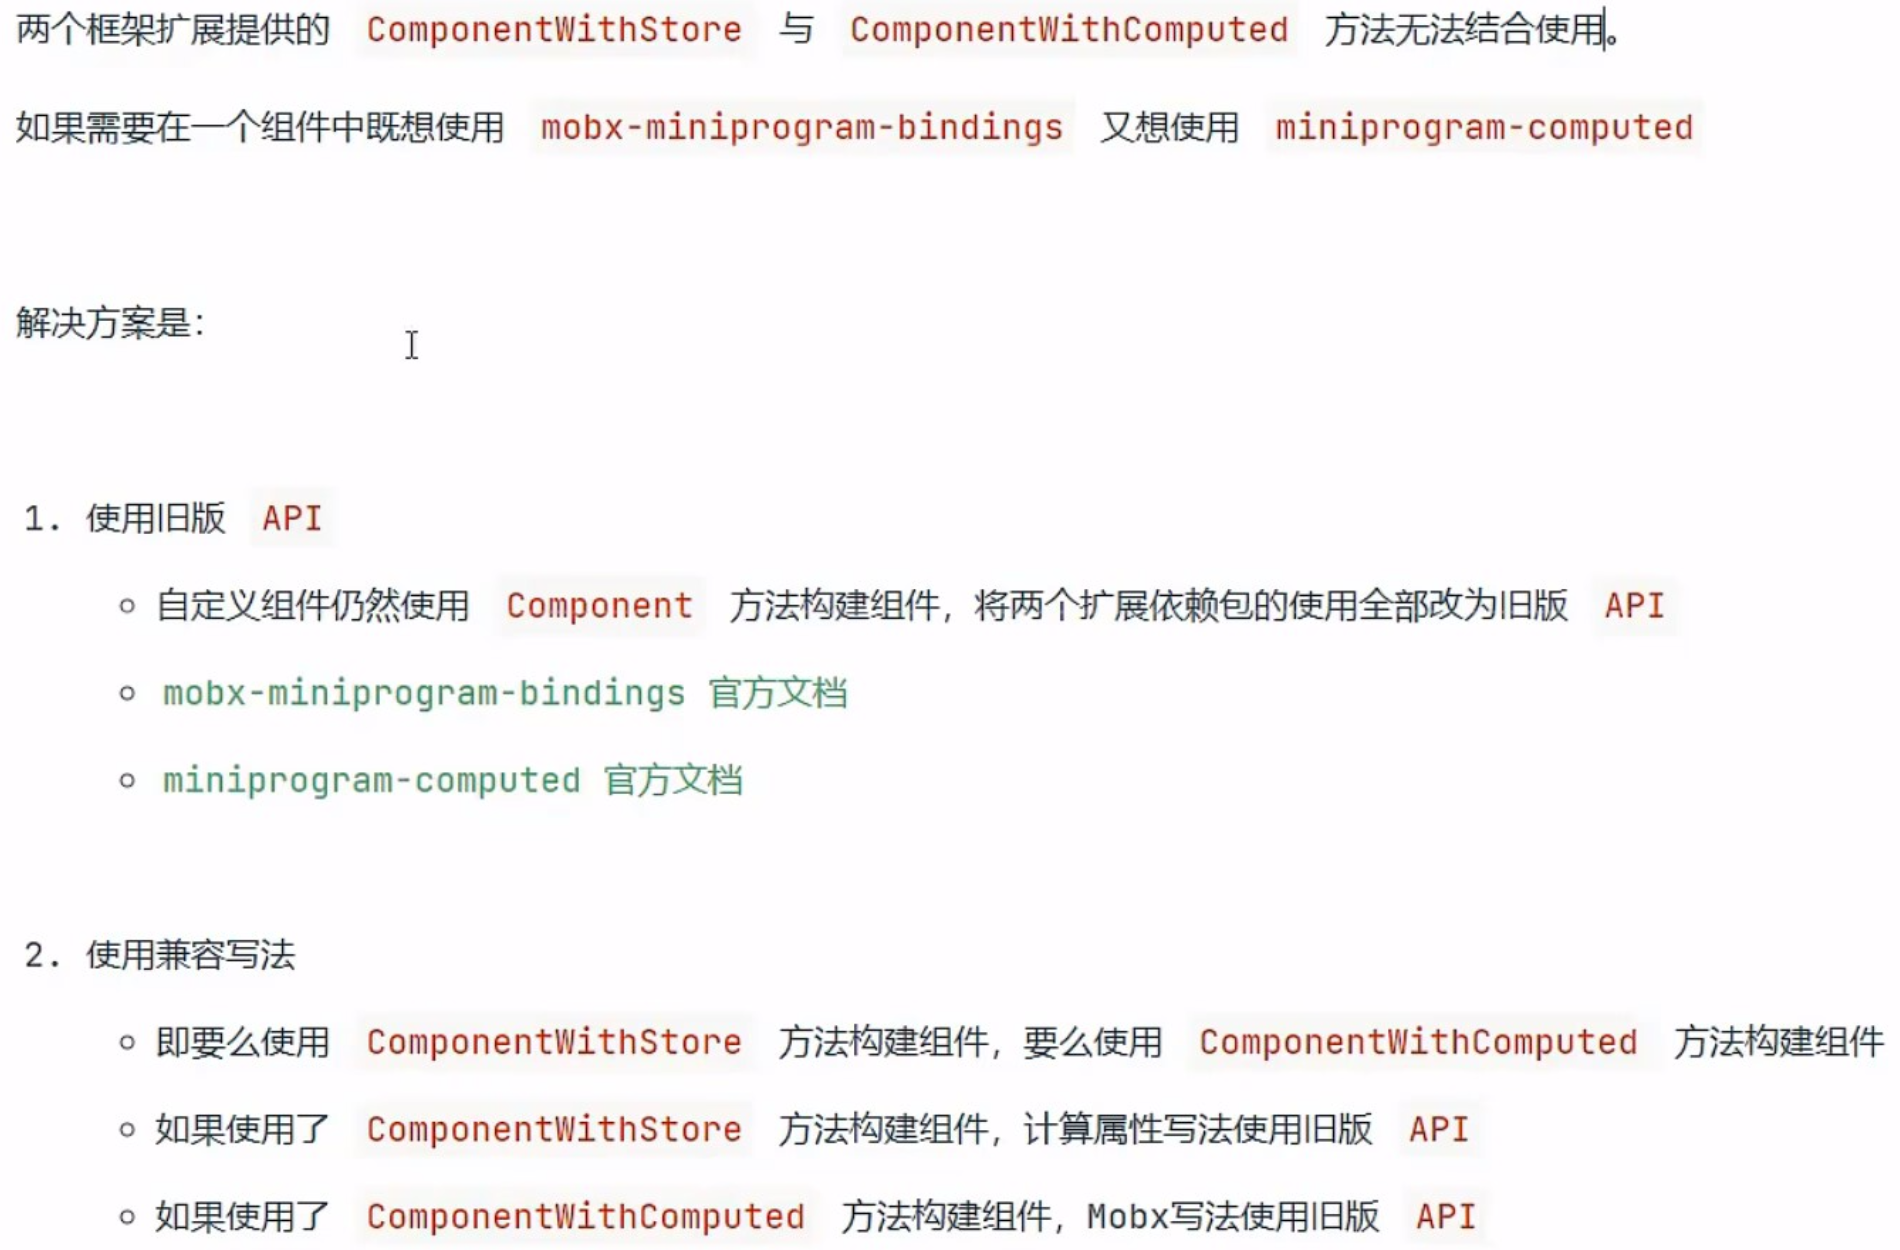
javascript
// components/custom03/custom03.js
// 如果需要在组件中使用 Store 中的数据以后方法
// 需要从 mobx-miniprogram-bindings 里面引入 ComponentWithStore 方法
import { ComponentWithStore } from 'mobx-miniprogram-bindings'
// 导入当前组件需要使用的 Store 对象
import { numStore } from '../../stores/numstore'

// 如果使用 ComponentWithStore 方法构建组件
// 计算属性扩展库需要使用旧版 API
// 导入计算属性 behavior
const computedBehavior = require('miniprogram-computed').behavior
// 需要使用 ComponentWithStore 方法将 Component 方法进行替换
ComponentWithStore({

  // 注册 behavior
  behaviors: [computedBehavior],

  computed: {
    total (data) {
      return data.a + data.b
    }
  },

  watch: {
    'a, b': function (a, b) {
      console.log(a, b)
    }
  },

  data: {
    a: 1,
    b: 2
  },

  methods: {
    updateData () {
      this.setData({
        a: this.data.a + 1,
        b: this.data.b + 1
      })
    }
  },

  storeBindings: {
    store: numStore,
    fields: ['numA', 'numB', 'sum'],
    actions: ['update']
  }
})
html
<!--components/custom03/custom03.wxml-->
<!-- <text>components/custom03/custom03.wxml</text> -->

<view>ComponentWithStore 构建组件</view>

<view> {{ numA }} + {{ numB }} = {{ sum }} </view>
<button type="warn" plain bind:tap="updateData">更新 Store 中的数据</button>

<view>{{ total }}</view>
<button type="warn" plain bind:tap="updateData">更新数据</button>
html
<!--components/custom04/custom04.wxml-->
<!-- <text>components/custom04/custom04.wxml</text> -->

<view>ComponentWithComputed 构建组件</view>

<view>{{ a }} + {{ b }} = {{ total }}</view>

<view>{{ c === '' ? a + b : c }}</view>

<button type="primary" plain bind:tap="updateData">更新数据</button>

<view> {{ numA }} + {{ numB }} = {{ sum }} </view>
<button type="warn" plain bind:tap="update">更新 Store 中的数据</button>
javascript
// components/custom04/custom04.js
// 如果需要在组件中使用计算属性功能,需要导入 ComponentWithComputed 方法
import { ComponentWithComputed } from 'miniprogram-computed'

// 目前组件使用的是 ComponentWithComputed 进行构建
// 如果想和 Store 对象建立关联、进行绑定
// Mobx 需要使用旧版 API
// 导入 Mobx Behavior
import { storeBindingsBehavior } from 'mobx-miniprogram-bindings'
// 导入当前组件需要使用的 Store 对象
import { numStore } from '../../stores/numstore'

// 需要使用导入的 ComponentWithComputed 替换 Component 方法
ComponentWithComputed({

  behaviors: [storeBindingsBehavior],

  storeBindings: {
    store: numStore,
    fields: ['numA', 'numB', 'sum'],
    actions: ['update']
  },

  computed: {
    total (data) {
      // 计算属性方法内部必须有返回值
      // 在计算属性内部,不能使用 this 来获取 data 中的数据
      // 如果想获取 data 中的数据,需要使用 形参
      // console.log(this)

      // 计算属性具有缓存特性
      // 计算属性只执行一次,后续在使用的时候,返回的是第一次执行的结果
      // 只要依赖的数据,没有发生改变,返回的始终是第一次执行的结果
      // 只要计算属性依赖的数据发生了变化,计算属性也会重新执行
      console.log('~~~~~~~~~~~~~~~~~~~~~~~')

      return data.a + data.b
    }
  },

  // watch 数据监听器,用来监听数据是否发生变化,在数据发生变化以后执行相应的逻辑
  watch: {
    // key:需要监听的数据
    // value:是回调函数,回调函数有一个形参,形参是最新的、改变以后的数据
    // a: function (a) {
    //   console.log(a)
    // },

    // b: function (b) {
    //   console.log(b)
    // }

    // 同时监听多个数据,数据与数据之间需要使用 , 进行分隔
    'a, b': function (a, b) {
      // 在 watch 内部监听到数据变化以后,就可以来执行相应的逻辑
      // console.log(a, b)
      this.setData({
        c: a + b
      })
    }
  },

  // 组件的初始数据
  data: {
    a: 1,
    b: 2,
    c: ''
  },

  // 组件的方法列表
  methods: {
    updateData () {

      this.setData({
        a: this.data.a + 1,
        b: this.data.b + 1
      })

    }
  }
})
三、用户管理
1.用户登录
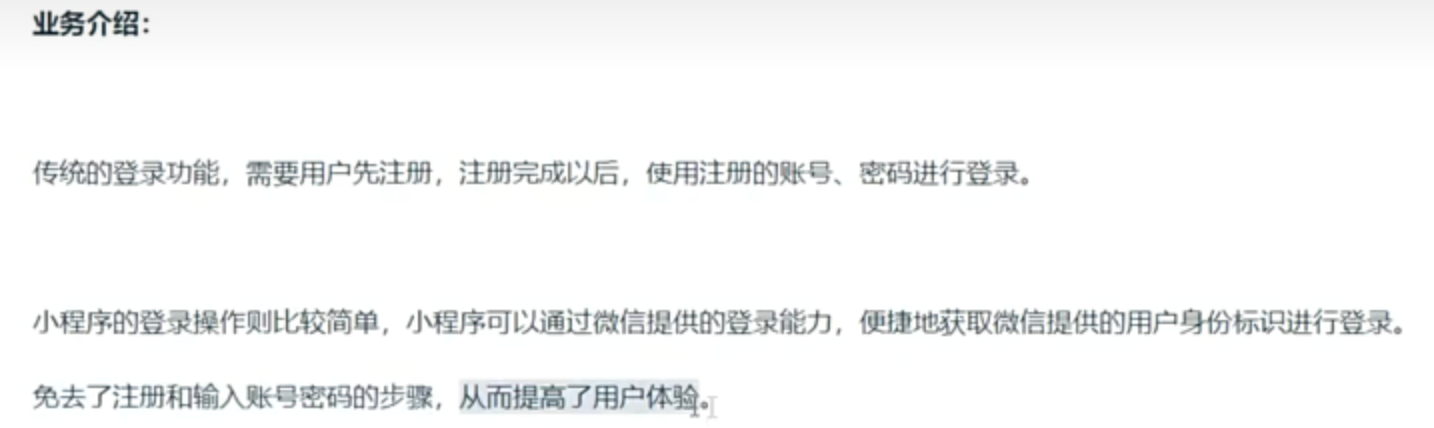
(1)什么是 token
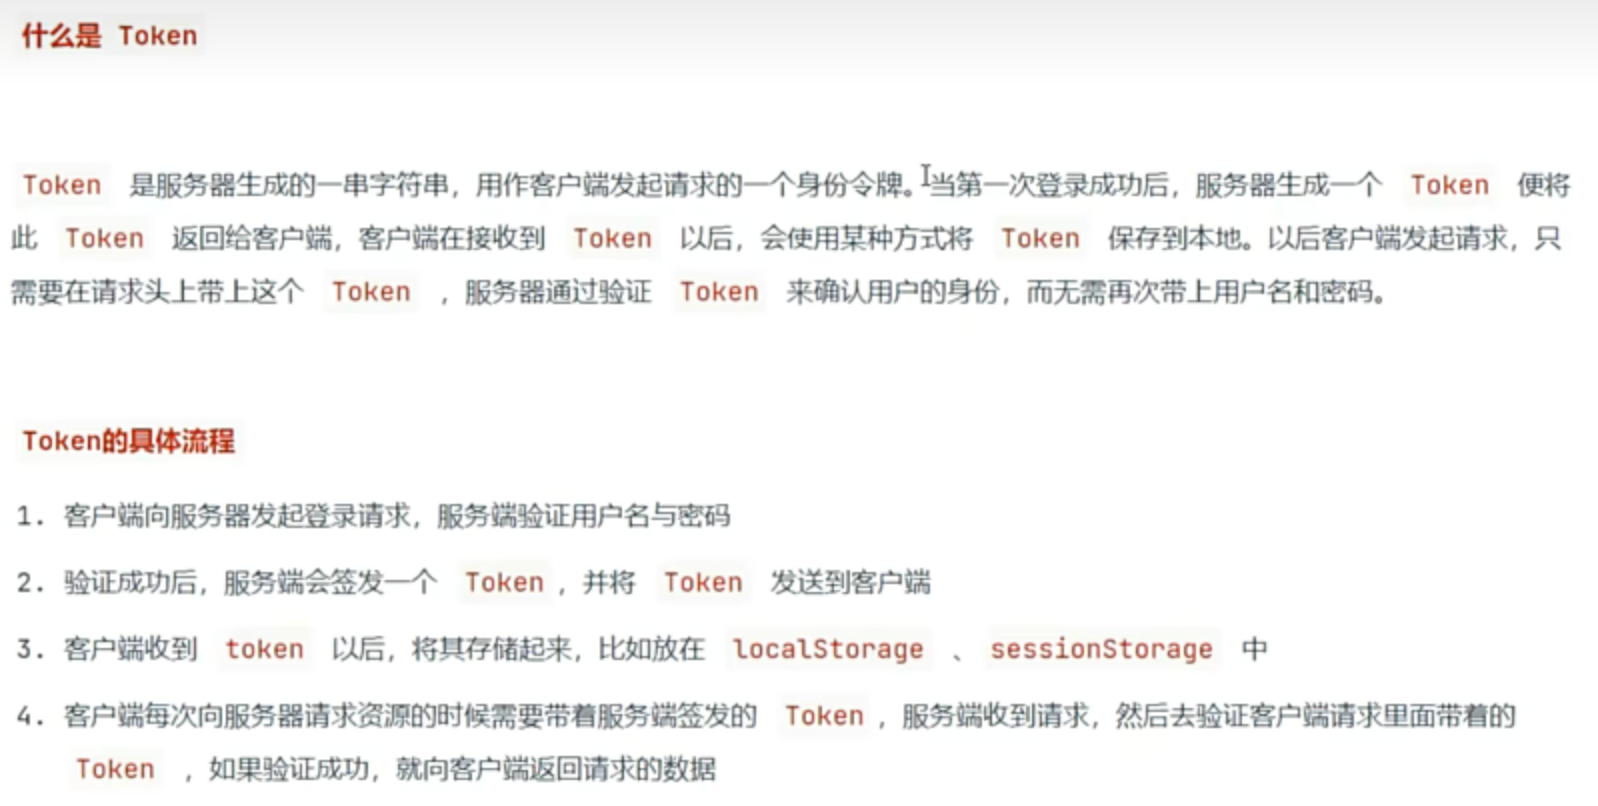
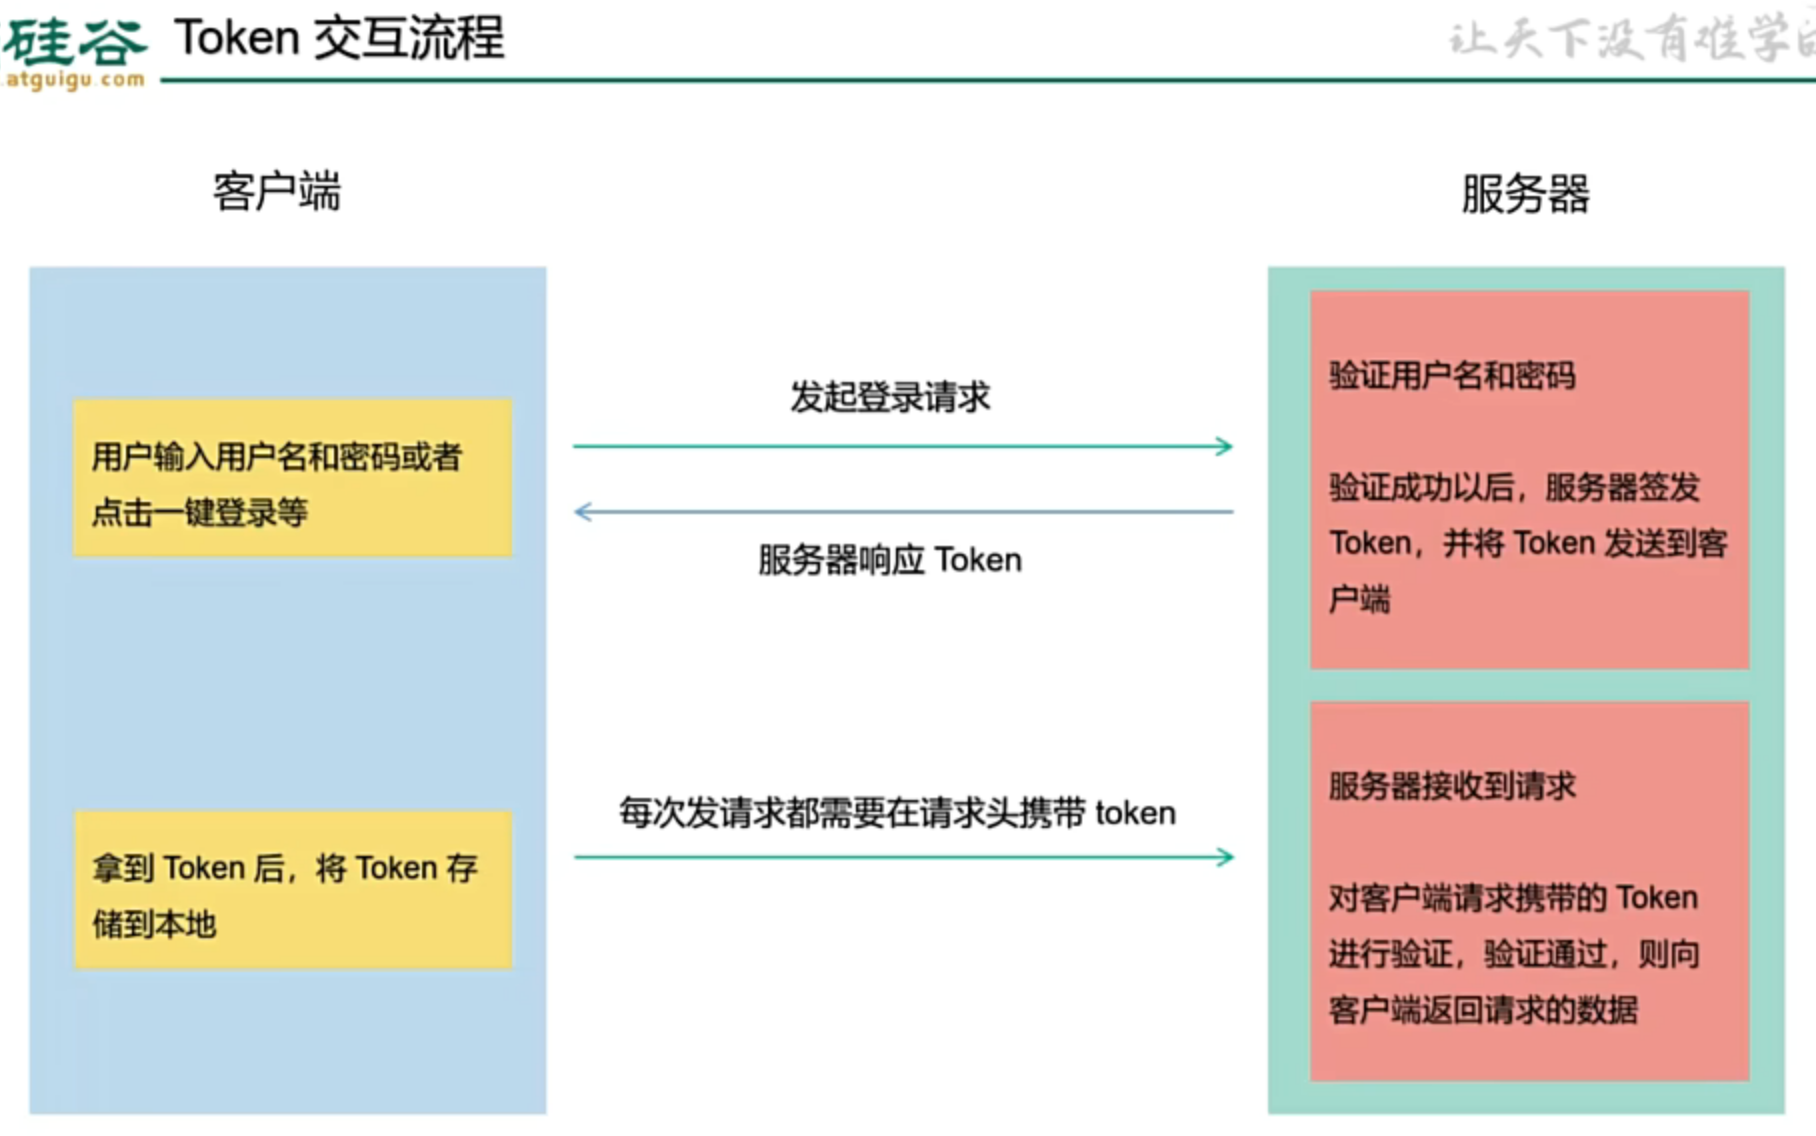
(2)小程序登录流程介绍
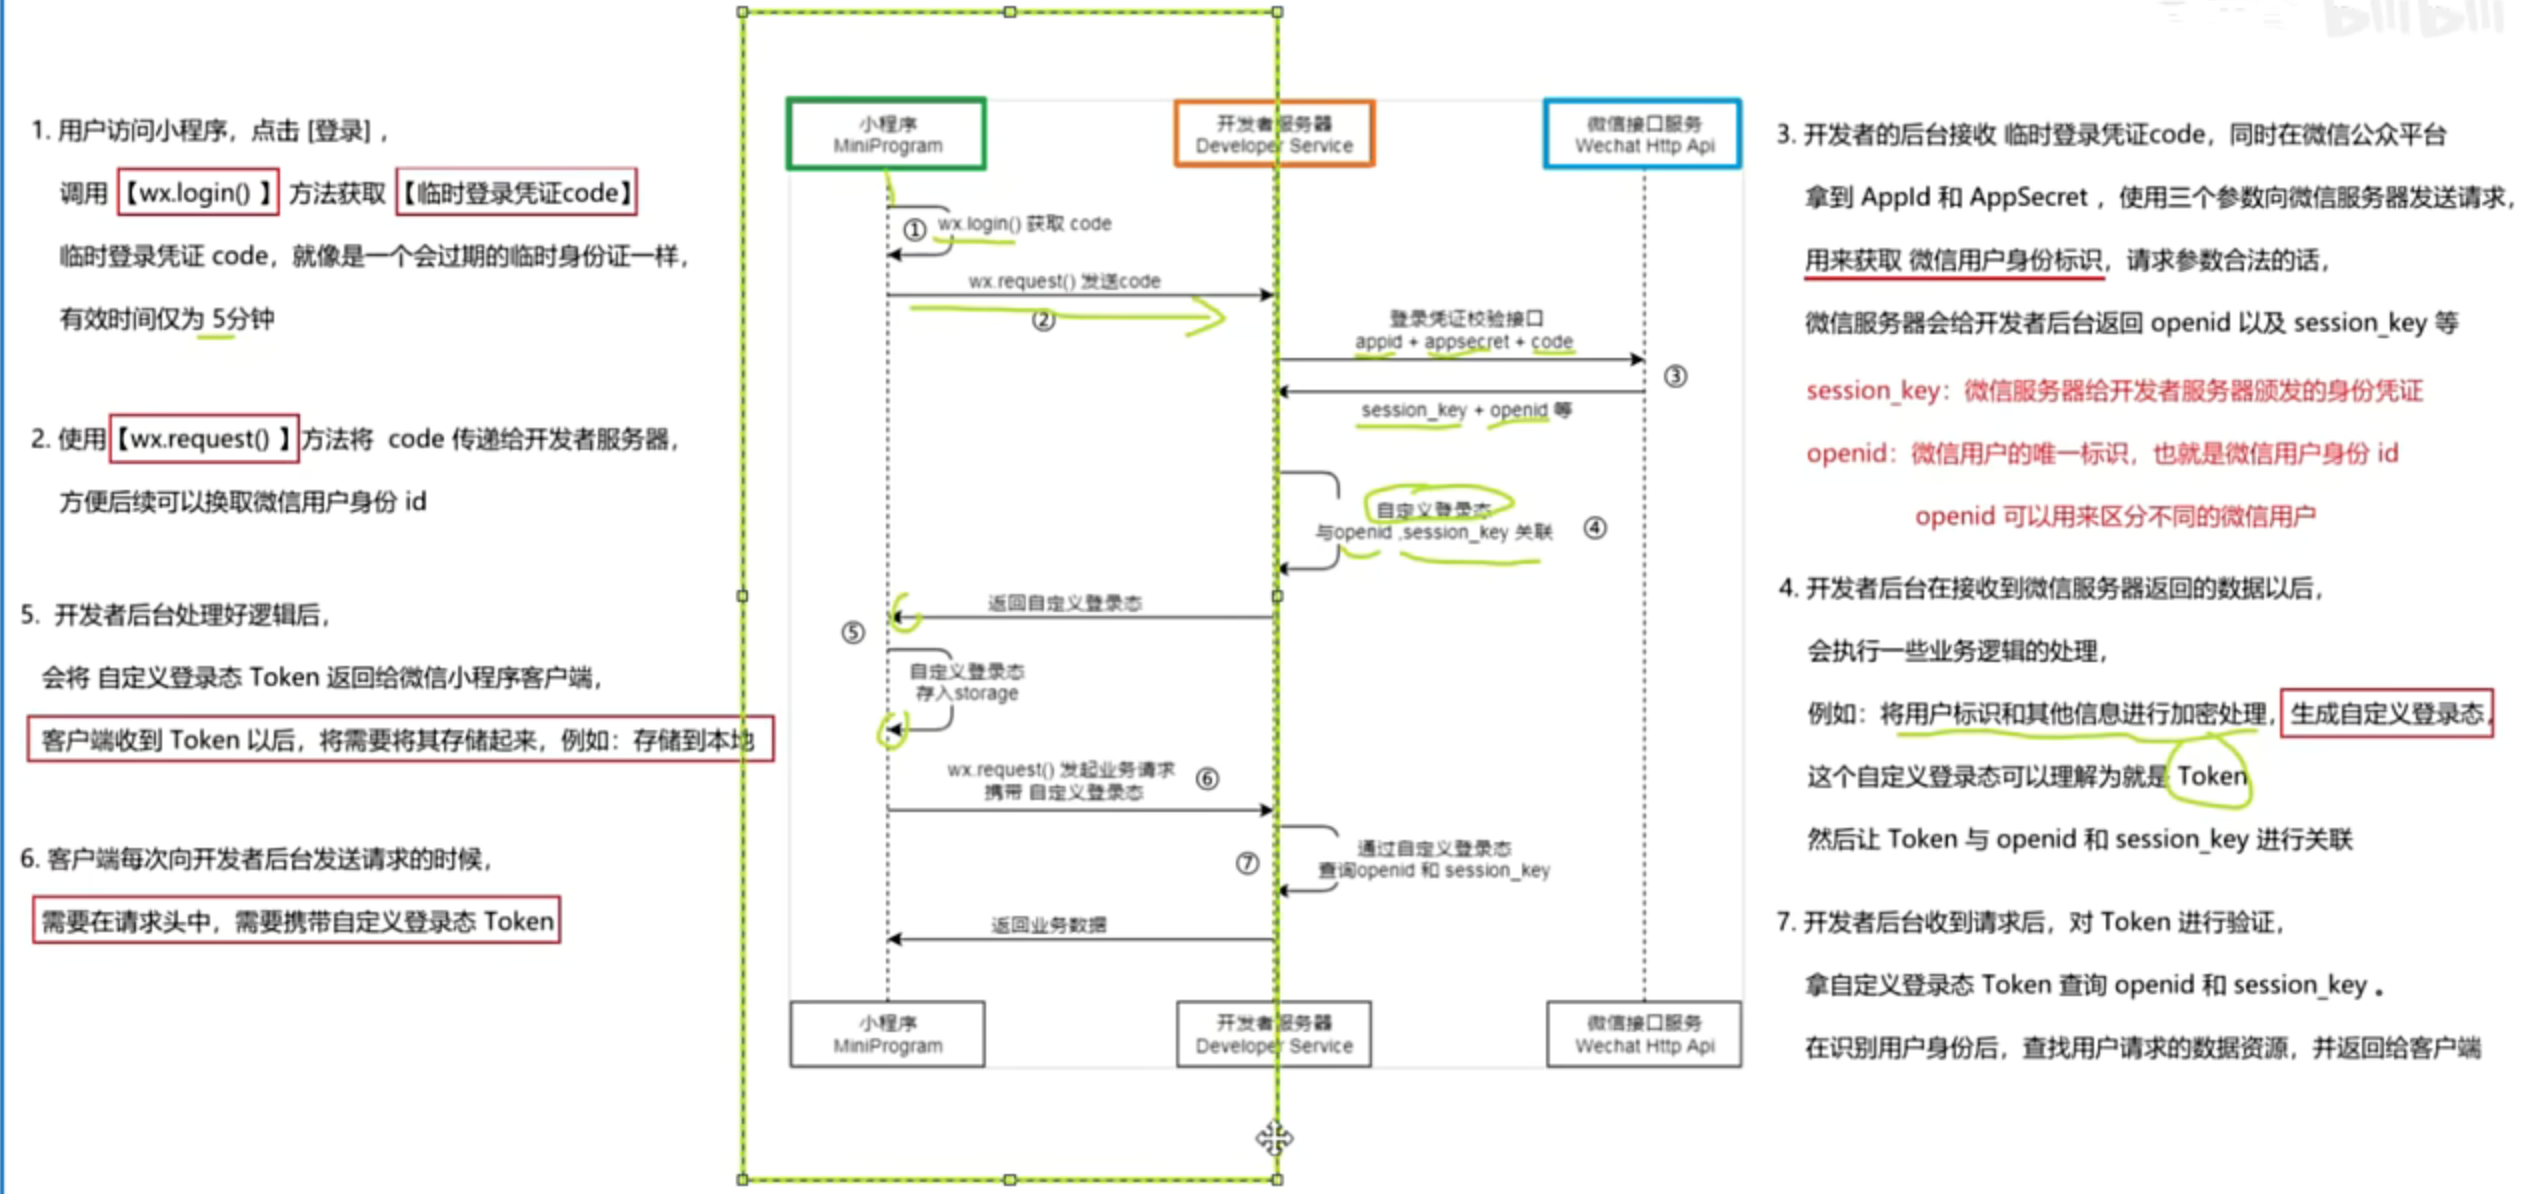
(3)实现小程序登录功能
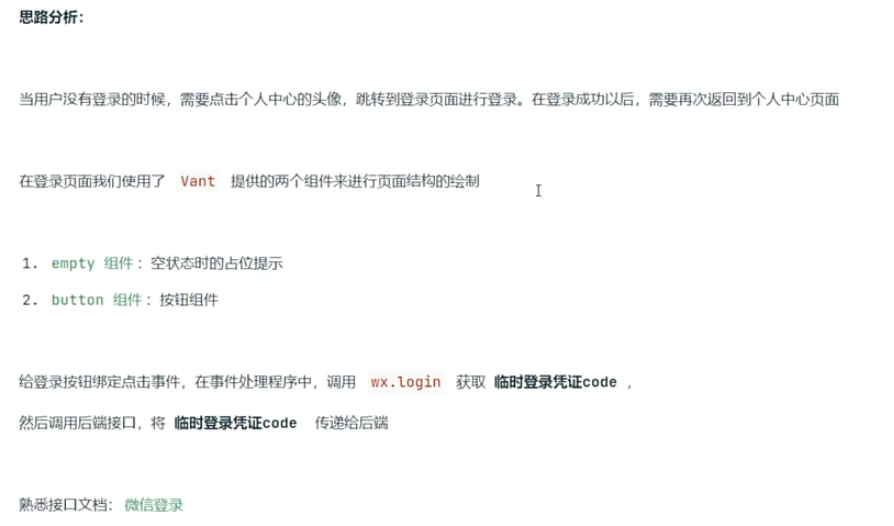
javascript
// pages/login/login.js

// 导入封装通用模块方法
import { toast } from '../../utils/extendApi'
// 导入本地存储 API
import { setStorage } from '../../utils/storage'
// 导入接口 API 函数
import { reqLogin } from '../../api/user'

Page({
  // 授权登录
  login () {

    // 使用 wx.login 来获取用户的临时登录凭证 code
    wx.login({

      success: async ({ code }) => {
        if (code) {
          // 在获取到临时登录获取凭证 code 以后,需要传递给开发者服务器
          const { data } = await reqLogin(code)

          // 登录成功以后,需要将服务器响应的自定义登录态存储到本地
          setStorage('token', data.token)
        } else {
          toast({ title: '授权失败,请重新授权' })
        }
      }

    })

  }

})
(4)token 存储到 store
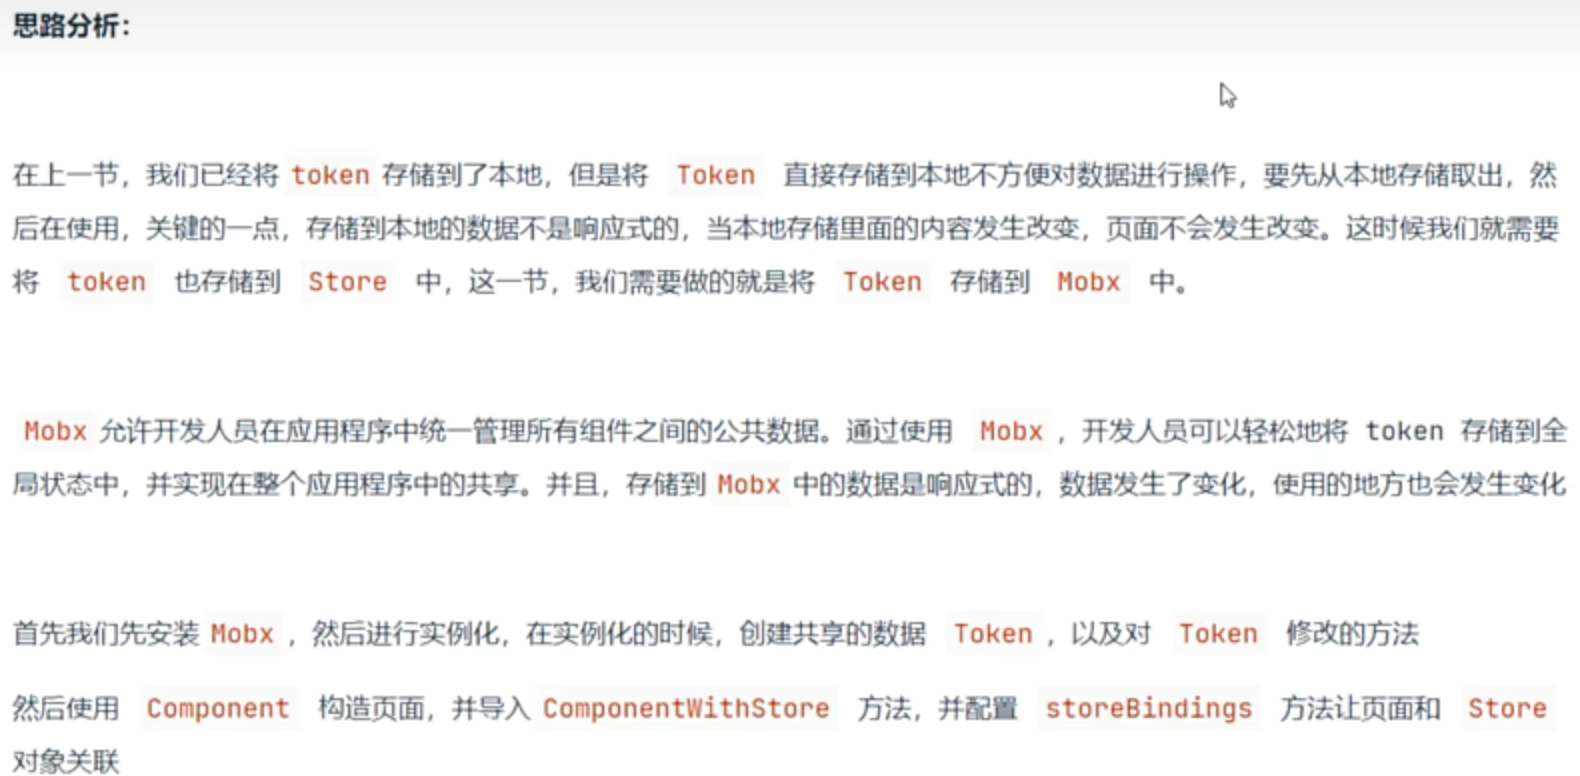

javascript
// observable 创建被监测的对象,对象中的属性会被转化为响应式数据
// action 函数用来显示的定义 action 方法
import { observable, action } from 'mobx-miniprogram'
import { getStorage } from '../utils/storage'

export const userStore = observable({
  // 定义响应式数据
  token: getStorage('token') || '',

  // 定义 action
  // setToken 用来修改、更新 token
  setToken: action(function (token) {
    // 在调用 setToken 方法时,需要传入 token 数据进行赋值
    this.token = token
  })

})
javascript
// pages/login/login.js

// 导入封装通用模块方法
import { toast } from '../../utils/extendApi'
// 导入本地存储 API
import { setStorage } from '../../utils/storage'
// 导入接口 API 函数
import { reqLogin } from '../../api/user'
// 导入 ComponentWithStore 方法
import { ComponentWithStore } from 'mobx-miniprogram-bindings'
// 导入 store 对象
import { userStore } from '../../stores/userStore'

// 使用 ComponentWithStore 方法替换 Component 方法构造页面
ComponentWithStore({

  // 让页面和 Store 对象建立关联
  storeBindings: {
    store: userStore,
    fields: ['token'],
    actions: ['setToken']
  },

  methods: {
    // 授权登录
    login () {

      // 使用 wx.login 来获取用户的临时登录凭证 code
      wx.login({

        success: async ({ code }) => {
          if (code) {
            // 在获取到临时登录获取凭证 code 以后,需要传递给开发者服务器
            const { data } = await reqLogin(code)

            // 登录成功以后,需要将服务器响应的自定义登录态存储到本地
            setStorage('token', data.token)

            // 将自定义登录态 token 存储到 Store 对象
            this.setToken(data.token)
          } else {
            toast({ title: '授权失败,请重新授权' })
          }
        }

      })

    }
  }
})
2.用户信息
(1)用户信息存储到 Store
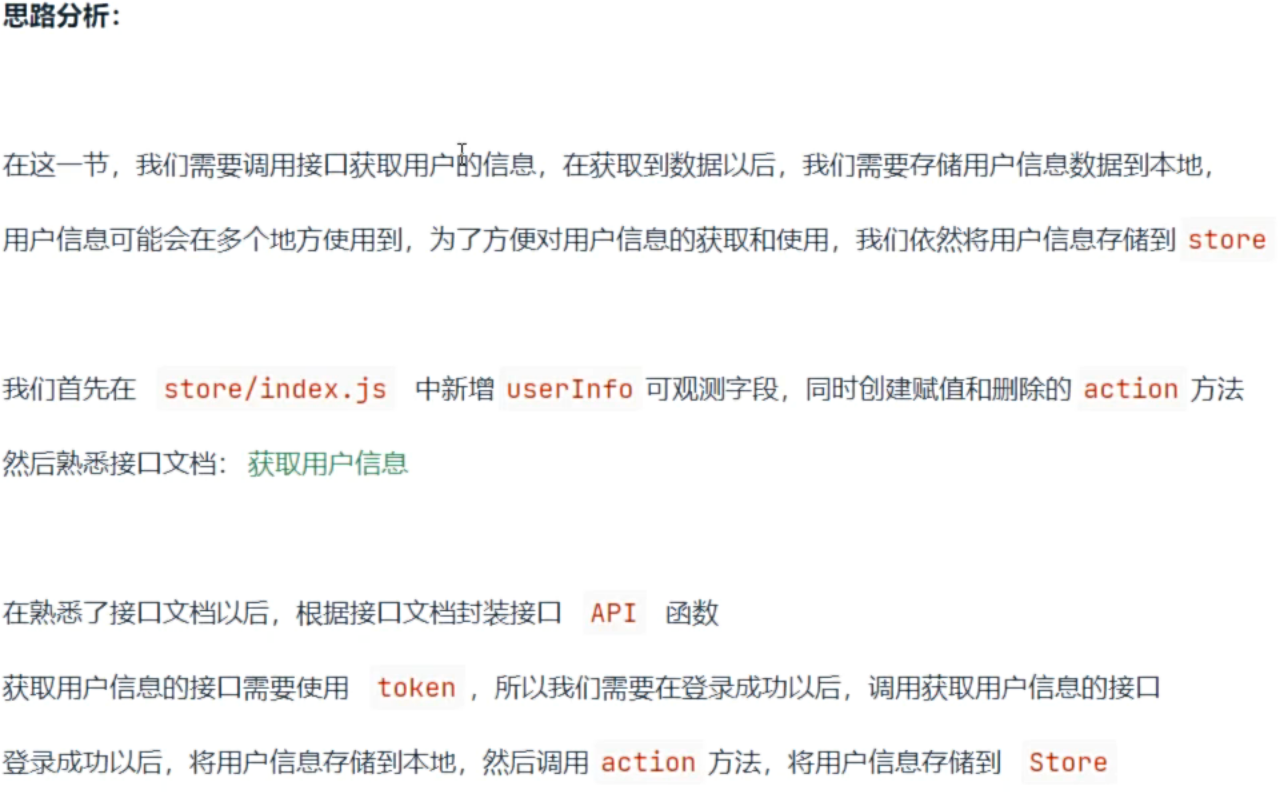
javascript
/**
 * @description 获取用户信息
 * @returns Promise
 */
export const reqUserInfo = () => {
  return http.get('/weixin/getUserInfo')
}
javascript
// 获取用户信息
    async getUserInfo () {
      // 调用接口,获取数据信息
      const { data } = await reqUserInfo(

        // 将用户信息存储到本地
        setStorage('userInfo', data),

        // 将用户信息存储到 Store 对象
        this.setUserInfo(data)
      )
    }
javascript
  // 对用户信息进行赋值
  setUserInfo: action(function (userInfo) {
    this.userInfo = userInfo
  })


  // 用户信息
  userInfo: getStorage('userInfo') || '',
(2)使用数据渲染用户信息
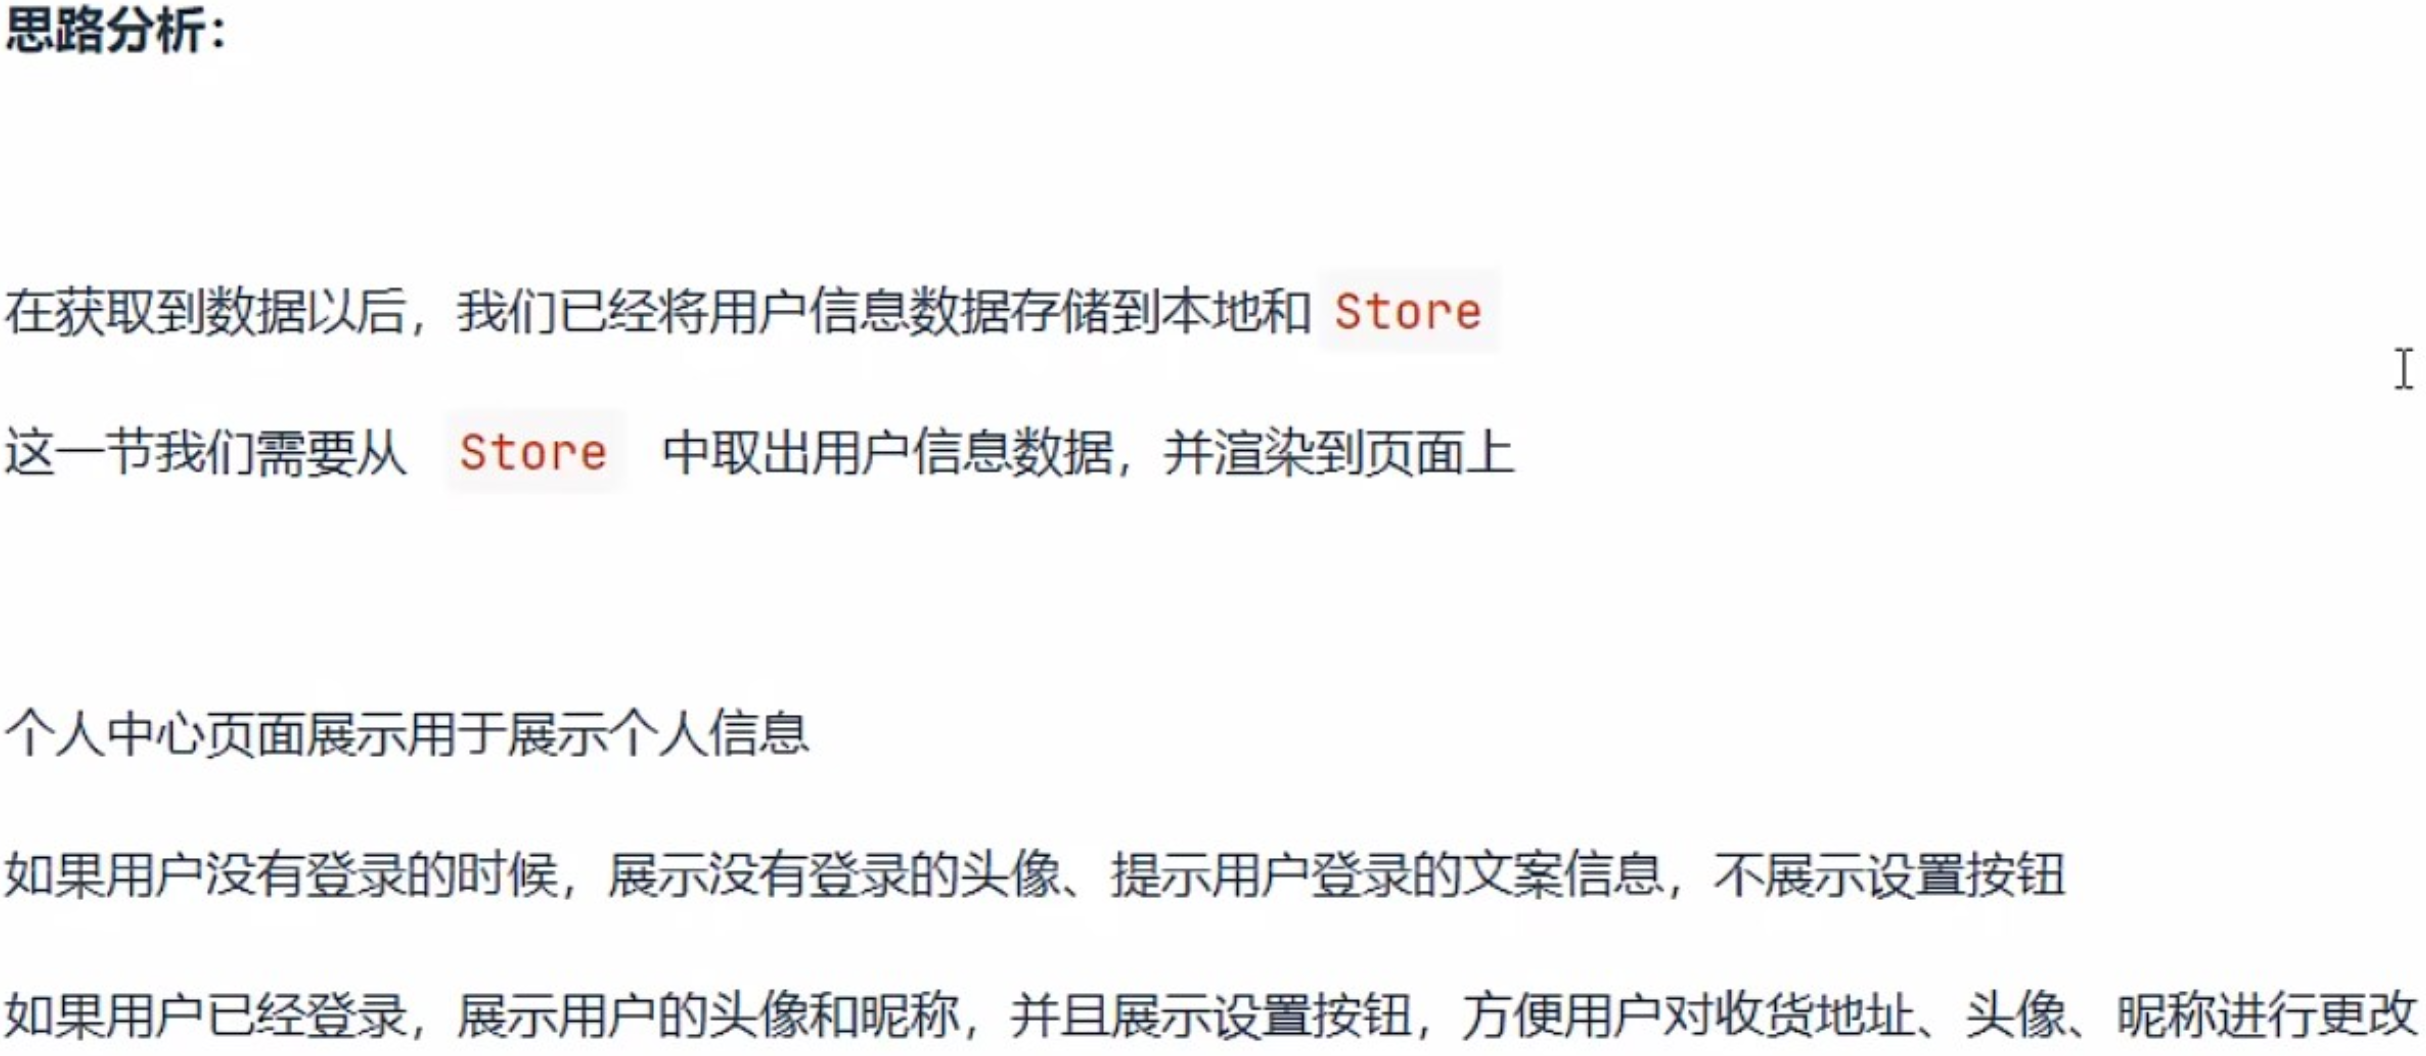
javascript
// pages/info/info.js

import { ComponentWithStore } from 'mobx-miniprogram-bindings'
import { userStore } from '../../store/userstore'

ComponentWithStore({
    storeBindings: {
    store: userStore,
    fields: ['token', 'userInfo']
  },

  methods: {
    // 跳转到登录页面
    toLoginPage() {
      wx.navigateTo({
        url: '/pages/login/login'
      })
    }
  }
})
html
<!-- 登录以后得面板 -->
    <view wx:else class="user-container section">
      <view class="avatar-container">
        <image src="{{ userInfo.headimgUrl }}"></image>
        <view class="no-login">
          <text class="ellipsis">{{ userInfo.nickname }}</text>
        </view>
      </view>
      <view class="setting">
        <navigator url="/pages/settings/settings"> 设置 </navigator>
      </view>
    </view>
3.分包处理-配置分包以及预下载
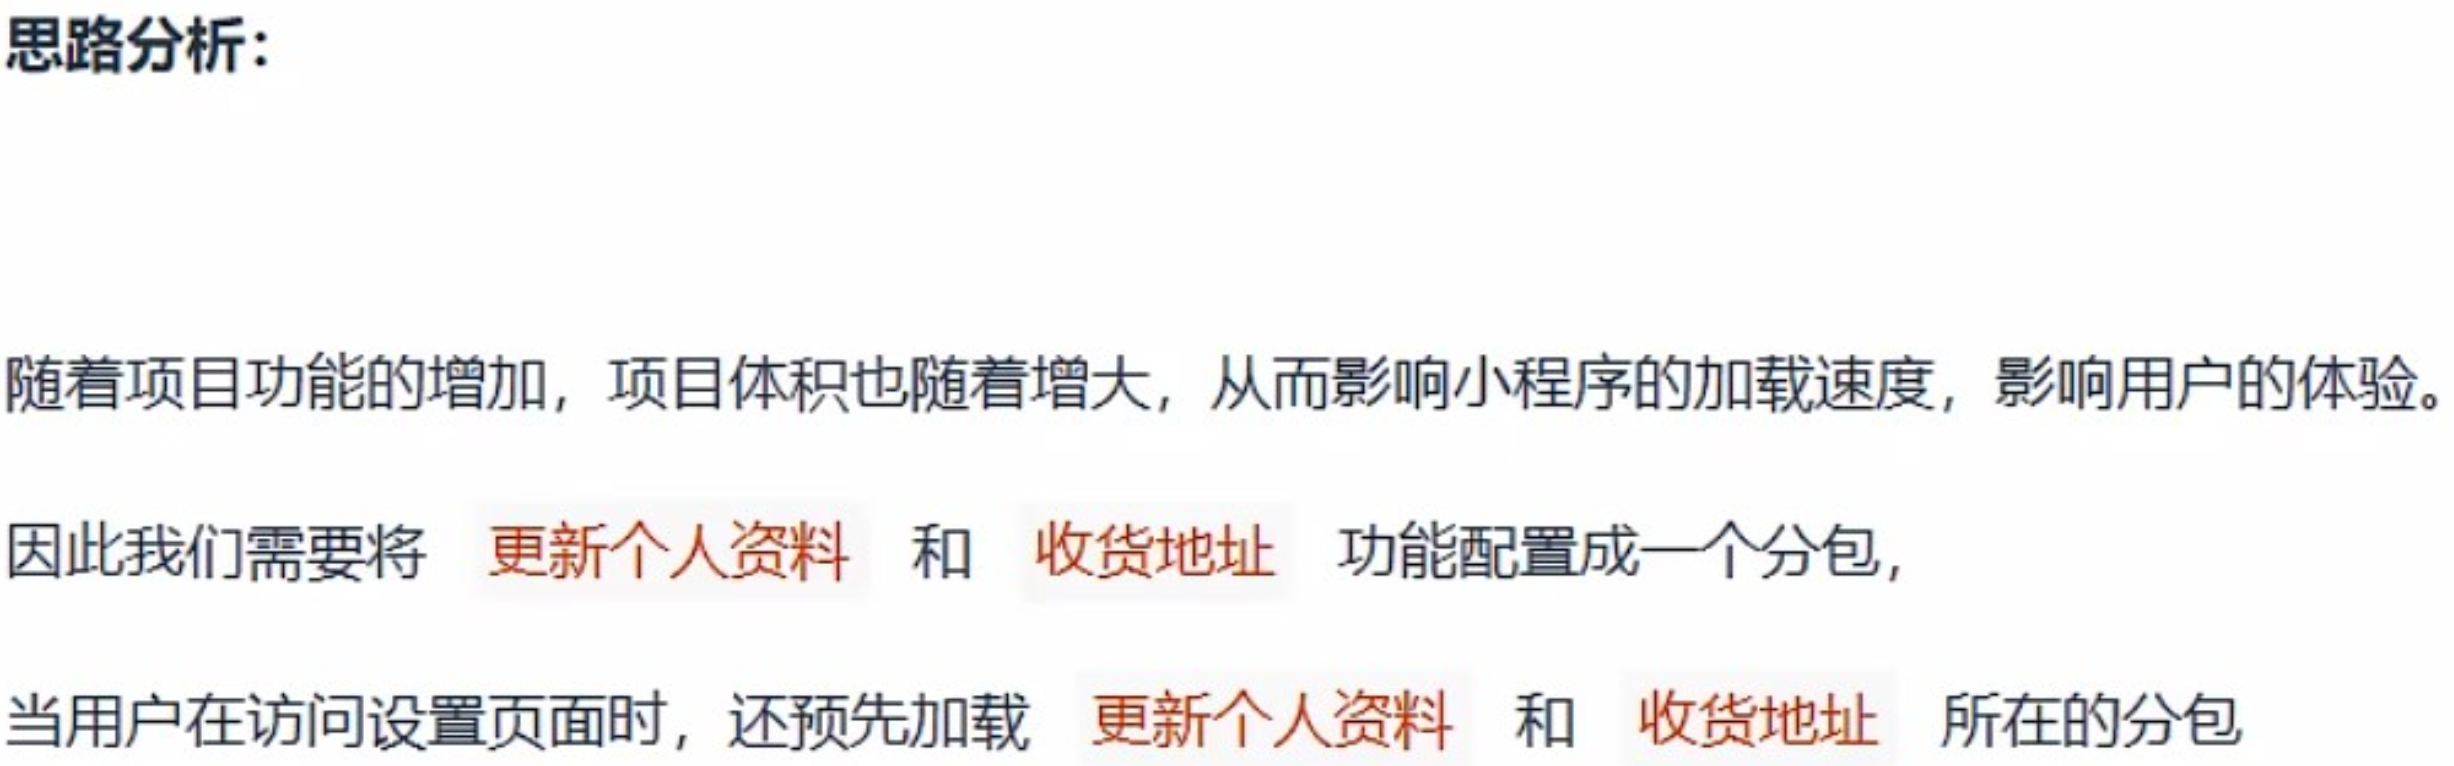
javascript
"subPackages": [
    {
      "root": "modules/settingModule",
      "name": "settingModule",
      "pages": [
        "pages/address/add/index",
        "pages/address/list/index",
        "pages/profile/profile"
      ]
    }
  ],
  "preloadRule": {
    "pages/settngs/settings": {
      "network": "all",
      "packages": ["settingModule"]
    }
  }
4.更新用户信息
(1)渲染用户信息
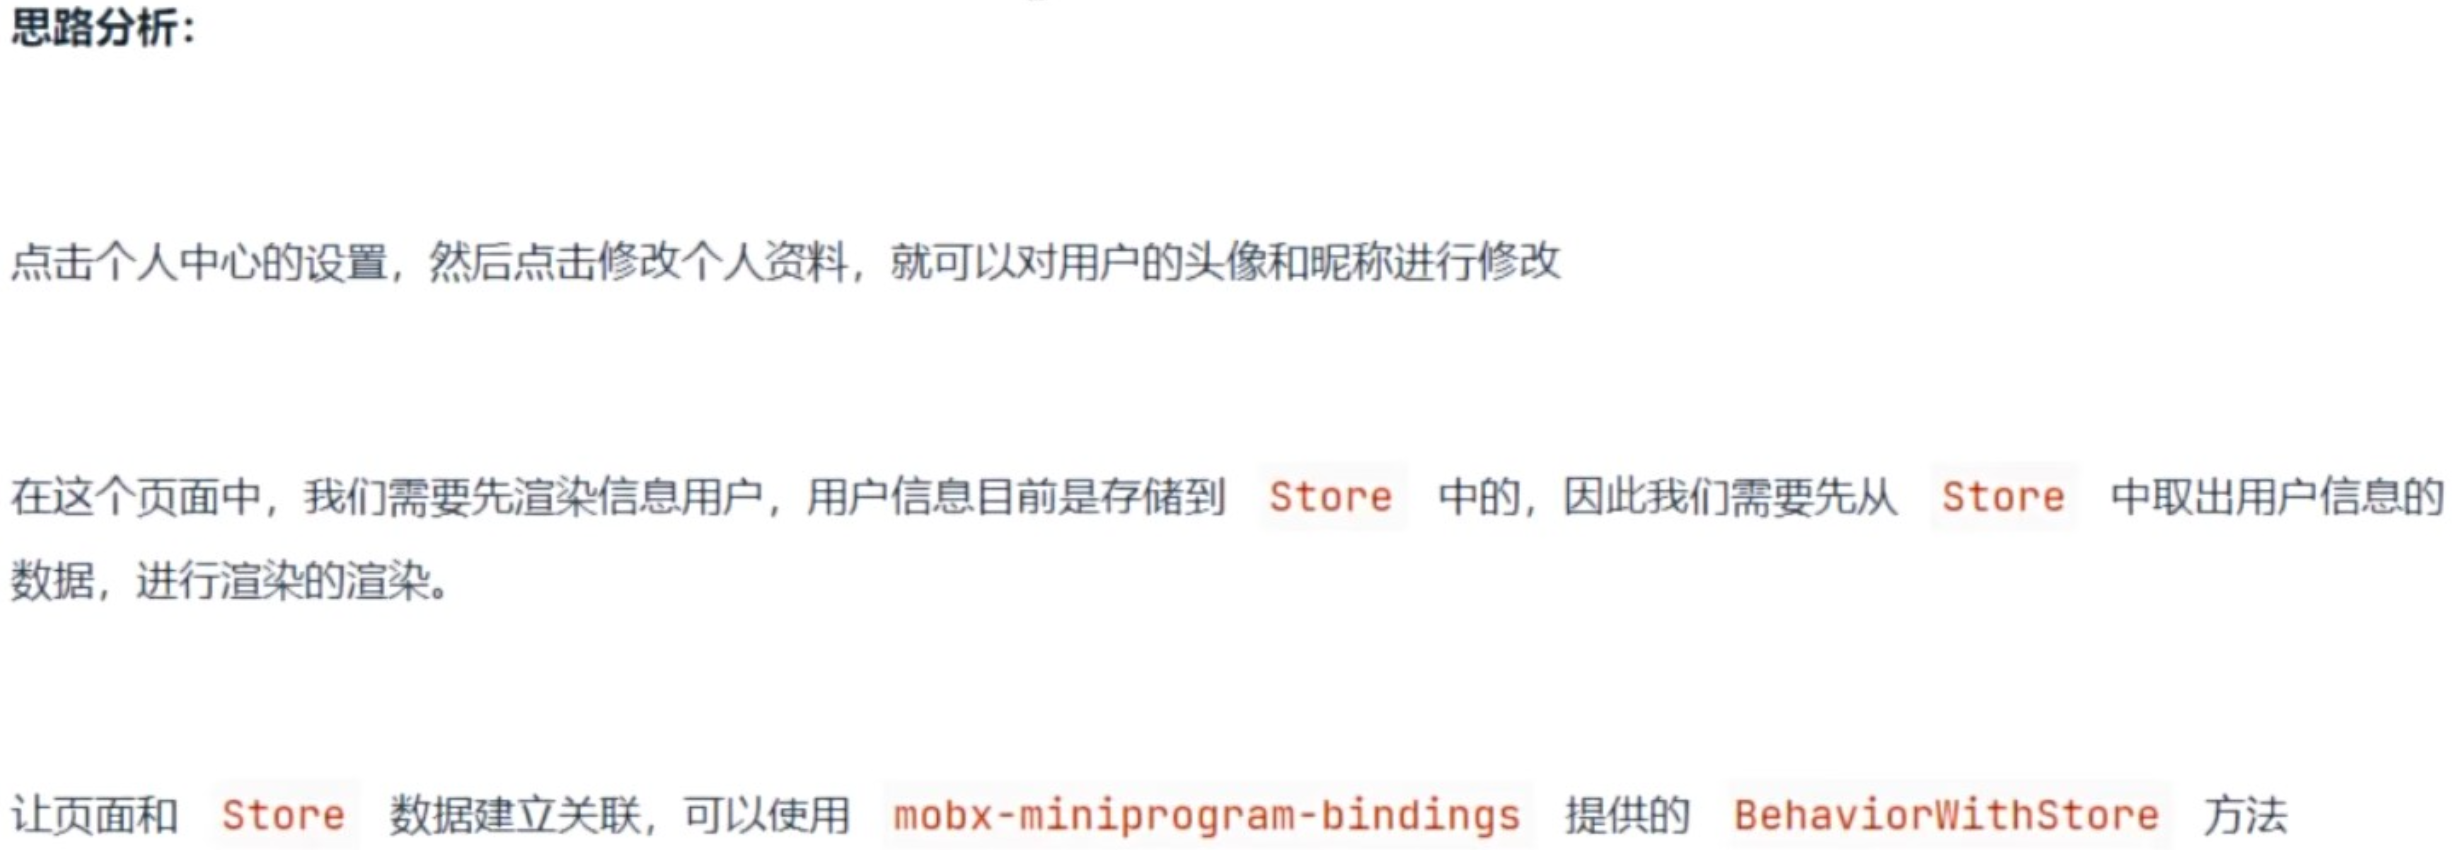
javascript
import { BehaviorWithStore } from 'mobx-miniprogram-bindings'
import { userStore } from '../../../../store/userStore'

export const userBehavior = BehaviorWithStore({

  storeBindings: {
    store: userStore,
    fields: ['userInfo']
  }

})
javascript
// modules/settingModule/pages/profile/profile.js
import { userBehavior } from './behavior'


Page({
  // 注册 behavior
  behaviors: [userBehavior],
})
(2)获取头像临时路径

javascript
  // 更新用户头像
  chooseAvatar(event) {
    // console.log(event)

    // 获取头像的临时路径
    // 临时路径具有失效时间,需要将临时路径上传到公司的服务器,获取永久的路径
    // 在获取永久路径以后,需要使用永久路径更新 headingurl
    // 用户点击保存按钮,才算真正的更新了头像和昵称
    const { avatarUrl } = event.detail

    this.setData({
      'userInfo.headingurl': avatarUrl
    })
  },
(3)头像上传到服务器
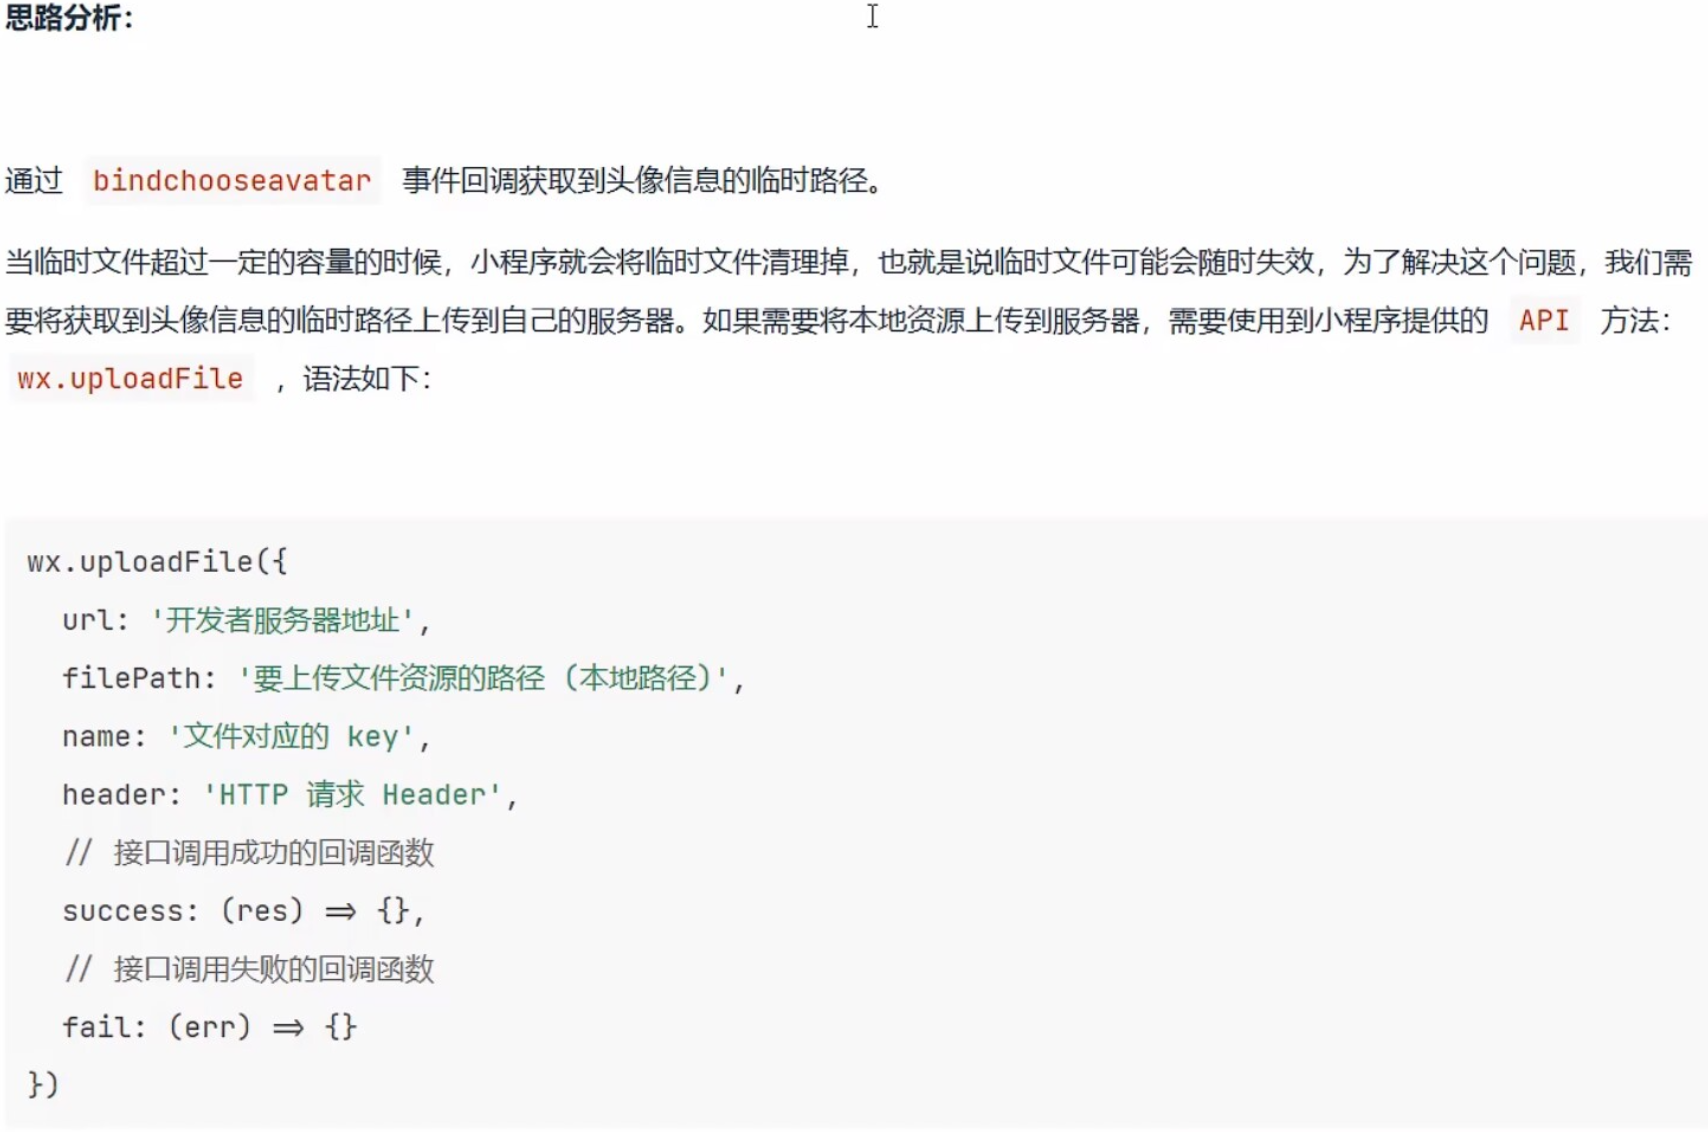
javascript
  // 更新用户头像
  async chooseAvatar(event) {
    // console.log(event)

    // 获取头像的临时路径
    // 临时路径具有失效时间,需要将临时路径上传到公司的服务器,获取永久的路径
    // 在获取永久路径以后,需要使用永久路径更新 headingurl
    // 用户点击保存按钮,才算真正的更新了头像和昵称
    const { avatarUrl } = event.detail

    // 第二种实现本地资源上传的方式:使用 mina-request 提供的 upload 实例方法
    const res = await reqUploadFile(avatarUrl, 'file')

    this.setData({
      'userInfo.headingurl': res.data
    })
    // 第一种实现本地资源上传的方式:
    // 在获取头像临时路径以后,需要将临时路径通过 wx.uploadFile 上传服务器
    // wx.uploadFile({
    //   url: 'https://gmall-prod.atguigu.cn/mall-api/fileUpload', // 开发者服务器地址
    //   filePath: avatarUrl, // 要上传的文件资源路径
    //   name: 'file', // 文件对应的 key
    //   header: {
    //     token: getStorage('token')
    //   },
    //   success: (res) => {
    //     // console.log(res)
    //     // 调用 uploadFile 方法,返回的数据是 JSON 字符串,需要自己使用 JSON.parse 进行转换
    //     const  uploadFile = JSON.parse(res.data)
    //     console.log(uploadFile)
    //   }
    // })

    // this.setData({
    //   'userInfo.headingurl': uploadFile.data
    // })
  },
javascript
/**
 * @description 实现本地资源上传
 * @param {*} filePath 要上传的文件资源路径
 * @param {*} name 文件对应的 key
 * @returns Promise
 */
export const reqUploadFile = (filePath, name) => {
  return http.upload('/fileUpload', filePath. name)
}
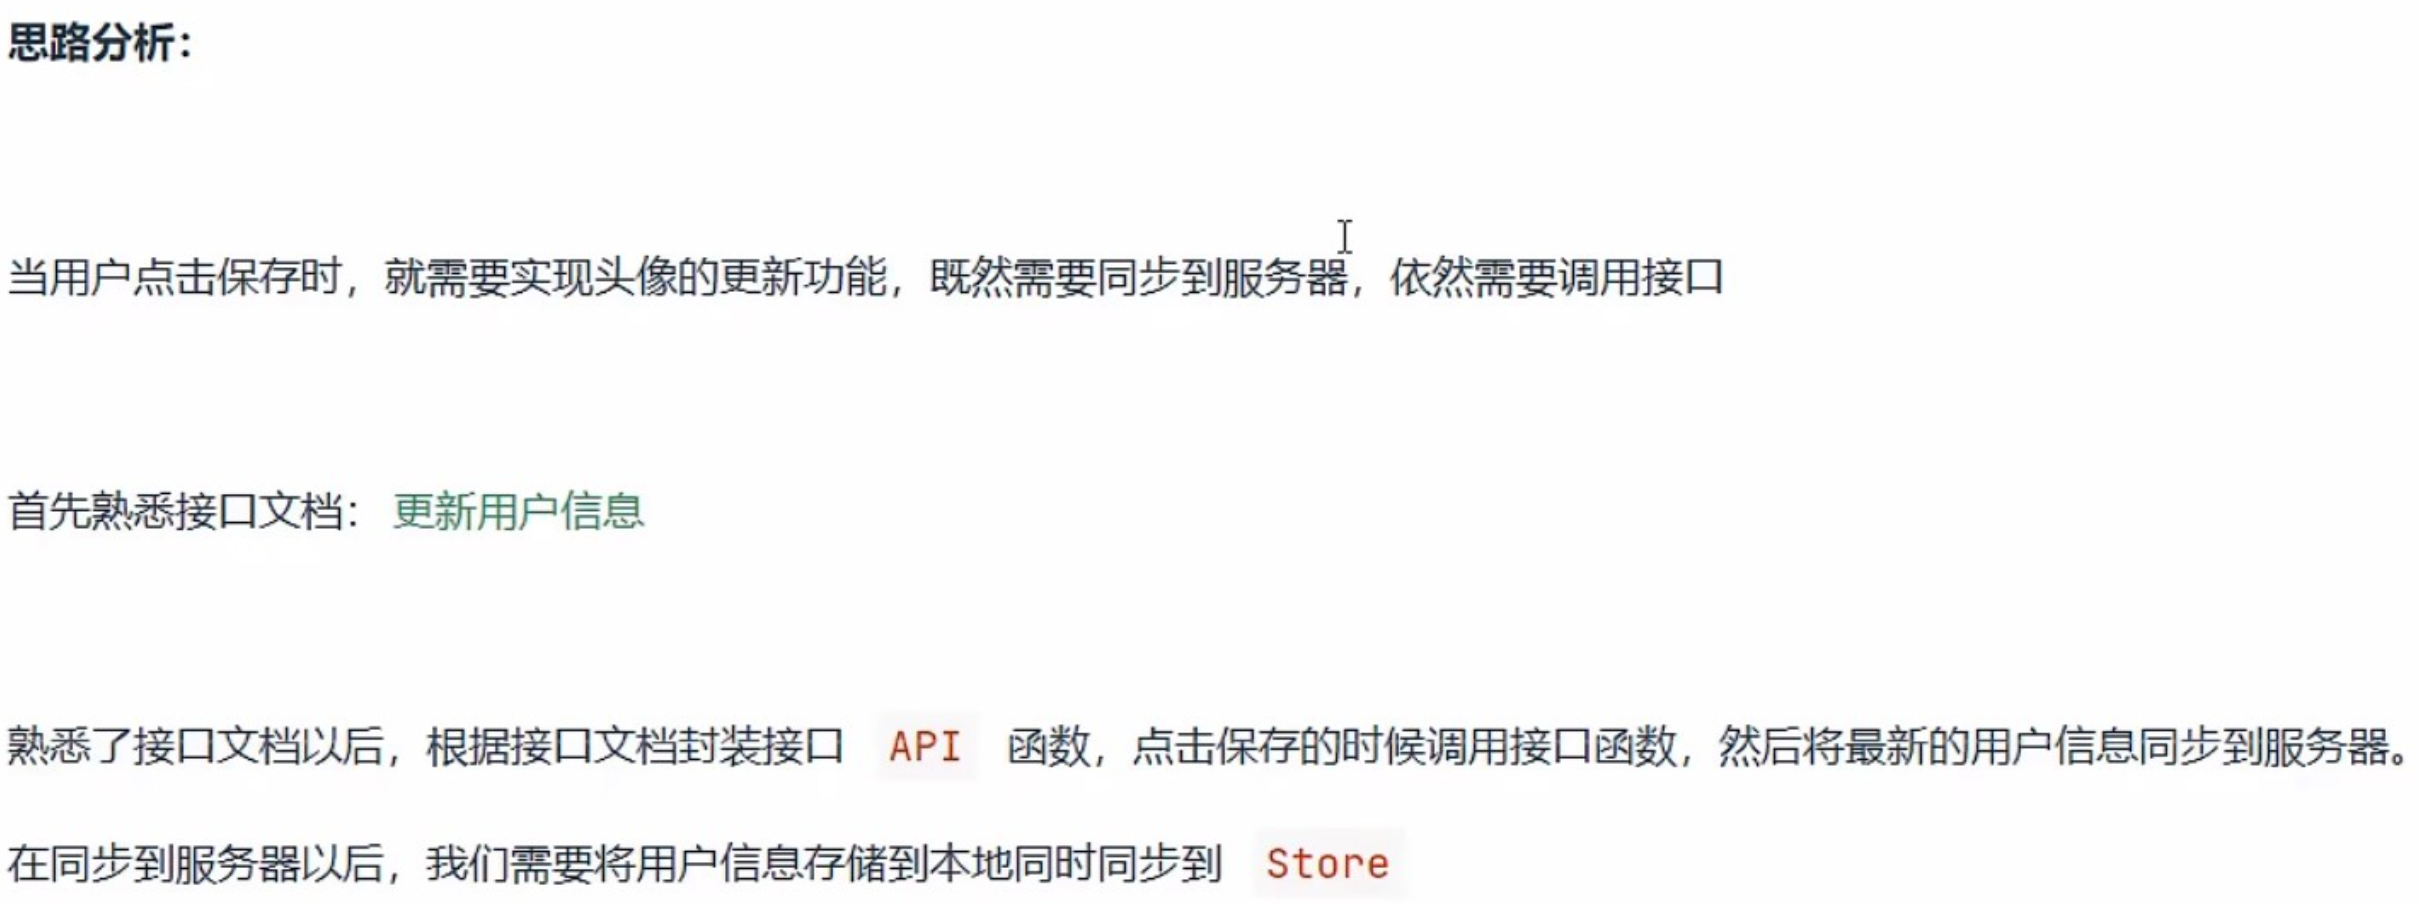
(4)完成头像更新
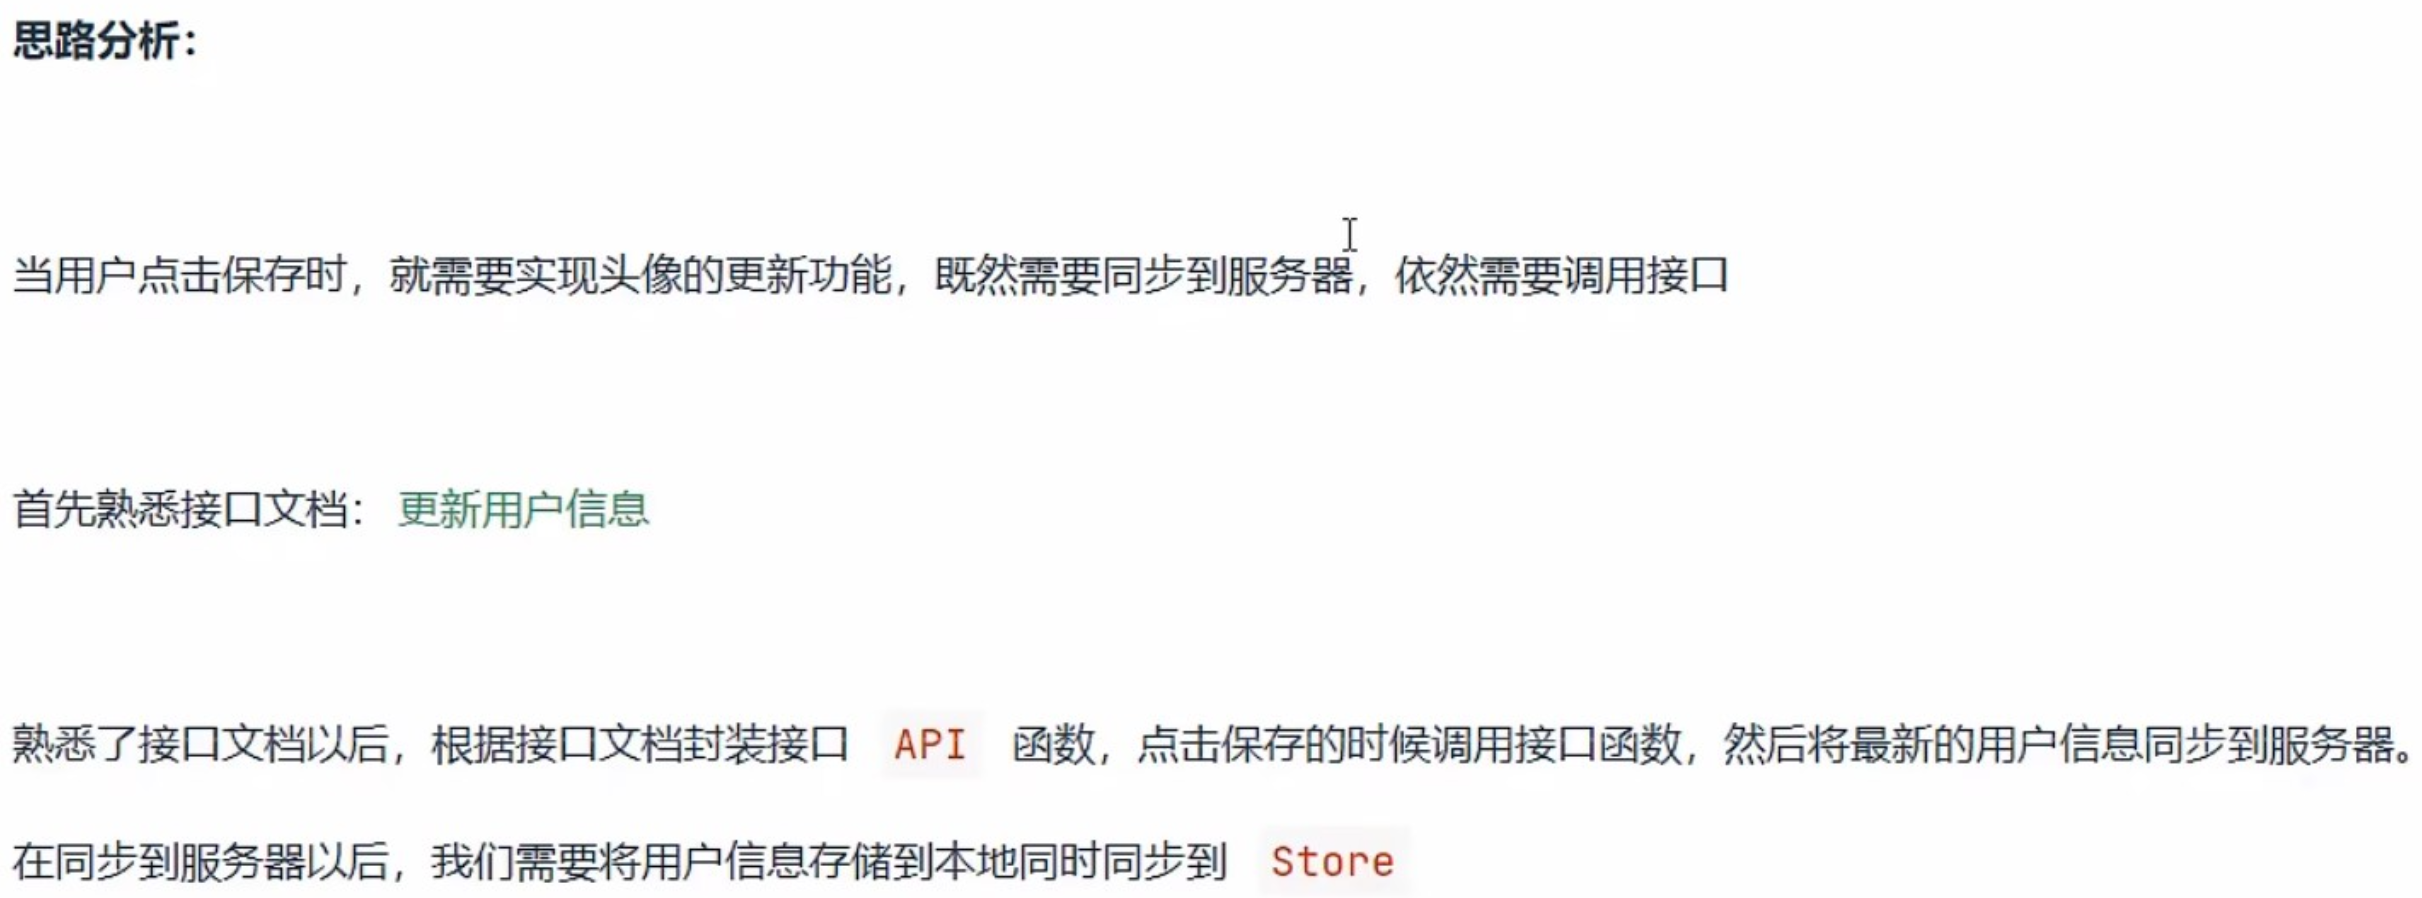
javascript
// 更新用户信息
  async updateUserInfo () {
    // 调用接口 API 函数更新用户信息
    const res = await reqUploadUserInfo(this.data.userInfo)

    if (res.code === 200) {
      // 用户信息更新成功以后,需要将最新的用户信息存储到本地
      setStorage('userInfo', this.data,userInfo)

      // 用户信息更新成功以后,同时同步到 Store
      this,setUserInfo(this,this.data.userInfo)

      // 给用户进行提示
      toast({ title: '用户信息更新成功' })
    }
  },
javascript
/**
 * @description 更新用户信息
 * @param {*} userInfo 最新的头像和昵称
 * @returns Promise
 */
export const reqUploadUserInfo = (userInfo) => {
  return http.post('/weixin/updateUser', userInfo)
}
(5)更新用户昵称
javascript
  // 获取用户昵称
  getNickname (event) {
    // console.log(event.detail.value)
    // 解构最新的用户昵称
    const { nickname } = event.detail.value
    // console.log(nickname)
    this.setData({
      'userInfo.nickname': nickname,
      isShowPopup: false
    })
  },

  // 显示修改昵称弹框
  onUpdateNickName() {
    this.setData({
      isShowPopup: true,
      'userInfo.nickname': this.data.userInfo.nickname
    })
  },
html
<!-- 需要给 input 输入框添加 name 属性 -->
      <!-- form 组件会自动收集带有 name 属性的表单元素的值 -->
      <input
        type="nickname"
        name="nickname"
        class="input-name"
        value="{{ userInfo.nickname }}"
      />
      <view class="dialog-content">
        <!-- 给按钮添加 from-type 属性,如果属性值是 reset,就是重置表单 -->
        <button class="cancel" bindtap="cancelForm" form-type="reset">取消</button>

        <!-- 给按钮添加 from-type 属性,如果属性值是 submit ,就会将按钮变为提交按钮 -->
        <!-- 在点击确定按钮时,就会触发 form 组件的提交事件 -->
        <button class="confirm" type="primary" form-type="submit">确定</button>
      </view>
四、收货地址
1.定义新增参数以及封装接口 API
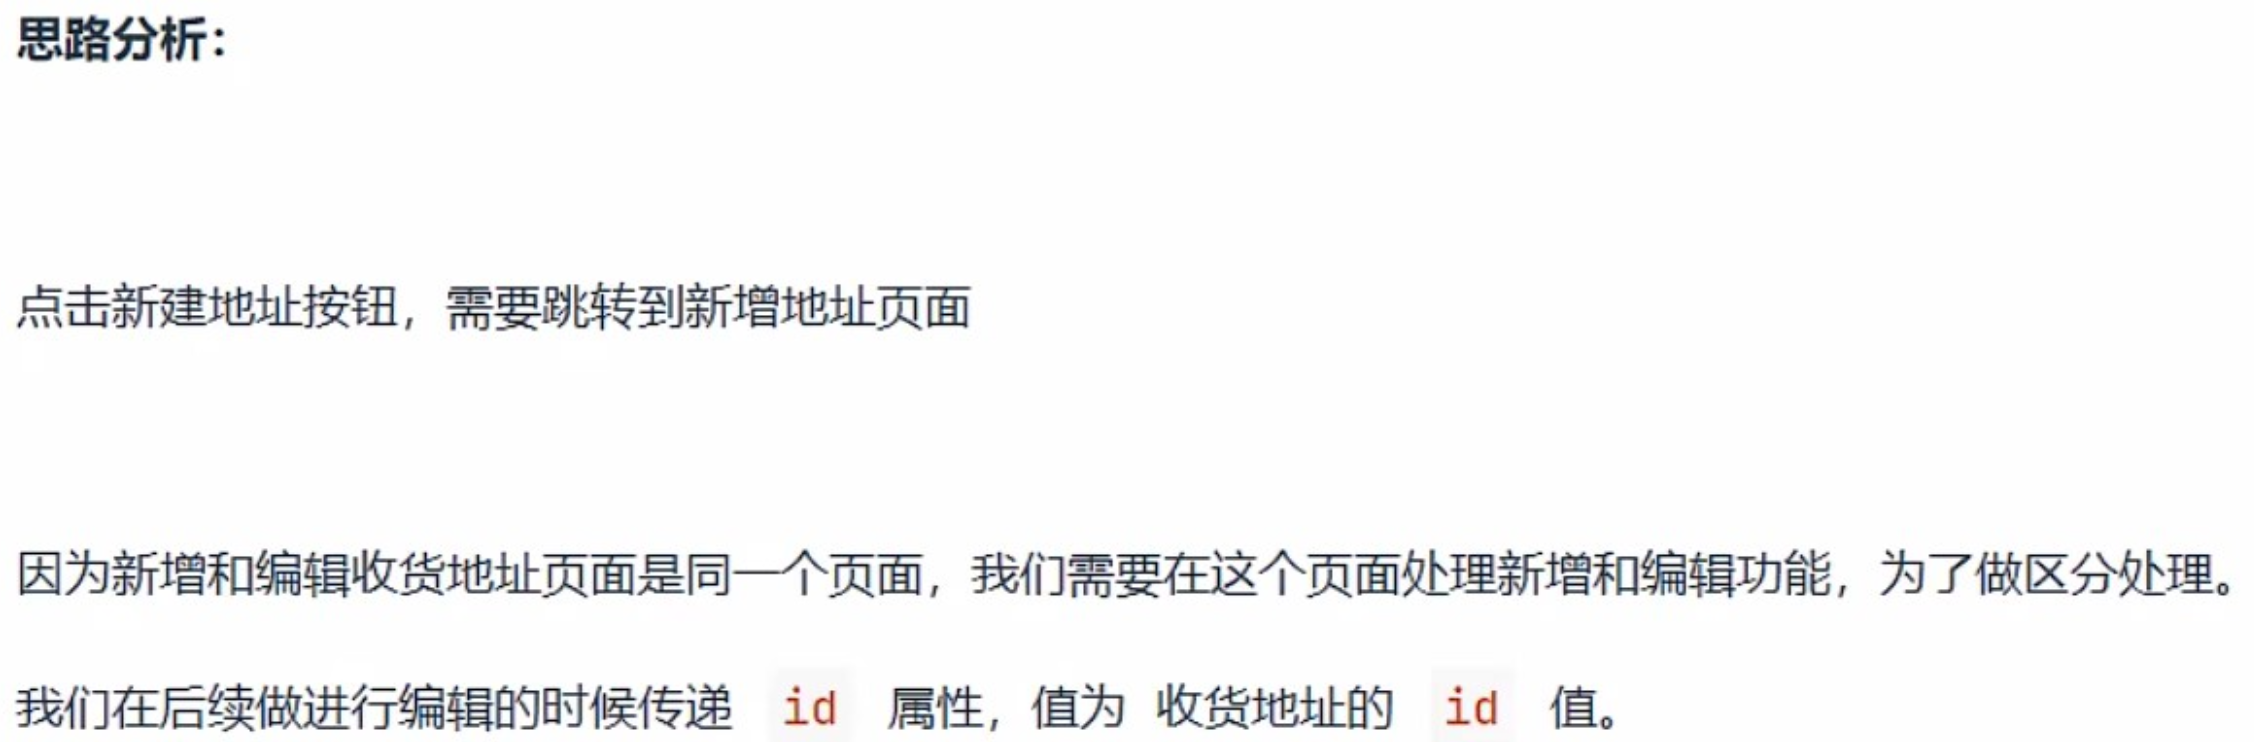
javascript
// modules/settingModule/pages/address/add/index.js

Page({
  // 页面的初始数据
  data: {

    address: {
      name: '', // 收货人
      phone: '', // 手机号码
      provinceName: '', // 省
      provinceCode: '', // 省编码
      cityName: '', // 市
      cityCode: '', // 市编码
      districtName: '', // 区
      districtCode: '', // 区编码
      address: '', // 详细地址
      fullAddress: '', // 完整地址
      isDefault: 0 // 是否设置为默认地址,0不设置为默认地址,1设置为默认地址
    },

  },

  // 保存收货地址
  saveAddrssForm(event) {
  },

  // 省市区选择
  onAddressChange(event) {}
})
javascript
import http from '../utils/http'

/**
 * @description 新增收货地址功能
 * @param {*} data
 * @returns Promise
 */
export const reqAddress = (data) => {
  return http.post('/userAddress/save', data)
}

/**
 * @description 获取收货地址列表
 * @returns Promise
 */
export const reqAddressList = () => {
  return http.get('/userAddress/findUserAddress')
}

/**
 * @description 获取收货地址详情
 * @param {*} id 收货地址 id
 * @returns Promise
 */
export const reqAddressInfo = (id) => {
  return http.get(`/userAddress/${id}`)
}

/**
 * @description 更新收货地址
 * @param {*} data
 * @returns Promise
 */
export const reqUpdateAddress = (data) => {
  return http.post('/userAddress/update', data)
}

/**
 * @description 删除收货地址
 * @param {*} id 收货地址 id
 * @returns Promise
 */
export const reqDelAddress = (id) => {
  return http.get(`/userAddress/delete/${id}`)
}
2.收集省市区数据

javascript
// 省市区选择
  onAddressChange(event) {
    // console.log(event)

    // 解构省市区以及编码
    const [provinceName, cityName, districtName] = event.detail.value
    const [provinceCode, cityCode, districtCode] = event.detail.code

    this.setData({
      provinceName,
      cityName,
      districtName,
      provinceCode,
      cityCode,
      districtCode
    })
  }
javascript
      <!-- 省市区 -->
      <view class="row">
        <text class="title">所在地区</text>

        <!-- picker 组件是小程序提供的组件,从底部弹起滚动选择器 -->
        <!-- mode 选择器类型 -->
        <!-- mode 属性值是region,弹起的是省市区选择器 -->

        <!-- value:要求是一个数组,选中的省市区 -->
        <picker
          mode="region"
          value="{{ [ provinceName, cityName, districtName ] }}"
          bindchange="onAddressChange"
        >
          <view class="region" wx:if="{{ provinceName }}">
            {{ provinceName + '' + cityName + '' + districtName }}
          </view>
          <view wx:else class="placeholder"> 请选择收货人所在地区</view>
        </picker>

        <view class="location">
          <van-icon name="location-o" color="#777" />
          <text>定位</text>
        </view>
      </view>
3.收集新增地址其他请求参数
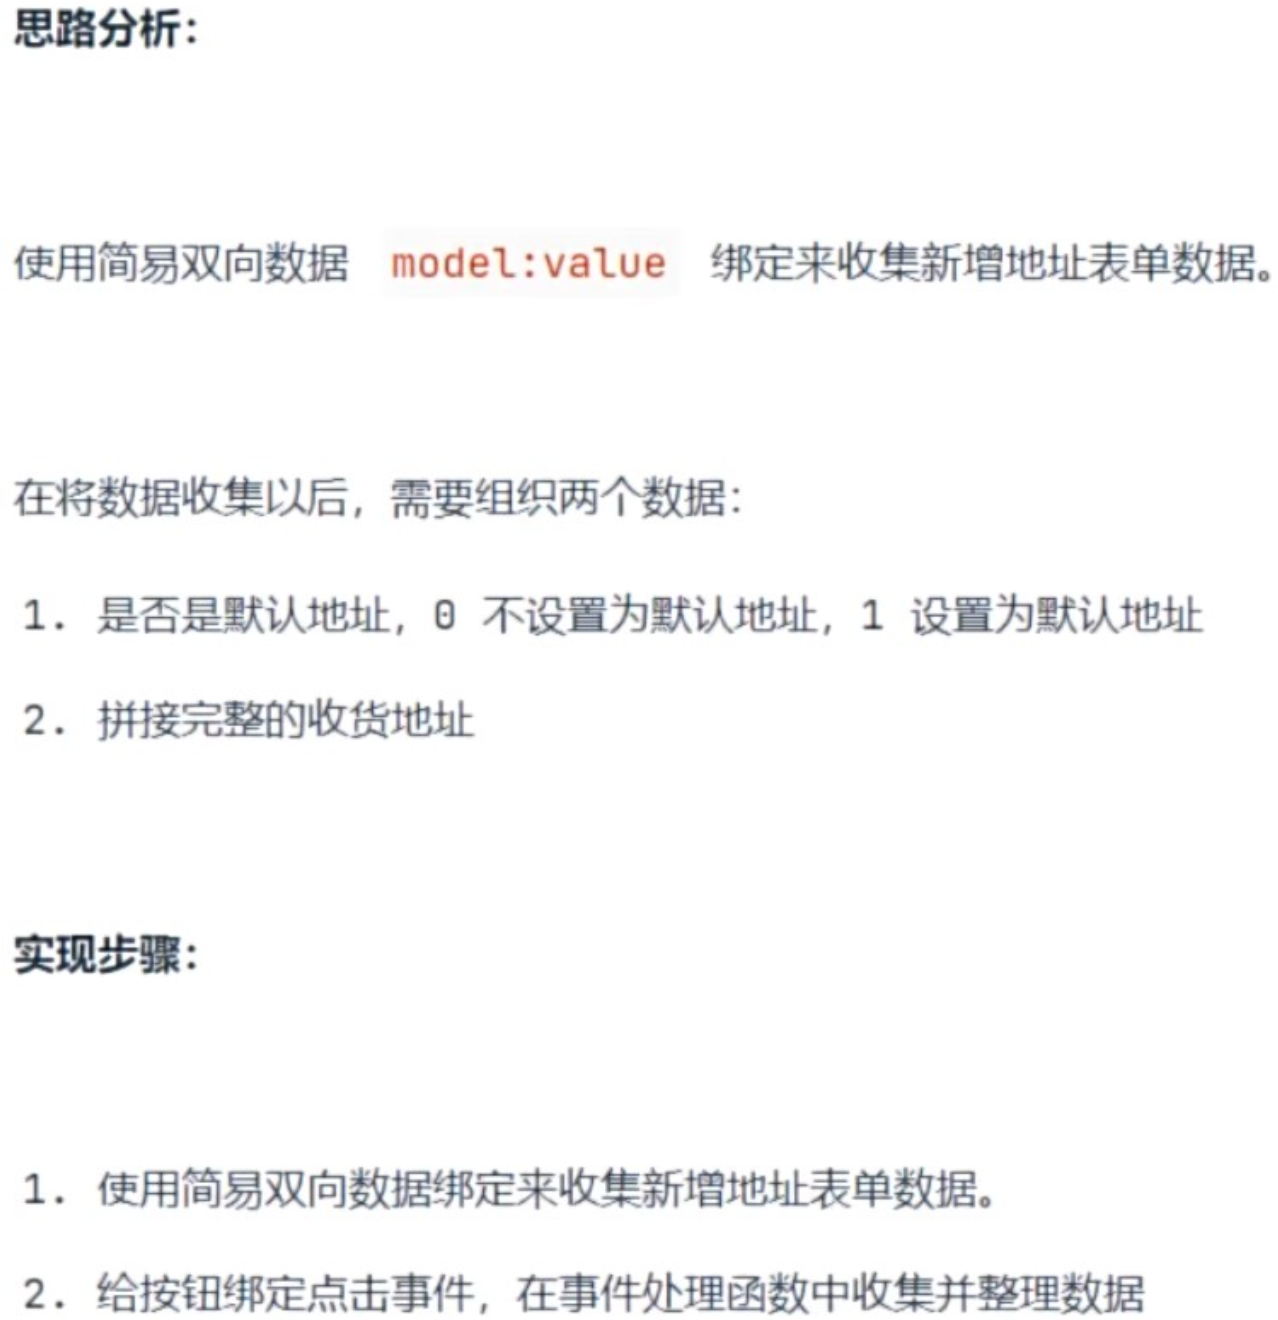
javascript
// modules/settingModule/pages/address/add/index.js

Page({
  // 页面的初始数据
  data: {},

  // 保存收货地址
  saveAddrssForm() {

    // 组织参数(完整地址、是否设置为默认地址)

    const { provinceName, cityName, districtName, aadress, isDefault } = this.data

    // 最终需要发送的请求参数
    const params = {
      ...this.data,
      fullAddress: provinceName + cityName + districtName + aadress,
      isDefault: isDefault ? 1 : 0
    }

    console.log(params)
  },

  // 省市区选择
  onAddressChange(event) {}
})