欢迎加入开源鸿蒙PC社区:
atomgit仓库地址: https://atomgit.com/2401_83963238/guanganstyle
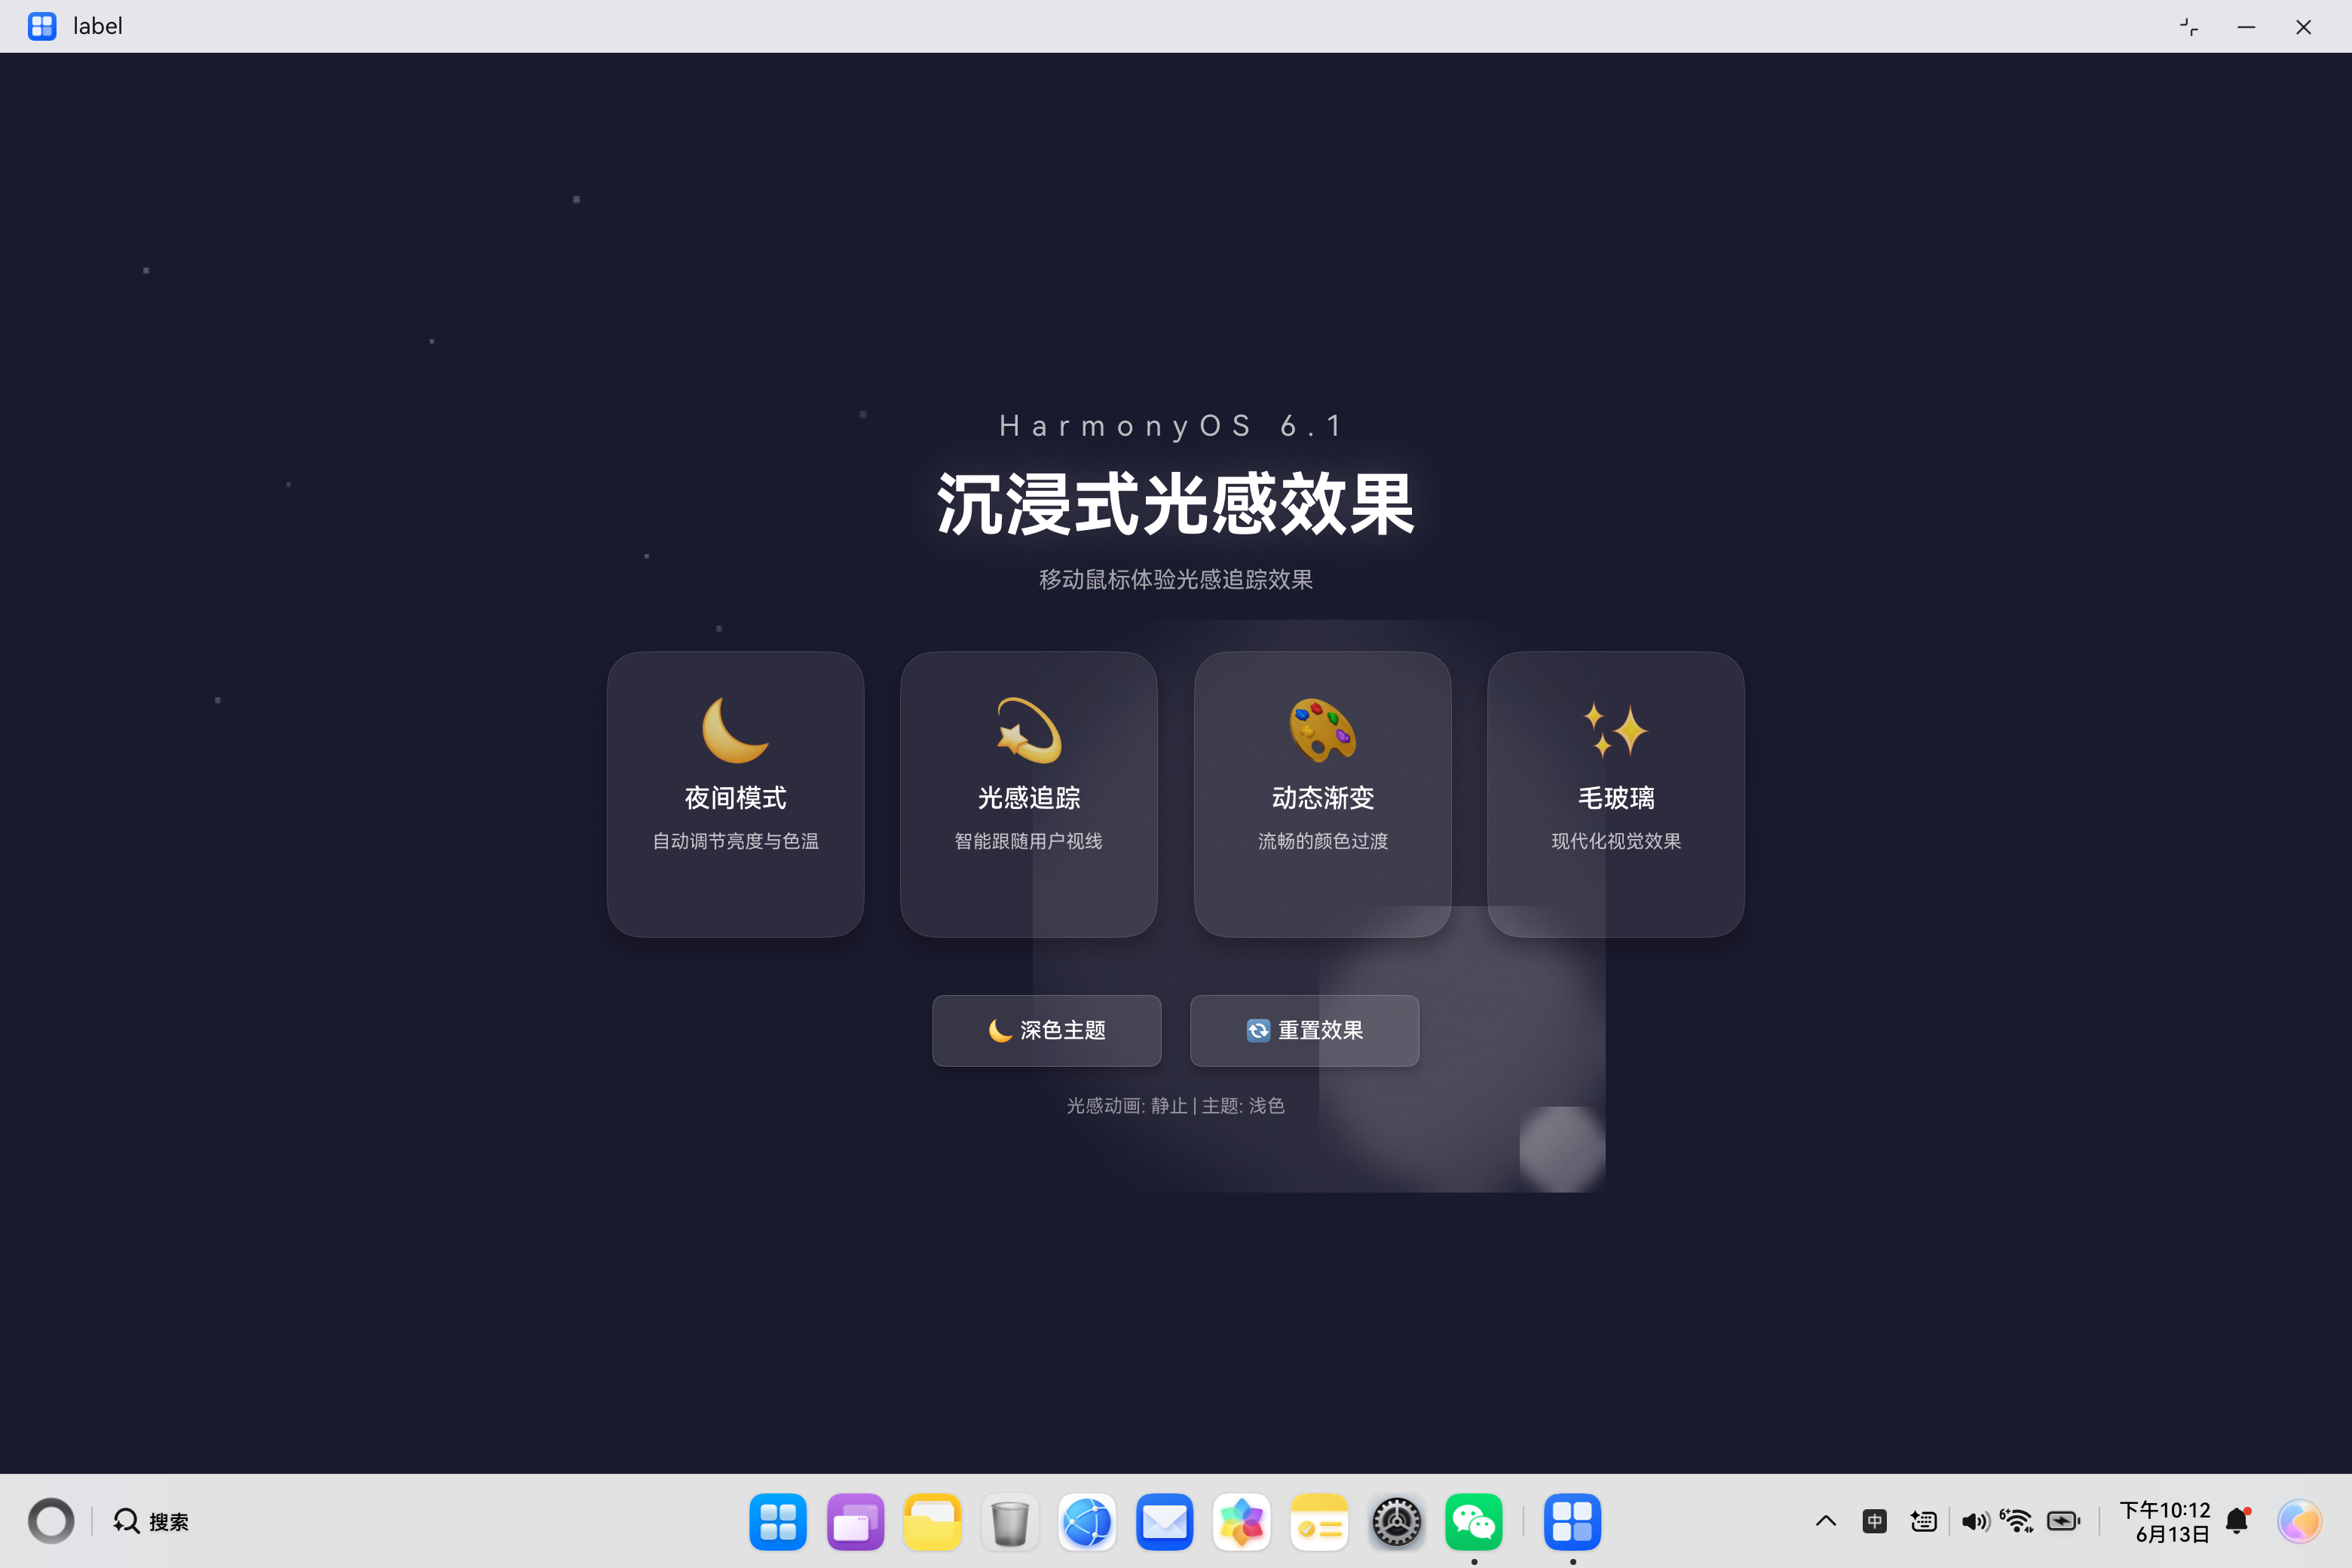
HarmonyOS 6.1 -光影效果
一、概述
HarmonyOS 6.1 引入了许多令人兴奋的新特性,其中沉浸式光感效果是提升用户体验的重要功能之一。本文将详细介绍如何在 PC 端应用中实现沉浸式光感效果,并针对开发过程中常见的编译错误提供完整的解决方案。
二、核心概念
2.1 沉浸式光感效果的定义
沉浸式光感效果是一种视觉设计技术,通过动态追踪用户交互(如鼠标移动)来模拟光线照射效果,创造出更加生动和沉浸的用户体验。主要特点包括:
| 特性 | 描述 |
|---|---|
| 光感动画 | 跟随鼠标移动的光晕效果 |
| 脉冲效果 | 呼吸式的光晕缩放动画 |
| 粒子背景 | 浮动的光点粒子营造氛围 |
| 主题切换 | 支持浅色/深色主题切换 |
| 玻璃拟态 | 现代化的毛玻璃卡片设计 |
2.2 ArkTS 语法约束
在 HarmonyOS 开发中,ArkTS 有一些特殊的语法约束需要注意:
- 不支持
any和unknown类型 - 不支持解构赋值
- 不支持
var关键字 - 不支持函数表达式,需使用箭头函数
- 属性必须在声明处初始化
三、常见错误分析与解决方案
3.1 错误类型汇总
在开发沉浸式光感效果页面时,常见的编译错误包括:
| 错误类型 | 错误信息 | 严重程度 |
|---|---|---|
backgroundBlur 属性不存在 |
Property 'backgroundBlur' does not exist on type 'ButtonAttribute' |
高 |
transition 参数类型错误 |
Argument of type 'number' is not assignable to parameter of type 'TransitionOptions' |
高 |
LinearGradient 类型不匹配 |
Argument of type 'LinearGradient' is not assignable to parameter of type 'ResourceColor' |
高 |
| 类型转换警告 | Conversion of type 'this' to type 'Record<string, number>' may be a mistake |
中 |
| 组件语法限制 | Only @Component syntax can be written here |
高 |
build() 中调用非UI方法 |
Only UI component syntax can be written here |
高 |
| 模板字符串不支持 | Template literal is not supported |
高 |
| 字符串拼接错误 | Operator '+' cannot be applied to types 'string' and 'number' |
中 |
| 接口声明位置错误 | Interface declarations can only appear at the top level |
高 |
| 类成员访问限制 | Class declarations can only appear at the top level |
高 |
| 对象字面量需要显式类型 | Object literal must correspond to some explicitly declared class or interface |
高 |
独立函数中使用 this |
Using "this" inside stand-alone functions is not supported |
高 |
| 未使用变量警告 | 'functionName' is declared but its value is never read |
低 |
| 索引访问不支持 | Indexed access is not supported for fields |
高 |
| 隐式 any 类型 | Use explicit types instead of "any", "unknown" |
高 |
3.2 错误一:backgroundBlur 属性不存在
问题分析:
ArkUI 的 Button 组件不支持 backgroundBlur 属性。这是一个常见的误解,许多开发者会尝试使用该属性来实现毛玻璃效果,但实际上该属性只在特定组件上可用。
错误代码:
typescript
Button('切换主题')
  .backgroundBlur(10)  // 错误:Button 不支持此属性
解决方案:
使用 backgroundColor 配合透明度来模拟毛玻璃效果:
typescript
Button('切换主题')
  .backgroundColor('rgba(255,255,255,0.12)')
  .border({ width: 1, color: 'rgba(255,255,255,0.2)' })
原理说明:
通过设置半透明背景色和边框,可以创造出类似毛玻璃的视觉效果。这种方法兼容性更好,适用于所有支持 backgroundColor 属性的组件。
3.3 错误二:transition 参数类型错误
问题分析:
transition 方法需要一个 TransitionOptions 对象作为参数,而不是直接传入数字。
错误代码:
typescript
Column()
  .transition(300)  // 错误:参数类型不匹配
解决方案:
typescript
Column()
  .transition({ duration: 300 })  // 正确:传入 TransitionOptions 对象
原理说明:
TransitionOptions 对象可以包含多个属性:
| 属性 | 类型 | 说明 |
|---|---|---|
duration |
number |
动画持续时间(毫秒) |
curve |
Curve |
动画曲线 |
delay |
number |
延迟开始时间(毫秒) |
3.4 错误三:LinearGradient 类型不匹配
问题分析:
background 方法期望的参数类型可能不匹配 LinearGradient 对象。
错误代码:
typescript
Column()
  .background(new LinearGradient(colors))  // 可能报错
解决方案:
确保使用正确的 API 方式:
typescript
Column()
  .background(new LinearGradient(colors))  // 确保 colors 是正确的 ColorStop[] 类型
关键要点:
ColorStop接口包含color和offset两个属性offset的值范围是 0 到 1- 颜色值可以是十六进制字符串或 RGBA 值
3.5 错误四:类型转换警告
问题分析:
尝试将 this 转换为 Record<string, number> 类型可能导致编译警告。
错误代码:
typescript
.onHover((isHover: boolean) => {
  if (isHover) {
    (this as Record<string, number>).currentScale = 1.05;  // 警告
  }
});
解决方案:
移除不必要的类型转换,直接使用组件属性:
typescript
// 移除 hover 中的类型转换代码
Column()
  .transition({ duration: 300 });
原理说明:
在 ArkTS 中,组件的状态管理应该通过 @State、@Prop 等装饰器来实现,而不是直接修改组件实例的属性。
3.6 错误五:组件语法限制
问题分析:
在 @Builder 方法中只能使用组件语法,不能包含其他类型的语句。
错误代码:
typescript
@Builder
buildContent() {
  let temp = 1;  // 错误:不能在 @Builder 中声明变量
  Column() {
    // ...
  }
}
解决方案:
将变量声明移到组件类的属性中:
typescript
struct ImmersiveLightEffect {
  private temp: number = 1;  // 在类级别声明

  @Builder
  buildContent() {
    Column() {
      // 使用 this.temp
    }
  }
}
3.7 错误六:build() 中调用非UI方法
问题分析:
在 ArkTS 中,build() 方法只能包含 UI 组件的声明和布局代码,不能调用普通的方法(如启动定时器、数据初始化等)。
错误代码:
typescript
build() {
  Column() {
    // ...
  };

  this.startPulseAnimation();  // 错误:build() 中不能调用非UI方法
}
解决方案:
将方法调用移到生命周期回调方法中,如 aboutToAppear():
typescript
aboutToAppear(): void {
  this.startPulseAnimation();  // 正确:在生命周期方法中调用
}

build() {
  Column() {
    // ...
  };
}
原理说明:
ArkTS 组件提供了多个生命周期回调方法:
| 生命周期方法 | 调用时机 |
|---|---|
aboutToAppear() |
组件即将出现时调用 |
aboutToDisappear() |
组件即将消失时调用 |
onPageShow() |
页面显示时调用 |
onPageHide() |
页面隐藏时调用 |
这些方法是执行初始化逻辑、启动动画、订阅事件等操作的正确位置。
3.8 错误七:模板字符串不支持
问题分析:
ArkTS 不支持 ES6 模板字符串语法(反引号 `````),需要使用字符串拼接替代。
错误代码:
typescript
// ❌ 错误:ArkTS不支持模板字符串
Text(`${styleIcon} 当前风格: ${styleName}`);
解决方案:
typescript
// ✅ 正确:使用字符串拼接
Text(styleIcon + ' 当前风格: ' + styleName);
原理说明:
ArkTS 要求使用 + 运算符进行字符串拼接,而不是模板字符串语法。这是因为模板字符串在编译时需要额外的处理,不符合 ArkTS 的静态类型检查要求。
3.9 错误八:字符串拼接错误
问题分析:
ArkTS 在进行字符串拼接时,需要确保所有操作数都是字符串类型,不能直接将数字与字符串拼接。
错误代码:
typescript
// ❌ 错误:不能直接拼接字符串和数字
Text('脉冲值: ' + this.pulseScale);
解决方案:
typescript
// ✅ 正确:先将数字转换为字符串
let scaleStr: string = this.pulseScale.toString();
Text('脉冲值: ' + scaleStr);
或者使用条件表达式:
typescript
// ✅ 正确:使用条件判断
Text('光感动画: ' + (this.pulseScale > 1 ? '脉冲中...' : '静止'));
3.10 错误九:接口声明位置错误
问题分析:
在 ArkTS 中,接口声明只能出现在文件的顶层,不能在类或结构体内部声明接口。
错误代码:
typescript
// ❌ 错误:接口不能在结构体内部声明
@Entry
@Component
struct ImmersiveLightEffect {
  interface StyleConfig {  // 错误位置
    name: string;
    icon: string;
  }
}
解决方案:
typescript
// ✅ 正确:接口声明在文件顶层
interface StyleConfig {
  name: string;
  icon: string;
}

@Entry
@Component
struct ImmersiveLightEffect {
  // 使用接口
}
3.11 错误十:类声明位置错误
问题分析:
与接口类似,类声明也只能出现在文件的顶层,不能在结构体内部声明类。
错误代码:
typescript
// ❌ 错误:类不能在结构体内部声明
@Entry
@Component
struct ImmersiveLightEffect {
  class StyleManager {  // 错误位置
    static getStyle(): void {}
  }
}
解决方案:
typescript
// ✅ 正确:类声明在文件顶层
class StyleManager {
  static getStyle(): void {}
}

@Entry
@Component
struct ImmersiveLightEffect {
  // 使用类
}
3.12 错误十一:对象字面量需要显式类型
问题分析:
ArkTS 要求所有对象字面量必须有明确的类型声明,不能使用无类型的对象字面量。
错误代码:
typescript
// ❌ 错误:Record<string, StyleConfig> 需要显式接口类型
const styleMap: Record<string, StyleConfig> = {
  aurora: { name: '极光', icon: '🌌', bgColor: '#0f0c29' }
};
解决方案:
typescript
// ✅ 正确:定义显式接口
interface StyleMapType {
  aurora: StyleConfig;
  sunset: StyleConfig;
  ocean: StyleConfig;
  forest: StyleConfig;
  tech: StyleConfig;
  rose: StyleConfig;
}

const styleMap: StyleMapType = {
  aurora: auroraStyle,
  sunset: sunsetStyle,
  ocean: oceanStyle,
  forest: forestStyle,
  tech: techStyle,
  rose: roseStyle
};
3.13 错误十二:独立函数中使用 this
问题分析:
在 ArkTS 中,独立函数(非类成员方法)不能使用 this 关键字。
错误代码:
typescript
// ❌ 错误:独立函数中不能使用 this
function getStyle(id: string) {
  return this.styles[id];  // 错误
}
解决方案:
typescript
// ✅ 正确:使用全局变量或参数传递
const styleMap: StyleMapType = { ... };

function getStyle(id: string): StyleConfig | null {
  return styleMap[id] || null;  // 使用全局变量
}
3.14 错误十三:未使用变量警告
问题分析:
ArkTS 会警告未使用的变量或函数,虽然不影响编译,但建议移除未使用的代码。
错误代码:
typescript
// ⚠️ 警告:函数声明但未使用
function getStyle(id: string): StyleConfig | null {
  return styleMap[id] || null;
}
解决方案:
typescript
// ✅ 正确:移除未使用的函数
// 删除或注释掉未使用的函数
3.15 错误十四:索引访问不支持
问题分析:
ArkTS 不支持使用索引访问对象字段(如 obj["field"]),必须使用点号访问(如 obj.field)。
错误代码:
typescript
// ❌ 错误:不支持索引访问
const styleMap: Record<string, StyleConfig> = { ... };
function getStyleName(id: string): string {
  let style = styleMap[id];  // 错误:索引访问不支持
  return style.name;
}
解决方案:
typescript
// ✅ 正确:使用 if-else 判断
function getStyleNameById(id: string): string {
  if (id === 'aurora') {
    return auroraStyle.name;
  } else if (id === 'sunset') {
    return sunsetStyle.name;
  } else if (id === 'ocean') {
    return oceanStyle.name;
  }
  return '未知';
}
原理说明:
ArkTS 要求所有字段访问都必须是静态可分析的,索引访问无法在编译时确定访问的字段,因此不被支持。需要使用条件判断来替代。
3.16 错误十五:隐式 any 类型
问题分析:
当使用索引访问或某些泛型操作时,ArkTS 无法推断类型,会隐式使用 any 类型,这在严格模式下是禁止的。
错误代码:
typescript
// ❌ 错误:隐式 any 类型
function getStyleName(id: string): string {
  let style = styleMap[id];  // style 的类型是 any
  return style.name;
}
解决方案:
typescript
// ✅ 正确:使用显式条件判断
function getStyleNameById(id: string): string {
  if (id === 'aurora') {
    return auroraStyle.name;
  }
  return '未知';
}
原理说明:
ArkTS 禁止使用 any 和 unknown 类型,所有变量必须有明确的类型声明。通过使用条件判断,可以确保每个分支返回的都是明确类型的值。
四、完整代码实现
4.1 风格配置与管理类
typescript
interface StyleConfig {
  name: string;
  icon: string;
  bgColor: string;
  lightColor: string;
  particleOpacity: number;
  glowIntensity: number;
}

class StyleManager {
  private static styles: Record<string, StyleConfig> = {
    aurora: { name: '极光', icon: '🌌', bgColor: '#0f0c29', lightColor: '#a855f7', particleOpacity: 0.3, glowIntensity: 0.15 },
    sunset: { name: '日落', icon: '🌅', bgColor: '#1a1520', lightColor: '#f97316', particleOpacity: 0.25, glowIntensity: 0.18 },
    ocean: { name: '海洋', icon: '🌊', bgColor: '#0c1929', lightColor: '#06b6d4', particleOpacity: 0.28, glowIntensity: 0.12 },
    forest: { name: '森林', icon: '🌲', bgColor: '#0d1b12', lightColor: '#22c55e', particleOpacity: 0.25, glowIntensity: 0.14 },
    tech: { name: '科技', icon: '💻', bgColor: '#0a0a0f', lightColor: '#3b82f6', particleOpacity: 0.35, glowIntensity: 0.2 },
    rose: { name: '玫瑰', icon: '🌹', bgColor: '#1a0f14', lightColor: '#ec4899', particleOpacity: 0.3, glowIntensity: 0.16 }
  };

  private static styleArray: Array<string> = ['aurora', 'sunset', 'ocean', 'forest', 'tech', 'rose'];

  static getStyle(id: string): StyleConfig | null {
    return this.styles[id] || null;
  }

  static getStyleList(): Array<string> {
    return this.styleArray;
  }

  static getStyleName(id: string): string {
    let style = this.styles[id];
    return style ? style.name : '未知';
  }

  static getStyleIcon(id: string): string {
    let style = this.styles[id];
    return style ? style.icon : '✨';
  }

  static getStyleBgColor(id: string): string {
    let style = this.styles[id];
    return style ? style.bgColor : '#0f0c29';
  }

  static getStyleLightColor(id: string): string {
    let style = this.styles[id];
    return style ? style.lightColor : '#ffffff';
  }
}
代码说明:
- 接口定义 :
StyleConfig接口定义了风格配置的结构 - 静态管理类 :
StyleManager使用静态方法提供风格配置的统一访问 - 六种风格:极光、日落、海洋、森林、科技、玫瑰
- 封装访问:通过静态方法访问风格配置,避免直接操作数据
4.2 主组件结构
typescript
@Entry
@Component
struct ImmersiveLightEffect {
  @State lightX: number = 300;
  @State lightY: number = 300;
  @State pulseScale: number = 1;

  @State currentStyle: string = 'aurora';
  @State currentBgColor: string = '#0f0c29';
  @State lightColor: string = '#a855f7';

  @State styleList: Array<string> = StyleManager.getStyleList();

  aboutToAppear(): void {
    this.startPulseAnimation();
    this.updateStyle('aurora');
  }

  updateStyle(styleName: string): void {
    this.currentStyle = styleName;
    this.currentBgColor = StyleManager.getStyleBgColor(styleName);
    this.lightColor = StyleManager.getStyleLightColor(styleName);
  }
}
代码说明:
| 属性 | 类型 | 说明 |
|---|---|---|
lightX/lightY |
number | 光晕中心坐标 |
pulseScale |
number | 脉冲缩放比例 |
currentStyle |
string | 当前风格ID |
currentBgColor |
string | 当前背景色 |
lightColor |
string | 当前光感颜色 |
styleList |
Array | 风格列表 |
4.3 生命周期与构建方法
typescript
startPulseAnimation(): void {
  setInterval(() => {
    this.pulseScale = this.pulseScale === 1 ? 1.3 : 1;
  }, 2000);
}

build() {
  Column() {
    Stack({ alignContent: Alignment.Center }) {
      this.buildGradientBackground();
      this.buildParticles();
      this.buildPulseLight();
      this.buildContent();
    }
  }
  .width('100%')
  .height('100%')
  .onTouch((event: TouchEvent) => {
    if (event.type === TouchType.Down || event.type === TouchType.Move) {
      this.lightX = event.touches[0].x;
      this.lightY = event.touches[0].y;
    }
  });
}
代码说明:
aboutToAppear():组件显示前启动动画并初始化风格updateStyle():更新当前风格配置onTouch():监听触摸事件追踪鼠标位置
4.4 风格选择器实现
typescript
@Builder
buildStyleSelector() {
  Row({ space: 15 }) {
    ForEach(this.styleList, (styleId: string) => {
      let isSelected: boolean = this.currentStyle === styleId;
      let icon: string = StyleManager.getStyleIcon(styleId);
      let name: string = StyleManager.getStyleName(styleId);

      Column({ space: 8 }) {
        Text(icon).fontSize(28);
        Text(name).fontSize(12).fontColor('rgba(255,255,255,0.8)');
      }
      .width(80)
      .height(80)
      .padding(12)
      .borderRadius(16)
      .backgroundColor(isSelected ? 'rgba(255,255,255,0.15)' : 'rgba(255,255,255,0.05)')
      .border({ width: isSelected ? 2 : 0, color: this.lightColor })
      .shadow({ radius: isSelected ? 20 : 0, color: isSelected ? this.lightColor + '40' : 'transparent', offsetX: 0, offsetY: 5 })
      .onClick(() => {
        this.updateStyle(styleId);
      });
    });
  }
  .width('100%')
  .justifyContent(FlexAlign.Center);
}
代码说明:
- 使用
ForEach遍历风格列表 - 根据选中状态显示不同样式
- 点击触发
updateStyle()切换风格
4.5 粒子背景效果
typescript
@Builder
buildParticles() {
  Stack({ alignContent: Alignment.TopStart }) {
    Ellipse().width(4).height(4).fill('rgba(255,255,255,0.3)').translate({ x: 100, y: 150 }).blur(2);
    Ellipse().width(3).height(3).fill('rgba(255,255,255,0.2)').translate({ x: 200, y: 300 }).blur(1);
    Ellipse().width(5).height(5).fill('rgba(255,255,255,0.25)').translate({ x: 400, y: 100 }).blur(2);
    Ellipse().width(4).height(4).fill('rgba(255,255,255,0.2)').translate({ x: 500, y: 400 }).blur(1);
    Ellipse().width(3).height(3).fill('rgba(255,255,255,0.3)').translate({ x: 300, y: 200 }).blur(2);
    Ellipse().width(5).height(5).fill('rgba(255,255,255,0.15)').translate({ x: 600, y: 250 }).blur(2);
    Ellipse().width(4).height(4).fill('rgba(255,255,255,0.25)').translate({ x: 150, y: 450 }).blur(1);
    Ellipse().width(3).height(3).fill('rgba(255,255,255,0.3)').translate({ x: 450, y: 350 }).blur(2);
  }
  .width('100%')
  .height('100%');
}
代码说明:
- 使用
Ellipse组件创建光点粒子 - 通过
translate定位粒子位置 - 使用
blur实现发光效果 - 不同大小和透明度的粒子营造层次感
4.6 脉冲光晕效果
typescript
@Builder
buildPulseLight() {
  Stack({ alignContent: Alignment.Center }) {
    Ellipse()
      .width(400 * this.pulseScale)
      .height(400 * this.pulseScale)
      .fill('#ffffff')
      .opacity(0.08)
      .blur(80)
      .translate({ x: this.lightX - 200 * this.pulseScale, y: this.lightY - 200 * this.pulseScale });

    Ellipse()
      .width(200 * this.pulseScale)
      .height(200 * this.pulseScale)
      .fill('#ffffff')
      .opacity(0.15)
      .blur(40)
      .translate({ x: this.lightX - 100 * this.pulseScale, y: this.lightY - 100 * this.pulseScale });

    Ellipse()
      .width(60)
      .height(60)
      .fill('#ffffff')
      .opacity(0.3)
      .blur(15)
      .translate({ x: this.lightX - 30, y: this.lightY - 30 });
  }
  .width('100%')
  .height('100%');
}
代码说明:
- 三层同心圆光晕创造层次感
- 外层最大最淡,内层最小最亮
- 使用
pulseScale实现脉冲缩放 - 通过
translate跟随鼠标位置
4.7 玻璃拟态卡片
typescript
@Builder
buildCard(icon: string, title: string, desc: string) {
  Column({ space: 12 }) {
    Text(icon).fontSize(42);

    Text(title)
      .fontSize(18)
      .fontWeight(FontWeight.Medium)
      .fontColor('#ffffff');

    Text(desc)
      .fontSize(13)
      .fontColor('rgba(255,255,255,0.7)')
      .maxLines(2);
  }
  .width(180)
  .height(200)
  .padding({ top: 30, left: 20, right: 20 })
  .backgroundColor('rgba(255,255,255,0.08)')
  .borderRadius(24)
  .border({ width: 1, color: 'rgba(255,255,255,0.12)' })
  .shadow({ radius: 30, color: 'rgba(0,0,0,0.25)', offsetX: 0, offsetY: 15 })
  .transition({ duration: 300 });
}
代码说明:
| 属性 | 值 | 作用 |
|---|---|---|
backgroundColor |
rgba(255,255,255,0.08) |
半透明白色背景 |
border |
1px rgba(255,255,255,0.12) |
细边框增强层次 |
borderRadius |
24 |
圆角设计 |
shadow |
radius: 30, color: rgba(0,0,0,0.25) |
投影效果 |
五、调试技巧与最佳实践
5.1 调试方法
| 方法 | 说明 |
|---|---|
使用 console.log |
输出调试信息 |
| 检查编译日志 | 查看详细错误信息 |
| 使用预览功能 | 实时查看效果 |
| 断点调试 | 使用 DevEco Studio 的调试功能 |
5.2 性能优化建议
- 减少组件层级:避免过深的嵌套布局
- 使用
@Builder复用代码:减少重复渲染 - 合理使用状态管理:避免不必要的状态更新
- 优化动画性能 :使用
animateTo替代手动定时器
六、总结
本文详细介绍了 HarmonyOS 6.1 沉浸式光感效果的实现方法,包括:
- 核心功能实现:光感动画、脉冲效果、粒子背景、主题切换
- 常见错误解决方案 :
backgroundBlur、transition参数、类型转换等问题 - 最佳实践:性能优化、兼容性考虑、调试技巧
通过本文的学习,开发者可以快速掌握沉浸式光感效果的实现技巧,避免常见的编译错误,创建出更加精美的 HarmonyOS 应用界面。