Step1: load them into your WSL2 environment by command:
"docker load -i <tar_file>"

docker run -it --rm \
  --name persistency_demo \
  --entrypoint /bin/bash \
  vsc-vsps_persistency_demo:latest
启动已停止的容器
docker start -i car_demo
在Docker中
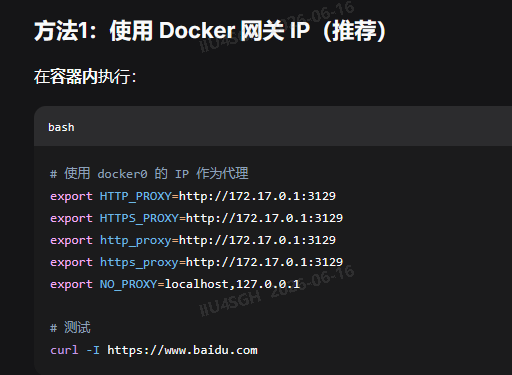
使用 docker0 的 IP 作为代理
export HTTP_PROXY=http://172.17.0.1:3129
export HTTPS_PROXY=http://172.17.0.1:3129
export http_proxy=http://172.17.0.1:3129
export https_proxy=http://172.17.0.1:3129
export NO_PROXY=localhost,127.0.0.1
测试
curl -I https://www.baidu.com
解决方案:配置 apt 使用代理
方法1:临时配置 apt 代理(推荐)
bash
# 使用 -o 选项临时指定代理
sudo apt -o Acquire::http::Proxy="http://172.17.0.1:3129" -o Acquire::https::Proxy="http://172.17.0.1:3129" update
方法2:永久配置 apt 代理
bash
# 创建 apt 代理配置文件
echo 'Acquire::http::Proxy "http://172.17.0.1:3129";
Acquire::https::Proxy "http://172.17.0.1:3129";' | sudo tee /etc/apt/apt.conf.d/95proxies

# 然后正常使用 apt
sudo apt update
您当前容器正在运行,可以直接使用此命令:
# 在宿主机(不是容器内)执行
# 拷贝整个项目目录到容器的 /root 目录
docker cp /home/iiu4sgh/VSPS_GP_0.1.0 car_demo:/root/
car_demo是通过docker ps看出来的

# 或者拷贝当前目录下的项目
docker cp ~/VSPS_GP_0.1.0 car_demo:/root/
拷贝完成后,进入容器即可看到项目:
docker start -i car_demo
cd /root/VSPS_GP_0.1.0
bazel build //...
docker cp 常用语法
# 拷贝文件到容器
docker cp /主机/文件路径 容器名:/容器/目标路径