项目实战(动手吧朋友们)
一、项目实战:LAMP博客平台-Word press
WordPress是一款个人博客系统,并逐步演化成一款内容管理系统软件,使用PHP语言和MySQL数据库开发,用户可以在支持 PHP 和 MySQL 数据库的服务器上使用自己的博客。
- 官网:https://wordpress.org/
- 安装手册:https://wordpress.org/documentation/
- 下载:https://wordpress.org/download/
前提条件
用centos7模板克隆一台server
| 节点名称 | 节点IP | 节点功能 |
|---|---|---|
| wordpress | 10.1.8.10/24 | LAMP |
基础配置
bash
[root@localhost ~]# hostnamectl set-hostname wordpress
[root@localhost ~]# nmcli connection modify ens33 ipv4.method manual ipv4.addresses 10.1.8.10/24 ipv4.gateway 10.1.8.2 ipv4.dns 10.1.8.2 autoconnect yes
[root@localhost ~]# nmcli connection up ens33
[root@localhost ~]# systemctl stop firewalld
[root@localhost ~]# setenforce 0
准备好 LAMP 环境
bash
[root@wordpress ~]# wget -O /etc/yum.repos.d/epel.repo http://mirrors.aliyun.com/repo/epel-7.repo
[root@wordpress ~]# yum install -y mariadb-server mariadb php php-fpm php-mysqlnd php-gd php-mbstring php-xml httpd
[root@wordpress ~]# systemctl enable mariadb --now
[root@wordpress ~]# systemctl enable php-fpm --now
[root@wordpress ~]# systemctl enable httpd --now
准备数据库
bash
# 初始化
[root@wordpress ~]# mysql_secure_installation
NOTE: RUNNING ALL PARTS OF THIS SCRIPT IS RECOMMENDED FOR ALL MariaDB
      SERVERS IN PRODUCTION USE!  PLEASE READ EACH STEP CAREFULLY!

In order to log into MariaDB to secure it, we'll need the current
password for the root user.  If you've just installed MariaDB, and
you haven't set the root password yet, the password will be blank,
so you should just press enter here.

Enter current password for root (enter for none):
OK, successfully used password, moving on...

Setting the root password ensures that nobody can log into the MariaDB
root user without the proper authorisation.

Set root password? [Y/n] y      #设置root密码'y'
New password:
Re-enter new password:
Password updated successfully!
Reloading privilege tables..
 ... Success!


By default, a MariaDB installation has an anonymous user, allowing anyone
to log into MariaDB without having to have a user account created for
them.  This is intended only for testing, and to make the installation
go a bit smoother.  You should remove them before moving into a
production environment.

Remove anonymous users? [Y/n] y		#删除匿名用户'y'
 ... Success!

Normally, root should only be allowed to connect from 'localhost'.  This
ensures that someone cannot guess at the root password from the network.

Disallow root login remotely? [Y/n] n	#禁止root远程登录'y'
 ... skipping.

By default, MariaDB comes with a database named 'test' that anyone can
access.  This is also intended only for testing, and should be removed
before moving into a production environment.

Remove test database and access to it? [Y/n] y	#删除test库'y'
 - Dropping test database...
 ... Success!
 - Removing privileges on test database...
 ... Success!

Reloading the privilege tables will ensure that all changes made so far
will take effect immediately.

Reload privilege tables now? [Y/n] y		#刷新权限'y'
 ... Success!

Cleaning up...

All done!  If you've completed all of the above steps, your MariaDB
installation should now be secure.

Thanks for using MariaDB!


[root@wordpress ~]# mysql -u root -p123456
MariaDB [(none)]> CREATE DATABASE wordpress;
MariaDB [(none)]> CREATE USER wordpress@localhost IDENTIFIED BY 'huawei';
MariaDB [(none)]> GRANT ALL PRIVILEGES ON wordpress.* TO wordpress@localhost;
MariaDB [(none)]> FLUSH PRIVILEGES;
MariaDB [(none)]> exit
准备 WordPress
这里使用 wordpress-4.9.4 版本,该版本部署起来简单。
bash
# 上传到root用户家目录
[root@wordpress ~]# unzip wordpress-4.9.4-zh_CN.zip
[root@wordpress ~]# cp -aR wordpress /var/www/html/
[root@wordpress ~]# chown -R apache:apache /var/www/html/wordpress/
[root@wordpress ~]# systemctl restart httpd
本地解析:
hosts文件添加10.1.8.10 www.liulele.cloud保存
配置过程
客户端登录 http://www.liulele.cloud/wordpress/
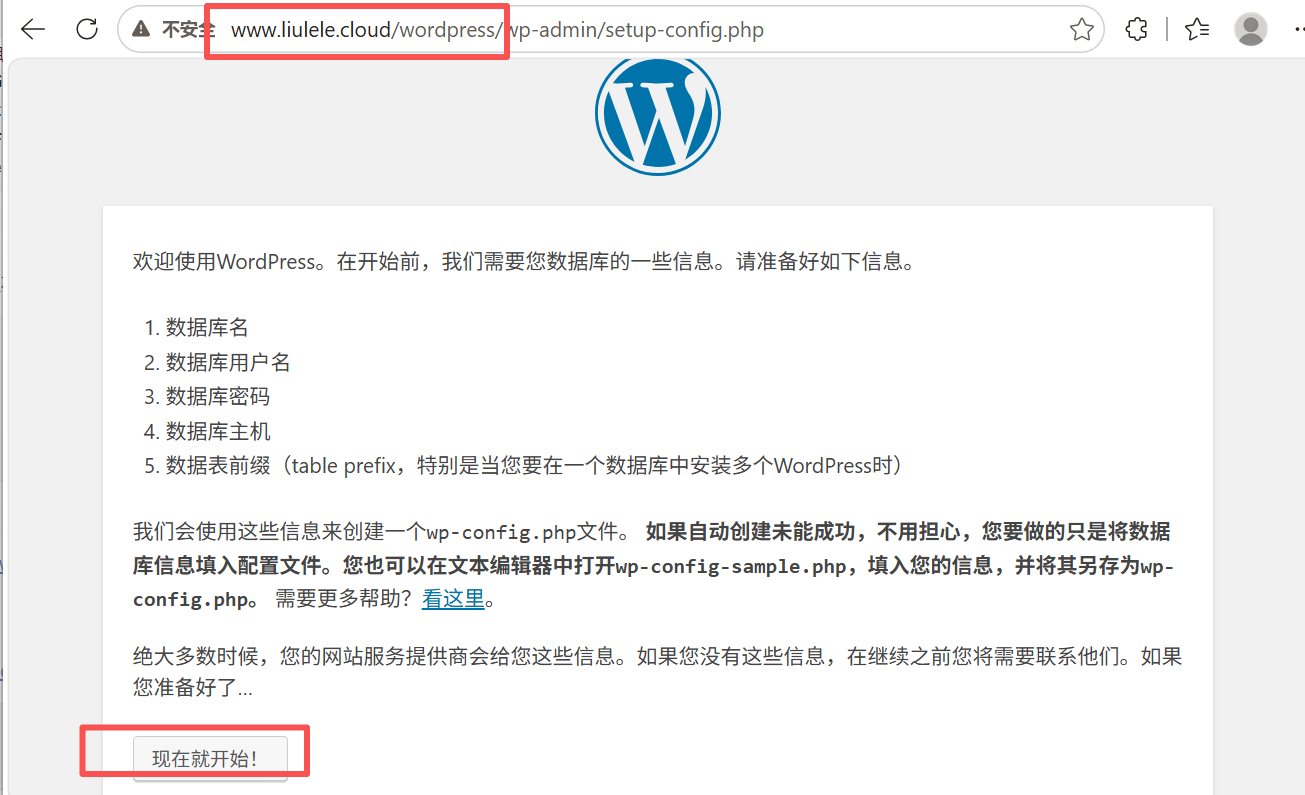
配置数据库
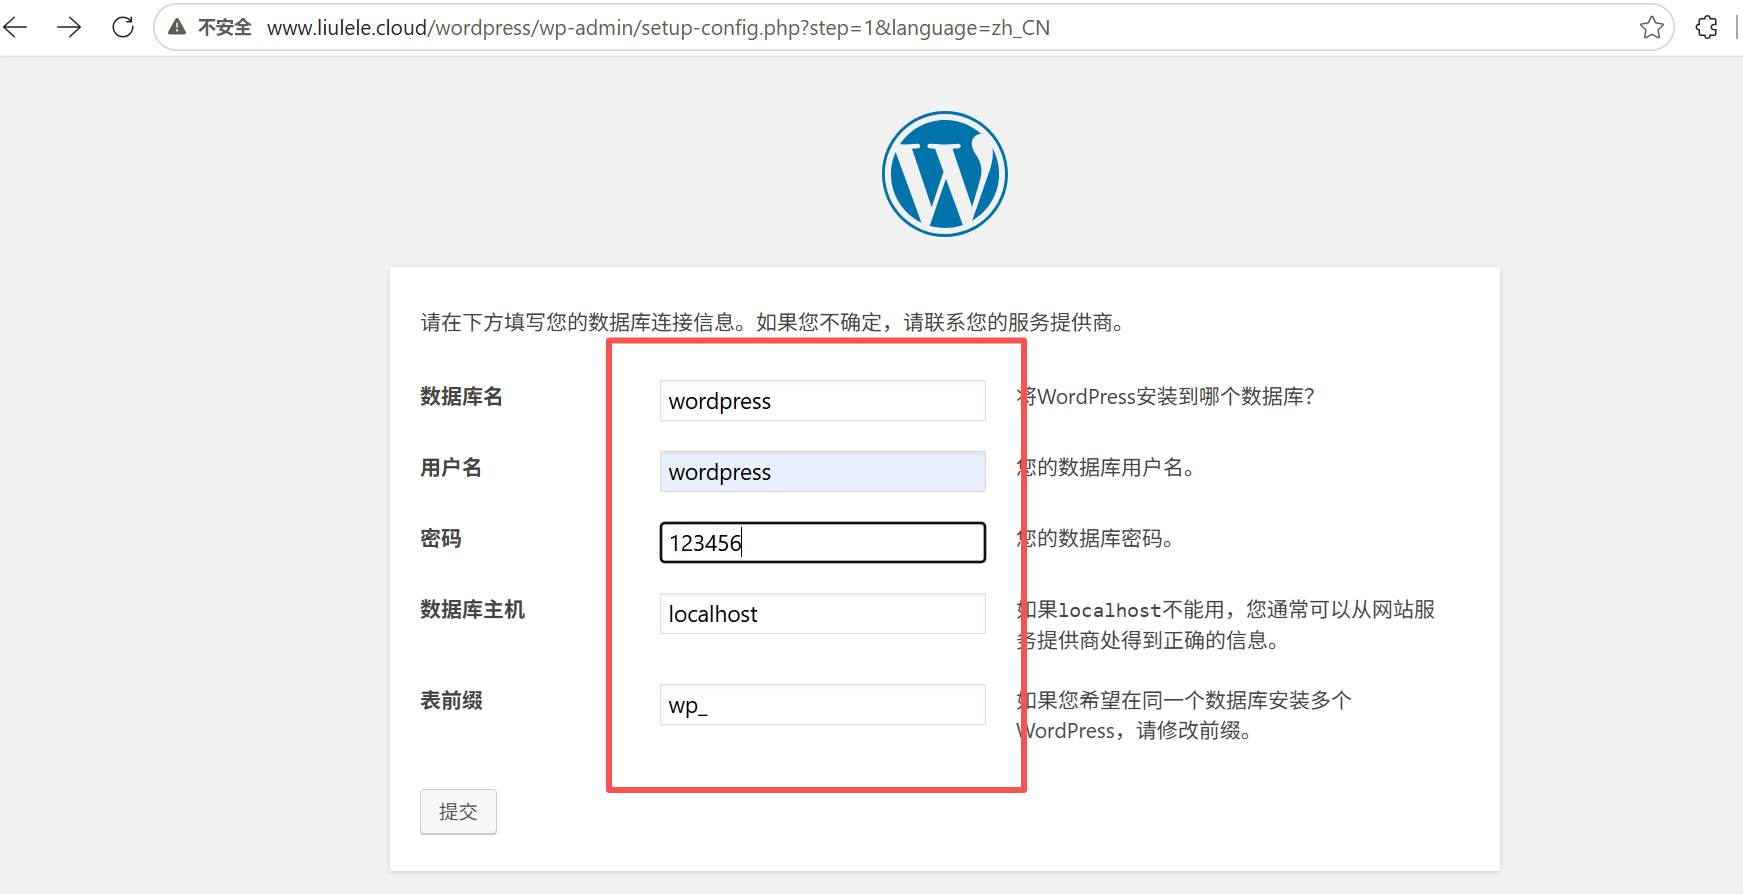
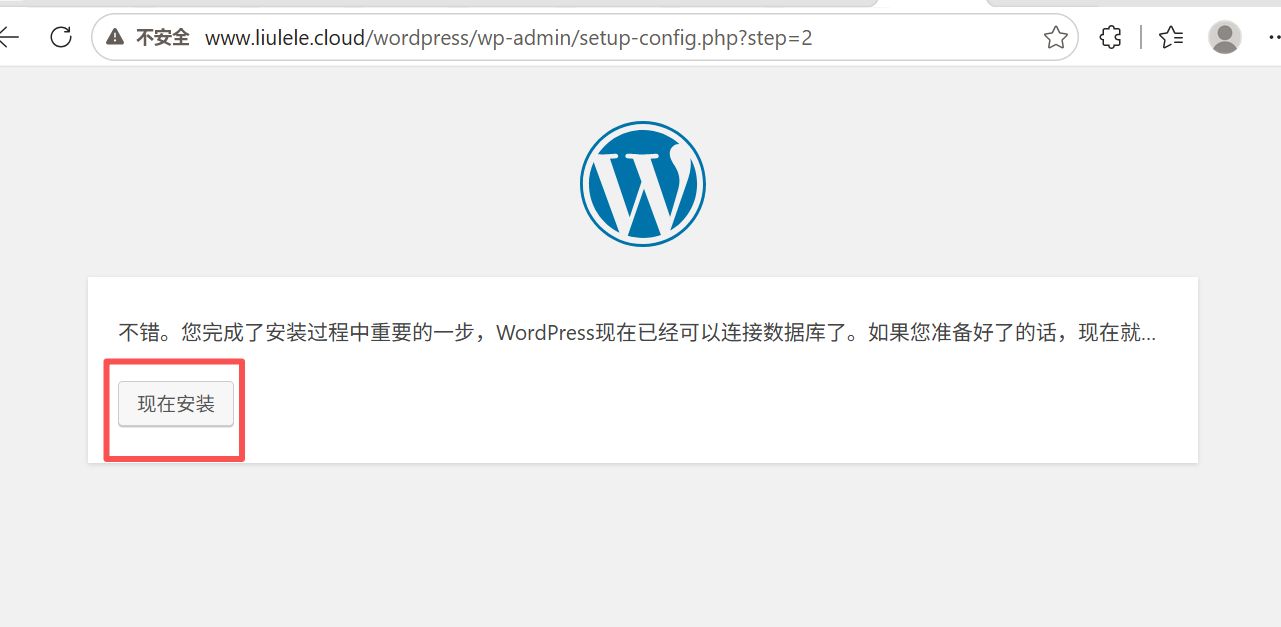
也可以使用以下方式配置后端数据库
bash
# 设置WordPress后端数据库
[root@wordpress ~]# cd /var/www/html/wordpress/
[root@server wordpress]# cp wp-config-sample.php wp-config.php
[root@server wordpress]# vim wp-config.php
# 更改如下四个参数:
/** WordPress数据库的名称 */
define('DB_NAME', 'wordpress');

/** MySQL数据库用户名 */
define('DB_USER', 'wordpress');

/** MySQL数据库密码 */
define('DB_PASSWORD', 'huawei');

/** MySQL主机 */
define('DB_HOST', 'localhost');

/** WordPress数据表前缀 */
$table_prefix = 'wp_';
如果出现下图信息:
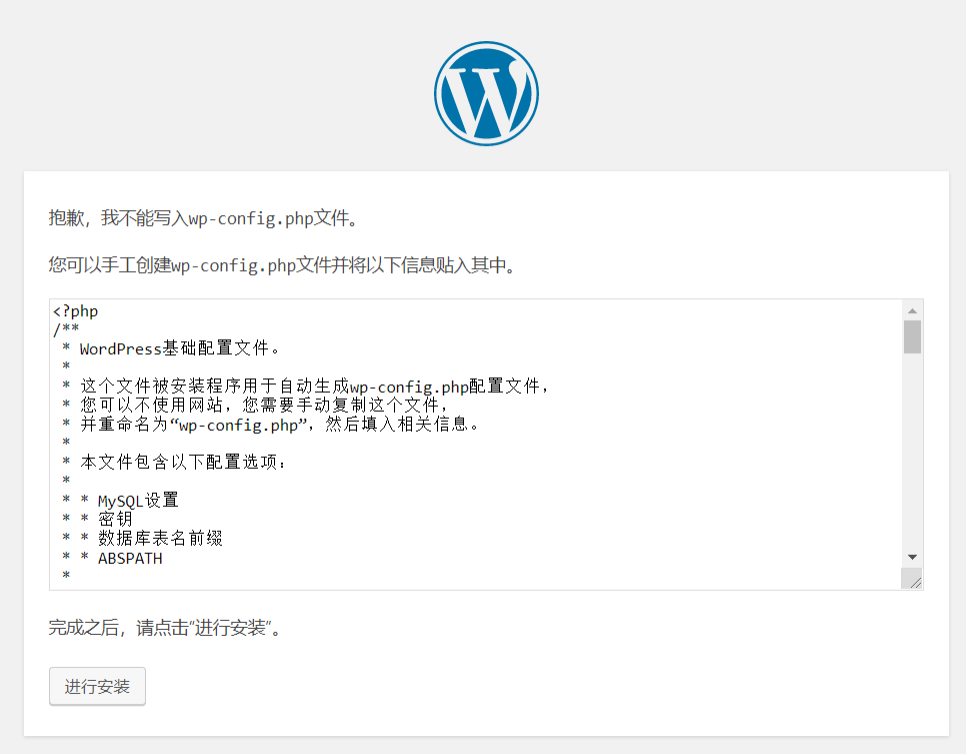
bash
[root@wordpress ~]# chown -R 755 /var/www/html/wordpress/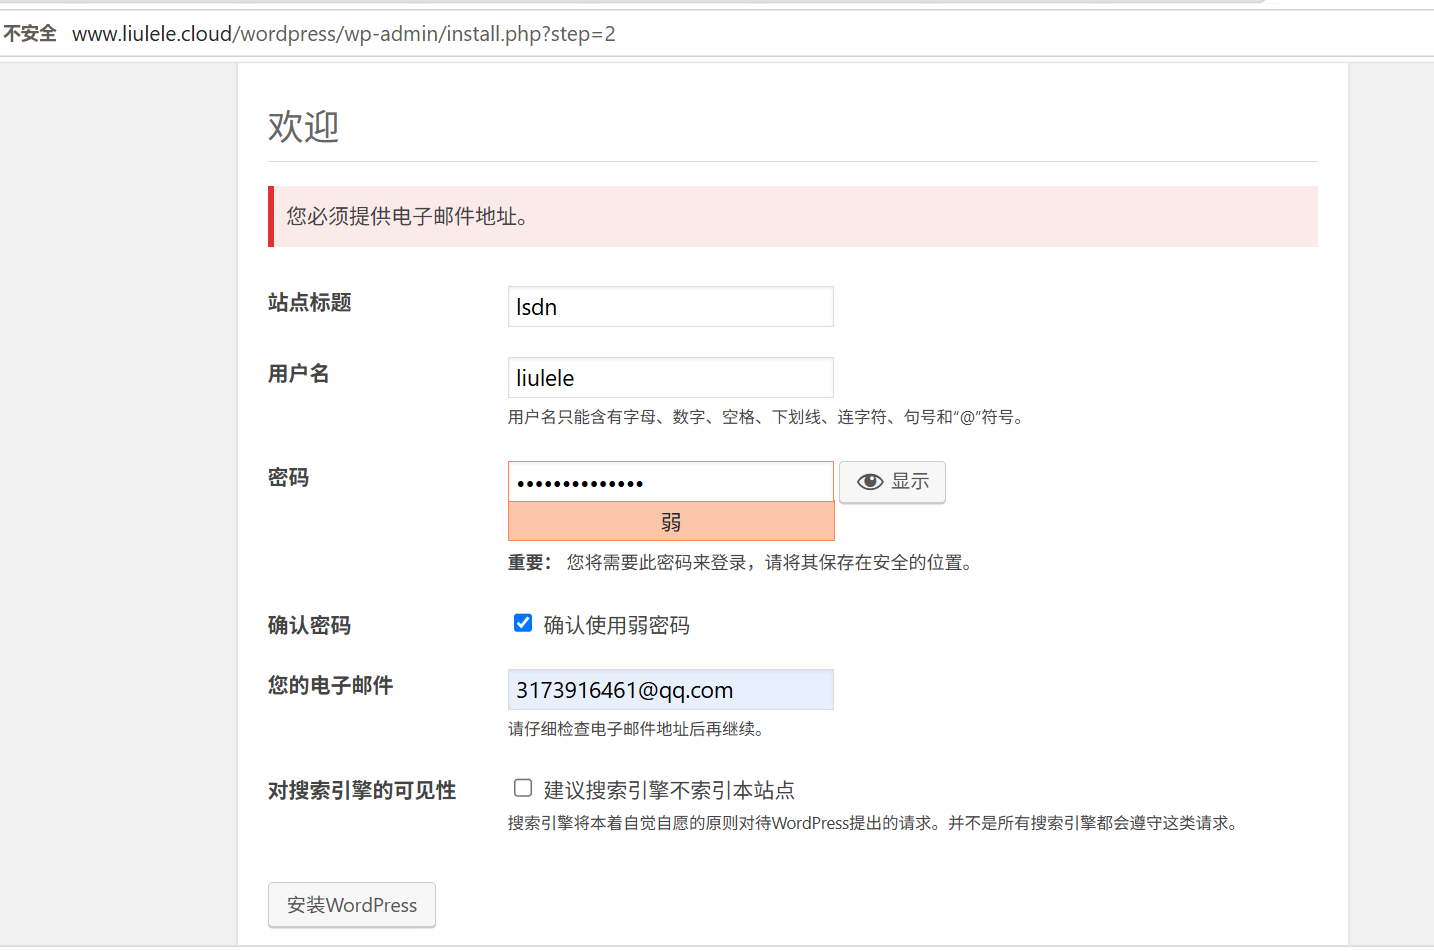
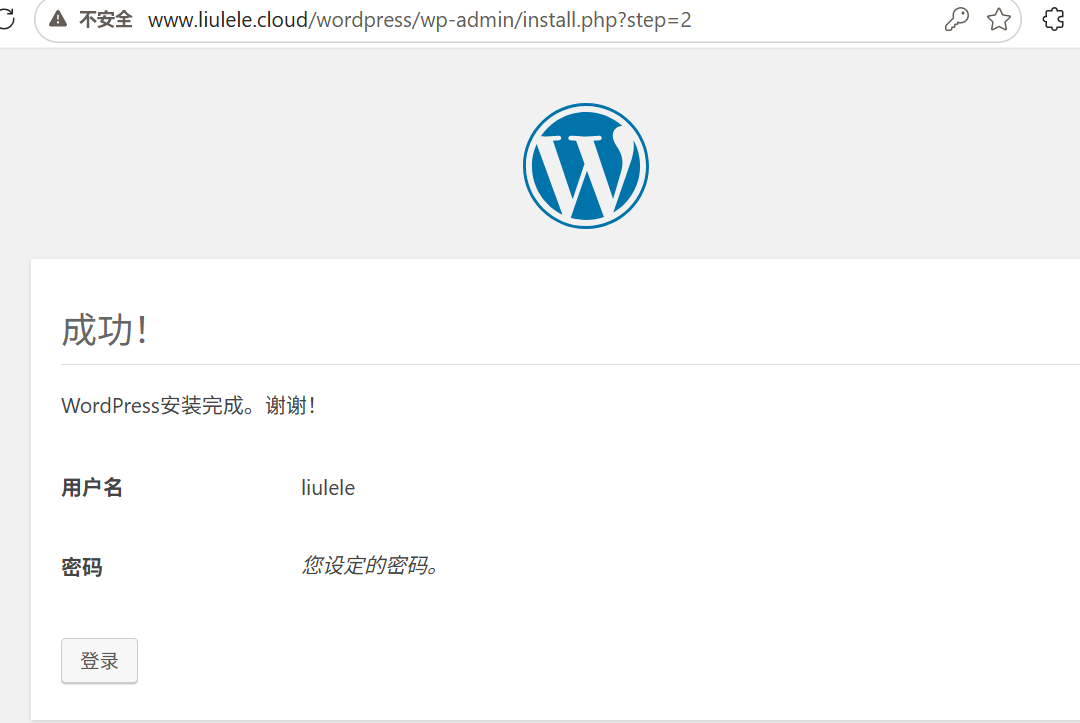
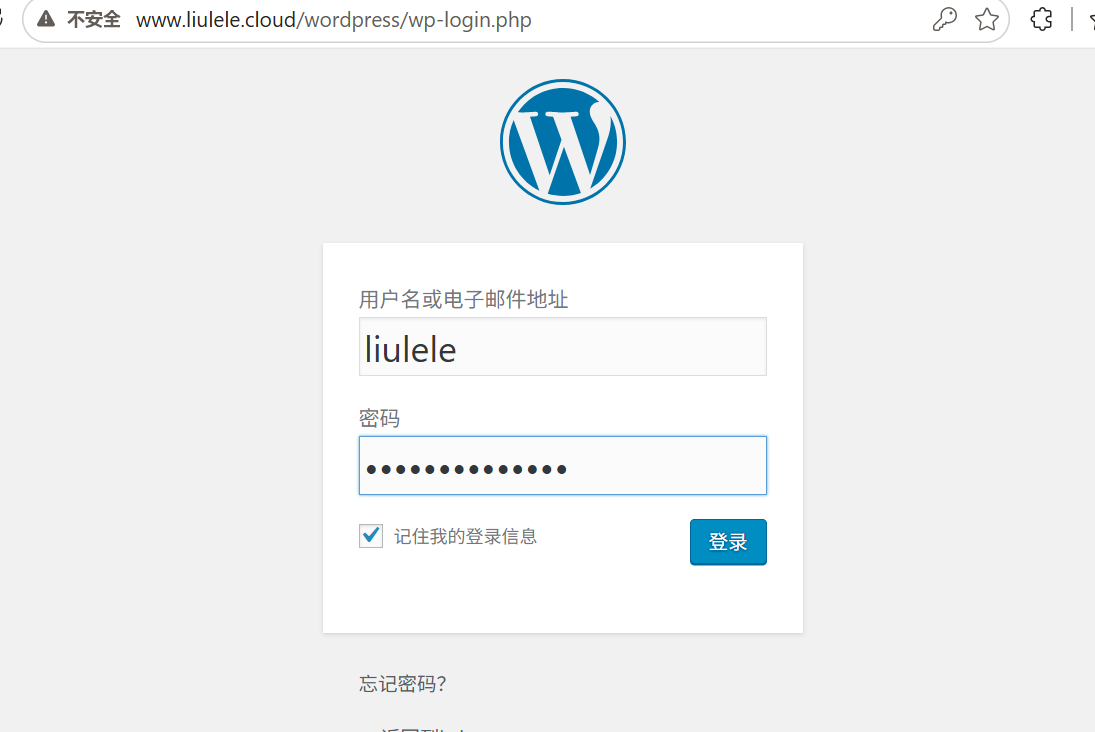
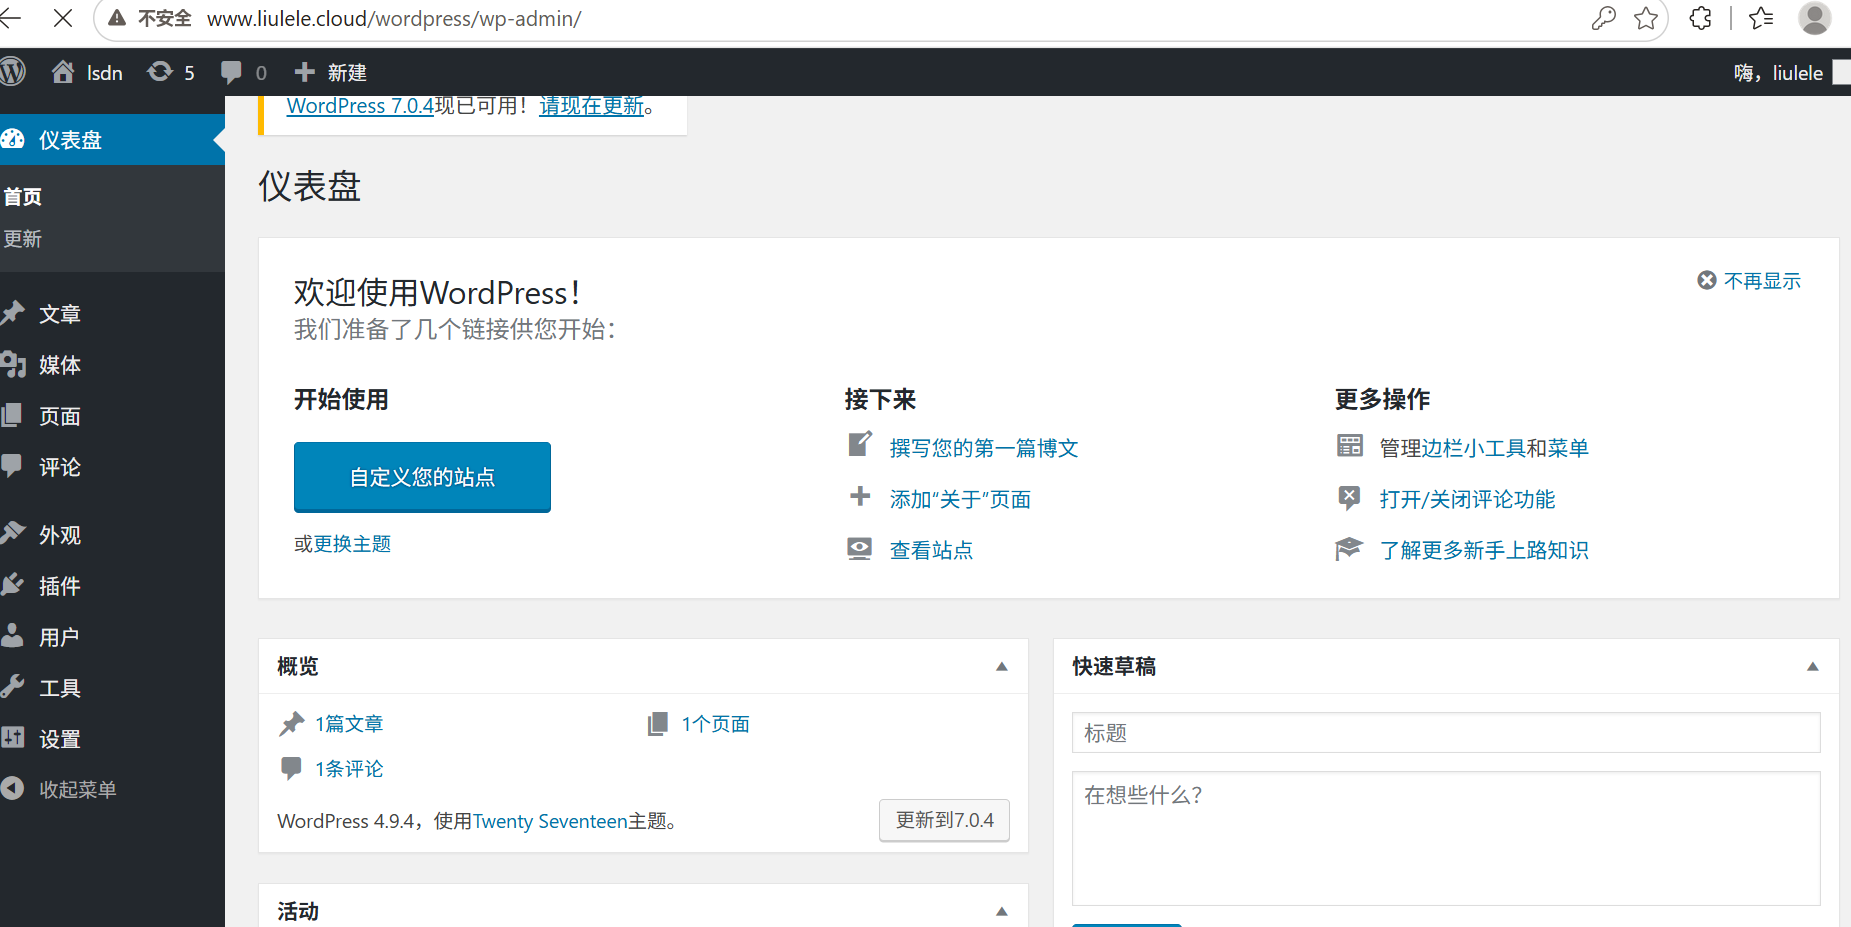
管理网站
二、项目实战:ECshop-电商平台
ECshop 介绍
ECshop 部署
ECShop 多场景在线商城。 用centos7模板克隆一台server
节点规划
| 节点名称 | 节点IP | 节点功能 |
|---|---|---|
| ecshop | 10.1.8.10/24 | LNMP |
基础配置
bash
[root@ecshop ~]# hostnamectl set-hostname eschop
[root@ecshop ~]# nmcli connection modify ens33 ipv4.method manual ipv4.addresses 10.1.8.10/24 ipv4.gateway 10.1.8.2 ipv4.dns 10.1.8.2 autoconnect  yes
[root@ecshop ~]# nmcli connection  up  ens33
[root@ecshop ~]# systemctl stop firewalld
[root@ecshop ~]# setenforce 0
准备 LNMP 环境
准备 Nginx
bash
# 安装
[root@ecshop ~]# wget -O /etc/yum.repos.d/epel.repo
http://mirrors.aliyun.com/repo/epel-7.repo
[root@ecshop ~]# yum install -y nginx
[root@ecshop ~]# systemctl enable nginx.service --now
[root@ecshop ~]# echo "Nginx Test Page" > /usr/share/nginx/html/index.html
准备 Mariadb
bash
[root@ecshop ~]# yum install -y mariadb-server
[root@ecshop ~]# systemctl enable mariadb --now
# 安全初始化
# 初始化
[root@server ~]# mysql_secure_installation
NOTE: RUNNING ALL PARTS OF THIS SCRIPT IS RECOMMENDED FOR ALL MariaDB
      SERVERS IN PRODUCTION USE!  PLEASE READ EACH STEP CAREFULLY!

In order to log into MariaDB to secure it, we'll need the current
password for the root user.  If you've just installed MariaDB, and
you haven't set the root password yet, the password will be blank,
so you should just press enter here.

Enter current password for root (enter for none):
OK, successfully used password, moving on...

Setting the root password ensures that nobody can log into the MariaDB
root user without the proper authorisation.

Set root password? [Y/n] y      #设置root密码'y''huawei'
New password:
Re-enter new password:
Password updated successfully!
Reloading privilege tables..
 ... Success!


By default, a MariaDB installation has an anonymous user, allowing anyone
to log into MariaDB without having to have a user account created for
them.  This is intended only for testing, and to make the installation
go a bit smoother.  You should remove them before moving into a
production environment.

Remove anonymous users? [Y/n] y		#删除匿名用户'y'(安全)
 ... Success!

Normally, root should only be allowed to connect from 'localhost'.  This
ensures that someone cannot guess at the root password from the network.

Disallow root login remotely? [Y/n] n	#禁止root远程登录'y'(项目常用选 n; 安全服务器选 y)
 ... skipping.

By default, MariaDB comes with a database named 'test' that anyone can
access.  This is also intended only for testing, and should be removed
before moving into a production environment.

Remove test database and access to it? [Y/n] y	#删除test库'y'
 - Dropping test database...
 ... Success!
 - Removing privileges on test database...
 ... Success!

Reloading the privilege tables will ensure that all changes made so far
will take effect immediately.

Reload privilege tables now? [Y/n] y		#刷新权限'y'
 ... Success!

Cleaning up...

All done!  If you've completed all of the above steps, your MariaDB
installation should now be secure.

Thanks for using MariaDB!


[root@wordpress ~]# mysql -u root -phuawei
MariaDB [(none)]> CREATE DATABASE wordpress;
MariaDB [(none)]> CREATE USER wordpress@localhost IDENTIFIED BY 'huawei';
MariaDB [(none)]> GRANT ALL PRIVILEGES ON wordpress.* TO wordpress@localhost;
MariaDB [(none)]> FLUSH PRIVILEGES;
MariaDB [(none)]> exit
准备 PHP
bash
[root@ecshop ~]# yum install -y php php-fpm

# 修改 php-fpm 运行用户身份
[root@ecshop ~]# vim /etc/php-fpm.d/www.conf
# 更改以下两条记录
# user = apache
user = nginx

# group = apache
group = nginx

[root@ecshop ~]# systemctl enable php-fpm.service --no

    server {
        listen       80;
        listen       [::]:80;
        server_name  shop.liulele.cloud;
        root         /usr/share/nginx/html;
        # 设置默认主页
        index index.php;

		# 设置php页面处理方式
         location ~ \.php$ {
             try_files $uri = 404;
             fastcgi_pass   127.0.0.1:9000;
             fastcgi_index  index.php;
             fastcgi_param  SCRIPT_FILENAME $document_root$fastcgi_script_name;
             include     fastcgi_params;
         }

   }

[root@ecshop ~]# systemctl restart nginx

# 准备测试页面
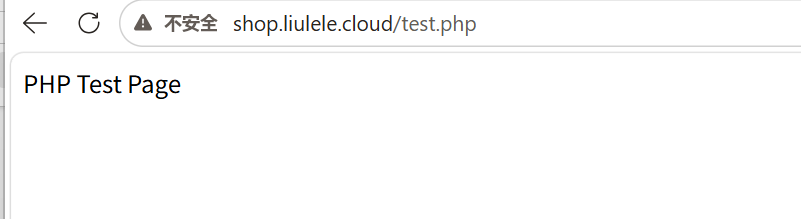
[root@ecshop ~]# echo "<?php echo 'PHP Test Page'.\"\n\"; ?>" > /usr/share/nginx/html/test.php
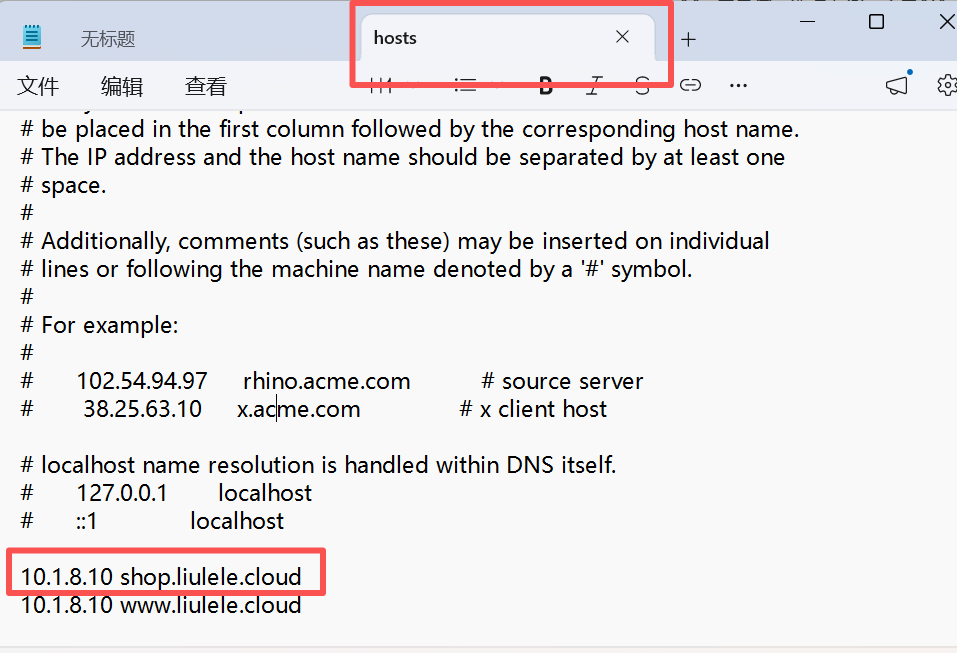
本地解析:
hosts文件添加shop.liulele.cloud,记事本以管理员身份启用,打开C:\Windows\System32\drivers\etc,选择文件类型为所有类型,打开hosts文件,添加完后保存。
客户端测试
准备数据库
bash
[root@ecshop ~]# mysql -u root -phuawei
MariaDB [(none)]> CREATE DATABASE ecshop;
MariaDB [(none)]> CREATE USER ecshop@localhost IDENTIFIED BY 'huawei';
MariaDB [(none)]> GRANT ALL PRIVILEGES ON ecshop.* TO ecshop@localhost;
MariaDB [(none)]> FLUSH PRIVILEGES;
MariaDB [(none)]> exit
准备 ecshop 站点
准备 ecshop 站点数据文件,这里使用 ECShop_V4.1.20 版本。
bash
# 上传到 root 用户家目录
[root@ecshop ~]# unzip ECShop_V4.1.20_UTF8.zip
[root@ecshop ~]# mv /usr/share/nginx/html/ /usr/share/nginx/html.ori
[root@ecshop ~]# cp -a ECShop_V4.1.20_UTF8_release20250416/source/ecshop
/usr/share/nginx/html

[root@ecshop ~]# chown nginx:nginx -R /usr/share/nginx/html
# 安装站点需要的各种扩展包
[root@ecshop ~]# yum install -y php-gd php-common php-pear php-mbstring php-mcrypt php-mysqlnd

[root@ecshop ~]# chown nginx:nginx -R /var/lib/php/
[root@ecshop ~]# systemctl restart nginx php-fpm
ECshop 配置
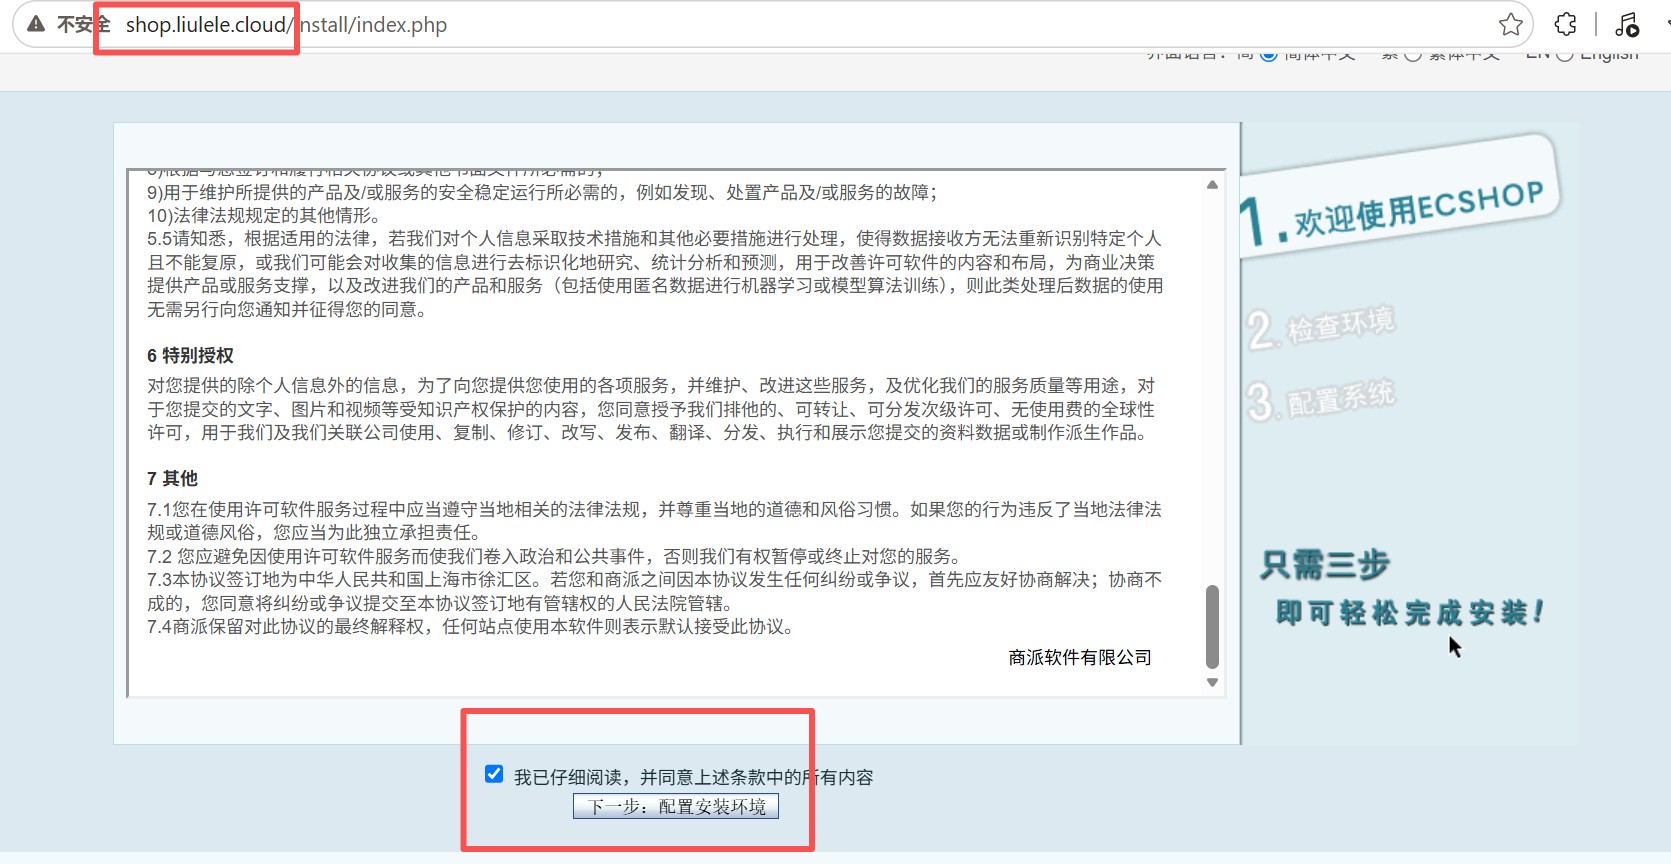
客户端登录 http://shop.liulele.cloud
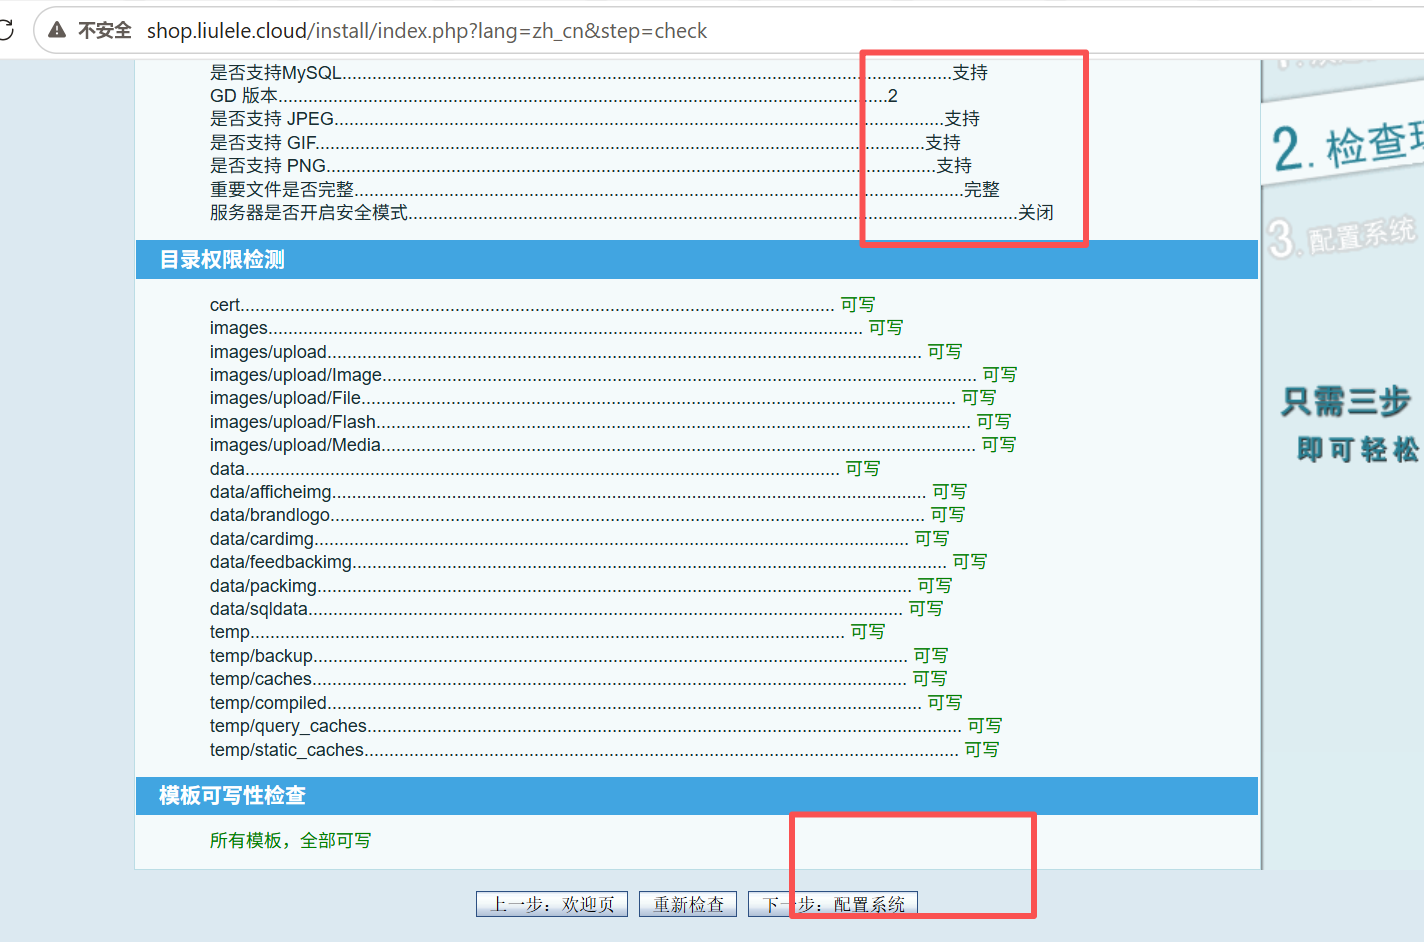
勾选协议,点击 下一步:配置安装环境
点击 下一步:配置系统
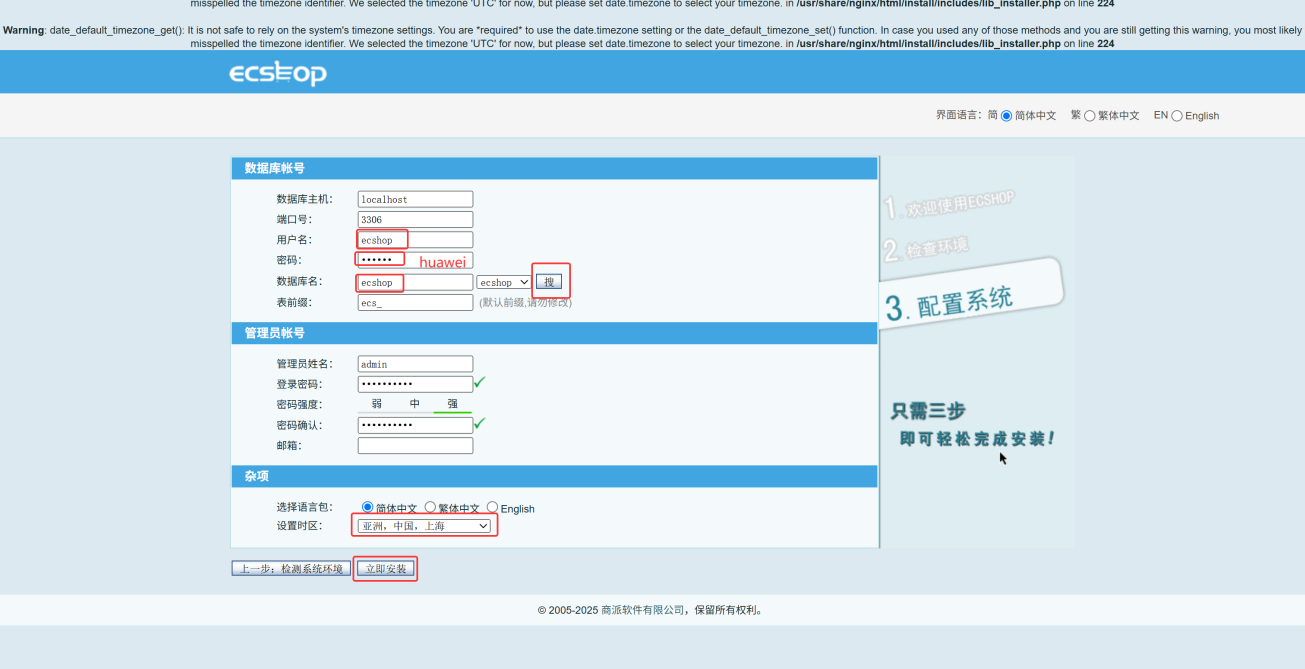
页面上方出现的 Warning ,提示使用系统时区不安全,暂时忽略。
输入数据库账户信息后,点击 搜 ,选中搜索到的数据库。
时区选择 亚洲,中国,上海 ,点击 立即安装 。
这里邮件地址也需要写,要不然检测不过,写自己的邮箱即可
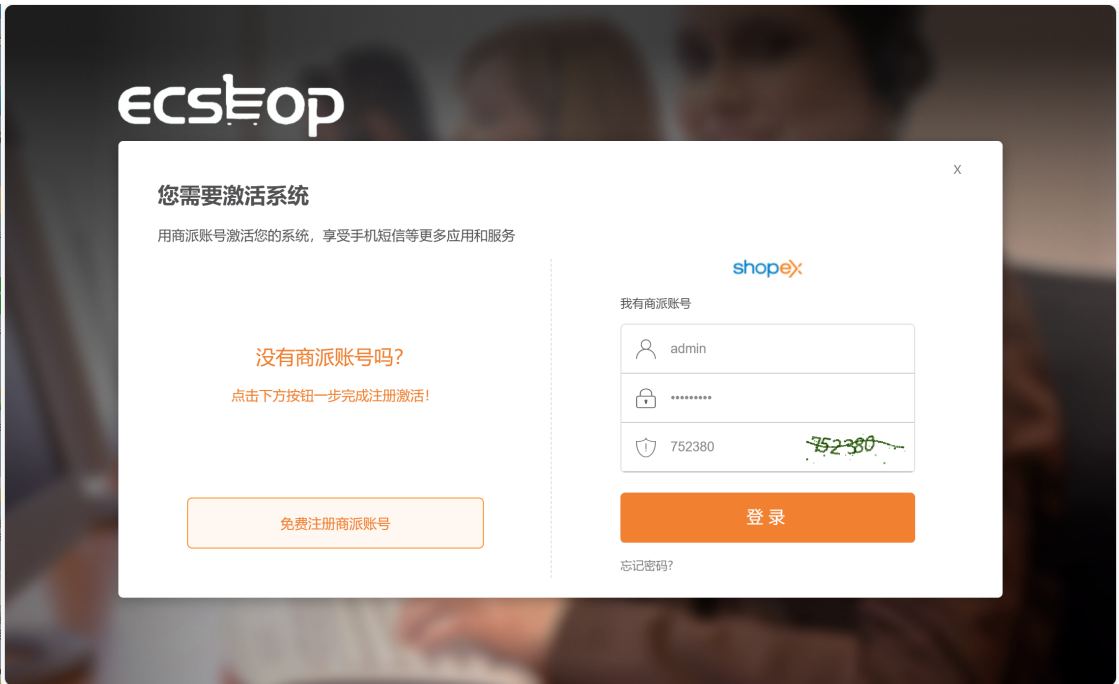
激活系统,享受更多服务。不激活也可以使用。关闭网页
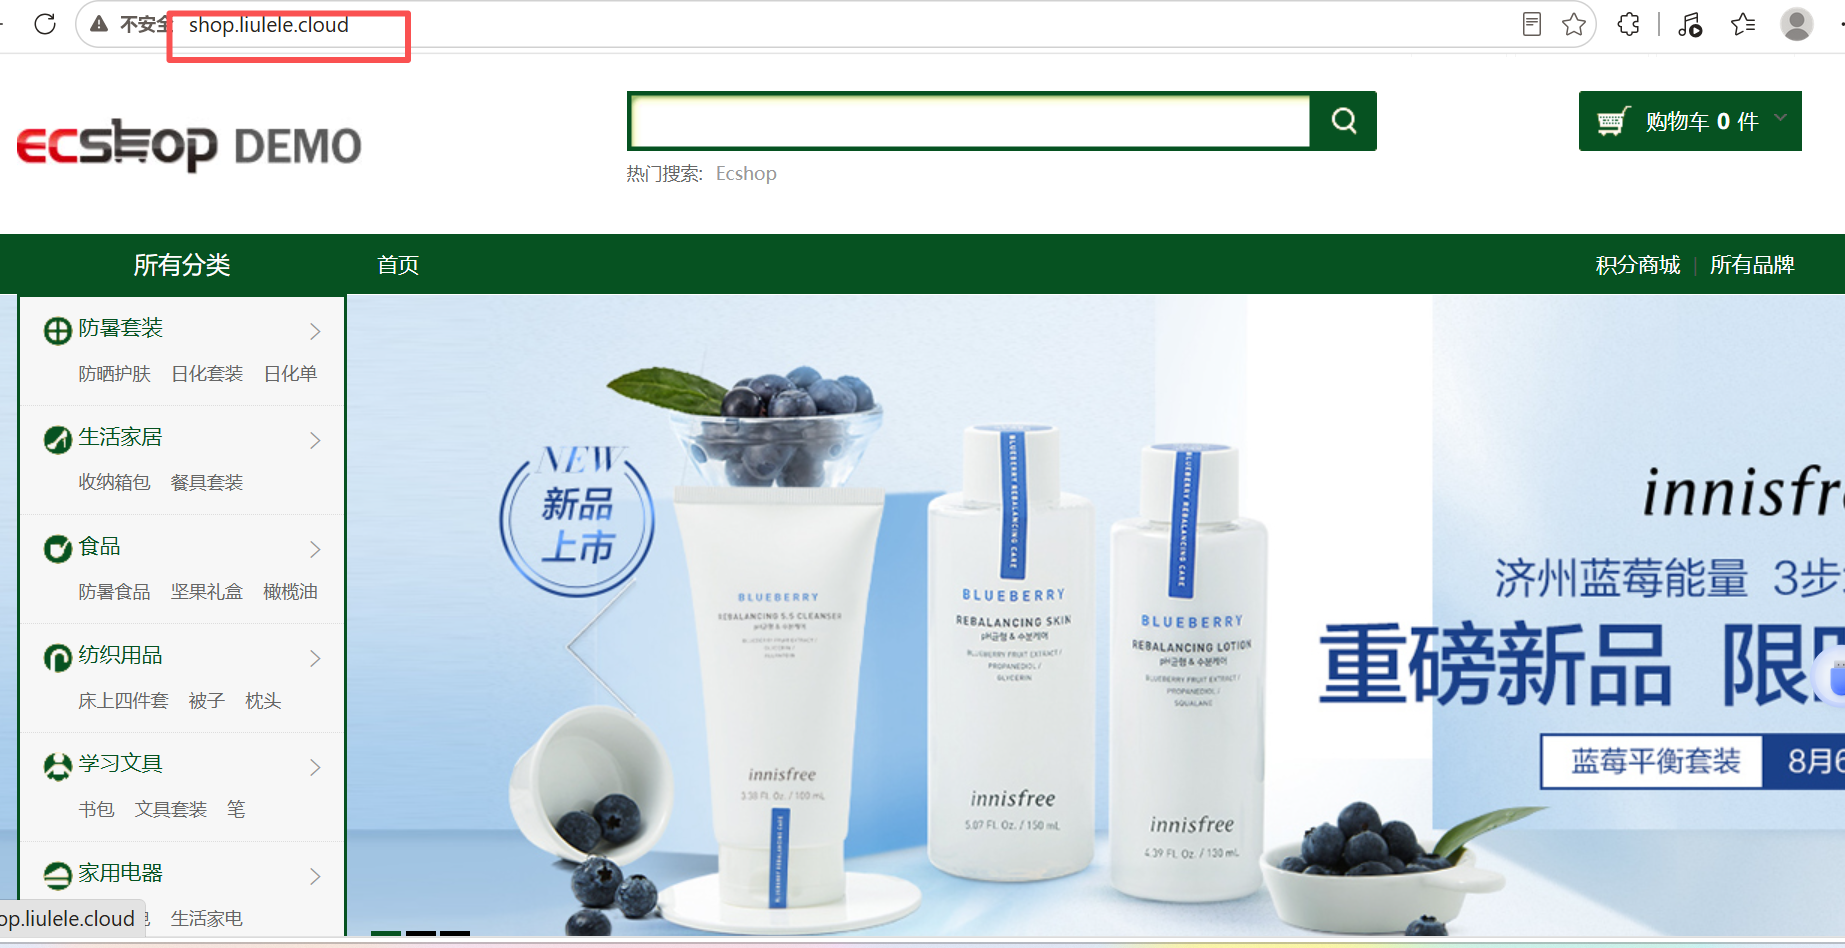
ECshop 访问
商城首页 http://shop.liulele.cloud
商城管理后台 http://shop.liulele.cloud/admin
使用ecshop账户登录

设置商店的一些基本信息
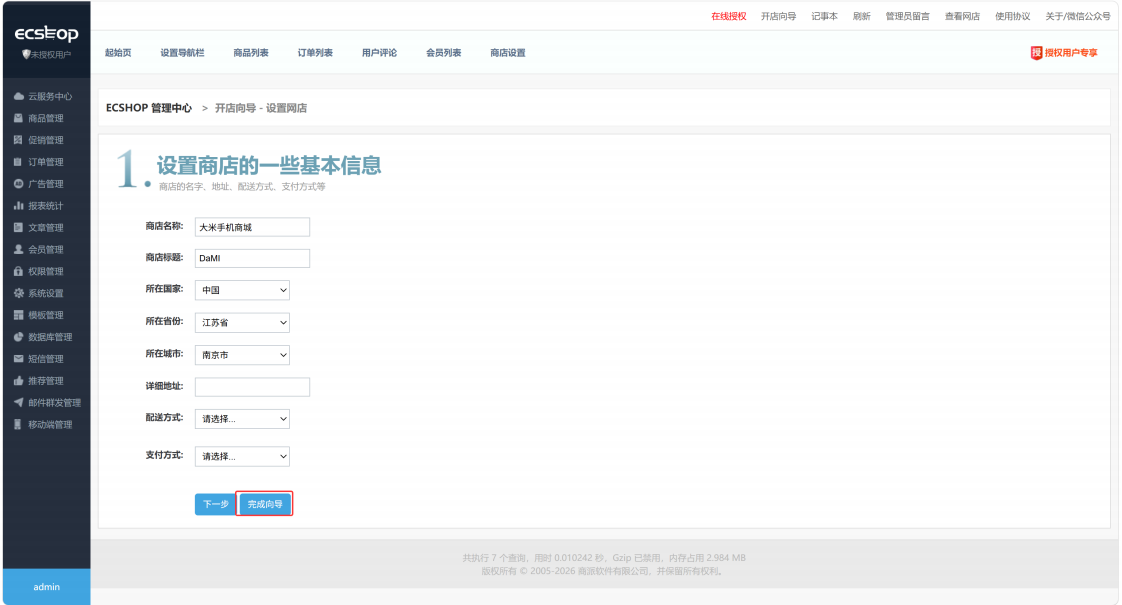
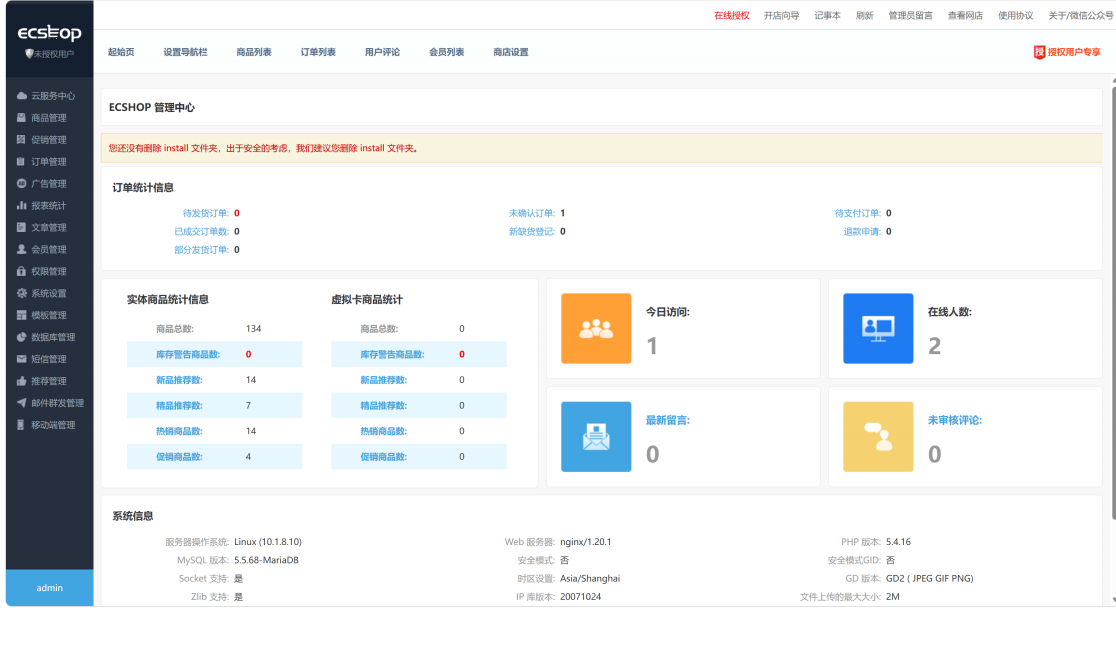
ECSHOP管理中心界面如下: