上一篇我们把 flask create-admin、flask db upgrade 写进了部署流程。功能越堆越多,改一处、怕别处坏------手动点浏览器很快不够用了。
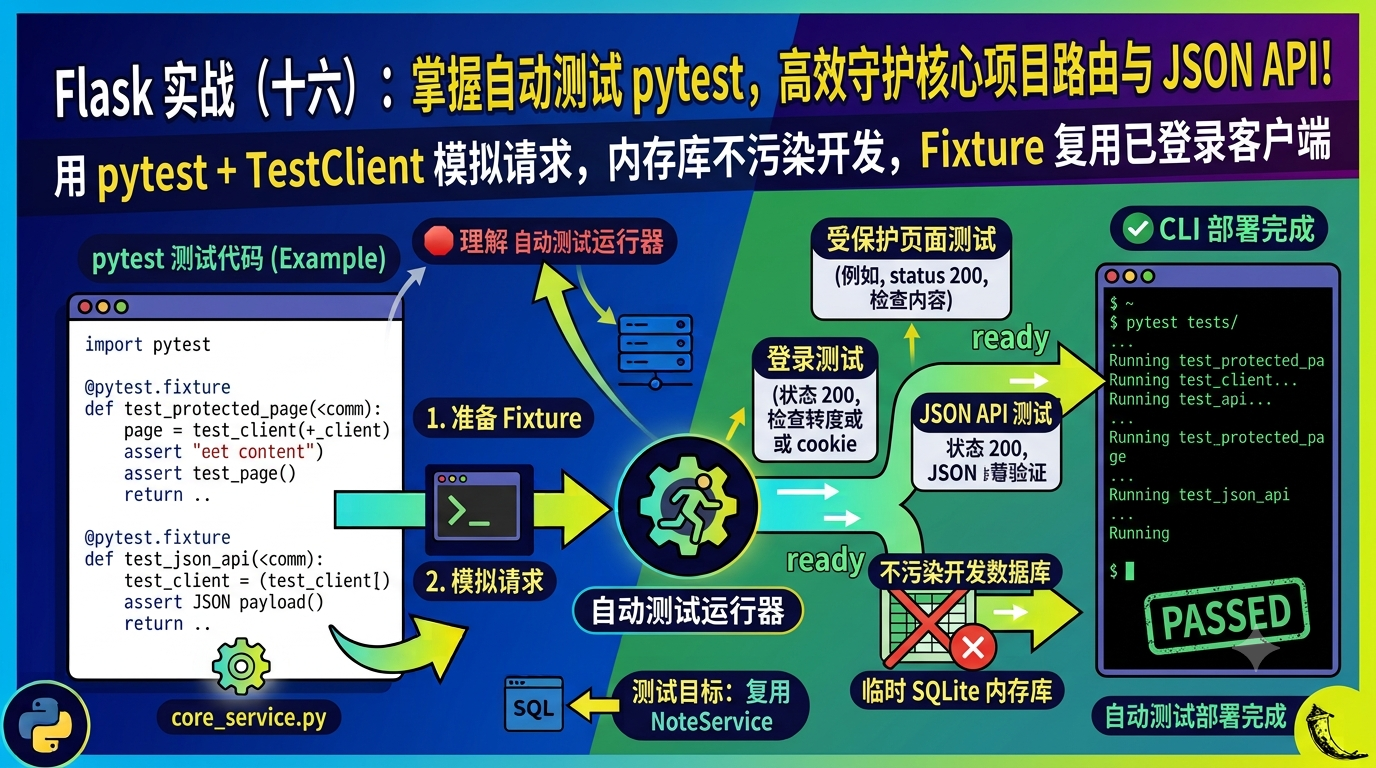
这一篇做一件事:用 pytest + Flask 测试客户端,给路由和 JSON API 写自动化测试。
例子仍是通用的 Note 备忘录项目,不涉及任何真实业务。
1. 学完后你能做什么
- 用
pytest跑测试(比 unittest 写法更短) - 用
app.test_client()模拟 HTTP 请求,不真开浏览器 - 测试 登录、受保护页面、JSON API
- 用 临时 SQLite 内存库,测试不污染开发数据库
- 用 fixture 复用「已登录客户端」
2. 为什么需要测试
| 方式 | 优点 | 缺点 |
|---|---|---|
| 手动点页面 | 直观 | 慢、易漏、难回归 |
| 脚本 curl | 适合 API | 难组「先登录再访问」 |
| pytest + test_client | 快、可重复、改完一键跑 | 要先写一点代码 |
入门目标:改完代码跑 pytest,30 秒内知道「列表页还能不能打开、未登录会不会 401」。
3. 安装依赖
pip install pytest
可选(覆盖率,后面再用):
pip install pytest-cov
项目根目录建 tests/ 文件夹:
myproject/
├── app/
├── tests/
│ ├── init.py # 空文件即可
│ ├── conftest.py # 公共 fixture
│ └── test_notes.py # 具体测试
├── pytest.ini # 可选配置
└── requirements-dev.txt # 可选:pytest 放这里
4. 测试用的 App:内存数据库
测试 不要连开发用的 MySQL/SQLite 文件,否则可能删光数据。
常见做法:测试配置里用 内存 SQLite:
tests/conftest.py:
import pytest
from app import app as flask_app, db
from app.models import User, Note
@pytest.fixture
def app():
flask_app.config.update({
"TESTING": True,
"SQLALCHEMY_DATABASE_URI": "sqlite:///:memory:",
"SECRET_KEY": "test-secret",
"WTF_CSRF_ENABLED": False, # 测试里简化 POST,见下文
})
with flask_app.app_context():
db.create_all()
yield flask_app
db.session.remove()
db.drop_all()
@pytest.fixture
def client(app):
return app.test_client()
@pytest.fixture
def user(app):
from werkzeug.security import generate_password_hash
u = User(name="tester", pwd=generate_password_hash("pass123"), is_admin=False)
db.session.add(u)
db.session.commit()
return u
@pytest.fixture
def auth_client(client, user):
"""已登录的 test client。"""
client.post("/login/", data={
"name": "tester",
"password": "pass123",
})
return client
要点:
TESTING = True:部分扩展会走测试模式:memory::库在内存里,测完drop_allWTF_CSRF_ENABLED = False:表单 POST 不必每次带 token(只限测试;生产必须开 CSRF)
若你坚持测 CSRF,可在 POST 里从页面 parse csrf_token,入门先关省事。
5. 第一个测试:首页能打开
tests/test_notes.py:
def test_index(client):
resp = client.get("/")
assert resp.status_code == 200
运行:
pytest
或
pytest tests/test_notes.py -v
-v 看每条用例名;失败时会打印断言差异。
6. 测未登录 vs 已登录
假设列表页 /notes/ 有 @login_required:
def test_note_list_redirects_when_anonymous(client):
resp = client.get("/notes/", follow_redirects=False)
assert resp.status_code in (302, 401) # redirect 登录 或 直接 401
def test_note_list_ok_when_logged_in(auth_client):
resp = auth_client.get("/notes/")
assert resp.status_code == 200
assert b"备忘录" in resp.data or b"notes" in resp.data.lower()
follow_redirects=False:只看 第一步 响应,方便断言 302。
7. 测 POST:新增一条备忘录
def test_create_note(auth_client):
resp = auth_client.post("/notes/add/", data={
"title": "pytest 写的标题",
"content": "内容",
}, follow_redirects=True)
assert resp.status_code == 200
assert b"pytest" in resp.data
配合 conftest 里已登录的 auth_client,不用手写 Session。
8. 测 JSON API(接第十三篇)
def test_api_notes_unauthorized(client):
resp = client.get("/api/notes/")
assert resp.status_code == 401
data = resp.get_json()
assert data"ok" is False
def test_api_notes_json(auth_client):
resp = auth_client.get("/api/notes/")
assert resp.status_code == 200
data = resp.get_json()
assert data"ok" is True
assert "items" in data
assert isinstance(data"items", list)
get_json() 比 json.loads(resp.data) 简洁。
POST JSON:
def test_api_create_note(auth_client):
resp = auth_client.post(
"/api/notes/",
json={"title": "API 测试", "content": ""},
)
assert resp.status_code == 201
data = resp.get_json()
assert data"ok" is True
assert data"item""title" == "API 测试"
9. 在测试里准备数据
def test_list_shows_own_notes_only(app, auth_client, user):
other = User(name="other", pwd="x")
db.session.add(other)
db.session.flush()
db.session.add(Note(title="我的", user_id=user.id))
db.session.add(Note(title="别人的", user_id=other.id))
db.session.commit()
resp = auth_client.get("/notes/")
assert b"我的" in resp.data
assert b"别人的" not in resp.data
业务规则(只看自己的备忘录)适合写成测试,以后改 note_service 时不容易回归。
10. pytest.ini(可选)
项目根目录:
pytest
testpaths = tests
python_files = test_*.py
addopts = -v --tb=short
以后只打 pytest 即可。
11. 和 note_service 的关系(接第十篇)
视图越薄,测试越好写:
tests/test_note_service.py
def test_list_notes_for_user_filters_by_owner(app, user):
from app.note_service import list_notes_for_user
from app.models import Note, User
other = User(name="o", pwd="x")
db.session.add_all(other, Note(title="a", user_id=user.id))
db.session.commit()
page = list_notes_for_user(user.id, page=1, per_page=10)
titles = n.title for n in page.items
assert titles == "a"
- service 测试:查数据库、规则对不对
- client 测试:路由、登录、HTTP 状态码、模板/API 格式
两层都写会啰嗦;入门 先测 client 关键路径,复杂查询再抽 service 单测。
12. 流程示意
pytest
│
▼
conftest:app + 内存库 + client
│
▼
test_xxx:client.get/post
│
▼
Flask 路由 → 视图 → service → DB(内存)
│
▼
assert status_code / JSON / 页面字节
开发改代码 → pytest → 绿/红
│
└── 红:修完再提交
13. 新手常踩的 6 个坑
- 没
app.app_context()--- fixture 里with flask_app.app_context():包create_all。 - 测试连了真库 --- 务必
TESTING+ 内存 URI。 - CSRF 导致 POST 400 --- 测试配置关 CSRF,或表单带 token。
- Session 不共享 --- 同一
client对象上先post /login/再get /notes/。 - 断言中文乱码 ---
resp.data是 bytes,用b"备忘录" in resp.data。 - 测完不清理 --- fixture 末尾
drop_all,或用:memory:。
14. 小结
记住五件事:
pytest+tests/目录conftest.py里 app / client / auth_client fixture- 内存 SQLite,不碰开发库
client.get/post+get_json()测 API- 关键路径:未登录 401、登录后 200、只能看自己的数据
十六篇下来,你已经具备:写功能 → 分层 → 配置 → API → 部署 → CLI → 自动化测试 的完整入门闭环。