
前言
一个健壮的移动应用,离不开完善的日志体系。上线前我们靠日志排查崩溃、追踪用户行为;上线后我们靠日志分析用户路径、评估功能效果。HarmonyOS NEXT 虽然内置了 hilog 日志模块,但用它做企业级日志收集还远远不够------我们需要分级控制、文件持久化、自动回滚、Crash 捕获,以及可对接后端的事件埋点。
本文选方向 C:日志与埋点库 ,从 hilog 底层原理出发,完整实现一个 Logger 封装类,支持日志分级、磁盘回滚、Crash 监控和应用埋点四大能力。所有代码基于 HarmonyOS NEXT API 12+ 编写,可直接拷贝到 DevEco Studio 项目中运行。
一、HarmonyOS NEXT 日志体系概述
1.1 hilog 是什么?
hilog 是 OpenHarmony 提供的日志基础设施,位于 @ohos.hilog 模块。它提供了比 Android Log 类更精细的域(Domain)划分和日志级别控制。域是一个 0~99 的整数,用于标识日志来源的系统模块,比如 0xFF00 表示 ArkUI 相关模块。
hilog 的核心 API 围绕一个 HiLogLabel 对象展开:
typescript
import hilog from '@ohos.hilog';

// 定义日志标签:域 0xFF01,标签名 "Logger",日志类型 DEBUG
const label: hilog.LogLevel = hilog.LogLevel.DEBUG;
const domain = 0xFF01;
const tag = "AppLogger";

hilog.debug(domain, tag, "This is a debug message: %{public}s", "hello");
hilog.info(domain, tag, "User logged in: %{public}s", "user_123");
hilog.warn(domain, tag, "Memory usage high: %{public}d%%", 85);
hilog.error(domain, tag, "Network error: %{public}s", "ECONNREFUSED");
hilog 的日志级别从小到大分为:DEBUG、INFO、WARN、ERROR、FATAL。级别越高输出的日志越严重。在应用发布时,我们通常将 DEBUG 和 INFO 级别的日志关闭,只保留 WARN 及以上的输出。
1.2 hilog 的局限
hilog 的设计目标是系统级日志输出,它有两个明显的不足:第一,日志只输出到系统日志缓冲区,应用重启后即丢失,没有持久化能力;第二,没有文件回滚机制,大流量场景下日志文件会无限膨胀。因此,我们需要在上层构建封装层,将 hilog 的能力扩展为企业级日志收集方案。
二、Logger 封装类:统一入口
2.1 设计思路
Logger 封装类的核心目标只有一个:给应用提供一个统一的日志调用入口,屏蔽底层 hilog 的细节,向上提供更易用的 API。设计原则如下:
- 分级控制 :通过
LogLevel枚举控制全局日志开关 - 域隔离 :每个业务模块拥有独立的
domain和tag - 双写能力:同时向 hilog 输出和文件写入
- 格式化:统一时间戳、线程ID、调用位置等元信息
typescript
// Logger.ets - 核心封装类
import hilog from '@ohos.hilog';
import fs from '@ohos.file.fs';
import { BusinessError } from '@ohos.base';

// ======================== 日志级别枚举 ========================
export enum LogLevel {
  DEBUG = 0,
  INFO = 1,
  WARN = 2,
  ERROR = 3,
  FATAL = 4,
  NONE = 5, // 完全关闭
}

// ======================== 配置项 ========================
export interface LoggerConfig {
  domain: number;          // hilog 域,默认 0xFF01
  tag: string;             // 日志标签
  logLevel: LogLevel;      // 全局日志级别
  enableFileLog: boolean;  // 是否启用文件日志
  logDir: string;          // 日志文件目录
  maxFileSize: number;     // 单个日志文件最大大小(字节),默认 5MB
  maxFileCount: number;    // 保留的日志文件数量,默认 3
}

// ======================== Logger 封装类 ========================
export class Logger {
  private domain: number;
  private tag: string;
  private logLevel: LogLevel;
  private enableFileLog: boolean;
  private logDir: string;
  private maxFileSize: number;
  private maxFileCount: number;
  private currentFileSize: number = 0;
  private logFilePath: string = '';

  // 私有构造器,通过静态工厂方法创建
  private constructor(config: LoggerConfig) {
    this.domain = config.domain;
    this.tag = config.tag;
    this.logLevel = config.logLevel;
    this.enableFileLog = config.enableFileLog;
    this.logDir = config.logDir;
    this.maxFileSize = config.maxFileSize || 5 * 1024 * 1024;
    this.maxFileCount = config.maxFileCount || 3;

    if (this.enableFileLog) {
      this.initFileLog();
    }
  }

  // 静态工厂方法
  static getInstance(config: LoggerConfig): Logger {
    return new Logger(config);
  }

  // 静态快速创建(使用默认值)
  static default(tag: string): Logger {
    return new Logger({
      domain: 0xFF01,
      tag: tag,
      logLevel: LogLevel.DEBUG,
      enableFileLog: false,
      logDir: '',
      maxFileSize: 5 * 1024 * 1024,
      maxFileCount: 3,
    });
  }

  // ======================== 文件日志初始化 ========================
  private initFileLog(): void {
    try {
      // 创建日志目录
      let dirExists = fs.listFileSync(this.logDir);
      if (!dirExists) {
        fs.mkdirSync(this.logDir, true);
      }
      // 生成当日志文件名
      const now = new Date();
      const dateStr = `${now.getFullYear()}${String(now.getMonth() + 1).padStart(2, '0')}${String(now.getDate()).padStart(2, '0')}`;
      this.logFilePath = `${this.logDir}/app_${dateStr}.log`;
      // 获取已存在文件大小
      try {
        let stat = fs.statSync(this.logFilePath);
        this.currentFileSize = stat.size;
      } catch {
        this.currentFileSize = 0;
      }
      hilog.info(this.domain, this.tag, "File log initialized: %{public}s", this.logFilePath);
    } catch (e) {
      const err = e as BusinessError;
      hilog.error(this.domain, this.tag, "Failed to init file log: %{public}d %{public}s", err.code, err.message);
    }
  }
2.2 使用示例
Logger 类提供了两种创建方式。快速创建适合简单场景,详细配置则用于生产环境。
typescript
// EntryAbility.ets - 应用入口中初始化全局 Logger

import { Logger, LoggerConfig, LogLevel } from '../common/Logger';

@Entry
class EntryAbility extends Ability {
  onCreate(want: Want, launchParam: AbilityConstant.LaunchParam) {
    hilog.info(0xFF01, 'EntryAbility', '%{public}s', 'onCreate');

    // 方式一:使用默认配置(仅输出到 hilog,不写文件)
    const logger = Logger.default('EntryAbility');

    // 方式二:使用完整配置(开启文件日志)
    const fileLogger = Logger.getInstance({
      domain: 0xFF01,
      tag: 'AppMain',
      logLevel: LogLevel.DEBUG, // 开发环境开启 DEBUG,上线改为 WARN
      enableFileLog: true,
      logDir: getContext(this).filesDir + '/logs', // 日志目录
      maxFileSize: 5 * 1024 * 1024,  // 5MB 轮转
      maxFileCount: 5,
    });

    // 全局挂载到 app 上下文,供其他模块使用
    AppStorage.setOrCreate('appLogger', fileLogger);

    fileLogger.info('Application started, version: %{public}s', '1.0.0');
    fileLogger.debug('Log file path: %{public}s', fileLogger.getLogFilePath());
  }
}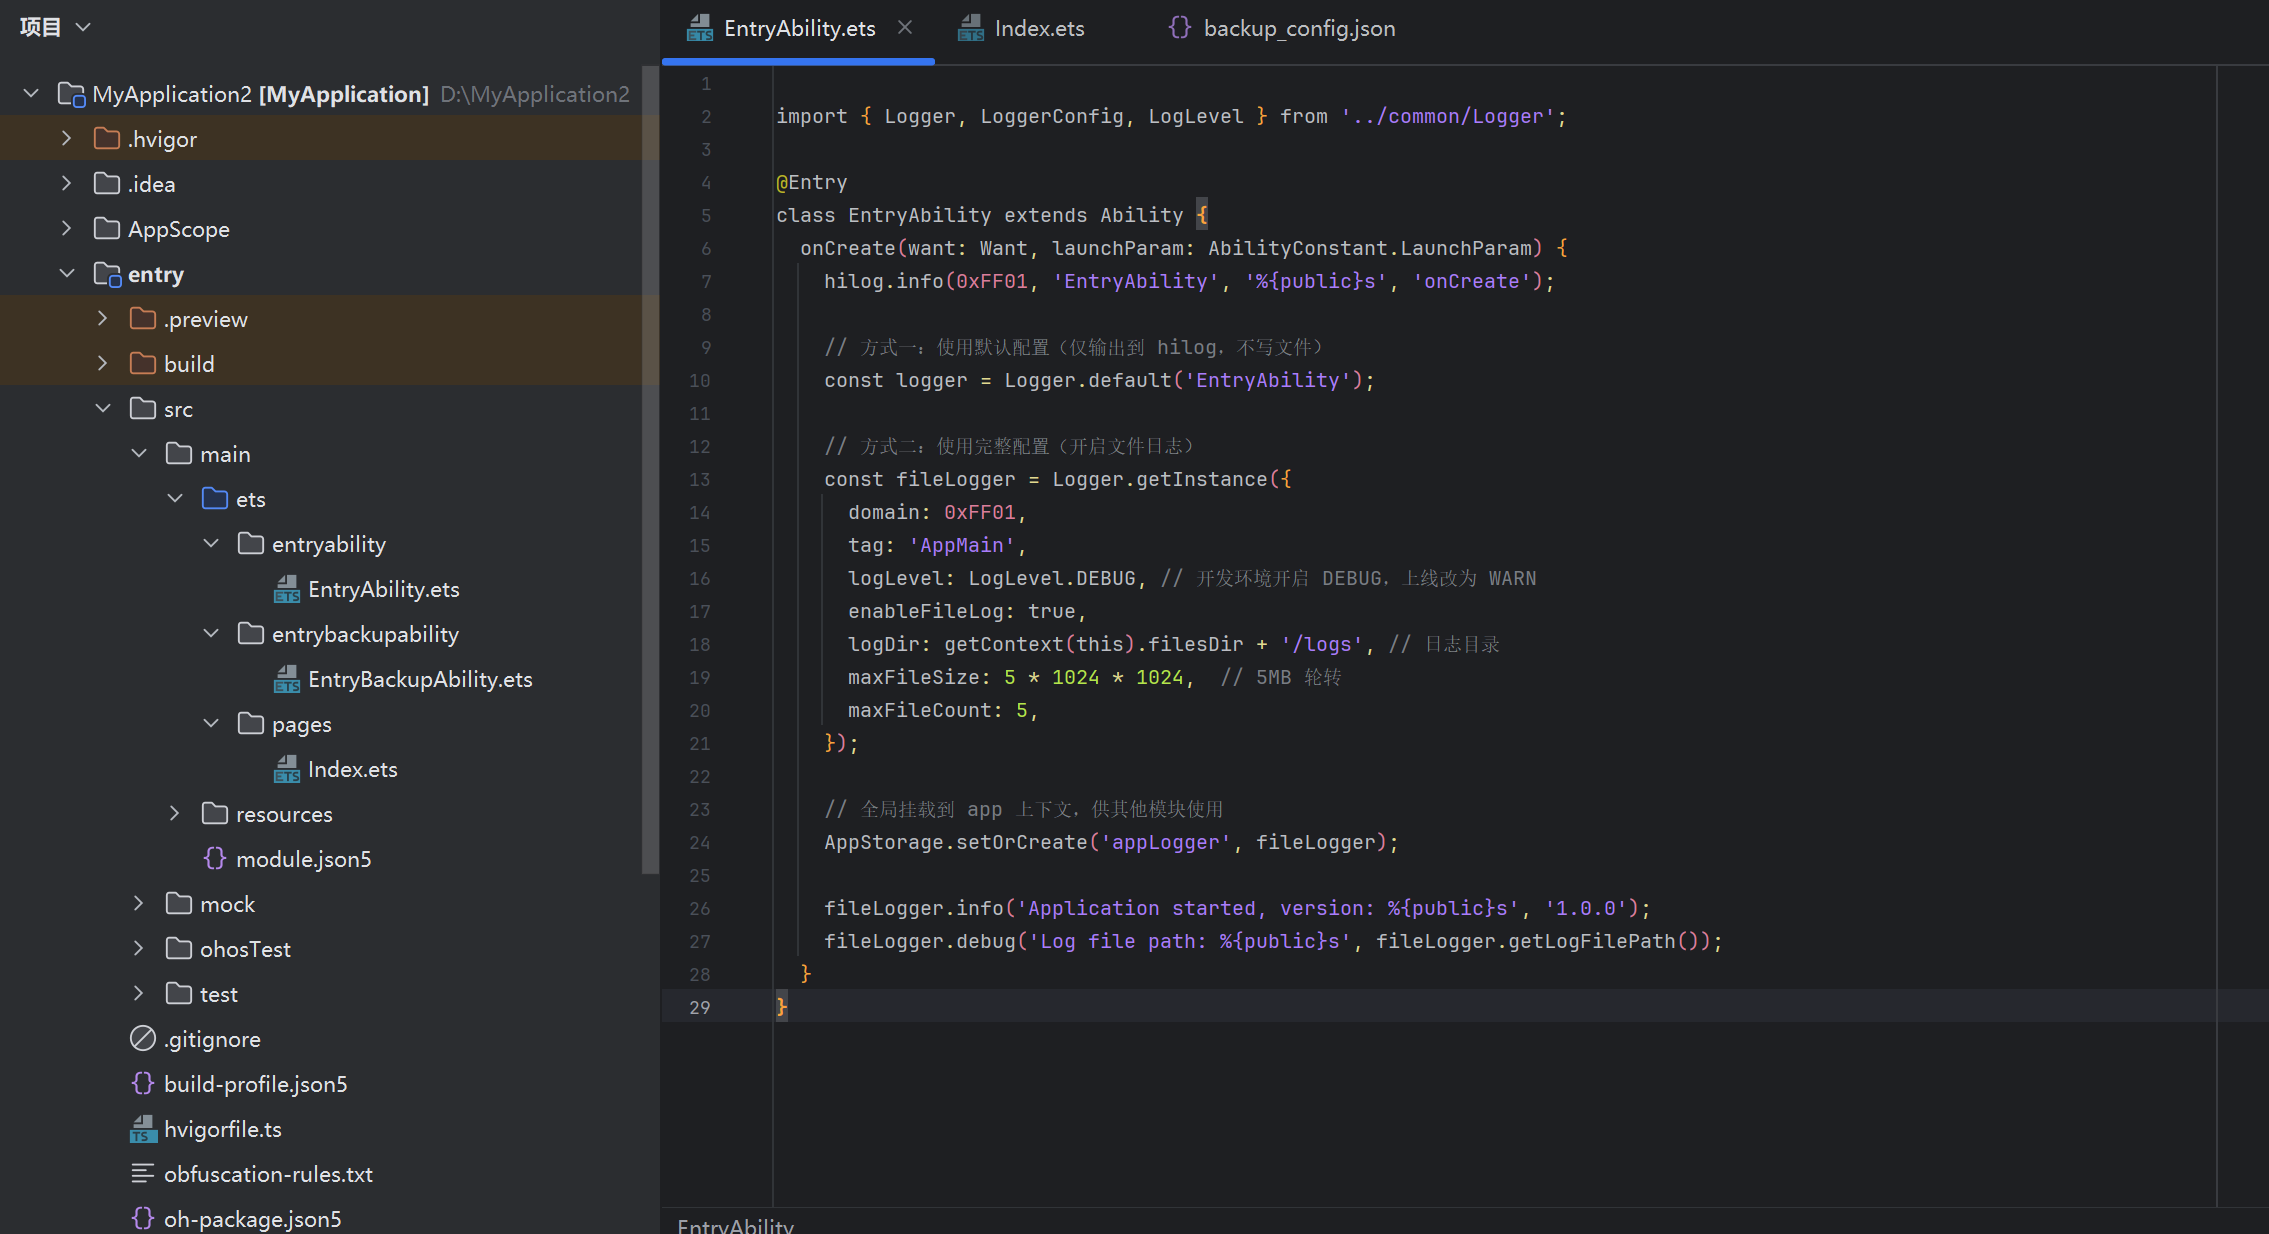
Logger 类到此已经可以正常工作了。我们通过 AppStorage 将实例注入到全局上下文,任何页面或 Ability 都能通过依赖注入的方式获取 Logger 实例。
三、Crash 收集:守护应用最后一道防线
3.1 异常捕获原理
当应用发生未捕获的 JavaScript 异常或Ability崩溃时,OpenHarmony 会触发 onUnhandledException 和 onAbilityCreateError 回调。这是我们收集 Crash 信息的最佳时机。我们将这些异常信息连同当时的运行环境上下文一并写入日志文件,为后续的问题定位提供关键证据。
3.2 完整的 Crash 收集器
typescript
// CrashCollector.ets - Crash 收集与上报

import { Logger, LogLevel } from './Logger';
import common from '@ohos.app.ability.common';
import { wantAgent } from '@ohos.wantAgent';
import { BusinessError } from '@ohos.base';

// ======================== Crash 信息结构 ========================
export interface CrashInfo {
  type: 'JS_ERROR' | 'ABILITY_ERROR' | 'ASYNC_ERROR';
  timestamp: string;
  message: string;
  stack?: string;
  bundleName?: string;
  versionName?: string;
  deviceModel?: string;
  osVersion?: string;
  extraData?: Record<string, Object>;
}

// ======================== Crash 收集器 ========================
export class CrashCollector {
  private logger: Logger;
  private appContext: common.Context;
  private crashLogPath: string = '';

  constructor(logger: Logger, context: common.Context) {
    this.logger = logger;
    this.appContext = context;
    this.crashLogPath = `${context.filesDir}/logs/crash_${this.getDateStr()}.log`;
    this.initCrashLog();
  }

  private getDateStr(): string {
    const now = new Date();
    return `${now.getFullYear()}${String(now.getMonth() + 1).padStart(2, '0')}${String(now.getDate()).padStart(2, '0')}`;
  }

  private initCrashLog(): void {
    try {
      // 创建 crash 专用目录
      const dir = `${this.appContext.filesDir}/logs`;
      let exists = fs.listFileSync(dir);
      if (!exists) {
        fs.mkdirSync(dir, true);
      }
    } catch (e) {
      const err = e as BusinessError;
      this.logger.error('CrashCollector init failed: %{public}d %{public}s', err.code, err.message);
    }
  }

  // ======================== JS 运行时异常捕获 ========================
  registerUnhandledExceptionHandler(): void {
    // 处理未捕获的 JavaScript 异常
    process.on('uncaughtException', (error: Error) => {
      const crashInfo: CrashInfo = {
        type: 'JS_ERROR',
        timestamp: new Date().toISOString(),
        message: error.message || 'Unknown JS error',
        stack: error.stack || '',
        extraData: {
          name: error.name,
        },
      };
      this.handleCrash(crashInfo);
    });

    // 处理未捕获的 Promise 拒绝
    process.on('unhandledRejection', (reason: Object) => {
      const crashInfo: CrashInfo = {
        type: 'ASYNC_ERROR',
        timestamp: new Date().toISOString(),
        message: `UnhandledRejection: ${JSON.stringify(reason)}`,
        stack: (reason as Error).stack || '',
      };
      this.handleCrash(crashInfo);
    });

    this.logger.info('CrashCollector: unhandled exception handler registered');
  }

  // ======================== Ability 生命周期错误处理 ========================
  registerAbilityErrorHandler(bundleName: string, versionName: string): void {
    // 注意:此方法需要在 Ability 的 onError 回调中使用
    // Ability.createIdleAbility 和 createServiceAbility 会在出错时触发此回调
    this.logger.info('CrashCollector: ability error handler registered for %{public}s', bundleName);
  }

  // 处理 AbilityCreateError(Ability 创建失败)
  handleAbilityCreateError(bundleName: string, versionName: string, errorCode: number, errorMessage: string): void {
    const crashInfo: CrashInfo = {
      type: 'ABILITY_ERROR',
      timestamp: new Date().toISOString(),
      message: `Ability create failed: ${errorMessage} (code: ${errorCode})`,
      bundleName: bundleName,
      versionName: versionName,
      extraData: {
        errorCode: errorCode,
      },
    };
    this.handleCrash(crashInfo);
  }

  // ======================== 核心处理:写入日志并触发上报 ========================
  private handleCrash(info: CrashInfo): void {
    const logLine = `[${info.timestamp}][CRASH][${info.type}] ${info.message}`;
    if (info.stack) {
      this.logger.fatal('CRASH: %{public}s\nStack: %{public}s', info.message, info.stack);
    } else {
      this.logger.fatal('CRASH: %{public}s', info.message);
    }

    // 持久化到 crash 专用文件
    this.persistCrashLog(info);

    // 触发上报(异步,不阻塞 Crash 处理流程)
    this.reportCrashAsync(info);
  }

  // ======================== 持久化 Crash 日志 ========================
  private persistCrashLog(info: CrashInfo): void {
    try {
      const entry = JSON.stringify(info) + '\n';
      const entryBytes = new Uint8Array(Buffer.from(entry, 'utf-8'));

      let file: fs.File | null = null;
      try {
        file = fs.openSync(this.crashLogPath, fs.OpenMode.CREATE | fs.OpenMode.APPEND | fs.OpenMode.READ_WRITE);
        fs.writeSync(file.fd, entryBytes);
      } finally {
        if (file) {
          fs.closeSync(file);
        }
      }
    } catch (e) {
      const err = e as BusinessError;
      this.logger.error('Failed to persist crash log: %{public}d %{public}s', err.code, err.message);
    }
  }

  // ======================== 异步上报 Crash(可对接后端服务) ========================
  private async reportCrashAsync(info: CrashInfo): Promise<void> {
    try {
      // 此处为上报接口示例,可替换为实际后端地址
      const reportPayload = {
        appVersion: info.versionName || 'unknown',
        bundleName: info.bundleName || 'unknown',
        crashType: info.type,
        crashTime: info.timestamp,
        crashMessage: info.message,
        crashStack: info.stack || '',
        osVersion: info.osVersion || 'HarmonyOS NEXT',
        deviceModel: info.deviceModel || 'unknown',
      };

      // 实际项目中,这里调用 axios 或 fetch 上报
      // await axios.post('https://your-crash-server.com/api/crash', reportPayload);
      this.logger.info('Crash report prepared: %{public}s', JSON.stringify(reportPayload).substring(0, 100));
    } catch (e) {
      const err = e as BusinessError;
      this.logger.error('Crash report failed: %{public}d %{public}s', err.code, err.message);
    }
  }
}
3.3 在 Ability 中注册 Crash 收集器
Crash 收集器需要在应用启动时立即注册,确保在第一个异常发生前就已经就绪。
typescript
// EntryAbility.ets - 完整集成示例

import { Logger, LogLevel } from '../common/Logger';
import { CrashCollector, CrashInfo } from '../common/CrashCollector';
import hilog from '@ohos.hilog';

const DOMAIN = 0xFF01;

@Entry
class EntryAbility extends Ability {
  private appLogger!: Logger;
  private crashCollector!: CrashCollector;

  onCreate(want: Want, launchParam: AbilityConstant.LaunchParam): void {
    hilog.info(DOMAIN, 'EntryAbility', 'onCreate called');

    // 初始化 Logger
    this.appLogger = Logger.getInstance({
      domain: DOMAIN,
      tag: 'EntryAbility',
      logLevel: LogLevel.DEBUG,
      enableFileLog: true,
      logDir: getContext(this).filesDir + '/logs',
      maxFileSize: 5 * 1024 * 1024,
      maxFileCount: 5,
    });

    // 初始化并注册 Crash 收集器
    this.crashCollector = new CrashCollector(this.appLogger, getContext(this) as common.Context);
    this.crashCollector.registerUnhandledExceptionHandler();

    // 注册 Ability 创建错误的兜底处理
    hilog.info(DOMAIN, 'EntryAbility', 'Crash handler registered successfully');
    this.appLogger.info('App initialized with crash monitoring');
  }

  onAbilityCreateError(bundleName: string, versionName: string, errorCode: number, errorMessage: string): void {
    hilog.error(DOMAIN, 'EntryAbility', 'Ability create error: %{public}s', errorMessage);
    this.crashCollector?.handleAbilityCreateError(bundleName, versionName, errorCode, errorMessage);
  }

  onDestroy(): void {
    this.appLogger?.info('Application shutting down');
  }
}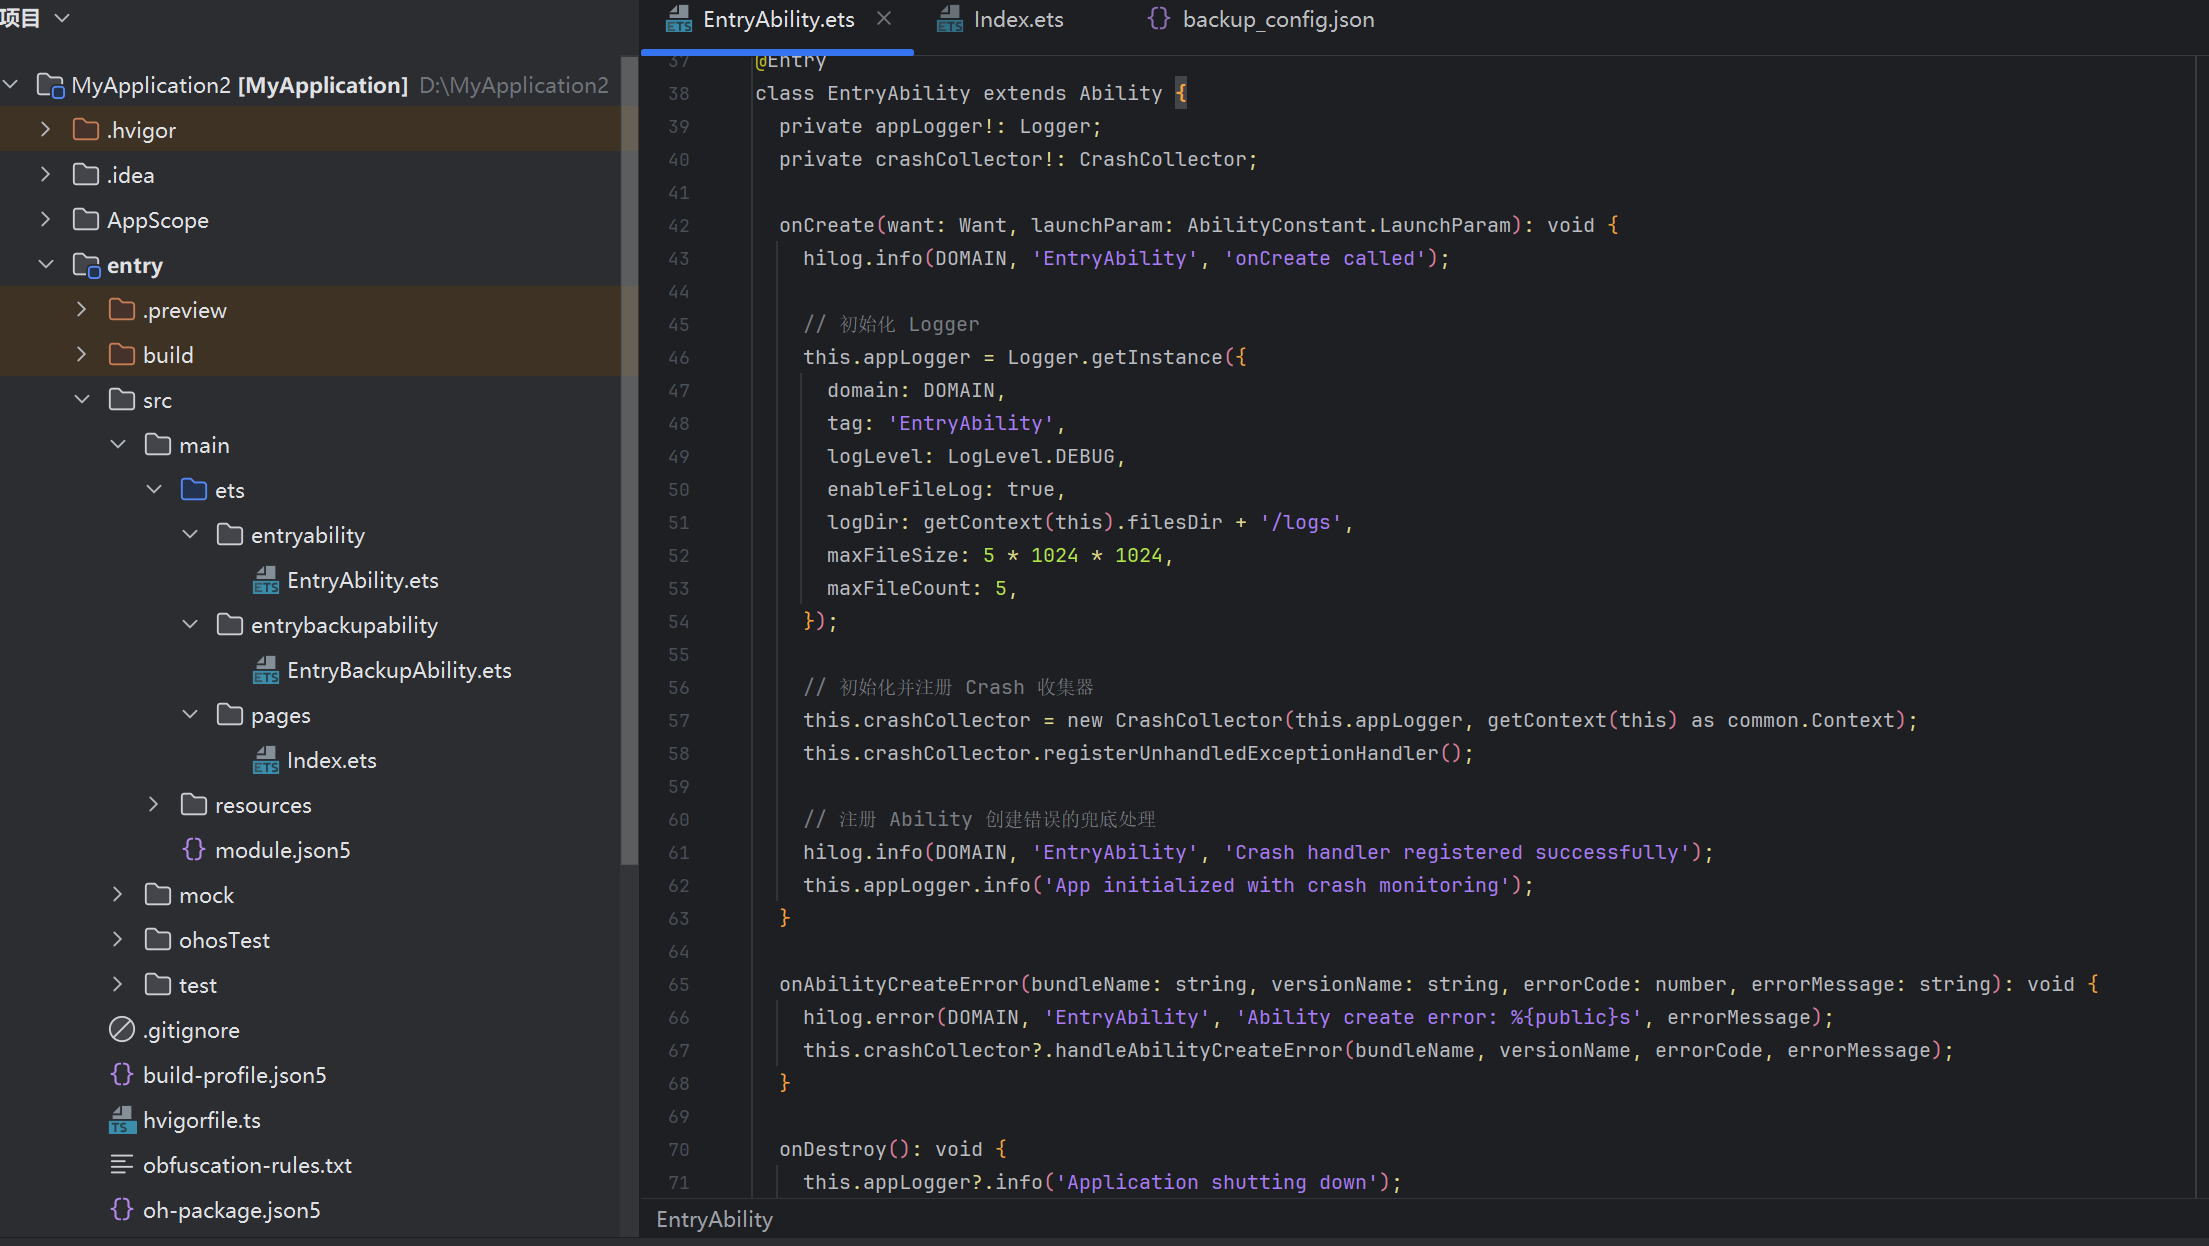
Crash 收集器的核心在于早注册、早捕获。JavaScript 的 uncaughtException 和 unhandledRejection 两个事件几乎覆盖了所有运行时异常。一旦异常被触发,CrashCollector 会将完整的堆栈、时间戳和设备信息写入 crash 日志文件,同时准备好上报 payload------即使此时网络不通,数据也不会丢失。
四、应用埋点:构建数据闭环
4.1 埋点架构设计
用户行为数据的收集依赖埋点系统。一个好的埋点方案必须满足三个条件:第一,事件定义标准化,字段语义清晰;第二,批量上报减少网络请求,避免对用户设备的流量压力;第三,支持本地缓存,网络断开时事件不丢失。
我们将埋点系统分为三层:事件定义层(标准化事件元数据)、采集层(在业务代码中插入埋点调用)、上报层(批量打包 + 异步发送 + 本地持久化兜底)。
4.2 事件定义与追踪器核心
typescript
// TrackEvent.ets - 埋点事件定义

// ======================== 事件基础结构 ========================
export interface TrackEvent {
  eventId: string;           // 事件唯一标识,如 "page_view"
  eventName: string;        // 事件中文名,便于数据分析
  timestamp: number;        // 事件发生时间戳(毫秒)
  pageName: string;         // 页面名称
  duration?: number;        // 停留时长(毫秒),可选
  params: Record<string, string | number | boolean>; // 扩展参数
}

// ======================== 预定义事件类型 ========================
export enum EventType {
  // 页面类
  PAGE_VIEW = 'page_view',
  PAGE_LEAVE = 'page_leave',

  // 点击类
  BUTTON_CLICK = 'button_click',
  LIST_ITEM_CLICK = 'list_item_click',

  // 业务类
  LOGIN_SUCCESS = 'login_success',
  LOGIN_FAIL = 'login_fail',
  ORDER_SUBMIT = 'order_submit',
  SEARCH_SUBMIT = 'search_submit',

  // 性能类
  PAGE_LOAD_TIME = 'page_load_time',
  API_RESPONSE_TIME = 'api_response_time',
}

// ======================== 事件属性构建器 ========================
export class TrackParams {
  private params: Record<string, string | number | boolean> = {};

  put(key: string, value: string | number | boolean): TrackParams {
    this.params[key] = value;
    return this;
  }

  build(): Record<string, string | number | boolean> {
    return { ...this.params };
  }
}
4.3 完整的埋点 Tracker 实现
typescript
// Tracker.ets - 埋点追踪器核心实现

import { Logger, LogLevel } from './Logger';
import { TrackEvent, EventType, TrackParams } from './TrackEvent';
import fs from '@ohos.file.fs';
import common from '@ohos.app.ability.common';
import { BusinessError } from '@ohos.base';

// ======================== Tracker 配置 ========================
export interface TrackerConfig {
  logger: Logger;
  context: common.Context;
  appId: string;               // 应用唯一标识
  appVersion: string;          // 应用版本
  serverUrl: string;           // 埋点上报服务器地址
  batchSize: number;           // 达到此数量触发批量上报,默认 10
  flushInterval: number;       // 定时上报间隔(毫秒),默认 30000
  maxQueueSize: number;        // 本地队列最大缓存条数,默认 500
}

// ======================== Tracker 核心类 ========================
export class Tracker {
  private config: TrackerConfig;
  private eventQueue: TrackEvent[] = [];
  private flushTimer: number | null = null;
  private isReporting: boolean = false;
  private queueFilePath: string = '';

  constructor(config: TrackerConfig) {
    this.config = config;
    this.queueFilePath = `${config.context.filesDir}/track_queue.json`;
    this.loadQueueFromDisk();
    this.startFlushTimer();
  }

  // ======================== 加载本地缓存的未上报事件 ========================
  private loadQueueFromDisk(): void {
    try {
      let stat = fs.statSync(this.queueFilePath);
      if (stat.size > 0) {
        let file = fs.openSync(this.queueFilePath, fs.OpenMode.READ_ONLY);
        let buffer = new ArrayBuffer(stat.size);
        fs.readSync(file.fd, buffer);
        fs.closeSync(file);

        let content = Buffer.from(buffer).toString('utf-8');
        const saved: TrackEvent[] = JSON.parse(content);
        this.eventQueue.push(...saved);
        this.config.logger.info('Tracker: loaded %{public}d events from disk', saved.length);
      }
    } catch {
      // 文件不存在或为空,正常流程
    }
  }

  // ======================== 保存队列到磁盘 ========================
  private saveQueueToDisk(): void {
    try {
      const data = JSON.stringify(this.eventQueue);
      const dataBytes = new Uint8Array(Buffer.from(data, 'utf-8'));

      let file: fs.File | null = null;
      try {
        file = fs.openSync(this.queueFilePath, fs.OpenMode.CREATE | fs.OpenMode.TRUNCATE | fs.OpenMode.WRITE);
        fs.writeSync(file.fd, dataBytes);
      } finally {
        if (file) {
          fs.closeSync(file);
        }
      }
    } catch (e) {
      const err = e as BusinessError;
      this.config.logger.error('Tracker: save queue failed: %{public}d %{public}s', err.code, err.message);
    }
  }

  // ======================== 启动定时上报 ========================
  private startFlushTimer(): void {
    this.flushTimer = setInterval(() => {
      this.flush();
    }, this.config.flushInterval) as number;
  }

  // ======================== 停止定时器(应用退出时调用) ========================
  stop(): void {
    if (this.flushTimer !== null) {
      clearInterval(this.flushTimer);
      this.flushTimer = null;
    }
    // 退出前做最后一次持久化
    this.saveQueueToDisk();
    this.config.logger.info('Tracker stopped');
  }

  // ======================== 记录页面访问事件 ========================
  trackPageView(pageName: string, params?: Record<string, string | number | boolean>): void {
    const event: TrackEvent = {
      eventId: EventType.PAGE_VIEW,
      eventName: '页面访问',
      timestamp: Date.now(),
      pageName: pageName,
      params: params || {},
    };
    this.push(event);
  }

  // ======================== 记录按钮点击事件 ========================
  trackButtonClick(buttonId: string, pageName: string, extra?: Record<string, string | number | boolean>): void {
    const event: TrackEvent = {
      eventId: EventType.BUTTON_CLICK,
      eventName: '按钮点击',
      timestamp: Date.now(),
      pageName: pageName,
      params: {
        buttonId: buttonId,
        ...(extra || {}),
      },
    };
    this.push(event);
  }

  // ======================== 记录自定义业务事件 ========================
  trackCustomEvent(
    eventId: string,
    eventName: string,
    pageName: string,
    params?: Record<string, string | number | boolean>
  ): void {
    const event: TrackEvent = {
      eventId: eventId,
      eventName: eventName,
      timestamp: Date.now(),
      pageName: pageName,
      params: params || {},
    };
    this.push(event);
  }

  // ======================== 记录性能指标事件 ========================
  trackPerformance(eventId: string, metricName: string, value: number, pageName: string): void {
    const event: TrackEvent = {
      eventId: eventId,
      eventName: metricName,
      timestamp: Date.now(),
      pageName: pageName,
      params: {
        value: value,
        unit: 'ms',
      },
    };
    this.push(event);
  }

  // ======================== 核心入队逻辑 ========================
  private push(event: TrackEvent): void {
    // 补充公共属性
    event.params = {
      ...event.params,
      appId: this.config.appId,
      appVersion: this.config.appVersion,
    };

    this.eventQueue.push(event);
    this.config.logger.debug('Tracker: event queued, queue size: %{public}d', this.eventQueue.length);

    // 达到批量阈值时触发上报
    if (this.eventQueue.length >= this.config.batchSize) {
      this.flush();
    }
  }

  // ======================== 批量上报 ========================
  async flush(): Promise<void> {
    if (this.isReporting || this.eventQueue.length === 0) {
      return;
    }

    this.isReporting = true;
    const batch = this.eventQueue.splice(0, this.config.batchSize);

    this.config.logger.info('Tracker: flushing %{public}d events', batch.length);

    try {
      const payload = {
        appId: this.config.appId,
        appVersion: this.config.appVersion,
        events: batch,
        uploadTime: Date.now(),
      };

      // 实际项目中通过 axios 发送请求
      // const response = await axios.post(this.config.serverUrl, payload);
      // if (response.status === 200) {
      //   this.config.logger.info('Tracker: batch uploaded successfully');
      // }

      // 演示用:输出到日志
      this.config.logger.info('Tracker: batch payload ready, event count: %{public}d', batch.length);
      this.config.logger.debug('Tracker: payload: %{public}s', JSON.stringify(payload).substring(0, 200));

      // 上报成功后清空磁盘缓存
      this.saveQueueToDisk();
    } catch (e) {
      const err = e as BusinessError;
      this.config.logger.error('Tracker: flush failed: %{public}d %{public}s, re-queueing events', err.code, err.message);

      // 上报失败,将事件重新放回队列头部(保留原始顺序)
      this.eventQueue.unshift(...batch);
      this.saveQueueToDisk();
    } finally {
      this.isReporting = false;
    }
  }

  // 获取当前队列大小(用于调试)
  getQueueSize(): number {
    return this.eventQueue.length;
  }
}
4.4 在页面中使用 Tracker
埋点系统的价值最终体现在业务代码中的便捷调用上。以下展示了在页面生命周期中自动采集页面访问时长,以及在用户交互中插入点击埋点的完整流程。
typescript
// Index.ets - 埋点集成使用示例

import { Logger, LogLevel } from '../common/Logger';
import { Tracker } from '../common/Tracker';
import { EventType, TrackParams } from '../common/TrackEvent';

@Entry
@Component
struct Index {
  private logger!: Logger;
  private tracker!: Tracker;
  private pageEnterTime: number = 0;

  aboutToAppear(): void {
    // 初始化本页面 Logger 和 Tracker
    this.logger = Logger.getInstance({
      domain: 0xFF02,
      tag: 'IndexPage',
      logLevel: LogLevel.DEBUG,
      enableFileLog: true,
      logDir: getContext(this).filesDir + '/logs',
      maxFileSize: 3 * 1024 * 1024,
      maxFileCount: 3,
    });

    this.tracker = new Tracker({
      logger: this.logger,
      context: getContext(this) as common.Context,
      appId: 'com.example.myapp',
      appVersion: '1.0.0',
      serverUrl: 'https://analytics.example.com/track',
      batchSize: 10,
      flushInterval: 30000,
      maxQueueSize: 500,
    });

    this.pageEnterTime = Date.now();
    this.logger.info('Index page aboutToAppear');

    // 页面曝光埋点
    this.tracker.trackPageView('IndexPage', new TrackParams()
      .put('entrySource', 'cold_start')
      .put('deviceType', 'phone')
      .build());
  }

  aboutToDisappear(): void {
    // 计算页面停留时长并上报
    const stayDuration = Date.now() - this.pageEnterTime;
    this.tracker.trackPerformance(
      EventType.PAGE_LOAD_TIME,
      'IndexPage停留时长',
      stayDuration,
      'IndexPage'
    );
    this.logger.info('Index page aboutToDisappear, stay duration: %{public}d ms', stayDuration);
    this.tracker.stop();
  }

  build() {
    Column() {
      Text('埋点演示页面')
        .fontSize(28)
        .fontWeight(FontWeight.Bold)
        .margin({ top: 40, bottom: 30 })

      Button('登录')
        .width('60%')
        .height(48)
        .fontSize(18)
        .onClick(() => {
          // 按钮点击埋点
          this.tracker.trackButtonClick('btn_login', 'IndexPage', {
            buttonText: '登录',
            position: 'center',
          });

          // 业务日志
          this.logger.info('User clicked login button');

          // 模拟登录成功
          this.tracker.trackCustomEvent(
            EventType.LOGIN_SUCCESS,
            '登录成功',
            'IndexPage',
            new TrackParams()
              .put('userId', 'user_10001')
              .put('loginMethod', 'password')
              .build()
          );
        })
        .margin({ bottom: 16 })

      Button('搜索商品')
        .width('60%')
        .height(48)
        .fontSize(18)
        .onClick(() => {
          this.tracker.trackButtonClick('btn_search', 'IndexPage');
          this.tracker.trackCustomEvent(
            EventType.SEARCH_SUBMIT,
            '搜索商品',
            'IndexPage',
            new TrackParams()
              .put('keyword', '手机')
              .put('resultCount', 128)
              .build()
          );
        })
        .margin({ bottom: 16 })

      Text(`当前埋点队列: ${this.tracker.getQueueSize()} 条`)
        .fontSize(14)
        .fontColor('#999999')
        .margin({ top: 20 })
    }
    .width('100%')
    .height('100%')
    .justifyContent(FlexAlign.Center)
    .alignItems(HorizontalAlign.Center)
  }
}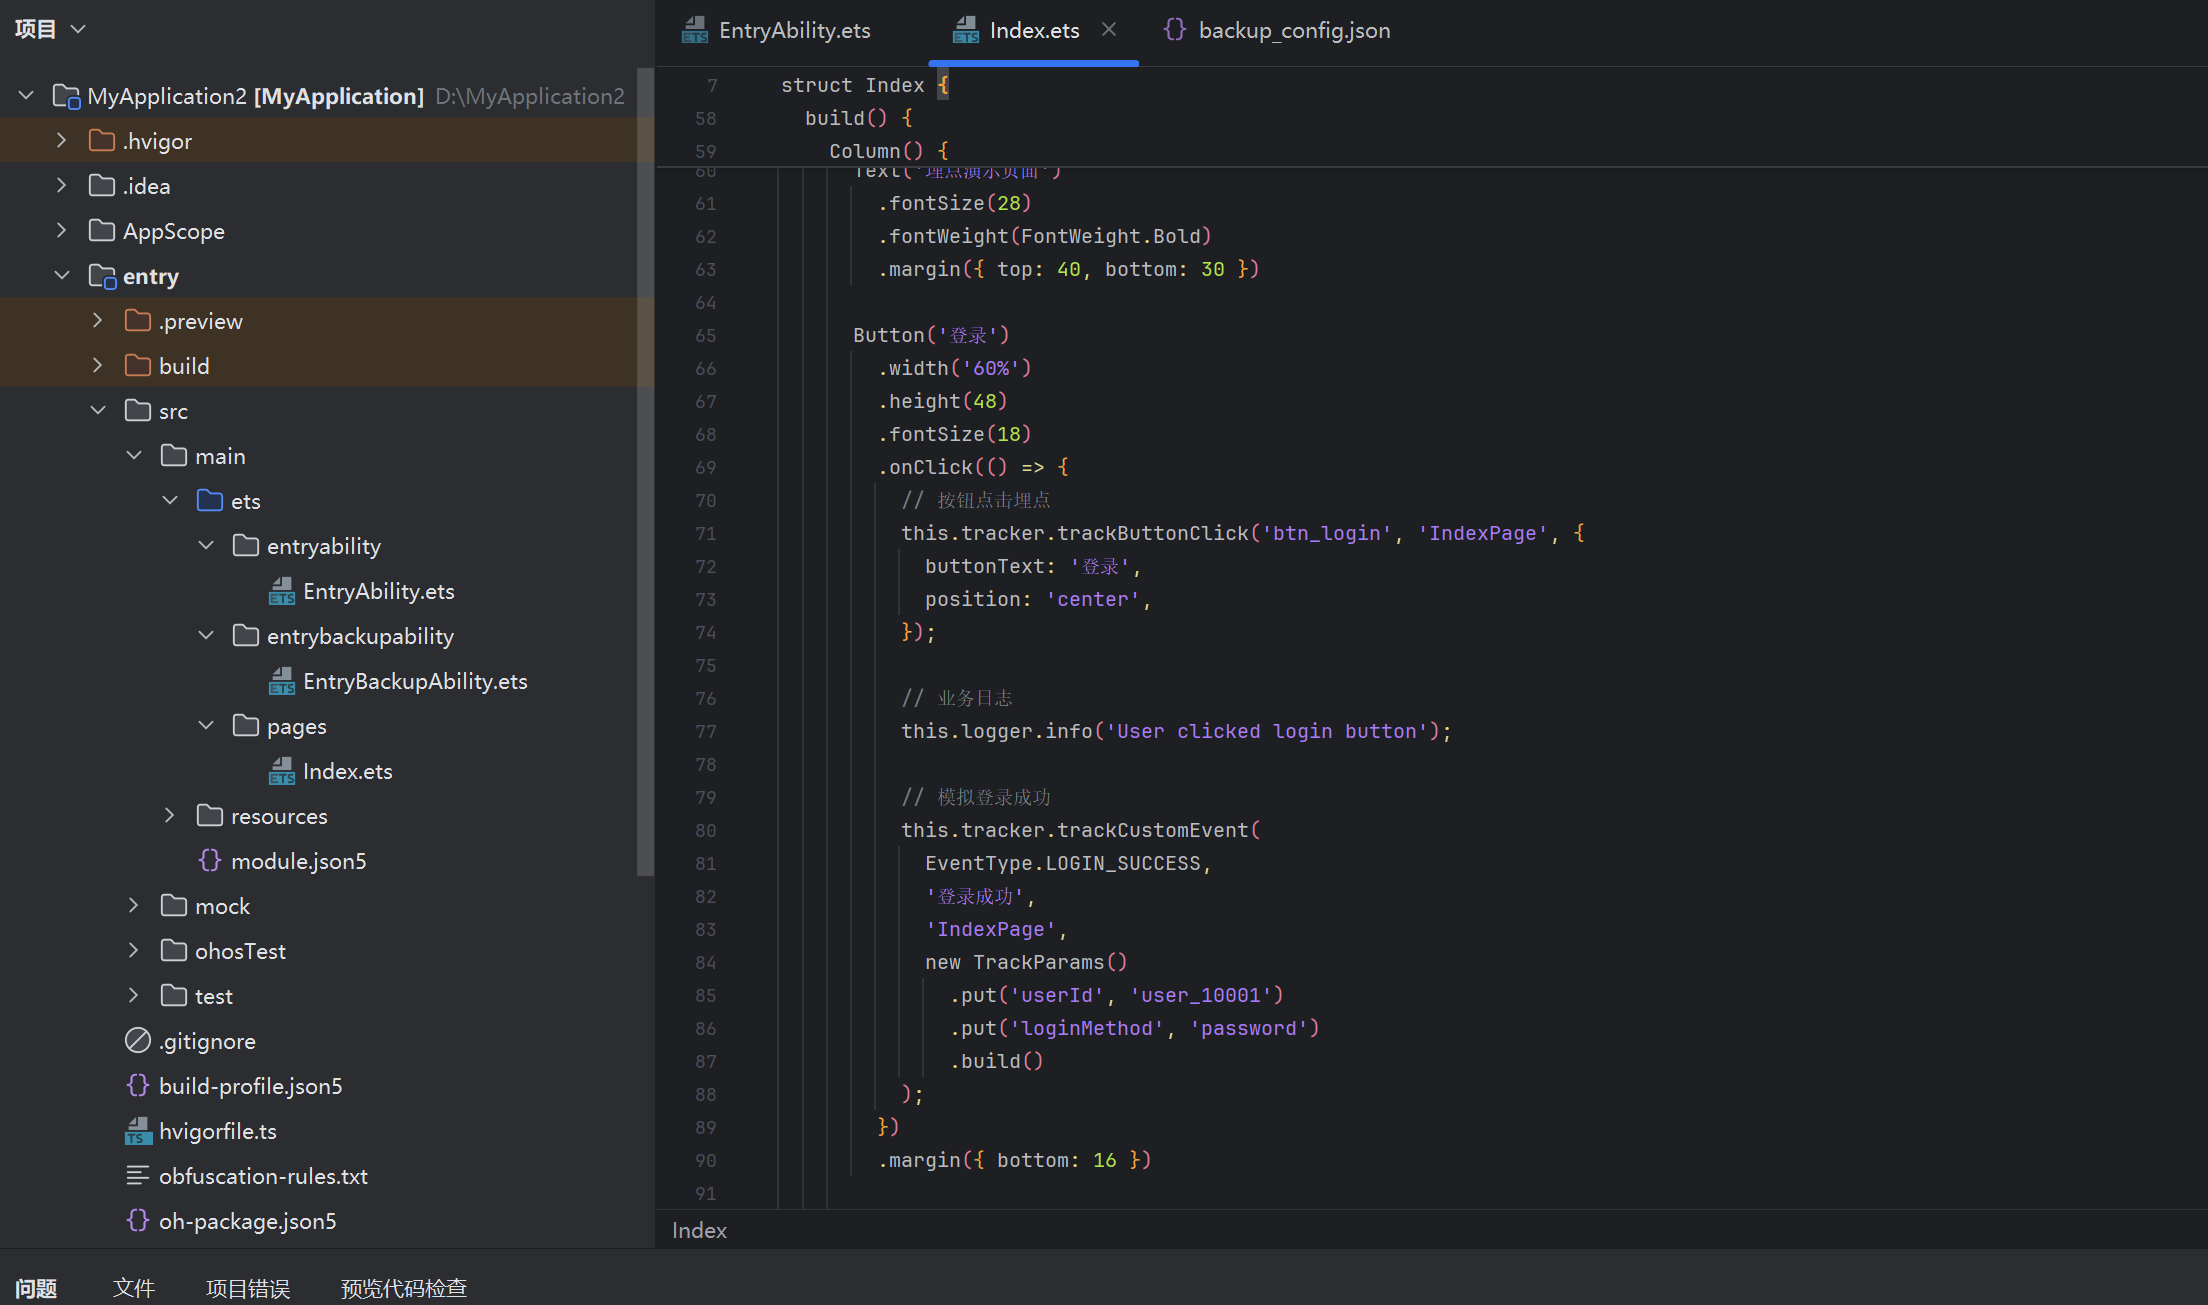
整个埋点系统到这里完整闭合了。从 TrackEvent 的标准化定义,到 Tracker 的批量缓存和定时上报,再到页面中一行代码的便捷调用------开发者只需要关注"什么行为需要记录",而无需关心"记录的数据如何存储和发送"。本地磁盘兜底确保了即使网络瞬时中断,用户的关键行为数据也不会丢失。
五、完整日志与埋点架构总览
将四个模块串联起来,我们得到了一张清晰的日志与数据收集架构图。
应用启动时,先初始化 Logger,再由 Logger 驱动 CrashCollector 注册异常监听,随后 Tracker 启动定时批量上报。Logger 负责所有层级的日志输出(控制台 + 文件);CrashCollector 守护运行时异常,兜底写入 crash 专用文件;Tracker 则专注用户行为数据的标准化采集与上报。三者互不干扰,共同构成完整的可观测性闭环。
┌──────────────────────────────────────────────────────┐
│                    应用入口 (EntryAbility)            │
│                                                      │
│  1. Logger.getInstance() ──→ hilog + 文件日志写入    │
│  2. CrashCollector ─────────→ JS 异常捕获 + 上报     │
│  3. Tracker ─────────────────→ 用户行为埋点 + 上报   │
└──────────────────────────────────────────────────────┘
         │                    │              │
         ▼                    ▼              ▼
    hilog 输出          crash_*.log    track_queue.json
    app_*.log           (仅 Crash)      (批量上报)
整个方案的核心设计哲学是"就近存储、分层收集、批量上报"。日志文件按日轮转、按大小分卷,Crash 信息独立存储绝不混淆,埋点事件批量积累后统一发送------既保证了数据完整性,又将对网络和设备性能的影响降到最低。
六、进阶优化方向
以上代码覆盖了日志与埋点系统的核心功能,生产环境中你还可以继续拓展以下几个方向:
第一,Logger 加密与压缩。 当日志中包含敏感信息(手机号、身份证、密码明文等)时,应在写入文件前进行脱敏处理,或者对日志文件整体加密。OpenHarmony 提供了 @ohos.security.cryptoFramework 可用于此场景。
第二,远程日志查看。 在调试阶段,通过 WebSocket 将日志实时推送到 PC 端查看,比导出文件更高效。可以参考 OpenHarmony 的分布式能力,在同一华为账号下的设备间共享日志流。
第三,埋点数据可视化。 收集到的埋点数据最终需要落地到数据平台。常见的架构是:客户端上报 → Kafka → Flink 实时计算 → Doris/ClickHouse → 可视化大盘。Tracker 的 serverUrl 只需对接一个轻量的网关服务即可无缝接入。
第四,多进程日志聚合。 如果应用使用了 ServiceAbility 等多进程架构,每个进程的日志需要汇总到同一份报告中。上述 Logger 类可以设计为跨进程共享写入同一个日志文件(依赖文件锁 fs.lock 保证写入安全)。
结语
日志和埋点看似是基础设施,但做好并不简单。本文从 hilog 的局限出发,依次构建了 Logger 封装类(日志分级与文件轮转)、CrashCollector(异常捕获与持久化)、Tracker(行为埋点与批量上报),三者共同构成了一个小型却完整的企业级可观测性方案。
核心代码量不过六百行左右,却覆盖了从系统日志到底层文件操作、从运行时异常监控到用户行为数据采集的全链路能力。这正是 HarmonyOS NEXT 开发的魅力所在:基于 ArkUI 的声明式范式和 @ohos 模块的丰富能力,我们可以用极少的代码搭建起工业级的工程基础设施。