《HarmonyOS技术精讲-NearLink Kit(星闪服务)》第8篇:智能家居控制------手机控制智能灯实战
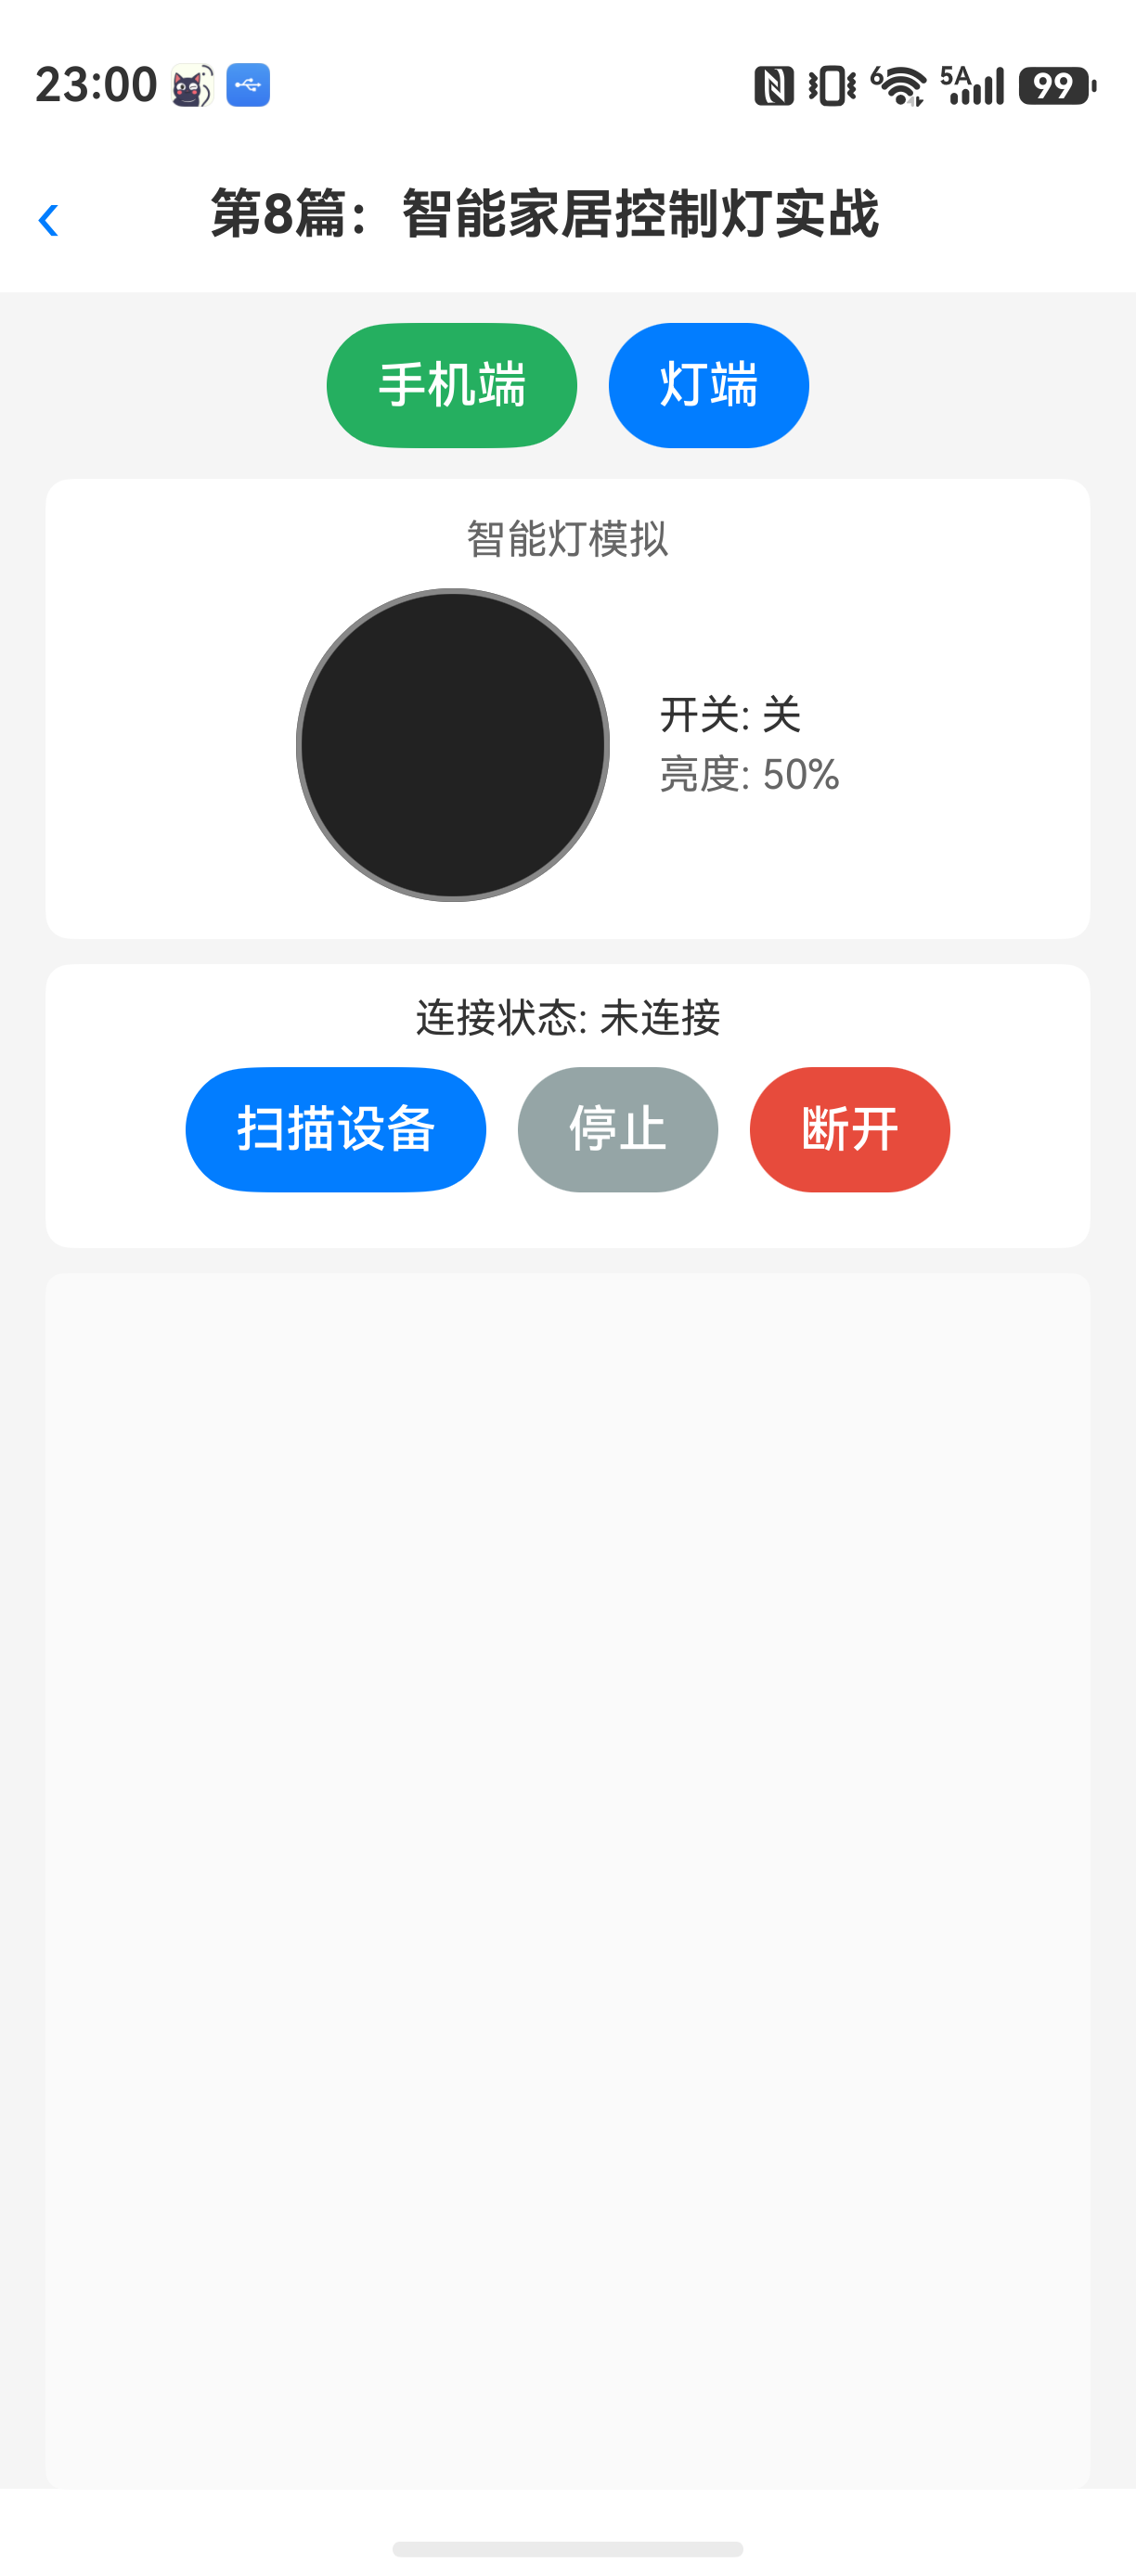
星闪控制智能灯,状态同步才是真麻烦
HarmonyOS NEXT 开发里,NearLink Kit 的 API 看起来不难,无非就是发现设备、建立连接、收发数据。但实际开发中,很多人会发现:手机能连上灯,也能发指令,但灯的状态反馈回来,UI 经常不刷新。或者页面切到后台再回来,连接就断了,灯的状态还是旧的。
这个问题比较常见,官方文档虽然提到了 API 用法,但没解释清楚状态同步和连接生命周期的关系。
本文从零开始,搭建一个手机控制智能灯的完整 demo,重点处理两个问题:
- 指令编码和解码的一致性(手机和灯两端必须约定好协议格式)
- 状态同步的可靠性(灯端状态变化后,手机端必须及时刷新 UI)
这个场景为什么适合星闪
智能家居控制场景,传统方案主要用蓝牙和 Wi-Fi。它们各有各的问题:
| 方案 | 功耗 | 延迟 | 连接容量 | 抗干扰 |
|---|---|---|---|---|
| 蓝牙 | 较低 | 100ms 左右 | 7-8 个设备 | 一般 |
| Wi-Fi | 高 | 10-50ms | 几十个设备 | 好 |
| 星闪 | 极低 | 20-30ms | 数百个设备 | 很好 |
星闪的优势很明显:低功耗意味着智能灯可以长时间待机;低延迟让调光调色不会有肉眼可见的延时;大连接容量为后续接入更多设备留了空间。
这个场景不适合用星闪的情况:
- 需要传输大文件(比如更新固件),星闪的小包传输效率反而低
- 设备数量很少,且对功耗不敏感,蓝牙成本更低
环境说明
text
DevEco Studio 版本:DevEco Studio 6.1.0 及以上
HarmonyOS SDK 版本:HarmonyOS 6.1.0(23) 及以上
目标设备:手机 + 支持星闪的智能灯开发板(或模拟灯端设备)
注意:模拟器目前不支持星闪硬件能力,必须真机测试。
核心实现
整体架构设计
手机端负责:
- 扫描附近星闪设备
- 建立连接
- 发送控制指令(开关、亮度)
- 接收灯端状态反馈并更新 UI
灯端负责:
- 接收手机发来的指令
- 解析指令并执行(本文用模拟实现)
- 返回当前状态
通信协议设计为简单二进制格式:
[指令类型(1字节)][参数1(1字节)][参数2(1字节)][...]- 指令类型:0x01 开关控制,0x02 亮度控制
- 开关参数:0x00 关,0x01 开
- 亮度参数:0x00-0x64 (0-100)
手机端控制界面(ArkUI)
先写完整的 Index.arkts:
typescript
// Index.arkts - 手机端智能灯控制界面
import { nearlink } from '@kit.ConnectivityKit';
import { businessError } from '@kit.BasicServicesKit';

@Entry
@Component
struct SmartLightControl {
  @State deviceList: nearlink.DiscoveredDevice[] = [];
  @State connectedDevice: nearlink.Device? = null;
  @State isConnected: boolean = false;
  @State lightOn: boolean = false;
  @State brightness: number = 50;
  @State connectionState: string = '未连接';
  @State logMessage: string = '';

  private scanSub?: nearllink.ScanSubscription;
  private connId: number = -1;

  aboutToAppear() {
    this.requestNearlinkPermission();
  }

  aboutToDisappear() {
    this.stopScan();
    this.disconnectDevice();
  }

  private requestNearlinkPermission() {
    // 权限申请 - 实际项目需在 ability 中处理
    nearllink.requestPermission().then(() => {
      this.log('星闪权限已获取');
    }).catch((err: businessError.BusinessError) => {
      this.log('权限获取失败: ' + JSON.stringify(err));
    });
  }

  private startScan() {
    nearllink.startDiscovery((err, devices) => {
      if (err) {
        this.log('扫描失败: ' + JSON.stringify(err));
        return;
      }
      this.deviceList = devices;
    }).then((sub) => {
      this.scanSub = sub;
      this.log('星闪扫描已启动');
    }).catch((err: businessError.BusinessError) => {
      this.log('启动扫描失败: ' + JSON.stringify(err));
    });
  }

  private stopScan() {
    if (this.scanSub) {
      nearllink.stopDiscovery(this.scanSub);
      this.scanSub = undefined;
    }
  }

  private connectDevice(device: nearlink.DiscoveredDevice) {
    nearllink.connect(device).then((connection) => {
      this.connId = connection.connectionId;
      this.connectedDevice = device;
      this.isConnected = true;
      this.connectionState = '已连接';
      this.log('连接成功: ' + device.deviceName);

      // 设置数据接收监听
      nearllink.on('dataReceived', this.connId, (data) => {
        this.handleReceivedData(data);
      });

      // 设置连接断开监听
      nearllink.on('disconnected', this.connId, () => {
        this.isConnected = false;
        this.connectionState = '已断开';
        this.log('连接已断开');
      });
    }).catch((err: businessError.BusinessError) => {
      this.log('连接失败: ' + JSON.stringify(err));
    });
  }

  private disconnectDevice() {
    if (this.connId >= 0) {
      nearllink.disconnect(this.connId);
      this.connId = -1;
      this.isConnected = false;
      this.connectedDevice = null;
      this.connectionState = '未连接';
    }
  }

  private sendCommand(cmdType: number, param: number) {
    if (this.connId < 0) {
      this.log('未连接设备');
      return;
    }
    // 协议格式:[命令类型, 参数]
    const data = new Uint8Array([cmdType, param]);
    nearllink.sendData(this.connId, data.buffer).then(() => {
      this.log('指令已发送: ' + cmdType + ' ' + param);
    }).catch((err: businessError.BusinessError) => {
      this.log('发送指令失败: ' + JSON.stringify(err));
    });
  }

  private handleReceivedData(data: ArrayBuffer) {
    // 灯端返回状态格式:[0x10, 开关状态(0/1), 亮度值(0-100)]
    const bytes = new Uint8Array(data);
    if (bytes.length < 3) {
      return;
    }
    const feedbackType = bytes[0];
    if (feedbackType === 0x10) {
      this.lightOn = bytes[1] === 1;
      this.brightness = bytes[2];
      this.log('状态已更新:开关=' + (this.lightOn ? '开' : '关') + ', 亮度=' + this.brightness);
    }
  }

  private log(msg: string) {
    this.logMessage = msg + '\n' + this.logMessage;
    if (this.logMessage.length > 500) {
      this.logMessage = this.logMessage.slice(0, 500);
    }
  }

  build() {
    Column({ space: 20 }) {
      // 标题
      Text('智能灯控制')
        .fontSize(28)
        .fontWeight(FontWeight.Bold)

      // 连接状态
      Row() {
        Text('连接状态:' + this.connectionState)
          .fontSize(18)
        Button('扫描设备')
          .onClick(() => this.startScan())
          .enabled(!this.isConnected)
      }

      // 设备列表
      if (!this.isConnected && this.deviceList.length > 0) {
        Column() {
          Text('附近设备:')
            .fontSize(20)
          ForEach(this.deviceList, (device: nearlink.DiscoveredDevice, index: number) => {
            Row() {
              Text(device.deviceName)
              Button('连接')
                .onClick(() => this.connectDevice(device))
            }
          })
        }
      }

      // 控制区域
      if (this.isConnected) {
        Column({ space: 15 }) {
          // 开关控制
          Row() {
            Text('开关:')
            Toggle({ type: ToggleType.Switch, isOn: this.lightOn })
              .onChange((isOn) => {
                this.lightOn = isOn;
                this.sendCommand(0x01, isOn ? 1 : 0);
              })
          }

          // 亮度控制
          Row() {
            Text('亮度:' + this.brightness)
            Slider({
              value: this.brightness,
              min: 0,
              max: 100,
              step: 1,
              style: SliderStyle.OutSet
            })
              .onChange((value: number) => {
                this.brightness = Math.round(value);
              })
              .onChangeEnd((value: number) => {
                this.sendCommand(0x02, Math.round(value));
              })
          }

          // 断开连接
          Button('断开连接')
            .onClick(() => this.disconnectDevice())
        }
      }

      // 日志显示
      if (this.logMessage.length > 0) {
        Scroll() {
          Text(this.logMessage)
            .fontSize(14)
            .lineHeight(20)
        }
        .height(150)
        .backgroundColor('#F0F0F0')
        .borderRadius(8)
      }
    }
    .padding(20)
    .width('100%')
    .height('100%')
  }
}
需要注意的是:
@State变量用于 UI 刷新,这是 ArkUI 的响应式机制。但nearlink的回调是在子线程,不能直接修改@State,必须通过 UI 主线程更新。这里 ArkUI 框架会自动处理,但如果回调里做复杂逻辑,建议用runOnUI。- 连接成功后设置的
on('dataReceived')和on('disconnected')会在页面销毁时自动清理,但最好在aboutToDisappear中显式移除监听,避免内存泄漏。 Slider的onChange和onChangeEnd区别:onChange会频繁触发,用于预览效果;onChangeEnd在滑动结束时触发,用于发送最终指令。这里选择onChangeEnd发送,减少数据传输。
灯端接收指令并执行(模拟实现)
灯端代码运行在另一个支持星闪的设备(或模拟设备)上:
typescript
// LightController.arkts - 智能灯端(模拟实现)
import { nearlink } from '@kit.ConnectivityKit';
import { businessError } from '@kit.BasicServicesKit';

@Entry
@Component
struct LightController {
  @State lightOn: boolean = false;
  @State brightness: number = 50;
  @State status: string = '等待连接...';

  private serverId: number = -1;
  private clientConnId: number = -1;

  aboutToAppear() {
    this.startNearlinkServer();
  }

  aboutToDisappear() {
    this.stopServer();
  }

  private startNearlinkServer() {
    nearlink.createServer({
      serviceType: nearlink.ServiceType.CONTROL
    }).then((server) => {
      this.serverId = server.serverId;
      this.status = '服务已启动';

      // 监听客户端连接
      nearlink.on('clientConnected', this.serverId, (clientInfo) => {
        this.clientConnId = clientInfo.connectionId;
        this.status = '已连接手机';
        this.log('手机已连接: ' + clientInfo.deviceName);

        // 回复当前状态
        this.sendStatusToPhone();

        // 监听数据接收
        nearlink.on('dataReceived', this.clientConnId, (data) => {
          this.handleCommand(data);
        });
      });

      // 监听客户端断开
      nearlink.on('clientDisconnected', this.serverId, () => {
        this.clientConnId = -1;
        this.status = '手机已断开';
        this.log('手机断开连接');
      });
    }).catch((err: businessError.BusinessError) => {
      this.status = '启动服务失败: ' + JSON.stringify(err);
    });
  }

  private stopServer() {
    if (this.serverId >= 0) {
      // 移除所有监听
      nearlink.off('clientConnected', this.serverId);
      nearlink.off('clientDisconnected', this.serverId);
      nearlink.destroyServer(this.serverId);
      this.serverId = -1;
    }
  }

  private handleCommand(data: ArrayBuffer) {
    const bytes = new Uint8Array(data);
    if (bytes.length < 2) return;

    const cmdType = bytes[0];
    const param = bytes[1];

    switch (cmdType) {
      case 0x01: // 开关控制
        this.lightOn = param === 1;
        this.log('收到开关指令: ' + (this.lightOn ? '开' : '关'));
        break;
      case 0x02: // 亮度控制
        this.brightness = Math.max(0, Math.min(100, param));
        this.log('收到亮度指令: ' + this.brightness);
        break;
      default:
        this.log('未知指令: ' + cmdType);
    }

    // 执行成功后,发送当前状态回手机
    this.sendStatusToPhone();
  }

  private sendStatusToPhone() {
    if (this.clientConnId < 0) return;
    // 状态反馈协议:[0x10, 开关状态, 亮度值]
    const feedback = new Uint8Array([0x10, this.lightOn ? 1 : 0, this.brightness]);
    nearlink.sendData(this.clientConnId, feedback.buffer).catch((err) => {
      this.log('发送状态失败: ' + JSON.stringify(err));
    });
  }

  private log(msg: string) {
    // 实际项目中,这里可以输出到控制台或UI日志区域
    console.info('LightController: ' + msg);
  }

  build() {
    Column({ space: 20 }) {
      Text('智能灯端')
        .fontSize(28)
        .fontWeight(FontWeight.Bold)

      Text('状态: ' + this.status)
        .fontSize(18)

      Text('当前灯状态:' + (this.lightOn ? '开' : '关'))
        .fontSize(20)

      Text('当前亮度:' + this.brightness + '%')
        .fontSize(20)
    }
    .padding(20)
    .width('100%')
    .height('100%')
  }
}
这段代码的几个设计点:
- 灯端作为服务端,手机作为客户端,这是智能家居控制的标准架构。
- 每次收到指令后,立即回复当前状态,保证手机端 UI 准确。
- 连接建立后,主动发送一次状态,解决手机端先连接后显示未初始化状态的问题。
常见问题与解决方案
问题1:页面返回后,连接自动断开,状态丢失
现象:手机端控制界面从后台切回前台,发现连接已断开,灯的状态显示为默认值(关、亮度50)。
原因 :aboutToDisappear 中调用了 disconnectDevice,导致连接被主动释放。但用户很可能只是想切到后台再回来,不应该断开连接。
解决方案 :
把断开连接的逻辑移到用户主动行为。修改 aboutToDisappear:
typescript
aboutToDisappear() {
  this.stopScan();
  // 不再自动断开连接
  // 只清理监听,保留连接对象
  if (this.connId >= 0) {
    nearlink.off('dataReceived', this.connId);
    nearlink.off('disconnected', this.connId);
    // 不要调用 nearlink.disconnect
  }
  this.scanSub = undefined;
}
然后在页面重新可见时,重新绑定回调。可以用 onPageShow 回调:
typescript
onPageShow() {
  if (this.connId >= 0) {
    nearlink.on('dataReceived', this.connId, (data) => {
      this.handleReceivedData(data);
    });
    nearlink.on('disconnected', this.connId, () => {
      this.isConnected = false;
      this.connectionState = '已断开';
      this.log('连接已断开');
    });
  }
}
问题2:回调里修改 @State 变量,界面没有立刻刷新
现象 :灯端收到指令后返回状态,手机端 handleReceivedData 里更新了 lightOn 和 brightness,但 UI 没有变化。
原因 :nearlink.on('dataReceived') 回调线程不是 UI 线程。虽然 ArkUI 框架会自动同步,但在高并发场景下,多个回调同时触发,可能导致状态更新丢失。
解决方案 :
使用 runOnUI 或通过标志位确保状态更新的一致性。推荐做法是在回调里使用 postTask 确保在主线程执行:
typescript
private handleReceivedData(data: ArrayBuffer) {
  const bytes = new Uint8Array(data);
  if (bytes.length < 3) return;
  const feedbackType = bytes[0];
  if (feedbackType === 0x10) {
    // 使用 runOnUI 确保在主线程更新状态
    this.runOnUI(() => {
      this.lightOn = bytes[1] === 1;
      this.brightness = bytes[2];
      this.log('状态已更新:开关=' + (this.lightOn ? '开' : '关') + ', 亮度=' + this.brightness);
    });
  }
}
runOnUI 是 ArkUI 提供的原生方法,比用 setTimeout 更稳定。
问题3:设备发现列表重复出现同一台设备
现象:扫描结果里,同一台灯设备出现多次,导致列表显示混乱。
原因:星闪发现机制会持续上报设备出现,如果没有去重,就会重复显示。
解决方案 :
用 Map 来去重:
typescript
@State deviceList: nearlink.DiscoveredDevice[] = [];
private deviceMap: Map<string, nearlink.DiscoveredDevice> = new Map();

private startScan() {
  nearlink.startDiscovery((err, devices) => {
    if (err) return;
    devices.forEach(device => {
      // 使用 deviceId 作为唯一标识
      this.deviceMap.set(device.deviceId, device);
    });
    this.deviceList = Array.from(this.deviceMap.values());
  }).then((sub) => {
    this.scanSub = sub;
    this.log('星闪扫描已启动');
  }).catch((err) => {
    this.log('启动扫描失败: ' + JSON.stringify(err));
  });
}
最佳实践
-
不要在 build() 中创建新的对象 :比如
new Uint8Array()这种操作,应该放在方法开头一次性创建,或者在子作用域外定义。否则每次 build 重建组件时,都会创建新对象,导致频繁触发 UI 刷新。 -
推荐使用 @ObjectLink 或 @Observed 管理连接状态 :如果控制页面的结构更复杂,有多个子组件都需要知道连接状态,不要每个组件都监听
isConnected,而是用@Observed定义一个ConnectionManager单例,子组件通过@ObjectLink引用。 -
异步回调里不要直接修改 UI 状态 :即使 ArkUI 框架允许这么做,也要养成使用
runOnUI的习惯。特别是在for循环里的回调,很容易导致死循环或状态竞争。 -
协议设计要预留扩展字段:本文用的简单二进制格式,但在实际项目中,建议在最前面加一个 2 字节的协议版本号和 2 字节的数据长度。一旦协议升级,旧设备也能识别出不支持的版本,避免解析错误。
FAQ
Q:为什么真机正常,模拟器不生效?
A:模拟器目前不支持星闪硬件能力,无法模拟 NearLink 的收发。必须使用支持星闪的真机设备(如 Mate 60 系列、Pura 70 系列等)。灯端也需要支持星闪的硬件。
Q:为什么页面返回后,连接状态显示正确,但发指令没反应?
A:检查 aboutToDisappear 是否不小心调用了 nearlink.off('dataReceived') 并移除了回调,但没有在 onPageShow 重新注册。建议按照前面提到的方案,保留连接不断开,仅管理回调的绑定和解绑。