做鸿蒙开发一段时间后,你一定会碰到手势冲突的问题。Scroll里面嵌了个可拖拽的子组件,手指一滑,到底是Scroll滚动还是子组件拖动?父组件绑了长按,子组件也绑了长按,到底谁响应?单击和双击放一起,为什么双击永远触发不了?
这些问题归根到底,都是对手势识别机制理解不够深入。今天这篇就把HarmonyOS NEXT的手势体系从头到尾捋一遍,从单一手势到组合手势,从手势优先级到冲突解决,看完你就能在项目里把各种交互安排得明明白白。
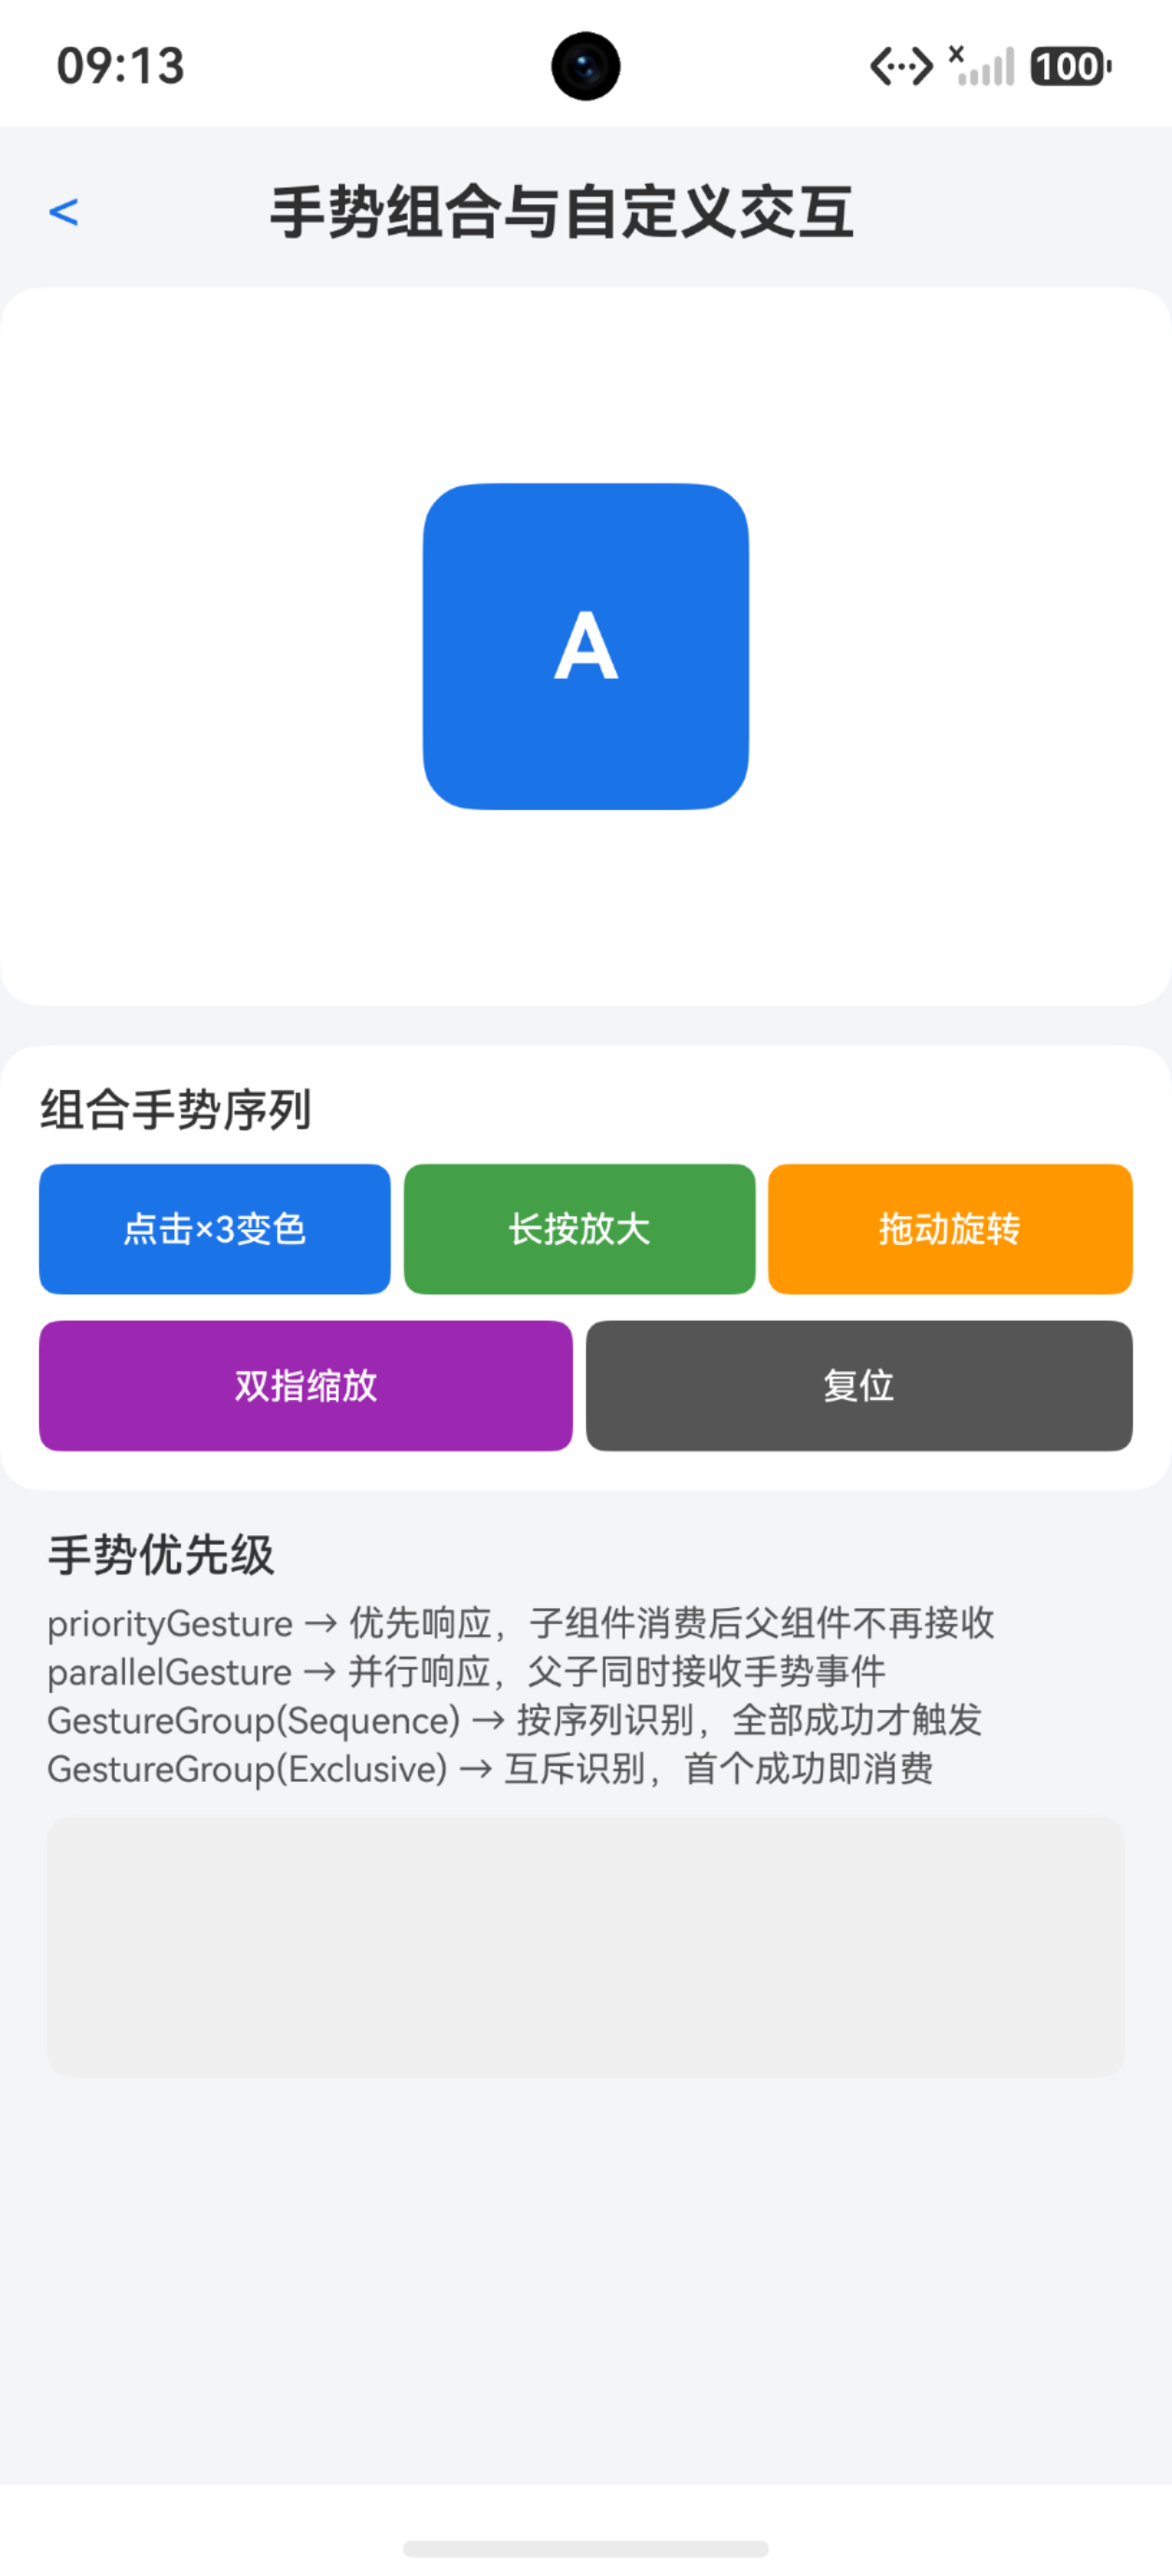
一、手势识别流程:触摸事件到手势回调
先搞清楚底层机制。用户手指触碰屏幕的那一刻,系统并不是直接告诉你"这是一个点击"或"这是一个拖拽",而是走了一套完整的识别流程:
触摸事件产生 -> 触摸测试(TouchTest) -> 响应链收集 -> 手势识别器匹配 -> 回调触发
具体来说:
-
手指按下时产生Down事件,移动时产生Move事件,抬起时产生Up事件。所有手势本质上都是这些原始触摸事件的组合------点击是Down+Up,拖拽是Down+一系列Move+Up,长按是Down+持续等待+Up。
-
触摸测试决定哪些组件参与事件分发。ArkUI采用"右子树优先的后序遍历",从布局层级最深的子组件开始,沿组件树向上收集,形成响应链。
-
响应链上的每个组件如果有绑定的手势识别器,就会尝试匹配当前触摸序列。子组件的手势默认优先于父组件。
-
手势识别器根据各自的判定规则(点击次数、滑动距离、按压时长等)决定是否识别成功,成功则触发对应的回调。
理解了这个流程,后面所有关于手势冲突、优先级的问题都能找到根源。
二、TapGesture:单击、双击与三次点击
点击手势是最基础的手势类型,但它的细节比很多人想象的要多。
typescript
TapGesture(value?: { count?: number; fingers?: number })两个参数:
- count:连续点击次数,默认1。设为2就是双击,设为3就是三次点击。注意,两次点击之间的超时时间是300ms,超过300ms就视为两次独立的单击。
- fingers:触发点击的手指数量,默认1,最大10。多指点击要求所有手指在300ms内依次按下。
来看一个同时支持单击和双击的例子:
typescript
@Entry
@Component
struct TapGestureDemo {
  @State message: string = '请点击或双击'

  build() {
    Column() {
      Text(this.message)
        .fontSize(20)
        .margin(10)
      Column() {
        Text('点击区域')
          .fontSize(24)
          .fontColor(Color.White)
      }
      .width(200)
      .height(200)
      .backgroundColor('#4CAF50')
      .justifyContent(FlexAlign.Center)
      .borderRadius(12)
      .gesture(
        GestureGroup(GestureMode.Exclusive,
          TapGesture({ count: 2 })
            .onAction(() => {
              this.message = '双击触发'
            }),
          TapGesture({ count: 1 })
            .onAction(() => {
              this.message = '单击触发'
            })
        )
      )
    }
    .width('100%')
    .height('100%')
    .justifyContent(FlexAlign.Center)
  }
}这里有个关键点:双击手势必须放在单击手势前面。因为GestureMode.Exclusive是互斥识别,先注册的手势先判定。如果单击放前面,你第一次按下抬起时单击就已经识别成功了,双击根本没机会触发。这个坑踩过的人不少。
三、LongPressGesture:长按识别与repeat回调
长按手势在列表项操作、弹出菜单等场景非常常见。
typescript
LongPressGesture(value?: { fingers?: number; repeat?: boolean; duration?: number })三个参数:
- fingers:最少手指数量,默认1,最大10。
- repeat:是否持续触发回调,默认false。设为true后,长按期间每经过一个duration间隔就会触发一次onAction。
- duration:触发长按的最短时间,默认500ms。
repeat是长按手势最有用的特性。比如实现一个数字递增器,长按后数字持续增长:
typescript
@Entry
@Component
struct LongPressDemo {
  @State count: number = 0

  build() {
    Column() {
      Text('计数: ' + this.count)
        .fontSize(36)
        .fontWeight(FontWeight.Bold)
        .margin(20)

      Text('长按递增')
        .fontSize(20)
        .padding(20)
        .backgroundColor('#FF9800')
        .borderRadius(8)
        .gesture(
          LongPressGesture({ repeat: true, duration: 200 })
            .onAction((event: GestureEvent) => {
              if (event.repeat) {
                this.count++
              } else {
                this.count++
              }
            })
            .onActionEnd(() => {
              console.info('长按结束,当前值: ' + this.count)
            })
        )
    }
    .width('100%')
    .height('100%')
    .justifyContent(FlexAlign.Center)
  }
}一个容易忽略的细节:首次长按成功时event.repeat为false,后续每次重复触发时event.repeat为true。所以如果你想在长按期间持续响应,不要只在repeat为true时处理,首次触发也要处理。
另外要注意,Text、TextInput、Image等组件默认支持拖拽,当长按手势的duration设为500ms或更长时,系统会优先响应拖拽而非长按。如果duration小于500ms,则优先响应长按。这个优先级是系统内置的,不受priorityGesture影响。
四、PanGesture:拖拽跟手与速度获取
拖拽手势是实现组件跟手移动的核心。
typescript
PanGesture(value?: { fingers?: number; direction?: PanDirection; distance?: number })三个参数:
- fingers:最少手指数量,默认1,最大10。
- direction:拖拽方向,默认PanDirection.All,支持位运算组合,如PanDirection.Horizontal | PanDirection.Vertical。
- distance:最小识别距离,默认5vp。滑动距离小于此值不会触发拖拽。
拖拽跟手的关键在于onActionUpdate中持续更新组件位置,onActionEnd中记录最终位置:
typescript
@Entry
@Component
struct PanGestureDemo {
  @State offsetX: number = 0
  @State offsetY: number = 0
  @State positionX: number = 0
  @State positionY: number = 0

  build() {
    Column() {
      Row() {
        Column() {
          Text('拖我')
            .fontSize(20)
            .fontColor(Color.White)
        }
        .width(80)
        .height(80)
        .backgroundColor('#2196F3')
        .borderRadius(8)
        .justifyContent(FlexAlign.Center)
        .translate({ x: this.offsetX, y: this.offsetY, z: 0 })
        .gesture(
          PanGesture({ direction: PanDirection.All })
            .onActionStart(() => {
              console.info('拖拽开始')
            })
            .onActionUpdate((event: GestureEvent) => {
              this.offsetX = this.positionX + event.offsetX
              this.offsetY = this.positionY + event.offsetY
            })
            .onActionEnd(() => {
              this.positionX = this.offsetX
              this.positionY = this.offsetY
            })
        )
      }
      .width('100%')
      .height(300)
      .backgroundColor('#F5F5F5')
      .borderRadius(12)
    }
    .width('100%')
    .height('100%')
    .padding(20)
  }
}
实现惯性滑动是PanGesture的进阶用法。GestureEvent提供了velocityX和velocityY两个属性,表示手指离手时的瞬间速度。利用这个速度可以计算惯性滑动距离,再配合animateTo实现自然的减速效果:
typescript
PanGesture()
  .onActionUpdate((event: GestureEvent) => {
    this.offsetX = this.positionX + event.offsetX
    this.offsetY = this.positionY + event.offsetY
  })
  .onActionEnd((event: GestureEvent) => {
    let endX: number = this.offsetX + event.velocityX * 0.5
    let endY: number = this.offsetY + event.velocityY * 0.5
    animateTo({
      duration: 800,
      curve: Curve.EaseOut
    }, () => {
      this.offsetX = endX
      this.offsetY = endY
    })
    this.positionX = endX
    this.positionY = endY
  })
velocityX的单位是vp/s,正值表示从左往右,负值表示从右往左。velocityY正值表示从上往下。0.5这个系数是经验值,相当于假设摩擦力在0.5秒内将速度衰减为零。
五、PinchGesture:双指缩放
图片查看器、地图缩放这类场景离不开捏合手势。
typescript
PinchGesture(value?: { fingers?: number; distance?: number })两个参数:
- fingers:最少手指数量,默认2,最大5。
- distance:最小识别距离,默认5vp。
捏合手势的核心数据是event.scale------缩放比例。值大于1表示放大,小于1表示缩小。每次手势开始时scale从1开始,所以需要累乘之前的缩放值:
typescript
@Entry
@Component
struct PinchGestureDemo {
  @State scaleValue: number = 1
  @State pinchValue: number = 1

  build() {
    Column() {
      Image($r('app.media.icon'))
        .width(200)
        .height(200)
        .objectFit(ImageFit.Contain)
        .scale({ x: this.scaleValue, y: this.scaleValue, z: 1 })
        .gesture(
          PinchGesture({ fingers: 2 })
            .onActionStart(() => {
              console.info('捏合开始')
            })
            .onActionUpdate((event: GestureEvent) => {
              this.scaleValue = this.pinchValue * event.scale
            })
            .onActionEnd(() => {
              this.pinchValue = this.scaleValue
            })
        )

      Text('当前缩放: ' + this.scaleValue.toFixed(2))
        .fontSize(16)
        .margin({ top: 20 })
    }
    .width('100%')
    .height('100%')
    .justifyContent(FlexAlign.Center)
  }
}
这里有两条重要经验:
第一,scale要累乘而不是累加。每次手势的event.scale是相对于本次手势起始点的比例,所以要用上一次手势结束时的缩放值乘以当前的event.scale。
第二,注意缩放边界。不加限制的话,用户可以把图片缩到极小或放到极大。建议在onActionUpdate中做clamp处理:
typescript
.onActionUpdate((event: GestureEvent) => {
  let newScale: number = this.pinchValue * event.scale
  this.scaleValue = Math.max(0.5, Math.min(3.0, newScale))
})
另外,event.pinchCenterX和event.pinchCenterY提供捏合中心点坐标,可以实现以手指中心为锚点的缩放效果,而不是默认的组件中心点缩放。
六、RotationGesture:双指旋转
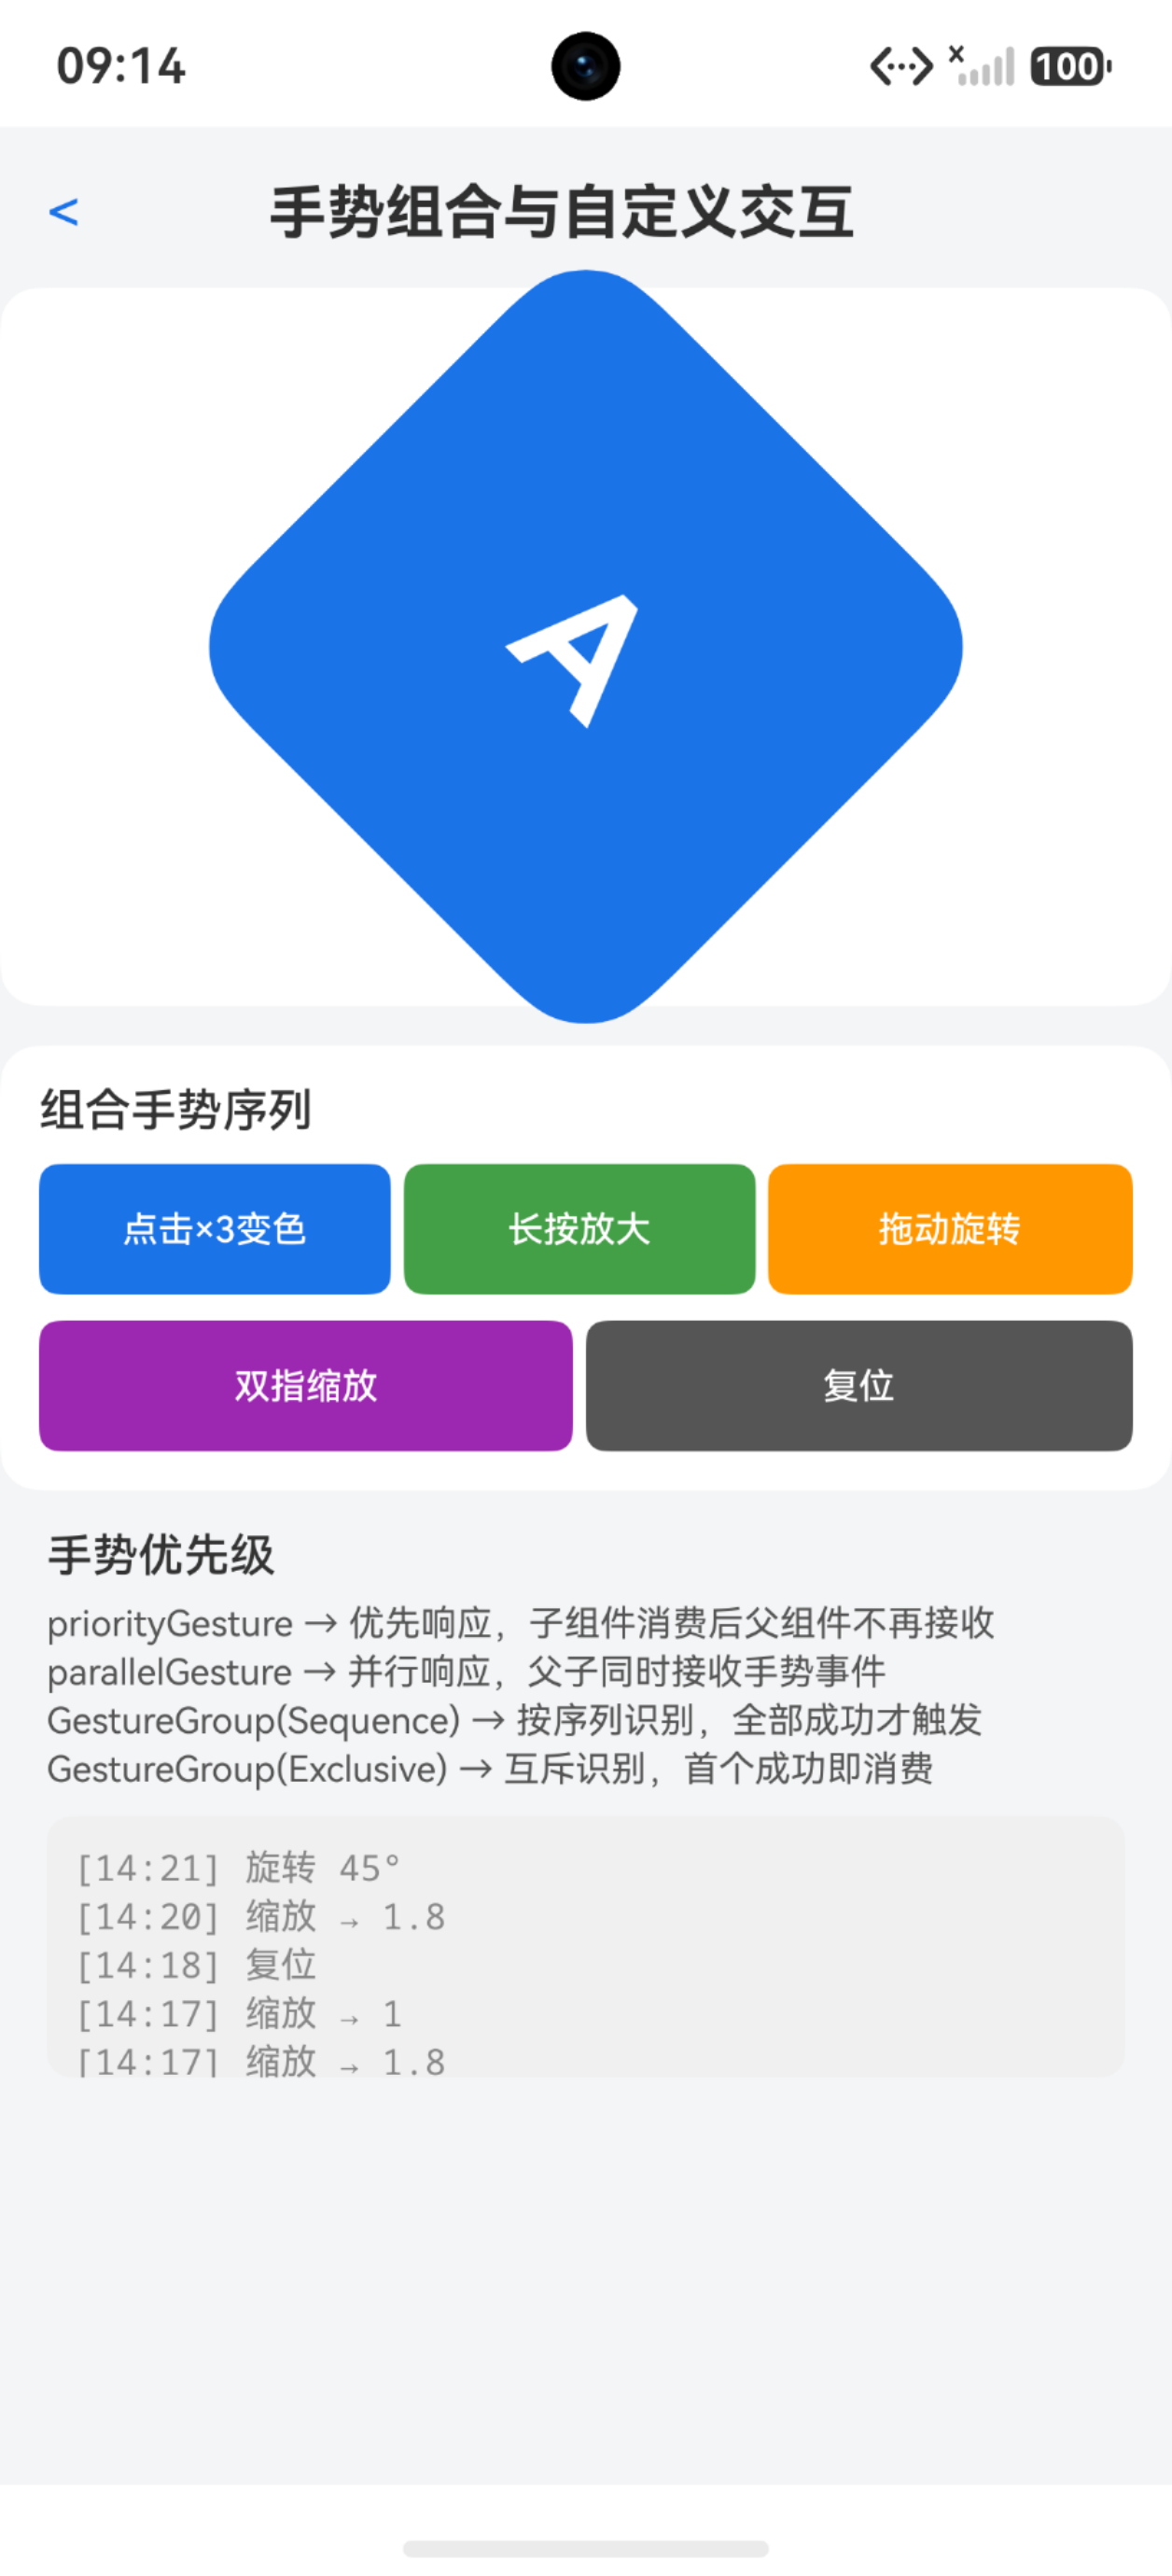
旋转手势和捏合手势经常配合使用,实现图片的自由变换。
typescript
RotationGesture(value?: { fingers?: number; angle?: number })两个参数:
- fingers:最少手指数量,默认2,最大5。
- angle:最小旋转角度,默认1度。
event.angle表示旋转角度,正值顺时针,负值逆时针。和缩放一样,需要累加之前的旋转角度:
typescript
@Entry
@Component
struct RotationGestureDemo {
  @State angle: number = 0
  @State rotateValue: number = 0

  build() {
    Column() {
      Image($r('app.media.icon'))
        .width(200)
        .height(200)
        .objectFit(ImageFit.Contain)
        .rotate({ angle: this.angle })
        .gesture(
          RotationGesture()
            .onActionStart(() => {
              console.info('旋转开始')
            })
            .onActionUpdate((event: GestureEvent) => {
              this.angle = this.rotateValue + event.angle
            })
            .onActionEnd(() => {
              this.rotateValue = this.angle
            })
        )

      Text('旋转角度: ' + this.angle.toFixed(1) + '度')
        .fontSize(16)
        .margin({ top: 20 })
    }
    .width('100%')
    .height('100%')
    .justifyContent(FlexAlign.Center)
  }
}
旋转、缩放、拖拽三合一的图片查看器,需要把三种手势用GestureGroup组合起来,后面会详细讲。
七、GestureGroup三种模式:顺序、互斥与并行
单个手势能解决的问题有限,真正复杂的交互需要组合手势。GestureGroup就是干这个的。
typescript
GestureGroup(mode: GestureMode, ...gesture: GestureType[])GestureMode三种模式,各有各的用途:
7.1 Sequence(顺序识别)
手势按注册顺序依次识别,前一个识别成功后才轮到下一个。任何一个手势识别失败,整个组合都失败。
最经典的场景就是拖拽------先长按再拖动:
typescript
@Entry
@Component
struct SequenceGestureDemo {
  @State offsetX: number = 0
  @State offsetY: number = 0
  @State positionX: number = 0
  @State positionY: number = 0
  @State isLongPressed: boolean = false

  build() {
    Column() {
      Column() {
        Text('长按后拖动')
          .fontSize(20)
          .fontColor(Color.White)
      }
      .width(120)
      .height(120)
      .backgroundColor(this.isLongPressed ? '#F44336' : '#4CAF50')
      .borderRadius(8)
      .justifyContent(FlexAlign.Center)
      .translate({ x: this.offsetX, y: this.offsetY, z: 0 })
      .gesture(
        GestureGroup(GestureMode.Sequence,
          LongPressGesture({ duration: 500 })
            .onAction(() => {
              this.isLongPressed = true
            })
            .onActionEnd(() => {
              this.isLongPressed = false
            }),
          PanGesture()
            .onActionUpdate((event: GestureEvent) => {
              this.offsetX = this.positionX + event.offsetX
              this.offsetY = this.positionY + event.offsetY
            })
            .onActionEnd(() => {
              this.positionX = this.offsetX
              this.positionY = this.offsetY
              this.isLongPressed = false
            })
        )
        .onCancel(() => {
          this.isLongPressed = false
        })
      )
    }
    .width('100%')
    .height('100%')
    .justifyContent(FlexAlign.Center)
  }
}Sequence模式下有个重要特性:只有最后一个手势会触发onActionEnd,前面的手势不会触发onActionEnd。因为从系统角度看,整个组合手势还没结束,后续手势还在识别中。如果你需要在中间某个手势结束时做处理,要用onAction而不是onActionEnd。
另外,Sequence组合手势有onCancel回调------当前面的手势识别成功但后续手势识别失败时触发。比如长按成功后没有拖动而是直接抬起手指,这时整个组合取消,onCancel触发。
7.2 Exclusive(互斥识别)
所有手势同时开始识别,第一个识别成功的手势会"吃掉"整个组合,其余手势全部取消。
单击和双击共存就是最典型的互斥场景:
typescript
.gesture(
  GestureGroup(GestureMode.Exclusive,
    TapGesture({ count: 2 })
      .onAction(() => {
        console.info('双击')
      }),
    TapGesture({ count: 1 })
      .onAction(() => {
        console.info('单击')
      })
  )
)
互斥模式的判定逻辑:当你按下并快速抬起一次,单击手势此时还不会立刻识别成功------它会等待300ms看是否有第二次点击。如果在300ms内第二次点击到来,双击手势识别成功,单击手势取消。如果300ms内没有第二次点击,单击手势识别成功。
这就是为什么双击必须放在前面------不是因为注册顺序决定优先级,而是因为双击的判定窗口天然包含了单击,双击放前面可以先完成判定。
7.3 Parallel(并行识别)
所有手势同时识别,互相不影响,各回各的调。
图片查看器需要同时支持拖动和缩放,用Parallel模式:
typescript
@Entry
@Component
struct ParallelGestureDemo {
  @State offsetX: number = 0
  @State offsetY: number = 0
  @State positionX: number = 0
  @State positionY: number = 0
  @State scaleValue: number = 1
  @State pinchValue: number = 1
  @State angle: number = 0
  @State rotateValue: number = 0

  build() {
    Column() {
      Image($r('app.media.icon'))
        .width(200)
        .height(200)
        .objectFit(ImageFit.Contain)
        .translate({ x: this.offsetX, y: this.offsetY, z: 0 })
        .scale({ x: this.scaleValue, y: this.scaleValue, z: 1 })
        .rotate({ angle: this.angle })
        .gesture(
          GestureGroup(GestureMode.Parallel,
            PanGesture()
              .onActionUpdate((event: GestureEvent) => {
                this.offsetX = this.positionX + event.offsetX
                this.offsetY = this.positionY + event.offsetY
              })
              .onActionEnd(() => {
                this.positionX = this.offsetX
                this.positionY = this.offsetY
              }),
            PinchGesture()
              .onActionUpdate((event: GestureEvent) => {
                this.scaleValue = this.pinchValue * event.scale
              })
              .onActionEnd(() => {
                this.pinchValue = this.scaleValue
              }),
            RotationGesture()
              .onActionUpdate((event: GestureEvent) => {
                this.angle = this.rotateValue + event.angle
              })
              .onActionEnd(() => {
                this.rotateValue = this.angle
              })
          )
        )
    }
    .width('100%')
    .height('100%')
    .justifyContent(FlexAlign.Center)
  }
}
Parallel模式下要注意:虽然手势互不影响,但状态变量是共享的。如果多个手势同时修改同一个state,可能产生竞态。设计状态时要确保每个手势操作独立的state,或者用组合属性(如一个transform对象包含translate、scale、rotate)来避免冲突。
八、priorityGesture vs parallelGesture:父子组件手势优先级
默认情况下,子组件的gesture绑定的手势优先于父组件。这是合理的------你点按钮时,应该响应按钮的点击而不是整个页面的点击。但有时候需要打破这个规则。
8.1 gesture:子组件优先
最基础的绑定方式。当父子组件绑定同类型手势时,子组件优先识别。
8.2 priorityGesture:父组件优先
typescript
@Entry
@Component
struct PriorityGestureDemo {
  @State parentMsg: string = ''
  @State childMsg: string = ''

  build() {
    Column() {
      Column() {
        Text('子组件: ' + this.childMsg)
          .fontSize(18)
          .fontColor(Color.White)
          .gesture(
            TapGesture()
              .onAction(() => {
                this.childMsg = '子组件响应'
              })
          )
      }
      .width(200)
      .height(150)
      .backgroundColor('#4CAF50')
      .justifyContent(FlexAlign.Center)
      .borderRadius(8)
      .priorityGesture(
        TapGesture()
          .onAction(() => {
            this.parentMsg = '父组件优先响应'
            this.childMsg = '子组件被忽略'
          }),
        GestureMask.IgnoreInternal
      )

      Text('父组件: ' + this.parentMsg)
        .fontSize(18)
        .margin({ top: 20 })
    }
    .width('100%')
    .height('100%')
    .justifyContent(FlexAlign.Center)
    .padding(20)
  }
}
priorityGesture让父组件的手势优先于子组件识别。第二个参数GestureMask.IgnoreInternal表示屏蔽子组件的所有手势,包括系统内置手势(如List的滑动)。如果用GestureMask.Normal,则只忽略同类型手势的竞争,不影响其他类型。
8.3 parallelGesture:父子同时响应
typescript
@Entry
@Component
struct ParallelGestureParentDemo {
  @State parentMsg: string = ''
  @State childMsg: string = ''

  build() {
    Column() {
      Column() {
        Text('子组件: ' + this.childMsg)
          .fontSize(18)
          .fontColor(Color.White)
          .gesture(
            TapGesture()
              .onAction(() => {
                this.childMsg = '子组件响应'
              })
          )
      }
      .width(200)
      .height(150)
      .backgroundColor('#FF5722')
      .justifyContent(FlexAlign.Center)
      .borderRadius(8)
      .parallelGesture(
        TapGesture()
          .onAction(() => {
            this.parentMsg = '父组件也响应'
          })
      )

      Text('父组件: ' + this.parentMsg)
        .fontSize(18)
        .margin({ top: 20 })
    }
    .width('100%')
    .height('100%')
    .justifyContent(FlexAlign.Center)
    .padding(20)
  }
}
parallelGesture实现了类似事件冒泡的效果------子组件响应的同时,父组件也响应。这在需要"子组件处理自身逻辑,同时通知父组件"的场景很有用。
三种绑定方式的优先级总结
| 绑定方式 | 子组件gesture | 父组件gesture | 说明 |
|---|---|---|---|
| gesture + gesture | 优先 | 不响应 | 默认行为,子组件优先 |
| gesture + priorityGesture | 不响应 | 优先 | 父组件抢占 |
| gesture + parallelGesture | 响应 | 响应 | 两者都响应 |
九、组合手势实战:点击+长按+拖拽组合
把前面学的知识串起来,实现一个实际场景------列表项支持单击打开、长按选中、长按后拖拽排序:
typescript
@Entry
@Component
struct CombinedGestureDemo {
  @State offsetX: number = 0
  @State offsetY: number = 0
  @State positionX: number = 0
  @State positionY: number = 0
  @State statusMsg: string = '等待操作'
  @State isSelected: boolean = false
  @State isDragging: boolean = false

  build() {
    Column() {
      Text(this.statusMsg)
        .fontSize(18)
        .margin({ bottom: 20 })

      Column() {
        Text('操作区')
          .fontSize(22)
          .fontColor(Color.White)
        Text('单击打开 / 长按选中 / 长按后拖动')
          .fontSize(14)
          .fontColor('#E0E0E0')
          .margin({ top: 8 })
      }
      .width(220)
      .height(160)
      .backgroundColor(this.isSelected ? '#FF5722' : (this.isDragging ? '#9C27B0' : '#3F51B5'))
      .borderRadius(12)
      .justifyContent(FlexAlign.Center)
      .translate({ x: this.offsetX, y: this.offsetY, z: 0 })
      .gesture(
        GestureGroup(GestureMode.Exclusive,
          GestureGroup(GestureMode.Sequence,
            LongPressGesture({ duration: 500 })
              .onAction(() => {
                this.isSelected = true
                this.statusMsg = '已选中,拖动移动'
              })
              .onActionEnd(() => {
                if (!this.isDragging) {
                  this.isSelected = true
                  this.statusMsg = '长按选中'
                }
              }),
            PanGesture()
              .onActionStart(() => {
                this.isDragging = true
                this.statusMsg = '拖拽中...'
              })
              .onActionUpdate((event: GestureEvent) => {
                this.offsetX = this.positionX + event.offsetX
                this.offsetY = this.positionY + event.offsetY
              })
              .onActionEnd(() => {
                this.positionX = this.offsetX
                this.positionY = this.offsetY
                this.isDragging = false
                this.statusMsg = '拖拽结束,位置已更新'
              })
          ),
          TapGesture({ count: 1 })
            .onAction(() => {
              this.statusMsg = '单击打开'
            })
        )
      )
    }
    .width('100%')
    .height('100%')
    .justifyContent(FlexAlign.Center)
  }
}
这个组合的思路是:外层用Exclusive互斥模式,把"长按+拖拽的Sequence组合"和"单击"互斥。如果用户直接单击,TapGesture先识别成功,Sequence组合取消。如果用户长按,Sequence组合开始识别,LongPressGesture先成功,之后如果拖动则PanGesture成功,整个Sequence完成。如果长按后不拖动直接抬起,Sequence组合的onCancel触发,但此时isSelected已经设为true了,长按选中效果保留。
十、手势冲突解决:实战中的棘手问题
手势冲突是日常开发中最头疼的问题之一,这里集中讲两个最常见的冲突场景。
10.1 Scroll遇上Pan
Scroll组件内部通过PanGesture实现滚动,所以当你在Scroll的子组件上绑定PanGesture时,两者会产生竞争。默认情况下子组件的PanGesture会"吃掉"Scroll的滚动------因为子组件优先。
解决方案有几种:
方案一:用LongPressGesture做前置判断
把PanGesture改成LongPressGesture + PanGesture的Sequence组合,只有长按后才能拖动,普通滑动仍然归Scroll处理:
typescript
.gesture(
  GestureGroup(GestureMode.Sequence,
    LongPressGesture({ duration: 300 })
      .onAction(() => {
        console.info('准备拖拽')
      }),
    PanGesture()
      .onActionUpdate((event: GestureEvent) => {
        this.offsetX = this.positionX + event.offsetX
        this.offsetY = this.positionY + event.offsetY
      })
      .onActionEnd(() => {
        this.positionX = this.offsetX
        this.positionY = this.offsetY
      })
  )
)
方案二:调整distance参数
PanGesture的distance默认是5vp,你可以把它设大一点,让Scroll的短距离滑动不被子组件拦截:
typescript
.gesture(
  PanGesture({ distance: 30 })
    .onActionUpdate((event: GestureEvent) => {
      this.offsetX = this.positionX + event.offsetX
    })
)
方案三:限制拖拽方向
如果子组件只需要水平拖拽,而Scroll是垂直滚动,用direction参数限制拖拽方向:
typescript
.gesture(
  PanGesture({ direction: PanDirection.Horizontal, distance: 10 })
    .onActionUpdate((event: GestureEvent) => {
      this.offsetX = this.positionX + event.offsetX
    })
)
方向不同就不会冲突,各走各的路。
10.2 父子组件手势冲突
当父组件和子组件绑定了同类型手势时,默认子组件优先。但你的业务可能需要父组件优先或者两者都响应。
父组件优先:用priorityGesture
typescript
Column() {
  Text('子组件')
    .gesture(
      TapGesture()
        .onAction(() => {
          console.info('子组件响应')
        })
    )
}
.priorityGesture(
  TapGesture()
    .onAction(() => {
      console.info('父组件优先')
    }),
  GestureMask.IgnoreInternal
)
两者都响应:用parallelGesture
typescript
Column() {
  Text('子组件')
    .gesture(
      TapGesture()
        .onAction(() => {
          console.info('子组件响应')
        })
    )
}
.parallelGesture(
  TapGesture()
    .onAction(() => {
      console.info('父组件也响应')
    })
)
子组件阻止冒泡:用onTouch + stopPropagation
如果子组件响应后不希望父组件收到事件,可以在onTouch中调用stopPropagation:
typescript
Text('子组件')
  .onTouch((event: TouchEvent) => {
    event.stopPropagation()
  })
  .gesture(
    TapGesture()
      .onAction(() => {
        console.info('子组件响应,阻止冒泡')
      })
  )
10.3 GestureMask屏蔽策略
GestureMask是绑定手势时的第二个参数,控制对手势的屏蔽范围:
| 值 | 效果 |
|---|---|
| GestureMask.Normal | 不屏蔽子组件手势,按默认优先级识别 |
| GestureMask.IgnoreInternal | 屏蔽子组件所有手势,包括系统内置手势(如List滚动) |
IgnoreInternal很暴力但很有效。当你发现子组件的手势怎么都抢不过来的时候,加一个IgnoreInternal往往就能解决。但要注意,它会把子组件的所有交互都屏蔽掉,包括按钮点击、列表滚动等,慎用。
十一、手势识别全流程总结
把整个手势系统串起来看,从手指触碰屏幕到回调触发,完整流程如下:
- Down事件:手指按下,系统开始触摸测试,确定响应链。
- 响应链收集:从触摸点所在的最深层子组件开始,沿组件树向上收集所有绑定手势的组件。
- 手势识别器初始化:响应链上每个组件的手势识别器开始监听后续触摸事件。
- Move事件:手指移动,各识别器根据自身规则判断是否满足触发条件。
- 识别结果判定 :
- 单一手势:满足条件即识别成功,触发onAction。
- GestureGroup.Sequence:按顺序依次判定,前一个成功后判定下一个。
- GestureGroup.Exclusive:同时判定,第一个成功的胜出。
- GestureGroup.Parallel:同时判定,互不影响。
- Up事件:手指抬起,触发识别成功手势的onActionEnd。
- Cancel事件:如果识别过程中被其他手势抢占,触发onActionCancel。
不同组件绑定的手势之间还存在父子竞争关系,由绑定方式(gesture/priorityGesture/parallelGesture)和GestureMask共同决定。
实用技巧与常见坑
| 场景 | 常见问题 | 解决方案 |
|---|---|---|
| 单击+双击共存 | 双击触发不了 | Exclusive模式下双击放前面,单击放后面 |
| Sequence组合 | 前面的手势onActionEnd不触发 | Sequence只有最后一个手势会触发onActionEnd,中间手势用onAction处理 |
| Scroll内子组件拖拽 | 滑动被Scroll吃掉 | 改用LongPress+Pan的Sequence,或调大distance,或限制direction |
| 父子组件同类型手势 | 始终子组件响应 | 父组件用priorityGesture,配合GestureMask.IgnoreInternal |
| 图片缩放后重置 | 每次缩放从原点开始 | pinchValue记录上一次缩放值,新缩放值 = pinchValue * event.scale |
| 旋转角度累加错误 | 旋转不连续 | rotateValue记录上次角度,新角度 = rotateValue + event.angle |
| 长按与拖拽冲突 | 长按后不能拖拽 | duration设为500ms时系统优先响应拖拽,把duration调小到400ms以下 |
| 多手势修改同一state | 状态混乱 | 每个手势操作独立的state变量,避免并发修改 |
| Tab切换与Pan冲突 | 左右滑动被Pan拦截 | Tab场景把PanGesture的distance设为1,让Tab更灵敏 |
| parallelGesture + 点击/双击 | 父子组件只响应单击 | 已知限制:parallelGesture配合点击和双击时父子均只响应单击,改用其他通信方式 |
| List子组件的Pan | List滚动不了 | 父List用priorityGesture抢回滚动权,或子组件用Sequence限制拖拽触发条件 |
| onGestureJudgeBegin | 需要动态控制手势响应 | 在回调中返回GestureJudgeResult.REJECT可拒绝特定手势,返回CONTINUE继续识别 |
最后再说一句,手势系统虽然看起来复杂,但核心就是三个维度:手势类型决定识别什么,绑定方式决定谁优先,组合模式决定多个手势怎么协作。把这三条想清楚,大部分手势问题都能迎刃而解。遇到更复杂的场景,善用onGestureJudgeBegin回调做动态决策,那是手势系统的终极武器,不过那就是另一个话题了。