一、Apache 安装
bash
[root@localhost ~]# dnf install httpd -y
[root@localhost ~]# systemctl enable --now httpd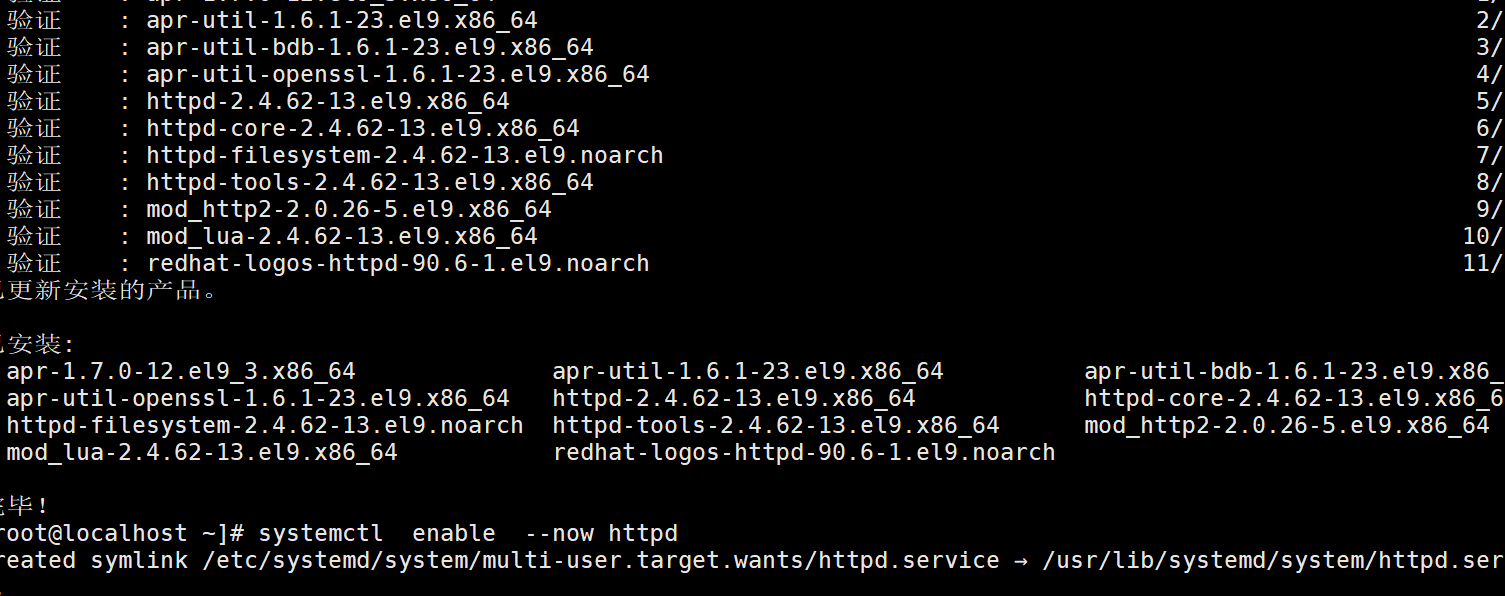
二、Apache 服务基本信息
| 项目 | 内容 |
|---|---|
| 软件名 | httpd |
| 端口 | HTTP 80 / HTTPS 443 |
| 主配置文件 | /etc/httpd/conf/httpd.conf |
| 子配置文件目录 | /etc/httpd/conf.d/ |
| 服务启动脚本 | httpd.service |
| 默认发布目录 | /var/www/html |
| 默认发布文件 | index.html |
三、Apache 的基本配置
1. 发布文件
a. 默认发布文件的生成
bash
echo 172.25.254.100 > /var/www/html/index.html

cat /var/www/html/index.html
测试:
bash
[root@localhost ~]# curl 192.168.17.138
192.168.17.138
b. 默认发布文件的修改
修改主配置文件,调整 DirectoryIndex 的优先级:
bash
[root@localhost ~]# vim /etc/httpd/conf/httpd.conf

<IfModule dir_module>
     DirectoryIndex test.html  index.html
</IfModule>

[root@localhost ~]# systemctl reload httpd
[root@localhost ~]# echo test > /var/www/html/test.html

[root@localhost ~]# curl 192.168.17.138
test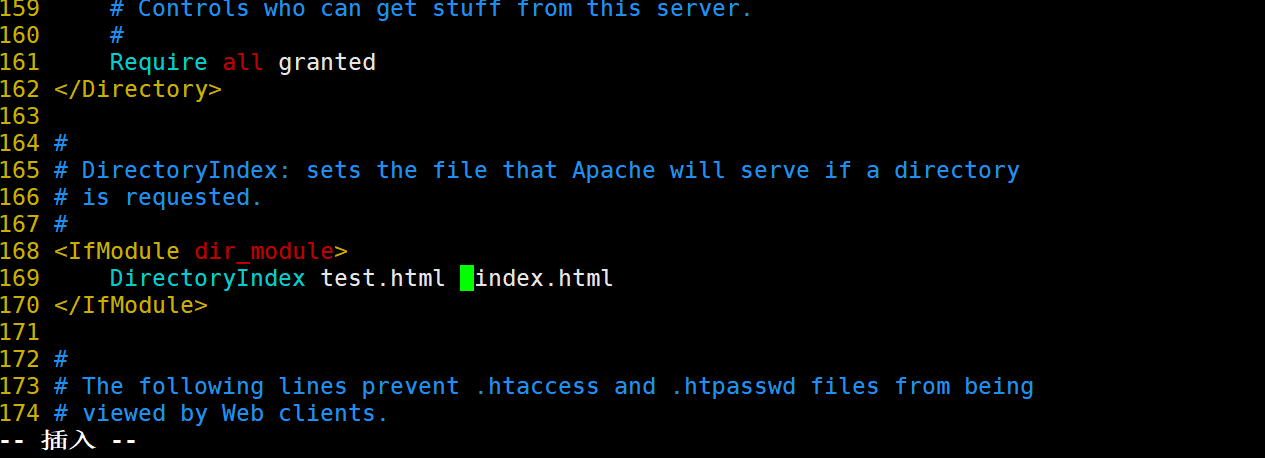

2. 修改默认发布目录
a. 生成新的默认发布目录和默认发布文件
bash
[root@localhost ~]# mkdir /var/web/html -p
[root@localhost ~]# echo 123 > /var/web/html/index.html
修改主配置文件:
apache
DocumentRoot "/var/web/html"
<Directory "/var/web">
    AllowOverride None
    # Allow open access:
    Require all granted
</Directory>
bash
[root@localhost ~]# systemctl restart httpd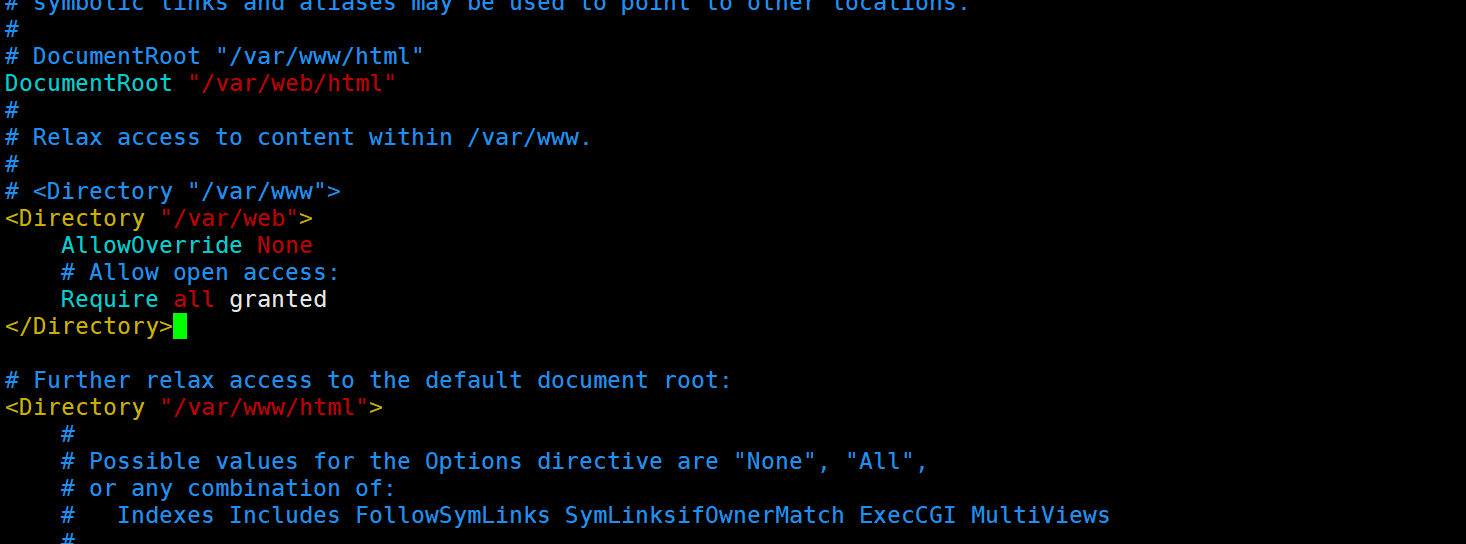
测试:
bash
[root@localhost ~]# curl 192.168.17.138
123
四、修改服务端口
bash
[root@localhost ~]# vim /etc/httpd/conf/httpd.conf将文件中的 Listen 80 修改为:
apache
Listen 8080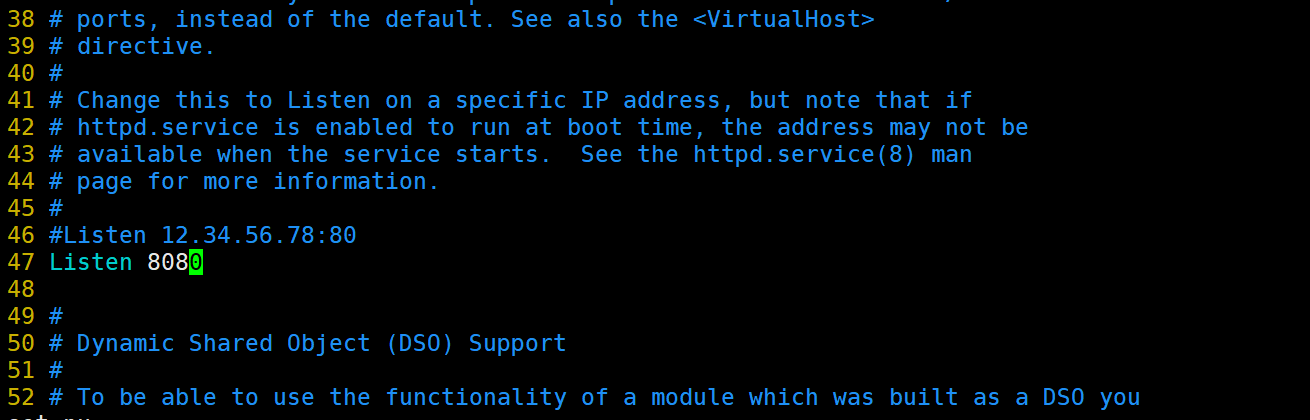
测试:
bash
[root@localhost ~]# netstat -antlupe | grep httpd
五、目录的访问控制
1. 基于 IP 的访问控制
需求: 访问 http://192.168.17.138/test1 时,只允许 192.168.17.131 主机访问,其他主机拒绝。
bash
[root@localhost ~]# vim /etc/httpd/conf/httpd.conf
apache
<Directory "/var/www/html/test1">
    Order deny,allow
    Deny from ALL
    Allow from 192.168.17.131
</Directory>
bash
[root@localhost ~]# systemctl restart httpd
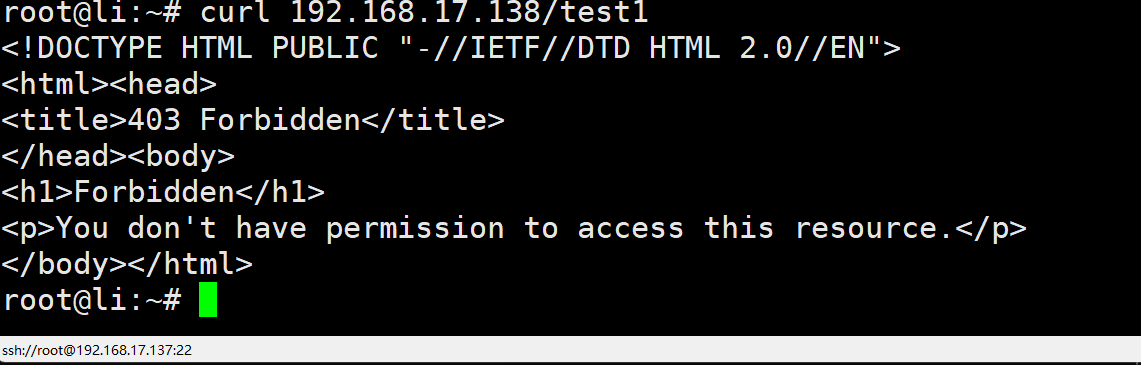
2. 基于用户认证的访问控制
需求: 访问 http://192.168.17.138/test2 目录时,需要通过用户名密码认证。
第一步:创建密码文件
bash
[root@localhost ~]# htpasswd -cm /etc/httpd/.htpasswd 123
New password:
Re-type new password:
Adding password for user 123
⚠️ 注意:如果文件已存在,不要用
-c参数(-c会创建新文件并覆盖旧文件)。
第二步:配置认证
bash
[root@localhost ~]# vim /etc/httpd/conf/httpd.conf
apache
<Directory "/var/www/html/test2">
    AuthUserFile /etc/httpd/.htpasswd
    AuthName "Please input username and passwd"
    AuthType basic
    Require valid-user
</Directory>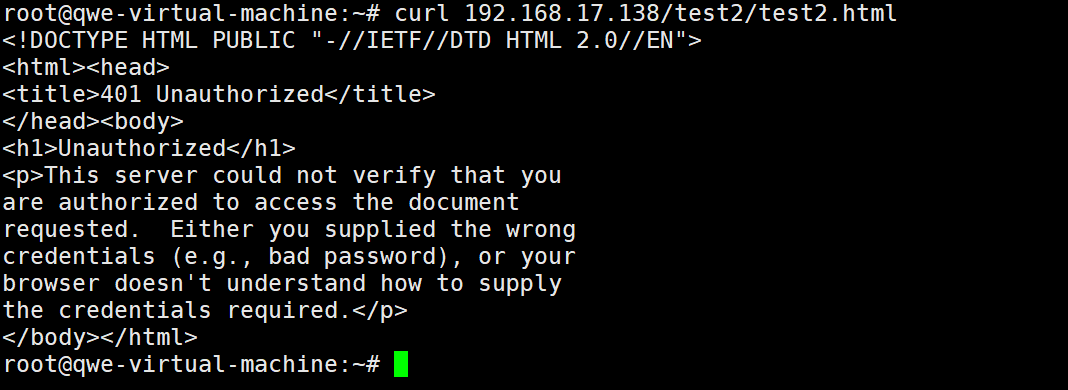

六、Apache 虚拟主机
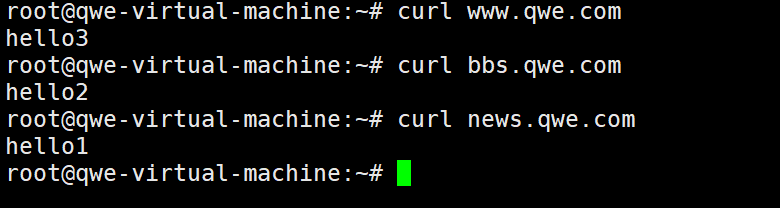
需求: 发布三个站点:www.qwe.com、news.qwe.com、bbs.qwe.com
1. 建立各个站点的默认发布目录和文件
bash
[root@bogon /]# mkdir /var/www/virtual/qwe.com/news -p
[root@bogon /]# mkdir /var/www/virtual/qwe.com/bbs
[root@bogon /]# mkdir /var/www/virtual/qwe.com/www
bash
[root@bogon /]# echo hello1 > /var/www/virtual/qwe.com/news/index.html
[root@bogon /]# echo hello2 > /var/www/virtual/qwe.com/bbs/index.html
[root@bogon /]# echo hello3 > /var/www/virtual/qwe.com/www/index.html
2. 配置虚拟主机
bash
[root@bogon ~]# vim /etc/httpd/conf.d/vhosts.conf
apache
<VirtualHost _default_:80>
        DocumentRoot /var/www/html
        CustomLog /etc/httpd/logs/default.log combined
</VirtualHost>

<VirtualHost *:80>
        ServerName www.qwe.com
        DocumentRoot /var/www/virtual/qwe.com/www
        CustomLog /etc/httpd/logs/www.log combined
</VirtualHost>

<VirtualHost *:80>
        ServerName news.qwe.com
        DocumentRoot /var/www/virtual/qwe.com/news
        CustomLog /etc/httpd/logs/news.log combined
</VirtualHost>

<VirtualHost *:80>
        ServerName bbs.qwe.com
        DocumentRoot /var/www/virtual/qwe.com/bbs
        CustomLog /etc/httpd/logs/bbs.log combined
</VirtualHost>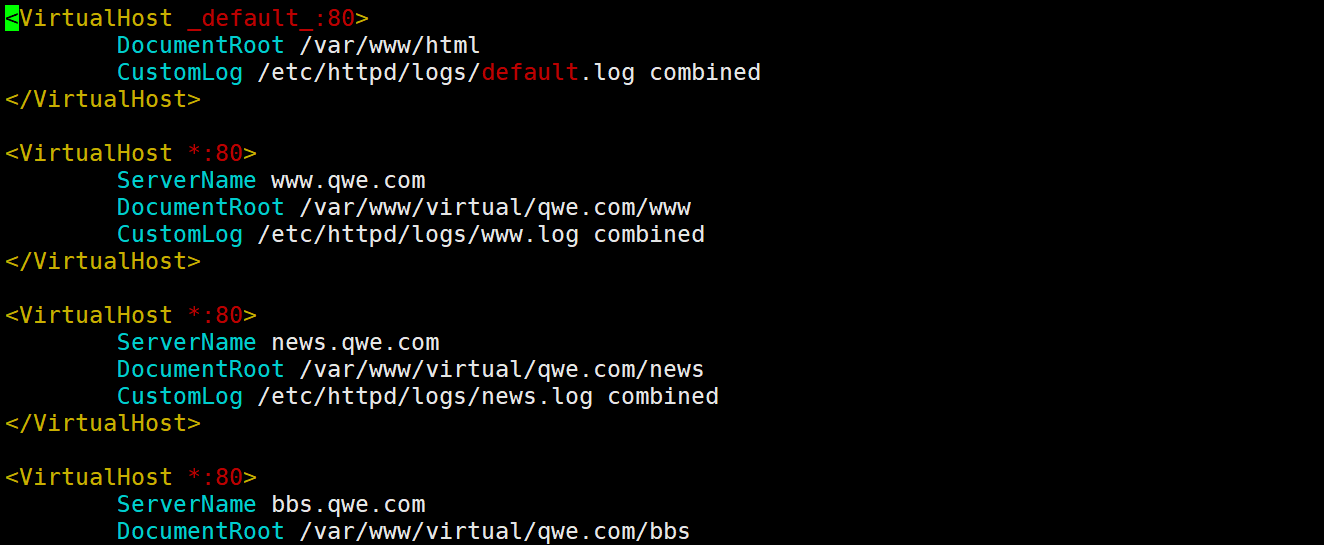
bash
[root@bogon bbs]# systemctl restart httpd测试: 在客户端配置 hosts 文件
bash
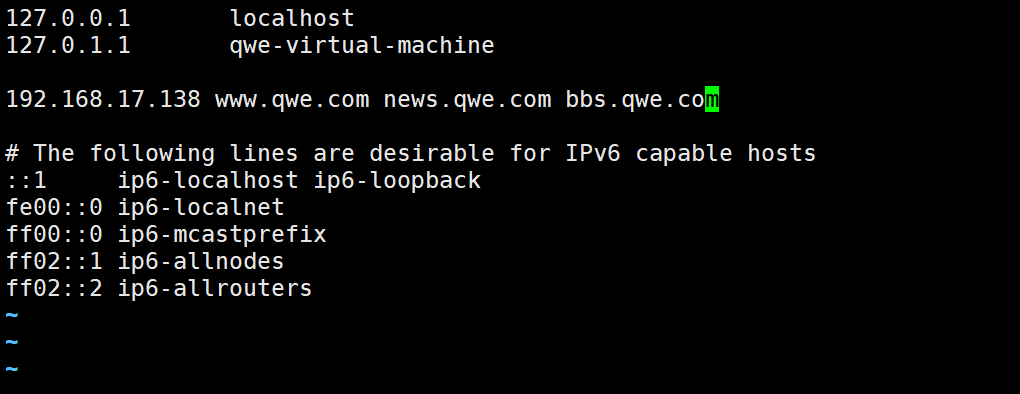
root@qwe-virtual-machine:~# vim /etc/hosts添加以下内容:
192.168.17.138 www.qwe.com news.qwe.com bbs.qwe.com图片说明:
七、HTTPS 配置
1. 生成自签名证书
bash
[root@bogon ~]# mkdir /etc/httpd/certs
[root@bogon ~]# openssl req -newkey rsa:2048 -nodes -sha256 \
  -keyout /etc/httpd/certs/qw.org.key \
  -x509 -days 365 \
  -out /etc/httpd/certs/qw.org.crt
2. 安装加密套件
bash
[root@bogon ~]# dnf install mod_ssl3. 配置加密虚拟主机
bash
[root@bogon ~]# mkdir /var/www/virtual/qwe.com/login
[root@bogon ~]# echo jiami > /var/www/virtual/qwe.com/login/index.html

[root@bogon ~]# vim /etc/httpd/conf.d/vhosts.conf
apache
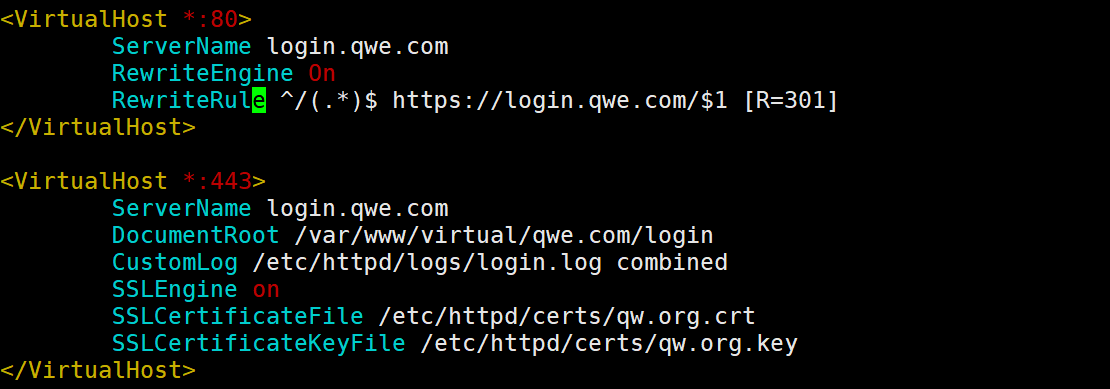
# HTTP -> HTTPS 强制跳转
<VirtualHost *:80>
        ServerName login.qwe.com
        RewriteEngine On
        RewriteRule ^/(.*)$ https://login.qwe.com/$1 [R=301]
</VirtualHost>

# HTTPS 虚拟主机
<VirtualHost *:443>
        ServerName login.qwe.com
        DocumentRoot /var/www/virtual/qwe.com/login
        CustomLog /ert/httpd/logs/login.log combined
        SSLEngine on
        SSLCertificateFile /etc/httpd/certs/qw.org.crt
        SSLCertificateKeyFile /etc/httpd/certs/qw.org.key
</VirtualHost>
图片说明:
测试:

