前言:使用duckdns免费托管了域名后无法备案而只能使用公网IP+端口访问,安全性不高,于是尝试使用Cloudflare隧道,完全不映射端口到公网,域名访问、源 IP 隐藏。
一、服务器 SSH 执行安装命令
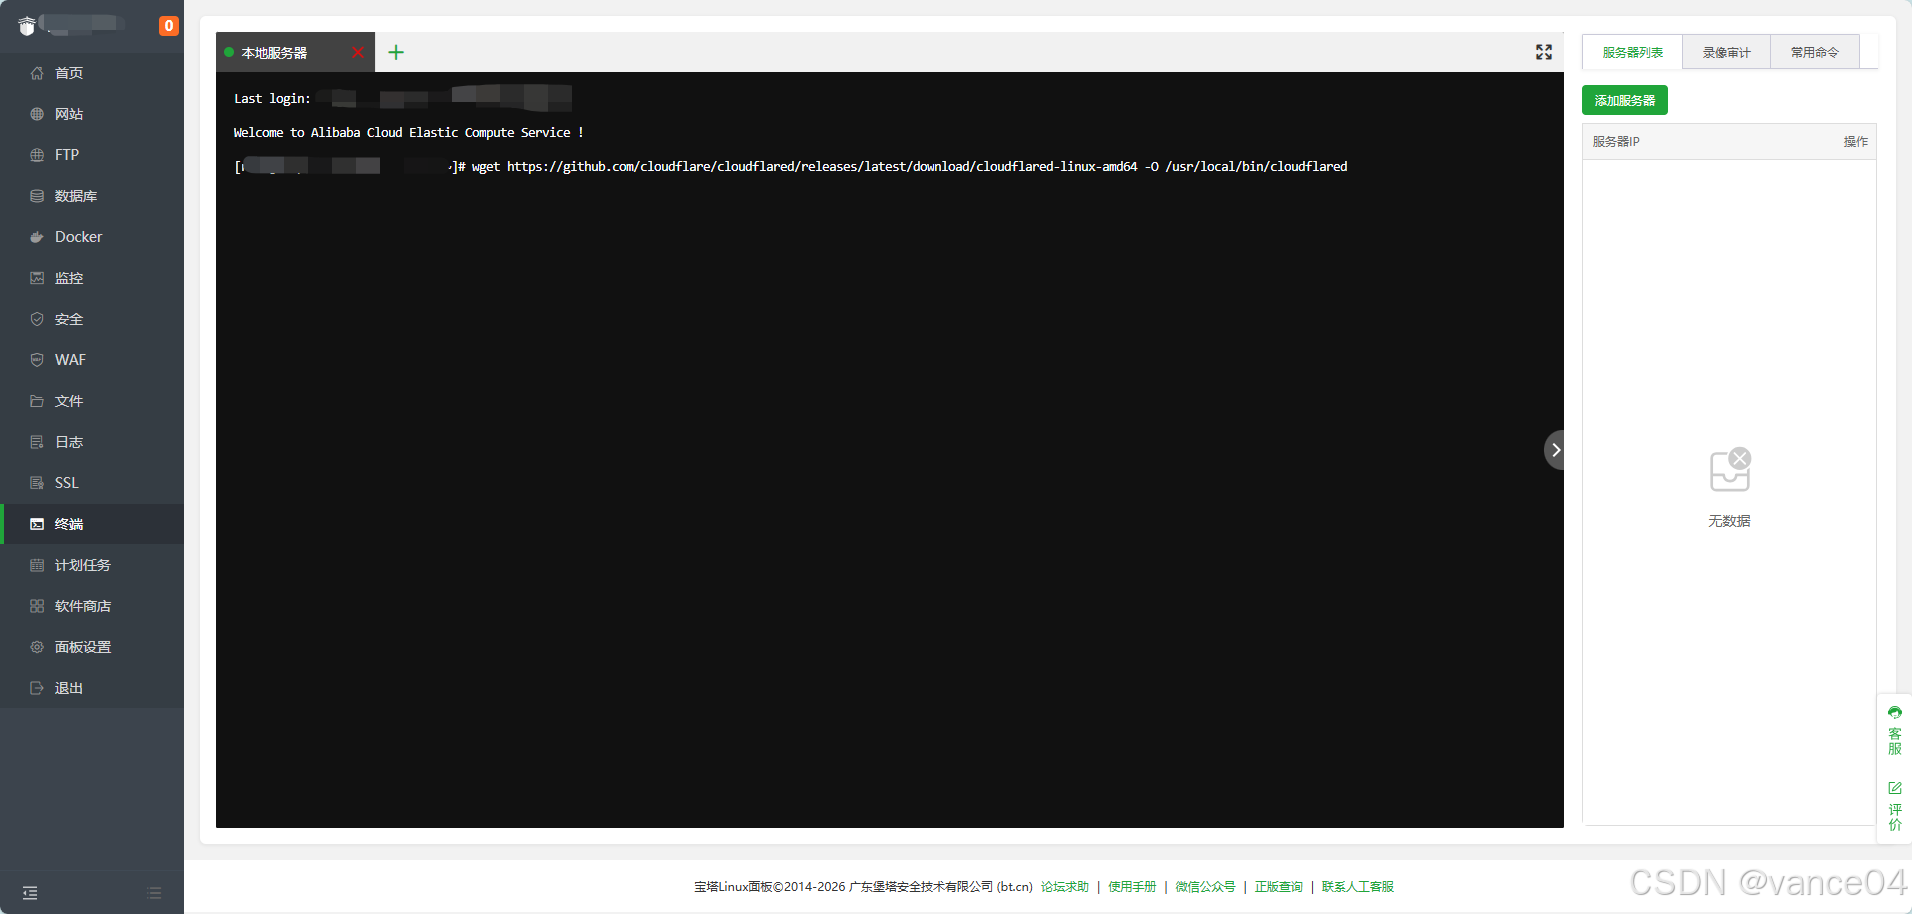
wget https://github.com/cloudflare/cloudflared/releases/latest/download/cloudflared-linux-amd64 -O /usr/local/bin/cloudflared
chmod +x /usr/local/bin/cloudflared
二、启动隧道,反向代理你本地服务
2.1 代理 80 网站服务
cloudflared tunnel --url http://127.0.0.1:80运行后终端会生成一个地址,类似:https://xxx.trycloudflare.com,直接打开这个地址访问网站。
2.2 代理 8080 业务端口
cloudflared tunnel --url http://127.0.0.1:80802.3 后台常驻运行(挂机不中断)
nohup cloudflared tunnel --url http://127.0.0.1:80 &三、固定域名访问
3.1 服务器执行创建命名隧道(永久固定域名,不会变 trycloudflare 随机地址)
#执行登录绑定 CF 账号命令
cloudflared tunnel login

# 创建隧道,名字随便取,比如 my-tunnel
cloudflared tunnel create my-tunnel
执行后会生成一串 UUID.json 凭证文件,记下路径,比如 /root/.cloudflared/xxx.json
3.2 把你的 duckdns 域名绑定到这条隧道
cloudflared tunnel route dns my-tunnel 你的子领域.duckdns.org3.3 后台常驻启动隧道代理 8080 端口
cloudflared tunnel --config /root/.cloudflared/xxx.json run --url http://127.0.0.1:8080 my-tunnel✅ 效果:直接访问 https://你的子领域.duckdns.org 就反向代理到你服务器 8080,源站 IP 完全隐藏。
四、Systemd 系统服务(开机自启、崩溃自动重启)
4.1 新建服务文件
vi /etc/systemd/system/cloudflared-duckdns.service4.2 粘贴下面内容,只修改其中的 UUID.json 路径
[Unit]
Description=Cloudflare Tunnel for wsincdut.duckdns.org
After=network.target

[Service]
User=root
ExecStart=/usr/local/bin/cloudflared tunnel --config /root/.cloudflared/UUID.json run --url http://127.0.0.1:8080 duckdns-tunnel
Restart=on-failure
RestartSec=5s
StandardOutput=append:/var/log/cloudflared.log
StandardError=append:/var/log/cloudflared.log

[Install]
WantedBy=multi-user.target
4.3 重载系统服务、设置开机自启、立即启动
# 重载配置
systemctl daemon-reload

# 设置开机自启
systemctl enable cloudflared-duckdns.service

# 立即启动服务
systemctl start cloudflared-duckdns.service
4.4 常用运维命令
# 查看运行状态
systemctl status cloudflared-duckdns.service

# 查看实时日志
journalctl -u cloudflared-duckdns.service -f

# 重启服务(改配置后用)
systemctl restart cloudflared-duckdns.service

# 停止服务
systemctl stop cloudflared-duckdns.service

# 取消开机自启
systemctl disable cloudflared-duckdns.service
以上结束