导语
DeepSeek Harness 的口号是"一切皆插件"。昨天我写了篇教程教大家给 Harness 写文字插件,有朋友问:能不能让 AI 直接出视频?
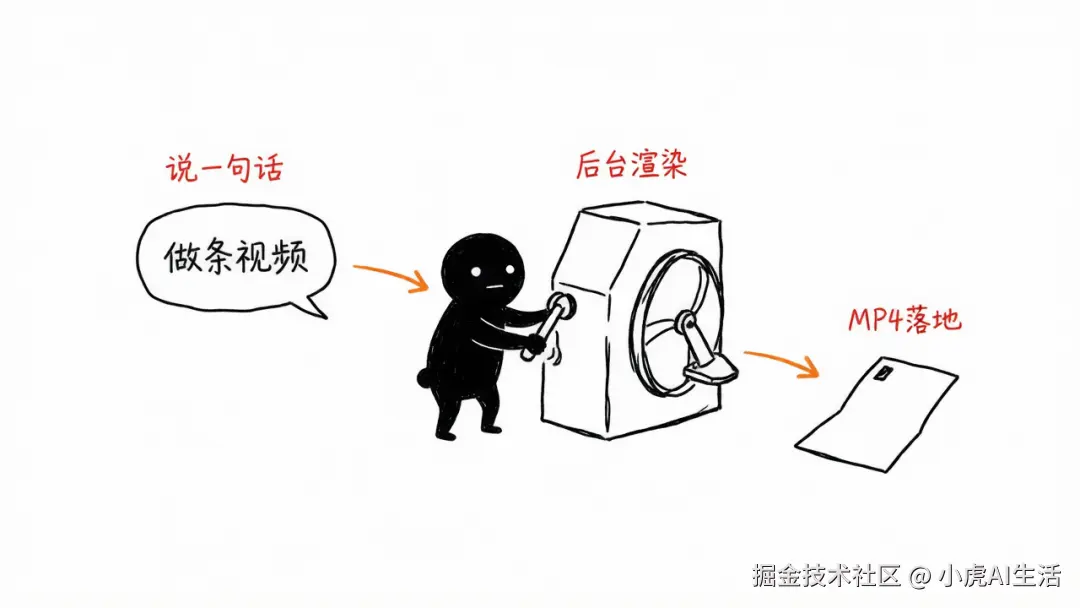
答案是可以。本文从零开始,把 Remotion (React 视频渲染框架)封装成一个 Harness 插件,注册 render_video 工具,让 AI 在对话里说一句话就能渲染出 MP4。
读完你将掌握:Harness 插件开发完整流程、Remotion 命令行渲染调用、插件打包发布,以及 Windows 环境下的兼容性坑。

一、原理:为什么 Remotion 能接到 Harness 上
两个工具能对接,关键在于它们都"命令行友好":
| 组件 | 定位 | 关键能力 |
|---|---|---|
| Remotion | React 视频框架 | 每帧 = React 组件,支持 npx remotion render 命令行渲染 |
| DeepSeek Harness | 模型执行层 | 基于 Cordis 框架,一切皆插件,工具注册后 AI 可调用 |
对接路径:写一个插件 → 注册 render_video 工具 → 工具内部 execSync 调用 Remotion CLI → MP4 输出到本地。

目前 GitHub 上还没有现成的
dsh-remotion官方插件(Harness 于 8 月 13 日才开源)。社区主流是 Claude Code / Codex + Remotion,官方remotion-dev/skills已有 20 万+ 次安装。本文教你造一个,而不是安利现成货。
二、环境准备
2.1 Harness 工作台
bash
npx @deepseek-ai/dsh web浏览器访问 http://127.0.0.1:3080。
2.2 Remotion 项目
bash
npx create-video@latest --yes --blank my-video
cd my-video
npm i坑:Remotion 渲染时会下载无头浏览器,国内网络可能不稳定,多试几次或挂代理。
三、核心:插件代码
typescript
// dsh-remotion.ts
import { defineTool } from '@deepseek-ai/dsh-tools'
import { execSync } from 'child_process'
export const name = 'dsh-remotion'
export const inject = ['tools']
export function apply(ctx) {
  ctx.tools.register(defineTool({
    name: 'render_video',
    description: '根据传入的标题和文案,调用 Remotion 渲染一条短视频',
    parameters: {
      title: { type: 'string', required: true, description: '视频主标题' },
      caption: { type: 'string', required: true, description: '视频正文文案' },
      projectDir: { type: 'string', required: true, description: 'Remotion 项目绝对路径' }
    },
    output: { schema: { type: 'object', additionalProperties: false, properties: { path: { type: 'string', required: true } } },
    render: (_a, v) => [{ type: 'text', text: `视频已生成,${v.path}` }] },
    async execute(args) {
      const data = JSON.stringify({ title: args.title, caption: args.caption })
      const out = `${args.projectDir}/out/${Date.now()}.mp4`
      execSync(
        `npx remotion render src/index.ts Main out/video.mp4 --props='${data}'`,
        { cwd: args.projectDir, stdio: 'inherit' }
      )
      return { path: out }
    }
  }))
}
踩坑清单
- 具名导出 :必须
export const name,写export default注入声明会被静默丢弃,插件"看着加载了其实不干活"。 - Schema 约束 :对象类型输出必须带
additionalProperties: false,否则注册直接报错。 - 注入顺序 :
inject: ['tools']表示等工具注册表就绪再执行。 - Windows 专属坑 :PowerShell 会把
${Date.now()}预解析。解决方案:- 改用 PowerShell 语法
- 或写死输出路径
out/video.mp4

四、配置挂载
创建 cordis.yml:
yaml
- insert:
  - id: dsh-remotion
    name: '/绝对路径/你的目录/dsh-remotion.ts'
路径必须绝对路径,Cordis 不认相对路径。
带补丁启动:
bash
pnpm dsh web --patch ./cordis.yml对话中触发:「用 render_video 做一条视频,标题写 AI 周报,文案写本周五个重要进展」。
五、提升视频质量:接入 Remocn 组件库
bash
npx shadcn@latest add @remocn/blur-revealRemocn 是面向 solo 开发者/一人公司的组件库,一条命令引入现成的标题动画、转场、背景,避免从零写弹簧效果。

六、打包发布
package.json 声明插件:
json
{
  "name": "dsh-remotion",
  "type": "module",
  "main": "dsh-remotion.ts",
  "dsh": { "bundle": { "patch": "./cordis.patch.yml" } }
}
发布安装:
bash
dsh plugin --profile web add github:你的账号/你的仓库Vibe Coding 提示:DSH 插件结构(单文件 + apply 入口 + YAML)天生适合 AI 生成,可直接把规范丢给 Cursor 等工具秒级产出。
七、局限与安全
| 维度 | 说明 |
|---|---|
| 版本 | Harness 0.1.0 预发布版,接口会变,先尝鲜别上生产 |
| 性能 | Remotion 渲染吃 CPU/内存,老机器谨慎;批量出片用官方 Lambda 方案 |
| 安全 | 插件 = 本机可执行代码,只装官方或高星插件 |
| 门槛 | 需 TypeScript + React 基础,比学剪辑软件简单 |
总结
- 核心链路:Harness 插件 →
render_video工具 → Remotion CLI → MP4 - 关键踩坑:具名导出、
additionalProperties: false、Windows 路径解析 - 下一步:把日报插件 + 视频插件串联,实现文字草稿自动转视频成片
金句:真正的自动化不是你学会了剪辑,而是你只需要说一句话,视频引擎自己就把片子渲出来了。