第十四节:后端返回权限动态路由
目标:登录后从后端(mock)获取该用户可访问的菜单路由,动态注册到路由系统,侧边栏菜单根据返回的路由自动渲染。不同角色返回不同路由,实现权限控制。
一、先搞懂原理(非常重要)
传统写死路由的方式:
router/index.js 里写死所有路由 → 项目启动就全部注册 → 所有人都能访问所有页面动态路由的方式:
router/index.js 只写登录、404等常量路由
    ↓
用户登录拿到 token
    ↓
跳转首页 → 触发路由守卫
    ↓
守卫发现还没加载用户信息 → 调用 /getUserInfo 接口
    ↓
后端返回 routes 数组(component 是字符串,如 "dashboard/index")
    ↓
工具函数 filterAsyncRoutes 把字符串转成真实 Vue 组件
    ↓
router.addRoute() 一条条注册动态路由
    ↓
重新触发导航 → 页面正常显示
    ↓
侧边栏读取 store 里的路由数组 → 自动渲染菜单
核心坑点提前说:
router.addRoute()是运行时添加,添加完必须重新导航一次才生效- 404 通配路由必须最后注册,否则会拦截所有动态路由
- 后端返回的 component 是字符串,必须用工具函数转成真实组件
- Layout 组件要用
markRaw标记,防止被 Pinia 变成响应式 - 登录页面不要手动调用 getUserInfo,全部交给路由守卫
二、完整文件代码(直接复制粘贴)
文件 1:src/mock/index.js(模拟后端接口)
export default {
  // 登录接口
  '/login': (params) => {
    const { username, password } = params
    if (username === 'admin' && password === '123456') {
      return {
        code: 200,
        msg: '登录成功',
        data: {
          token: 'mock-token-123456' // 必须返回 token!
        }
      }
    } else {
      return {
        code: 500,
        msg: '账号密码错误',
        data: null
      }
    }
  },

  // 获取用户信息 + 动态菜单路由
  '/getUserInfo': () => {
    return {
      code: 200,
      msg: '获取成功',
      data: {
        username: 'admin',
        roles: ['admin'],
        // 后端返回的路由,component 全部是字符串
        routes: [
          {
            path: '/dashboard',
            component: 'Layout',
            meta: { title: '首页', icon: 'House' },
            children: [
              {
                path: 'index',
                component: 'dashboard/index',
                meta: { title: '工作台' }
              }
            ]
          },
          {
            path: '/system',
            component: 'Layout',
            meta: { title: '系统管理', icon: 'Setting' },
            children: [
              {
                path: 'user',
                component: 'system/user/index',
                meta: { title: '用户管理' }
              }
            ]
          }
        ]
      }
    }
  }
}以后新增页面,不要在 router/index.js 里加路由,直接在这里的 routes 数组里加配置。
文件 2:src/utils/filterAsyncRoutes.js(路由转换工具)
import { markRaw } from 'vue'
// Vite 批量读取 views 下所有 vue 文件
const viewsModules = import.meta.glob('@/views/**/*.vue')
// 引入 Layout 布局组件
import Layout from '@/layout/index.vue'

/**
 * 把后端返回的字符串路由,转换成 Vue Router 可用的路由对象
 * @param {Array} backRoutes 后端返回的路由数组
 * @returns 转换完成的路由数组
 */
export function filterAsyncRoutes(backRoutes) {
  const res = []

  backRoutes.forEach((item) => {
    const route = { ...item }

    // Layout 特殊处理,用 markRaw 防止被变成响应式
    if (route.component === 'Layout') {
      route.component = markRaw(Layout)
    } else {
      // 普通页面,拼接路径匹配 glob 导入的模块
      const filePath = `/src/views/${route.component}.vue`
      route.component = viewsModules[filePath]
    }

    // 递归处理子路由
    if (route.children && route.children.length > 0) {
      route.children = filterAsyncRoutes(route.children)
    }

    res.push(route)
  })

  return res
}
文件 3:src/stores/user.js(Pinia 用户仓库)
import { defineStore } from 'pinia'
import { loginApi, getUserInfoApi } from '@/api/login'
import { filterAsyncRoutes } from '@/utils/filterAsyncRoutes'

export const useUserStore = defineStore('user', {
  state: () => ({
    token: localStorage.getItem('token') || '',
    username: '',
    roles: [],
    addRoutes: [] // 存放转换完成的动态路由
  }),

  actions: {
    // 登录:只拿 token
    async login(form) {
      const res = await loginApi(form)
      if (res.code === 200) {
        if (!res.data?.token) {
          throw new Error('接口未返回 token')
        }
        this.token = res.data.token
        localStorage.setItem('token', this.token)
      } else {
        throw new Error(res.msg || '登录失败')
      }
    },

    // 获取用户信息 + 转换动态路由
    async getUserInfo() {
      const res = await getUserInfoApi()
      if (res.code === 200) {
        this.username = res.data.username
        this.roles = res.data.roles
        // 调用工具函数,把后端字符串路由转成组件路由
        this.addRoutes = filterAsyncRoutes(res.data.routes)
        return this.addRoutes
      }
      throw new Error('获取用户信息失败')
    },

    // 退出登录
    logout() {
      this.token = ''
      this.username = ''
      this.roles = []
      this.addRoutes = []
      localStorage.removeItem('token')
    }
  }
})
文件 4:src/router/index.js(路由配置 + 守卫)
import { createRouter, createWebHistory } from 'vue-router'
import { useUserStore } from '@/stores/user'
import { useTagsViewStore } from '@/stores/tagsView'

// 常量路由:所有人都能访问,项目启动就注册
export const constantRoutes = [
  { path: '/', redirect: '/login' },
  { path: '/login', component: () => import('@/views/login/index.vue') },
  { path: '/401', component: () => import('@/views/error/401.vue') },
  { path: '/404', component: () => import('@/views/error/404.vue') },
  { path: '/500', component: () => import('@/views/error/500.vue') }
]

const router = createRouter({
  history: createWebHistory(import.meta.env.BASE_URL),
  routes: [...constantRoutes]
})

// 全局前置守卫:权限控制核心
router.beforeEach(async (to, from) => {
  const userStore = useUserStore()
  // 白名单:不需要登录就能访问
  const whiteList = ['/login', '/404', '/401', '/500']

  if (userStore.token) {
    // 有 token,访问登录页 → 跳首页
    if (to.path === '/login') {
      return '/dashboard/index'
    }

    // roles 为空 = 还没加载用户信息(刚登录 / 刷新页面)
    if (userStore.roles.length === 0) {
      try {
        // 1. 获取用户信息,拿到转换完成的动态路由
        const accessRoutes = await userStore.getUserInfo()

        // 2. 循环注册动态路由
        accessRoutes.forEach((route) => {
          router.addRoute(route)
        })

        // 3. 最后注册 404 通配路由(必须在所有业务路由之后!)
        router.addRoute({
          path: '/:pathMatch(.*)*',
          redirect: '/404'
        })

        // 4. 重新触发导航,让刚刚 addRoute 的路由生效
        return { ...to, replace: true }
      } catch (err) {
        console.error('加载动态路由失败:', err)
        userStore.logout()
        return '/login'
      }
    }

    // 已经加载过用户信息,直接放行
    return true
  } else {
    // 没有 token
    if (whiteList.includes(to.path)) {
      return true
    } else {
      return '/login'
    }
  }
})

// 全局后置守卫:处理标签页
router.afterEach((to) => {
  const tagsViewStore = useTagsViewStore()
  if (to.meta.title) {
    tagsViewStore.addView(to)
  }
})

export default router
文件 5:src/views/login/index.vue(登录页面)
<template>
  <div class="login-container">
    <el-card style="width: 420px; margin: 100px auto;">
      <h2 style="text-align: center; margin-bottom: 20px;">系统登录</h2>
      <el-form>
        <el-form-item label="账号">
          <el-input v-model="loginForm.username"></el-input>
        </el-form-item>
        <el-form-item label="密码">
          <el-input v-model="loginForm.password" type="password"></el-input>
        </el-form-item>
        <el-button type="primary" style="width: 100%" @click="handleLogin">
          登录
        </el-button>
      </el-form>
    </el-card>
  </div>
</template>

<script setup>
import { reactive } from 'vue'
import { useUserStore } from '@/stores/user'
import { useRouter } from 'vue-router'
import { ElMessage } from 'element-plus'

const userStore = useUserStore()
const router = useRouter()

const loginForm = reactive({
  username: 'admin',
  password: '123456'
})

async function handleLogin() {
  try {
    // 只做登录拿 token,不要手动调用 getUserInfo!
    await userStore.login(loginForm)
    // 直接跳转首页,动态路由加载交给路由守卫
    router.push('/dashboard/index')
  } catch (e) {
    ElMessage.error(e.message)
  }
}
</script>

<style scoped>
.login-container {
  background-color: #f5f7fa;
  min-height: 100vh;
}
</style>
文件 6:src/layout/components/Sidebar/index.vue(侧边栏菜单)
<template>
  <el-menu
    :collapse="appStore.sidebarCollapse"
    mode="vertical"
    router
    background-color="#304156"
    text-color="#bfcbd9"
    :default-active="$route.path"
    active-text-color="#409eff">
    <!-- 循环动态路由渲染菜单 -->
    <template
      v-for="route in menuList"
      :key="route.path">
      <!-- 有子路由的情况 -->
      <el-sub-menu
        v-if="route.children && route.children.length > 1"
        :index="route.path">
        <template #title>
          <el-icon><component :is="route.meta?.icon || 'Menu'" /></el-icon>
          <span>{{ route.meta?.title }}</span>
        </template>
        <el-menu-item
          v-for="child in route.children"
          :key="child.path"
          :index="`${route.path}/${child.path}`">
          {{ child.meta?.title }}
        </el-menu-item>
      </el-sub-menu>

      <!-- 只有一个子路由的情况,直接显示子路由 -->
      <el-menu-item
        v-else-if="route.children && route.children.length === 1"
        :index="`${route.path}/${route.children[0].path}`">
        <el-icon><component :is="route.meta?.icon || 'Menu'" /></el-icon>
        <template #title>{{ route.children[0].meta?.title }}</template>
      </el-menu-item>
    </template>
  </el-menu>
</template>

<script setup>
  import { computed } from 'vue'
  import { useUserStore } from '@/stores/user'
  import { useAppStore } from '@/stores/app'
  // 手动导入用到的图标
  import { House, Setting, Menu } from '@element-plus/icons-vue'

  const userStore = useUserStore()
  const appStore = useAppStore()

  // 图标映射
  const iconMap = { House, Setting, Menu }

  // 从 store 读取动态路由,生成菜单
  const menuList = computed(() => {
    return userStore.addRoutes.map((route) => ({
      ...route,
      meta: {
        ...route.meta,
        icon: iconMap[route.meta?.icon] || Menu
      }
    }))
  })
</script>
三、完整执行流程(一步一步走)
- 访问页面 → 进入登录页,token 为空
- 点击登录 → 调用
/login接口 → 拿到 token → 存入 Pinia + localStorage - 跳转首页 →
router.push('/dashboard/index')→ 触发beforeEach守卫 - 守卫判断 → 有 token,不是登录页,roles 为空 → 进入加载动态路由逻辑
- 调用接口 →
await userStore.getUserInfo()→ 调用/getUserInfo→ 拿到 routes 数组 - 转换路由 →
filterAsyncRoutes()把字符串 component 转成真实 Vue 组件 - 注册路由 →
accessRoutes.forEach(route => router.addRoute(route)) - 注册 404 → 最后添加通配路由
- 重新导航 →
return { ...to, replace: true }→ 重新访问/dashboard/index - 路由匹配 → 此时路由表已有
/dashboard/index→ 渲染 Layout 布局 - 渲染菜单 → Sidebar 读取
userStore.addRoutes→ 循环渲染侧边栏菜单 - 页面显示 → 工作台页面正常显示
四、高频踩坑清单(必看)
表格
| 坑 | 现象 | 解决方案 |
|---|---|---|
| mock 登录接口没返回 token | token = undefined,守卫逻辑错乱 | 确保 /login 返回 data.token |
| 登录页手动调用 getUserInfo | 时序混乱,路由没注册就跳转 | 登录页只登录,动态路由交给守卫 |
| 404 通配路由注册太早 | 所有页面都跳 404 | 必须在所有业务路由 addRoute 之后再注册 |
| addRoute 后没重新导航 | 报 No match found | 必须 return { ...to, replace: true } |
| Layout 没加 markRaw | Vue 警告组件被变成响应式 | route.component = markRaw(Layout) |
| 用模板字符串动态 import | Vite 报错 Unknown variable dynamic import | 用 import.meta.glob 预扫描 |
| mock 的 component 路径写错 | 页面空白,组件找不到 | 确保和 views 下文件路径一致 |
| 刷新页面白屏 | 动态路由没重新加载 | 守卫里判断 roles 为空就重新加载 |
五、测试步骤(严格按顺序)
-
全部保存文件 ,停止终端,重新执行
pnpm dev -
F12 → Application → Local Storage → 清空所有数据
-
刷新浏览器,回到登录页
-
输入
admin / 123456,点击登录 -
观察控制台打印顺序:
断点==111== mock-token-123456 ← token 有值
断点==222== mock-token-123456
accessRoutes==== Proxy(Array) ← 路由数组有内容 -
预期结果:
- 页面正常进入工作台,不白屏、不 404 ✔
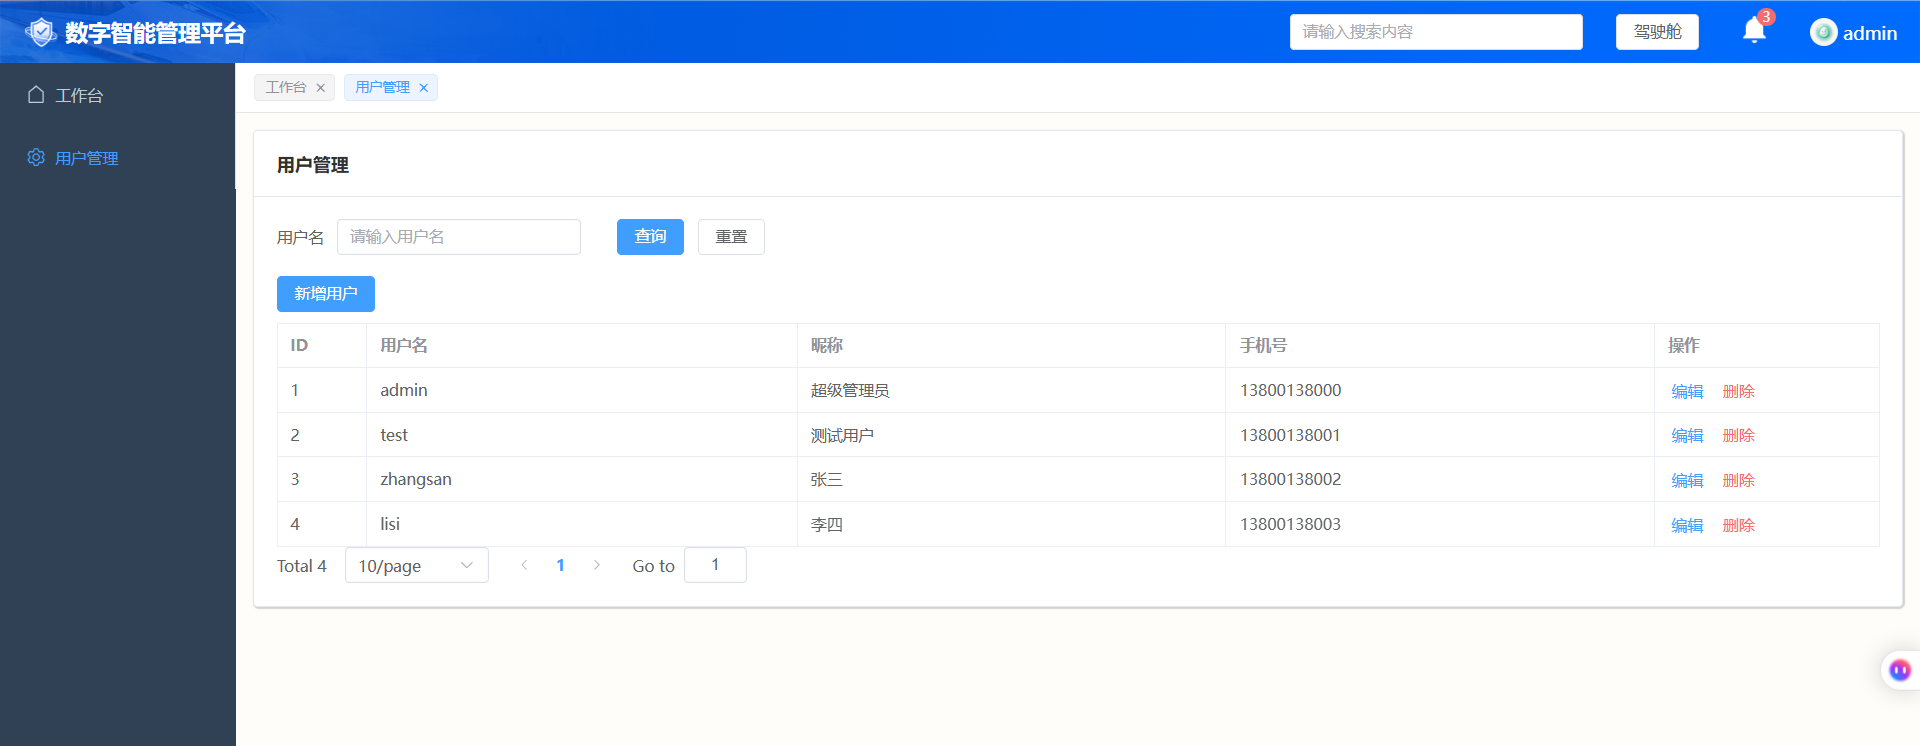
- 侧边栏出现【工作台】【系统管理】菜单 ✔
- 点击【用户管理】,打开用户列表页面 ✔
- 按 F5 刷新页面,依旧正常显示 ✔
- 退出登录后,再登录,菜单正常渲染 ✔