参考:【Unity】Shader效果------Snow雪地_unity雪地shader-CSDN博客
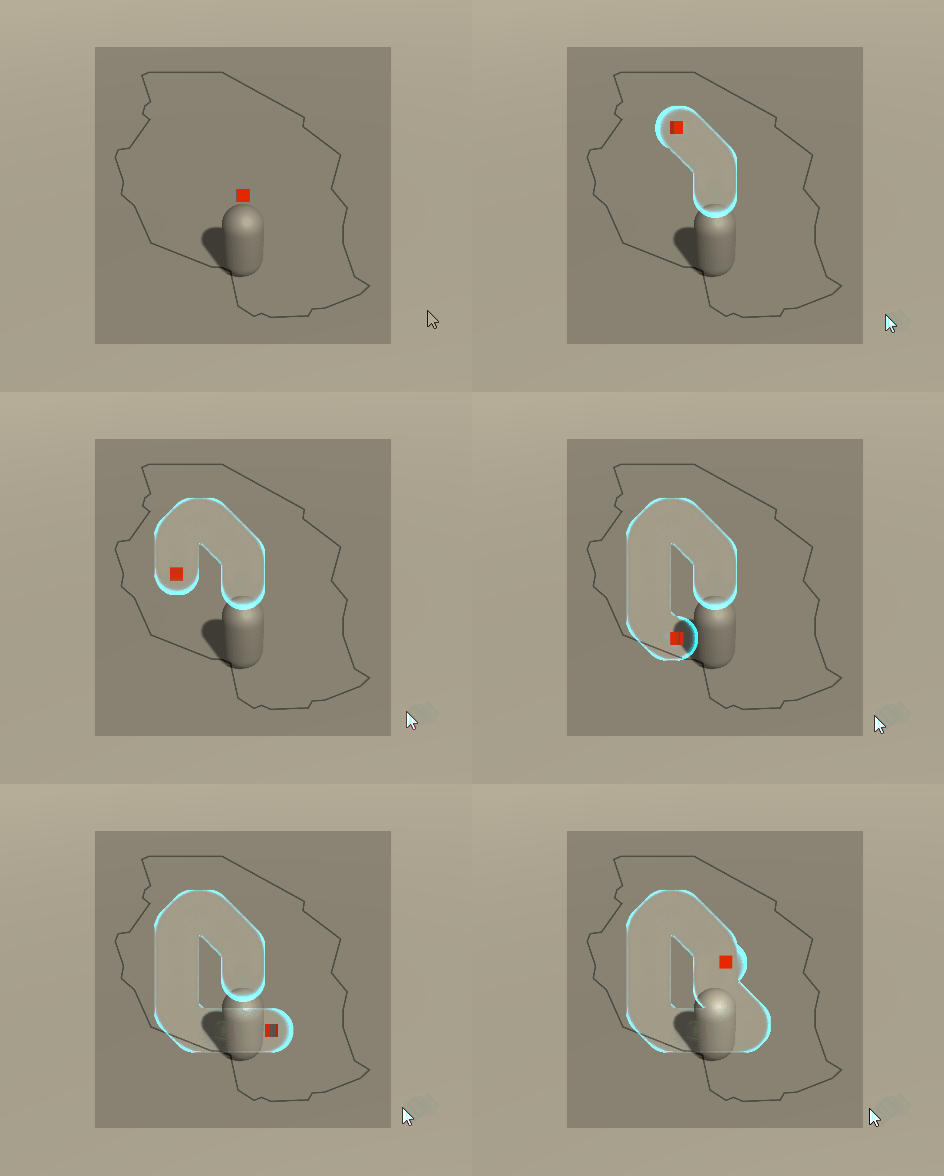
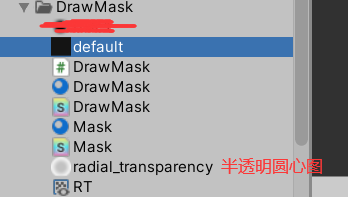
利用类似雪地的写入凹陷纹理到RT贴图上进行叠加纹理形式模拟出探索地图迷雾效果,本文写入的是一张120x120的从外到内逐渐透明为0的圆心图(用AI写了个通过python生成的)
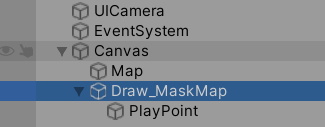
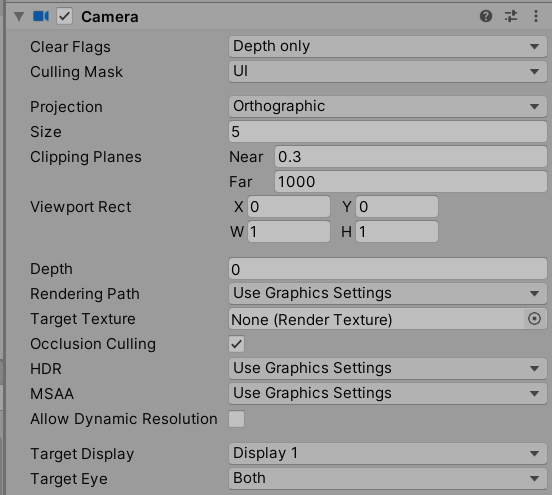
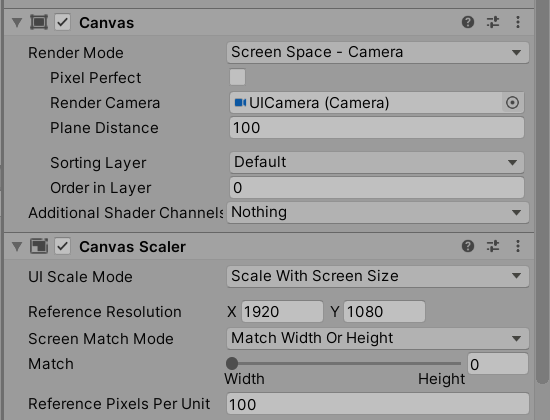
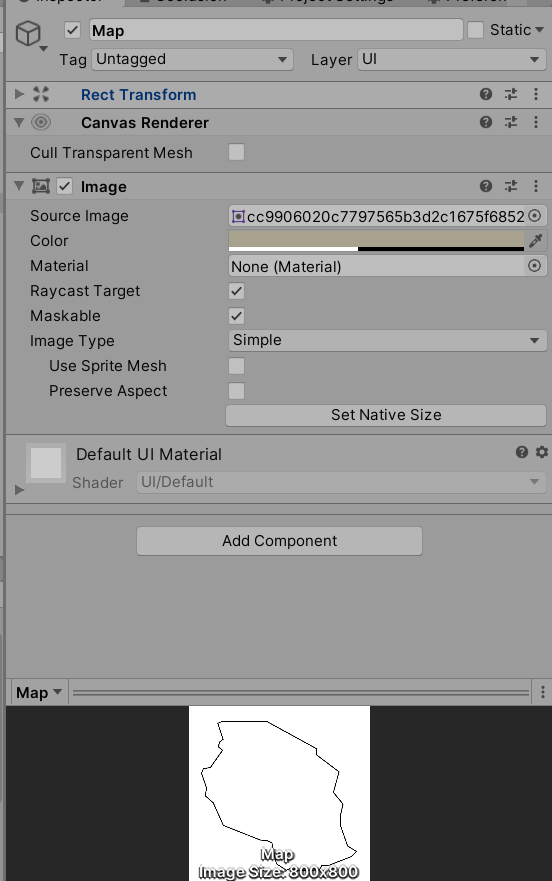
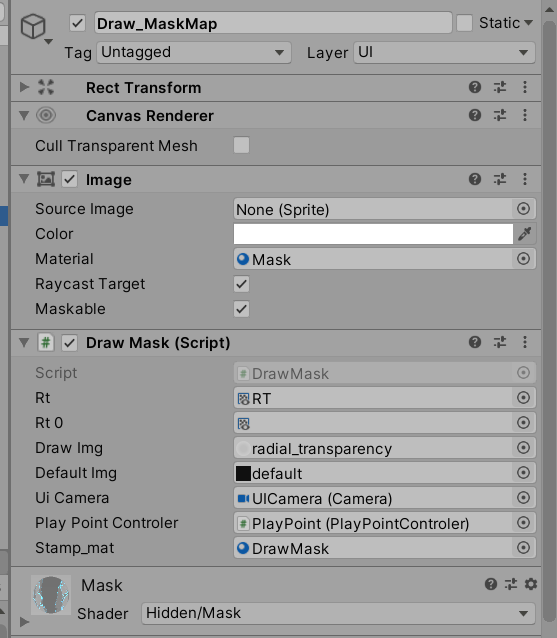
核心脚本DrawMask
cs
using System.Collections;
using System.Collections.Generic;
using UnityEngine;

public class DrawMask : MonoBehaviour
{
    public RenderTexture rt;
    public RenderTexture rt0;
    public Texture drawImg;
    public Texture defaultImg;
    private Camera mainCam;
    public Camera uiCamera;
    private RectTransform parentRectTrans;

    public PlayPointControler playPointControler;

    public Material stamp_mat;
    // Start is called before the first frame update
    void Start()
    {
        parentRectTrans = this.transform.parent.GetComponent<RectTransform>();
        mainCam = Camera.main.GetComponent<Camera>();
        //GetComponent<Renderer>().material.mainTexture = rt;
        DrawDefault();

        rt0 = new RenderTexture(rt.width, rt.height, 32, rt.graphicsFormat);
        rt0.Create();
    }

    void Update()
    {
        //if (Input.GetMouseButton(0))
        //{
        //    //Debug.Log("anxia ");
        //    //Ray ray = mainCam.ScreenPointToRay(Input.mousePosition);
        //    //RaycastHit hit;
        //    //if (Physics.Raycast(ray, out hit))
        //    //{
        //    //    Debug.Log("click:" + hit.transform.name);
        //    //    int x = (int)(hit.textureCoord.x * rt.width);
        //    //    int y = (int)(rt.height - hit.textureCoord.y * rt.height);
        //    //    Draw(x, y);
        //    //}

        //    Vector2 localPoint;
        //    RectTransformUtility.ScreenPointToLocalPointInRectangle(parentRectTrans, Input.mousePosition, uiCamera, out localPoint);
        //    //Debug.Log(localPoint);
        //    Draw(localPoint.x + 400f, 400f - localPoint.y);
        //    //Debug.Log(localPoint.x + 400f);
        //    //Debug.Log(400f - localPoint.y);
        //}

        //类似控制人物移动时才触发绘制迷雾拨开地图效果
        if (Input.GetKey(KeyCode.W) || Input.GetKey(KeyCode.S) || Input.GetKey(KeyCode.A) || Input.GetKey(KeyCode.D))
        {
            var localPoint = playPointControler.GetPos();
            Draw(localPoint.x + 400f, 400f - localPoint.y);
        }
    }

    public void DrawDefault()
    {
        RenderTexture.active = rt;
        GL.PushMatrix();
        GL.LoadPixelMatrix(0, rt.width, rt.height, 0);

        //绘制贴图
        Rect rect = new Rect(0, 0, rt.width, rt.height);
        Graphics.DrawTexture(rect, defaultImg);

        GL.PopMatrix();

        RenderTexture.active = null;
    }


    //不断写入一张半透明圆心图模拟地图被探索的迷雾效果(这部分可以优化Shader效果)
    public void Draw(float x, float y)
    {
        Graphics.Blit(rt, rt0);
        RenderTexture.active = rt;
        GL.PushMatrix();
        GL.LoadPixelMatrix(0, rt.width, rt.height, 0);

        //绘制贴图
        x -= (int)(drawImg.width * 0.5f);
        y -= (int)(drawImg.height * 0.5f);
        Rect rect = new Rect(x, y, drawImg.width, drawImg.height);

        Vector4 sourceUV = new Vector4();
        sourceUV.x = rect.x / rt.width;
        sourceUV.y = 1 - rect.y / rt.height;
        sourceUV.z = rect.width / rt.width;
        sourceUV.w = rect.height / rt.height;
        sourceUV.y -= sourceUV.w;
        stamp_mat.SetTexture("_SourceTex", rt0);
        stamp_mat.SetVector("_SourceUV", sourceUV);

        Graphics.DrawTexture(rect, drawImg, stamp_mat);

        GL.PopMatrix();

        RenderTexture.active = null;
    }
}
stamp_mat材质球(DrawMask)的着色器如下,这个材质球就是上面的Draw用来将半透明圆心叠加到小地图主纹理RT(RenderTexture)上的。(模拟地图迷雾散开效果)
cs
Shader "Hidden/DrawMask"
{
    Properties
    {
        _MainTex ("Texture", 2D) = "white" {}
        _Color ("Color", Color) = (1,1,1,1)
        _SourceTex("SourceTex", 2D) = "white" {}
        _SourceUV("SourceUV", Vector) = (0,0,0,0)
    }
    SubShader
    {
        // No culling or depth
        Cull Off ZWrite Off ZTest Always
        Blend SrcAlpha OneMinusSrcAlpha

        Pass
        {
            CGPROGRAM
            #pragma vertex vert
            #pragma fragment frag

            #include "UnityCG.cginc"

            struct appdata
            {
                float4 vertex : POSITION;
                float2 uv : TEXCOORD0;
            };

            struct v2f
            {
                float2 uv : TEXCOORD0;
                float4 vertex : SV_POSITION;
            };

            v2f vert (appdata v)
            {
                v2f o;
                o.vertex = UnityObjectToClipPos(v.vertex);
                o.uv = v.uv;
                return o;
            }

            sampler2D _MainTex;
            float4 _Color;
            sampler2D _SourceTex;
            float4 _SourceUV;

            fixed4 frag (v2f i) : SV_Target
            {
                float2 uv = _SourceUV.xy + _SourceUV.zw * i.uv;
                fixed4 sourceColor = tex2D(_SourceTex, uv);
                fixed4 col = tex2D(_MainTex, i.uv);

                fixed4 final = sourceColor;//+ (1 - col);
                //if(sourceColor.a >= col.a){
                //    final.a = col.a * sourceColor.a;
                //}
                //else if(col.a == 0 || sourceColor.a == 0){
                //    final.a = 0;
                //}
                //else
                //{
                //    final.a = sourceColor.a;
                //}

                //BUG: 多次绘制时会将边缘透明度降低为0,直接将边界渐变效果整没了,例如:刚开始是0.8 * 1, 后面就是0.8 * 0.8 =》 0.8 * 0.64 会越来越低直至透明
                final.a = col.a * sourceColor.a;

                return final;
            }
            ENDCG
        }
    }
}
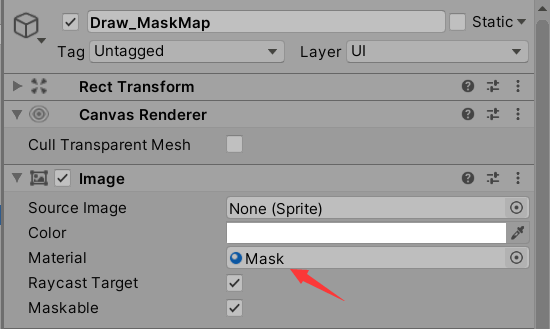
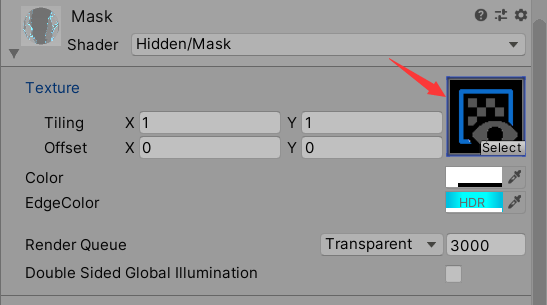
小地图材质球Mask的着色器如下,用来处理RT主纹理上的边界上色(也可以不上色,现在上色是有问题的)
cs
Shader "Hidden/Mask"
{
    Properties
    {
        _MainTex ("Texture", 2D) = "white" {}
        _Color ("Color", Color) = (1,1,1,1)
        [HDR]
        _EdgeColor ("EdgeColor", Color) = (1,1,1,1)
    }
    SubShader
    {
        // No culling or depth
        Cull Off ZWrite Off ZTest Always
        Blend SrcAlpha OneMinusSrcAlpha

        Pass
        {
            CGPROGRAM
            #pragma vertex vert
            #pragma fragment frag

            #include "UnityCG.cginc"

            struct appdata
            {
                float4 vertex : POSITION;
                float2 uv : TEXCOORD0;
            };

            struct v2f
            {
                float2 uv : TEXCOORD0;
                float4 vertex : SV_POSITION;
            };

            v2f vert (appdata v)
            {
                v2f o;
                o.vertex = UnityObjectToClipPos(v.vertex);
                o.uv = v.uv;
                return o;
            }

            sampler2D _MainTex;
            fixed4 _Color;
            fixed4 _EdgeColor;

            fixed4 frag (v2f i) : SV_Target
            {
                fixed4 col = tex2D(_MainTex, i.uv);

                //透明度处于0-1的认定为边界,边界上色
                fixed alpha = col.a;
                //透明度<0.999  且 透明度从0.2到1,边界感越强
                half3 rgb = step(alpha, 0.999) * (_EdgeColor * (smoothstep(0.2, 1, alpha))).rgb;
                col.rgb += 1 * rgb;
                return col * _Color;
            }
            ENDCG
        }
    }
}
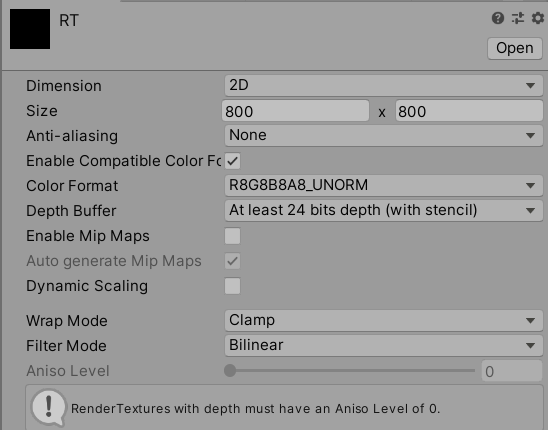
RT是创建的RenderTexture资源(大小看你地图设计),把它拖拽给Mask材质的主纹理参数上。
DrawMask流程:
1. 将default纹理直接写入RT纹理(其实就是全黑的,但透明度是1)
2. Update判定移动时进行在小地图红点处(红点是玩家位置)触发Draw,在RT纹理上相应位置叠加半透明圆心贴图(主要是混合透明度,模拟小地图迷雾散开效果)
3. Mask材质最终渲染RT纹理到小地图上,并同时处理边界上色。(可不做边界上色 或 优化边界上色效果)
python生成半透明圆心图代码如下:
cs
from PIL import Image
import math

# ====== 参数设置(全部可调)======
size = 120                     # 图片尺寸(像素)
circle_radius = size / 2       # 圆形区域半径(外圆边界,圆外透明)
inner_radius = 25             # 内圈半径:此范围内完全透明
outer_radius = circle_radius  # 外圈半径:此范围外完全不透明
                              # 要求:inner_radius < outer_radius ≤ circle_radius
power = 1.0                   # 渐变曲线指数:
                              # power=1 为线性;power>1 使过渡集中在边缘附近;
                              # power<1 使过渡集中在中心附近

# ====== 生成图片 ======
img = Image.new('RGBA', (size, size), (0, 0, 0, 0))
pixels = img.load()
center = size / 2

for y in range(size):
    for x in range(size):
        dx = x - center
        dy = y - center
        dist = math.sqrt(dx*dx + dy*dy)

        # 1. 圆外 → 完全透明
        if dist > circle_radius:
            alpha = 0
        # 2. 内圈以内 → 完全透明
        elif dist <= inner_radius:
            alpha = 0
        # 3. 外圈以外 → 完全透明
        elif dist >= outer_radius:
            alpha = 0
        # 4. 内圈和外圈之间 → 用 power 曲线渐变
        else:
            # 归一化距离:t 从 0(内圈)到 1(外圈)
            t = (dist - inner_radius) / (outer_radius - inner_radius)
            # 应用 power 曲线,再映射到 0~255
            alpha = int(255 * (t ** power))

        pixels[x, y] = (255, 255, 255, alpha)

img.save('radial_transparency.png')
print("已生成图片:radial_transparency.png")
cmd命令行运行: python generate_radial_mask.py
可能有报错,可以去找AI问问 下载一些依赖库就好了。