Spring Boot 配置文件
配置文件作用
计算机上其实有成千上万的配置文件,使用的软件浏览器都有其对应的配置文件
配置文件解决硬编码问题 ,将一些可能改变的信息放到一个位置进行集中管理,启动某个程序时候,应用程序将配置文件中内容读取,并进行加载运行
硬编码
将一些数据直接嵌入到可执行对象源码中,常称为"代码写死"
Spring Boot配置文件
Spring Boot支持并定义了配置文件的格式,并且其达到了一些外部框架集成到Spring Boot的目的
许多项目或框架的信息也放到配置文件中
例如:项目的启动端口、数据库连接信息等等
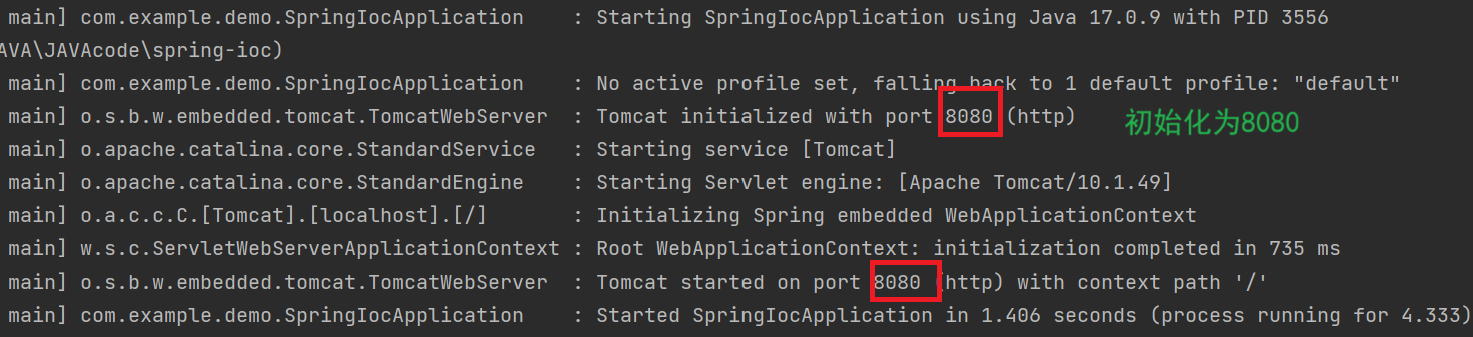
像SpringBoot内置了Tomcat服务器, 默认端⼝号是8080,但是这个端口号是可以自己定义的
这里默认为8080
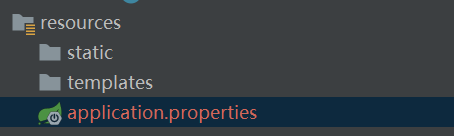
application.properties可以在这里进行修改
java
# 将其修端口号修改成9090
server.port=9090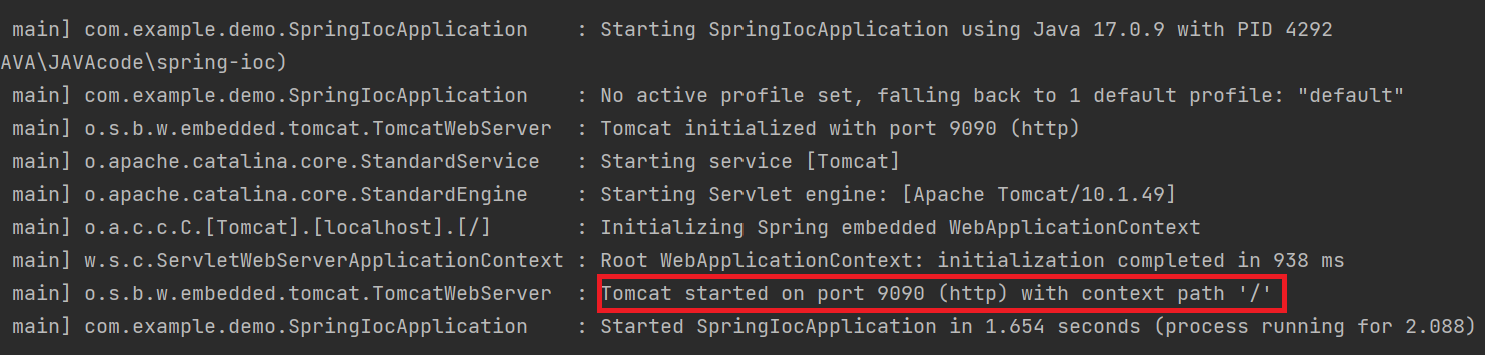
配置文件的格式
Spring Boot 中有三种格式
application.properties
application.yml
application.yaml
yml其实是yaml的简写,使用频率较高
.properties是默认的文件格式
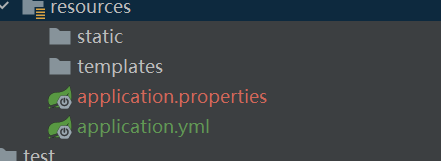
理论上.properties和.yml可以并存在一个项目中,但是当其并存时候,以.properties为主,其优先级更高
虽然可以并存,但是建议只是用一种,这样方便管理和维护
配置文件说明
properties
其是以键值对的形式配置的,key 和 value之间使用"="来连接
像这里
之间使用点来分割,此时的注释是使用#
java
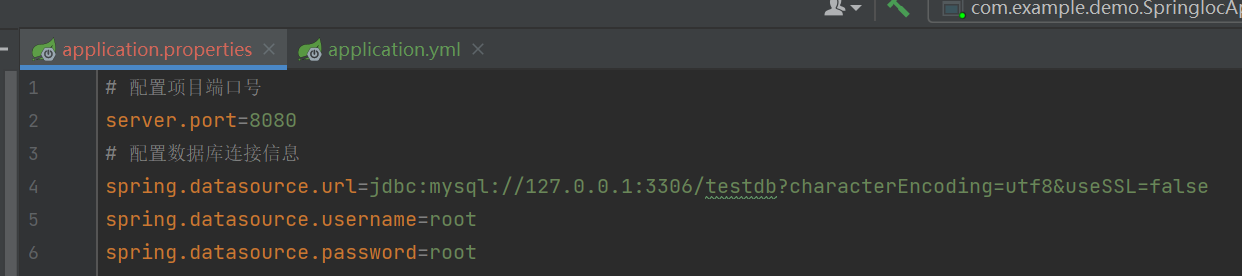
# 配置项目端口号
server.port=8080
# 配置数据库连接信息
spring.datasource.url=jdbc:mysql://127.0.0.1:3306/testdb?characterEncoding=utf8&useSSL=false
spring.datasource.username=root
spring.datasource.password=root
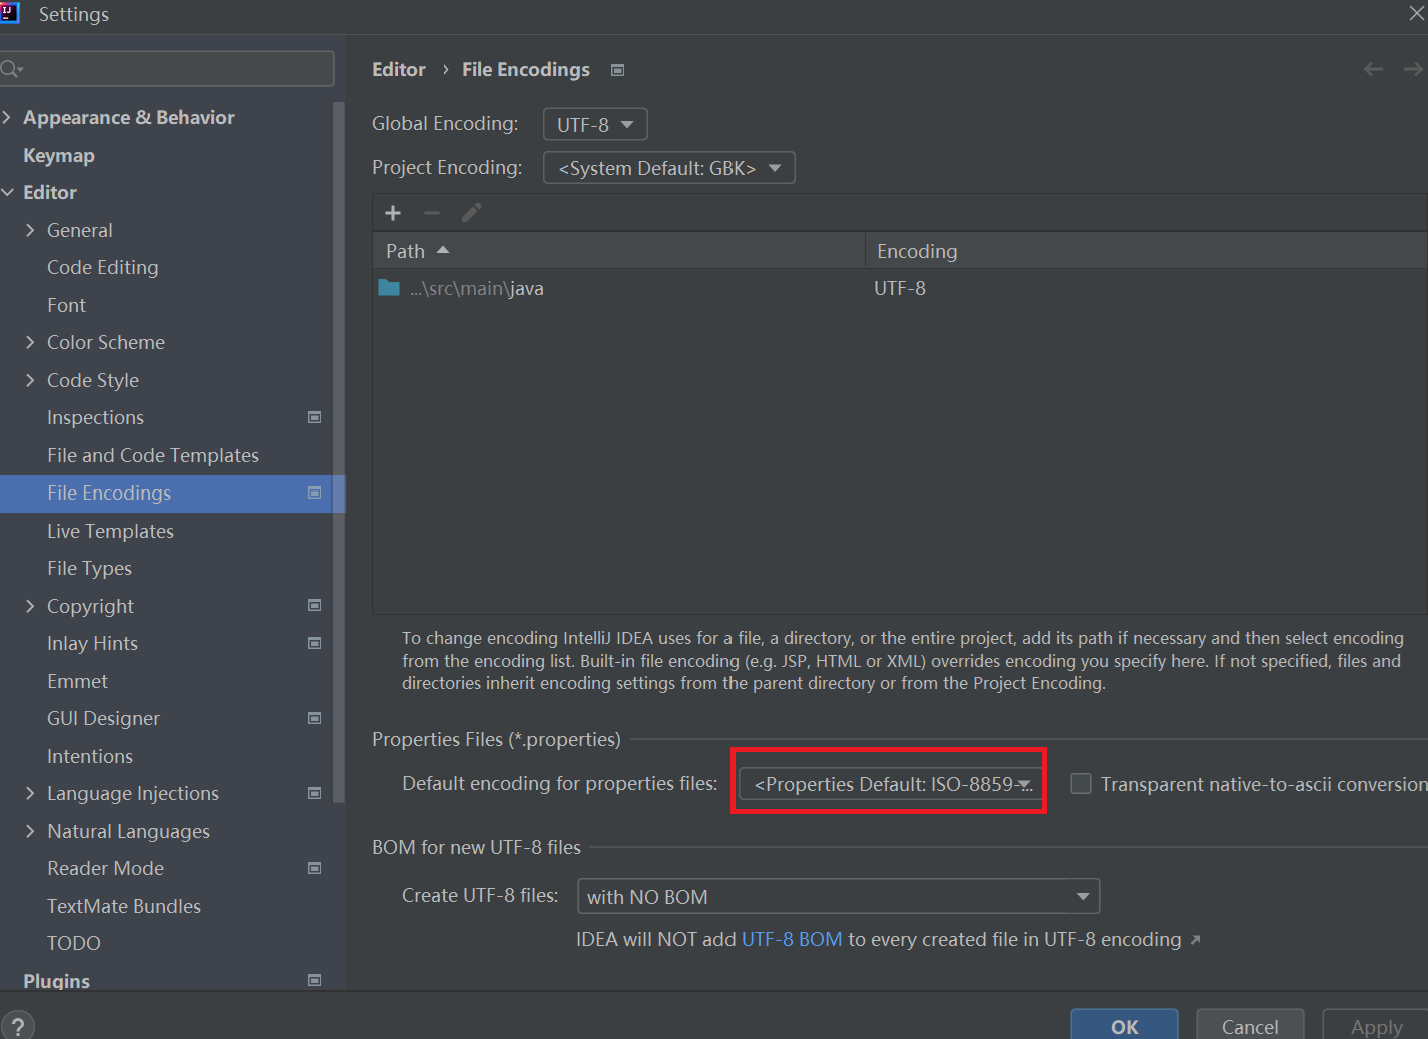
这里如果重启其刚才注释,出错了,是因为编码问题

此时可以将这个文件编码方式改为UTF -8
File - setting中
上面这个是"Project Encoding"主要影响Java源代码的编码,下面这个是我们properties文件的编码文件编码
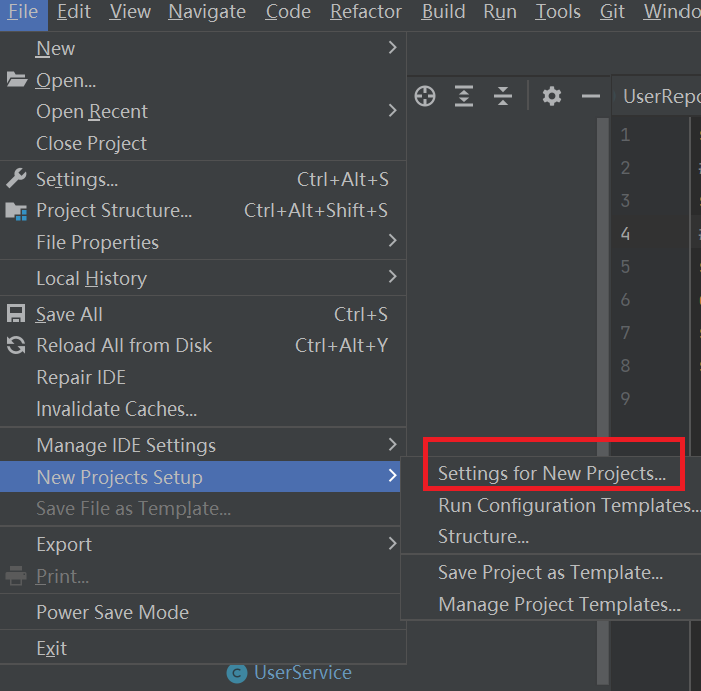
当然上面是修改当前项目的编码方式,而新的项目还是会使用默认的,因此这里可以设置新创建的项目其编码设置
File - New Projects Setup - Setting for New Projects,后面操作和上面修改一样即可,这样每次创建新的项目也会采用UTF - 8来编码
官网链接https://docs.spring.io/spring-boot/appendix/application-properties/index.html
读取properties中内容
.properties文件
java
# 配置项目端口号
server.port=8080
# 配置数据库连接信息
spring.datasource.url=jdbc:mysql://127.0.0.1:3306/testdb?characterEncoding=utf8&useSSL=false
spring.datasource.username=root
spring.datasource.password=root

my.key = 123
使用 @Value 注解使⽤" ${} "的格式读取,里面放对应的key值,就可以获取到对应的Value
java
@RestController
@RequestMapping("/properties")
public class ReadpropertiesController {

    @Value("${server.port}")
    public Integer serverPort;

    @RequestMapping("/read")
    public String read(){
        return "serverPort:"+serverPort;
    }
    @Value("${my.key}")
    private String mykey;

    @RequestMapping("/key")
    public String key(){
        return  mykey;
    }
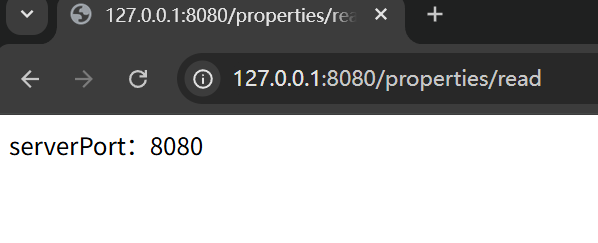
}
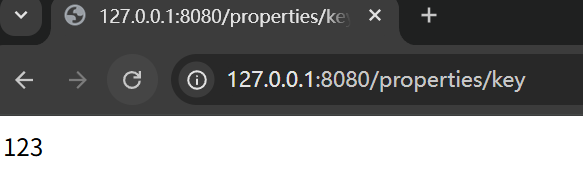
这个格式的配置文件的小缺点,就是一些key值可能有些冗余

此时就可以使用yml配置文件格式化
yml
yml 是 YAML 是缩写, Yet Another Markup Language
yml是树形结构配置文件,基础语句:key: value(value和key:之间有空格,不可以省略)
这里key和:有没有空格都可以,没有强制要求,但是value必须和:之间有空格
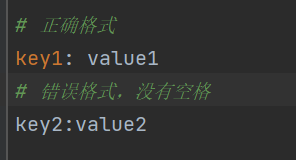
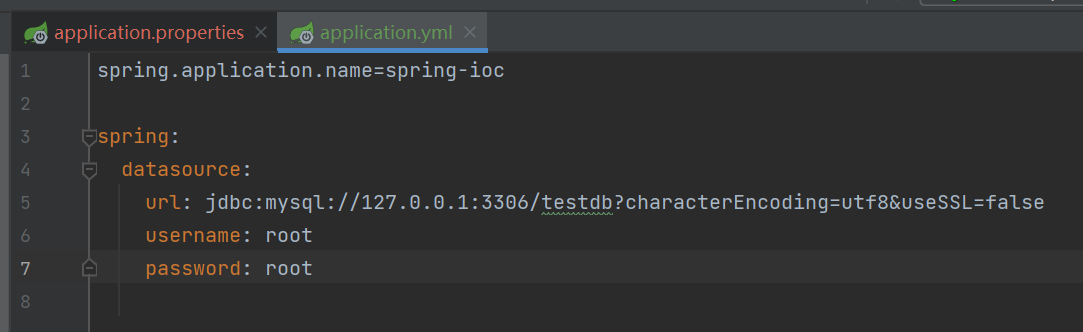
通过:分割key和value,并且表示其在什么下面,可以在其下一行,前面空两格,表示其在这个目录下
yaml
server:
  port: 8080

spring:
  datasource:
    url: jdbc:mysql://127.0.0.1:3306/testdb?characterEncoding=utf8&useSSL=false
    username: root
    password: root


string:
  value: hello

bool:
  value: true
java
@RestController
@RequestMapping("/yml")
public class ReadYmlController {
    @Value("${server.port}")
    private Integer serverPort;

    @Value("${spring.datasource.url}")
    private String url;

    @Value("${spring.datasource.username}")
    private String username;

    @Value("${spring.datasource.password}")
    private String password;

    @Value("${string.value}")
    private String str;

    @Value("${bool.value}")
    private Boolean bool;
    @PostConstruct
    public void read2(){
        System.out.println("serverPort:" + serverPort);
        System.out.println("url:" + url);
        System.out.println("username:" + username);
        System.out.println("password:" + password);
        System.out.println(str);
        System.out.println(bool );

    }
}
这里@PostConstruct注解: Bean 实例化完成且依赖注入结束后 自动执行
此时这里结果如下
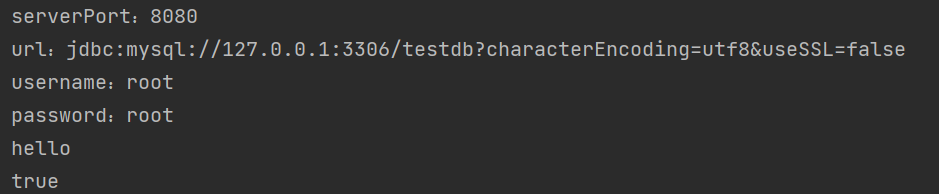
在这里~表示null
yaml
null:
  value: ~
注意事项:value值加单双引号
yaml
string:
  str1: Hello \n Spring Boot
  str2: 'Hello \n Spring Boot'
  str3: "Hello \n Spring Boot"
字符串默认不用加单 / 双引号,如果加了就表示与特殊含义
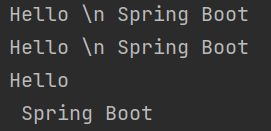
字符串默认不加单 / 双引号
单引号会转义特殊字符,\n被转义就失去了原本的功能,是一个普通字符串
双引号不会转义里面特殊字符,特殊字符仍具有原本含义,像\n表示换行
配置对象
yaml
spring:
  datasource:
    url: jdbc:mysql://127.0.0.1:3306/testdb?characterEncoding=utf8&useSSL=false
    username: root
    password: root
此时这里一个对象,不使用@Value进行读取,而是使用@ConfigurationProperties注解进行读取对象中的信息
就是将这里所有信息都读取进来
java
@Data
@Configuration
@ConfigurationProperties(prefix = "spring.datasource")
public class DataSourceTypes {
    private String url;
    private String username;
    private String password;
}
prefix内容是对象的名称
java
@RestController
@RequestMapping("/yml")
public class ReadYmlController {

    @Autowired
    private DataSourceTypes dataSourceTypes;

    @PostConstruct
    public void read(){
        System.out.println(dataSourceTypes);
    }
}
这里就有所有信息

如果这里我们DataSourceTypes 接收对象的类中参数名和yaml文件中名称不一样会怎样
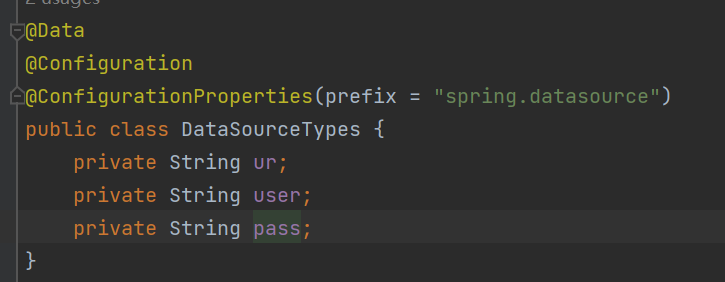
其还是根据名称进行赋值的

配置集合 、 map 和对象
java
@NoArgsConstructor//无参构造
@AllArgsConstructor//全部参数构造
@Data
public class UserInfo {
    private String name;
    private int age;
}
yaml
datatypes:
  # list
  name:
    - mysql
    - sqlserver
    - db2
  map:
    k1: v1
    k2: v2
    k3: v3
  userInfo:
    name: zhangsan
    age: 17
这里直接获取这个全部
java
@Data
@Configuration
@ConfigurationProperties(prefix = "datatypes")
public class DataTypes {
    private List<String> name;
    private Map<String,String> map;
    private UserInfo userInfo;
}
java
@RestController
@RequestMapping("/yml")
public class ReadYmlController {

    @Autowired
    private DataTypes dataTypes;

    @PostConstruct
    public void read(){
        System.out.println(dataTypes);
    }
}
yml优缺点
优点
1.可读性高、写法简单、易于理解
2.支持多种数据类型,像对象、List、Map等
3.支持多种语言,不仅是Java,像Golong,Python等语言都可以使用
缺点:
1.对格式有严格要求,一个空格可能会有很大影响
2.写较复杂的配置文件,可能不太好
验证码案例
随着安全性的不断提高,目前很多项目都是用了验证码,验证码的形式也是多种多样
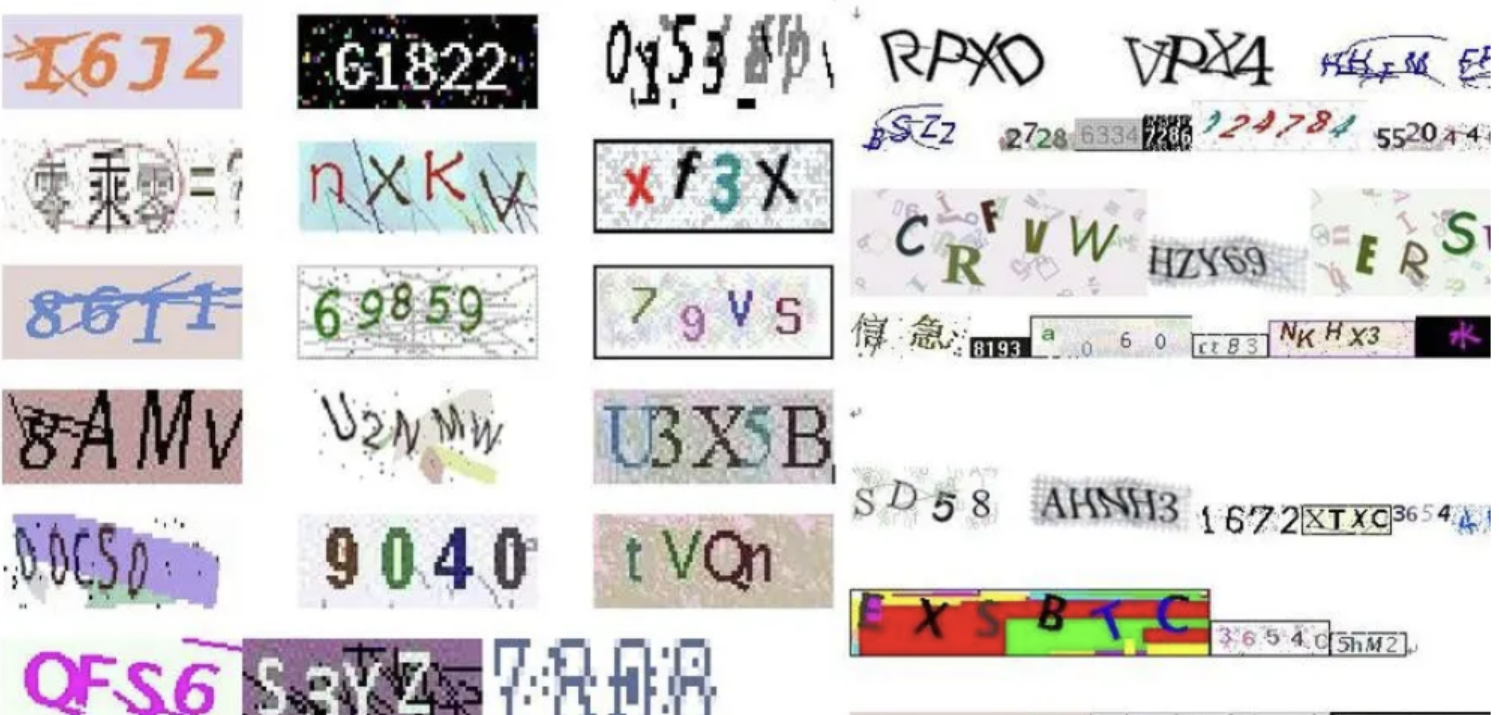
验证码实现方式很多,可以前端,也可以后端实现,有很多工具/插件使用
这里以 Hutool工具来实现
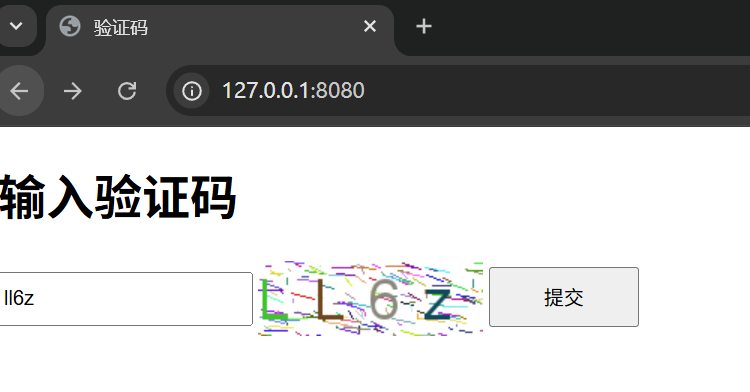
我们这里以生成这种验证码为例
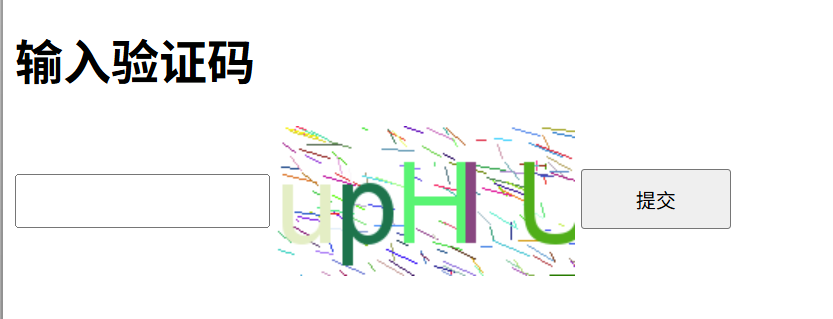
需求
后端提供两个服务
1.生成验证码,并返回验证码
2.校验验证码是否正确
1.生成验证码
请求URL:/captcha/getCaptcha
响应:显示验证码图片内容
2.校验验证码是否正确请求URL:/captcha/check
参数:captcha = ?(用户输入验证码)
响应:true / false验证码是否正确
Hutool工具介绍
Hutool是一个小而全的Java工具类库,通过静态方法封装,降低相关API的学习成本,提高工作效率使Java拥有函数式语言般的优雅,让Java语言也可以"甜甜的"。
对文件、流、加密解密、转码、线程等JDK方法进行封装,组成各种Util工具类
Hutool官网:https://hutool.cn/
Hutool参考文档:https://hutool.cn/docs/#/
使用工具,需要引入对应依赖
xml
<dependency> <groupId>cn.hutool</groupId>
			<artifactId>hutool-captcha</artifactId>
			<version>5.8.22</version>
</dependency>
这里我们只引入了验证码的依赖
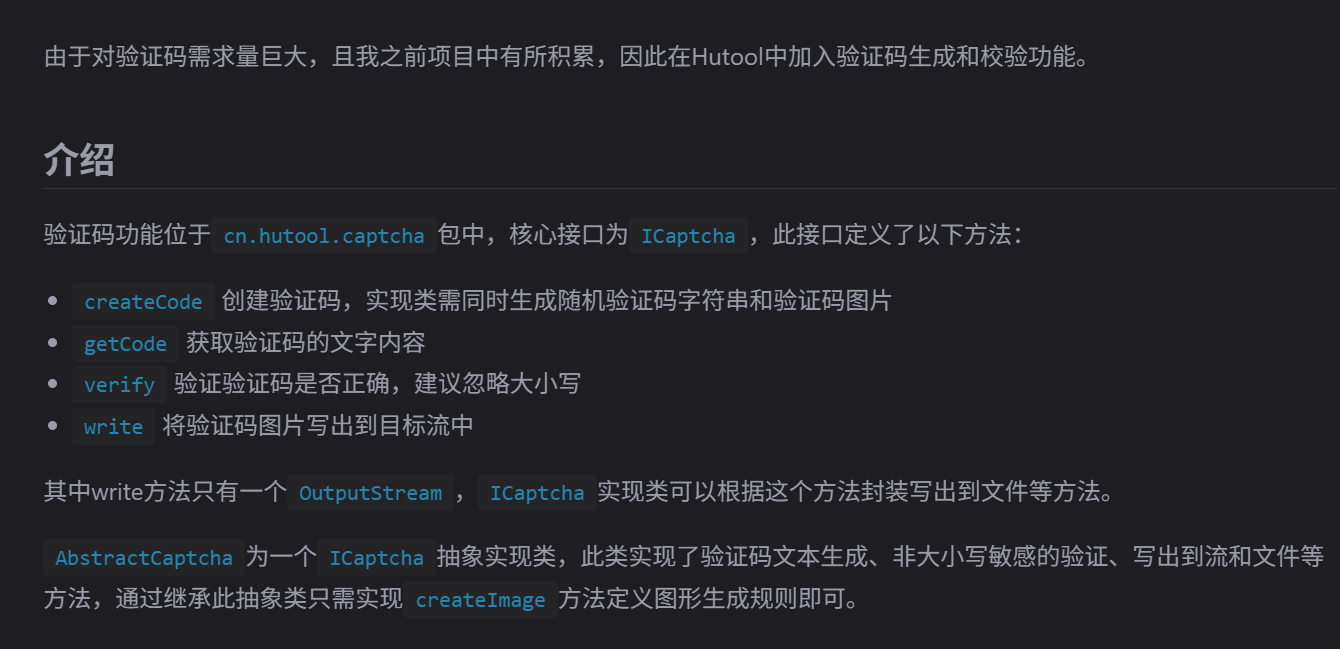
下面是一些快速上手案例
线性干扰验证码
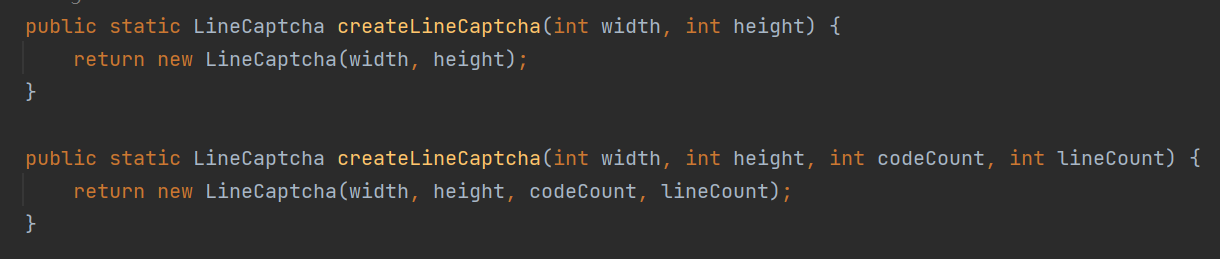
这里有2和4个参数的构造方法
分别是长、宽、验证码字符数、干扰元素个数
java
public class CaptchaTest {
    public static void main(String[] args) {
         //线性干扰验证码
        //定义图形验证码的长和宽
        LineCaptcha lineCaptcha = CaptchaUtil.createLineCaptcha(200, 100);

        //图形验证码写出,可以写出到文件,也可以写出到流
        //这里将其放到d:/line.png位置
        lineCaptcha.write("d:/line.png");
        //输出code
        Console.log(lineCaptcha.getCode());
        //验证图形验证码的有效性,返回boolean值
        System.out.println(lineCaptcha.verify("1234"));
     }
}
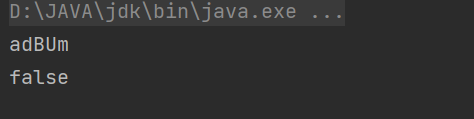
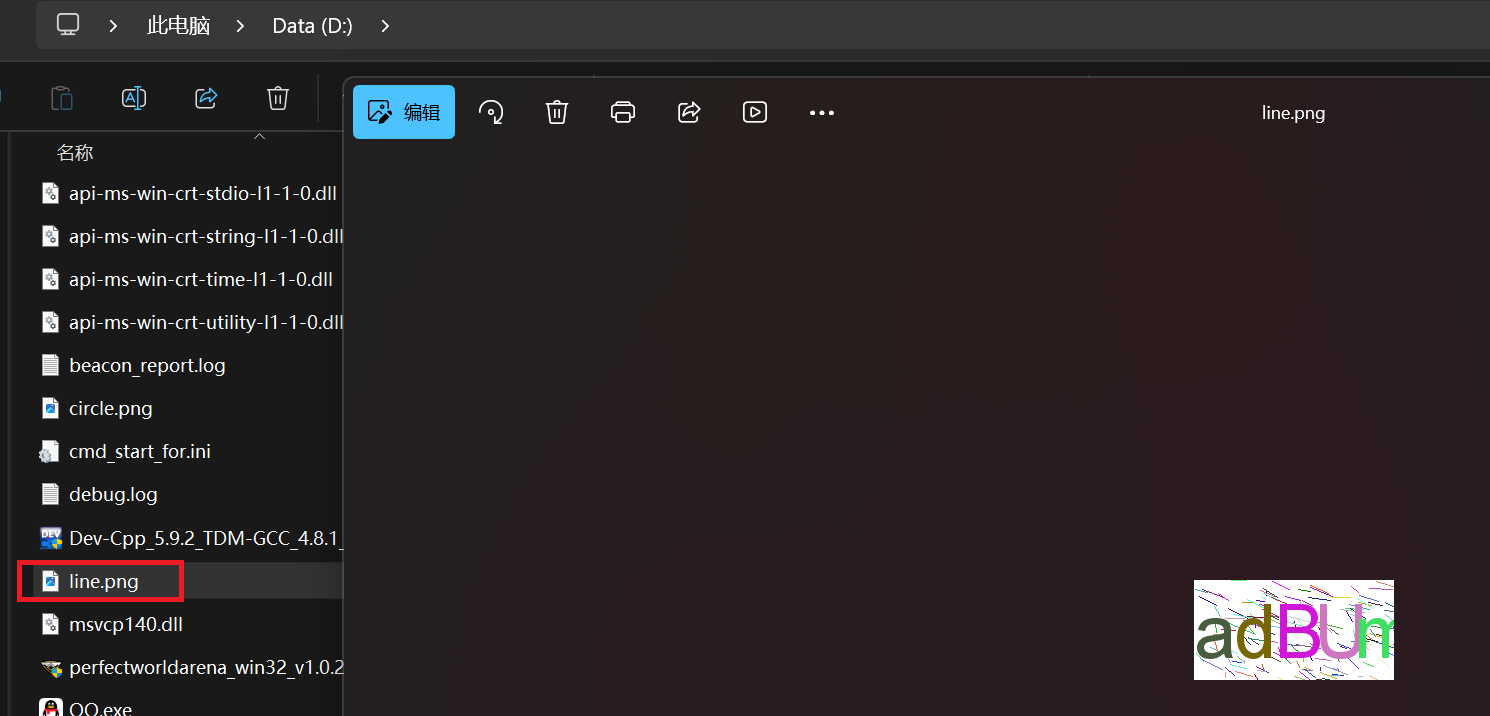
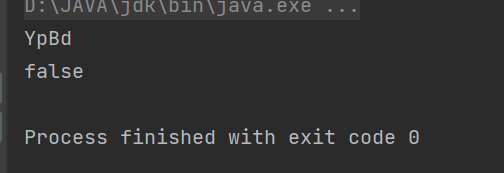
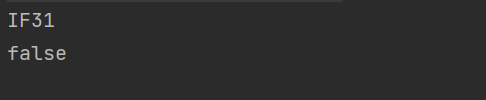
将其验证码保存到d:/line.png位置位置,输出验证码,返回校验结果
这里1234 != 验证码,返回false
圆圈干扰验证码
java
public class CaptchaTest {
    public static void main(String[] args) {

        //定义图形验证码的长、宽、验证码字符数、干扰元素个数
        CircleCaptcha captcha = CaptchaUtil.createCircleCaptcha(200, 100, 4, 20);
        //CircleCaptcha captcha = new CircleCaptcha(200, 100, 4, 20);
        //图形验证码写出,可以写出到文件,也可以写出到流
        captcha.write("d:/circle.png");
        //输出code
        Console.log(captcha.getCode());
        //验证图形验证码的有效性,返回boolean值
        System.out.println(captcha.verify("1234"));

    }
}
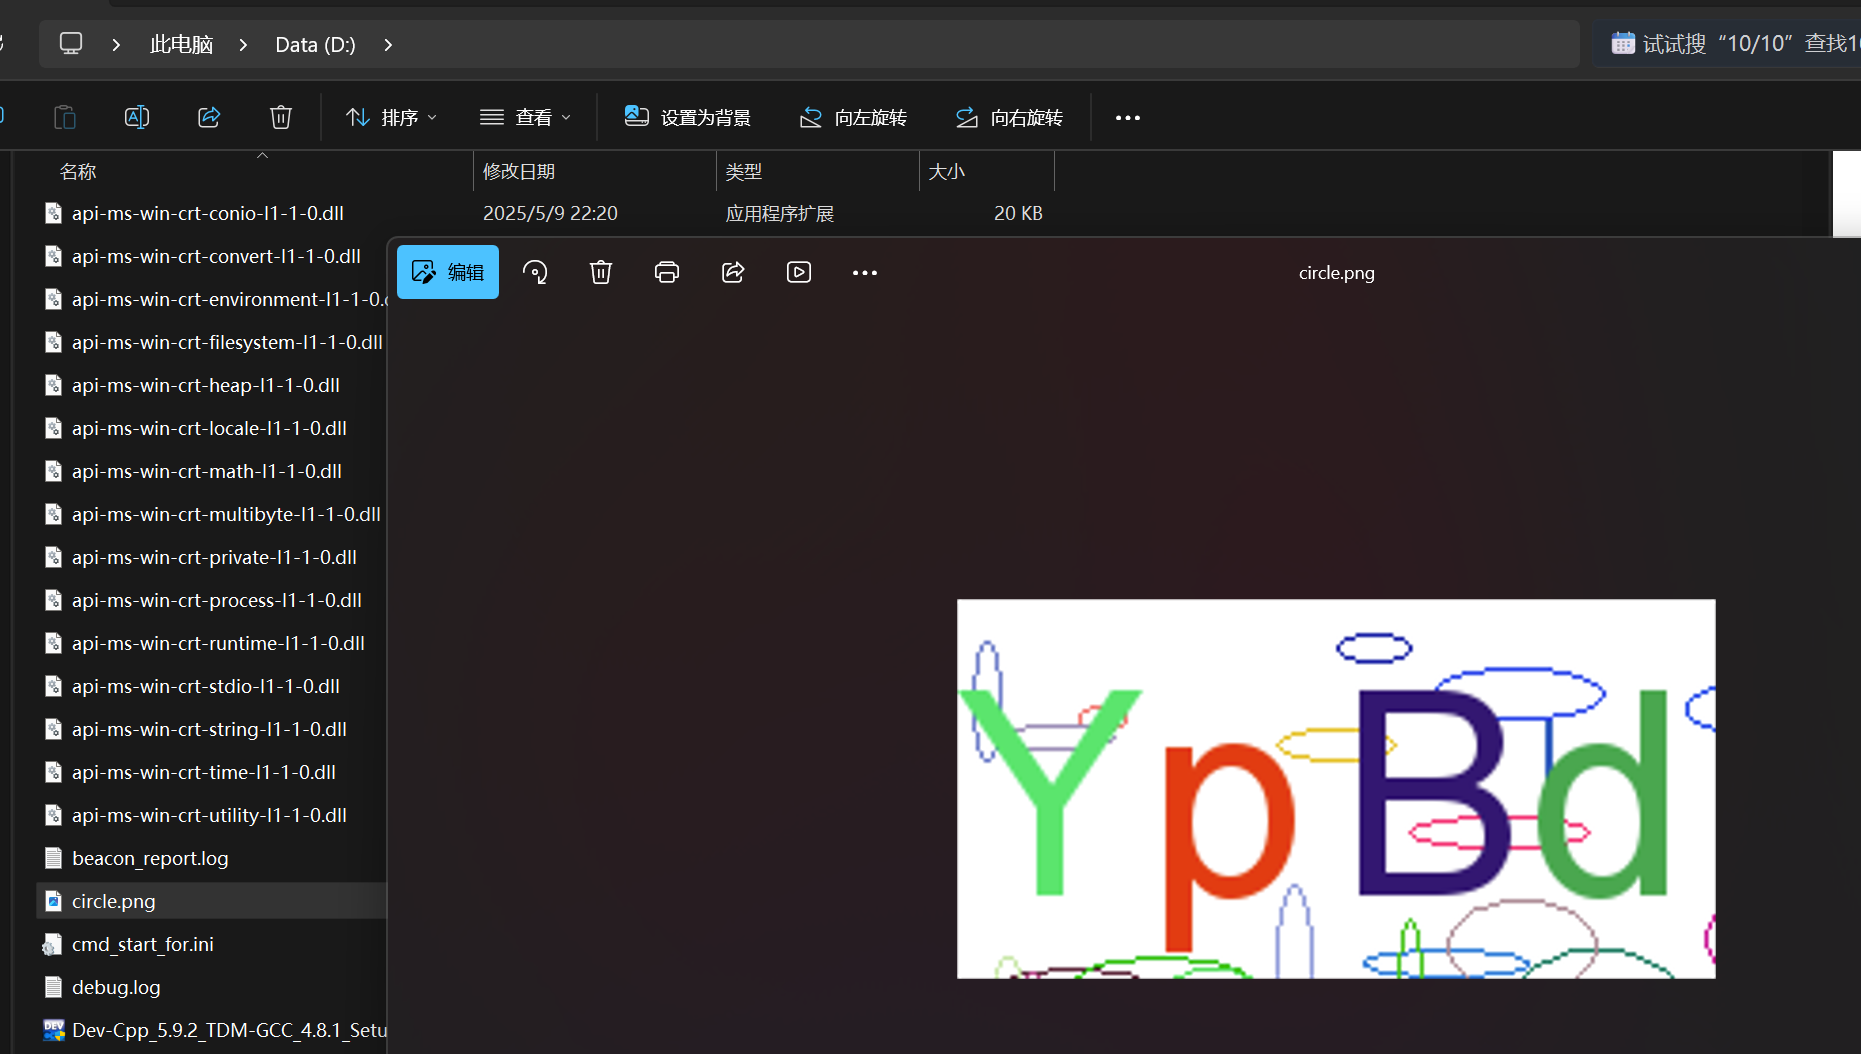
扭曲干扰验证码
java
public class CaptchaTest {
    public static void main(String[] args) {

        //定义图形验证码的长、宽、验证码字符数、干扰线宽度
        ShearCaptcha captcha = CaptchaUtil.createShearCaptcha(200, 100, 4, 4);
        //ShearCaptcha captcha = new ShearCaptcha(200, 100, 4, 4);
        //图形验证码写出,可以写出到文件,也可以写出到流
        captcha.write("d:/shear.png");
        //输出code
        Console.log(captcha.getCode());
        //验证图形验证码的有效性,返回boolean值
        System.out.println(captcha.verify("1234"));

    }
}
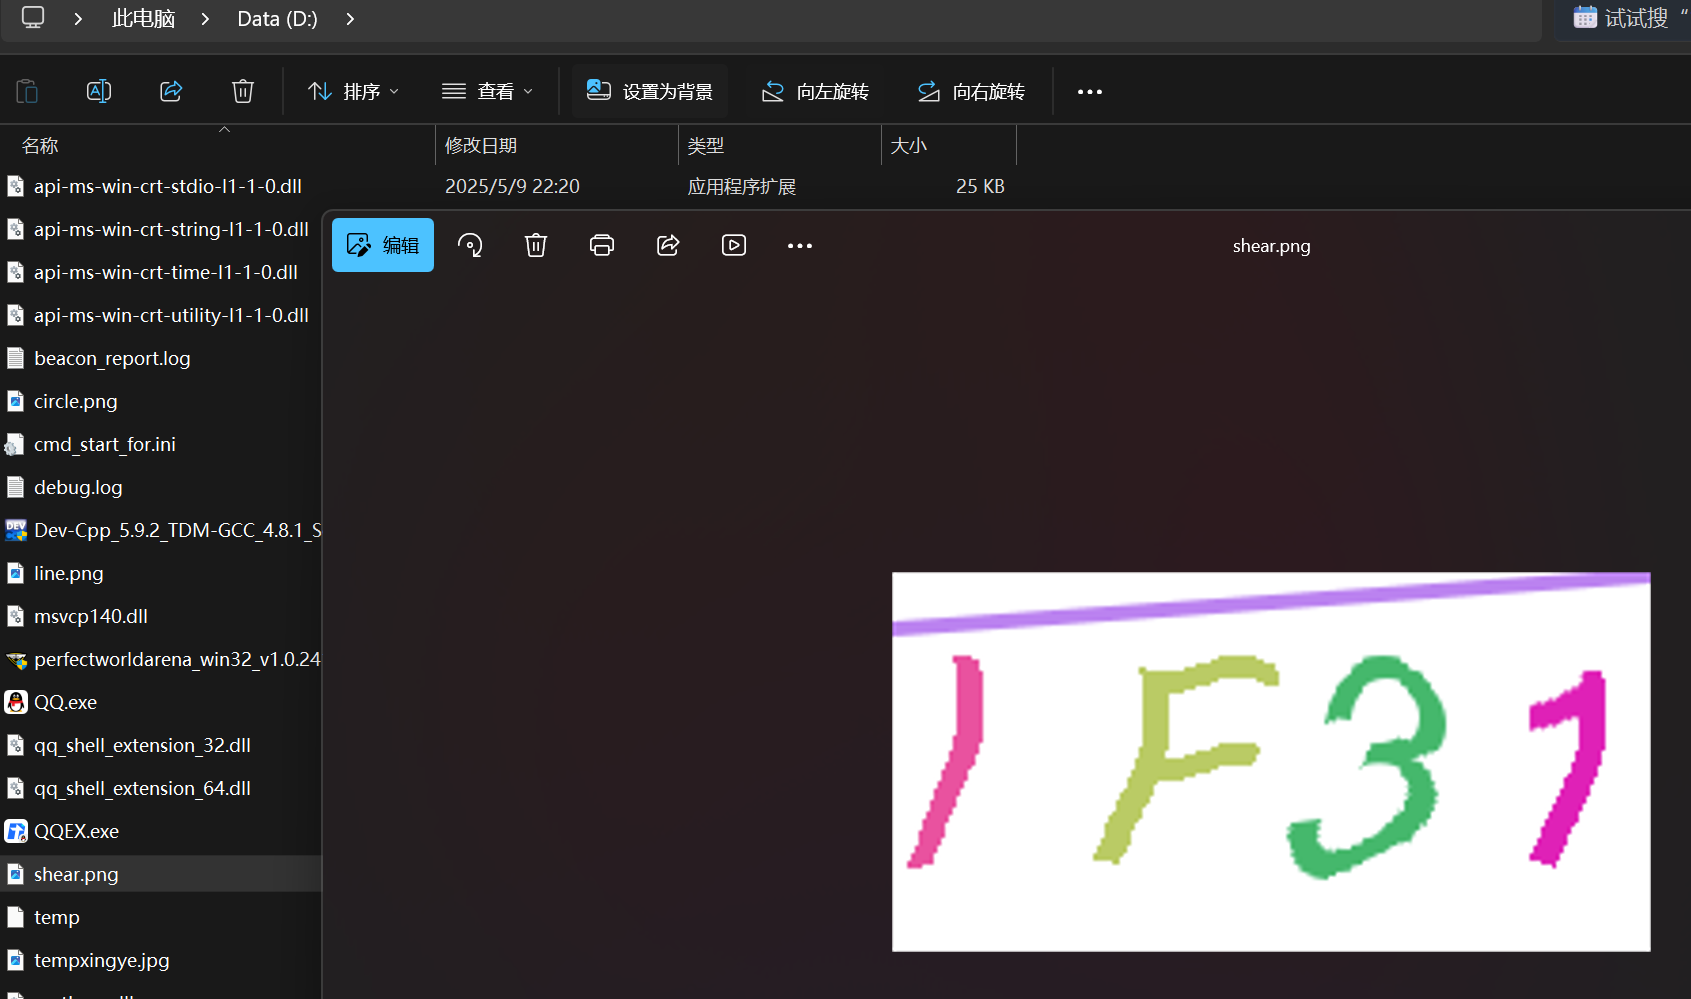
上面这些都是保存到本地,当然我们这里需要将其保存到浏览器中,这里也是可以的
java
//启动类
@SpringBootApplication
public class DemoApplication {

	public static void main(String[] args) {
		SpringApplication.run(DemoApplication.class, args);
	}

}
java
ICaptcha captcha = ...;
captcha.write(response.getOutputStream());
//Servlet的OutputStream记得自行关闭哦!
前端代码
index.html 页面
success.html 验证成功跳转的页面
前端代码 (后面需要进行修改)
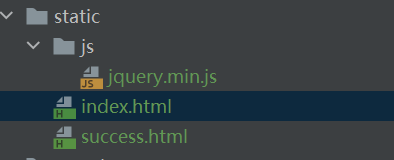
使用本地jquery,这样加载快一点
index.html
html
<!DOCTYPE html>
<html lang="en">

<head>
  <meta charset="utf-8">

  <title>验证码</title>
  <style>
    #inputCaptcha {
      height: 30px;
      vertical-align: middle;
    }
    #verificationCodeImg{
      vertical-align: middle;
    }
    #checkCaptcha{
      height: 40px;
      width: 100px;
    }
  </style>
</head>

<body>
<h1>输入验证码</h1>
<div id="confirm">
  <input type="text" name="inputCaptcha" id="inputCaptcha">
  <img id="verificationCodeImg" src="/captcha/getCaptcha" style="cursor: pointer;" title="看不清?换一张" />
  <input type="button" value="提交" id="checkCaptcha">
</div>
<script src="js/jquery.min.js"></script>
<script>

    $("#verificationCodeImg").click(function(){
      $(this).hide().attr('src', '/captcha/getCaptcha?dt=' + new Date().getTime()).fadeIn();//去处前端缓存
    });

    $("#checkCaptcha").click(function () {
        $.ajax({
          type: "post",
          url: "/captcha/check",
          data:{
            // 获取输入框中验证码进行赋值
            captcha: $("#inputCaptcha").val()
          },
          success:function(result){
            if(result){
              //页面跳转
              location.href = "success.html";
            }else{
              alert("验证码错误");
            }
          }
        })
    });

  </script>
</body>

</html>
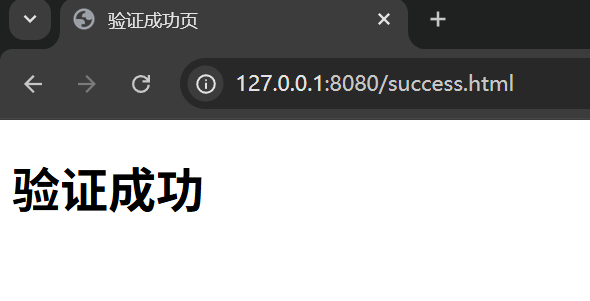
验证成功跳转到这个页面
success.html
html
<!DOCTYPE html>
<html lang="en">
<head>
    <meta charset="UTF-8">
    <meta name="viewport" content="width=device-width, initial-scale=1.0">
    <title>验证成功页</title>
</head>
<body>
    <h1>验证成功</h1>
</body>
</html>
后端
java
@RestController
@RequestMapping("/captcha")
public class CaptchaController {

    @RequestMapping("/getCaptcha")
    public void getCaptcha(HttpServletResponse response){
        ICaptcha captcha = CaptchaUtil.createLineCaptcha(200,100);
        try {
            captcha.write(response.getOutputStream());
            //关闭OutputStream
            response.getOutputStream().close();
        }catch (IOException e){
            e.printStackTrace();
        }
    }
}
http://127.0.0.1:8080/captcha/getCaptcha
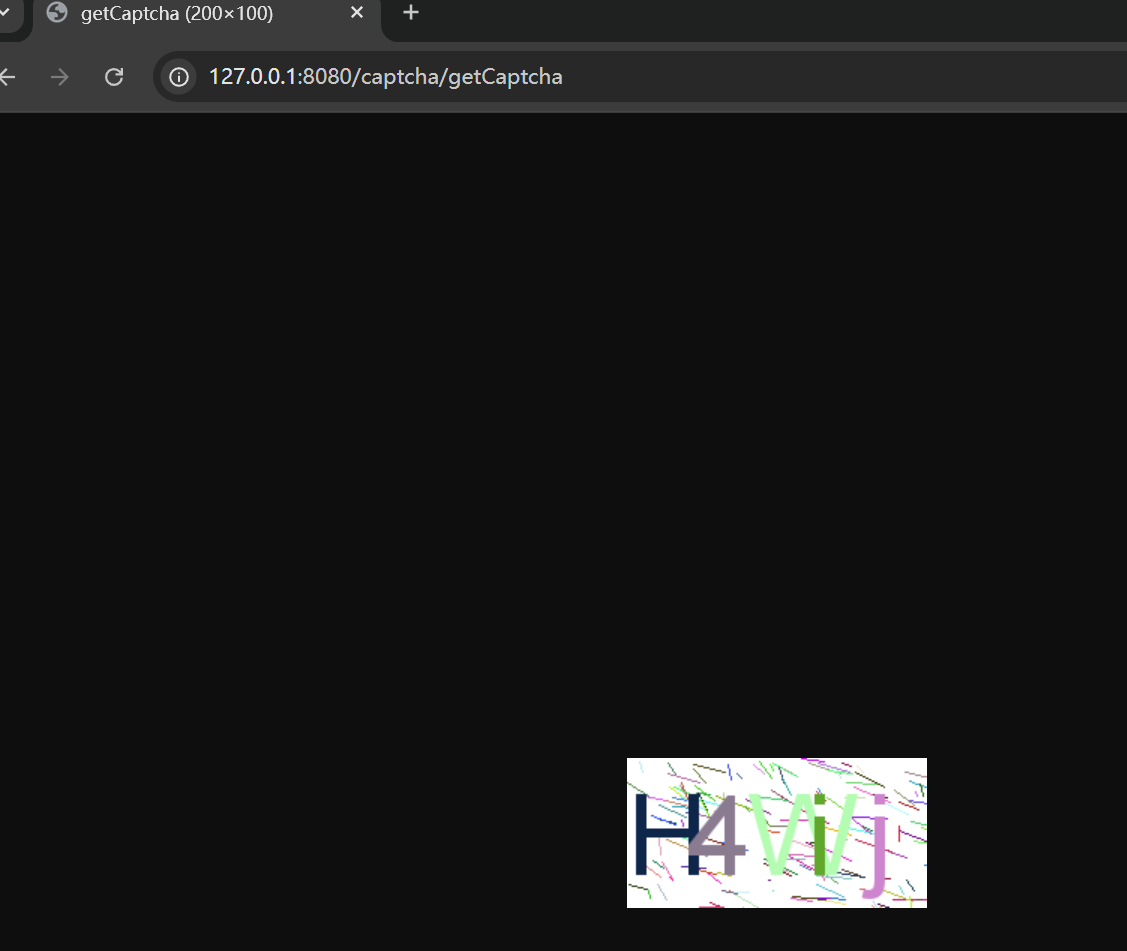
但是这里的长、宽、验证码长度和干扰元素个数在一个场景都是固定 的,因此我们可以将这些参数封装成一个对象,将其对应参数从配置文件中获取,或者有一个静态类中里面只放一些常量参数

生成验证码
配置文件
yaml
captcha:
  width: 150
  height: 50
  codeNum: 4
  lineCount: 150
  # 将验证码存在在session中,这样可以进行获取
  session:
    name: sessionCode
    date: sessionDate
key : sessionCode - value : 生成的验证码
key : sessionDate:value : 当前时间
或者使用一个静态类专门放一些静态变量
这里讲的是配置文件,所以我们以配置文件举例

java
@Data
public class MySession {
    private String name;
    private String date;
}
从配置文件中获取验证码相关信息
java
@Data
@Component
//从配置文件中赋值
@ConfigurationProperties(prefix = "captcha")
public class CaptchaProperties {
    private Integer width;
    private Integer height;
    private Integer codeNum;
    private Integer lineCount;
    private MySession session;
}
这里后面需要验证验证码是否正确,因为Http是无状态的,因此这里需要将其验证码保存在Session中
java
@RestController
@RequestMapping("/captcha")
public class CaptchaController {
    @Autowired
    private CaptchaProperties captchaProperties;
    //超时时间
    private static final long VILID_TIME_OUT = 5*60*1000;

    @RequestMapping("/getCaptcha")
    public void getCaptcha(HttpSession session, HttpServletResponse response){

        ICaptcha captcha = CaptchaUtil.createLineCaptcha(captchaProperties.getWidth(),
                captchaProperties.getHeight(),
                captchaProperties.getCodeNum(),
                captchaProperties.getLineCount());
        try {
            //进行响应
            response.setContentType("image/jpeg");
            //设置session
            session.setAttribute(captchaProperties.getSession().getName(),captcha.getCode());//验证码内容
            session.setAttribute(captchaProperties.getSession().getDate(),System.currentTimeMillis());//时间设置
            //禁止缓存
            response.setHeader("Pragma", "No-cache");

            captcha.write(response.getOutputStream());
            response.getOutputStream().close();
        }catch (IOException e){
            e.printStackTrace();
        }
    }
}
这里就有了验证码
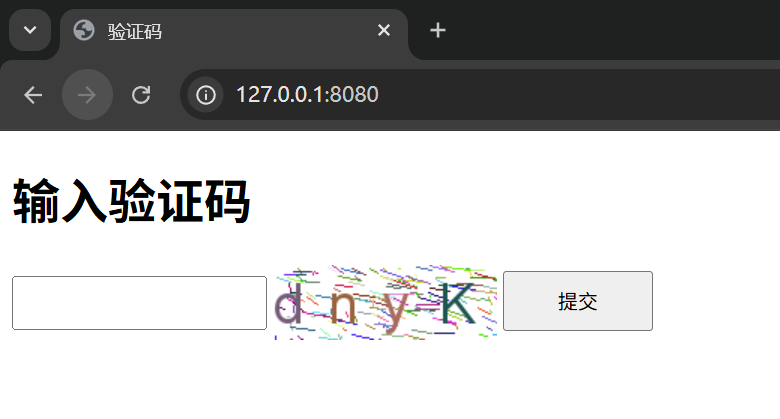
点击这里验证码图片可以刷新验证码
校验验证码
java
@RestController
@RequestMapping("/captcha")
public class CaptchaController {
    @Autowired
    private CaptchaProperties captchaProperties;

    private static final long VILID_TIME_OUT = 5*60*1000;
    //生成和获取验证码
    @RequestMapping("/getCaptcha")
    public void getCaptcha(HttpSession session, HttpServletResponse response){

        ICaptcha captcha = CaptchaUtil.createLineCaptcha(captchaProperties.getWidth(),
                captchaProperties.getHeight(),
                captchaProperties.getCodeNum(),
                captchaProperties.getLineCount());
        try {
            //进行响应
            response.setContentType("image/jpeg");
            //设置session
            session.setAttribute(captchaProperties.getSession().getName(),captcha.getCode());//验证码内容
            session.setAttribute(captchaProperties.getSession().getDate(),System.currentTimeMillis());//时间设置
            //禁止缓存
            response.setHeader("Pragma", "No-cache");

            captcha.write(response.getOutputStream());
            response.getOutputStream().close();
        }catch (IOException e){
            e.printStackTrace();
        }
    }
    //校验验证码
    @RequestMapping("/check")
    public Boolean check(String captcha , HttpSession session){
        //是否正确输入验证码
        if(!StringUtils.hasLength(captcha)){
            return false;
        }
        //获取生成的验证码
        String captchaCode = (String) session.getAttribute(captchaProperties.getSession().getName());
        //获取验证码生成时间
        Long startTime = (Long) session.getAttribute(captchaProperties.getSession().getDate());
        //captchaCode生成验证码为空 || startTime验证码生成时间为空,说明session未存储 / 过期
        //验证码不相等,验证码超时
        if(!StringUtils.hasLength(captchaCode) || startTime == null
               || !captchaCode.equalsIgnoreCase(captcha)
               || ((System.currentTimeMillis() - startTime)) > VILID_TIME_OUT){
            return false;
        }
        return true;
    }
}
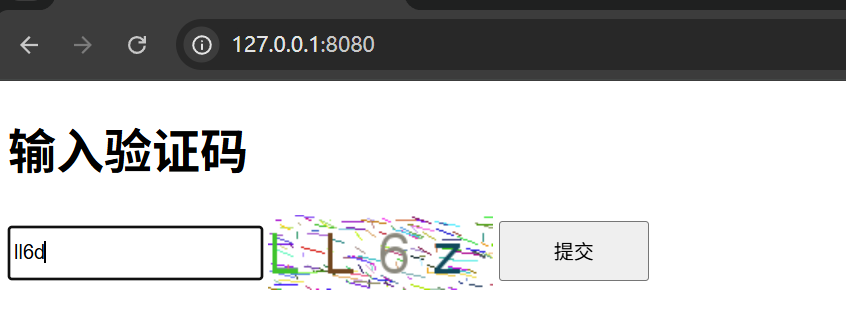
http://127.0.0.1:8080/index.html
验证失败
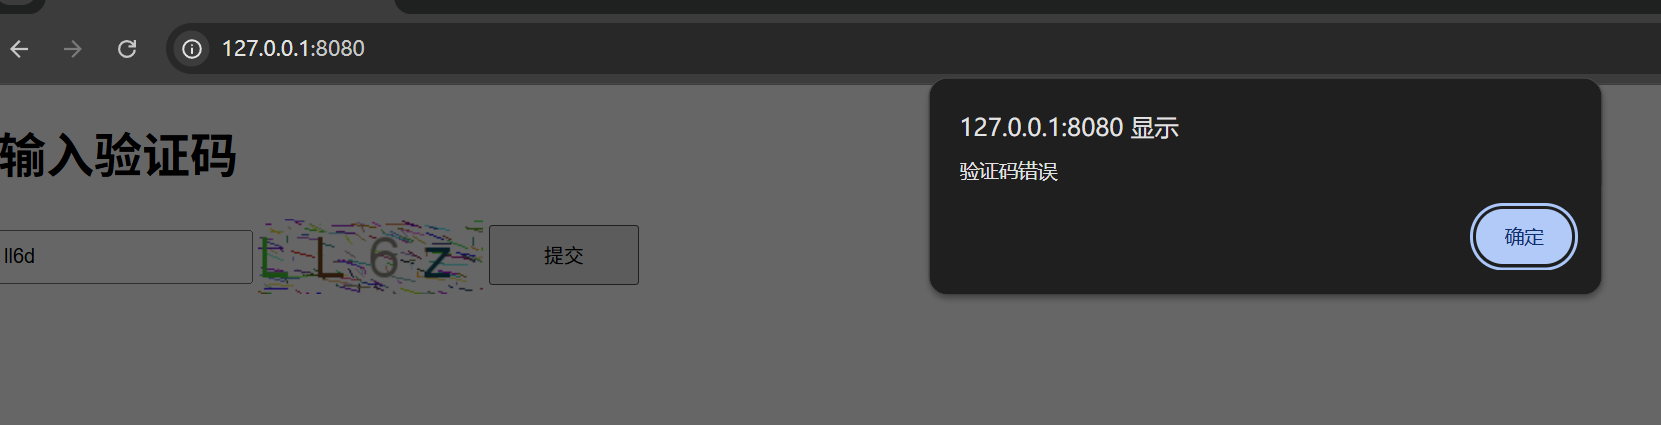
验证成功(验证码忽略大小写)