1、环境介绍
操作系统:龙蜥os 8.9
nginx:1.26.1
php:8.2.19
mysql:MarinaDB 10.3.9
glpi:10.0.6
fusioninventory:fusioninventory-10.0.6+1.1
2、安装epel源
bash
dnf install epel-release -y
dnf install https://rpms.remirepo.net/enterprise/remi-release-8.rpm -y
3、安装nginx
bash
vi /etc/yum.repos.d/nginx.repo 输入如下
bash
[nginx-stable]
name=nginx stable repo
baseurl=http://nginx.org/packages/centos/$releasever/$basearch/
gpgcheck=1
enabled=1
gpgkey=https://nginx.org/keys/nginx_signing.key
module_hotfixes=true

[nginx-mainline]
name=nginx mainline repo
baseurl=http://nginx.org/packages/mainline/centos/$releasever/$basearch/
gpgcheck=1
enabled=0
gpgkey=https://nginx.org/keys/nginx_signing.key
module_hotfixes=true
安装
bash
dnf install nginx -y修改nginx 启动用户为root

启动
bash
systemctl start nginx
systemctl enable nginx
4、安装php
bash
dnf install php82 -y
bash
systemctl start php82-php-fpm
systemctl enbale php82-php-fpm
5、安装mariadb
bash
dnf install mariadb mariadb-server -y启动
bash
systemctl start mariadb
systemctl enable mariadb
6、下载glpi软件包并上传到服务器
https://glpi-project.org/downloads/

7、配置gpli nginx服务器
bash
vi /etc/nginx/conf.d/glpi.conf添加如下
bash
server {
listen 80;
listen [::]:80;
server_name glpi.wtown.com;
root /var/www/glpi;
index index.php index.html index.htm;
location / {
try_files $uri $uri/ /index.php$is_args$args;
}
# 处理 index.php 文件的请求
location ~ ^/index\.php$ {
include fastcgi_params;
fastcgi_split_path_info ^(.+\.php)(/.*)$;
fastcgi_pass unix:/var/opt/remi/php82/run/php-fpm/www.sock;
fastcgi_param SCRIPT_FILENAME $document_root$fastcgi_script_name;
fastcgi_param PATH_INFO $fastcgi_path_info;
fastcgi_param PATH_TRANSLATED $document_root$fastcgi_path_info;
}
# 处理所有 .php 文件的请求
location ~ \.php$ {
include fastcgi_params;
fastcgi_pass unix:/var/opt/remi/php82/run/php-fpm/www.sock;
fastcgi_param SCRIPT_FILENAME $document_root$fastcgi_script_name;
fastcgi_param PATH_INFO $fastcgi_path_info;
fastcgi_param PATH_TRANSLATED $document_root$fastcgi_path_info;
}
# 禁止访问 .ht* 文件
location ~ /\.ht {
deny all;
}
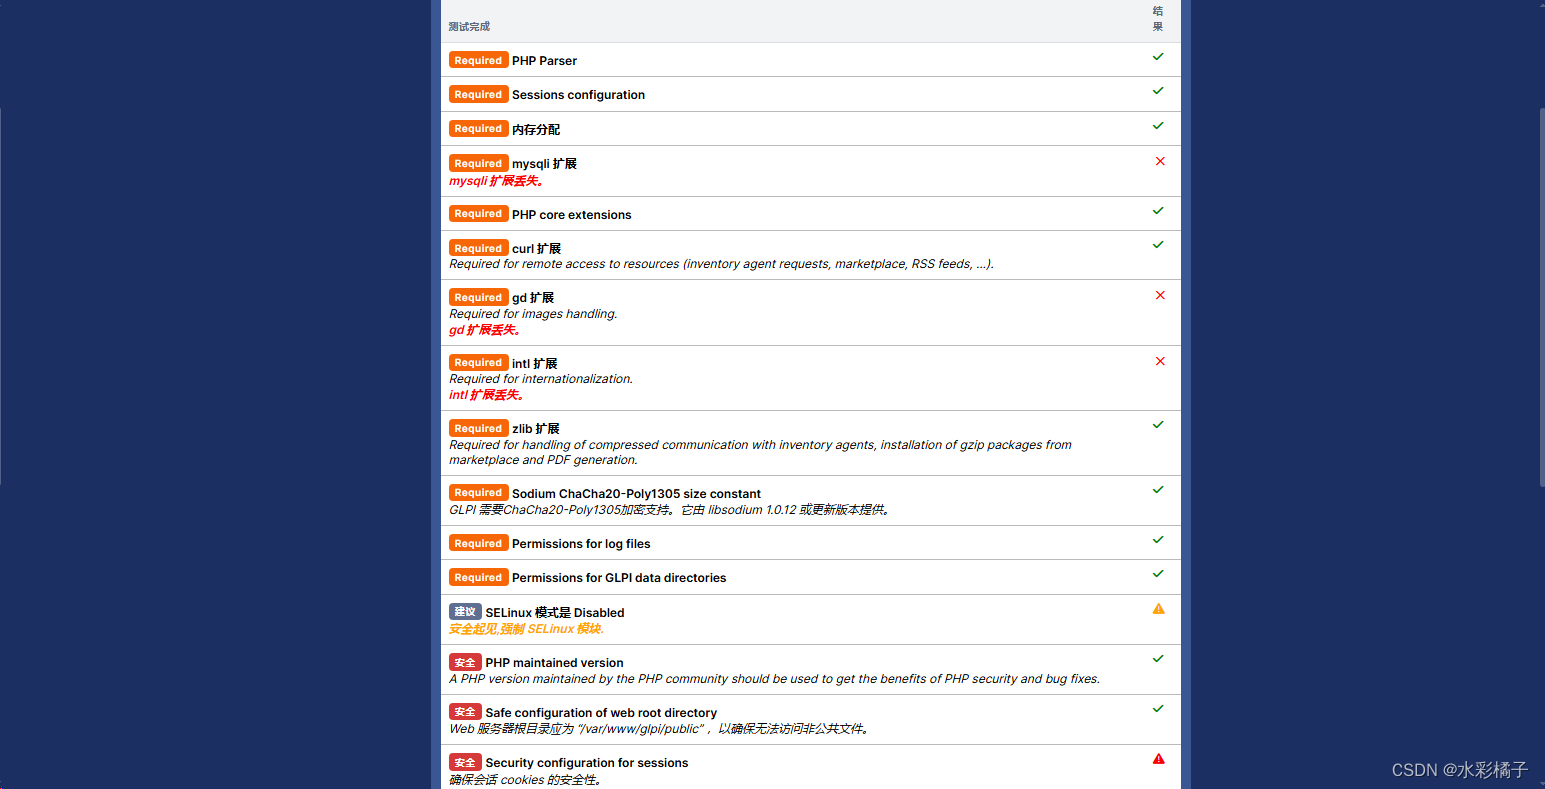
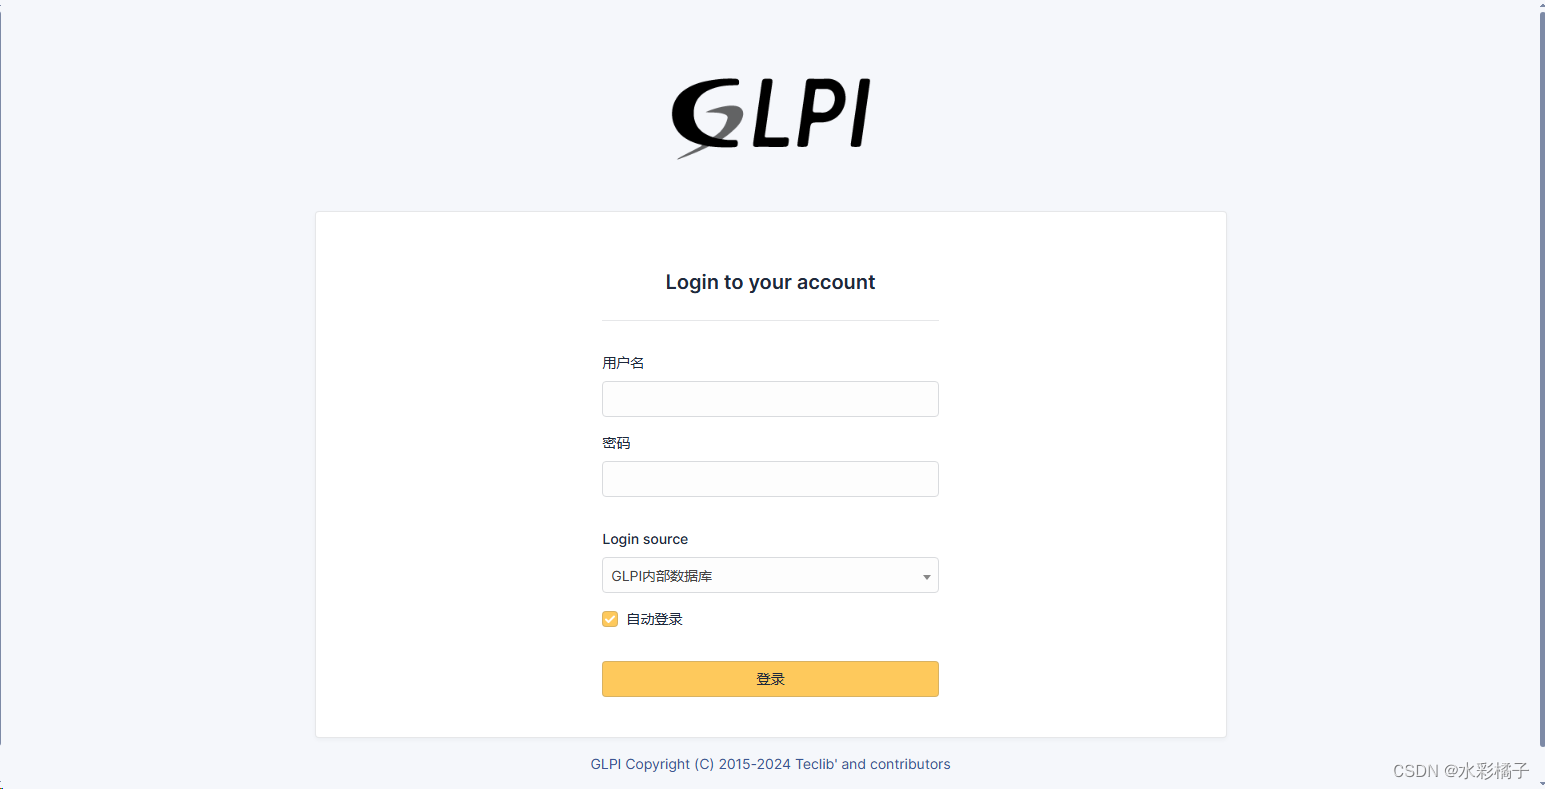
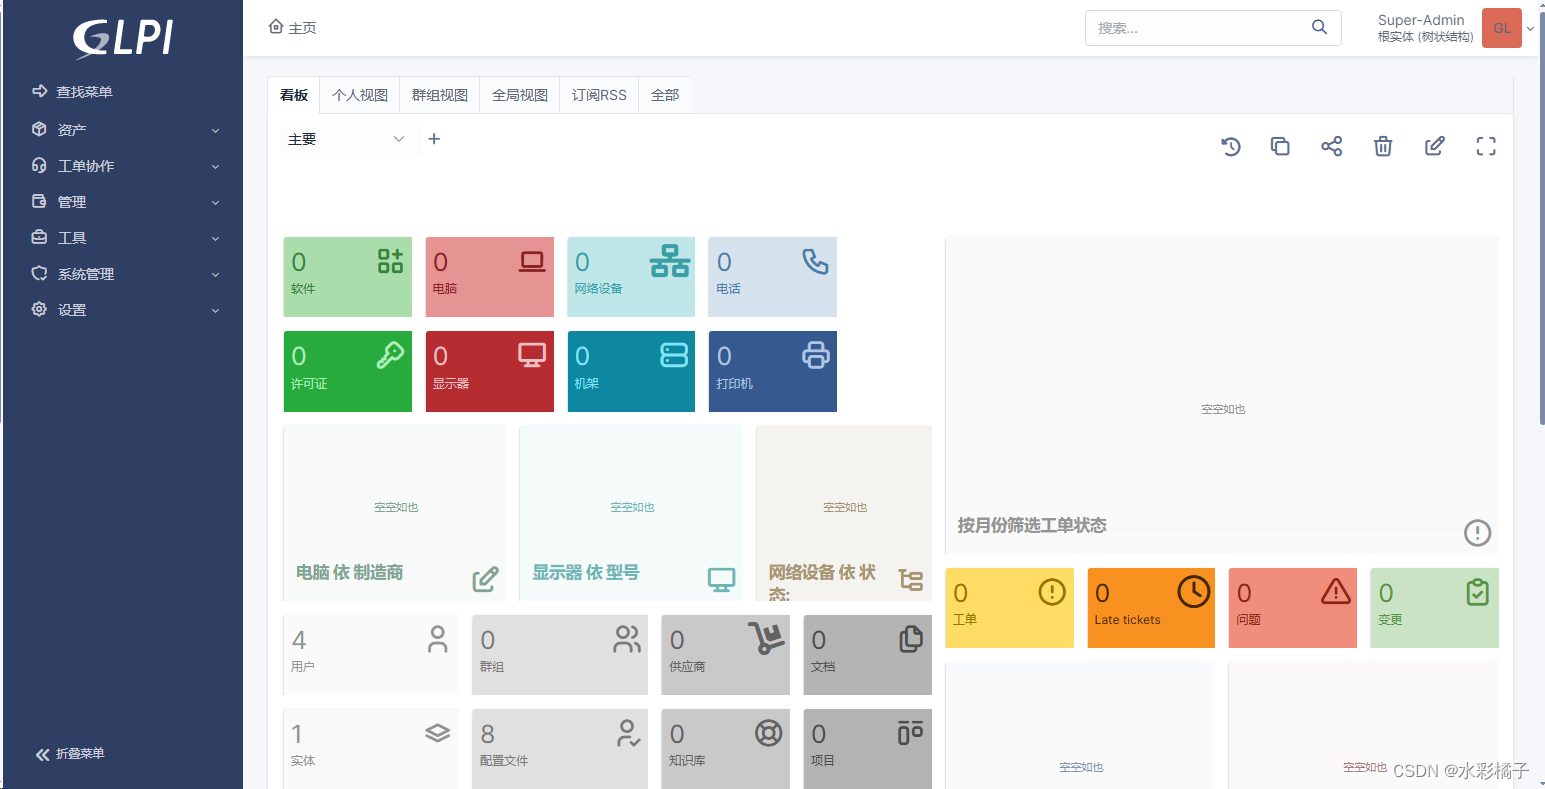
}8、开始安装
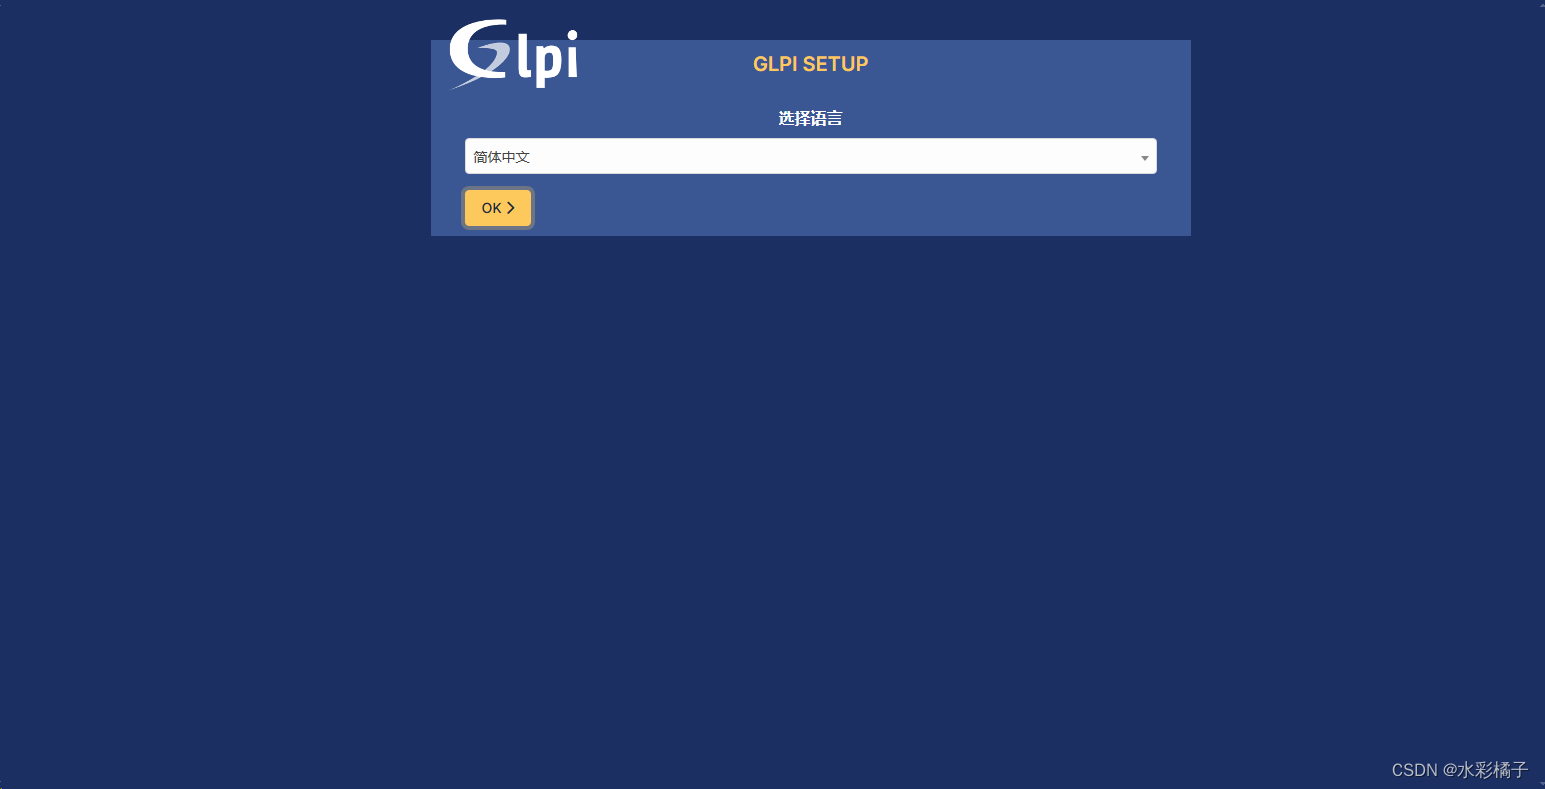
这里提示错误,按照指引解决
默认用户glpi 密码 glpi
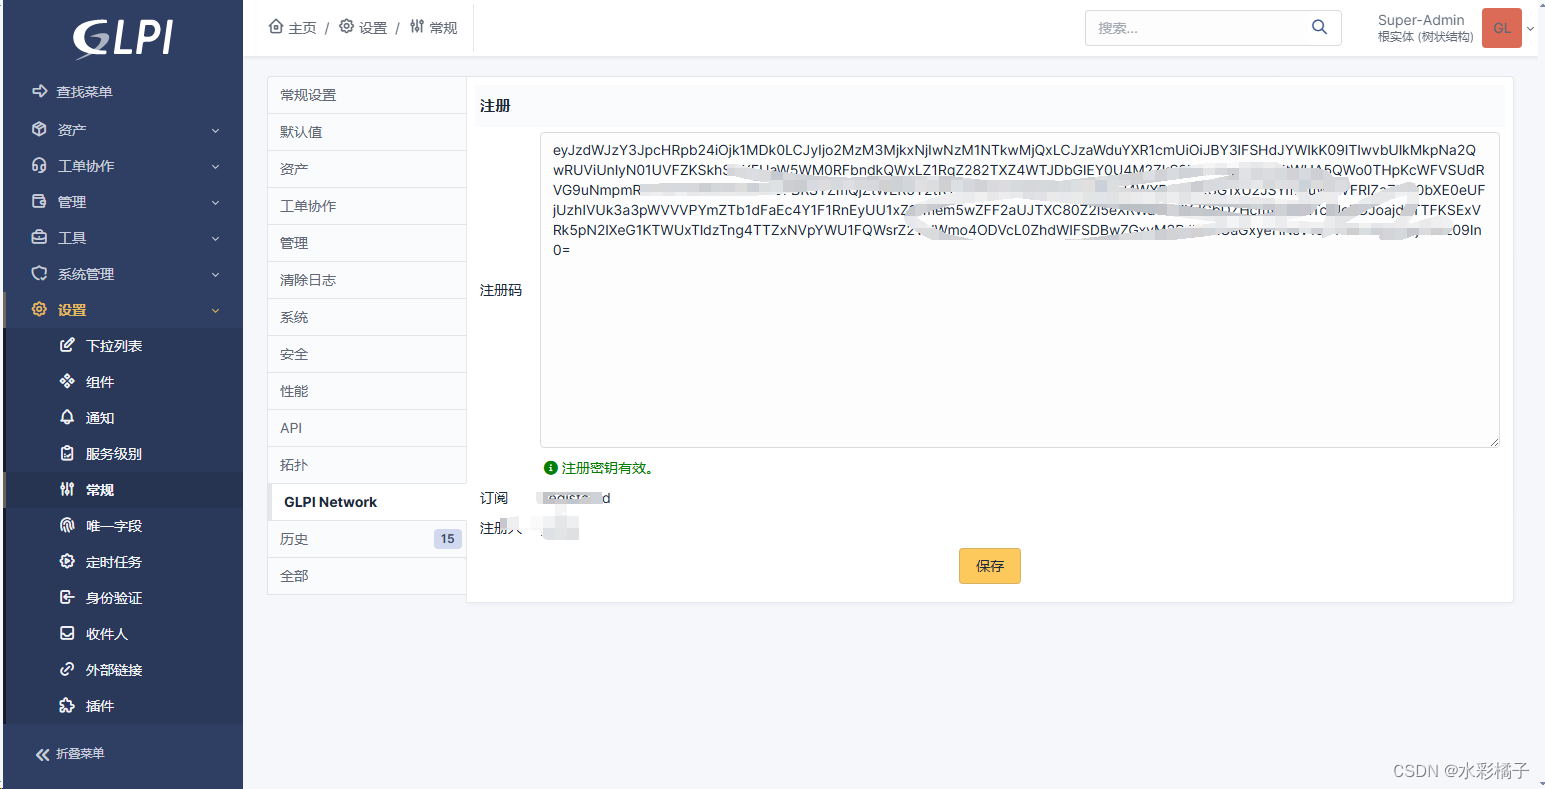
9、插件市场
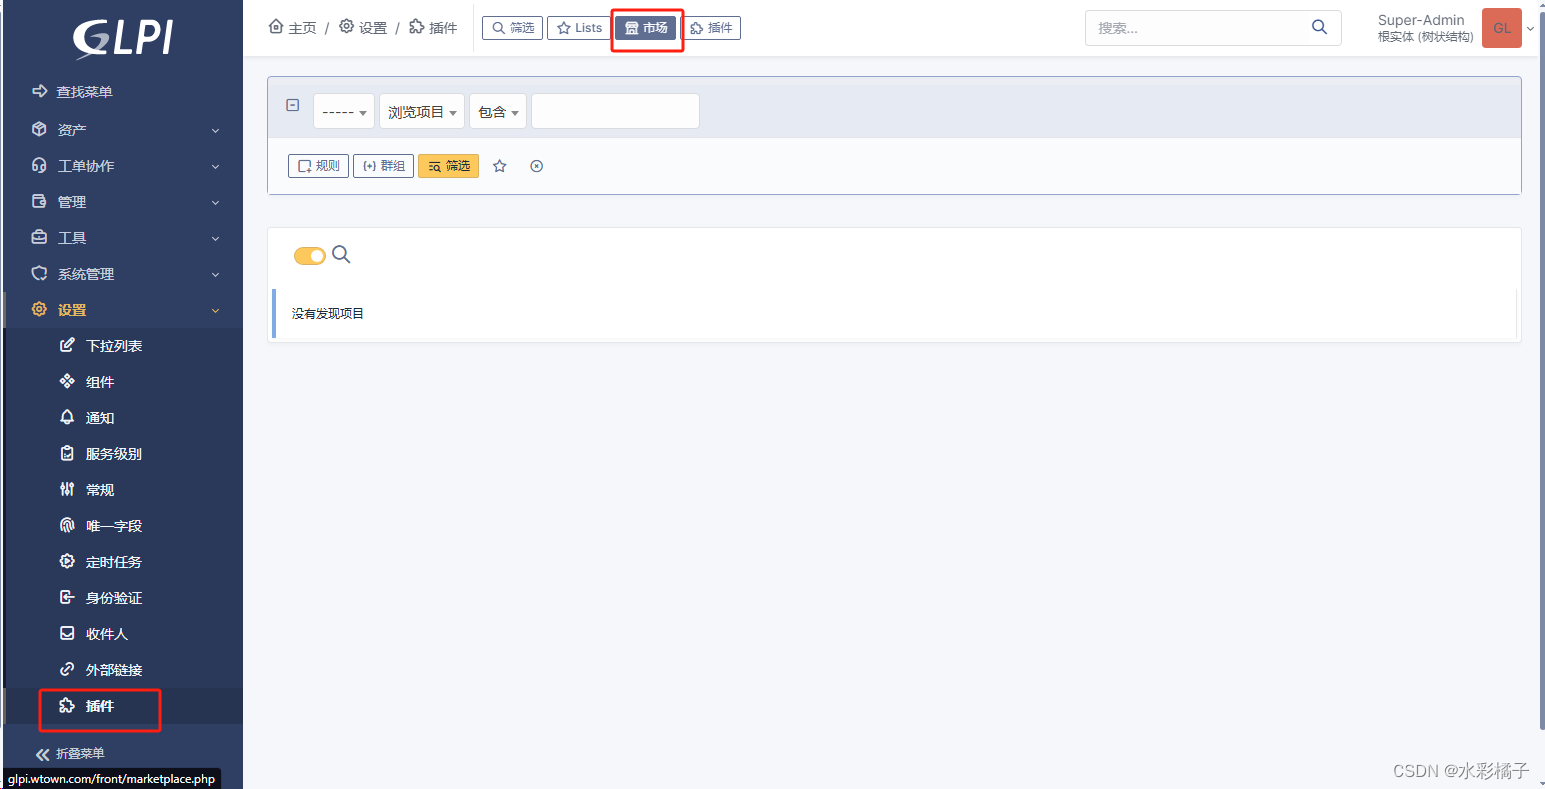
这里需要注册一下 获得key 才能使用插件市场
)
10、安装fusioninventory插件(版本太低 不支持最新glpi)
https://github.com/fusioninventory/fusioninventory-for-glpi/releases
放置到这个目录
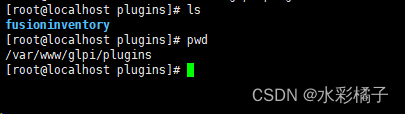
执行安装
bash
php82 bin/console glpi:plugin:install --username=glpi fusioninventory
php82 bin/console glpi:plugin:activate --username=glpi fusioninventory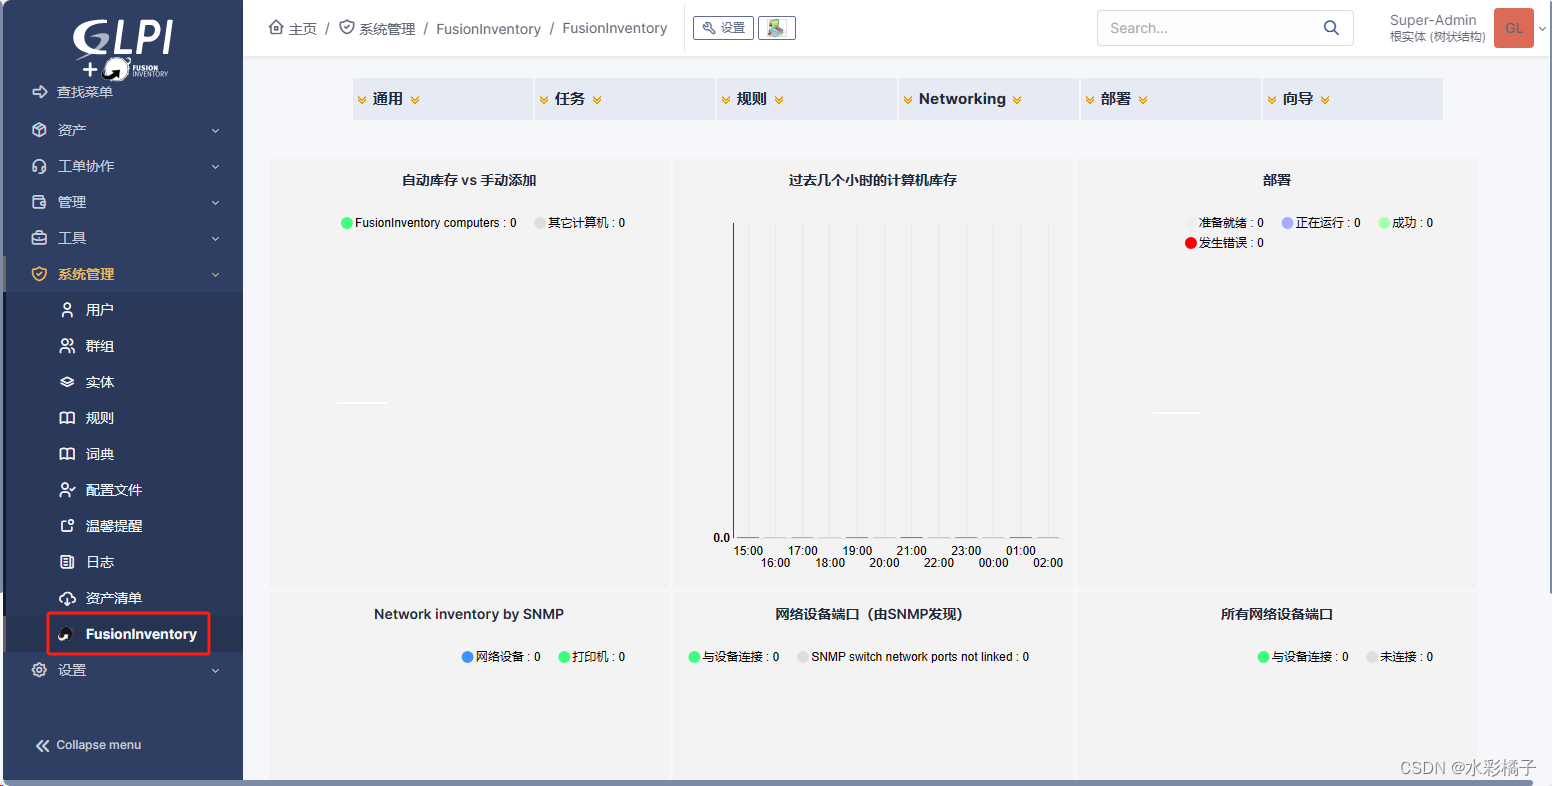

bash
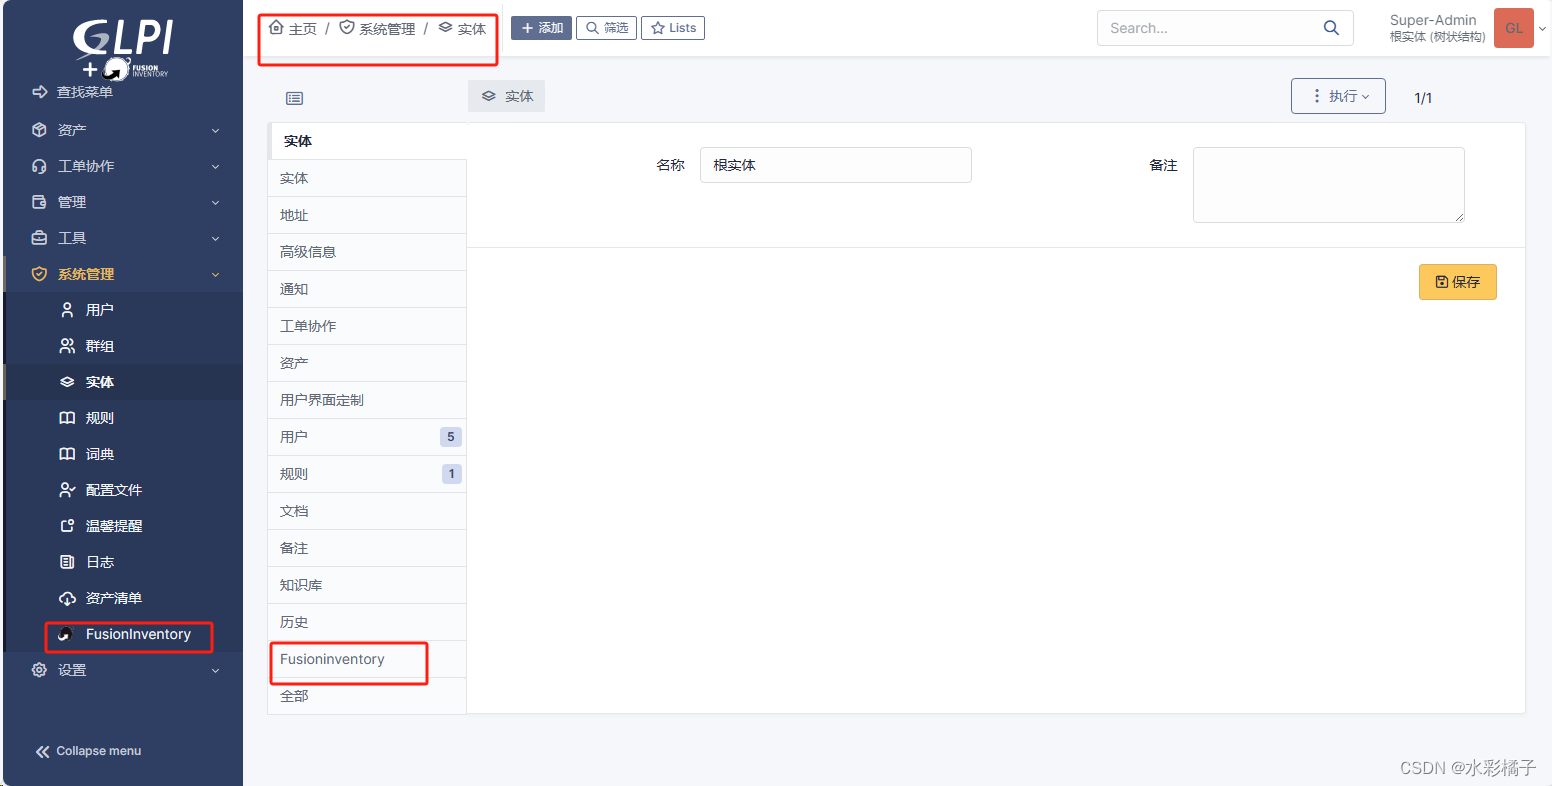
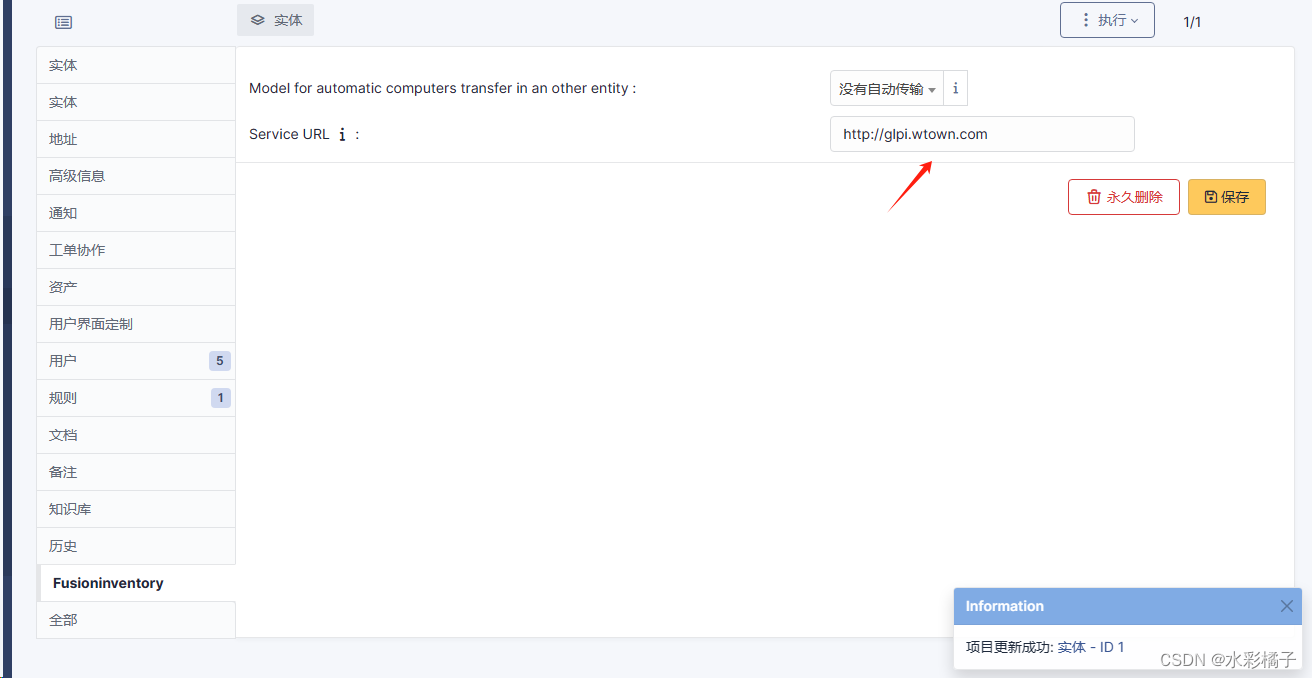
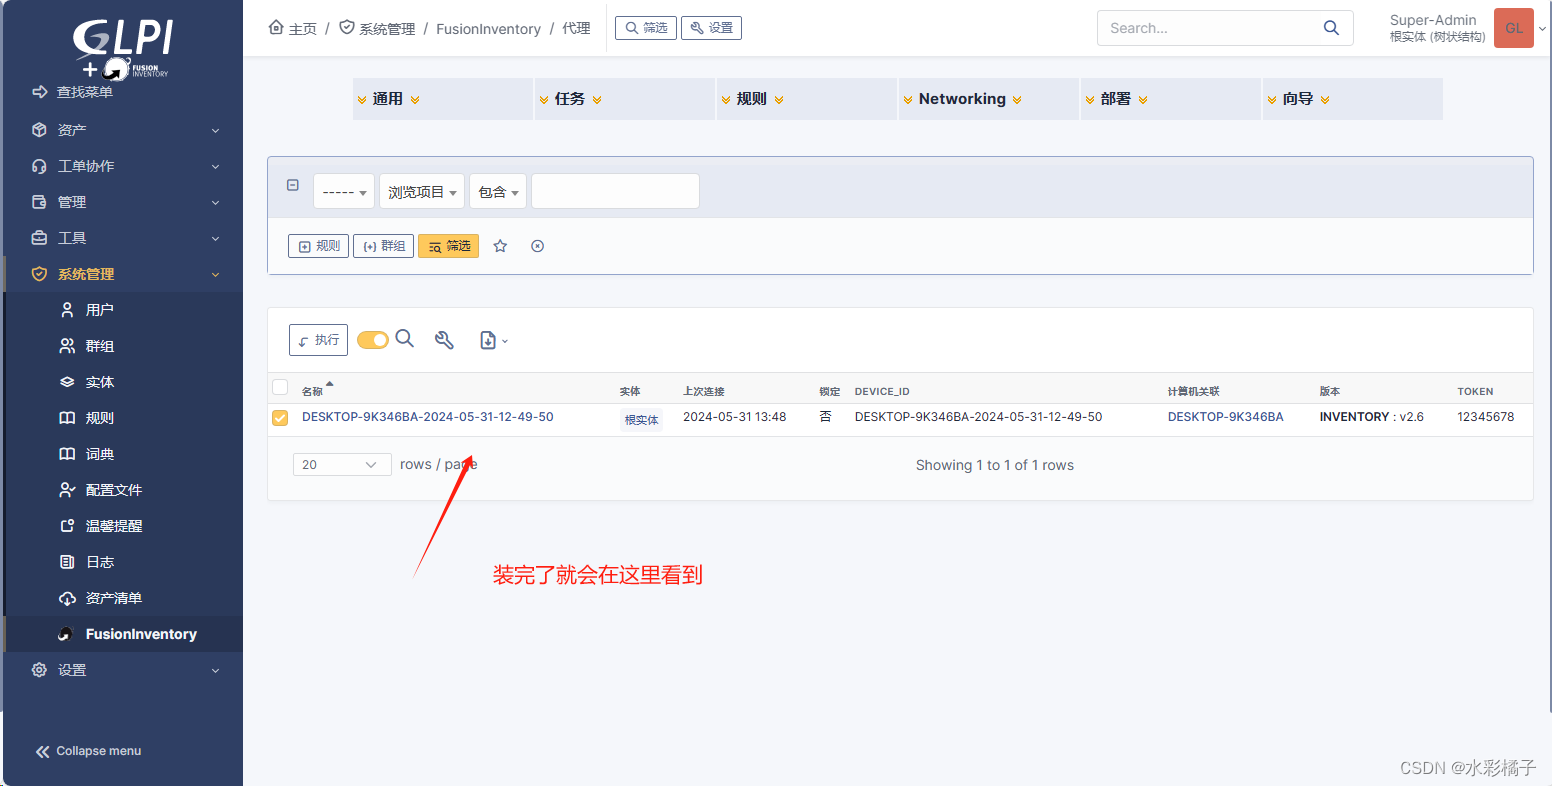
* * * * * cd /var/www/glpi/front/ && /usr/bin/php82 cron.php &>/dev/null更改实体-server端
windows 客户端安装
https://github.com/fusioninventory/fusioninventory-agent/releases
注意这里服务地址就是上面主体里配置的
http://glpi.wtown.com/plugins/fusioninventory/
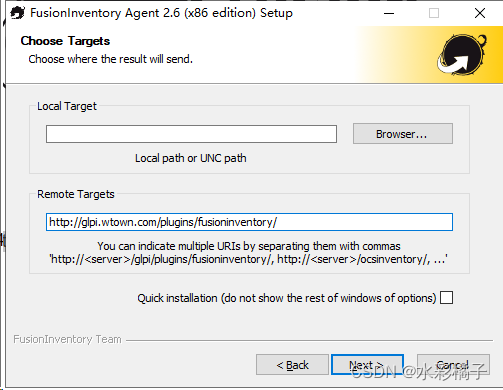
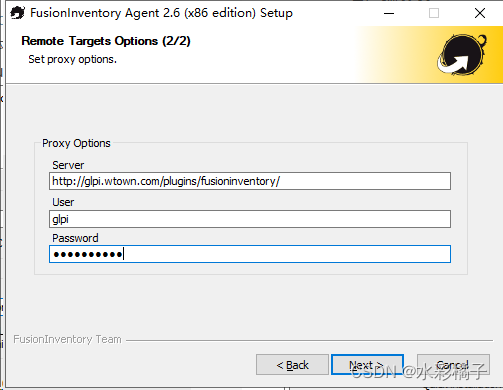
剩下的默认就行
linux 客户端安装

安装这两个软件,这个epel源中有
bash
dnf install fusioninventory-agent
dnf install fusioninventory-agent-task-inventory
更改配置
bash
vi /etc/fusioninventory/agent.cfg更改如下
bash
server = http://glpi.wtown.com/plugins/fusioninventory/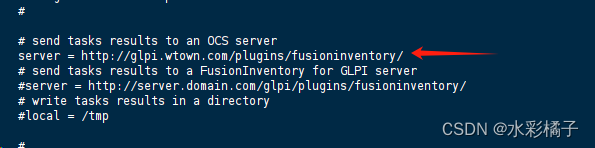
启动
bash
systemctl start fusioninventory-agent.service
systemctl enable fusioninventory-agent.service 