目录
1、前端vue的搭建
建立项目的过程略
开启一个建立好的vue项目用npm run dev
关闭一个vue项目可在终端操作:ctrl+c
需要注意的几点
1、在建立项目的时候、可以选择路由选项。后续就不需要再次安装路由。
2、安装axios npm install --save axios vue-axios
前端项目结构样式
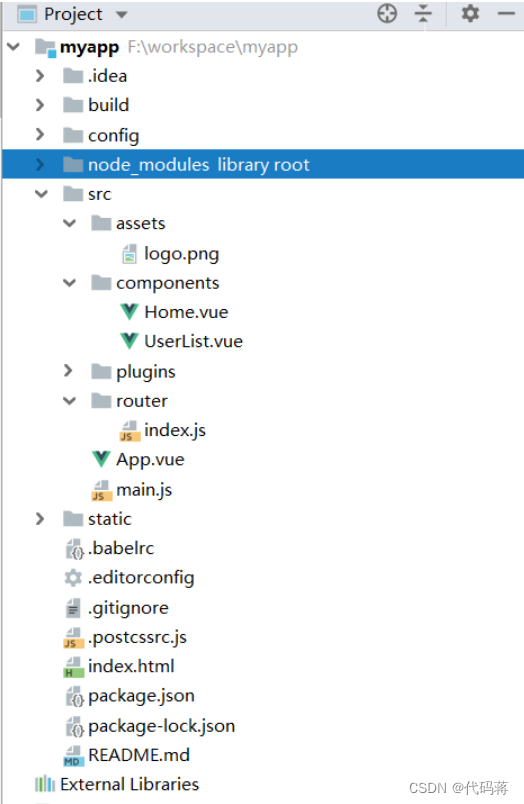
main.js、这个是整个项目的入口、要使用的在这里引入
// The Vue build version to load with the `import` command
// (runtime-only or standalone) has been set in webpack.base.conf with an alias.
import Vue from 'vue'
import './plugins/axios'
import App from './App'
import router from './router'

Vue.config.productionTip = false

/* eslint-disable no-new */
new Vue({
  el: '#app',
  router,
  components: { App },
  template: '<App/>'
})
Vue.js
在这里可以定义跳转到其他页面的连接
<template>
  <div id="app">

    <router-link to="/user">book</router-link>
    <router-view/>
  </div>
</template>

<script>
export default {
  name: 'App'
}
</script>

<style>
#app {
  font-family: 'Avenir', Helvetica, Arial, sans-serif;
  -webkit-font-smoothing: antialiased;
  -moz-osx-font-smoothing: grayscale;
  text-align: center;
  color: #2c3e50;
  margin-top: 60px;
}
</style>
配置的路由
在这里配置各个页面跳转的路由
import Vue from 'vue'
import Router from 'vue-router'

import UserList from '../components/UserList'
import Home from '../components/Home'


Vue.use(Router)

export default new Router({
  routes: [

  {
    path:'/user',
    component:UserList
    },
    {
      path:'/',
      component:Home
    }
  ]
})
组件1、
<template>
    <div>
      这里是首页
    </div>
</template>

<script>
    export default {
        name: "Home"
    }
</script>

<style scoped>

</style>
组件2
(每个组件之间都可以和后台数据交互通过axios)
提示: const _this =this变量的设置,否则会和回调函数搞混
这里和后台进行连接是通过url。这里的url是访问某一个接口的url,就相当于和某个方法进行打通
<template>
<div>
<table class="_table">
<tr class="_tr">
<td>姓名</td>
<td>年龄</td>
<td>邮箱</td>
</tr>
<tr v-for="item in books ">
<td>{{item.bookAuthor}}</td>
<td>{{item.bookName}}</td>
<td>{{item.price}}</td>
</tr>
</table>
</div>
</template>
<script>
export default {
name: "UserList",
data(){
return{
books:[
{
bookName:'java',
bookAuthor:'小黑',
price:'33'
}
]
}
},
created() {
const _this =this
axios.get('http://localhost:8181/book/findAll').then(function(resp){
_this.books=resp.data
})
}
}
</script>
<style scoped>
table,td{
border: 1px solid silver;
}
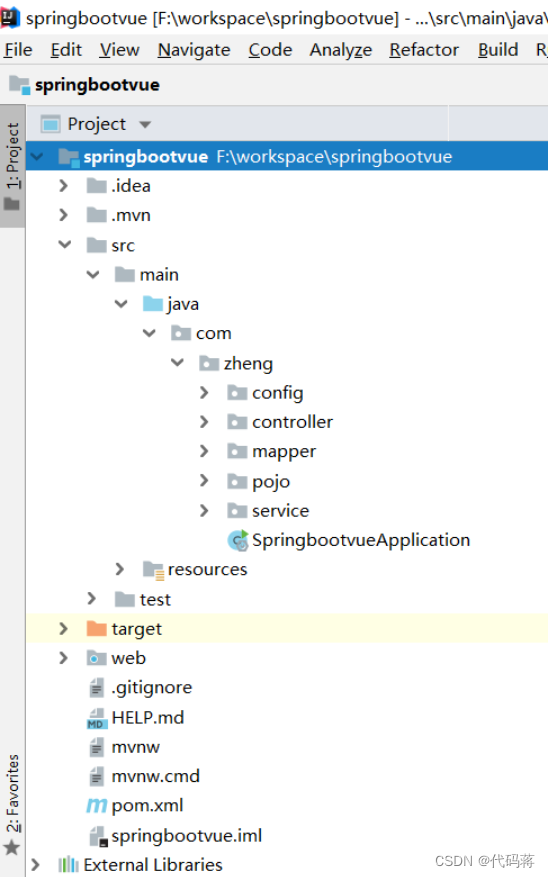
</style>2、后端项目的构建
首先构建项目
目录结构这个样子
pom文件中引入的jar包
我目前只用到mysql,shiro用来做后续的权限安全验证
<dependencies>
		<dependency>
			<groupId>org.springframework.boot</groupId>
			<artifactId>spring-boot-starter</artifactId>
		</dependency>

		<dependency>
			<groupId>org.springframework.boot</groupId>
			<artifactId>spring-boot-starter-test</artifactId>
			<scope>test</scope>
		</dependency>

        <!--整合shiro
           subject:用户
           security manager:管理所有的用户
           realm:连接数据库

       -->
        <dependency>
            <groupId>org.apache.shiro</groupId>
            <artifactId>shiro-spring</artifactId>
            <version>1.4.1</version>
        </dependency>
        <dependency>
            <groupId>com.github.theborakompanioni</groupId>
            <artifactId>thymeleaf-extras-shiro</artifactId>
            <version>2.0.0</version>
        </dependency>

		<!--整合mybatis-->
		<!-- https://mvnrepository.com/artifact/org.mybatis.spring.boot/mybatis-spring-boot-starter -->
		<dependency>
			<groupId>org.mybatis.spring.boot</groupId>
			<artifactId>mybatis-spring-boot-starter</artifactId>
			<version>2.1.0</version>
		</dependency>


		<dependency>
			<groupId>org.springframework.boot</groupId>
			<artifactId>spring-boot-starter-web</artifactId>
		</dependency>

		<!--   JDBC-->
		<dependency>
			<groupId>org.springframework.boot</groupId>
			<artifactId>spring-boot-starter-jdbc</artifactId>
		</dependency>

		<!--  Mysql-->
		<dependency>
			<groupId>mysql</groupId>
			<artifactId>mysql-connector-java</artifactId>
			<scope>runtime</scope>
		</dependency>

		<dependency>
			<groupId>com.alibaba</groupId>
			<artifactId>druid</artifactId>
			<version>1.1.6</version>
		</dependency>


	</dependencies>
yml文件用来配置连接数据库和端口的设置
spring:
datasource:
username: root
password: root
url: jdbc:mysql://localhost:3306/ssmbuild?allowMultiQueries=true&characterEncoding=UTF-8&characterSetResults=UTF-8&zeroDateTimeBehavior=convertToNull&useSSL=false
driver-class-name: com.mysql.cj.jdbc.Driver
type: com.alibaba.druid.pool.DruidDataSource
#spring boot 默认是不注入这些属性的,需要自己绑定
#druid 数据源专有配置
initiaSize: 5
minIdle: 5
maxActive: 20
maxWait: 60000
timeBetweenEvictionRunsmMillis: 60000
minEvictableIdleTimeMillis: 300000
validationQuery: SELECT 1 FROM DUAL
testWhileIdle: true
testOnBorrow: false
testOnReturn: false
poolPreparedStatements: true
filters: stat,wall,log4j
maxPoolPrepareStatementPerConnectionSize: 20
useGlobalDataSourceStat: true
connectionProperties: druid.stat.mergeSql=true;druid.stat.slowSqlMillis=500
server:
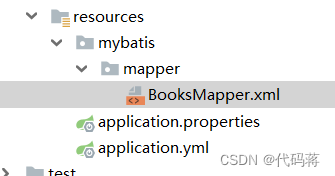
port: 8181application.property进行一些整合
spring.aop.auto=true

#整合mybatis
mybatis.type-aliases-package=com.zheng.pojo
mybatis.mapper-locations=classpath:mybatis/mapper/*.xml
controller层(这里返回给前端的数据用json)
这里使用RestController返回的就是return的内容
知识点:@RestController注解相当于@ResponseBody + @Controller合在一起的作用。
如果需要返回JSON,XML或自定义mediaType内容到页面,则需要在对应的方法上加上@ResponseBody注解。
package com.zheng.controller;


import com.zheng.pojo.Books;
import com.zheng.service.BookService;

import org.springframework.beans.factory.annotation.Autowired;

import org.springframework.web.bind.annotation.GetMapping;
import org.springframework.web.bind.annotation.RequestMapping;
import org.springframework.web.bind.annotation.RestController;


import java.util.List;

@RestController
@RequestMapping("/book")
public class BooksController {

    @Autowired
    BookService bookService;

    //查询所有的书籍信息
    @GetMapping("/findAll")
    public List<Books> findAll() {
        return bookService.queryBookList();
    }


}
service层
package com.zheng.service;

import com.zheng.pojo.Books;

import java.util.List;

public interface BookService {
    /**
     * 查询图书
     */
    public List<Books> queryBookList();


}
imp层
package com.zheng.service.serviceImpl;

import com.zheng.mapper.BooksMapper;
import com.zheng.pojo.Books;
import com.zheng.service.BookService;
import org.springframework.beans.factory.annotation.Autowired;
import org.springframework.stereotype.Service;

import java.util.List;

@Service
public class BookServiceImpl implements BookService {

    @Autowired
    BooksMapper booksMapper;
   //查询书籍
    @Override
    public List<Books> queryBookList() {
        return booksMapper.queryBookList() ;
    }
}
dao层
package com.zheng.mapper;


import com.zheng.pojo.Books;
import org.apache.ibatis.annotations.Mapper;
import org.springframework.stereotype.Repository;

import java.util.List;

@Mapper    //这个注解表示这个是mybatis的mapeper
@Repository
public interface BooksMapper {


    /**
     * 查询图书
     */
   public List<Books> queryBookList();

}
mapper
、这个位置
<?xml version="1.0" encoding="UTF8"?>
<!DOCTYPE mapper
        PUBLIC "-//mybatis.org//DTD Config 3.0//EN"
        "http://mybatis.org/dtd/mybatis-3-mapper.dtd">
<mapper namespace="com.zheng.mapper.BooksMapper">


    <select id="queryBookList" resultType="com.zheng.pojo.Books">
        select * from bookss

    </select>

</mapper>
实体类
可以使用Lombok、我不喜欢使用
package com.zheng.pojo;

public class Books {
    private String bookId;
    private String bookName;
    private String bookAuthor;
    private Double price;
    private String address;
    private String impression;
    private String introduce;


    public Books(String bookId, String bookName, String bookAuthor, Double price, String address, String impression, String introduce) {
        this.bookId = bookId;
        this.bookName = bookName;
        this.bookAuthor = bookAuthor;
        this.price = price;
        this.address = address;
        this.impression = impression;
        this.introduce = introduce;

    }

    public Double getPrice() {
        return price;
    }

    public void setPrice(Double price) {
        this.price = price;
    }


    public Books() { }


    public String getBookId() {
        return bookId;
    }

    public void setBookId(String bookId) {
        this.bookId = bookId;
    }

    public String getBookName() {
        return bookName;
    }

    public void setBookName(String bookName) {
        this.bookName = bookName;
    }

    public String getBookAuthor() {
        return bookAuthor;
    }

    public void setBookAuthor(String bookAuthor) {
        this.bookAuthor = bookAuthor;
    }


    public String getAddress() {
        return address;
    }

    public void setAddress(String address) {
        this.address = address;
    }

    public String getImpression() {
        return impression;
    }

    public void setImpression(String impression) {
        this.impression = impression;
    }

    public String getIntroduce() {
        return introduce;
    }

    public void setIntroduce(String introduce) {
        this.introduce = introduce;
    }
}
额外写一个类、解决跨域问题
package com.zheng.config;


import org.springframework.context.annotation.Configuration;
import org.springframework.web.servlet.config.annotation.CorsRegistry;
import org.springframework.web.servlet.config.annotation.WebMvcConfigurer;

@Configuration
public class CrosConfig implements WebMvcConfigurer {
    public void addCorsMappings(CorsRegistry registry){
        registry.addMapping("/**")
                .allowedOriginPatterns("*")
                .allowedMethods("GET","HEAD","POST","PUT","DELETE","OPTIONS")
                .allowCredentials(true)
                .maxAge(3600)
                .allowedHeaders("*");
    }
}
遇到的问题:
在测试从数据库取数据的时候,那个测试类出了问题。根本原因是spring boot的启动类没有放在根目录。
3、测试
第一步、1、开启后端服务

第二步、开启前端服务

看页面效果
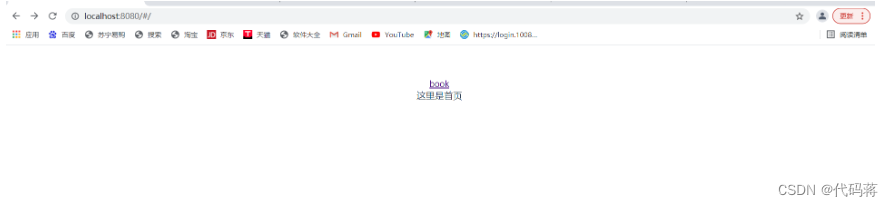
点击book
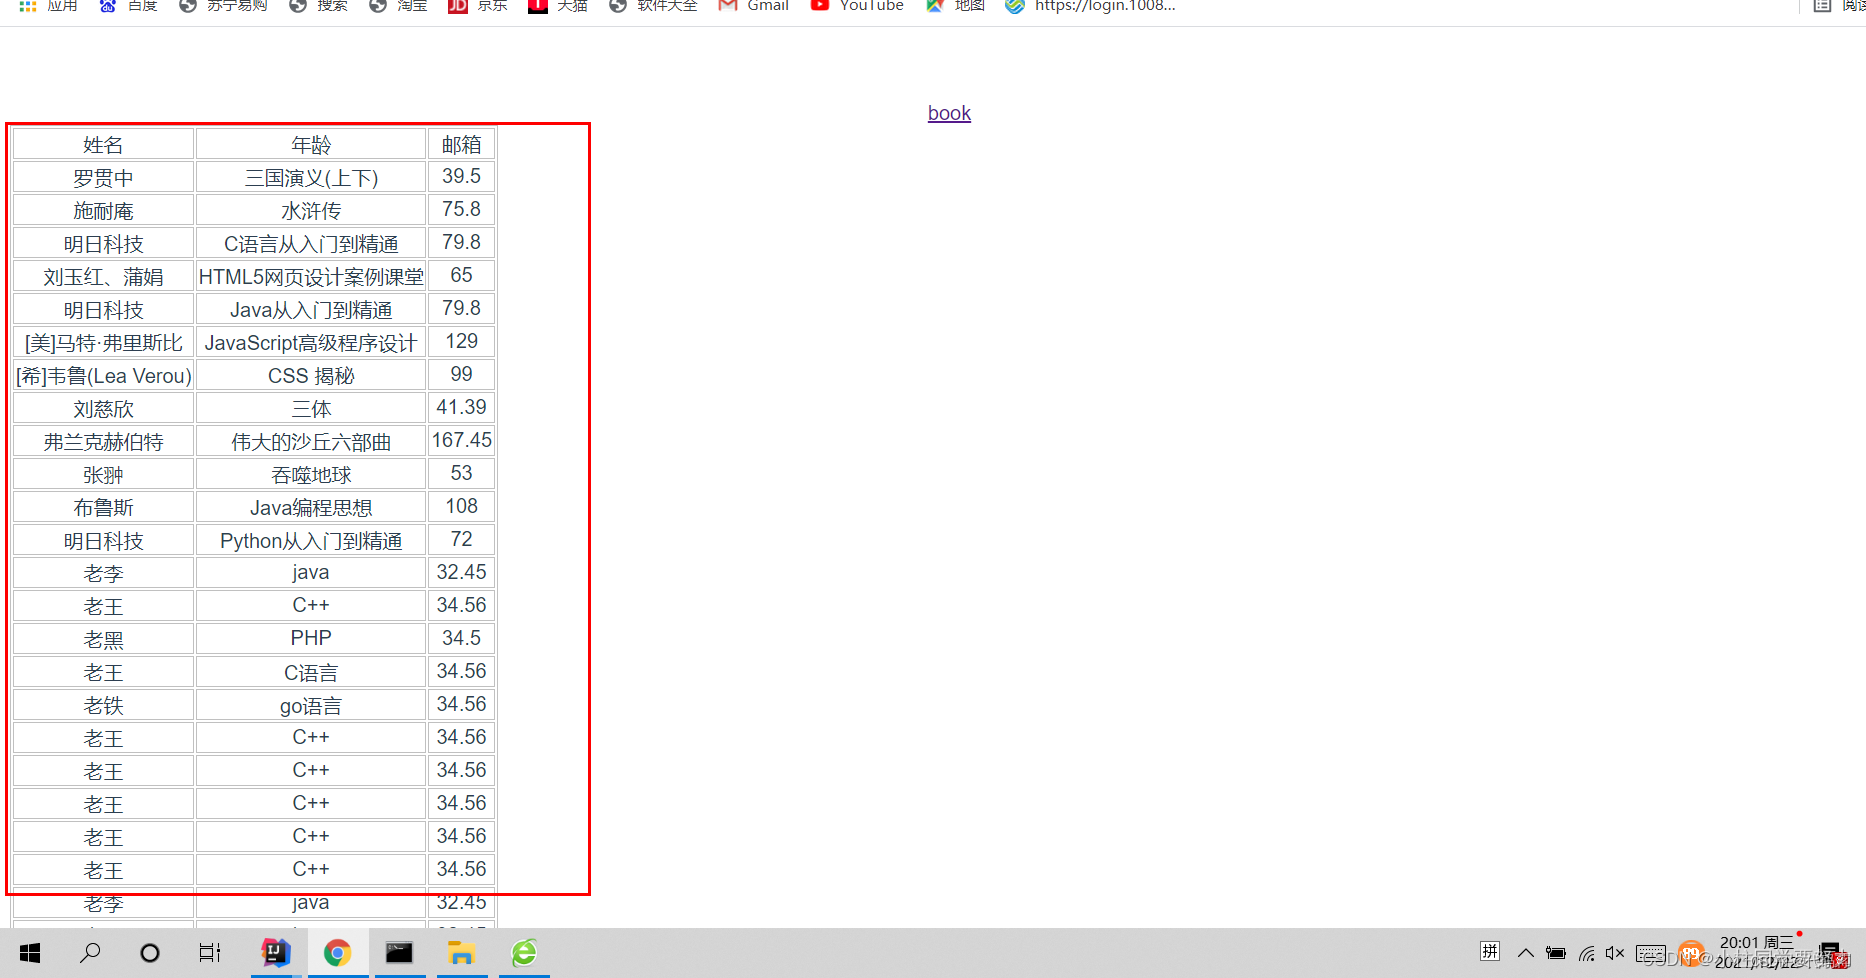
这个是从后端请求来的数据。没做样式、简单打通、可以使用elementui让页面更加美观。