一 SmartDNS 安装 ,可参考:Ubuntu server 24 (Linux) 安装部署smartdns 搭建智能DNS服务器-CSDN博客
二 安装AdGuard
1 下载地址:GitHub - AdguardTeam/AdGuardHome: Network-wide ads & trackers blocking DNS server
2 解压安装
#下载适合的版本
wget https://github.com/AdguardTeam/AdGuardHome/releases/download/v0.108.0-b.56/AdGuardHome_linux_amd64.tar.gz
#解压
tar  zxvf  AdGuardHome_linux_amd64.tar.gz
#
cd  AdGuardHome/
#查看帮助
test@test:~/soft/AdGuardHome$ ./AdGuardHome --help
Usage:

./AdGuardHome [options]

Options:
  -c, --config VALUE                 Path to the config file.
  -w, --work-dir VALUE               Path to the working directory.
  -h, --host VALUE                   Deprecated. Host address to bind HTTP server on. Use --web-addr. The short -h will work as --help in the future.
  -p, --port VALUE                   Deprecated. Port to serve HTTP pages on. Use --web-addr.
  --web-addr VALUE                   Address to serve the web UI on, in the host:port format.
  -s, --service VALUE                Service control action: status, install (as a service), uninstall (as a service), start, stop, restart, reload (configuration).
  -l, --logfile VALUE                Path to log file.  If empty, write to stdout; if "syslog", write to system log.
  --pidfile VALUE                    Path to a file where PID is stored.
  --check-config                     Check configuration and exit.
  --no-check-update                  Don't check for updates.
  --update                           Update the current binary and restart the service in case it's installed.
  --no-mem-optimization              Deprecated.  Disable memory optimization.
  --no-etc-hosts                     Deprecated: use clients.runtime_sources.hosts and dns.hostsfile_enabled instead.  Do not use the OS-provided hosts.
  --local-frontend                   Use local frontend directories.
  -v, --verbose                      Enable verbose output.
  --glinet                           Run in GL-Inet compatibility mode.
  --version                          Show the version and exit.  Show more detailed version description with -v.
  --help                             Print this help.
#以系统服务运行启动
sudo ./AdGuardHome -s install
#如下图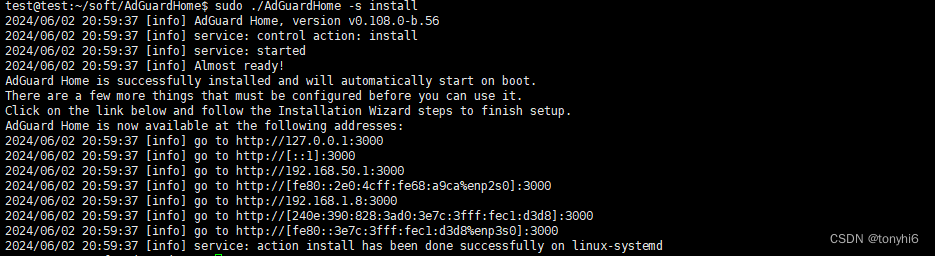
3 AdGuard Home服务管理
#开机自启
sudo systemctl enable AdGuardHome
#服务启动
sudo systemctl start AdGuardHome
#服务重启
sudo systemctl restart AdGuardHome
三 配置系统防火墙
#iptables放行3000端口,53端口
sudo iptables -A INPUT -p tcp --dport 53 -j ACCEPT
sudo iptables -A INPUT -p tcp --dport 3000 -j ACCEPT
sudo iptables-save
#持久保存iptables防火墙规则
sudo netfilter-persistent save
四 配置AdGuard Home
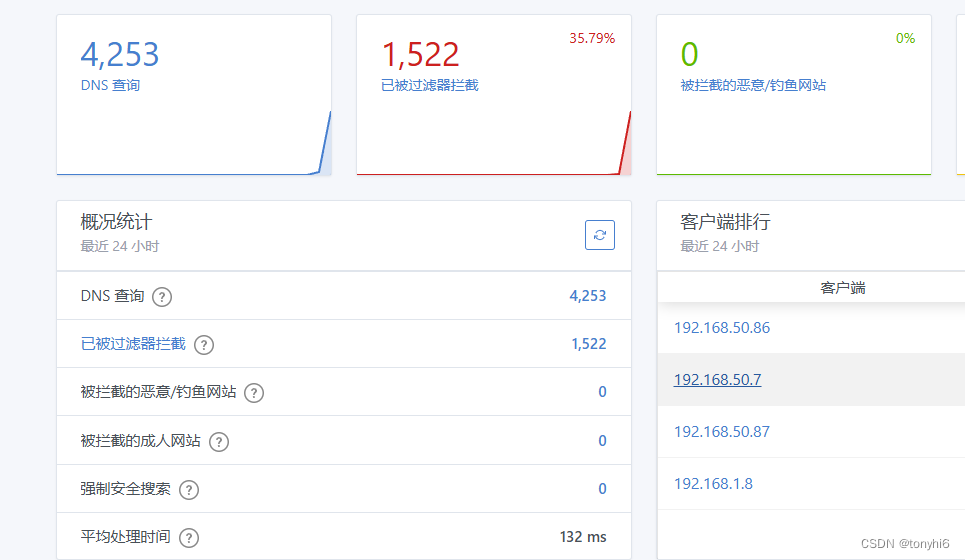
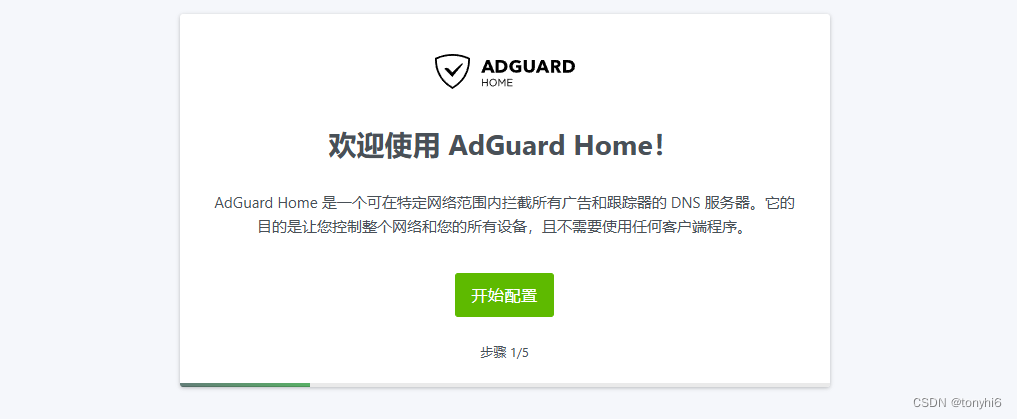
1 访问IP+3000端口


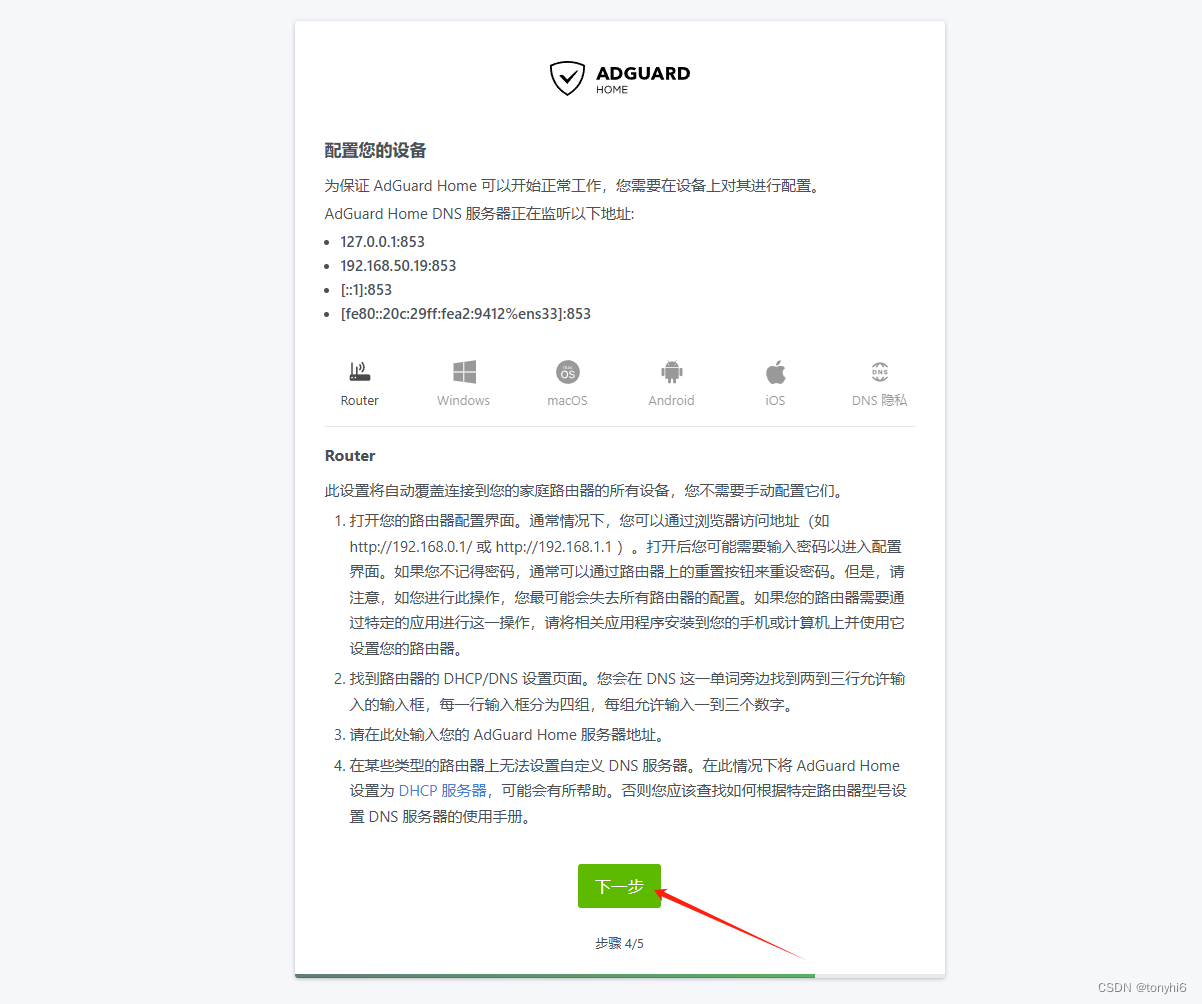


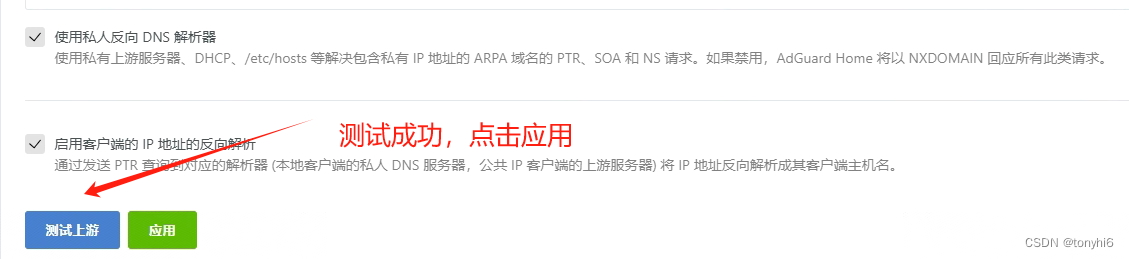
2 配置AdGuard Home 和SmartDNS 集成
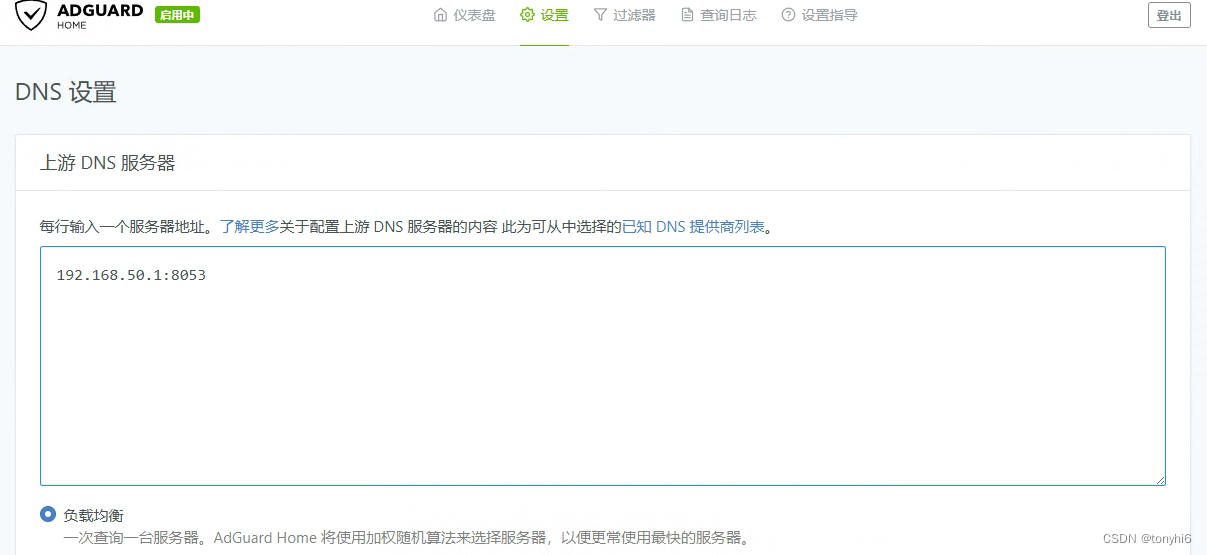
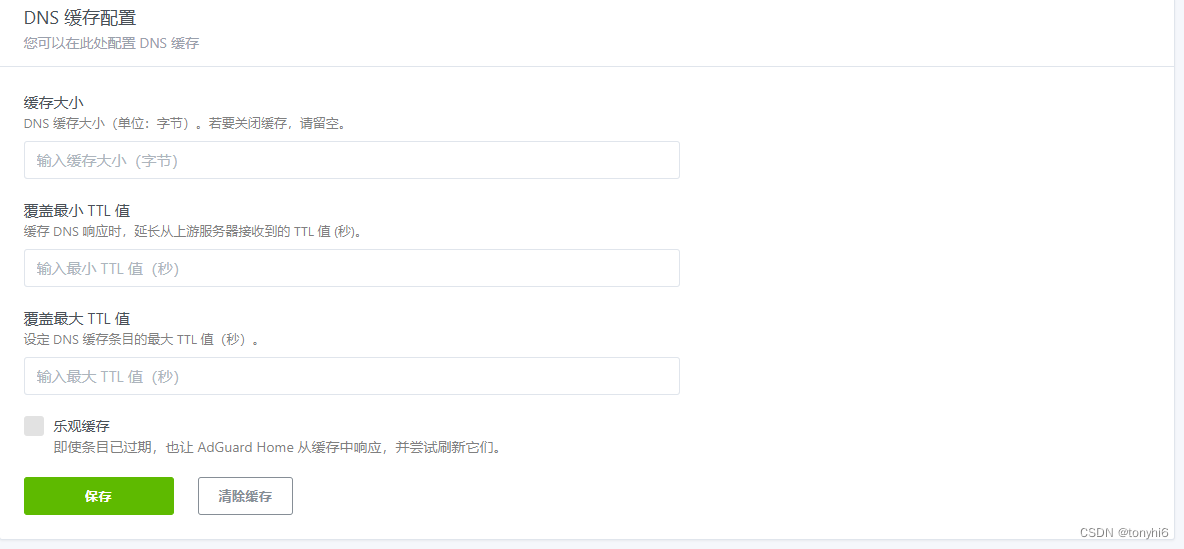
 DNS缓存全部留空,使用smartdns的缓存配置
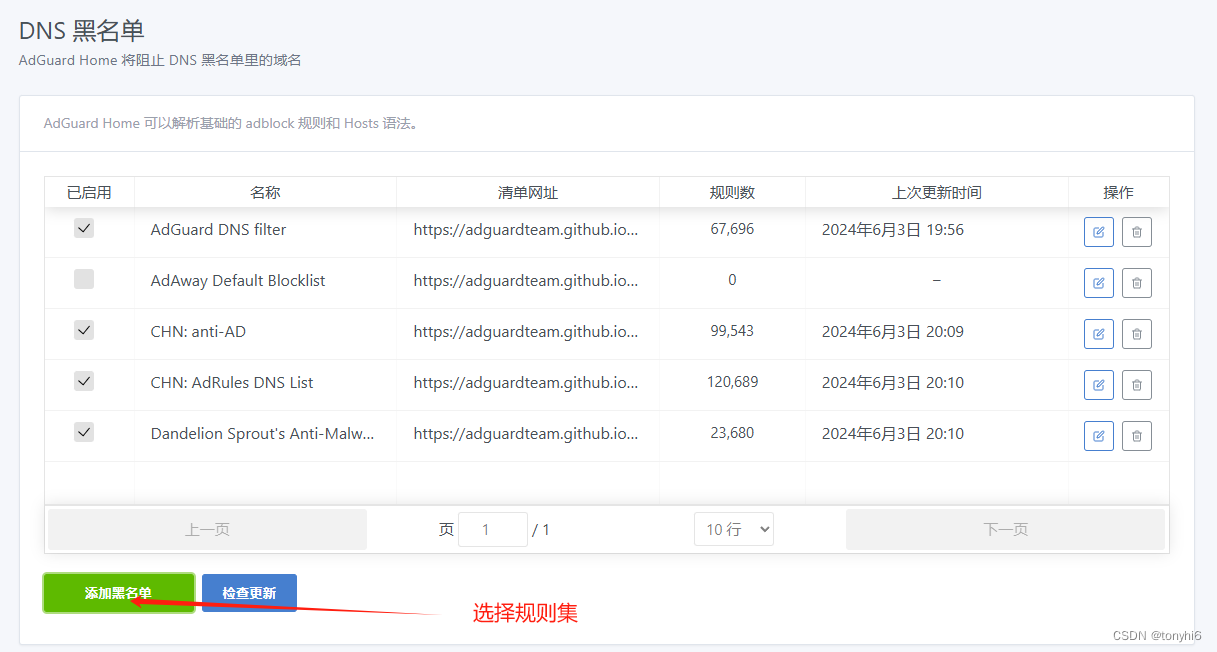
过滤器,设置DNS 黑名单,建议选择 一到两个全面些的规则集
记得把SmartDNS 端口改成8053(⊙﹏⊙)
五 客户端配置
DNS 填写AdGuard Home 的ip