一、在tensorflow中新建及保存模型
启动Jupyter Notebook
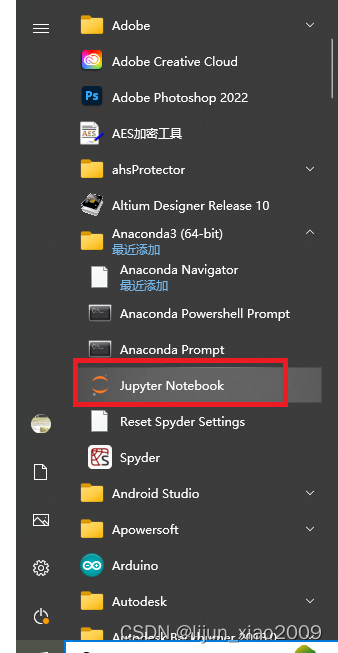
新建Notebook
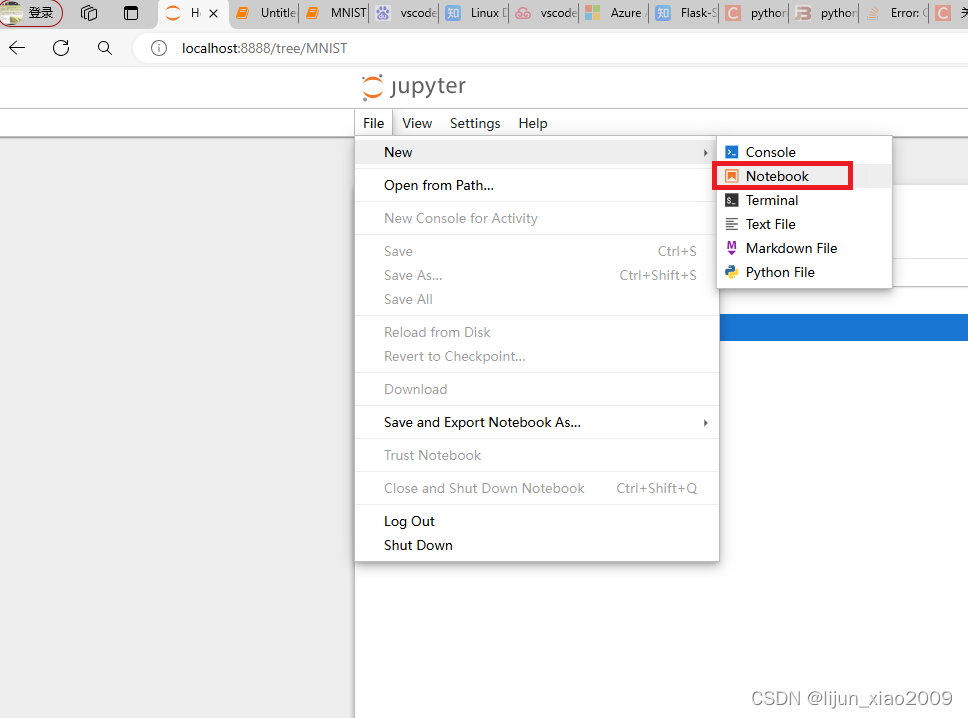
生成 mnist_model.h5 模型的代码
import tensorflow as tf
from tensorflow.keras.datasets import mnist
from tensorflow.keras.models import Sequential
from tensorflow.keras.layers import Dense, Dropout, Flatten
from tensorflow.keras.layers import Conv2D, MaxPooling2D

# MNIST 数据集参数
num_classes = 10  # 总类别数
img_rows, img_cols = 28, 28  # 图像尺寸

# 加载 MNIST 数据集
(x_train, y_train), (x_test, y_test) = mnist.load_data()

# 将图像数据调整为 TensorFlow 需要的格式,并进行归一化处理
x_train = x_train.reshape(x_train.shape[0], img_rows, img_cols, 1)
x_test = x_test.reshape(x_test.shape[0], img_rows, img_cols, 1)
x_train = x_train.astype('float32')
x_test = x_test.astype('float32')
x_train /= 255
x_test /= 255

# 将类别标签转换为 one-hot 编码
y_train = tf.keras.utils.to_categorical(y_train, num_classes)
y_test = tf.keras.utils.to_categorical(y_test, num_classes)

# 创建模型
model = Sequential()
model.add(Conv2D(32, kernel_size=(3, 3), activation='relu', input_shape=(img_rows, img_cols, 1)))
model.add(Conv2D(64, (3, 3), activation='relu'))
model.add(MaxPooling2D(pool_size=(2, 2)))
model.add(Dropout(0.25))
model.add(Flatten())
model.add(Dense(128, activation='relu'))
model.add(Dropout(0.5))
model.add(Dense(num_classes, activation='softmax'))

# 编译模型
model.compile(loss=tf.keras.losses.categorical_crossentropy,
              optimizer=tf.keras.optimizers.Adadelta(),
              metrics=['accuracy'])

# 训练模型
model.fit(x_train, y_train,
          batch_size=128,
          epochs=10,
          verbose=1,
          validation_data=(x_test, y_test))

# 评估模型
score = model.evaluate(x_test, y_test, verbose=0)
print('Test loss:', score[0])
print('Test accuracy:', score[1])
model.save('mnist_model.h5')
mnist_hello.py文件
from flask import Flask, request, jsonify # type: ignore
import numpy as np # type: ignore
import tensorflow as tf # type: ignore
import json
from PIL import Image # type: ignore
app = Flask(__name__)
# 加载模型(确保模型文件与此脚本在同一目录下,或者提供正确的路径)
model = tf.keras.models.load_model('mnist_model.h5')
@app.route('/predictlast', methods=['GET'])
def predictlast():
# if 'file' not in request.files:
# return jsonify({'error': 'No file part in the request'}), 400
# file = request.files['file']
# file = Image.open('path_to_your_image.jpg')
# 如果用户未选择文件,浏览器也会提交一个空文件部分,没有文件名
# if file.filename == '':
# return jsonify({'error': 'No selected file'}), 400
img_array = np.random.rand(1, 28, 28) # 生成一个随机的28x28图像作为示例
# 如果你想保存为标准的灰度图像(0-255),需要将值乘以255并转换为整数
random_image_uint8 = (img_array * 255).astype(np.uint8)
# 因为我们只有一个图像,所以我们可以去掉第一个维度(如果有多个图像,需要遍历它们)
single_image = random_image_uint8[0]
# 将NumPy数组转换为PIL Image对象
image_pil = Image.fromarray(single_image, mode='L') # 'L' 表示灰度模式
# 保存图片到本地
image_pil.save('random_28x28_gray.png')
# 显示图片(可选)
image_pil.show()
# 读取图片文件
#img = Image.open('random_28x28_gray.png')
# 转换为模型需要的格式
#img_array = preprocess_image(img)
# 使用模型进行预测
prediction = model.predict(img_array)
# 输出预测结果
print(prediction)
# print(prediction)
# 假设你的模型输出的是 one-hot 编码,你需要找到概率最高的类别
# predicted_class = np.argmax(prediction, axis=1)[0]
# 返回预测结果
# return jsonify({'predicted_class': predicted_class})
return "成功"
# 【测试通过】本地图片生成为28x28图像,并进行预测
@app.route('/predictlast_new', methods=['GET'])
def predictlast_new():
# 加载本地图片
#image_path = 'image_3.jpg' # 替换为你的图片路径
image_path = 'image_9.png'
image = Image.open(image_path).convert('L') # 转换为灰度图像
# 调整图片尺寸为28x28
image = image.resize((28, 28), Image.LANCZOS)
# 将PIL图像转换为NumPy数组
image_array = np.array(image)
# 归一化图像数据(将像素值缩放到0-1范围)
image_array = image_array.astype('float32') / 255.0
# 如果你的模型期望的输入是4D的(batch_size, height, width, channels),
# 你需要添加一个维度来表示batch_size(在这个案例中是1)
image_array = np.expand_dims(image_array, axis=0)
# 加载预训练的模型
model = tf.keras.models.load_model('mnist_model.h5')
# 使用模型进行预测
predictions = model.predict(image_array)
# 输出预测结果(通常predictions是一个二维数组,包含每个类别的概率)
print(predictions)
# 如果你想要得到最有可能的类别,你可以取概率最高的索引
predicted_class = np.argmax(predictions[0])
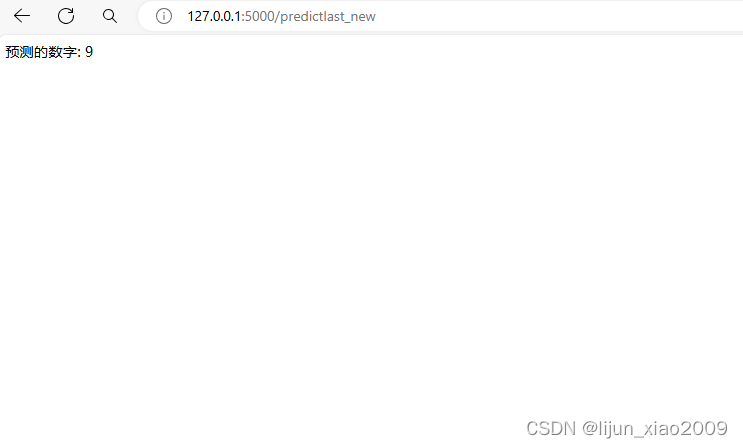
print(f'预测的数字: {predicted_class}')
return "成功"
if __name__ == '__main__':
app.run(debug=True) # 启动Flask应用(开发模式)二、VScode 启动Flask命令
pip install tensorflow
pip install Pillow
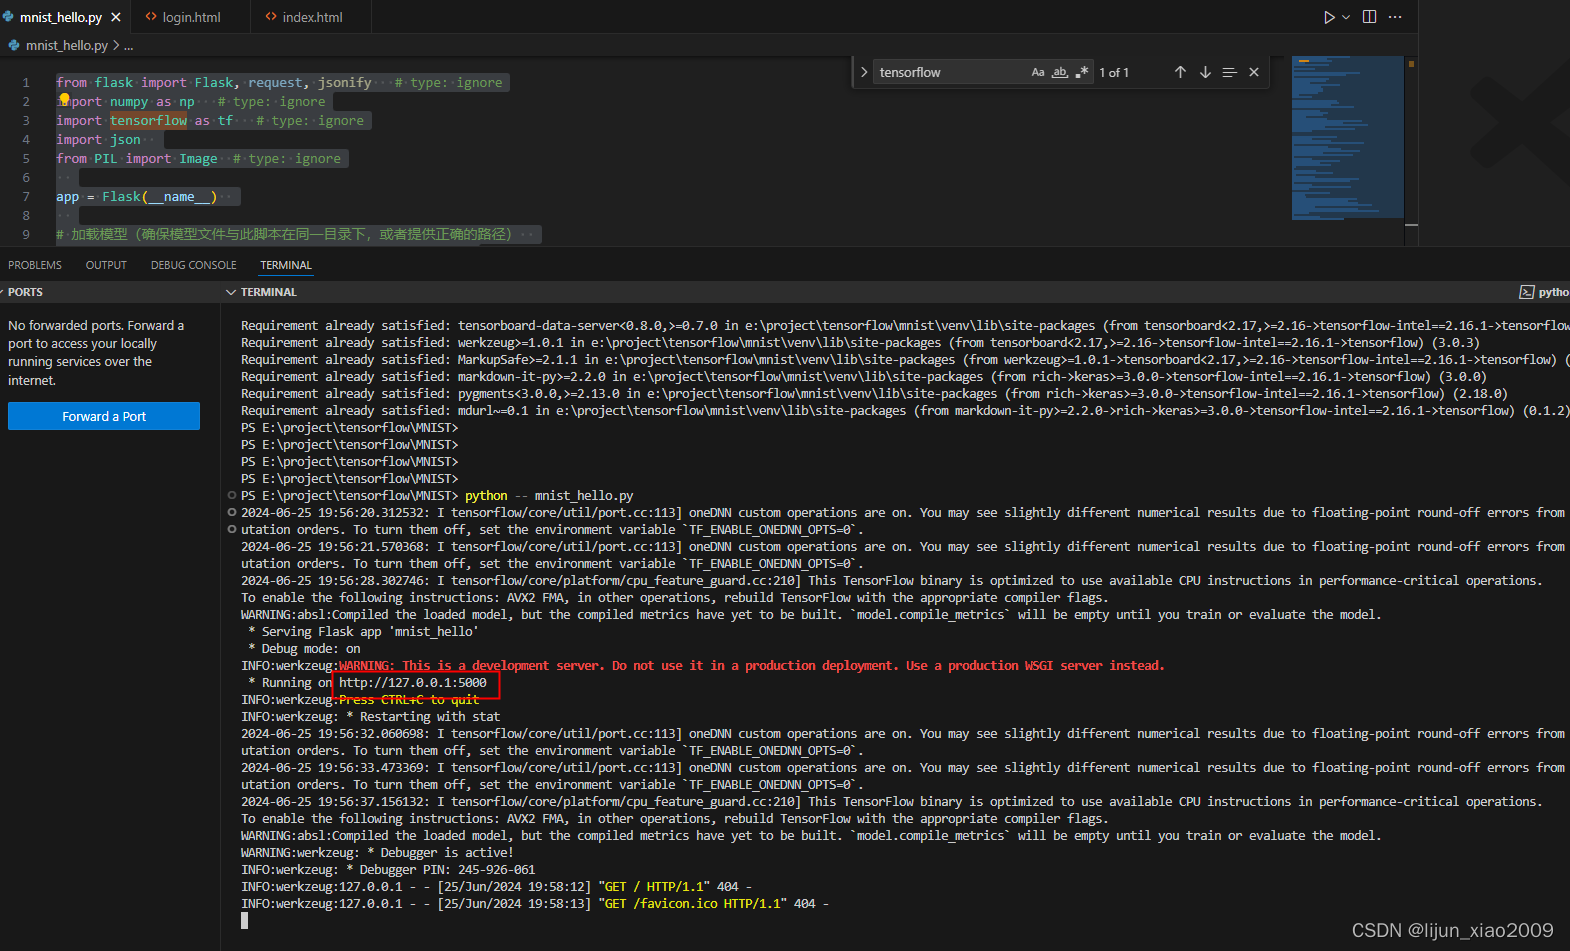
python -- mnist_hello.py启动效果
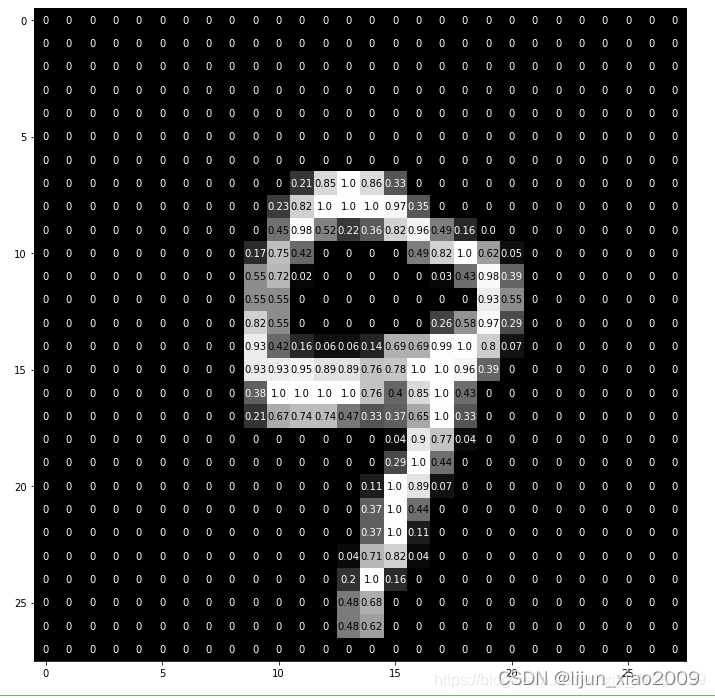
运行时本地需要的图片,并将图片名称命名为 image_9.png
三、访问地址
http://127.0.0.1:5000/predictlastpredictlast_new
四、最后
如遇到问题,可留言,如需要文件,请填写邮箱地址