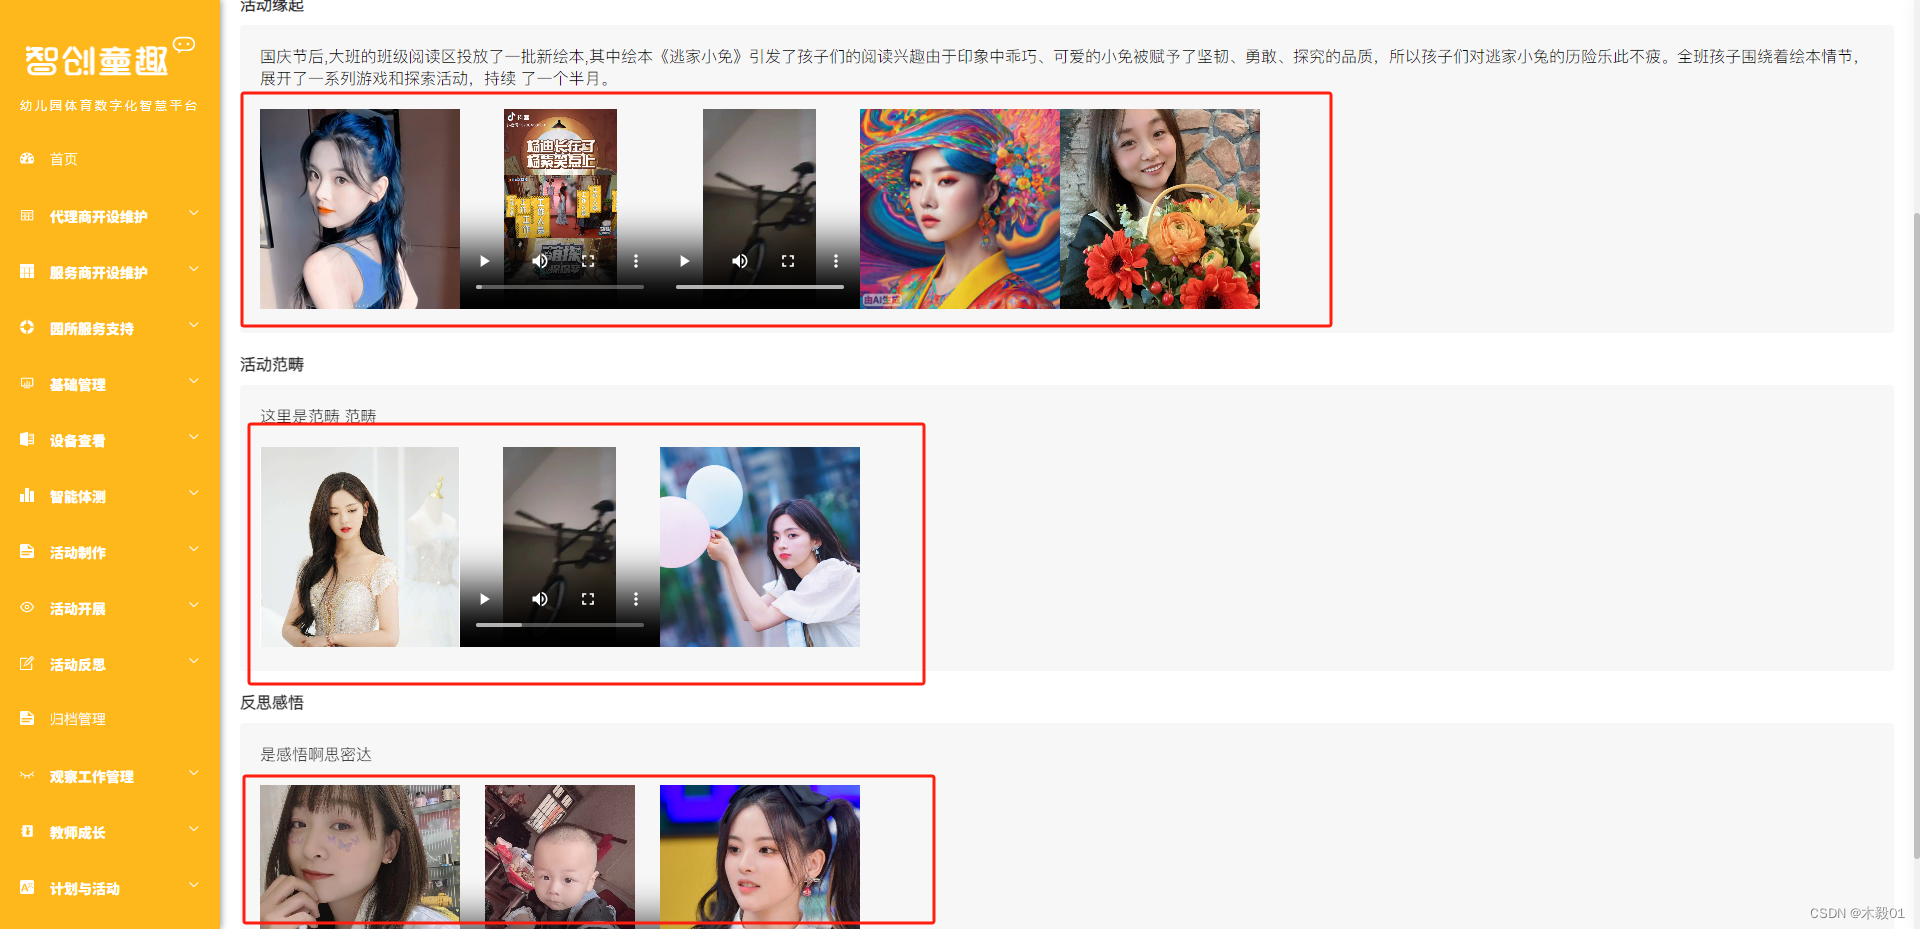
用红线框起来的地方理论上用的是同一套代码 那么就可以封装成组件
javascript
//父级页面的调用
<div class="title">活动缘起</div>
<div class="grid-content bg-gray-light">
  ...
  <pv-box v-if="form && form.originMaterials && form.originMaterials.length > 0" :pv-list="form.originMaterials" :picture-list="originMaterialsImgs"></pv-box>
  ..
</div>

<div class="title">活动范畴</div>
<div class="grid-content bg-gray-light">
  ...
  <pv-box v-if="form && form.categoryMaterials && form.categoryMaterials.length > 0" :pv-list="form.categoryMaterials" :picture-list="categoryMaterialsImgs"></pv-box>
  ..
</div>

<div class="title">反思感悟</div>
<div class="grid-content bg-gray-light">
  ...
  <pv-box v-if="form && form.reflectionMaterials && form.reflectionMaterials.length > 0" :pv-list="form.reflectionMaterials" :picture-list="reflectionMaterialsImgs"></pv-box>
  ..
</div>

//主要就是把参数传到子级 <pv-box :pv-list="form.reflectionMaterials" :picture-list="reflectionMaterialsImgs"></pv-box>

<script>
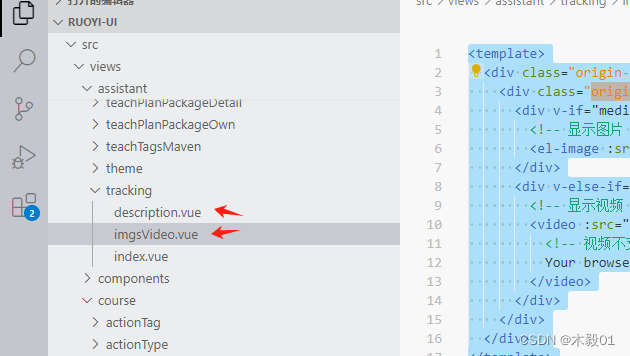
import PvBox from './imgsVideo';

export default {
  components: { PvBox },
  ...

//子级页面:
<template>
  <div class="origin-materials">
    <div class="origin-materials-list" v-for="(mediaItem, index) in pvList" :key="index">
      <div v-if="mediaItem.fileType == '1'">
        <!-- 显示图片 -->
        <el-image :src="mediaItem.fileUrl" style="width: 200px; height: 200px" fit="cover" :preview-src-list="pictureList" preview></el-image>
      </div>
      <div v-else-if="mediaItem.fileType == '3'">
        <!-- 显示视频 -->
        <video :src="mediaItem.fileUrl" controls style="width: 200px; height: 200px">
          <!-- 视频不支持时的后备内容 -->
          Your browser does not support the video tag.
        </video>
      </div>
    </div>
  </div>
</template>

<script>

export default {
  components: {},
  props: {
    // 定义props,注意这里使用camelCase命名规范
    pvList: {
      type: Array, // 或者其他合适的类型,如Number
      //required: true // 如果这个prop是必须的,可以设置为true
      default: null // 默认值为null,表示还没有接收到ID
    },
    pictureList: {
      type: Array, // 或者其他合适的类型,如Number
      //required: true // 如果这个prop是必须的,可以设置为true
      default: null // 默认值为null,表示还没有接收到ID
    },
  },
  watch: {
  },
  data () {
    return {
    };
  },
  methods: {}
};
</script>
<style scoped>
.origin-materials-list{ margin-right: 20px;}
</style>