文章目录
前言
ES安装完成并运行,默认情况下是允许任何用户访问的,这样并不安全,可以为ES开启认证,设置账号密码。
下面介绍ES单节点开启认证以及ES集群开启认证的操作过程。
(注意:Elasticsearch 8.11.4 不需要手动开启认证,安装时候会自动引导开启,下面介绍的是 Elasticsearch 7.17.3版本开启认证)
-
ES版本选择:在ElasticSearch分析京东商城商品搜索实现|聚合|全文查找|搜索引擎|ES Java High Level Rest Client|ES Java API Client这篇文章里进行了说明,使用的7.17.3版本,不再赘述。
-
ES环境搭建参考:Elasticsearch环境搭建|ES单机|ES集群搭建
单节点模式开启认证
生成节点证书
进入ES目录(ES环境搭建时,指定了解压目录在es用户的home目录下)
shell
cd ~/elasticsearch-7.17.3/
- 生成一个新的本地证书颁发机构;(当前目录下生成了 elastic-stack-ca.p12 文件)
- 生成X.509证书和密钥;(当前目录下生成了 elastic-certificates.p12 文件)
- 移动到config目录下
shell
# 创建一个证书颁发机构
bin/elasticsearch-certutil ca
# 为节点生成证书和私钥
bin/elasticsearch-certutil cert --ca elastic-stack-ca.p12
# 移动到config目录下
mv *.p12 config/
elasticsearch-certutil 命令说明:
shellbin/elasticsearch-certutil -h Simplifies certificate creation for use with the Elastic Stack Commands -------- csr - generate certificate signing requests cert - generate X.509 certificates and keys ca - generate a new local certificate authority http - generate a new certificate (or certificate request) for the Elasticsearch HTTP interface Non-option arguments: command Option Description ------ ----------- -E <KeyValuePair> Configure a setting -h, --help Show help -s, --silent Show minimal output -v, --verbose Show verbose output
修改ES配置文件
节点增加安全认证配置
shell
vim config/elasticsearch.yml

xpack.security.enabled: true # 开启xpack认证机制
xpack.security.transport.ssl.enabled: true
xpack.security.transport.ssl.verification_mode: certificate
xpack.security.transport.ssl.client_authentication: required
xpack.security.transport.ssl.keystore.path: elastic-certificates.p12
xpack.security.transport.ssl.truststore.path: elastic-certificates.p12
注意:配置
xpack.security.enabled: true以开启xpack认证机制
为内置账号添加密码
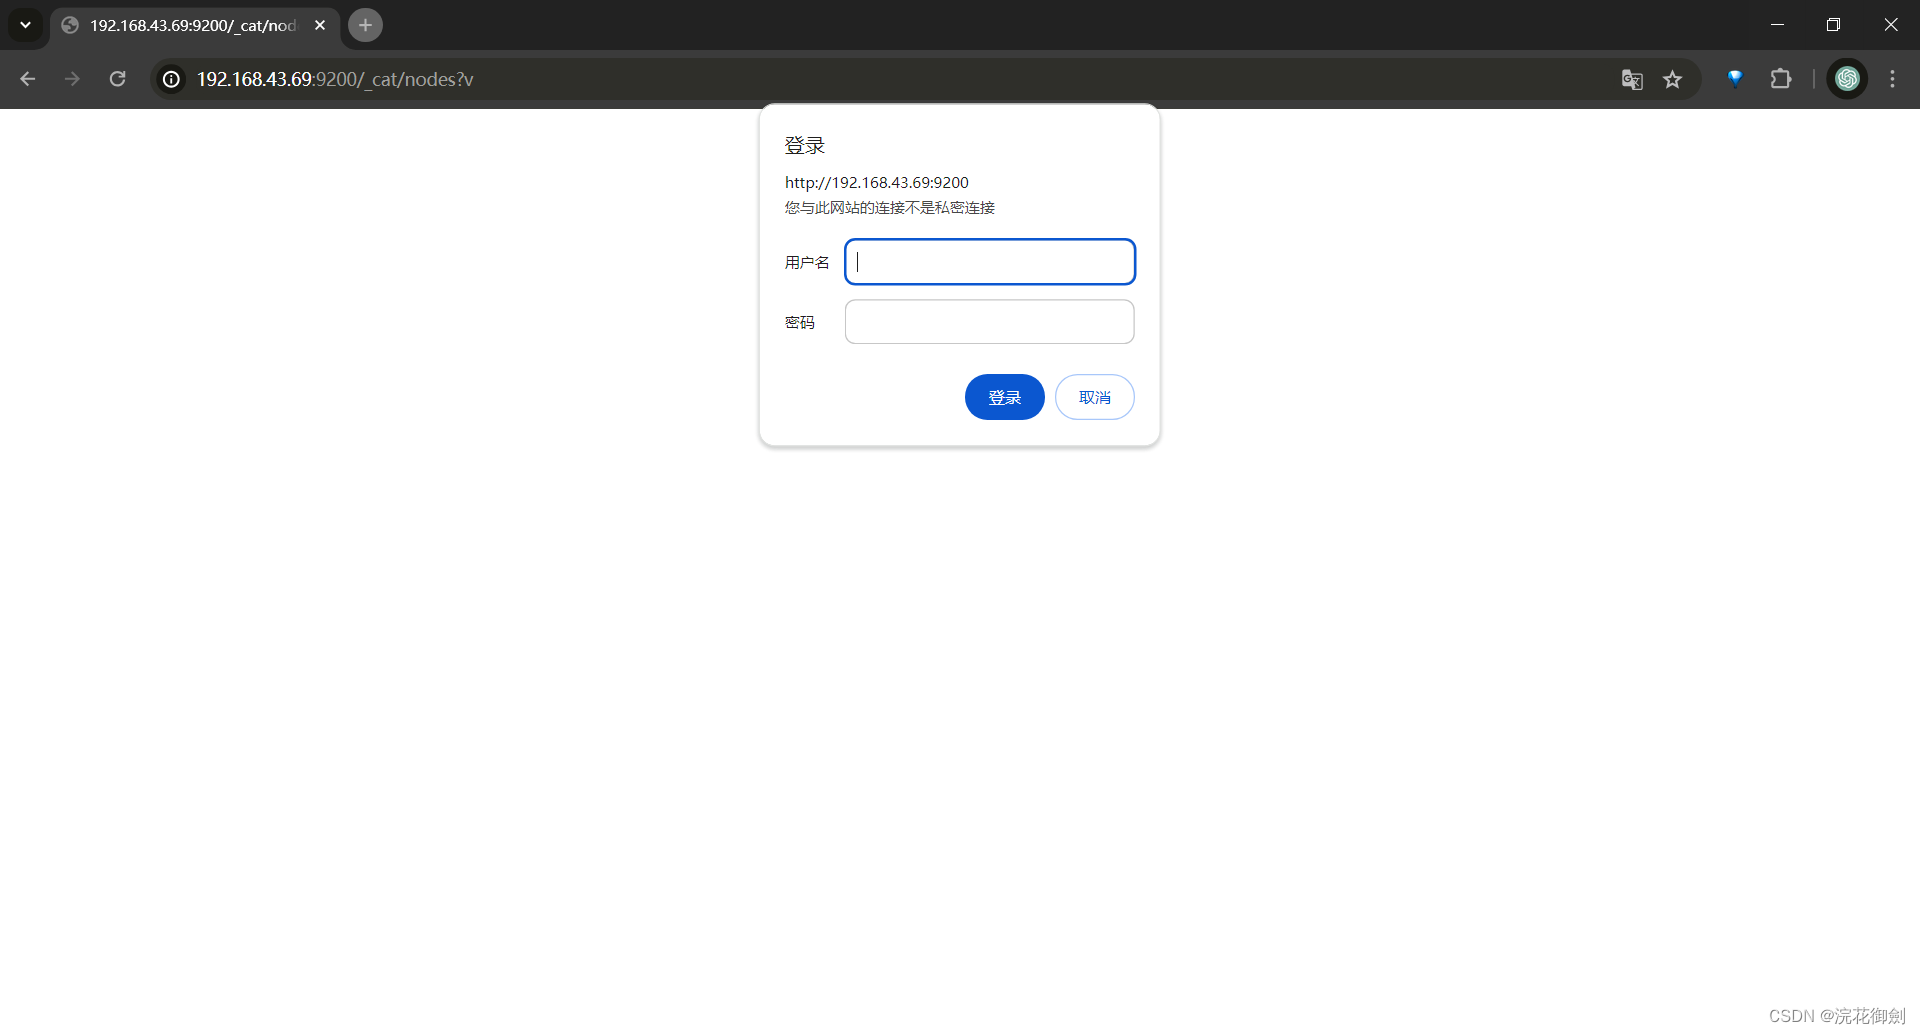
es开启认证后,启动es,请求es报错,没有认证,
shell
#使用Curl访问ES,返回401错误
curl 'localhost:9200/_cat/nodes?pretty'
这时候无需停掉es,设置好密码,就可以直接访问了(密码自己设置即可,为了方便这里全部设置成了123456)
shell
bin/elasticsearch-setup-passwords interactive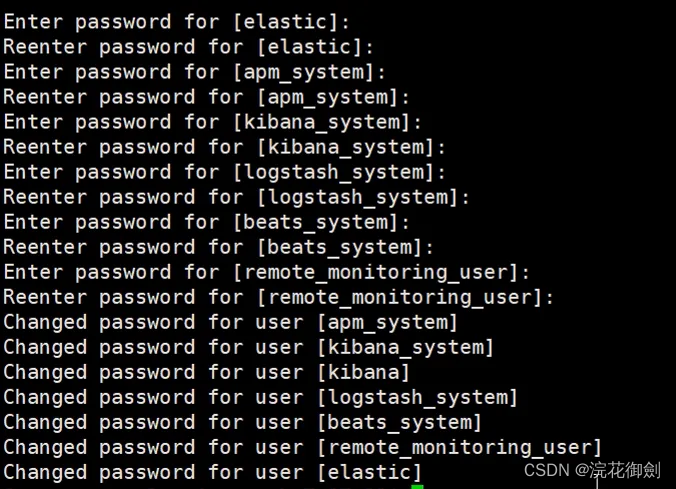
此时可使用elastic用户访问
shell
curl -u elastic 'localhost:9200/_cat/nodes?v'
curl -u elastic 'localhost:9200/_cat/nodes?pretty'
shell
[es@polaris elasticsearch-7.17.3]$ curl -u elastic 'localhost:9200/_cat/nodes?pretty'
Enter host password for user 'elastic':
192.168.43.7 59 70 17 0.96 0.73 0.33 cdfhilmrstw * polaris

[es@polaris elasticsearch-7.17.3]$ curl -u elastic 'localhost:9200/_cat/nodes?v'
Enter host password for user 'elastic':
ip           heap.percent ram.percent cpu load_1m load_5m load_15m node.role   master name
192.168.43.7           60          70   0    0.32    0.58     0.31 cdfhilmrstw *      polaris
shell
curl -u elastic 'localhost:9200?pretty'
shell
[es@polaris elasticsearch-7.17.3]$ curl -u elastic 'localhost:9200?pretty'
Enter host password for user 'elastic':
{
  "name" : "polaris",
  "cluster_name" : "elasticsearch",
  "cluster_uuid" : "tacYf_j9Sli4iMY7YOIcsg",
  "version" : {
    "number" : "7.17.3",
    "build_flavor" : "default",
    "build_type" : "tar",
    "build_hash" : "5ad023604c8d7416c9eb6c0eadb62b14e766caff",
    "build_date" : "2022-04-19T08:11:19.070913226Z",
    "build_snapshot" : false,
    "lucene_version" : "8.11.1",
    "minimum_wire_compatibility_version" : "6.8.0",
    "minimum_index_compatibility_version" : "6.0.0-beta1"
  },
  "tagline" : "You Know, for Search"
}
Kibana修改配置
shell
vim ~/kibana-7.17.3-linux-x86_64/config/kibana.yml
#add user and password
elasticsearch.username: "kibana_system"
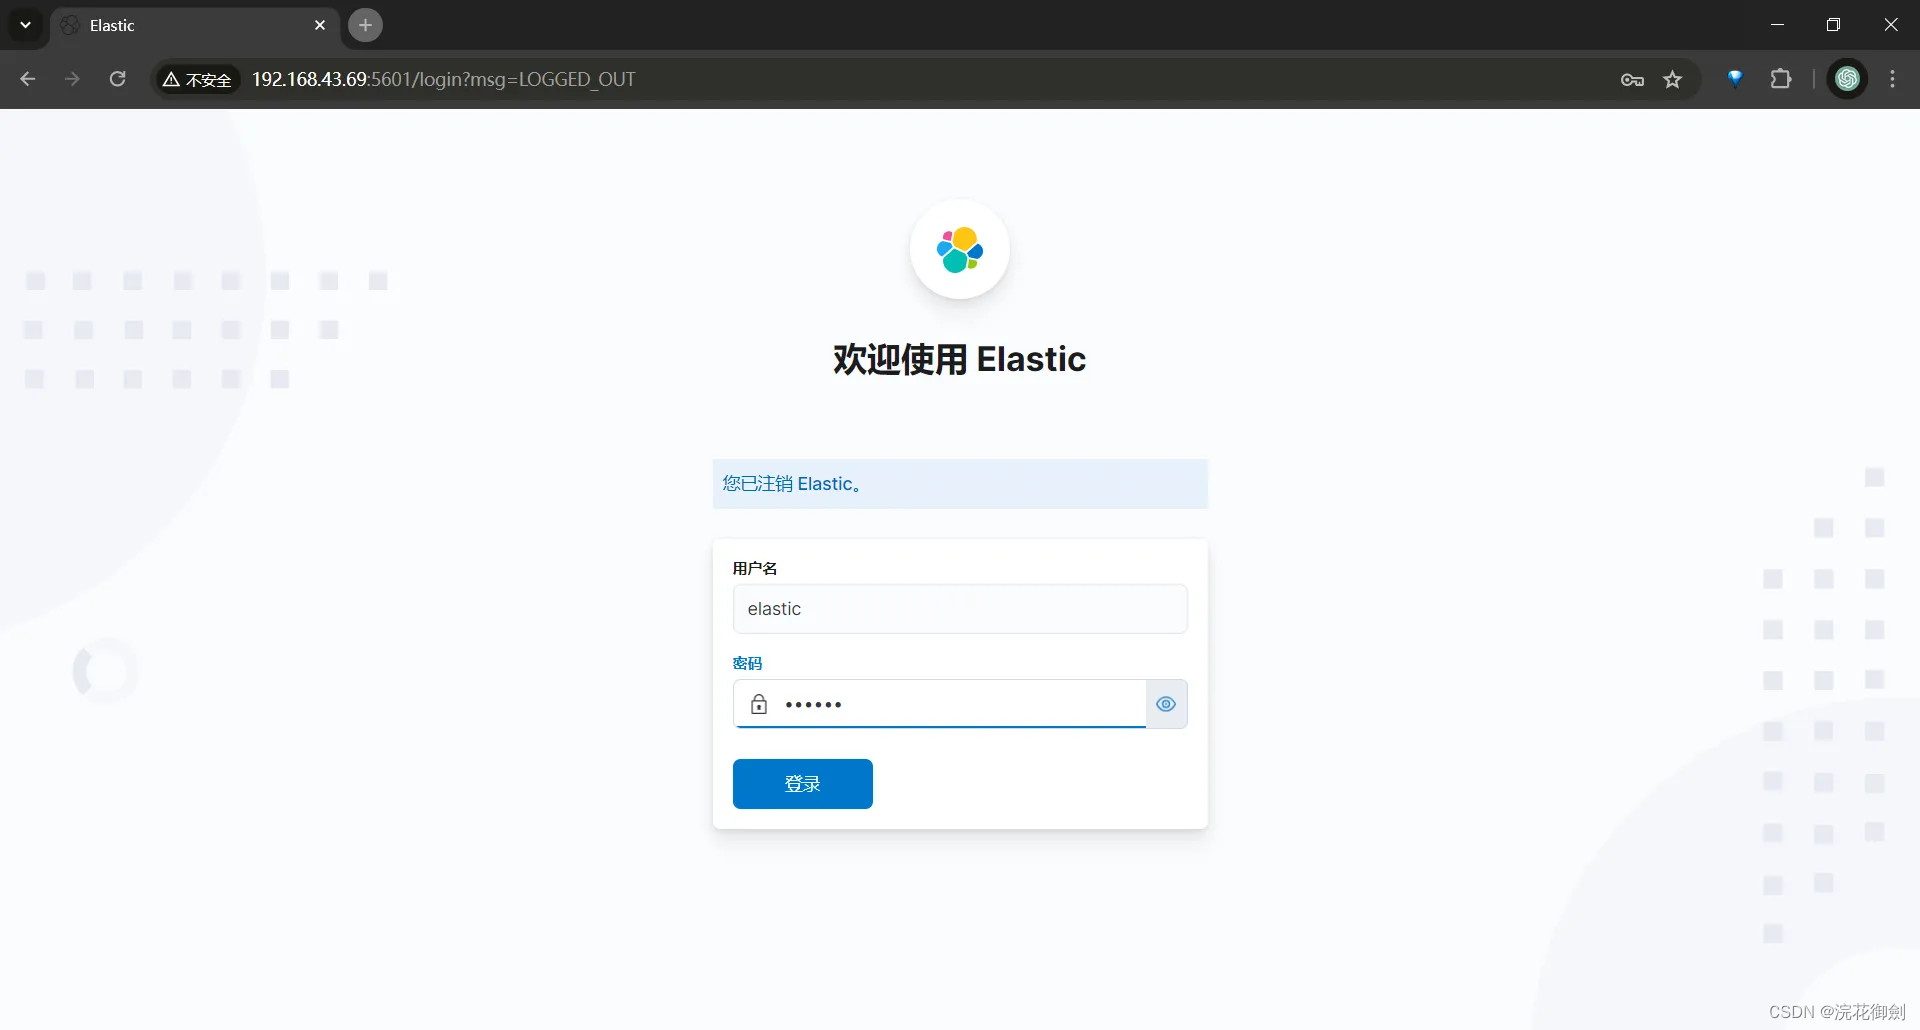
elasticsearch.password: "123456"验证
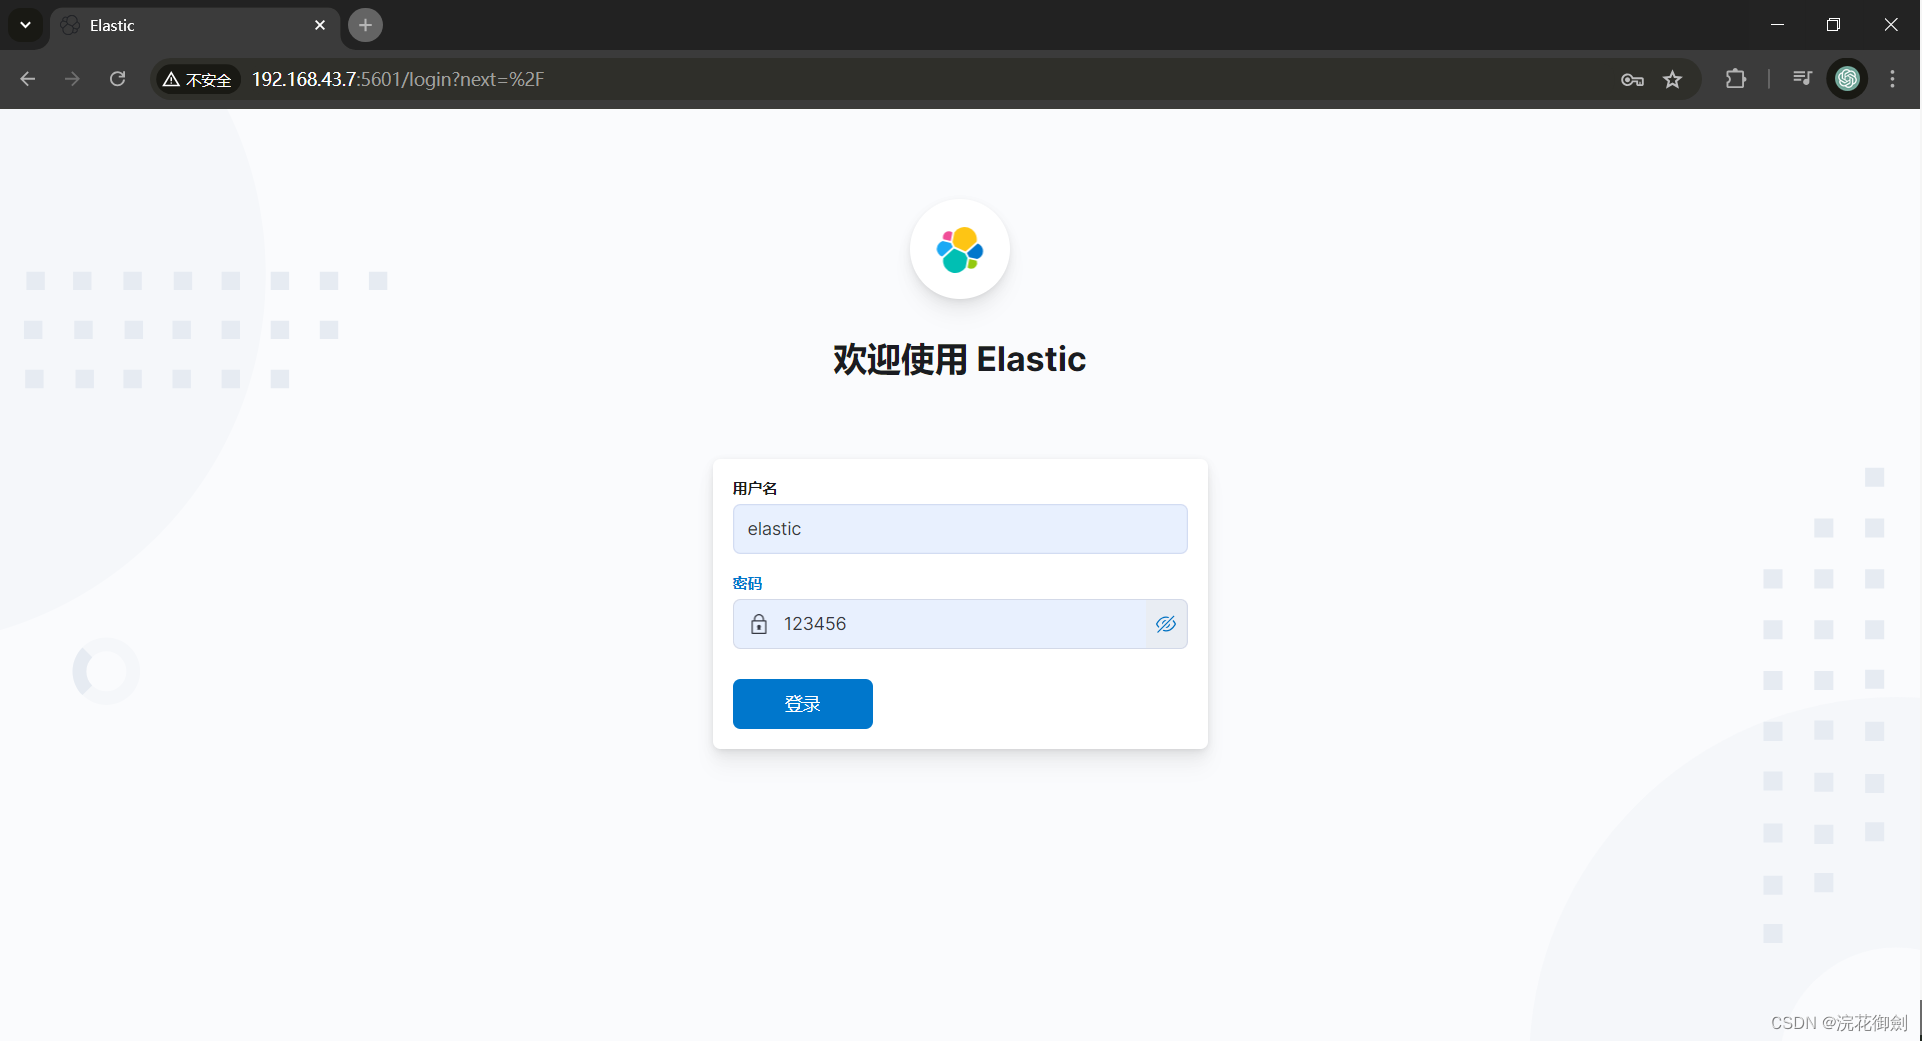
kibana输入es用户名elastic和配置的密码123456登录
ES集群开启认证
在集群的一个节点上按照上面ES单节点模式开启认证,之后把证书文件拷贝到其他节点,并且修改ES配置
shell
# 192.168.43.69机器 es-node-1
cd ~/elasticsearch-7.17.3/config/

[es@polaris config]$ ls | grep -E '*.p12'
elastic-certificates.p12
elastic-stack-ca.p12
shell
# 拷贝到es-node-2,需要输入node2机器es用户的密码
scp *.p12 es@192.168.43.133:/home/es/elasticsearch-7.17.3/config
# 拷贝到es-node-3,需要输入node3机器es用户的密码
scp *.p12 es@192.168.43.225:/home/es/elasticsearch-7.17.3/config
修改配置、设置密码的过程参考上面的操作,不赘述。
同样按照之前操作Kibana配置中添加用户名密码即可。
验证