一、首先 Shader 是做什么的
Shader 可以自定义每个顶点、每个片元/像素如何显示,而控制顶点和片元显示是通过设置 vertexShader 顶点着色器和 fragmentShader 片元着色器,这两个着色器用在 ShaderMaterial 和 RawShaderMaterial 材质上。
我们先看一个例子:
<!DOCTYPE html>
<html lang="en">
<head>
<title>three.js webgl - raw shader</title>
<meta charset="utf-8">
<meta name="viewport" content="width=device-width, user-scalable=no, minimum-scale=1.0, maximum-scale=1.0">
</head>
<body>
<div id="container"></div>
<script id="vertexShader" type="x-shader/x-vertex">
uniform mat4 modelViewMatrix;
uniform mat4 projectionMatrix;
attribute vec3 position;
void main() {
gl_Position = projectionMatrix * modelViewMatrix * vec4( position, 1.0 );
}
</script>
<script id="fragmentShader" type="x-shader/x-fragment">
void main() {
gl_FragColor = vec4(1.0, 1.0, 1.0, 1.0);
}
</script>
<script type="importmap">
{
"imports": {
"three": "../three-155/build/three.module.js",
"three/addons/": "../three-155/examples/jsm/"
}
}
</script>
<script type="module">
import * as THREE from 'three';
import Stats from 'three/addons/libs/stats.module.js';
import { OrbitControls } from 'three/addons/controls/OrbitControls.js';
let container, stats, controls;
let camera, scene, renderer;
init();
animate();
initObject();
function initObject() {
// geometry
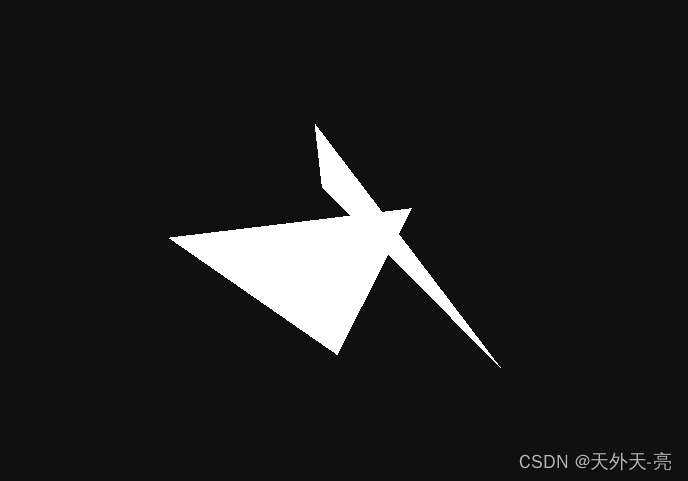
// 第一个是生成几个三角形
const vertexCount = 2 * 3;
const geometry = new THREE.BufferGeometry();
const positions = [];
const colors = [];
for ( let i = 0; i < vertexCount; i ++ ) {
// adding x,y,z
positions.push( Math.random() - 0.5 );
positions.push( Math.random() - 0.5 );
positions.push( Math.random() - 0.5 );
// adding r,g,b,a
colors.push( Math.random() * 255 );
colors.push( Math.random() * 255 );
colors.push( Math.random() * 255 );
colors.push( Math.random() * 255 );
}
const positionAttribute = new THREE.Float32BufferAttribute( positions, 3 );
const colorAttribute = new THREE.Uint8BufferAttribute( colors, 4 );
colorAttribute.normalized = true; // this will map the buffer values to 0.0f - +1.0f in the shader
geometry.setAttribute( 'position', positionAttribute );
geometry.setAttribute( 'color', colorAttribute );
// material
const material = new THREE.RawShaderMaterial({
uniforms: {
time: { value: 1.0 }
},
vertexShader: document.getElementById( 'vertexShader' ).textContent,
fragmentShader: document.getElementById( 'fragmentShader' ).textContent,
side: THREE.DoubleSide,
transparent: true
});
const mesh = new THREE.Mesh( geometry, material );
scene.add( mesh );
}
function init() {
container = document.getElementById( 'container' );
camera = new THREE.PerspectiveCamera( 50, window.innerWidth / window.innerHeight, 1, 10 );
camera.position.z = 2;
scene = new THREE.Scene();
scene.background = new THREE.Color( 0x101010 );
renderer = new THREE.WebGLRenderer();
renderer.setPixelRatio( window.devicePixelRatio );
renderer.setSize( window.innerWidth, window.innerHeight );
container.appendChild( renderer.domElement );
controls = new OrbitControls( camera, renderer.domElement );
stats = new Stats();
container.appendChild( stats.dom );
window.addEventListener( 'resize', onWindowResize );
}
function onWindowResize() {
camera.aspect = window.innerWidth / window.innerHeight;
camera.updateProjectionMatrix();
renderer.setSize( window.innerWidth, window.innerHeight );
}
function animate() {
requestAnimationFrame( animate );
render();
controls.update();
stats.update();
}
function render() {
const time = performance.now();
const object = scene.children[0];
if (object) {
// object.rotation.y = time * 0.0005;
object.material.uniforms.time.value = time * 0.005;
}
renderer.render( scene, camera );
}
</script>
</body>
</html>以上代码 顶点着色器 我们用的是固定写法计算顶点的位置
gl_Position = projectionMatrix * modelViewMatrix * vec4( position, 1.0 );
或者也可以这样:
gl_Position = projectionMatrix * viewMatrix * modelMatrix * vec4( position, 1.0 );
而片元着色器我们设置了一个白色
我相信大家会对 scropt 中 x-shader/x-vertex、x-shader/x-fragment 很陌生,没关系咱们学习 Shader 其实大部分就是学这里面怎么写:
它是一种类似C语言的 GLSL 语言------即 OpenGL Shading Language------,
JavaScript、C 等语言通常在 CPU 上执行,而着色器语言通常在 GPU 上执行,由 GPU 分别对每个顶点、每个片元独立执行
shader 程序可以单独写在诸如 vertex.glsl、fragment.glsl 的文件里再导入使用,也可以和示例一样写在script中,或者在 JavaScript 里用字符串格式表示(后面会介绍)
在顶点着色器里需要设置 gl_Position顶点位置,在片元着色器里需要设置 gl_FragColor 片元/像素颜色,两者都在没有返回值的 void main() {} 主函数里设置,并且 main 函数会被自动执行
着色器语言三种变量 attribute、uniform 和 varying
- 简单总结
顶点着色器渲染定位顶点位置
片段着色器为该几何体的每个可见片元(像素)进行着色
片段着色器在顶点着色器之后执行
在每个顶点之间会有变化的数据(如顶点的位置)称为attribute,只能在顶点着色器中使用
顶点之间不变的数据(如网格位置或颜色)称为uniform,可以在顶点着色器和片段着色器中使用
从顶点着色器发送到片元着色器中的插值计算数据被称为varying
看了上面的内容,我们再来看一个案例,提前说下 在这里我无意将所有 GLSL 语言的方法一一列出,我相信大家也不愿意看,毕竟网上一大堆类似文章,官网上也能看,我只是通过案例,把一些常用的知识点给到大家,能让各位对 编写Shader有个初步的认知:
let vertexShader = `
    precision mediump float;
	precision mediump int;
	uniform mat4 modelViewMatrix;
	uniform mat4 projectionMatrix;
	attribute vec3 position;
	attribute vec4 color;
	varying vec3 vPosition;
	varying vec4 vColor;
	void main()	{
		vPosition = position;
		vColor = color;
		gl_Position = projectionMatrix * modelViewMatrix * vec4( position, 1.0 );
	}
`;
let fragmentShader = `
    precision mediump float;
	precision mediump int;
	uniform float time;
	varying vec3 vPosition;
	varying vec4 vColor;
	void main()	{
		vec4 color = vec4( vColor );
		color.g += sin( vPosition.x * 10.0 + time ) * 0.5;
		gl_FragColor = color;
	}
`;
上面有几点知识点,先从简单的来,
1、通过 varying 可以将vPosition、vColor 从 vertexShader 到 fragmentShader
2、上面的写法是 shader 程序刚才提到的 字符串格式写法
3、precision 一个新的知识点 - 着色器运算精度设置
通过设置着色器数值的精度可以更好的配置资源,可以根据需要,在不太影响渲染效果前提下,可以尽量降低运算精度。
lowp、mediump和highp关键字 分别对应 低、中、高三个精度
1)通过precision关键字可以批量声明一些变量精度。
比如顶点着色器代码设置precision highp float;,表示顶点着色器中所有浮点数精度为高精度。
2)比如片元着色器代码设置precision lowp int;,表示片元着色器中所有整型数精度为低精度。
3)顶点和片元着色器不同类型数据默认精度
顶点着色器默认精度
| 数据类型 | 默认精度 |
|---|---|
| int | 高精度hight |
| float | 高度hight |
| sampler2D | 低精度lowp |
| samplerCube | 低精度lowp |
片元着色器默认精度
| 数据类型 | 默认精度 |
|---|---|
| int | 中精度mediump |
| float | 无默认值,如果片元着色器用到浮点数,注意一定手动设置 |
| sampler2D | 低精度lowp |
| samplerCube | 低精度lowp |
4、我们发现有申明 modelViewMatrix、projectionMatrix、position、color变量,这是因为我们使用 RawShaderMaterial材质,这个方法没有默认的内置变量声明,与之对应的我们可以用 ShaderMaterial 材质,此时就可以这样写:
let vertexShader = `
    precision mediump float;
	precision mediump int;
	varying vec3 vPosition;
	varying vec4 vColor;
	void main()	{
		vPosition = position;
		vColor = color;
		gl_Position = projectionMatrix * modelViewMatrix * vec4( position, 1.0 );
	}
`;
更多的 内置变量请看这里
通过以上案例我们算是简单的了解了 Shader,发现 Shader其实就是改变 顶点位置 和 片元/像素颜色
二、图形构成的基础 三角形
我们将 geometry 换为一个球体来认识一下图形的基础构成
const geometry = new THREE.SphereGeometry( 0.5, 16, 8 );
const material = new THREE.RawShaderMaterial({

          uniforms: {
            time: { value: 1.0 }
          },
          vertexShader: document.getElementById( 'vertexShader1' ).textContent,
          fragmentShader: document.getElementById( 'fragmentShader1' ).textContent,
          side: THREE.DoubleSide,
          transparent: false,
          wireframe: true  // 将几何体渲染为线框,默认值为false(即渲染为平面多边形)。
        });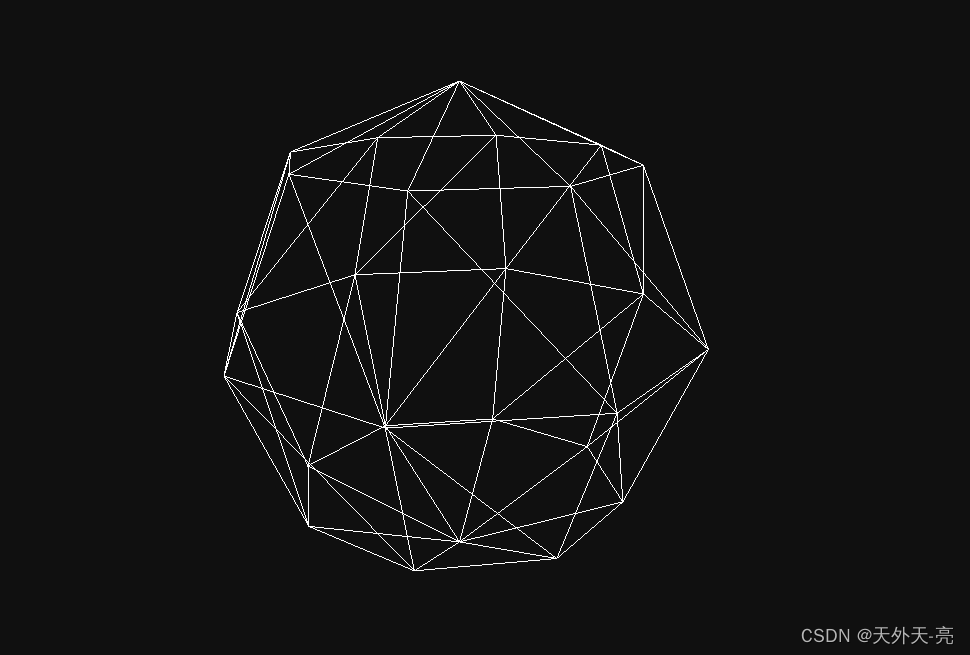
通过这个球体 可以很好的理解 图形的构成,其实就是一个个的三角形,三角形越是多,图形效果越好 当然对电脑性能要求越高,
const geometry = new THREE.SphereGeometry( 0.5, 128, 64);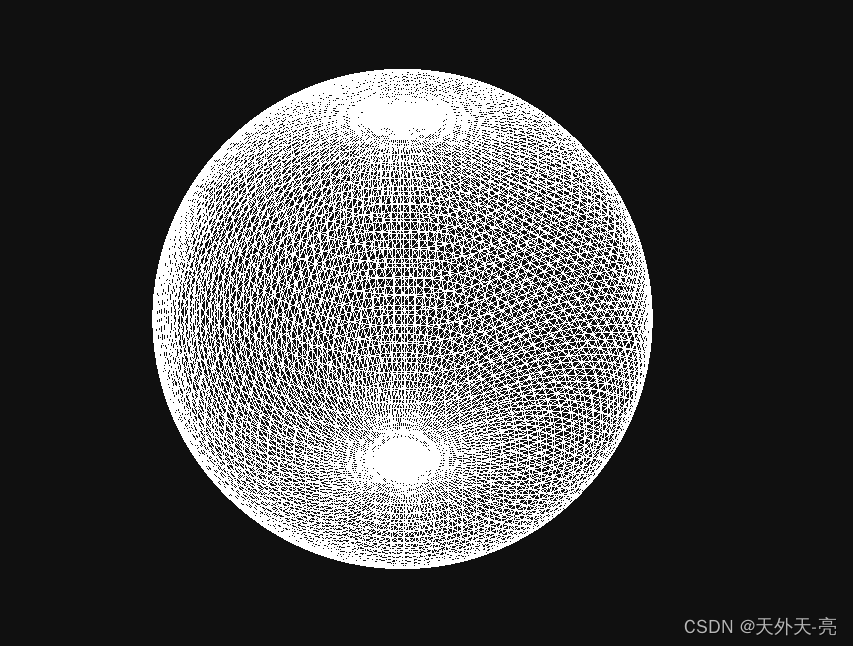
可以看到 这个球体就很完美了,通过这个案例也能更好的帮大家理解
顶点着色器渲染顶点位置的顶点 是哪些点、从哪来的点
片段着色器为该几何体的每个可见片元(像素)进行着色