1、环境介绍
操作系统:龙蜥os 7.9
2、安装docker
bash
yum install -y yum-utils device-mapper-persistent-data lvm2
yum-config-manager --add-repo https://mirrors.aliyun.com/docker-ce/linux/centos/docker-ce.repo
sed -i 's+download.docker.com+mirrors.aliyun.com/docker-ce+' /etc/yum.repos.d/docker-ce.repo
yum makecache fast
yum -y install docker-ce
配置 Docker
bash
mkdir /etc/docker/
vi /etc/docker/daemon.json
添加如下
bash
{
  "live-restore": true,
  "registry-mirrors": ["https://docker.1panel.live", "https://bmtrgdvx.mirror.aliyuncs.com", "http://f1361db2.m.daocloud.io"],
  "log-driver": "json-file",
  "log-opts": {"max-file": "3", "max-size": "10m"}
}
启动 Docker
bash
systemctl enable docker
systemctl start docker
3、安装docker-compose
bash
curl -L "https://github.com/docker/compose/releases/download/v2.28.1/docker-compose-$(uname -s)-$(uname -m)" -o /usr/local/bin/docker-compose添加执行权限
bash
chmod +x /usr/local/bin/docker-compose软连接
bash
ln -s /usr/local/bin/docker-compose /usr/bin/docker-compose
4、下载shellhub
bash
yum install git -y
git clone -b v0.15.0 https://github.com/shellhub-io/shellhub.git
5、更改配置文件

bash
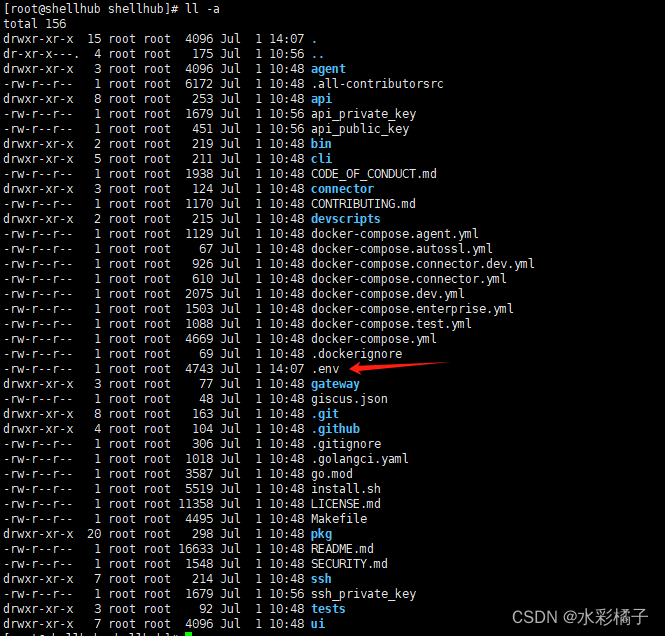
vi .env更改如下配置
bash
SHELLHUB_SSH_PORT=22226、启动
bash
make keygen
make start
7、管理
创建用户
bash
./bin/cli user create <username> <password> <email>删除用户
bash
./bin/cli user delete <username>重置用户密码
bash
./bin/cli user password <username> <password>创建命名空间
bash
./bin/cli namespace create <namespace> <owner> [tenant]删除命名空间
bash
./bin/cli namespace delete <namespace>向命名空间添加成员
bash
./bin/cli namespace member add <username> <namespace> <role>删除命名空间成员
bash
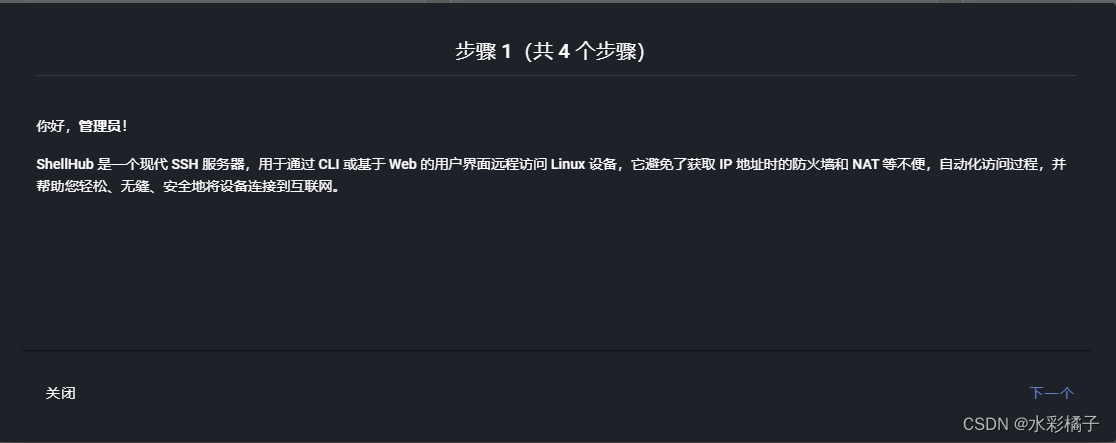
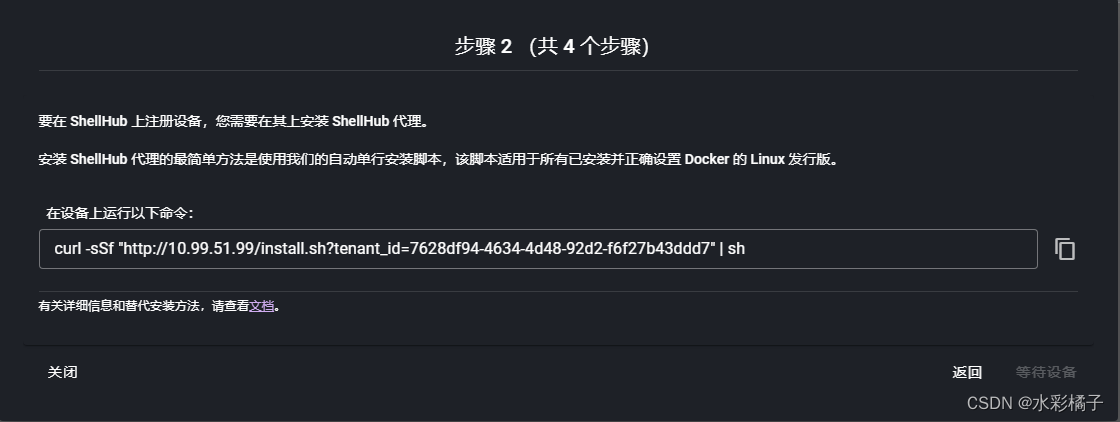
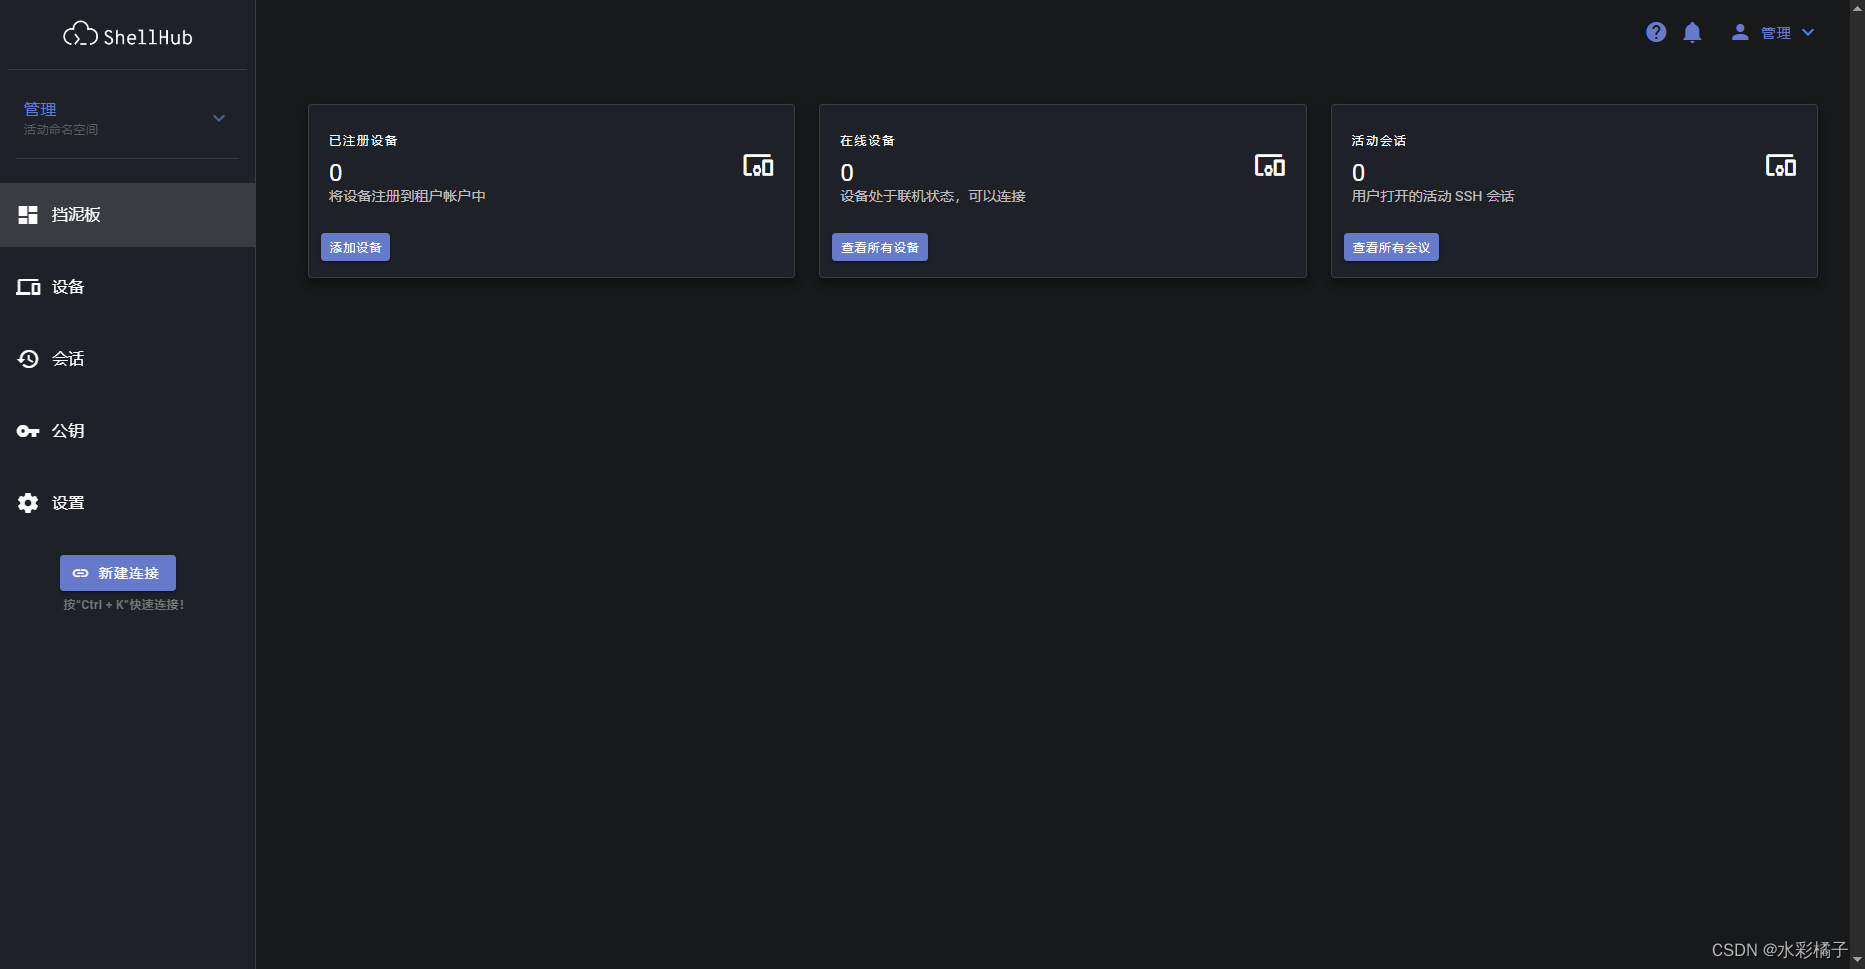
./bin/cli namespace member remove <username> <namespace>创建完用户和命名空间登录,显示以下


