视频演示
【xinference】(15):在compshare上,使用docker-compose运行xinference和chatgpt-web项目,配置成功!!!
1,安装docker方法:
bash
#!/bin/sh

distribution=$(. /etc/os-release;echo $ID$VERSION_ID)
curl -s -L https://nvidia.github.io/nvidia-docker/gpgkey | sudo apt-key add -
curl -s -L https://nvidia.github.io/nvidia-docker/$distribution/nvidia-docker.list | sudo tee /etc/apt/sources.list.d/nvidia-docker.list

sudo apt-get update && sudo apt-get install -y nvidia-container-toolkit nvidia-docker2

echo "install docker finish ."

sudo curl -L "https://github.com/docker/compose/releases/download/v2.28.1/docker-compose-$(uname -s)-$(uname -m)" -o /usr/local/bin/docker-compose
sudo chmod 755 /usr/local/bin/docker-compose

echo "install docker-compose finish ."

# 把当前用户加入到 docker 组;
sudo gpasswd -a $USER docker
# 更新docker组
newgrp docker
# 增加自动启动
sudo systemctl enable docker
sudo systemctl restart docker

echo "add docker user finish ."
2,然后就可以启动docker-compose了
yaml
version: '3.5'

services:

##################### 使用xinference部署大模型 #####################

# docker 文档
# https://inference.readthedocs.io/zh-cn/latest/getting_started/using_docker_image.html#docker-image
# 使用qwen2大模型
# https://inference.readthedocs.io/zh-cn/latest/models/builtin/llm/qwen2-instruct.html
# 启动 7b模型
# xinference launch --model-engine vllm --model-name qwen2-instruct --size-in-billions 7 --model-format awq --quantization Int4

  xinf:
    restart: always
    container_name: xinf
    image: xprobe/xinference:latest
    # 使用 GPU 资源。
    deploy:
        resources:
            reservations:
                devices:
                  - driver: "nvidia"
                    count: "all"
                    capabilities: ["gpu"]
    ports:
      - 9997:9997
    environment:
      - XINFERENCE_MODEL_SRC=modelscope
    volumes:
      - ./xinf-cache/:/root/.cache
    # 命令启动 xinference
    entrypoint: xinference-local -H 0.0.0.0 --log-level debug

## https://github.com/Chanzhaoyu/chatgpt-web
  app:
    image: chenzhaoyu94/chatgpt-web
    container_name: app
    ports:
      - 8188:3002
    environment:
      # choose one
      OPENAI_API_KEY: sk-xxx
      # choose one
      OPENAI_ACCESS_TOKEN: xxx
      # API interface address, optional, available when OPENAI_API_KEY is set
      OPENAI_API_BASE_URL: http://xinf:9997/v1
      # API model, optional, available when OPENAI_API_KEY is set, https://platform.openai.com/docs/models
      # gpt-4, gpt-4-turbo-preview, gpt-4-0125-preview, gpt-4-1106-preview, gpt-4-0314, gpt-4-0613, gpt-4-32k, gpt-4-32k-0314, gpt-4-32k-0613, gpt-3.5-turbo-16k, gpt-3.5-turbo-16k-0613, gpt-3.5-turbo, gpt-3.5-turbo-0301, gpt-3.5-turbo-0613, text-davinci-003, text-davinci-002, code-davinci-002
      OPENAI_API_MODEL: qwen2-instruct
      # reverse proxy, optional
      AUTH_SECRET_KEY:
      # maximum number of requests per hour, optional, unlimited by default
      MAX_REQUEST_PER_HOUR: 0
      # timeout, unit milliseconds, optional
      TIMEOUT_MS: 60000

networks:
  default:
    name: xinf-network
然后需要登陆到xinf 启动模型:
bash
xinference launch --model-engine vllm --model-name qwen2-instruct --size-in-billions 7 --model-format awq --quantization Int43,启动成功之后就访问了
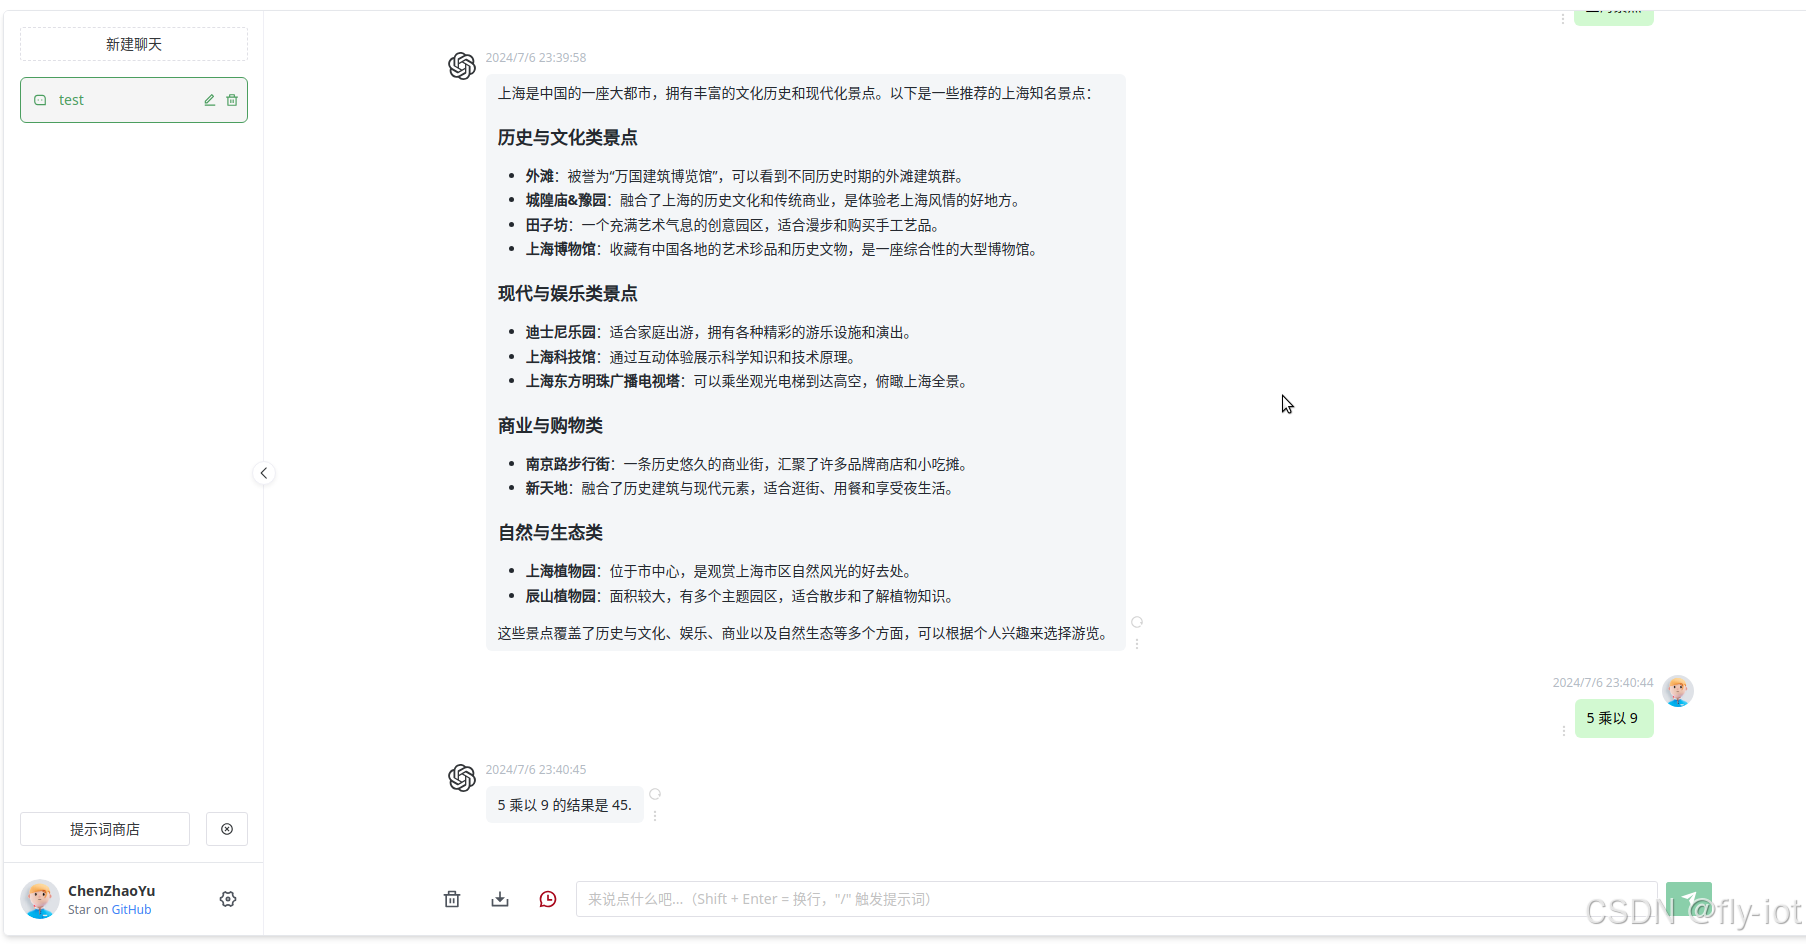
效果还不错!