yolo5图片、视频推理demo
图片
python
import torch

# 加载预训练模型
model = torch.hub.load('./yolo5', 'custom', path='yolov5s.pt', source='local')

# 加载图片
img = '1.jpg'

# 进行推理
results = model(img)

# 解析结果
detections = results.xyxy[0].cpu().numpy()  # [x1, y1, x2, y2, confidence, class]

# 输出结果
for detection in detections:
    x1, y1, x2, y2, confidence, cls = detection
    print(f"Class: {model.names[int(cls)]}, Confidence: {confidence:.2f}, Box: [{x1}, {y1}, {x2}, {y2}]")

# 显示结果
results.show()
视频
python
import cv2
import torch
# 加载预训练模型
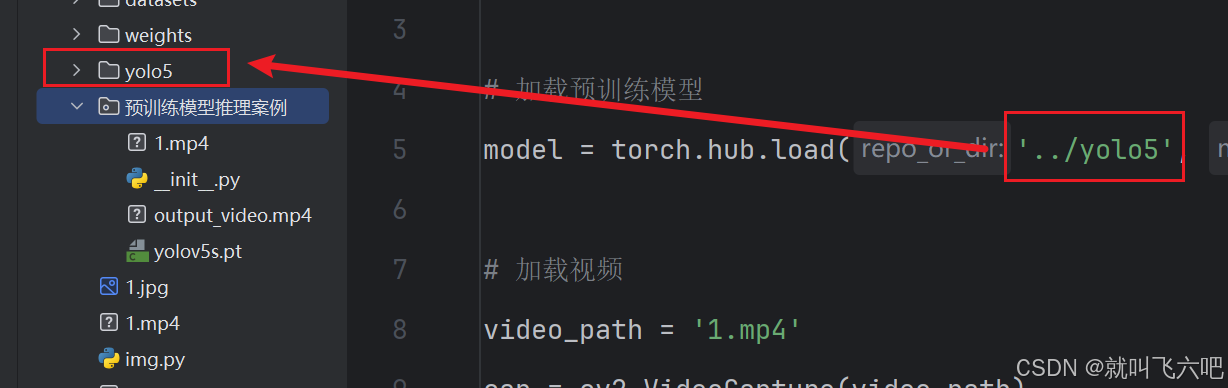
model = torch.hub.load('../yolo5', 'custom', path='yolov5s.pt', source='local')
# 加载视频
video_path = '1.mp4'
cap = cv2.VideoCapture(video_path)
# 获取视频的宽度、高度和帧率
width = int(cap.get(cv2.CAP_PROP_FRAME_WIDTH))
height = int(cap.get(cv2.CAP_PROP_FRAME_HEIGHT))
fps = cap.get(cv2.CAP_PROP_FPS)
# 定义视频写入对象
output_path = 'output_video.mp4'
fourcc = cv2.VideoWriter_fourcc(*'mp4v') # 编码格式
out = cv2.VideoWriter(output_path, fourcc, fps, (width, height))
while cap.isOpened():
ret, frame = cap.read()
if not ret:
break
# 将帧转换为RGB格式
img_rgb = cv2.cvtColor(frame, cv2.COLOR_BGR2RGB)
# 进行推理
results = model(img_rgb)
# 解析结果
detections = results.xyxy[0].cpu().numpy() # [x1, y1, x2, y2, confidence, class]
# 在帧上绘制检测结果并打印坐标
for detection in detections:
x1, y1, x2, y2, confidence, cls = detection
label = f"{model.names[int(cls)]} {confidence:.2f}"
cv2.rectangle(frame, (int(x1), int(y1)), (int(x2), int(y2)), (255, 0, 0), 2)
cv2.putText(frame, label, (int(x1), int(y1) - 10), cv2.FONT_HERSHEY_SIMPLEX, 0.9, (255, 0, 0), 2)
# 打印目标的坐标和类别
print(f"Class: {model.names[int(cls)]}, Confidence: {confidence:.2f}, Box: [{x1}, {y1}, {x2}, {y2}]")
# 显示结果
cv2.imshow('YOLOv5 Detection', frame)
# 写入帧到输出视频
out.write(frame)
# 按 'q' 键退出实时显示
if cv2.waitKey(1) & 0xFF == ord('q'):
break
# 释放资源
cap.release()
out.release()
cv2.destroyAllWindows()摄像头
bash
import torch
import cv2
import numpy as np
import time

# 加载预训练模型
model = torch.hub.load('../yolov5-master', 'custom', path='yolo_test/yolo_test-gpu7/weights/best.pt', source='local')


# 打开摄像头
cap = cv2.VideoCapture(0)

# 检查摄像头是否成功打开
if not cap.isOpened():
    print("Error: Could not open video.")
    exit()

# 初始化计时器
prev_time = time.time()

# 进行实时检测
while True:
    # 读取摄像头帧
    ret, frame = cap.read()
    if not ret:
        print("Error: Failed to capture image")
        break

    # 将帧转换为YOLOv5模型需要的格式
    results = model(frame)

    # 解析结果
    detections = results.xyxy[0].cpu().numpy()  # [x1, y1, x2, y2, confidence, class]

    # 在帧上绘制检测结果
    for detection in detections:
        x1, y1, x2, y2, confidence, cls = detection
        label = f"{model.names[int(cls)]} {confidence:.2f}"
        cv2.rectangle(frame, (int(x1), int(y1)), (int(x2), int(y2)), (0, 255, 0), 2)
        cv2.putText(frame, label, (int(x1), int(y1) - 10), cv2.FONT_HERSHEY_SIMPLEX, 0.9, (36, 255, 12), 2)

    # 计算并显示帧率
    current_time = time.time()
    fps = 1 / (current_time - prev_time)
    prev_time = current_time
    cv2.putText(frame, f"FPS: {fps:.2f}", (10, 30), cv2.FONT_HERSHEY_SIMPLEX, 1, (255, 0, 0), 2)

    # 显示结果
    cv2.imshow('YOLOv5 Real-Time Detection', frame)

    # 按 'q' 键退出循环
    if cv2.waitKey(1) & 0xFF == ord('q'):
        break

# 释放摄像头并关闭所有窗口
cap.release()
cv2.destroyAllWindows()