注:本教程是以虚拟机作为安装环境,如果您公司需要安装 Weblogic 服务器,请先以虚拟机模拟安装一遍,否则出现失误,概不负责😁。
一、环境
虚拟机:VMware Workstation 16
Linux:CentOS-7-x86_64-DVD-1908.iso
weblogic:fmw_12.2.1.3.0_wls_Disk1_1of1.zip
安装 weblogic 需要 JDK 环境:CentOS 7.6 安装 JDK
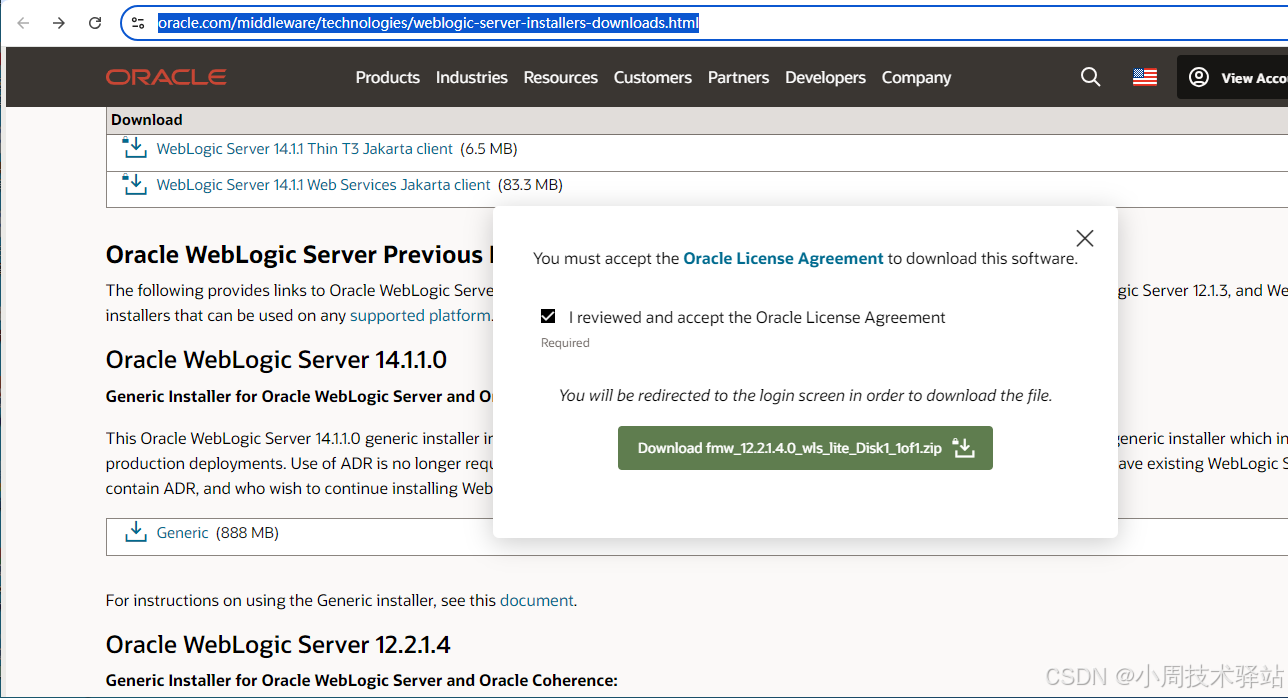
二、下载
三、安装
上传软件包

2、使用 xshell 连接目标主机
cd /usr/local/software注:目录 software 是自己新建的文件,目的是存放自己上传的文件

3、解压 (fmw_12.2.1.3.0_wls_Disk1_1of1.zip)
unzip fmw_12.2.1.4.0_wls_lite_Disk1_1of1.zip 注:解压后的 fmw_12214_readme.html 文件是没什么用的,可以删掉
rm -rf fmw_12214_readme.html

四、配置
1、创建普通用户
groupadd weblogic				# groupadd <username> 创建一个用户组
useradd weblogic -g weblogic	# useradd <用户> -g <username> 创建一个用户
passwd weblogic					# passwd <weblogic> 给新建的用户添加密码
2、查看新建用户
cd /home/ # 查看 home 下的用户
4、建立两个文件 wls.rsp & oraInst.loc
(1)新建 wls.rsp 文件
touch wls.rsp

vim wls.rsp		# 编辑 wls.rsp 文件

[ENGINE]

# DO NOT CHANGE THIS.
Response File Version=1.0.0.0.0

[GENERIC]

# The oracle home location. This can be an existing Oracle Home or a new Oracle Home
ORACLE_HOME=/home/weblogic/oracle_home

# Set this variable value to the Installation Type selected. e.g. WebLogic Server, Coherence, Complete with Examples.
INSTALL_TYPE=WebLogic Server

# Provide the My Oracle Support Username. If you wish to ignore Oracle Configuration Manager configuration provide empty string for user name.
MYORACLESUPPORT_USERNAME=

# Provide the My Oracle Support Password
MYORACLESUPPORT_PASSWORD=<SECURE VALUE>

# Set this to true if you wish to decline the security updates. Setting this to true and providing empty string for My Oracle Support username will ignore the Oracle Configuration Manager configuration
DECLINE_SECURITY_UPDATES=true

# Set this to true if My Oracle Support Password is specified
SECURITY_UPDATES_VIA_MYORACLESUPPORT=false

# Provide the Proxy Host
PROXY_HOST=

# Provide the Proxy Port
PROXY_PORT=

# Provide the Proxy Username
PROXY_USER=

# Provide the Proxy Password
PROXY_PWD=<SECURE VALUE>

# Type String (URL format) Indicates the OCM Repeater URL which should be of the format [scheme[Http/Https]]://[repeater host]:[repeater port]
COLLECTOR_SUPPORTHUB_URL=
保存:先点击Esc键, 输入 ":wq",点击回车键
(2)、新建 oraInst.loc 文件
touch oraInst.loc

vim oraInst.loc		# 编辑 oraInst.loc 文件

# 在 oraInst.loc 文件中加入下面内容
inventory_loc=/home/weblogic/oraInventory
inst_group=weblogic
5、转换到 weblogic 用户
su - weblogic注:在root用户下 下面 "静默创建新域" 报错
6、静默创建新域
su weblogic

java -jar /usr/local/software/fmw_12.2.1.4.0_wls_lite_generic.ja -silent -responseFile /home/weblogic/wls.rsp -invPtrLoc /home/weblogic/oraInst.loc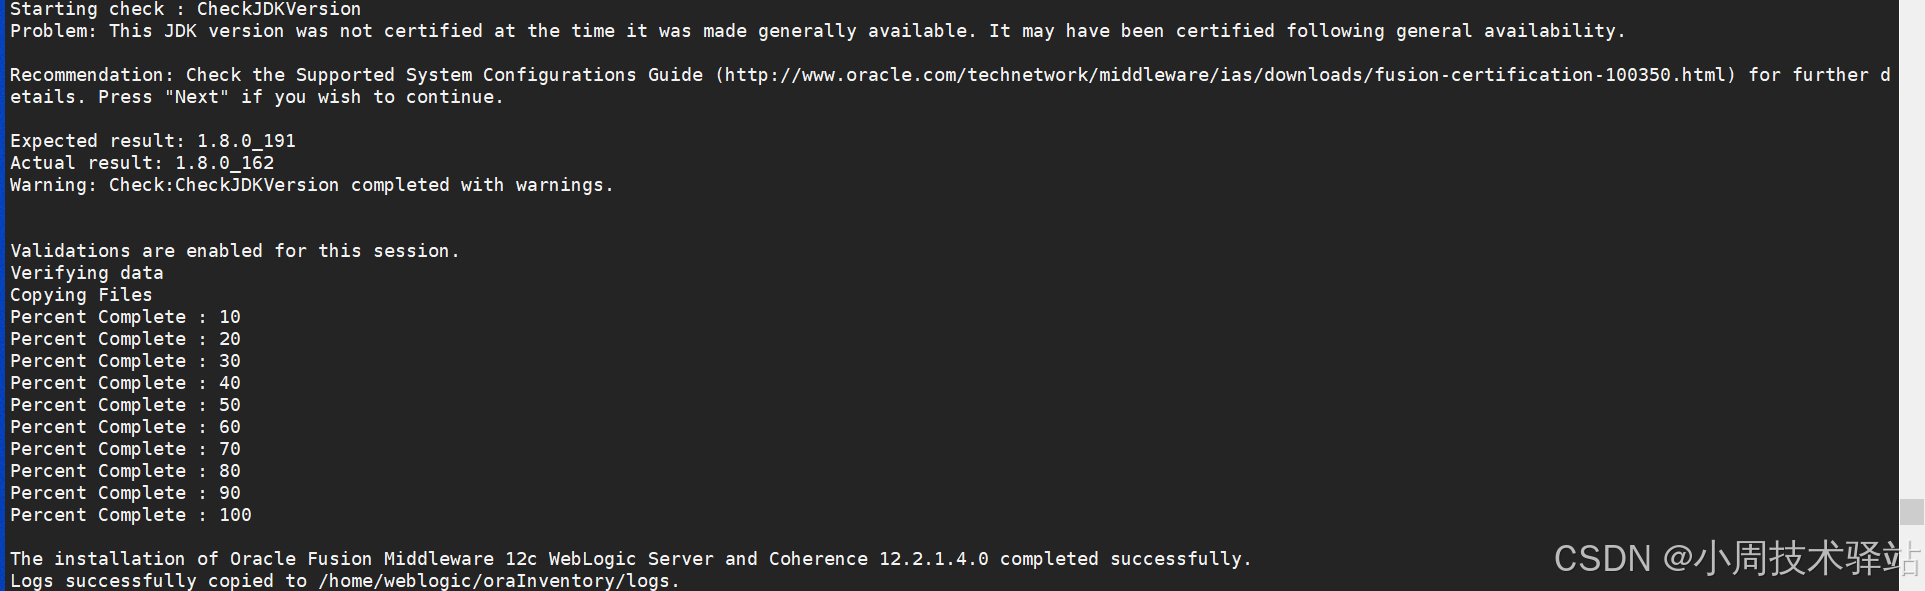
7、找到 wlst.sh 文件所在目录
cd /home/weblogic/oracle_home/wlserver/common/bin/8、新建 create_domain.py 文件
touch create_domain.py
vim create_domain.py	# 编辑 create_domain.py 文件

# 在 create_domain.py 文件中添加以下内容
readTemplate('/home/weblogic/oracle_home/wlserver/common/templates/wls/wls.jar')
cd('Servers/AdminServer')
set('ListenAddress','')
set('ListenPort',7001)
cd('/')
cd('Security/base_domain/User/weblogic')
cmo.setPassword('1qaz2wsx!')					# 此处设置你的密码
setOption('OverwriteDomain','true')
writeDomain('/home/weblogic/oracle_home/user_projects/domains/base_domain')
closeTemplate()
exit()
9、执行 create_domain.py 文件
sh /home/weblogic/oracle_home/wlserver/common/bin/wlst.sh create_domain.py
10、通过 root 用户修改hosts文件内容
(1)、转向 root 用户
su -
(2)、修改 hosts 的权限
chmod 666 /etc/hosts
(3)、编辑 hosts 的内容
# 本来文件里面只有前两行内容,加入下面内容
127.0.0.1    <hostname>    # hostname : 你的主机名
保存:先点击Esc键, 输入 ":wq",点击回车键
再转向 weblogic 用户
11、找到 base_domain 目录下
cd /home/weblogic/oracle_home/user_projects/domains/base_domain/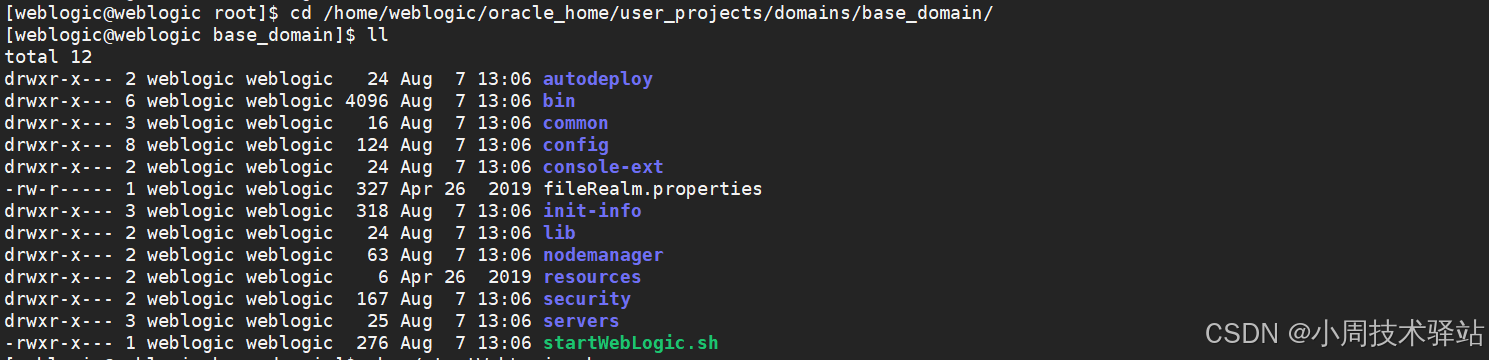
12、执行 startWebLogic.sh 文件
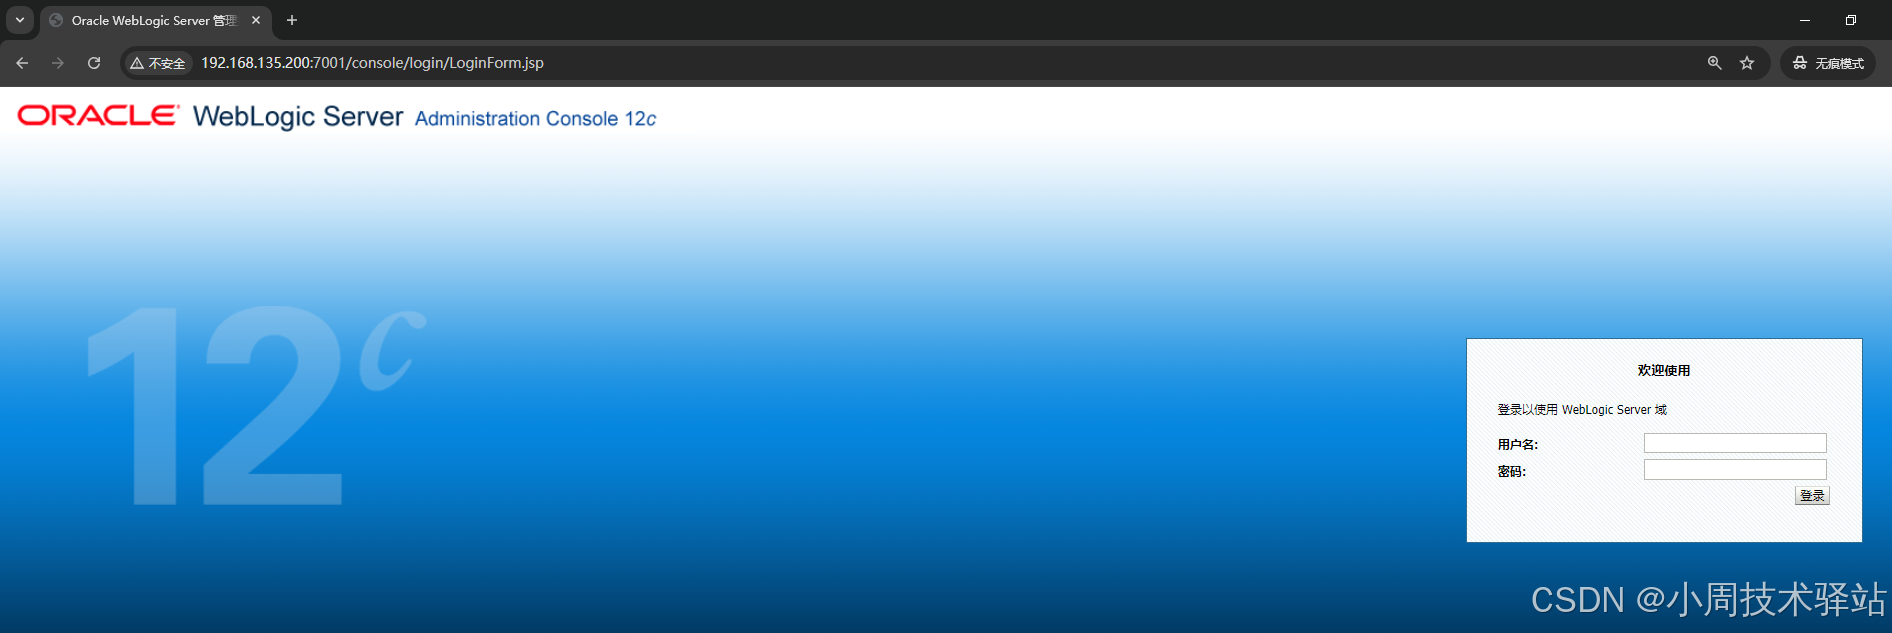
sh ./startWebLogic.sh13、打开浏览器
http://192.168.135.200:7001/console