
💌 所属专栏:【单片机开发软件技巧】
😀 作 者: 于晓超
🚀 个人简介:嵌入式工程师,专注嵌入式领域基础和实战分享 ,欢迎咨询!
💖 欢迎大家:这里是CSDN,我总结分享知识的地方,喜欢的话请三连,有问题请私信
目录
前言
大家好,又见面了,我是小超,本文是专栏【单片机开发软件技巧】专栏的第1篇文章;
Keil是我们单片机开发经常使用的软件,但是很多人习惯使用vscode,写篇VSCODE编译Keil工程的环境搭建教程记录一下不过分吧
专栏地址:【单片机开发软件技巧】, 此专栏单片机开发中相关的软件使用技巧总结,希望能够加深自己的印象,以及帮助到其他的小伙伴。
如果文章有什么需要改进的地方还请大佬不吝赐教👏👏。
本教程实际是VSCODE依赖了KEIL进行的编译,所以使用的前提还是需要我们的电脑上装有KEIL
一、软件获取
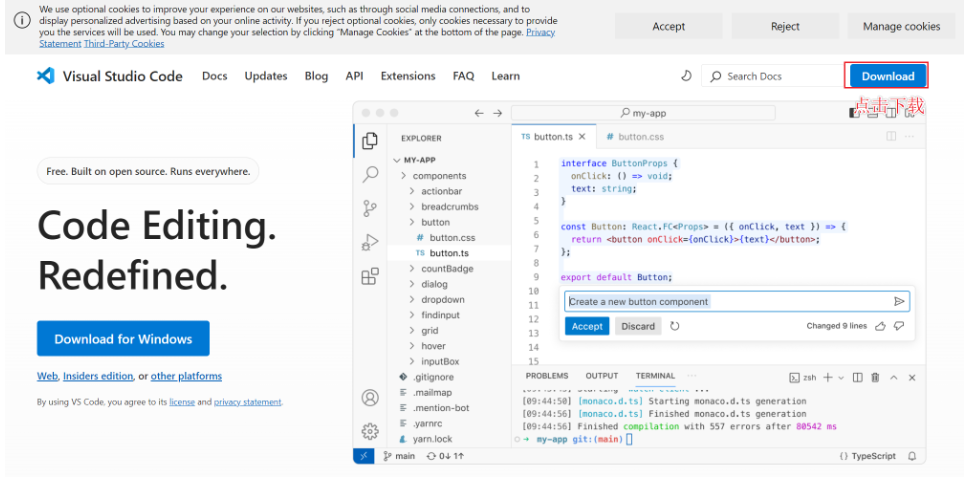
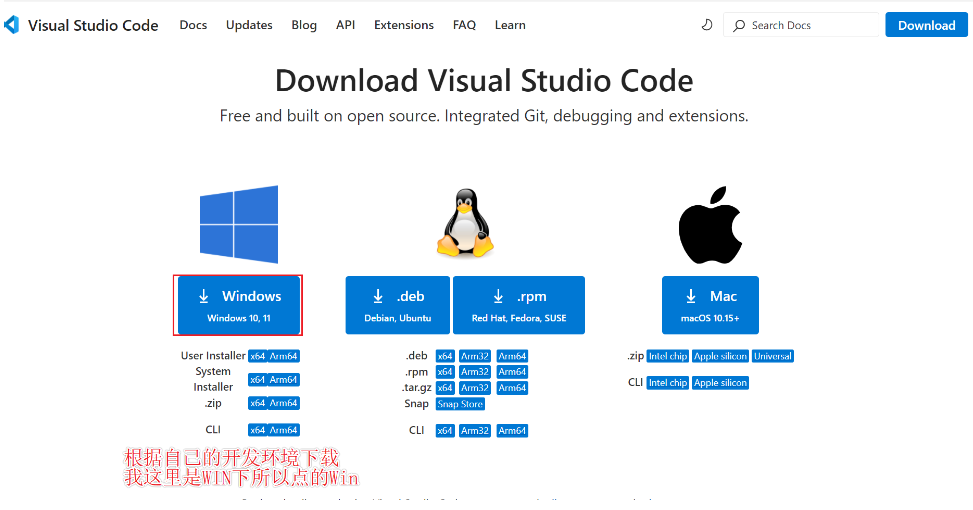
1、VSCODE获取
二、VSCODE安装
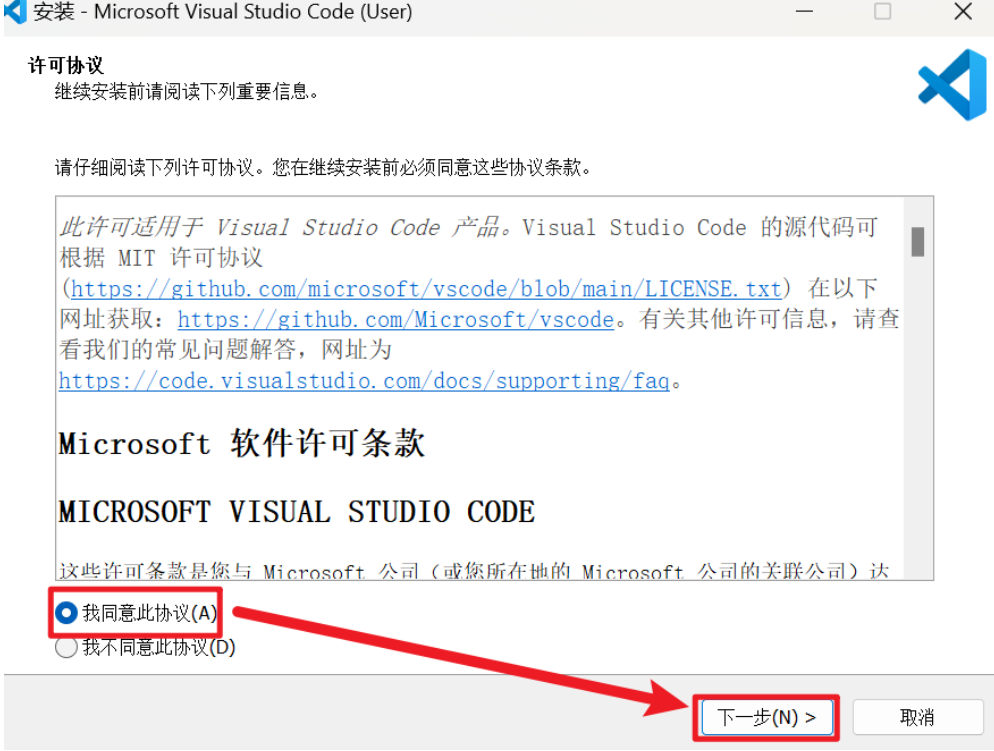
1.双击下载好的文件

2 选择【我同意此协议】,单击【下一步】
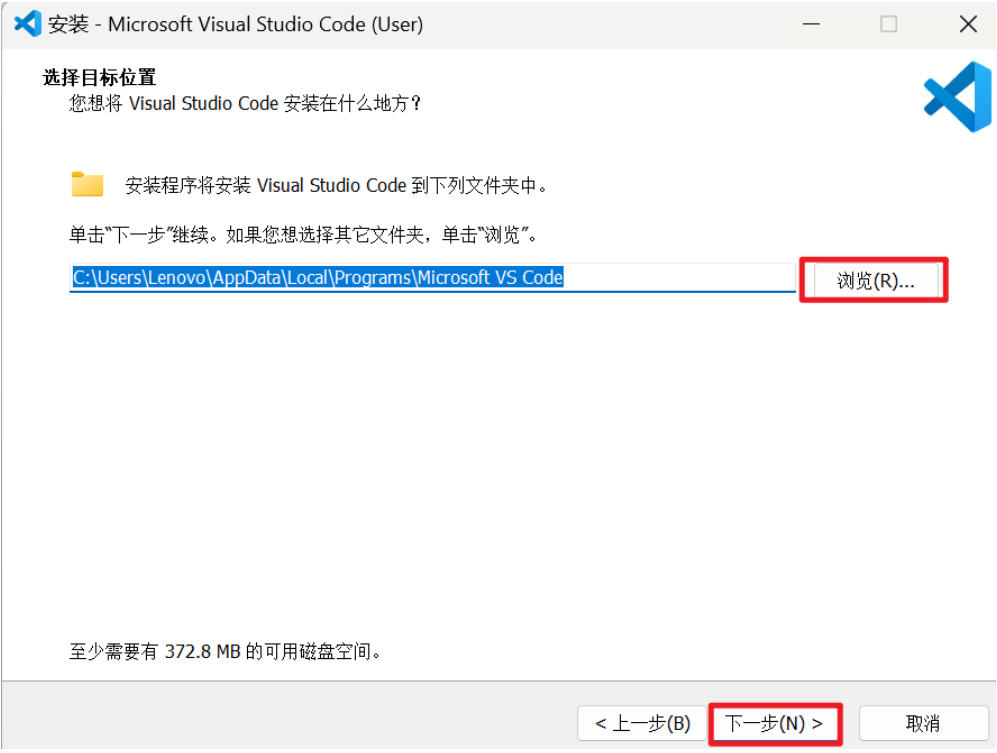
- 下一步之后选择完自己的安装路径
- 选择配置
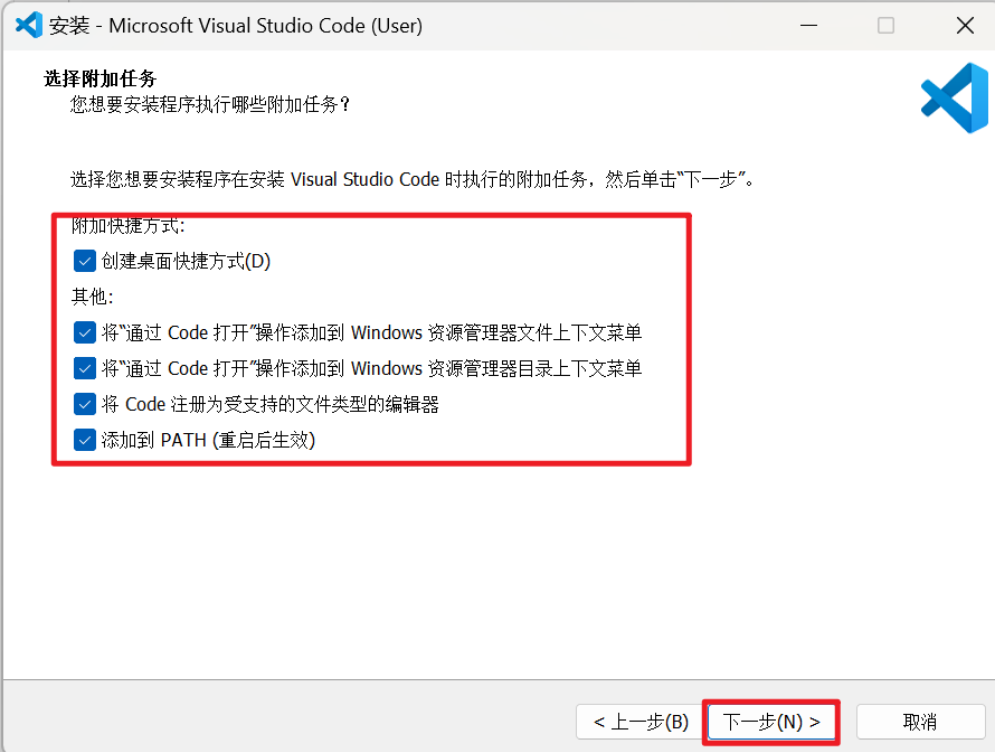
为了便于使用 VS Code 打开工程,可以使用快捷方法。勾选前两项之后,只需在工程所在的文件夹中空白处右击鼠标,就会看到一个类似"在 VS Code 中打开"的选项出现在上下文菜单里。选择该选项后,VS Code 将会直接打开这个文件夹,非常便捷。 如果不启用这项功能,就需要先启动 VS Code,然后依次点击菜单栏中的"文件"和"打开文件夹",最后再从文件系统中导航到需要打开的文件夹位置。显然,第一种方法更加高效舒适。
- 去掉勾点完成

三、VSCODE插件安装配置
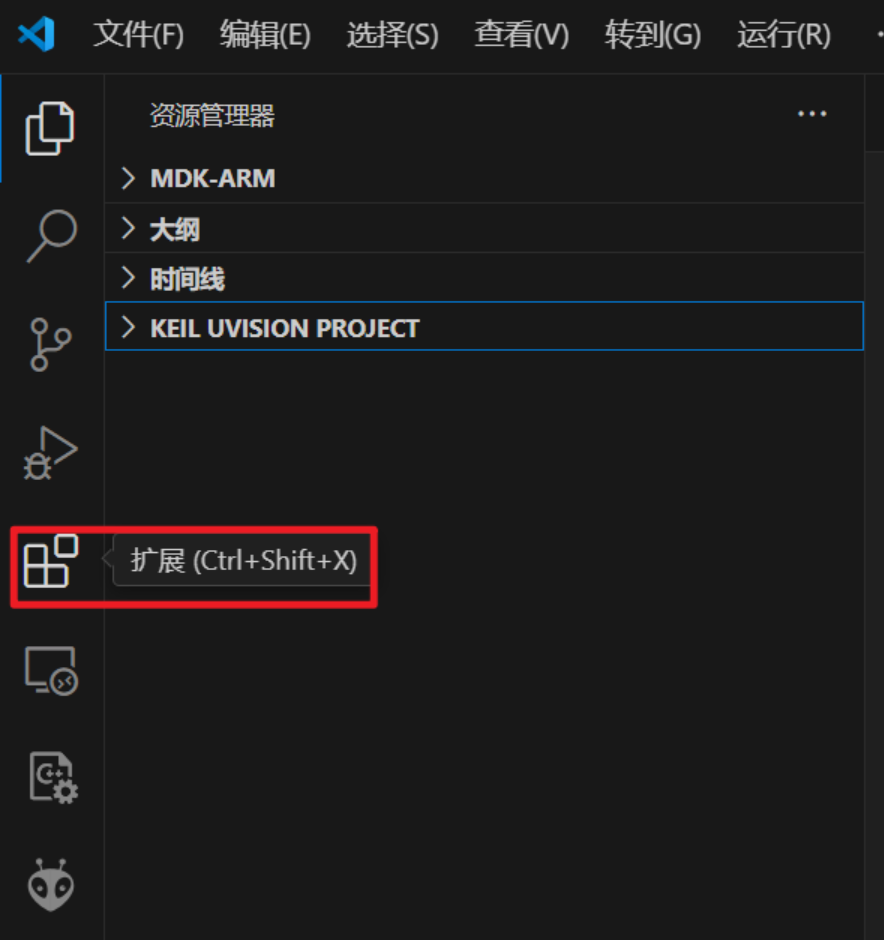
1、点击左侧栏的扩展按钮
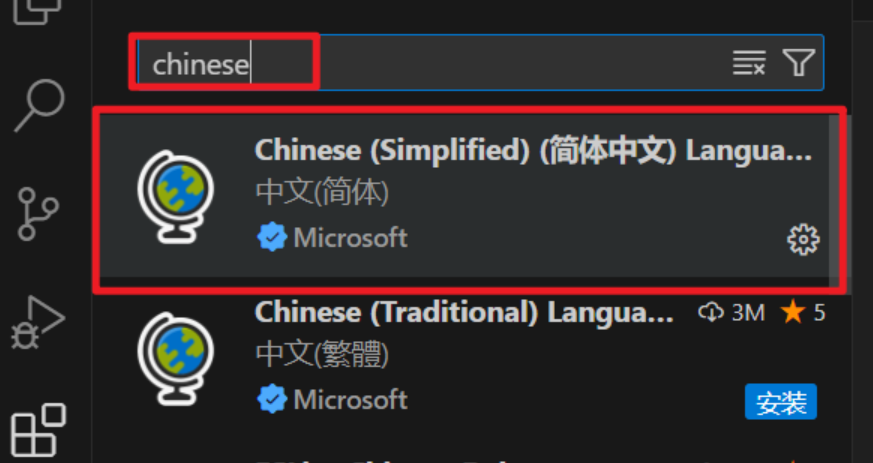
2、搜索插件点击安装(我这里安装过了所以没有安装显示)
名称:Chinese (Simplified) (简体中文) Language Pack for Visual Studio Code(汉化功能插件)
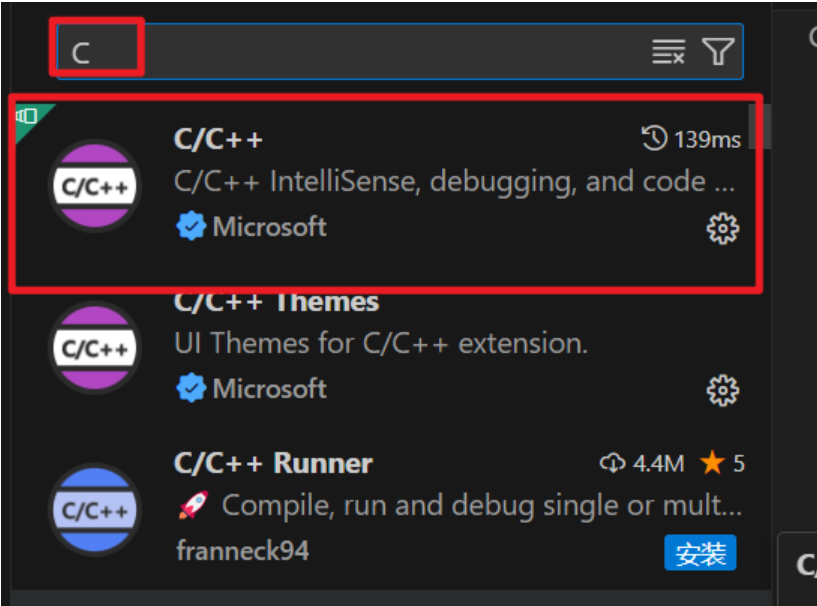
3、C/C++支持安装
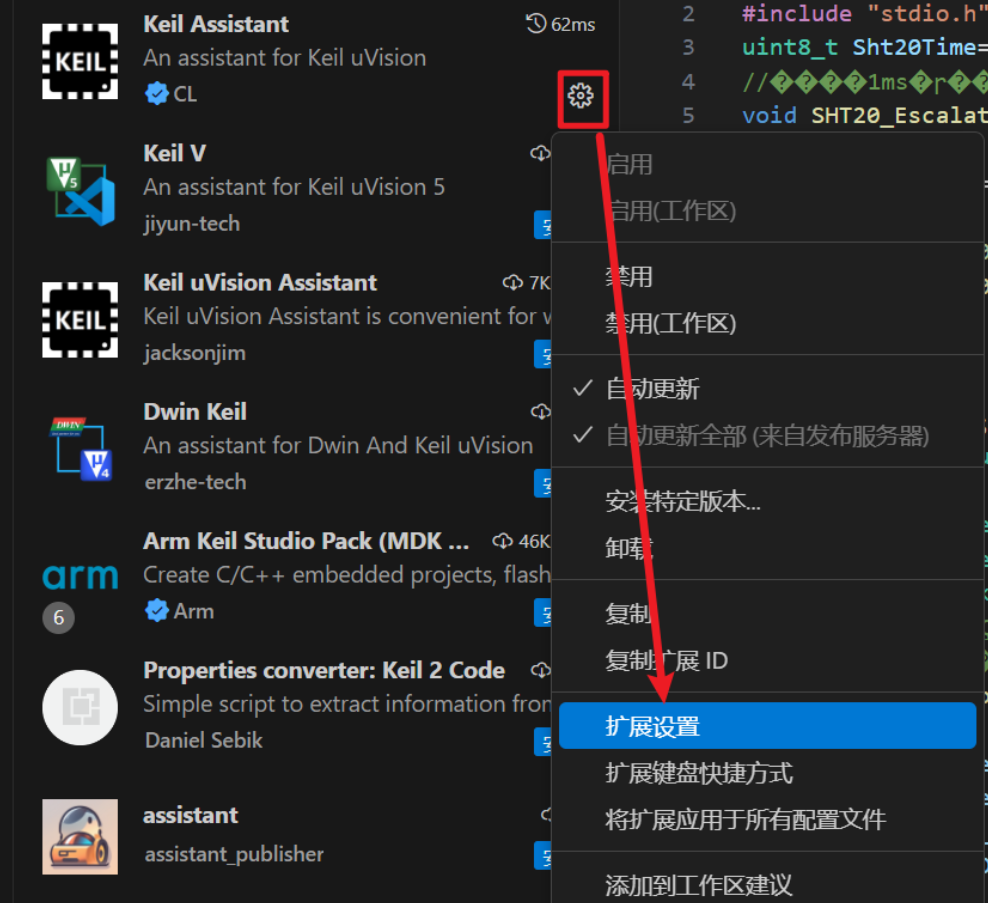
vscode不支持C,但是有插件安上就支持了 4、Keil工程插件安装(Keil Assistant)
5、点击Keil Assistant小齿轮进行配置
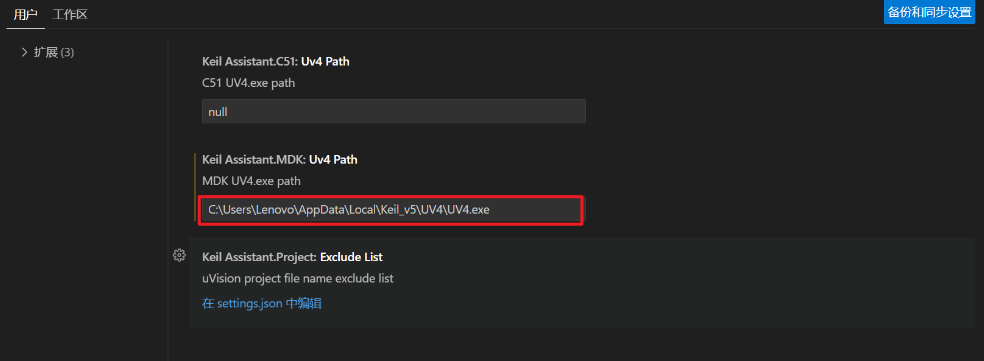
6、配置Keil路径
把keil的UVx.exe的路径复制到红色方框中,通常是`C:\Keil_v5\UV4\UV4.exe 7、将文件编码自动识别勾上
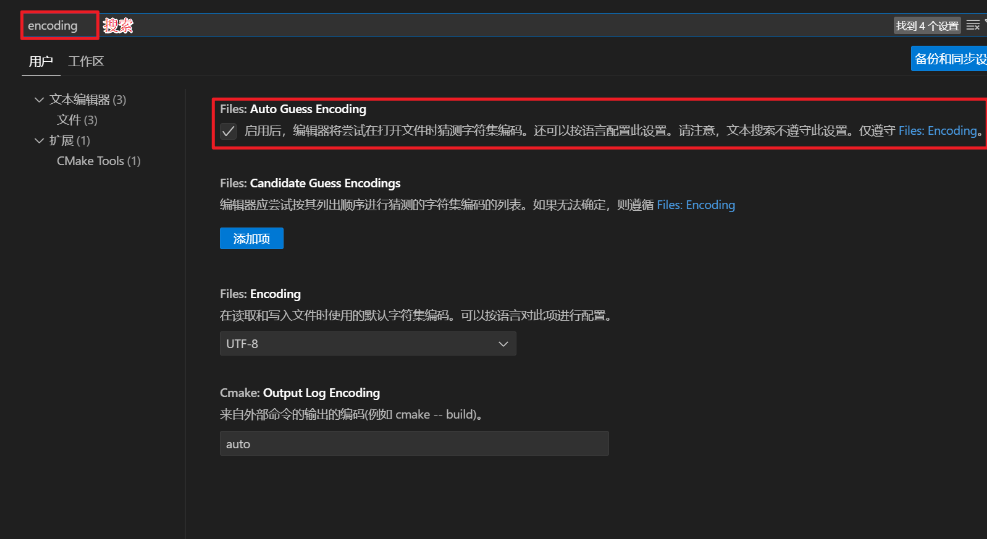
7、将文件编码自动识别勾上
四、使用VSCODE编译Keil工程
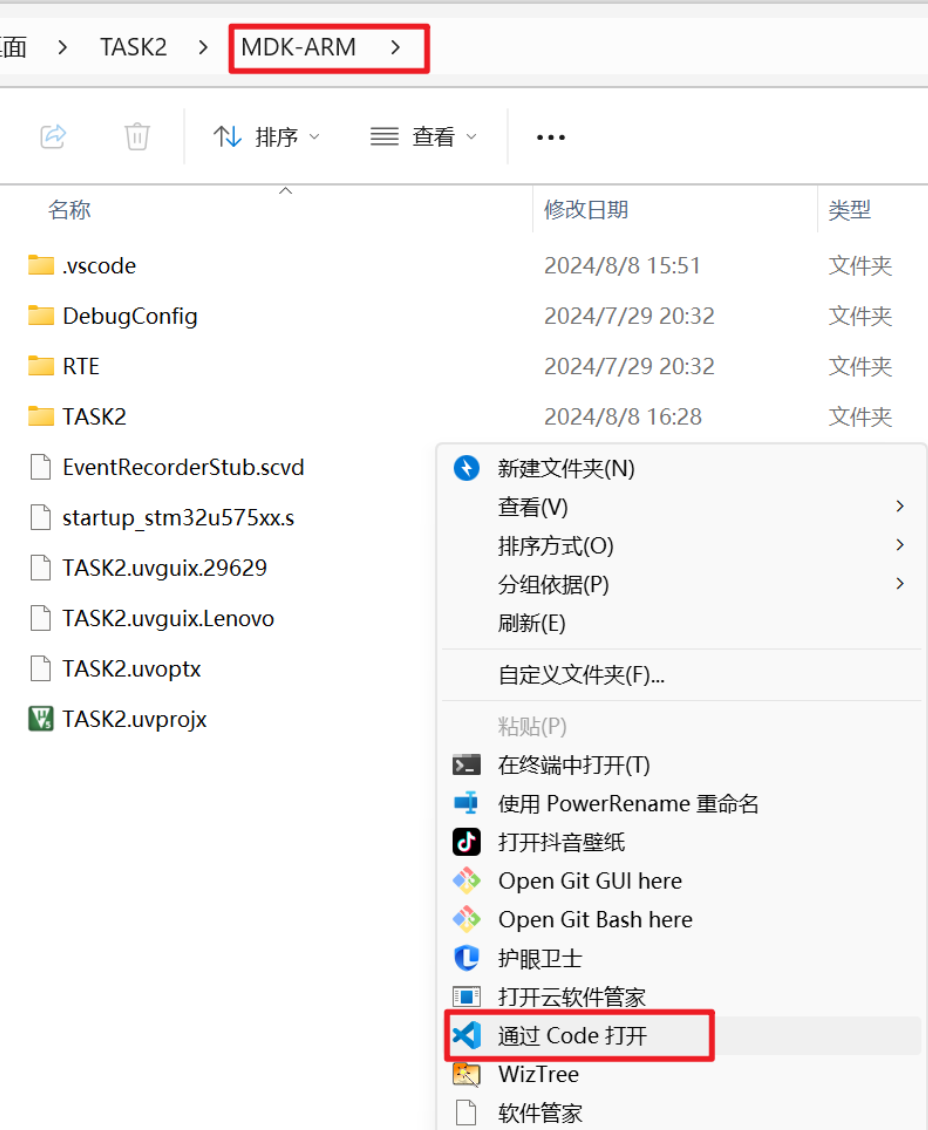
1、找到自己的工程右键CODE打开
2、编译自己的工程
