名词解释:

丹摩智算(damodel):是一款带有RTX4090,Tesla-P40等显卡的公有云服务器。
stable diffusion:是一个大模型,可支持文生图,图生图,文生视频等功能
一.实验目标
注册丹摩智算(damodel) 账户,创建带有显卡(Tesla-P40)的公有云服务器,系统为:ubuntu22.04_tensorflow2.1,通过ssh协议连接到公有云服务器,在该服务器上安装stable diffusion,适配成功后,通过浏览器访问stable diffusion后,实现文生图的功能
二.实验环境准备
1.公有云:丹摩智算(damodel)
2.系统:ubuntu22.04_tensorflow2.1
3.显卡:Tesla-P40
4.ssh连接工具:finalshell
5.stable diffusion:Stable Diffusion web UI
三.实验步骤
1.丹摩智算(damodel) 账户 注册
2.创建带显卡的公有云服务器。显卡:Tesla-P40 系统:ubuntu22.04_tensorflow2.1
3.ssh连接工具finalshell下载安装
4.通过ssh协议连接后,在ubuntu22.04_tensorflow2.1公有云上部署stable diffusion
5.Stable Diffusion web UI部署成功后,通过浏览器访问
6.在Stable Diffusion web UI页面上,输入关键词,生成图片
四.实验过程
注意事项:
由于需要下载模型,模型50g大小,所以磁盘一定要在创建实例的时候一次性创建够用。例如:200g系统盘,300g数据盘。
1.丹摩智算(damodel) 账户 注册
浏览器登录地址:https://www.damodel.com/home
注册成功后进入页面
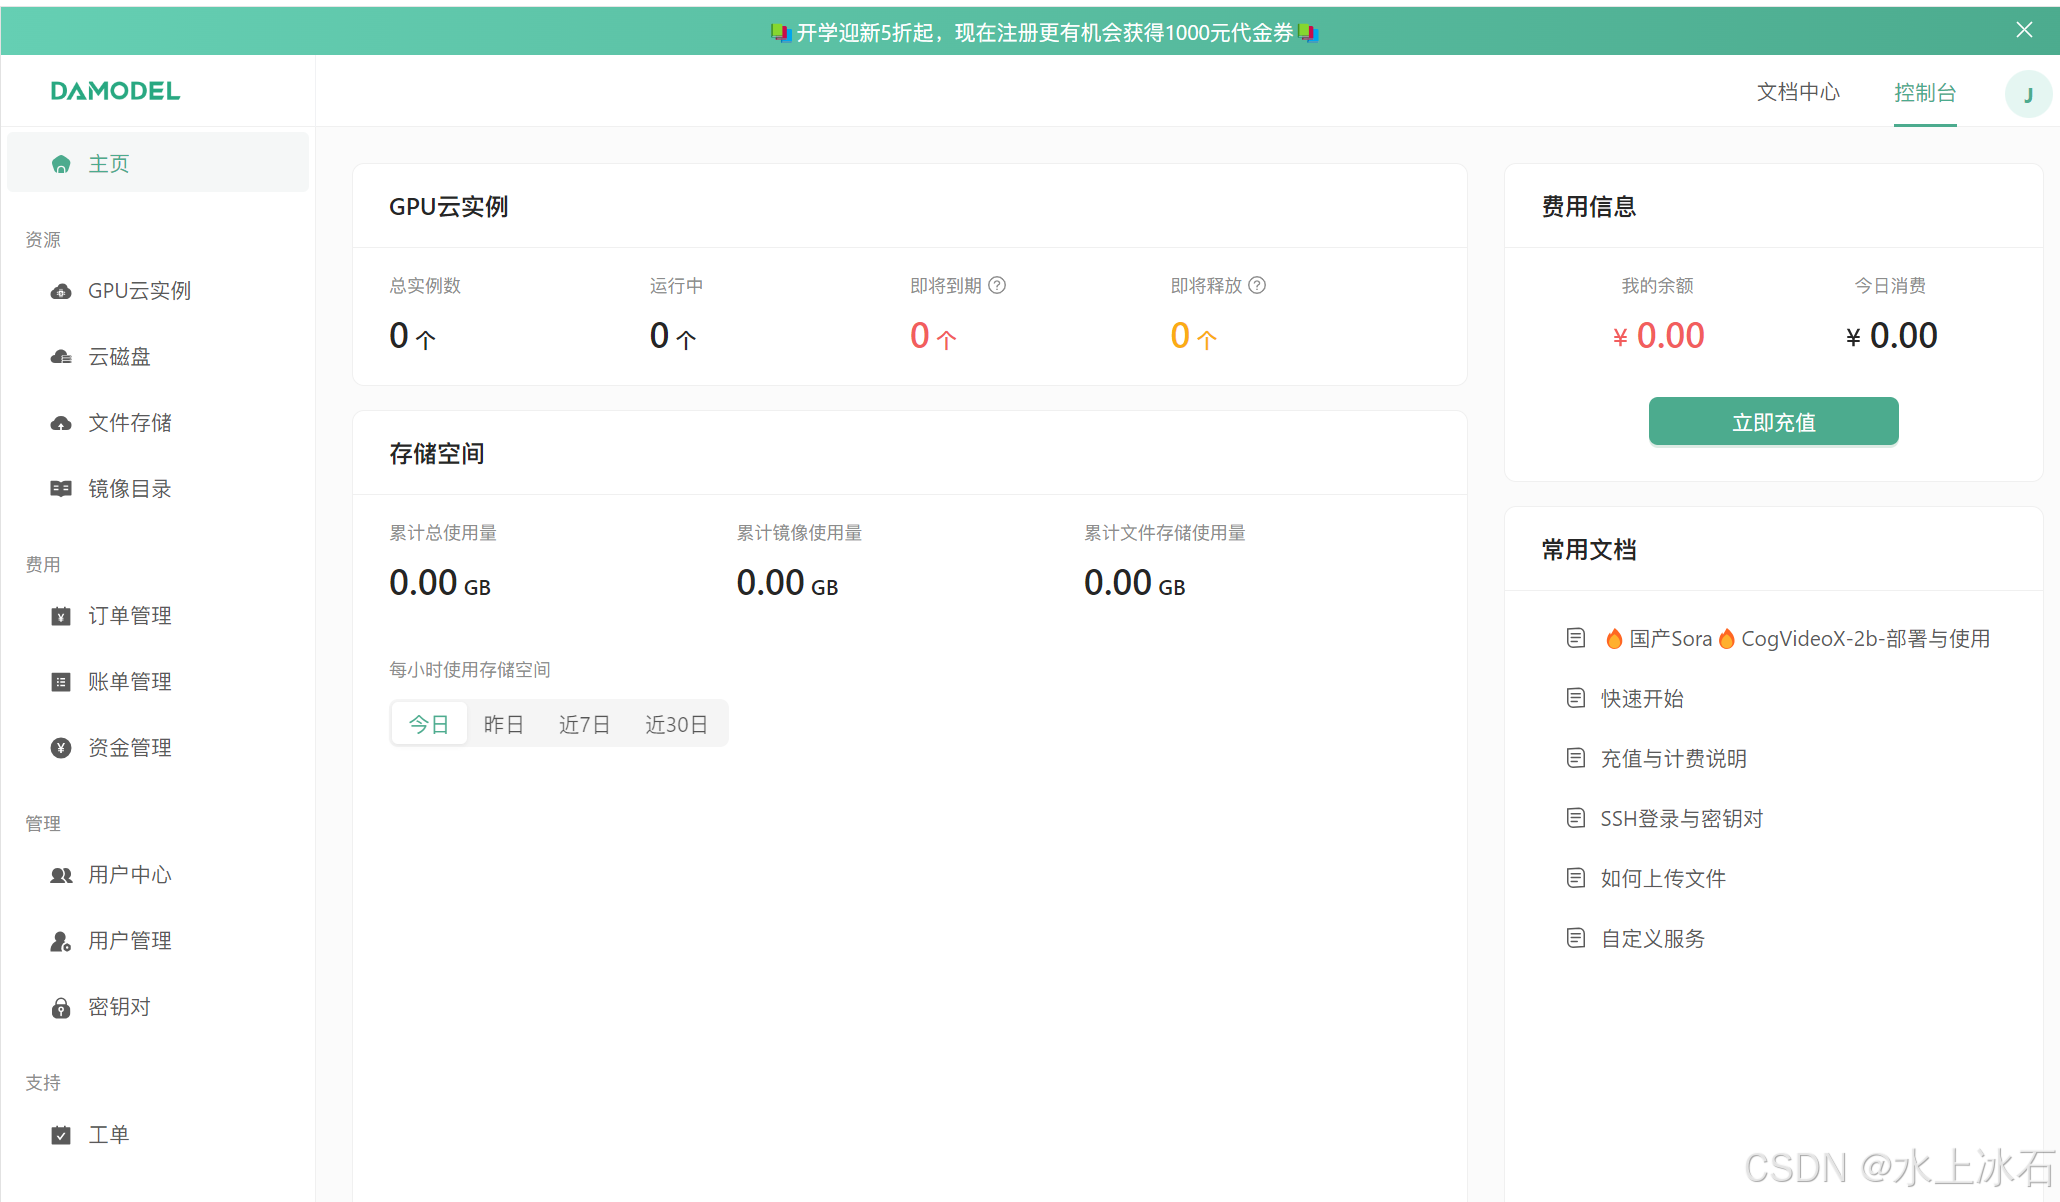
点击创建实例
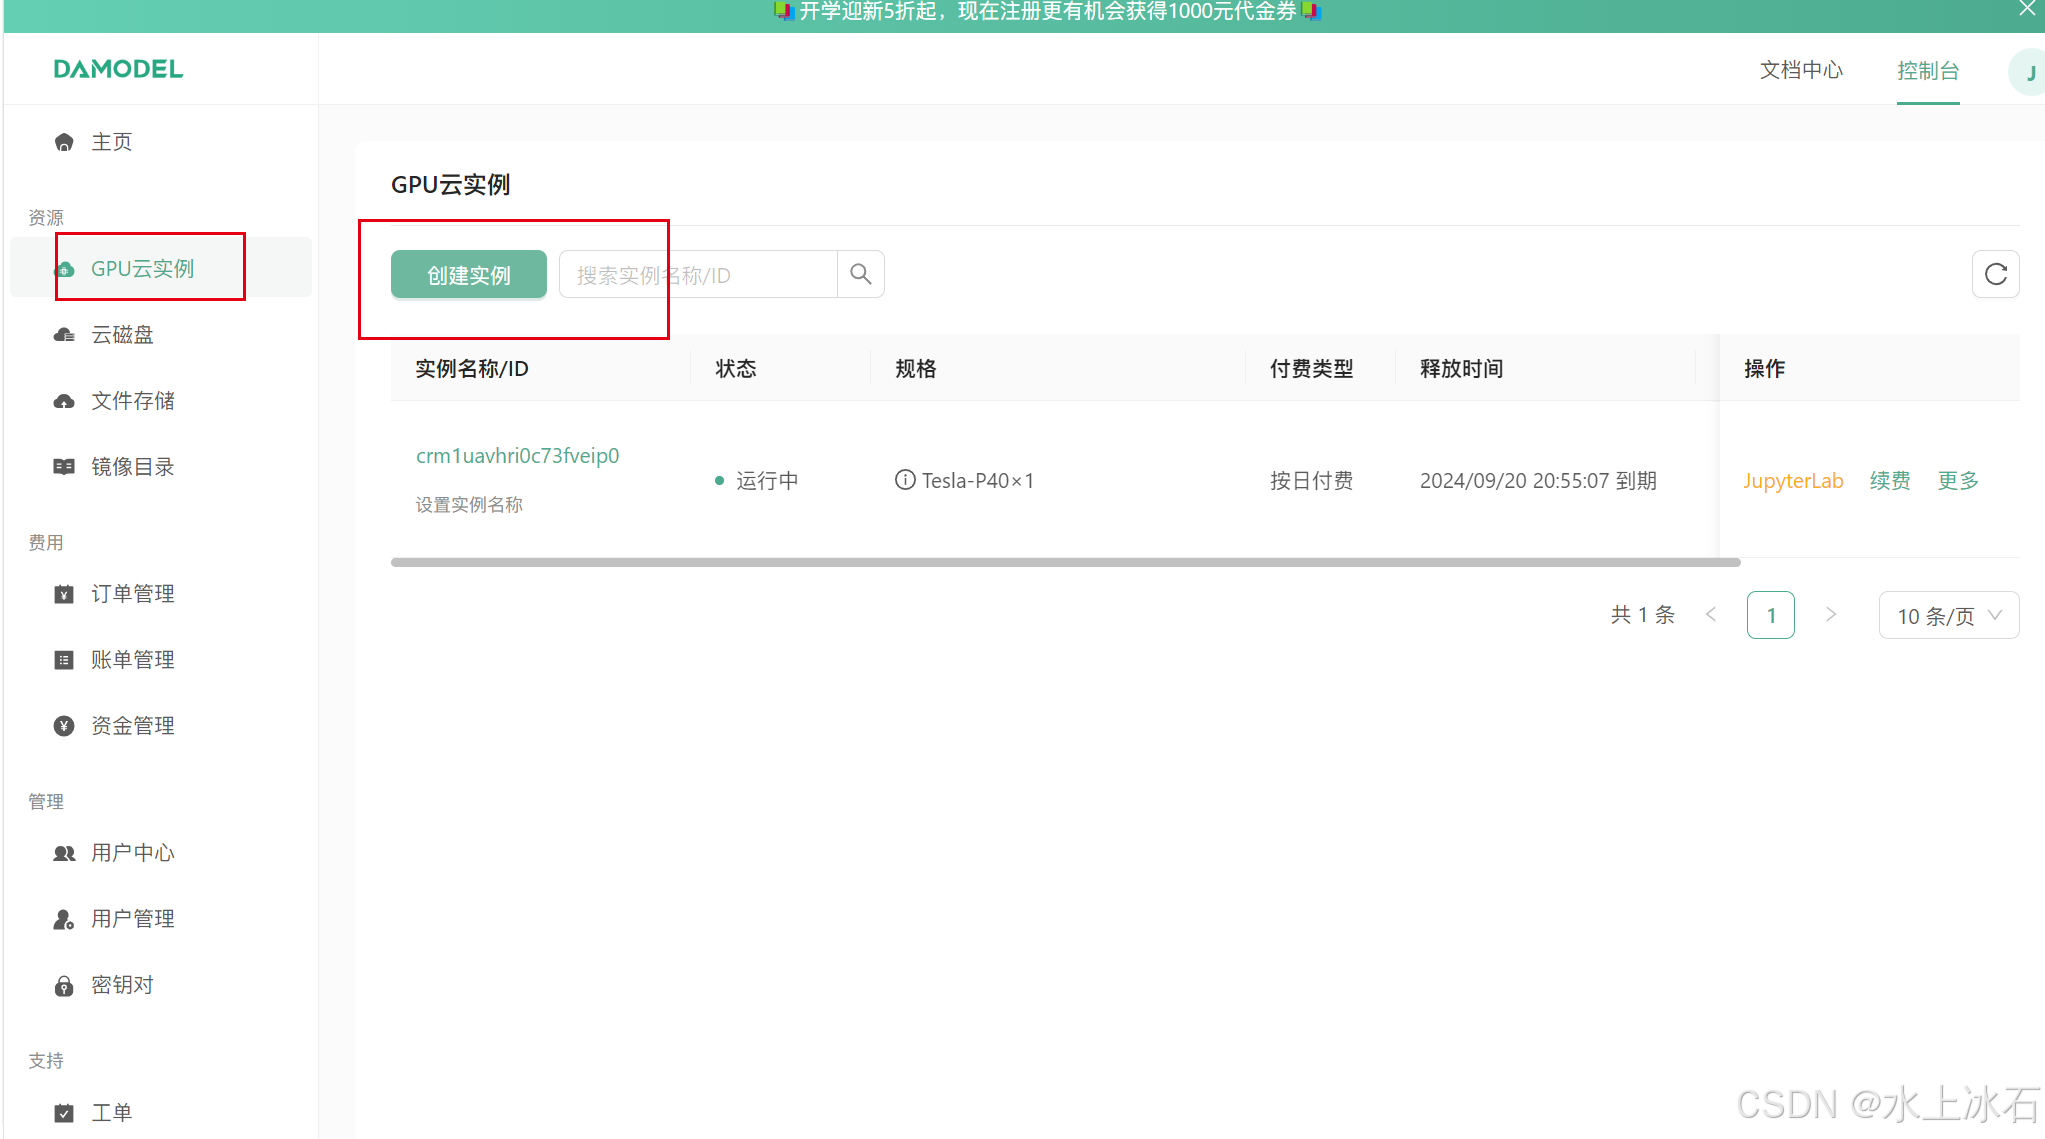
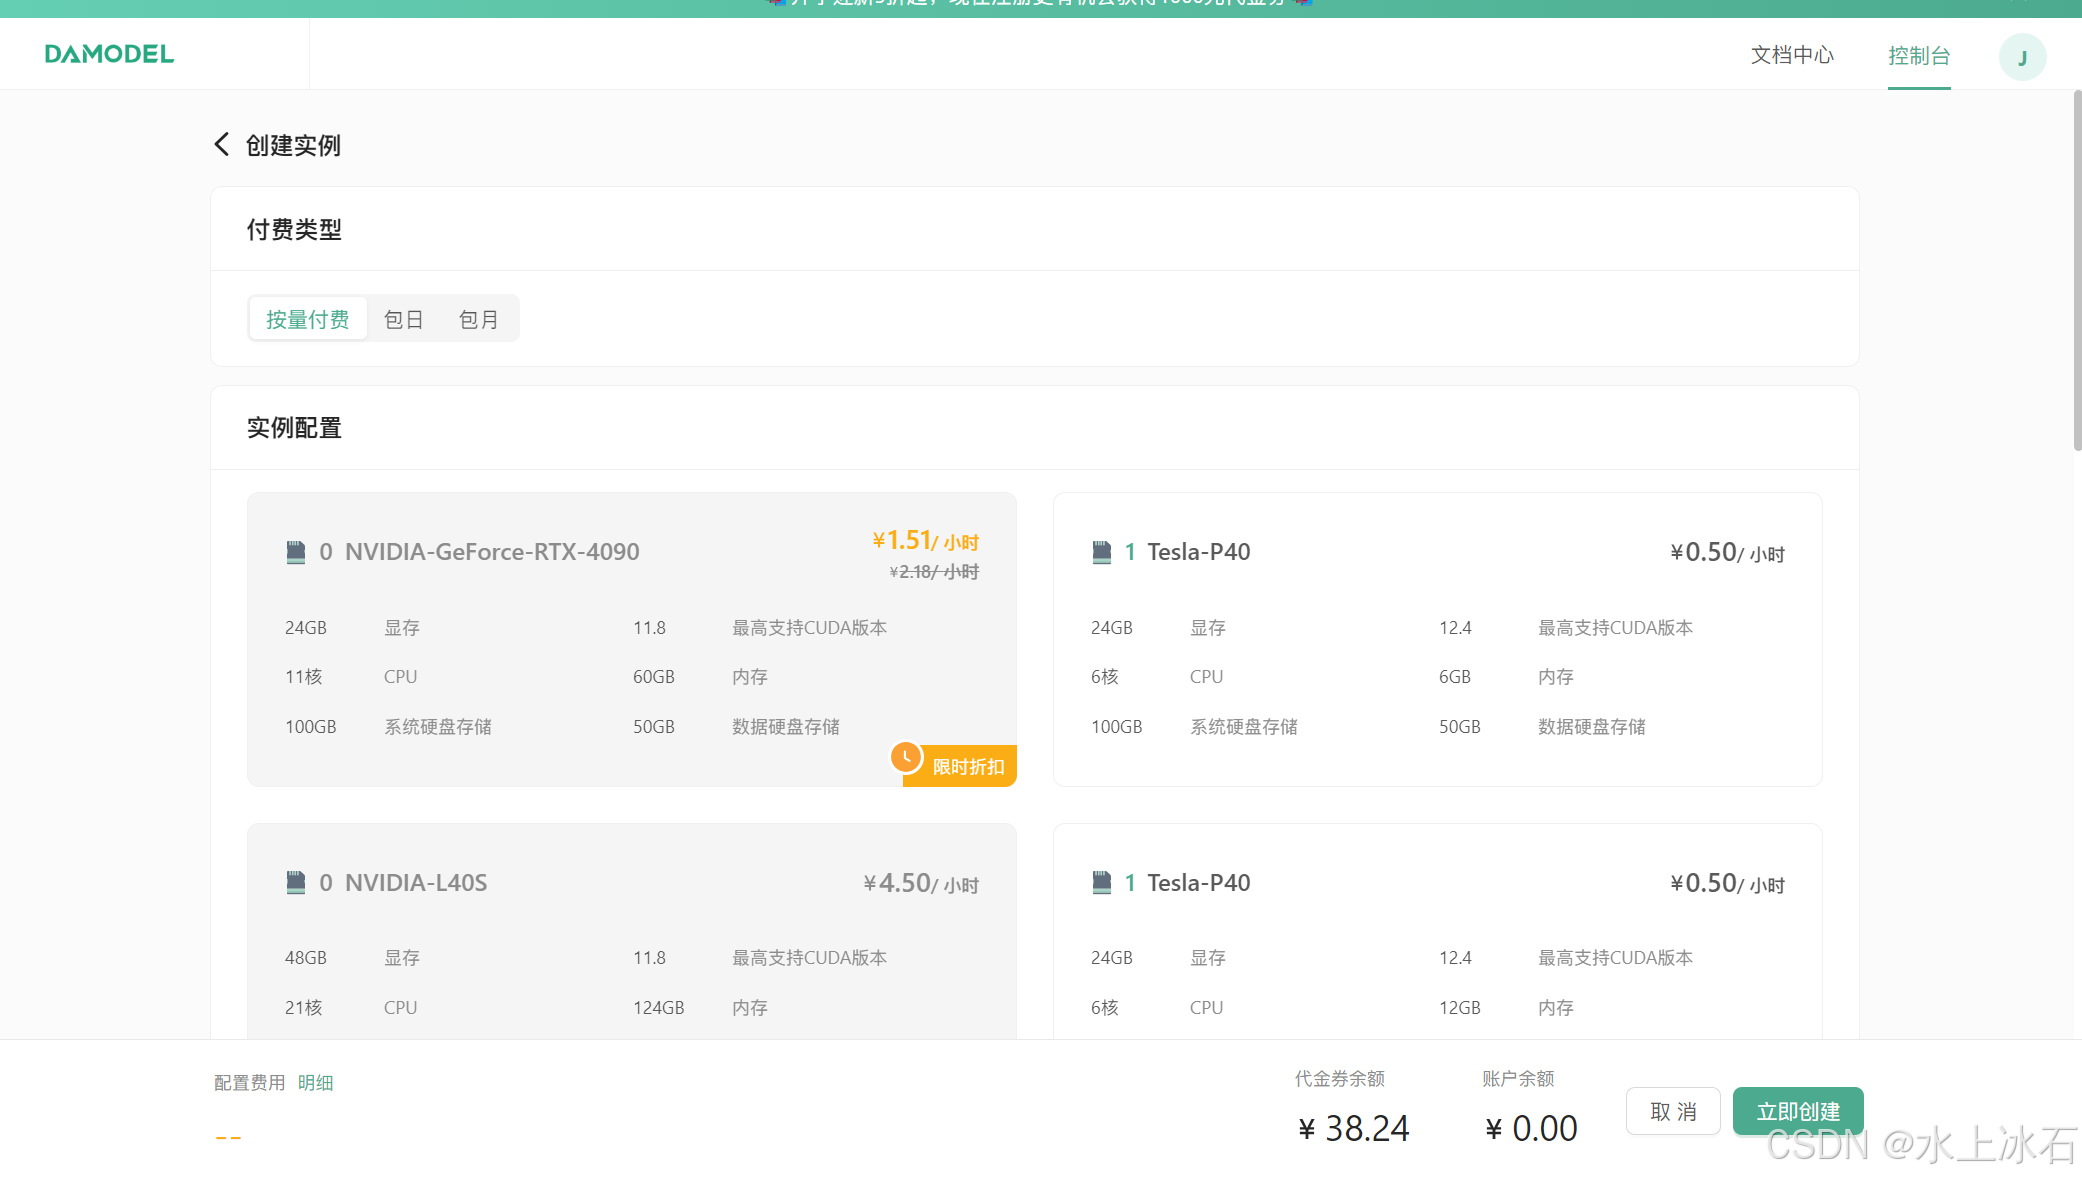
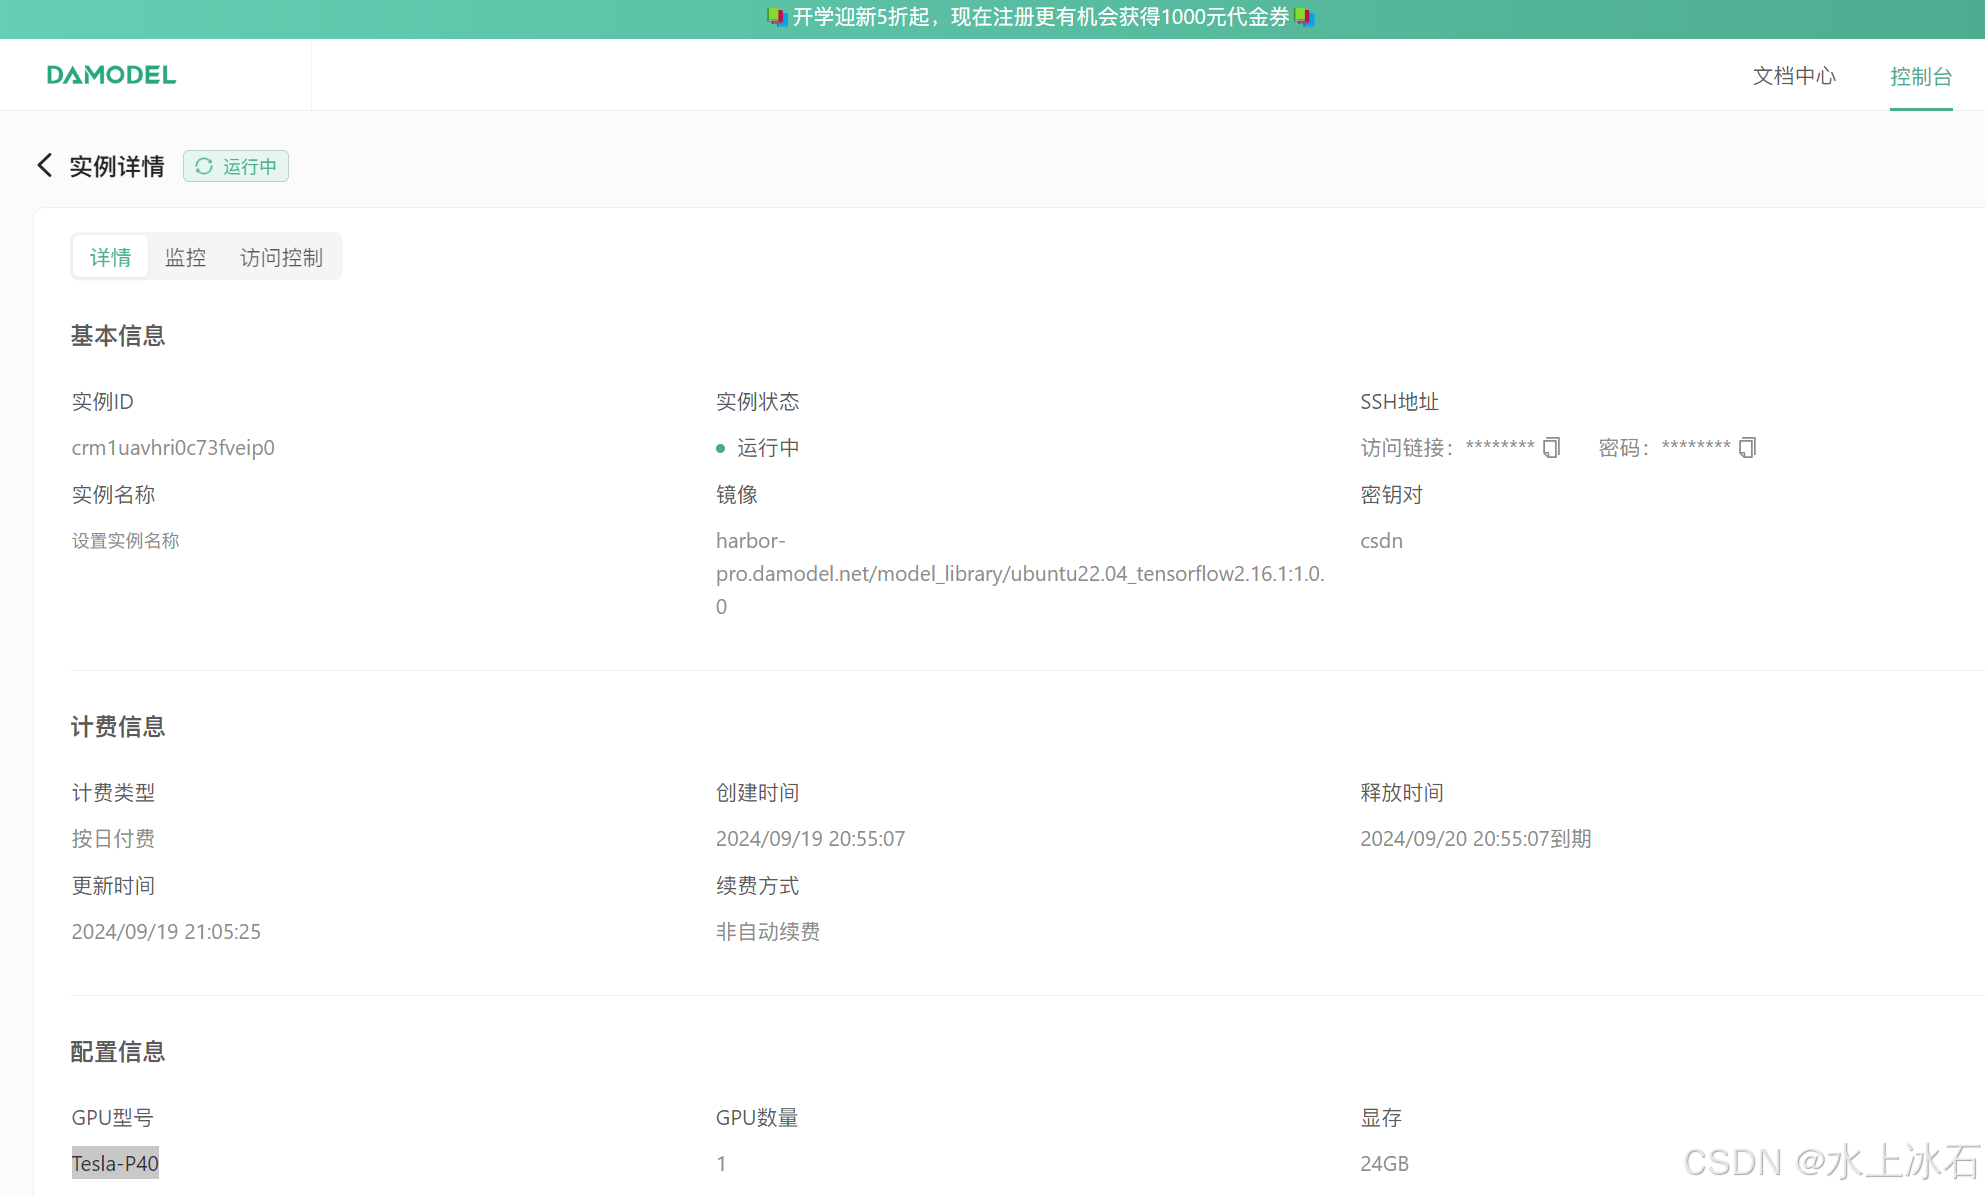
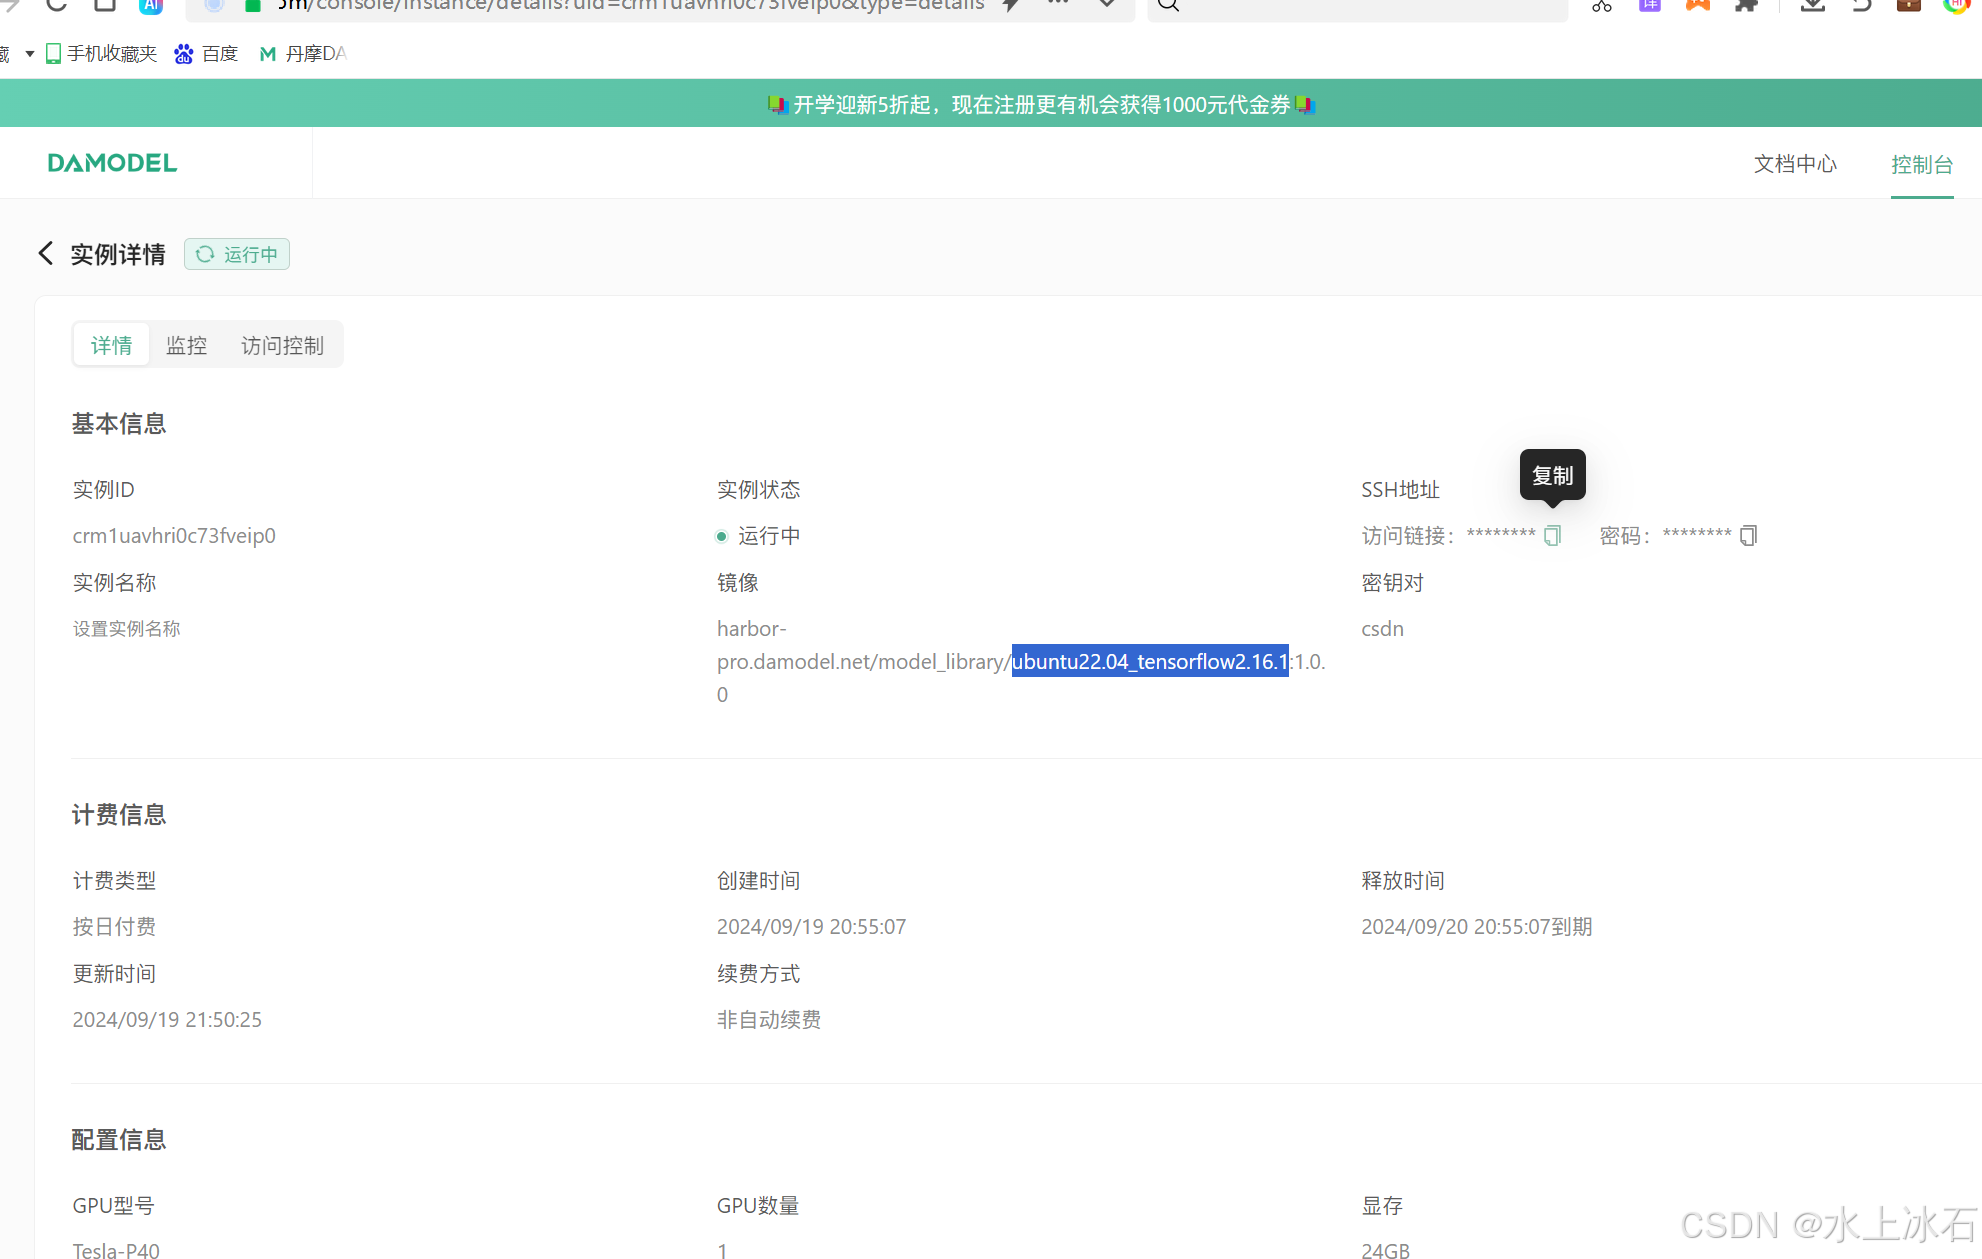
2.创建带显卡的公有云服务器。显卡:Tesla-P40 系统:ubuntu22.04_tensorflow2.1
选择显卡型号,操作系统和默认支持框架,并选择使用优惠券和付费方式
创建成功后
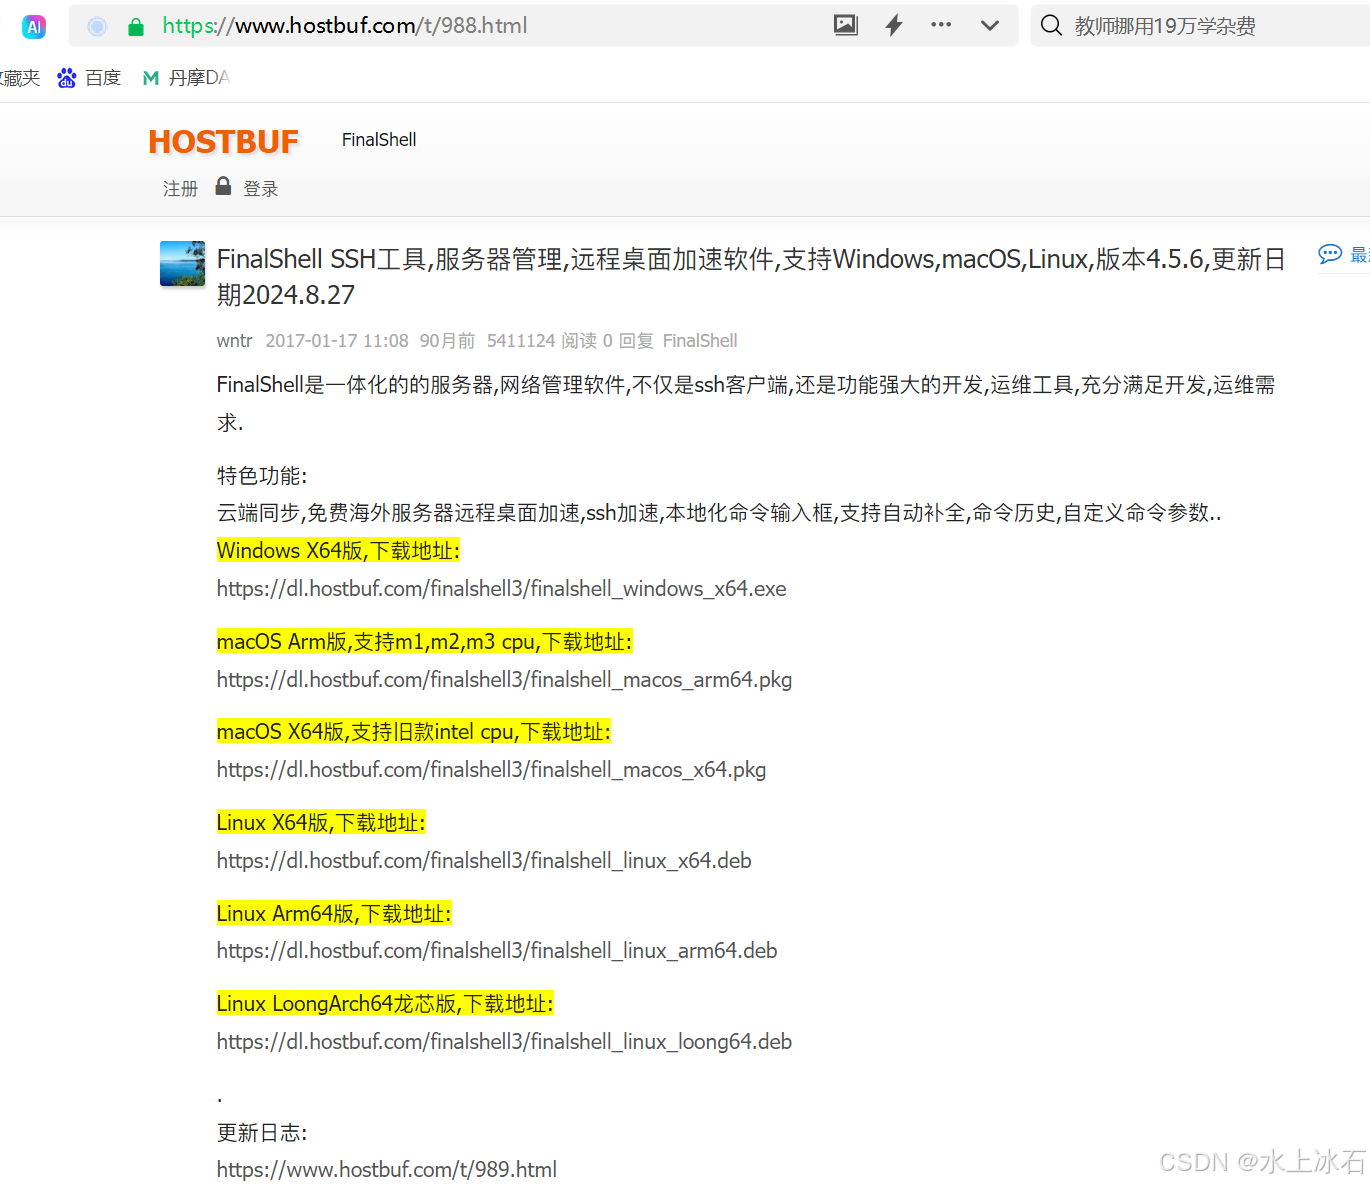
3.ssh连接工具finalshell下载安装
下载地址:FinalShell SSH工具,服务器管理,远程桌面加速软件,支持Windows,macOS,Linux,版本4.5.6,更新日期2024.8.27 - FinalShell官网

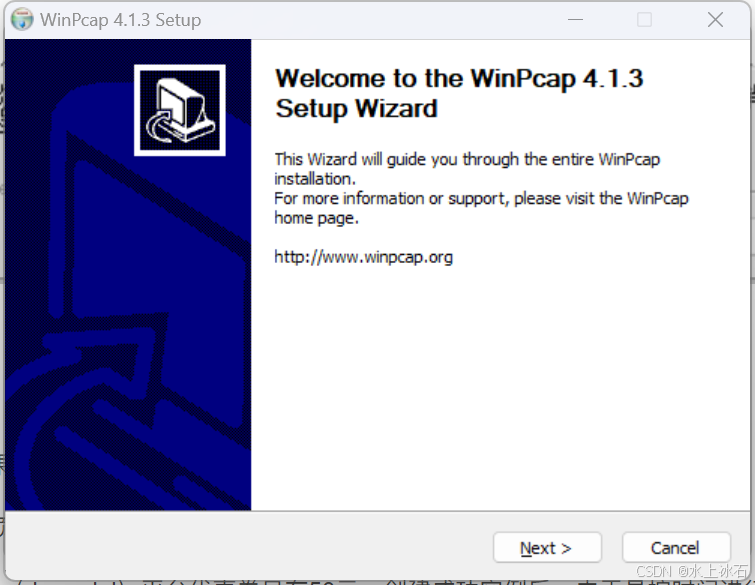
弹出来
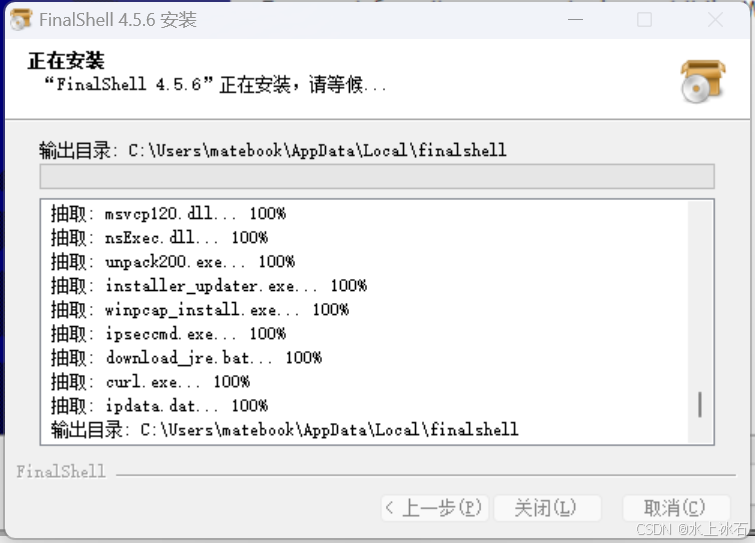
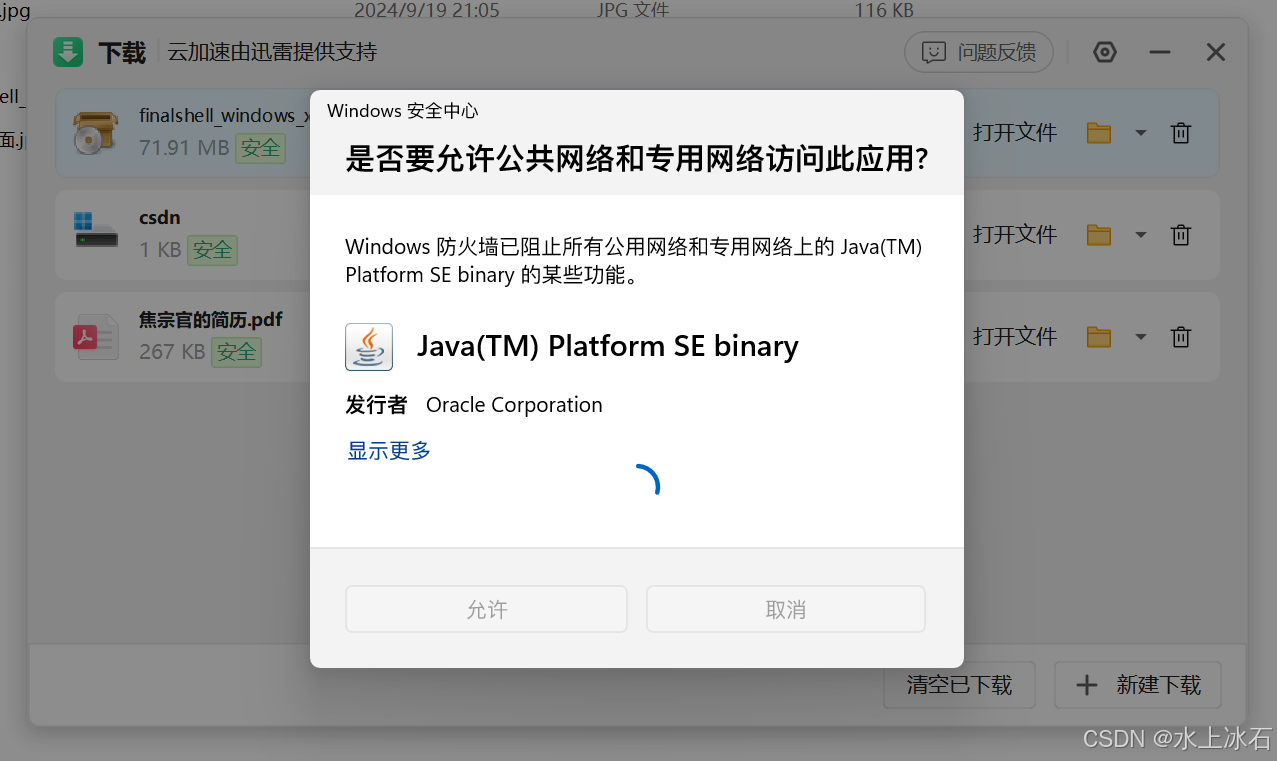
安装成功后, 丹摩DAMODEL|让AI开发更简单!算力租赁上丹摩! 找到实例登录的用户名和密码(访问链接和密码分别复制获取)
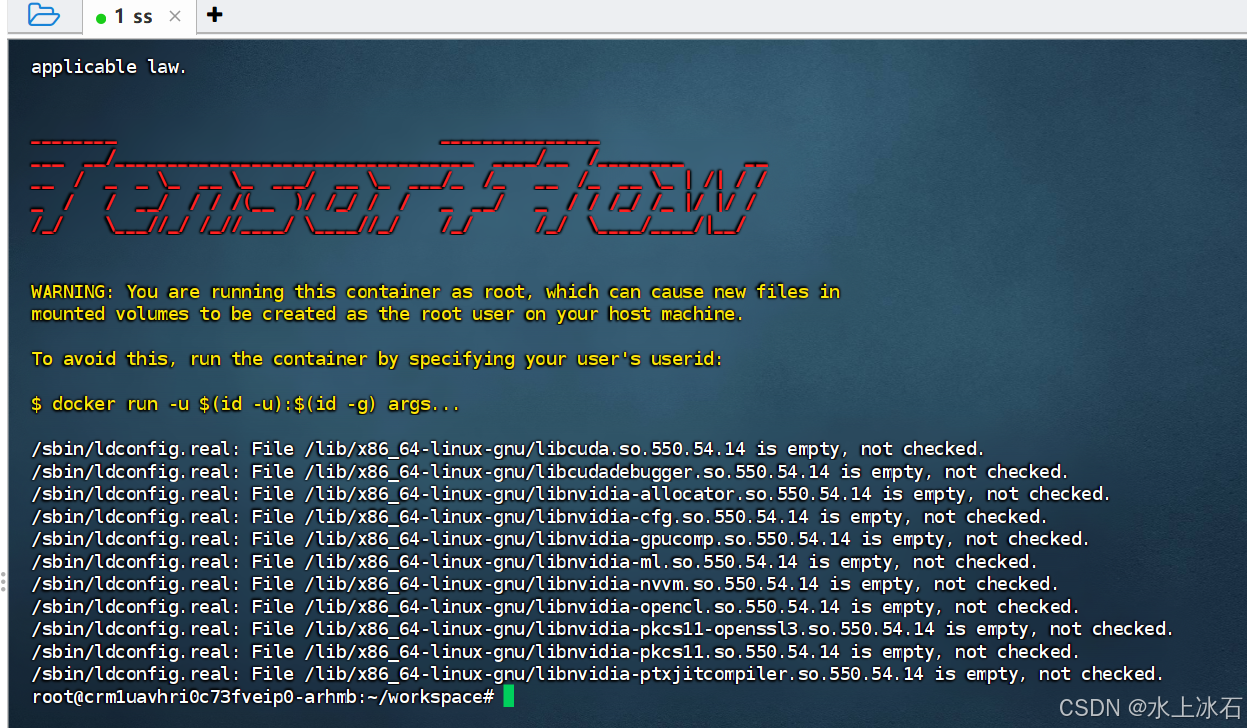
输入实例 ip和用户名,密码
登录成功后
4.Stable Diffusion web UI下载与部署
注意事项:由于github访问慢的原因,所以本文会用离线下载后上传安装Python组件的方式和修改github地址为gitee两种方式来解决。gitee库已放在文章中,过程vim 修改utils文件,请仔细修改,耐心操作
地址:GitCode - 全球开发者的开源社区,开源代码托管平台
-
安装依赖项:
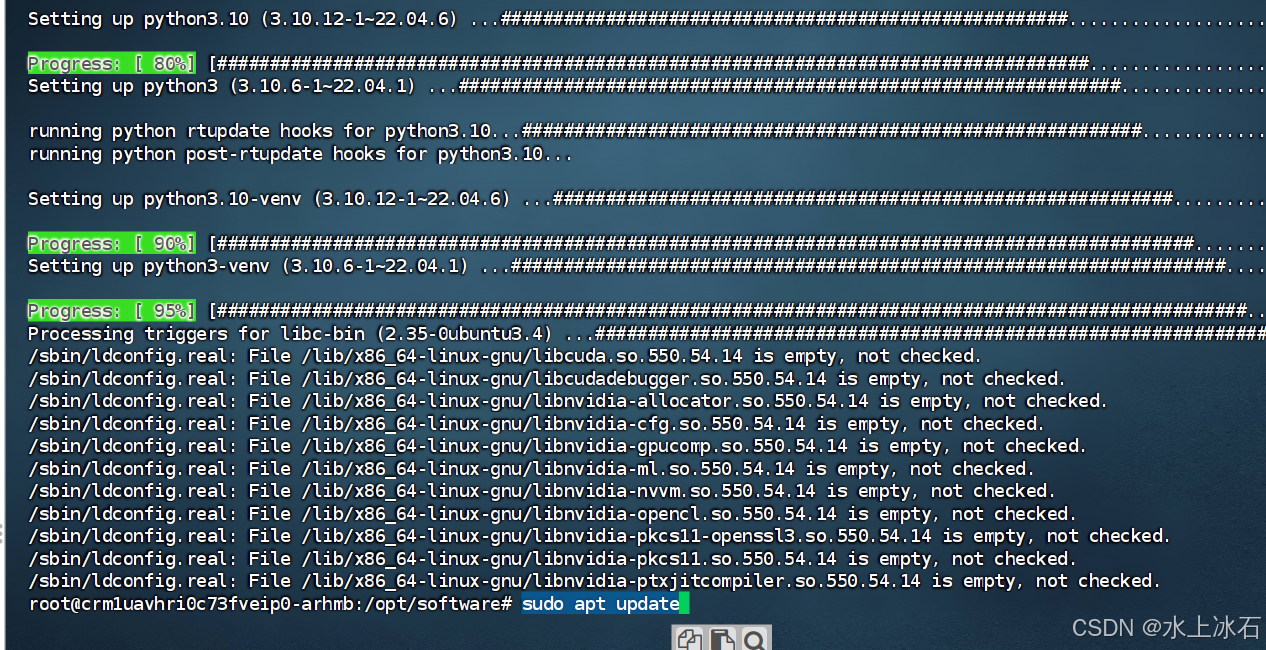
更新库
sudo apt update
基于Debian的:
sudo apt install wget git python3 python3-venv libgl1 libglib2.0-0
中间输入y

sudo apt install --no-install-recommends google-perftools
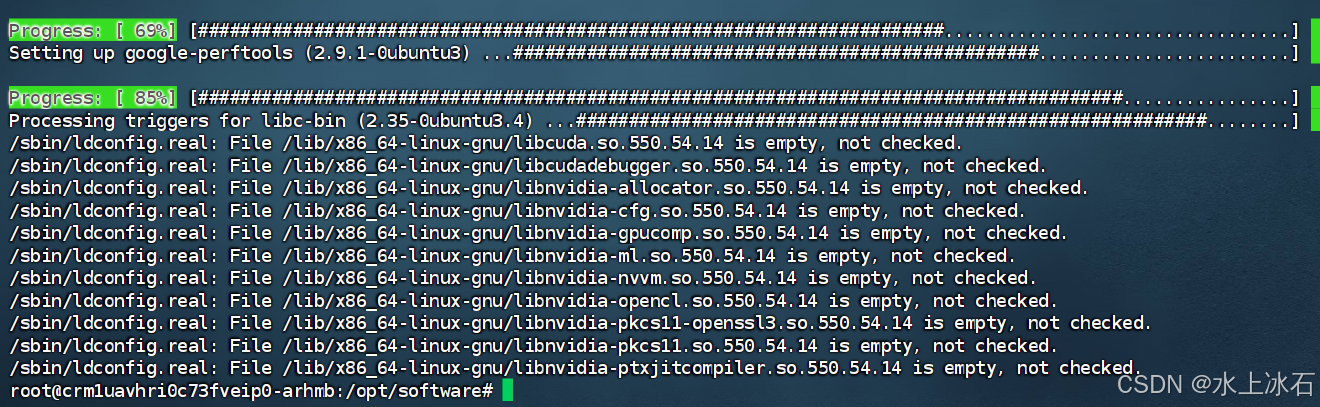
-
转至期望安装webui的目录,执行以下命令:
mkdir /opt/software
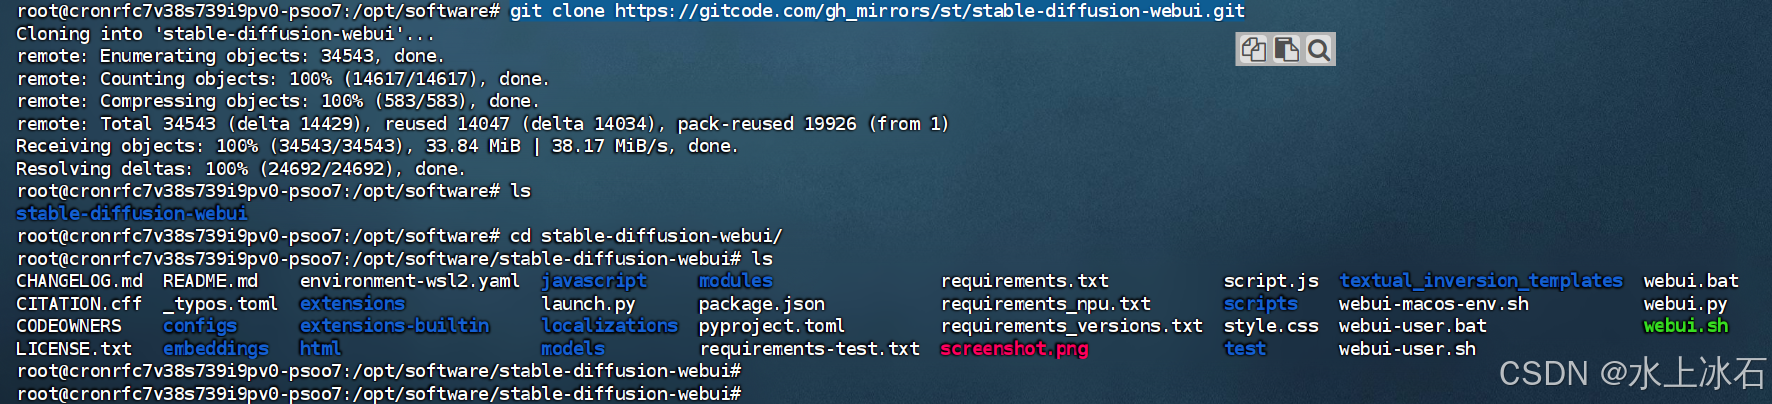
cd /opt/software
git clone https://gitcode.com/gh_mirrors/st/stable-diffusion-webui.git
或者在本地下载之后上传

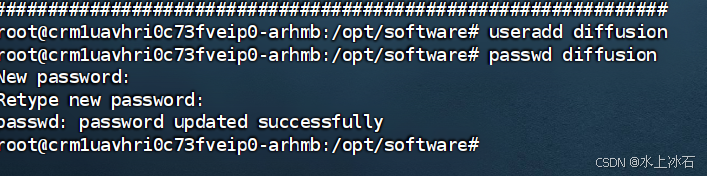
创建用户,设置密码
root@crm1uavhri0c73fveip0-arhmb:/opt/software# useradd diffusion
root@crm1uavhri0c73fveip0-arhmb:/opt/software# passwd diffusion
输入密码:123456

-
运行
webui.sh。bash webui.sh -f -

-
这里遇到一个问题,执行到上面下载步骤,有2G大小的文件需要下载,但是网速只有200k,需要两个小时才能下载成功。需要耐心等待。
-
查看
webui-user.sh以获取选项。
 创建目录:/opt/software/stable-diffusion-webui/
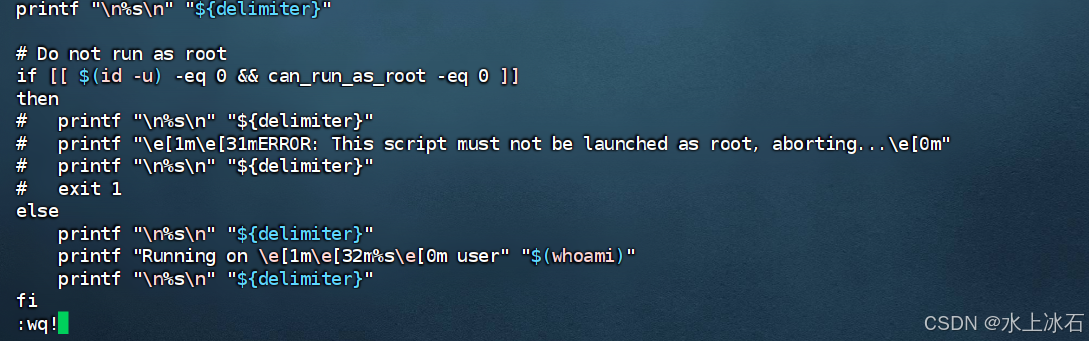
mkdir /opt/software/stable-diffusion-webui/修改文件,去掉root登录限制
sudo apt install python3-pip手动下载whl文件后,上传到服务器,然后安装
下载地址:https://download.pytorch.org/whl/cu121/torch-2.1.2%2Bcu121-cp310-cp310-linux_x86
pip install torch-2.1.2+cu121-cp310-cp310-linux_x86_64.whl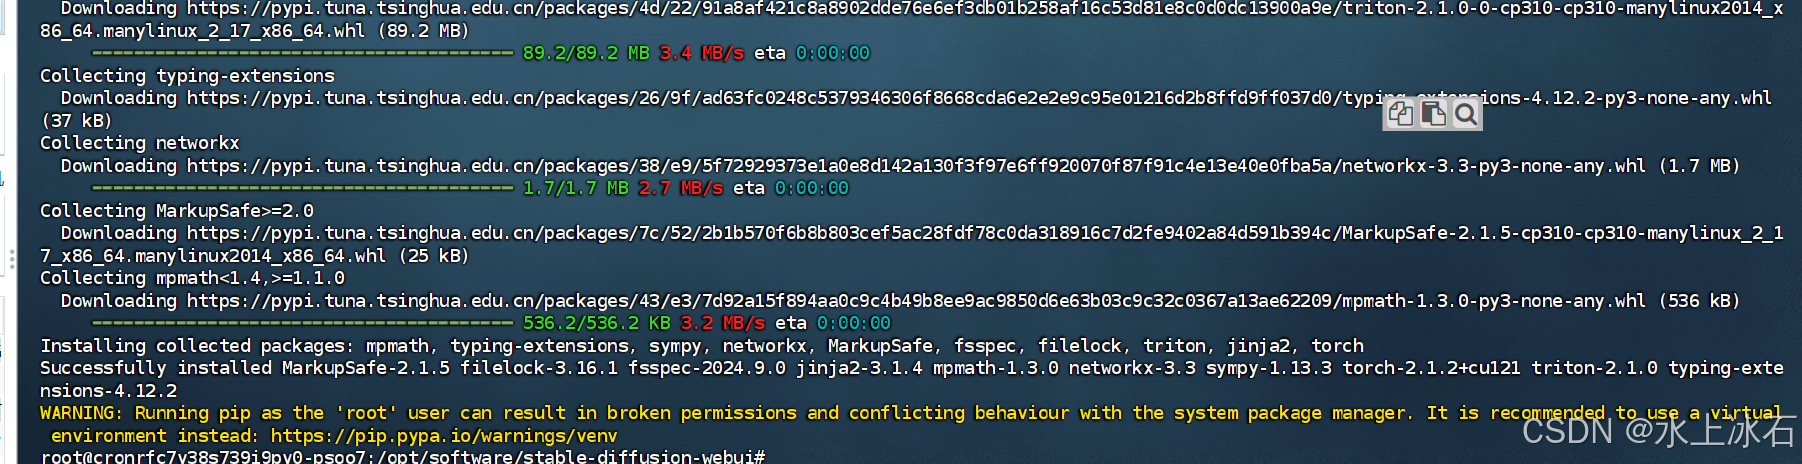
下载clip并安装
下载地址:
https://github.com/openai/CLIP/archive/d50d76daa670286dd6cacf3bcd80b5e4823fc8e1.zip
用sheel工具上传
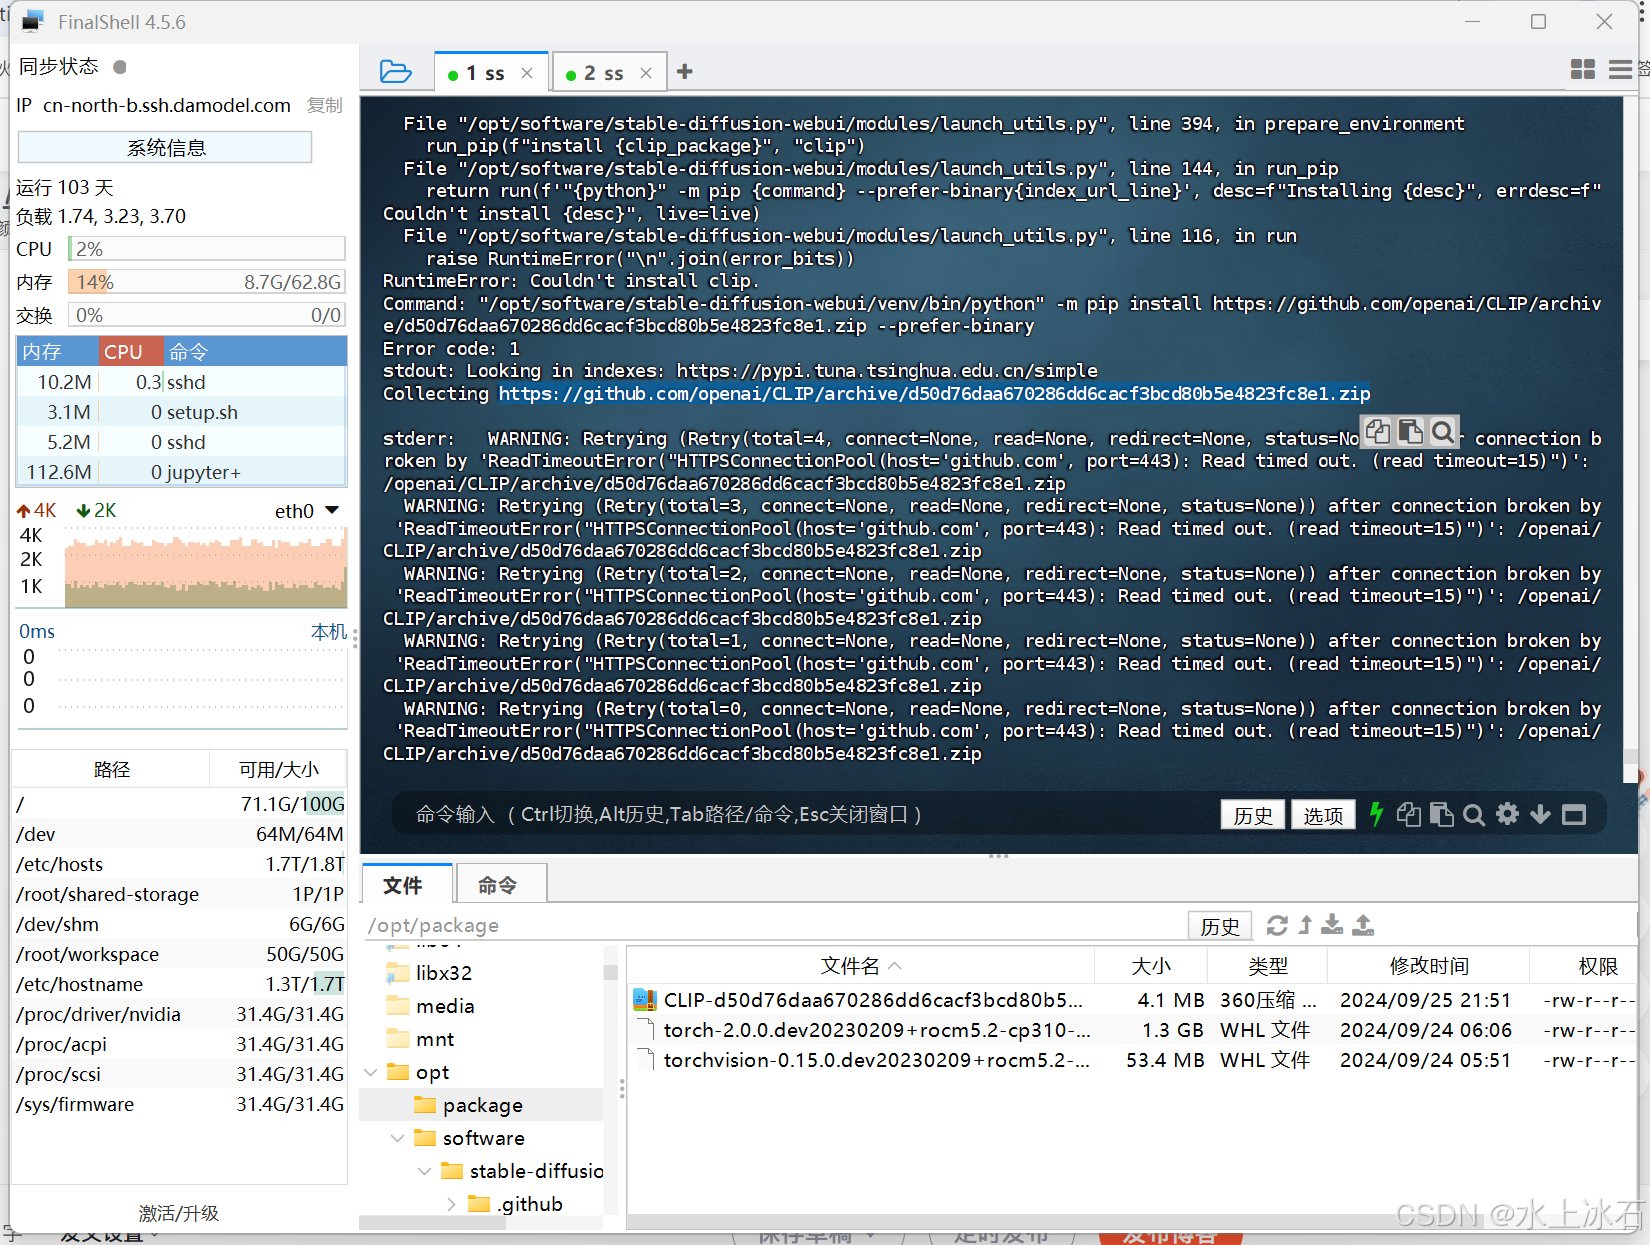
下载后安装:
python3 -m pip install CLIP-d50d76daa670286dd6cacf3bcd80b5e4823fc8e1.zip --prefer-binary'
安装bc计算工具
apt-get install bc
/opt/software/stable-diffusion-webui/venv/bin/python -m pip install /opt/package/CLIP-d50d76daa670286dd6cacf3bcd80b5e4823fc8e1.zip --prefer-binary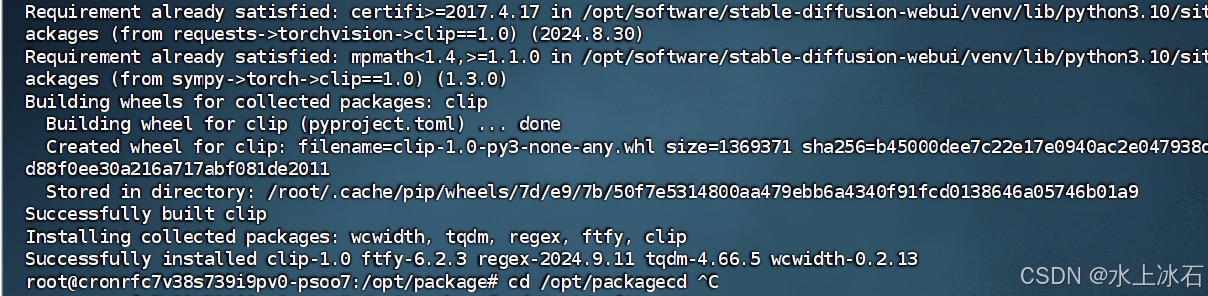
下载安装openc_clip
地址:https://github.com/mlfoundations/open_clip/archive/bb6e834e9c70d9c27d0dc3ecedeebeaeb1ffad6b.zip
下载后上传
安装:
/opt/software/stable-diffusion-webui/venv/bin/python -m pip install /opt/package/open_clip-bb6e834e9c70d9c27d0dc3ecedeebeaeb1ffad6b.zip --prefer-binary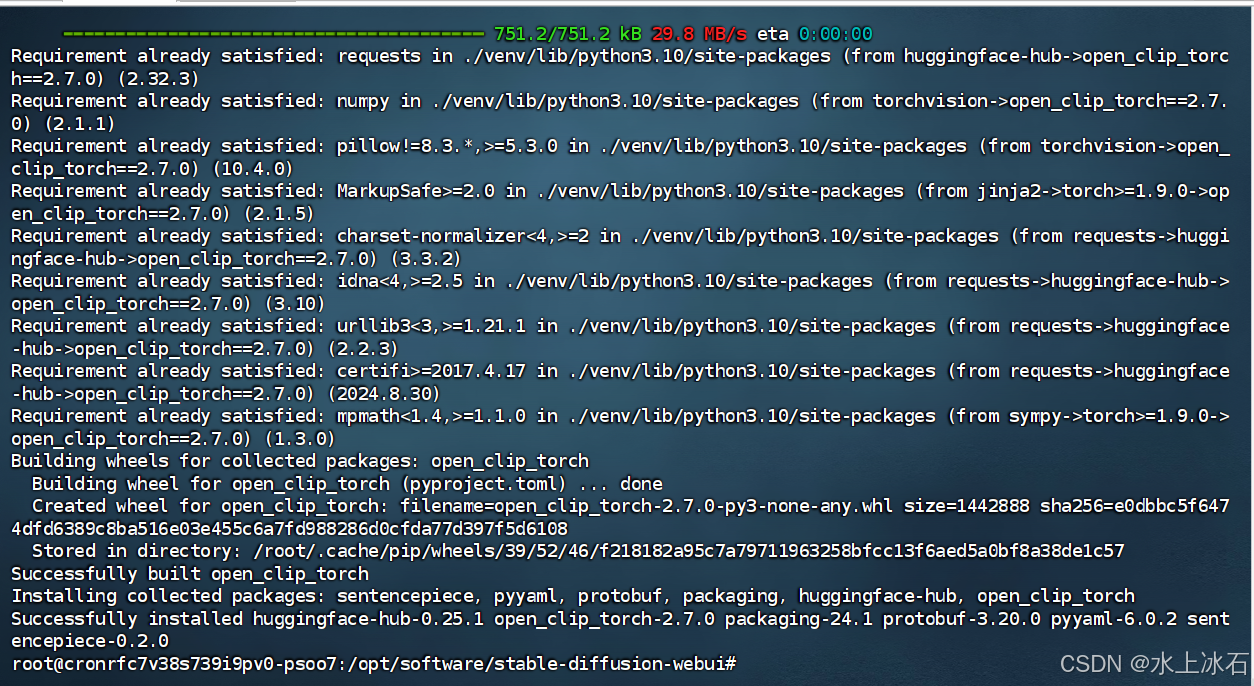
 python  -m pip install open_clip_torch
 python3  -m pip install open_clip_torch
安装
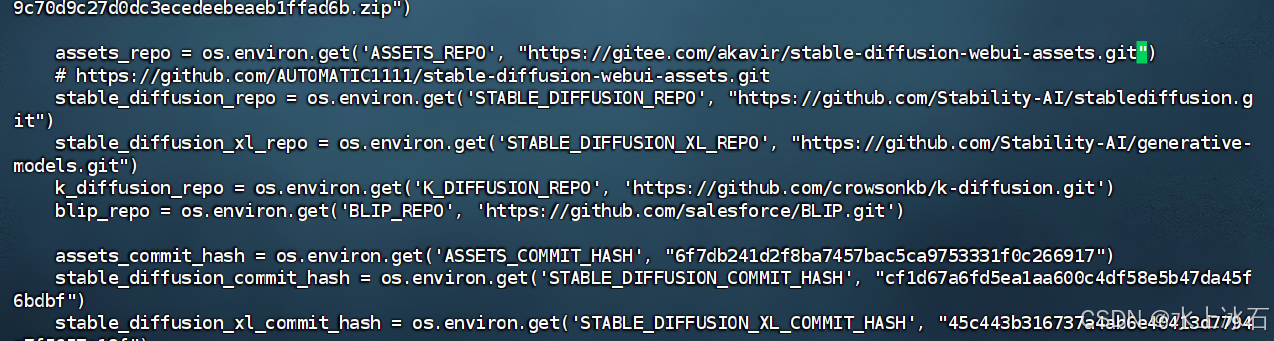
修改文件/opt/software/stable-diffusion-webui/modules/launch_utils.py,
vim 找到198行,替换stable-diffusion-webui-assets.git的github地址为gitee
mkdir -p /opt/software/stable-diffusion-webui/repositories
cd /opt/software/stable-diffusion-webui/repositories/
git clone https://gitee.com/akavir/stable-diffusion-webui-assets.git
xsinbegin/stable-diffusion-stability-ai
修改stable-diffusion-stability-ai 地址为gitee.
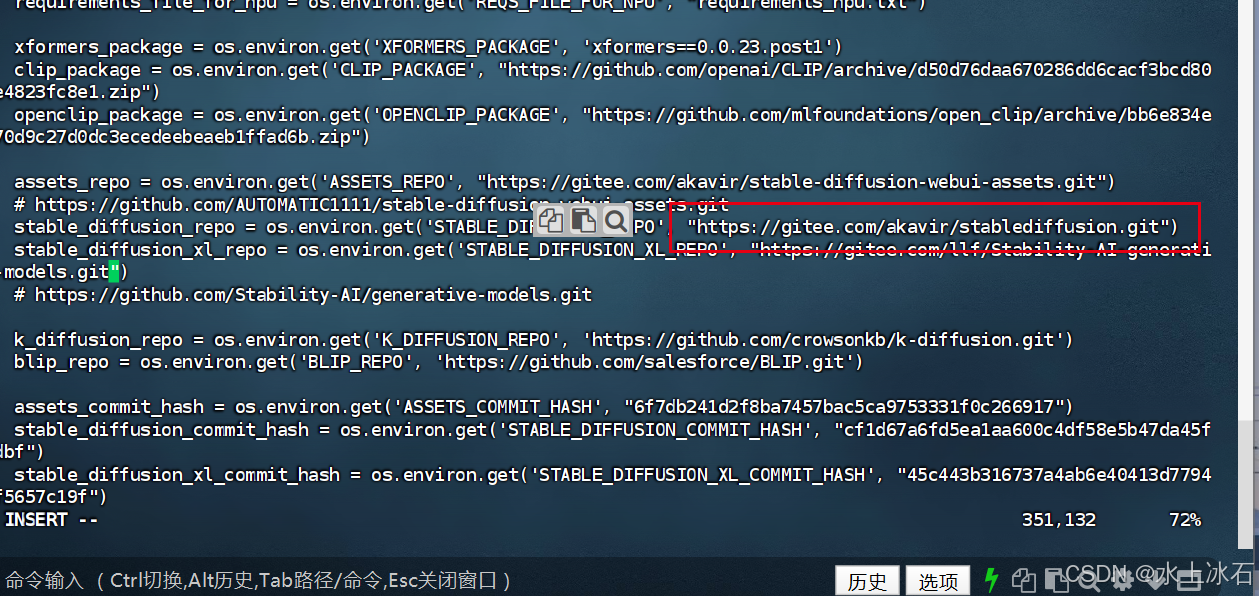
修改stablediffusion地址为gitee
vim /opt/software/stable-diffusion-webui/modules/launch_utils.pyhttps://gitee.com/akavir/stablediffusion.git
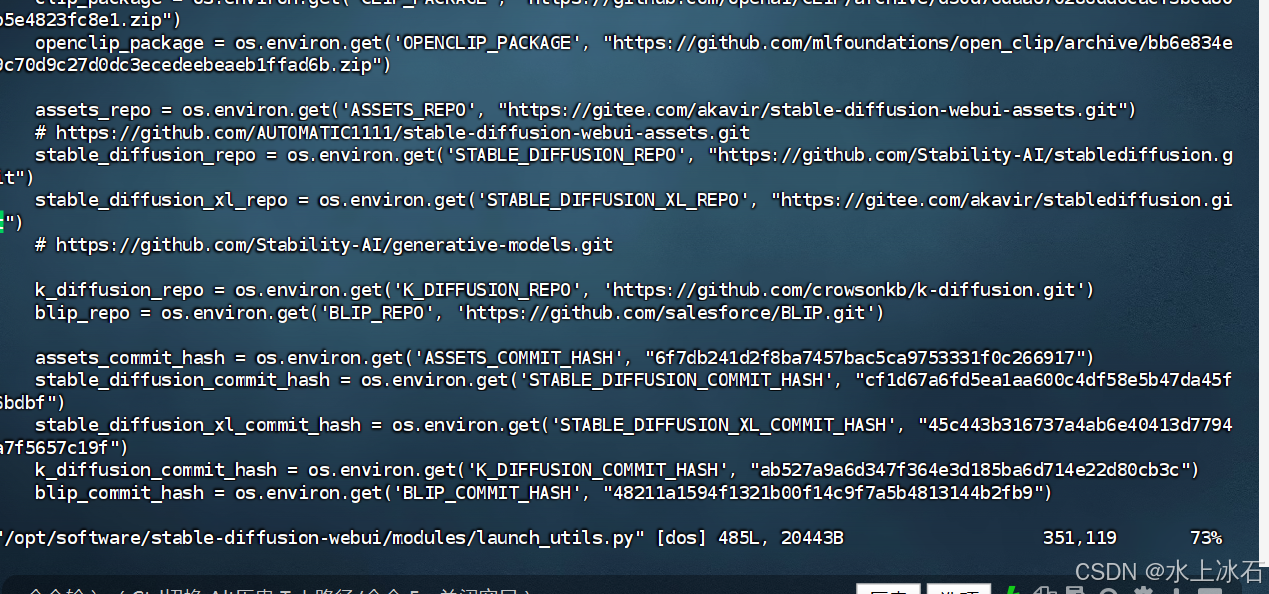
修改generative-models: from https://github.com/Stability-AI/generative-models.git
https://gitee.com/llf/Stability-AI-generative-models.git

更改k-diffusion库
vim /opt/software/stable-diffusion-webui/modules/launch_utils.py找到该行
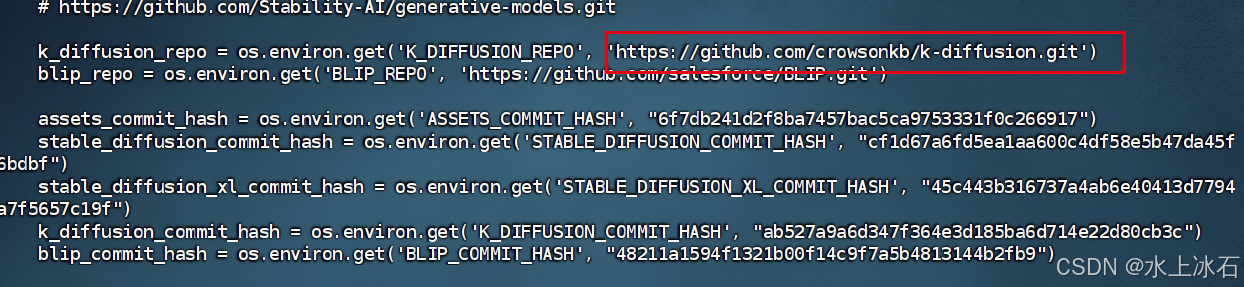
用下面的链接替换
https://gitee.com/dinglinhe/k-diffusion.git
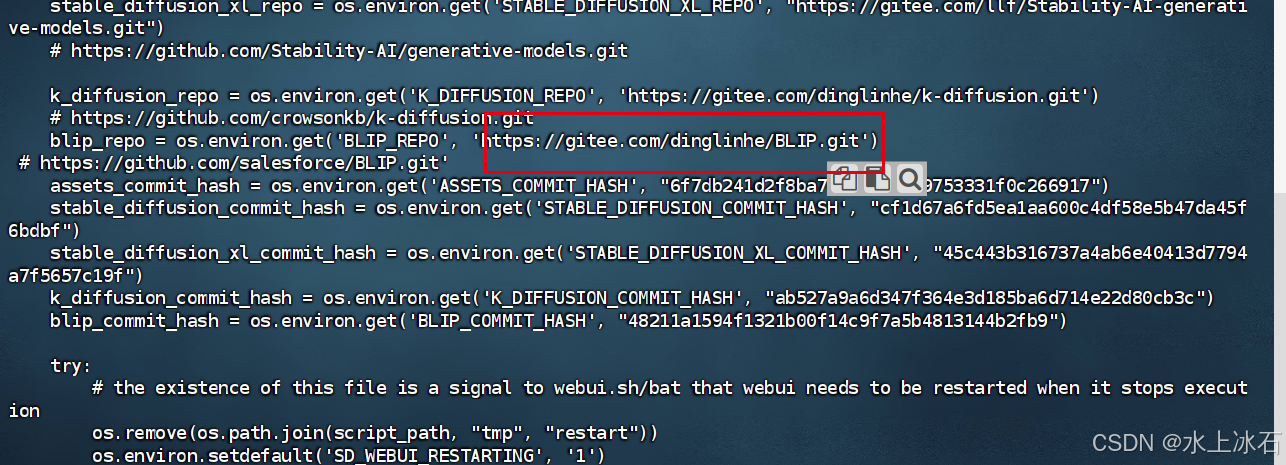
替换blip
地址为:
https://gitee.com/dinglinhe/BLIP.git
安装xfromer
pip install xformers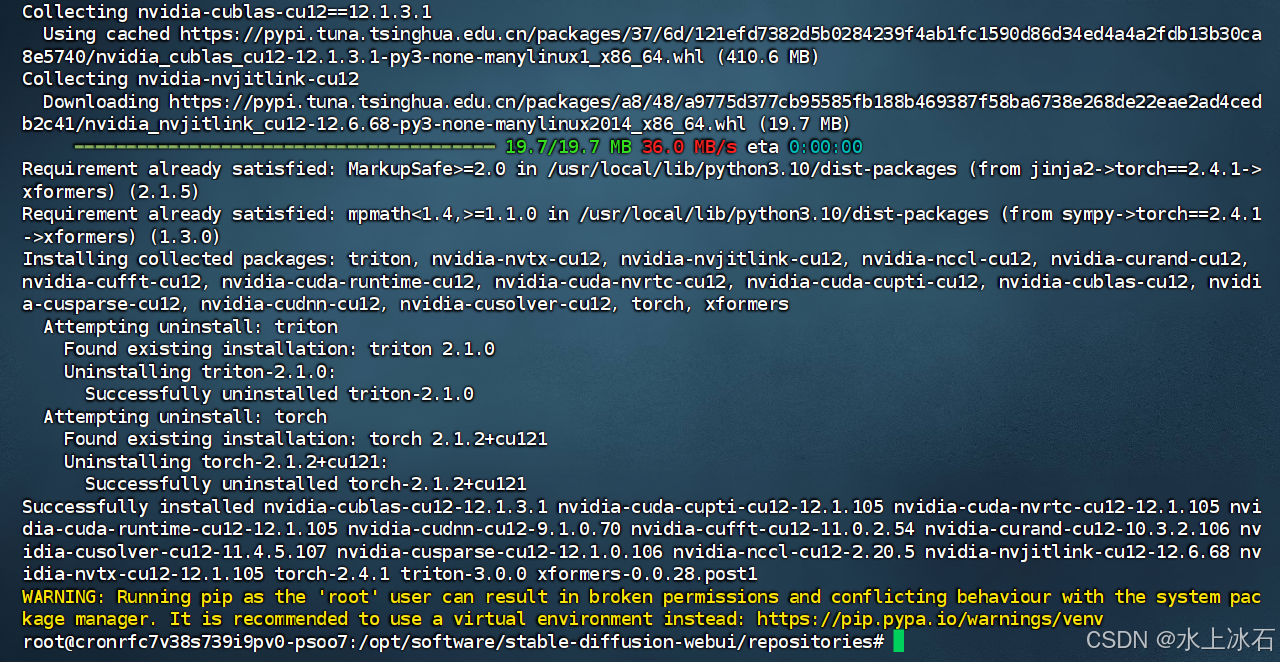
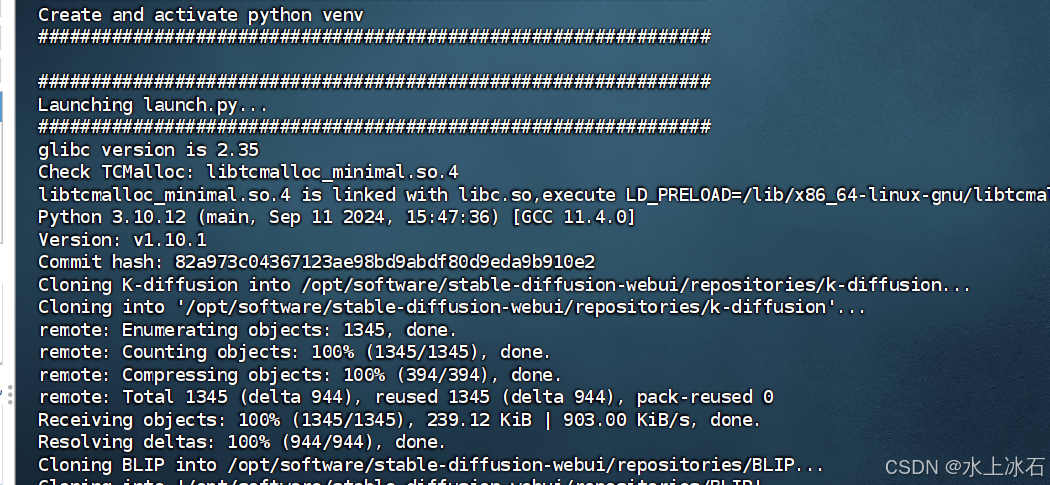
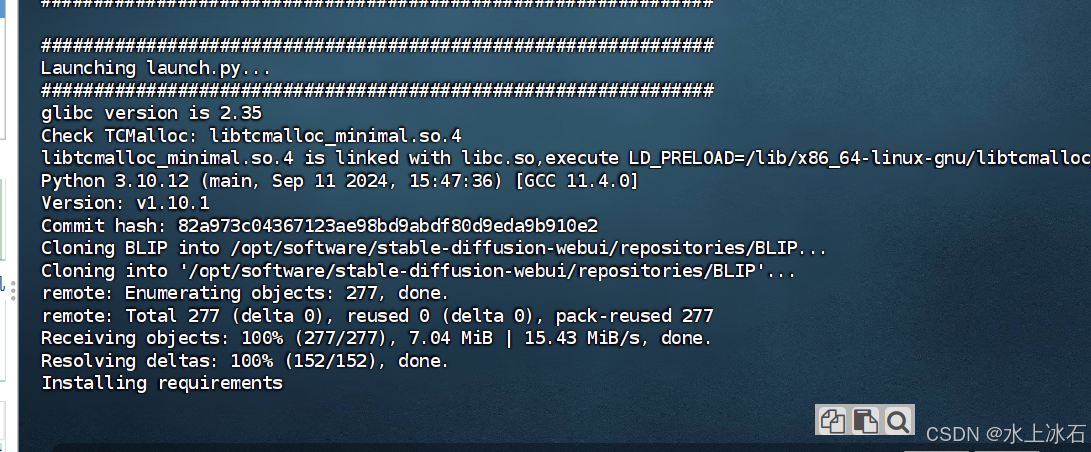
执行 部署脚本
bash /opt/software/stable-diffusion-webui/webui.sh -f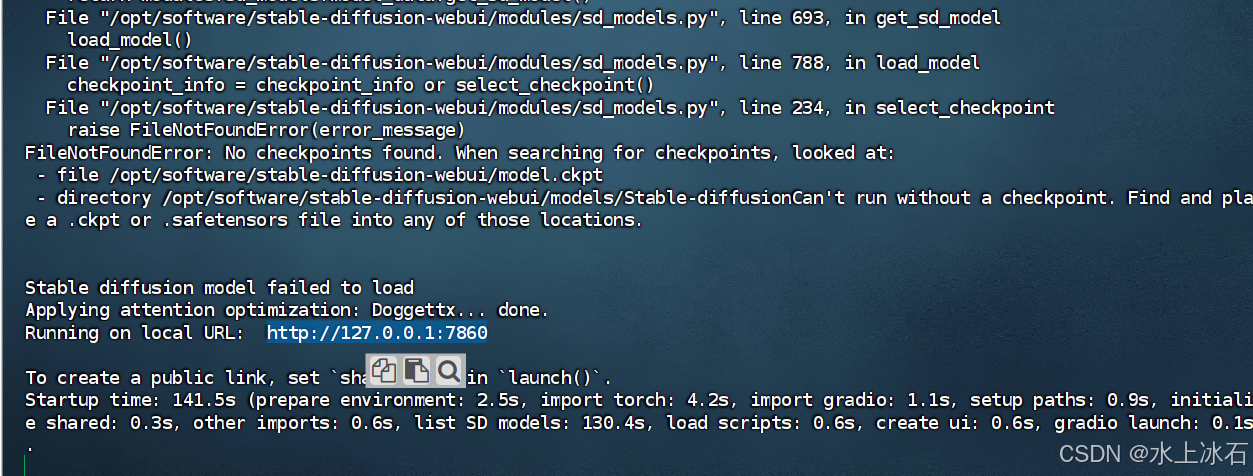
注:本文未安装模型,在安装模型前需要扩展硬盘
5.Stable Diffusion web UI部署成功后,通过浏览器访问
注:本文由于模型下载的缘故,暂未成功,后续补充
6.在Stable Diffusion web UI页面上,输入关键词,生成图片
需要等待模型下载成功后,继续实验
五.演示效果:
模型下载成功后演示
六.注意事项
1.丹摩智算(damodel)平台优惠券只有50元,创建成功实例后,由于是按时间进行算费,需要注意使用时效的问题
2.ERROR: This script must not be launched as root, aborting...
错误解决:
方法一. 运行 bash webui.sh如果是root用户,需要注释掉webui.sh中关于root权限的判断。
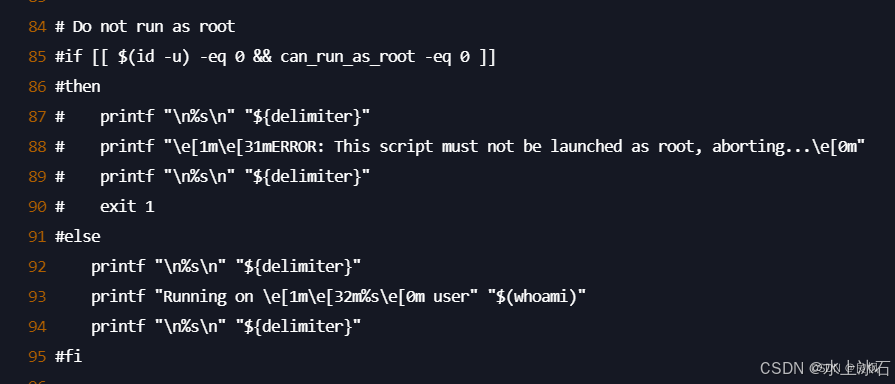
创建用户
方法二:或者:bash webui.sh -f
3.必须先执行sudo apt update 更新库,再安装依赖环境,否则会报错
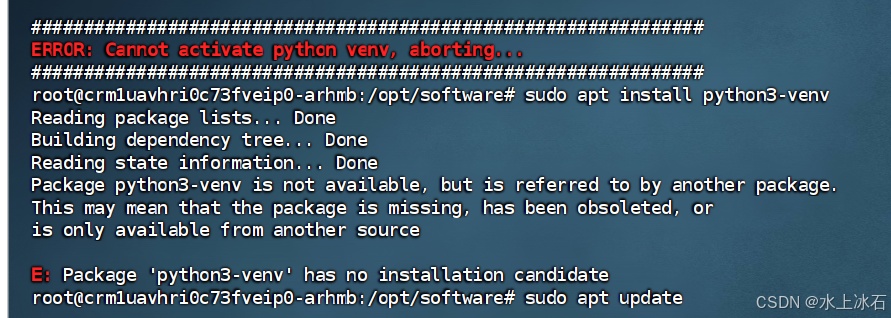
4.ERROR: Cannot activate python venv, aborting...
Cannot locate TCMalloc. Do you have tcmalloc or google-perftool installed on your system? (improves CPU memory usage)
七.附录
官网手册: