一个轻量的虚拟机,让程序员不再纠结于环境部署,更多集中于代码编写,基础建设,开发
作用:
打包:把你软件运行所需的所有东西打包到一起
分发:把你打包好的"安装包"上传到一个镜像仓库,任何人可以拿来即用
部署:拿着"安装包"就可以一个命令运行起来你的应用,自动模拟出一模一样的运行环境
官网下载安装
添加镜像
设置Docker Engine中添加
python
"registry-mirrors":[
"https://resistry.docker-cn.com",
"https://docker.mirrors.ustc.edu.cn",
"https://mirror.ccs.tencentyun.com"
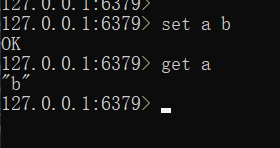
]部署redis
参考https://hub.docker.com/_/redis
python
docker run --name myredis -d -p 6379:6379 redis:5.0.14-alpine--name 名称
-d 下载后立即启动
-p端口 本地端口:虚拟机端口

打开redis-cli.exe即可使用
部署爬虫项目
编写代码
python
import requests
html=requests.get('https://www.imooc.com/')
print(html.text)
requirements.txt
python
requests==2.26.0Dockerfile
python
FROM python:3.7-alpine #基于镜像
MAINTAINER xw
ADD ./ /code  #文件目录  虚拟机目录
WORKDIR /code #工作目录
RUN pip install -r requirements.txt #运行pip
CMD ["python","./hello.py"]  # 运行cmd操作
下载镜像
python
docker pull python:3.7-alpine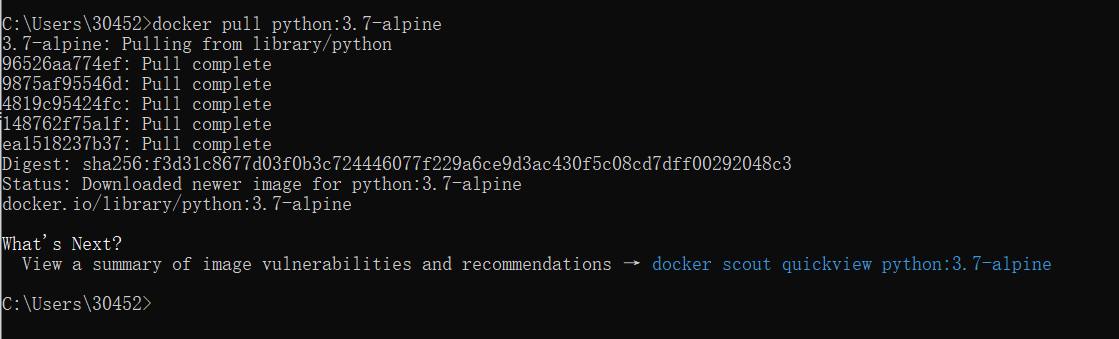
构建自己的镜像
python
docker build -t py37hello .运行效果
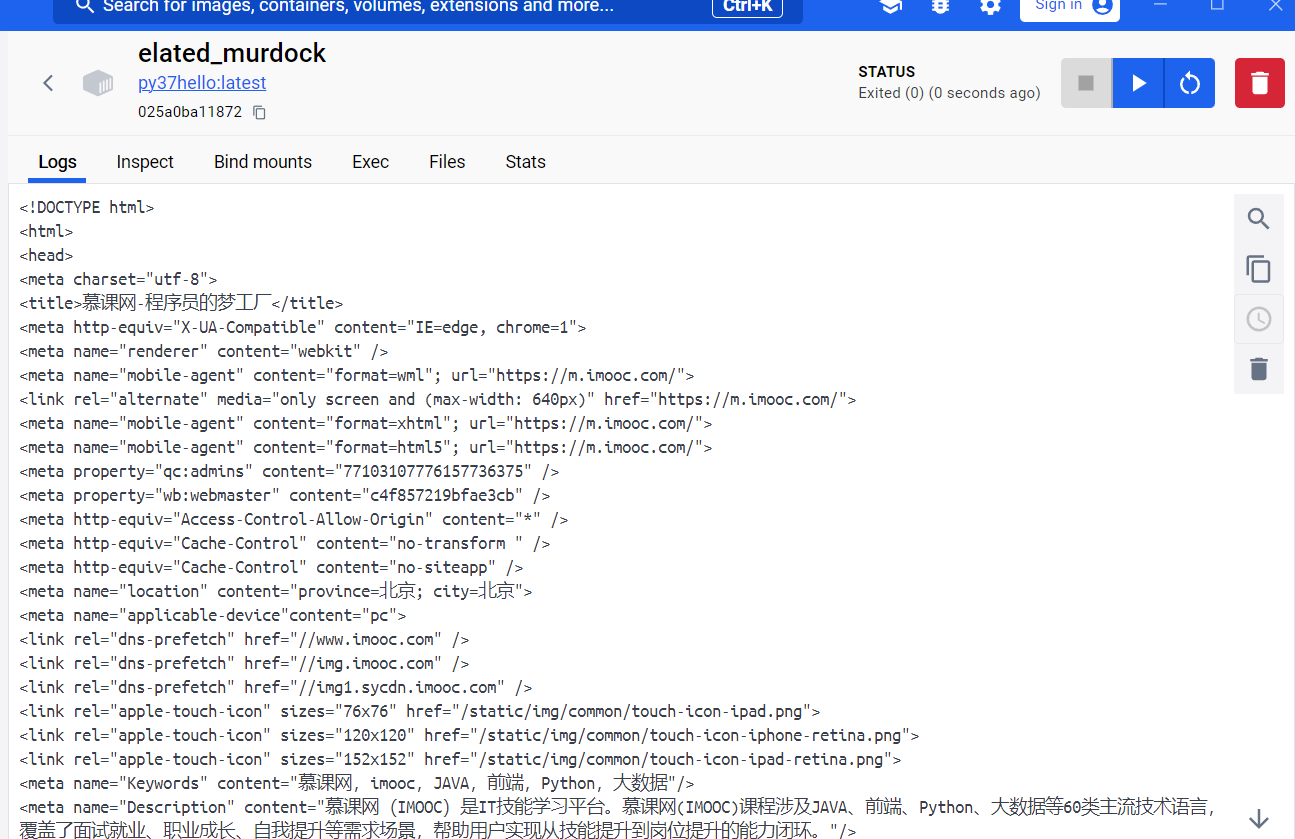
命令运行
python
docker run --name hello py37hello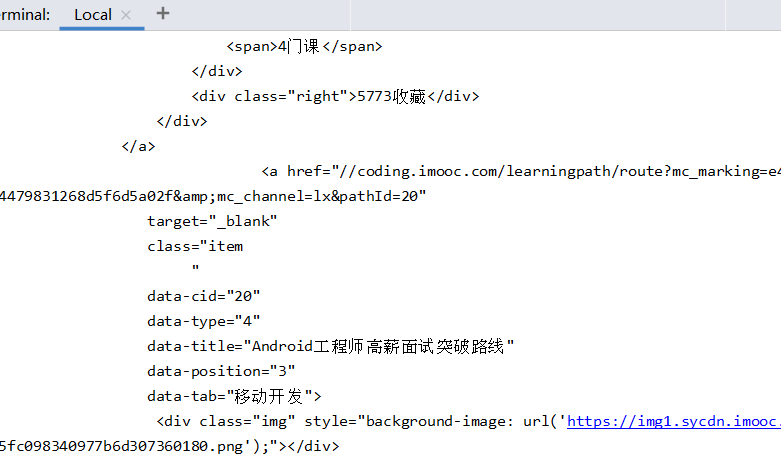

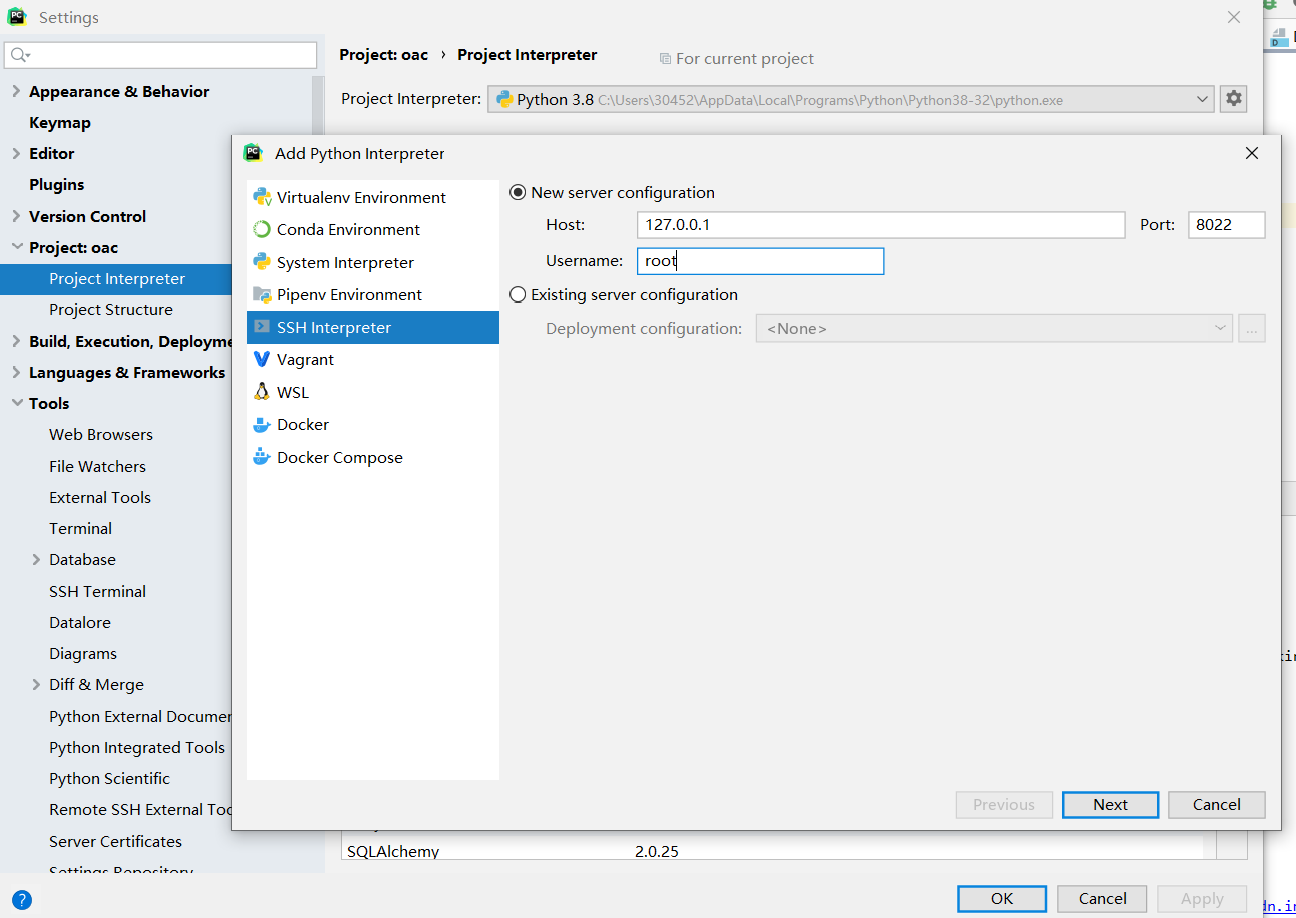
docker远程SHH pycharm远程同步docker
下载python镜像
python
docker pull python:3.7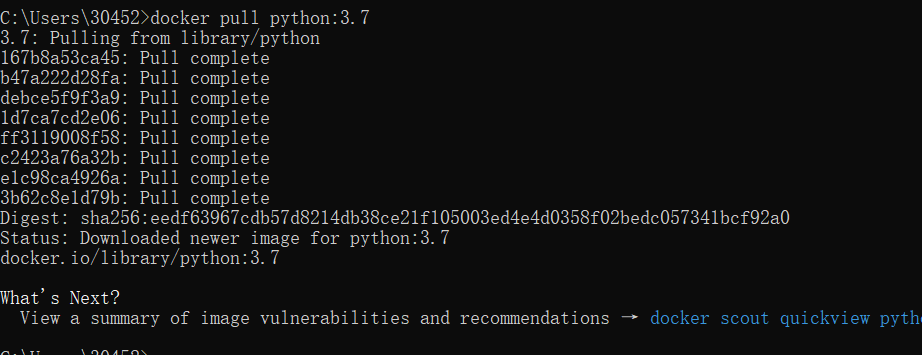
运行
python
docker run -p 8022:22 -it -d --name pycharm-py37 python:3.7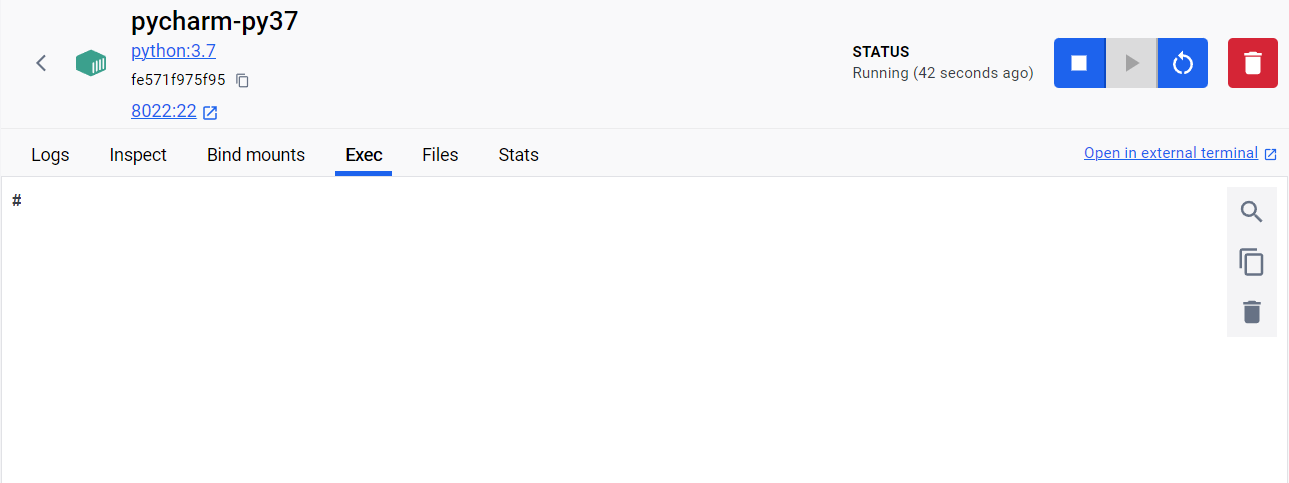
命令行输入
更新apt-get
python
apt-get update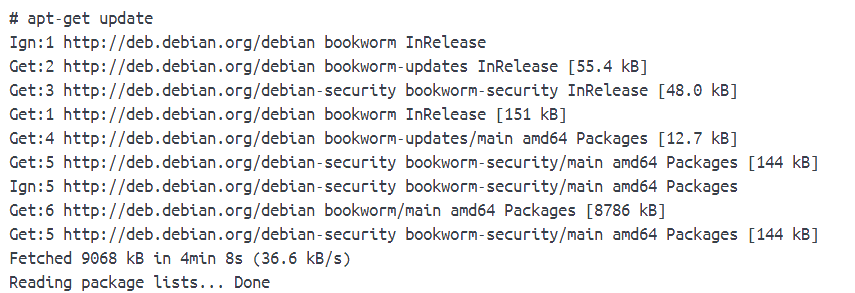
下载openssh-server vim
python
apt-get install openssh-server vim
python
vim /etc/ssh/sshd_config
将PermitRootLogin改成yes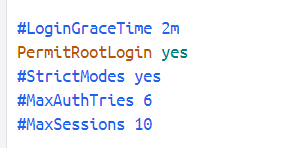
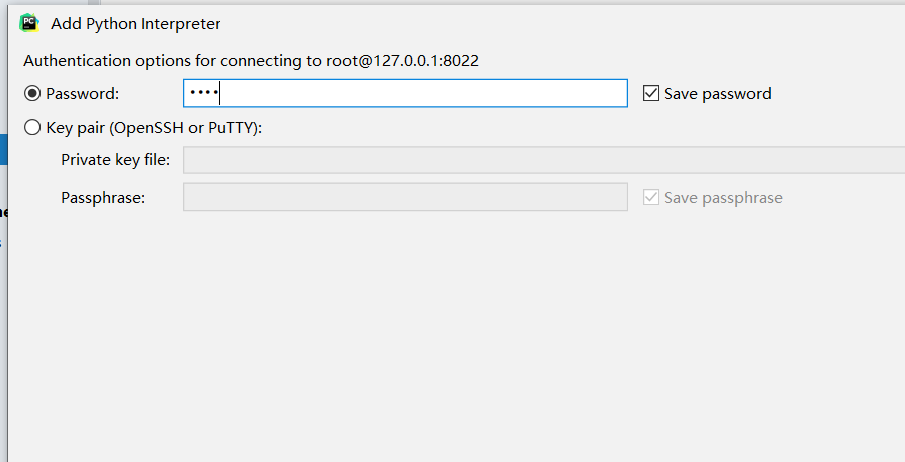
修改管理员密码
python
passwd root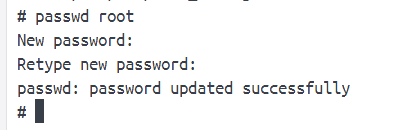
重启服务
python
service ssh restart测试

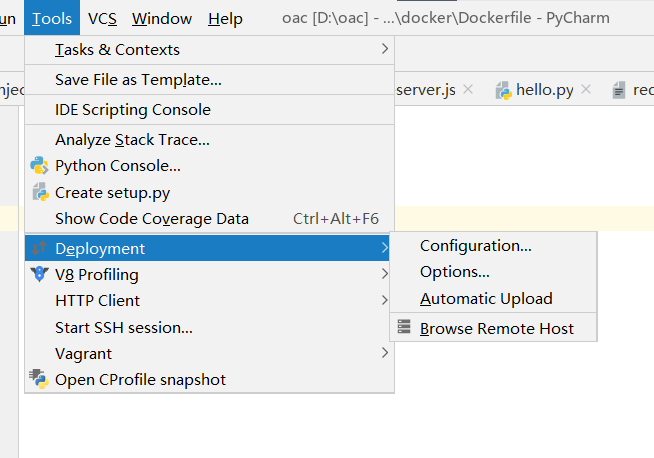
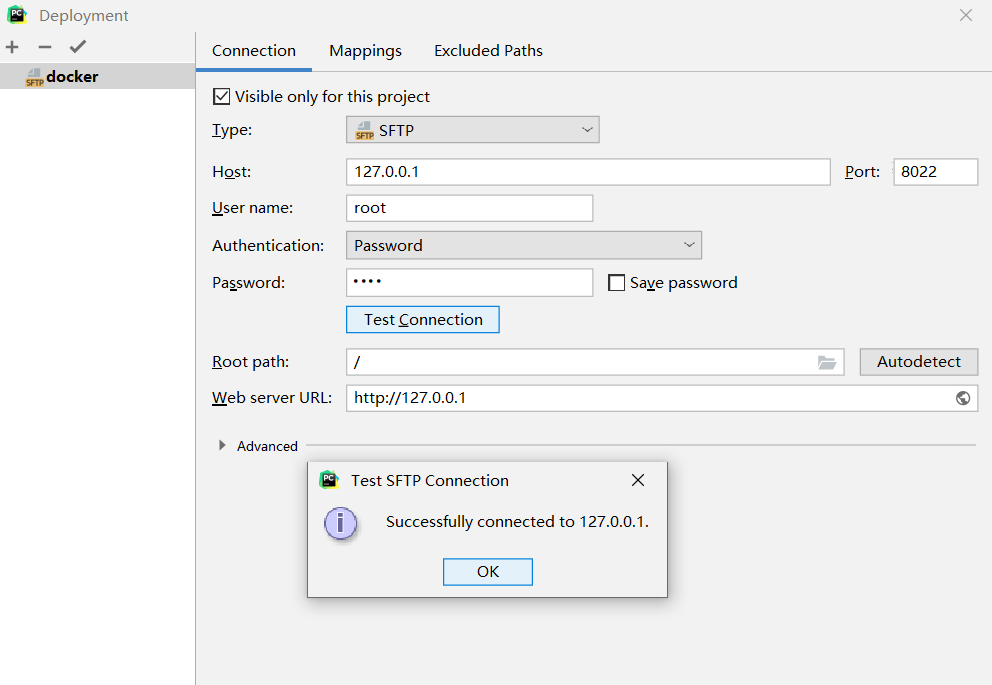
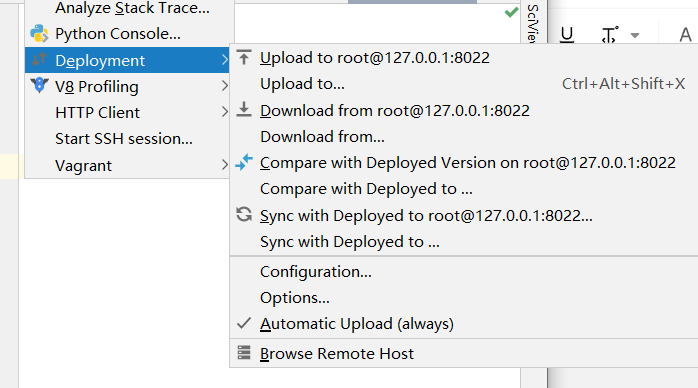
pycharm配置
同步映射目录
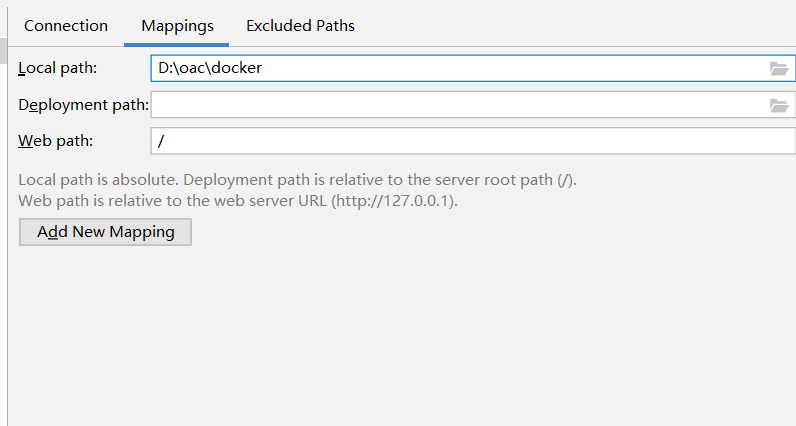
部署目录 服务器目录

配置解释器

手动同步
目录挂载
python
docker run --name py37 -it -d -v D:\xxxx:/tmpD:\xxxx挂载到/tmp
docker虚拟器联通
创建网络
python
docker network create mynet创建虚拟机
python
docker run -d --name redis --network mynet --network-alias redis redis:latest
python
docker run --name mountpy --network mynet -it -d -v D:\xx:/code两个虚拟机在同一网络
pycharm调用docker镜像解释器
发布自己的镜像包
python
docker login -u xx
python
docker tag xxxxx:版本 xxx/test
python
docker push xxx/testxxx/test 仓库名
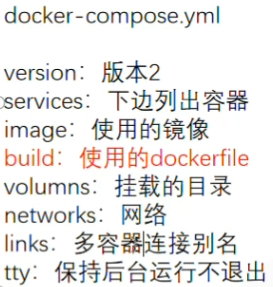
docker-compose多容器打包
docker-compose用于把多个容器进行打包执行
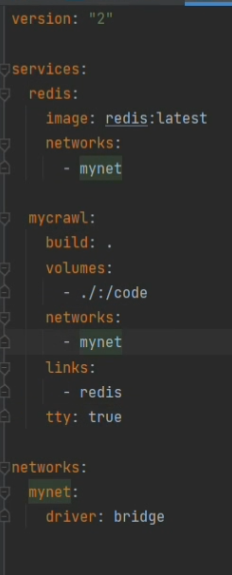
python
docker-compose up -d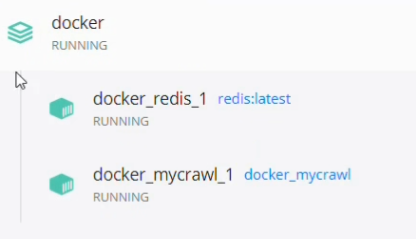
docker修改镜像安装目录
python
wsl -l -v
关闭wsl
python
wsl --shutdown导出
python
wsl --export docker-desktop-data D:\docker\docker-desktop-data.tar
wsl --export docker-desktop D:\docker\docker-desktop.tar
解除注册
python
wsl --unregister docker-desktop-data
wsl --inregister docker-desktop
注册
python
wsl --import docker-desktop-data D:\docker\image D:\docker\docker-desktop-data.tar
wsl --import docker-desktop D:\docker\bin D:\docker\docker-desktop.tar
重启docker
再次wsl -l -v正常显示则已经迁移成功
docker网络-windows
bridge:为每一个容器分配、设置IP
host:容器使用主机IP和端口
null:关闭网络功能,不进行任何网络设置
默认容器使用bridge
查看bridge详细信息
docker inspect bridge
查看容器网络详细信息
docker inspect 容器名