Copilot Pages终于来了!
上月中旬,微软发布了第二波copilot巨大更新,其中一个重要的亮点就是Copilot Pages,CEO纳德拉官宣,「用AI构思,共同协作的全新工作流------Web+Work+Pages正式开启」。

Web+Work+Pages=上网搜索+内容加工+团队协作
一个界面,全部搞定,这就是Copilot Pages
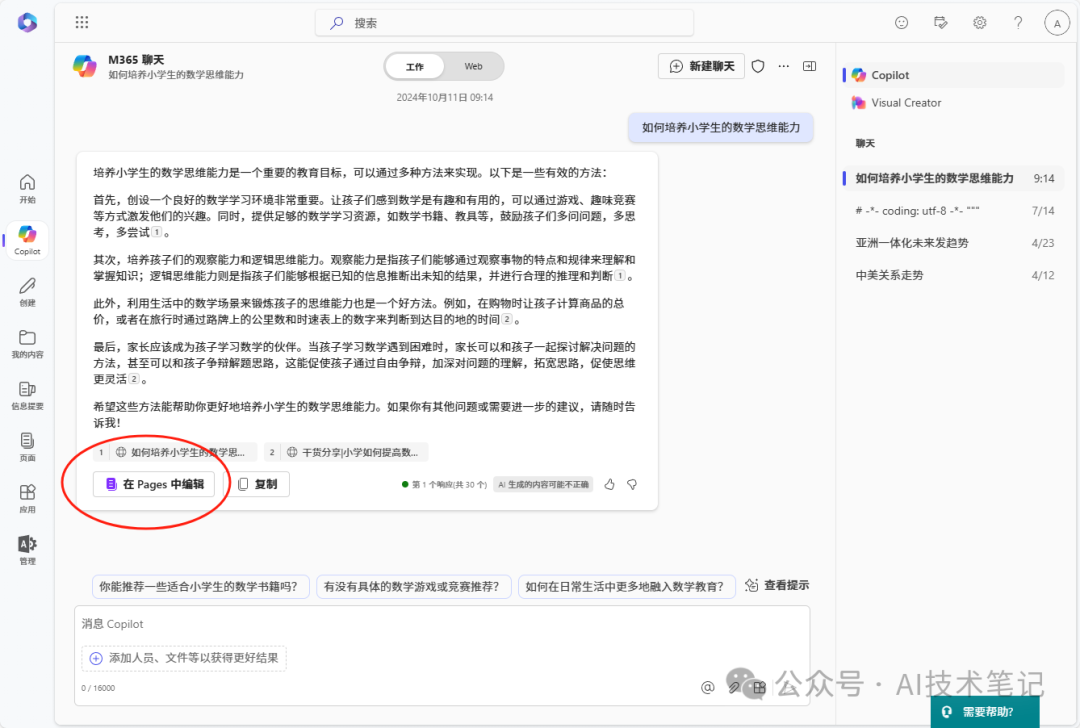
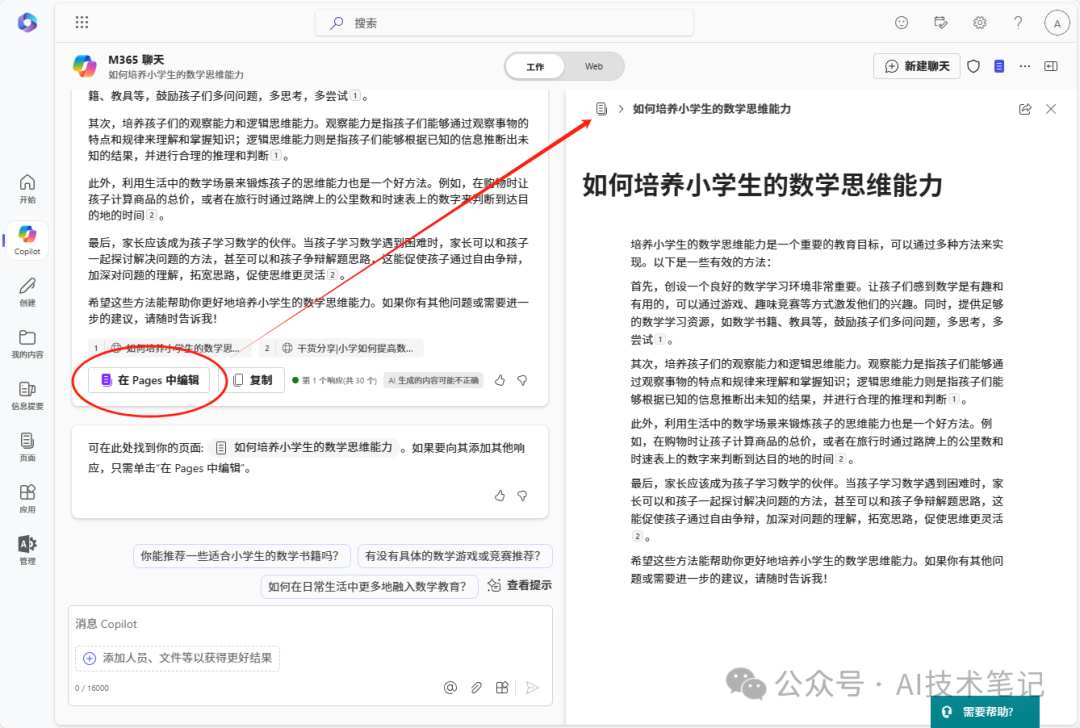
当你在使用copilot查询一些想法时,只需要点击每个回答下面的"在pages中编辑",不需要跳出界面,你就可以在同一个工作页面上,通过复制粘贴和鼠标点击的方式继续工作。
你还可以一键将此页面分享给组织内的任何人员:
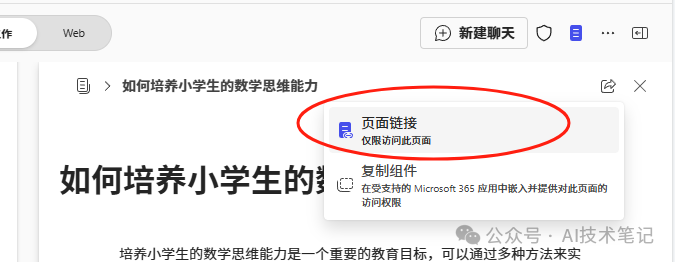
这样,你们就可以一同在这上面进行合作编辑,其他人的编辑工作也会实时同步到你的页面上。
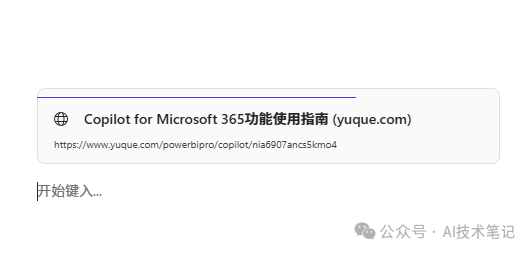
同时,你也可以在画布中继续添加其他参考资料:
甚至可以让copilot根据资料整理成表格,直接粘贴在画布中:
我们也可以直接在Microsoft 365左侧边栏点击"页面",添加pages,然后使用copilot进行创作:
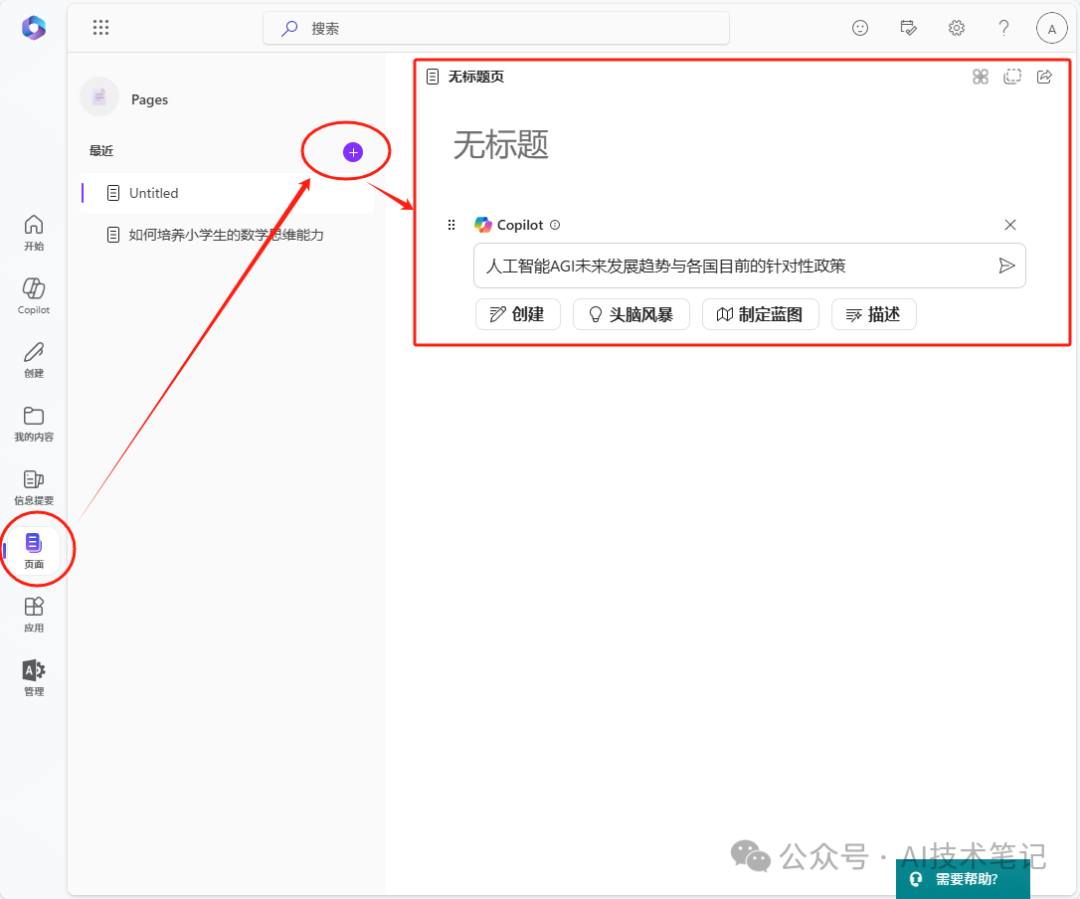
生成的内容:
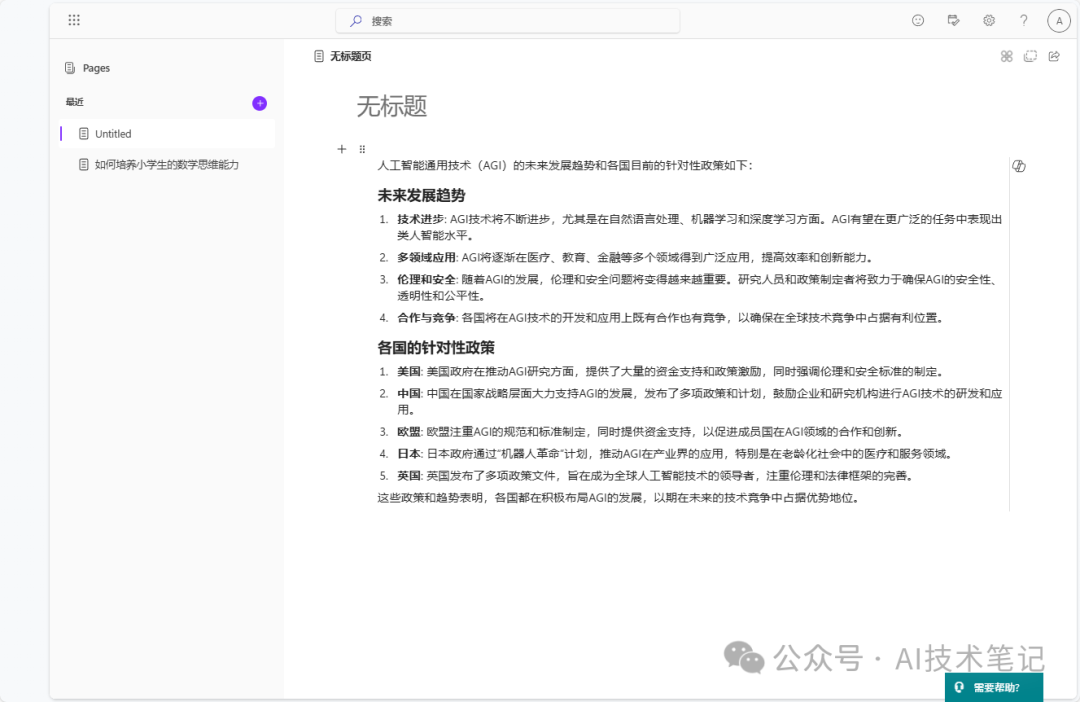
我们可以在其中进行任意改写和编辑,或者让copilot重写。
同样也可以分享给组织内其他用户进行协作。
大家也可自行点击"头脑风暴"、"定制蓝图"等按钮进行体验。
如果之前用过Loop,那么你一定对上面这个界面很熟悉。没错,Microsoft Loop中的界页面也是如此:
所以,我们直接打开Loop界面看看:
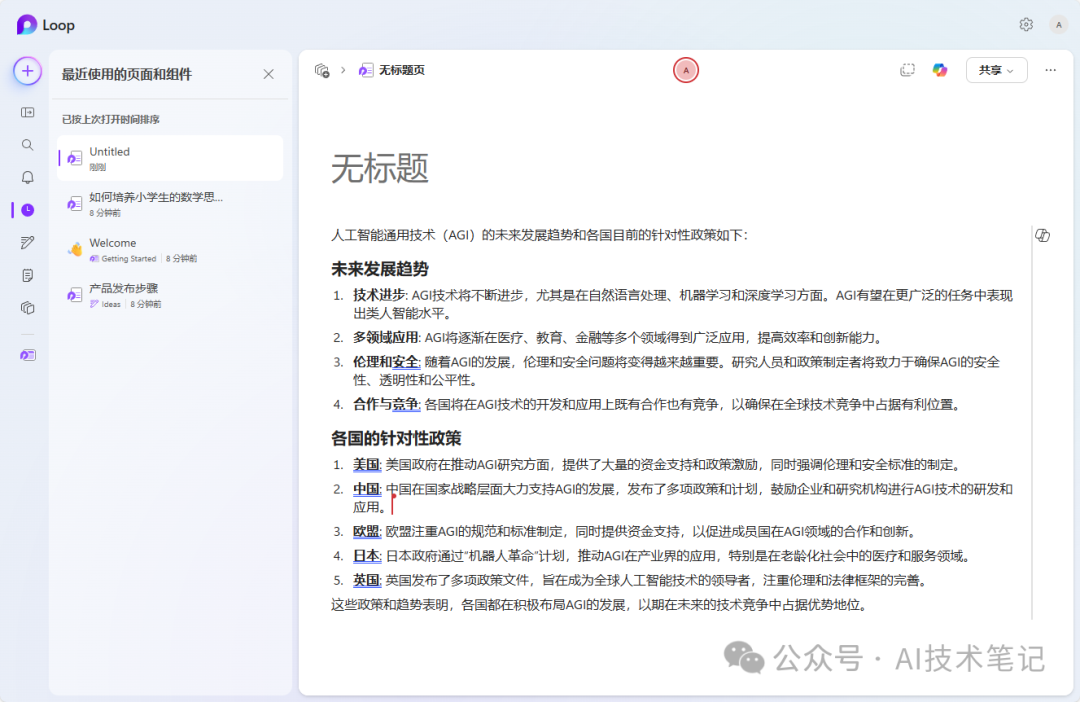
好家伙!这不就是刚才生成的两篇pages页面吗?
原来copilot pages的底层逻辑就是Loop页面!
这一切全都串起来了!
Loop绝对不仅仅是一个对标notion或其他笔记软件的工具。它是一个底层的笔记存储页面框架,基于此建立的团队协同分享编辑工具和copilot页面,且能够在其他office软件中嵌入组件随时调用的平台。
今天,让我们重新认识Loop!
如何快速开始享用copilot pages?****
暗号:copilot