目录
[1.Android 的安装](#1.Android 的安装)
[3.Android Studio 全局Gradle配置](#3.Android Studio 全局Gradle配置)
[创建我的第一个Android Studio 项目](#创建我的第一个Android Studio 项目)
[9)drawable/, mipmap/](#9)drawable/, mipmap/)
16)build.gradle (Project: 项目名)
[19)gradlew, gradlew.bat](#19)gradlew, gradlew.bat)
[5.Android Studio中资源的使用](#5.Android Studio中资源的使用)
[3-activity_main.xml 代码](#3-activity_main.xml 代码)
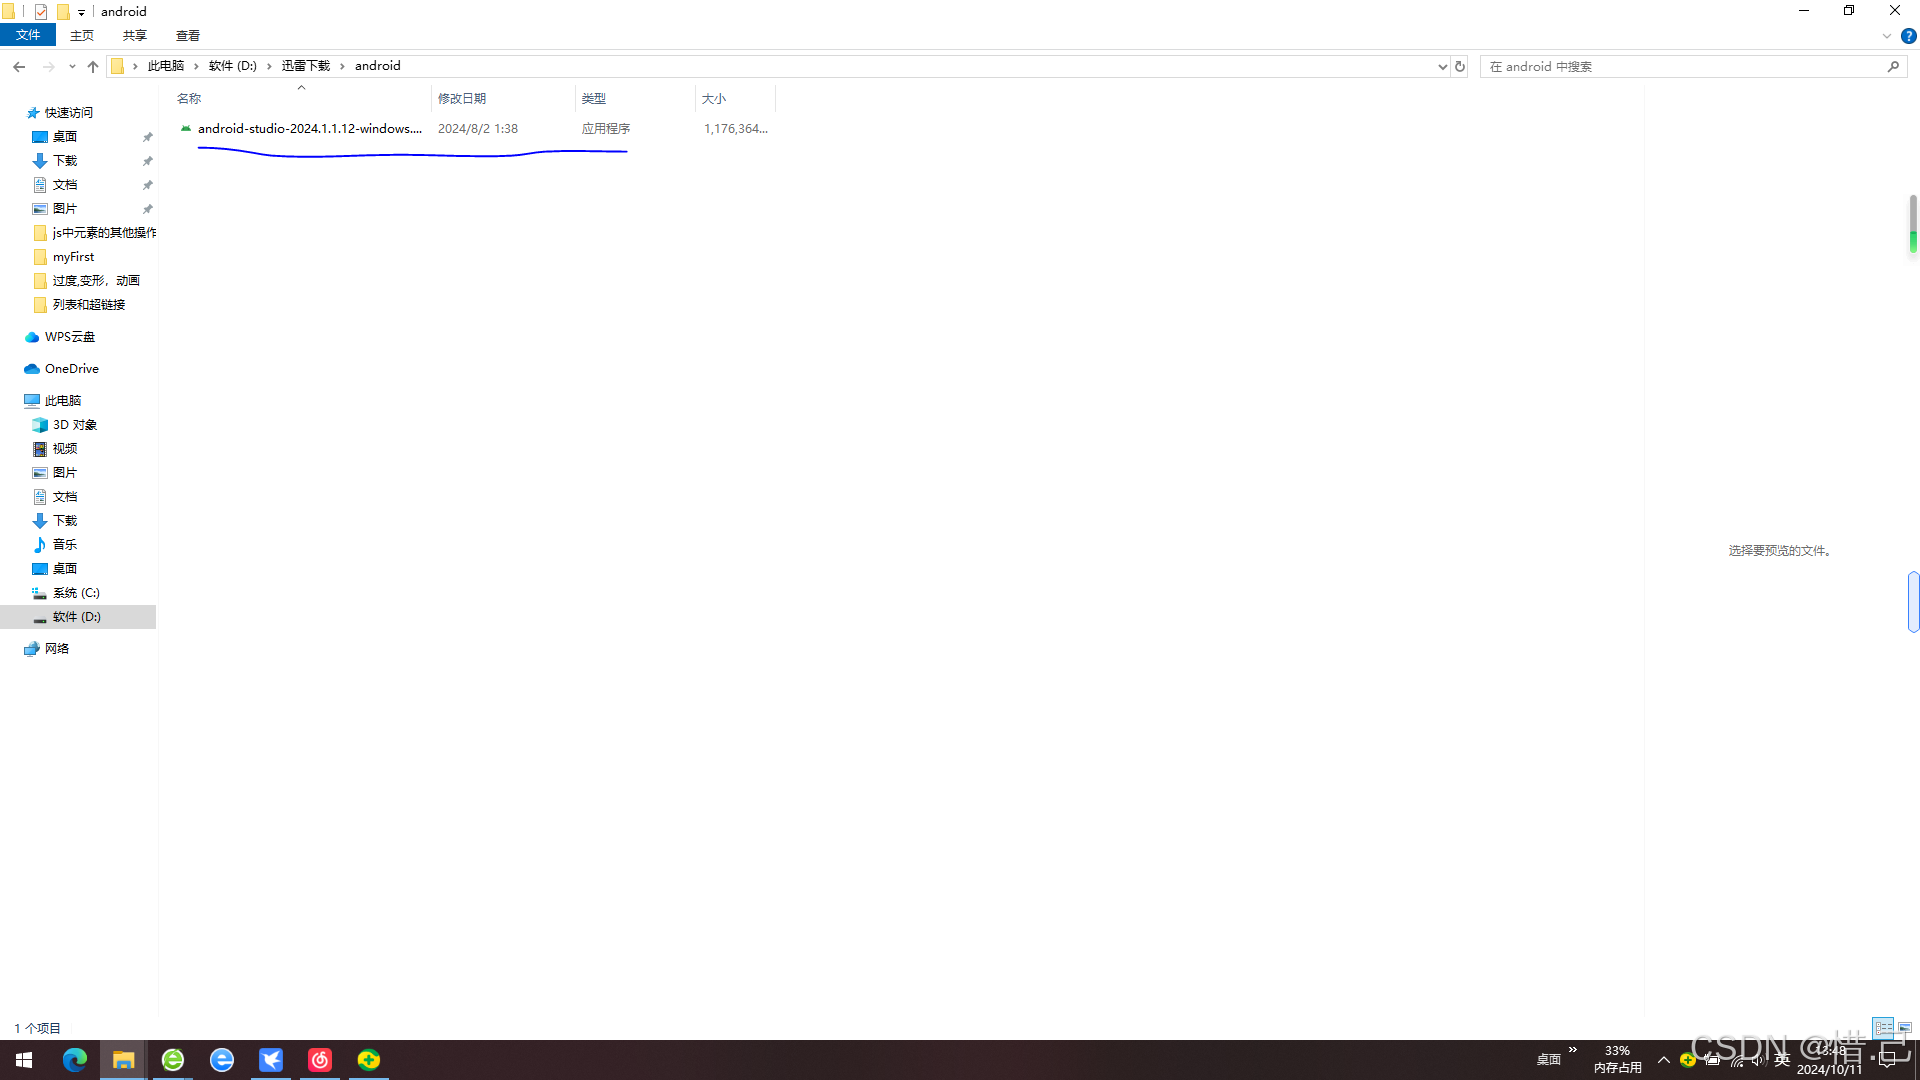
1.Android 的安装
找到我们下载的AndroidStudio文件位置,附录有一个下载地址,下载地址比较快。
也可在官网下载:下载 Android Studio 和应用工具 - Android 开发者 | Android Developers
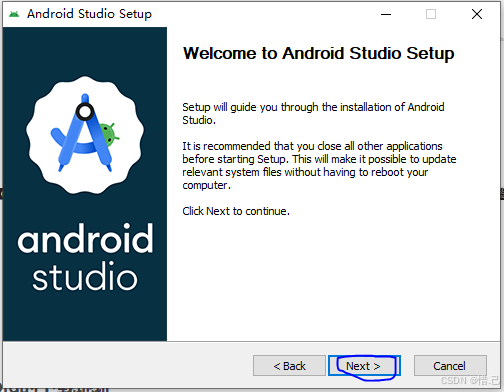
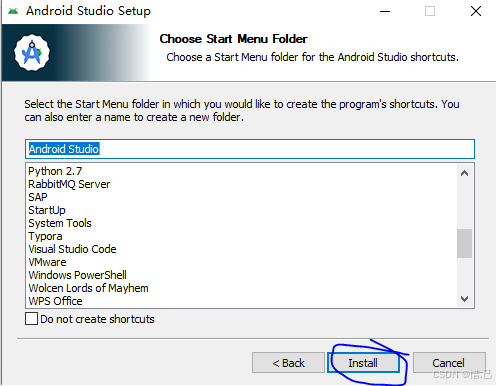
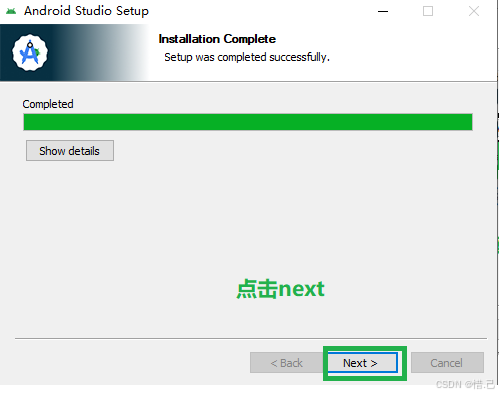
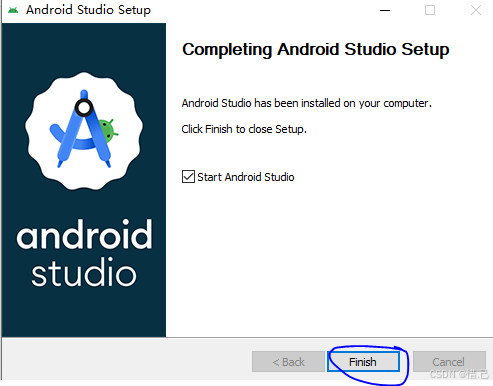
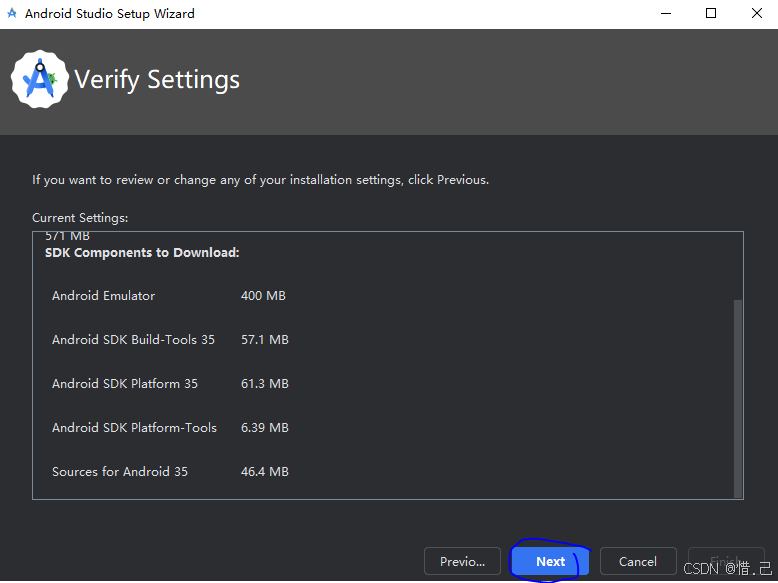
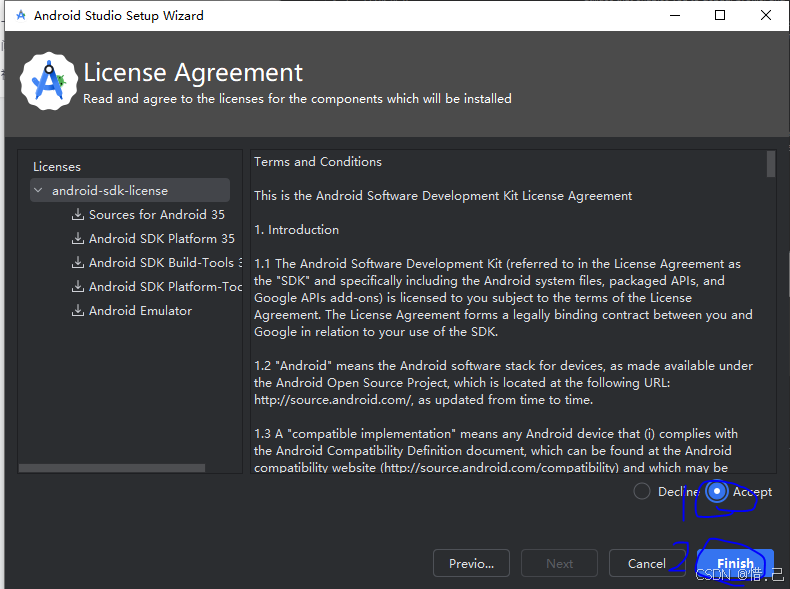
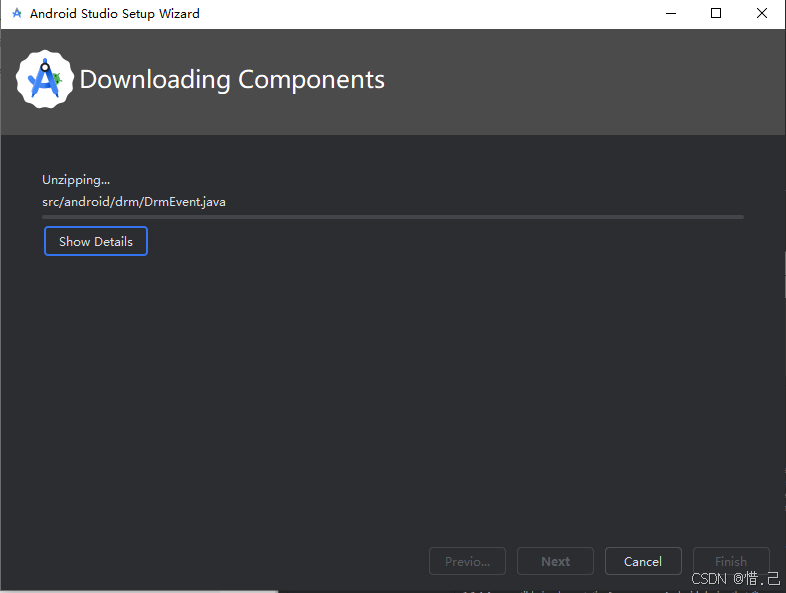
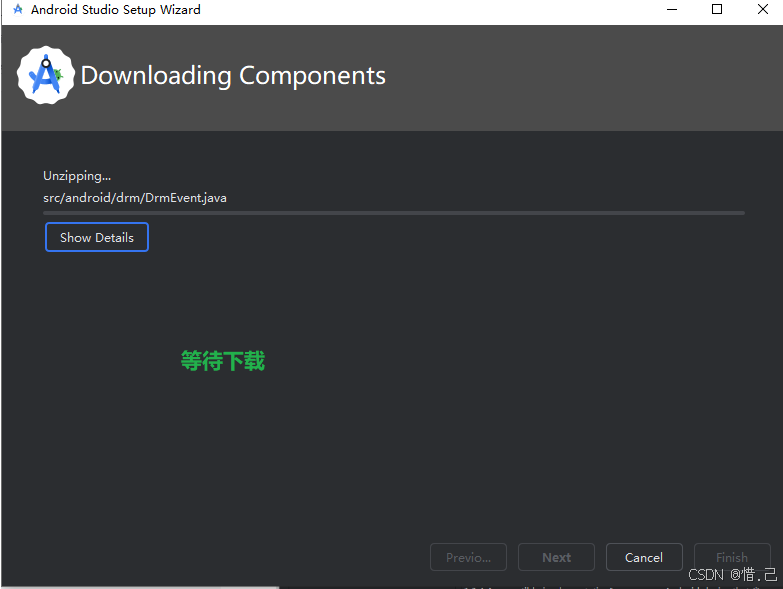
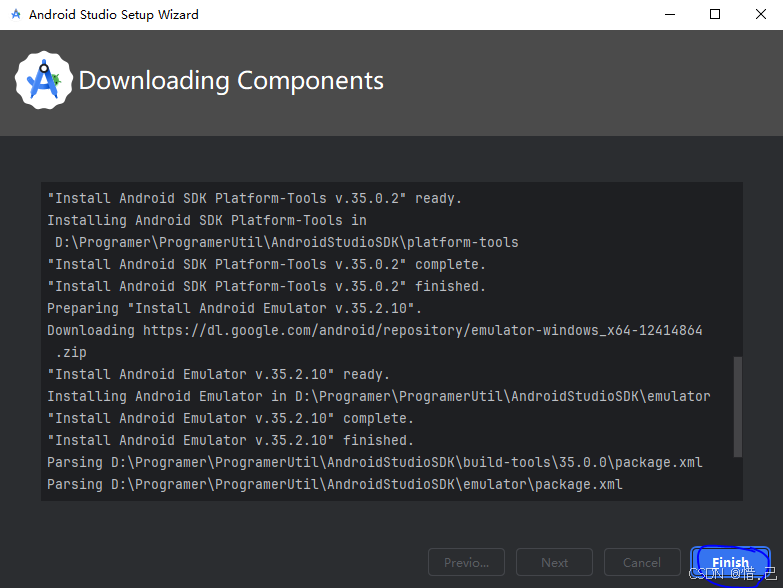
按图片流程操作即可
点击图片的next按钮
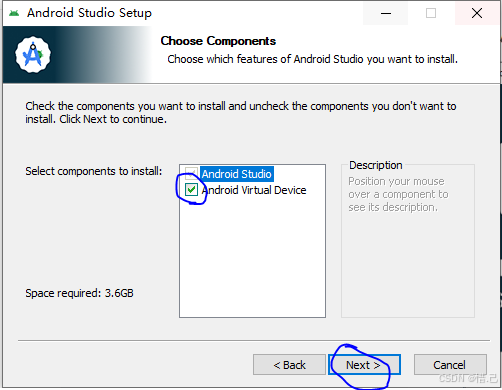
在新弹出的界面选中 Android Virtula Device ===>点击next
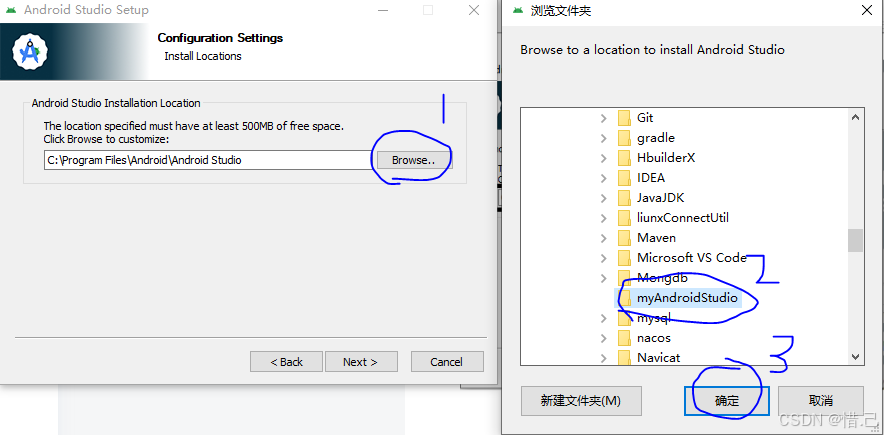
在新弹出的界面点击Browse可以修改Android Studio 的安装位置
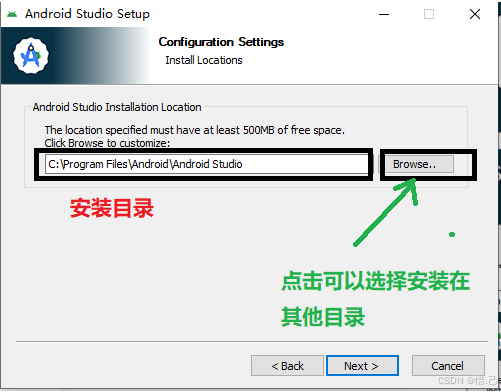
自定义安装目录
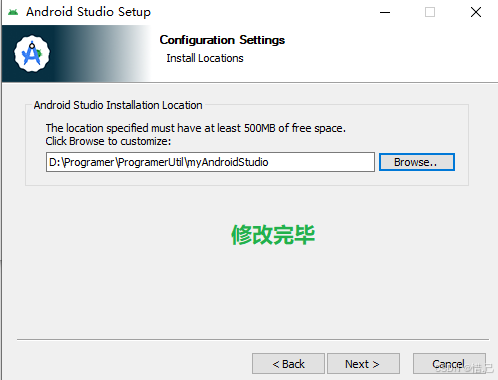
点击next
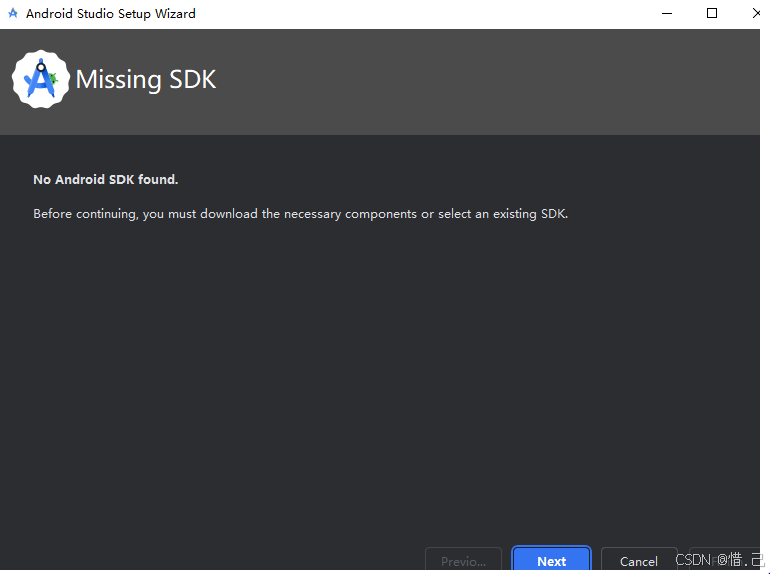
设置sdk
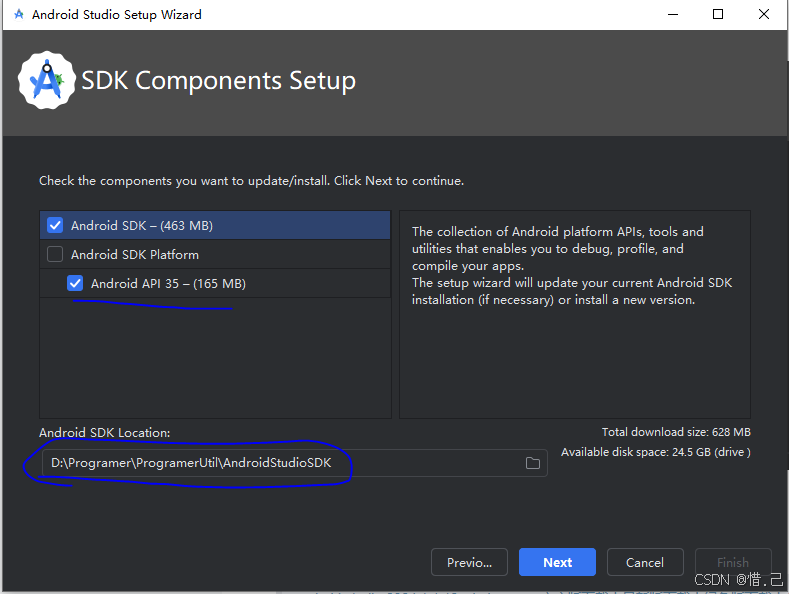
2.Android的sdk安装
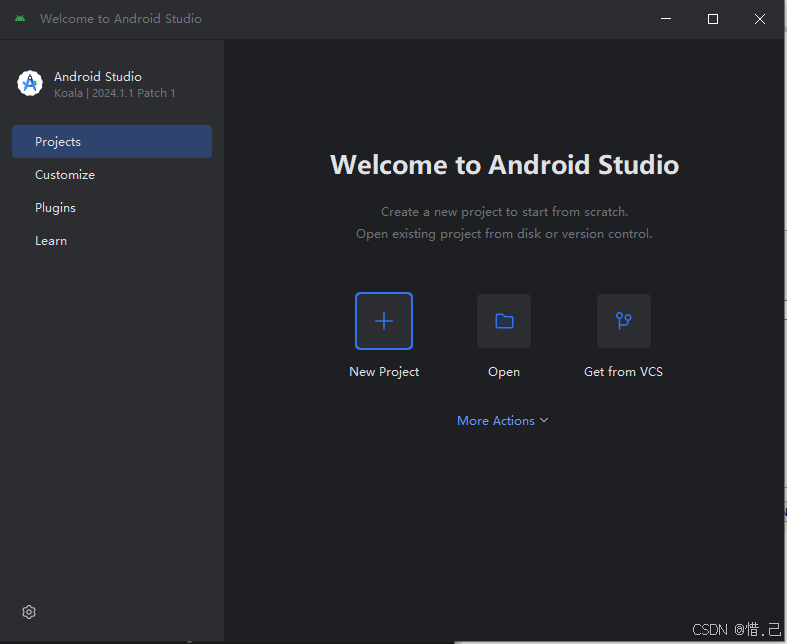
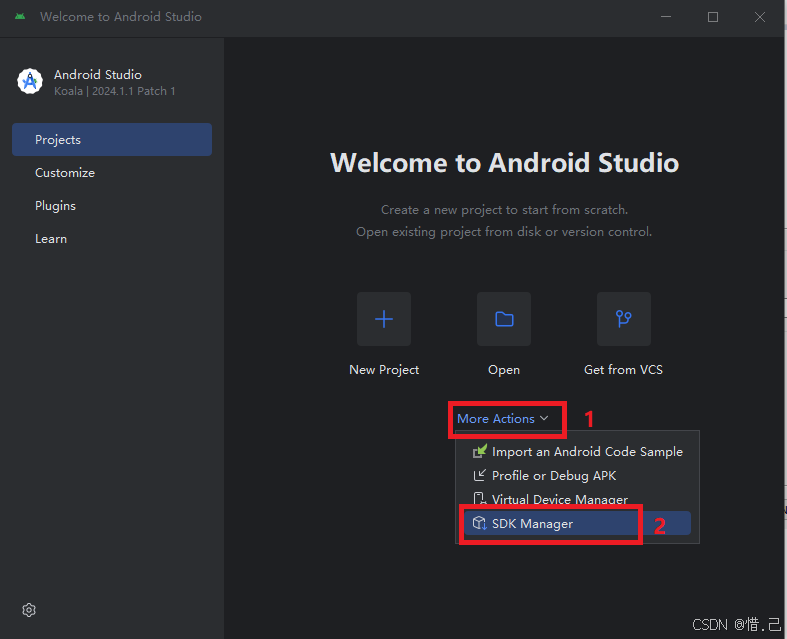
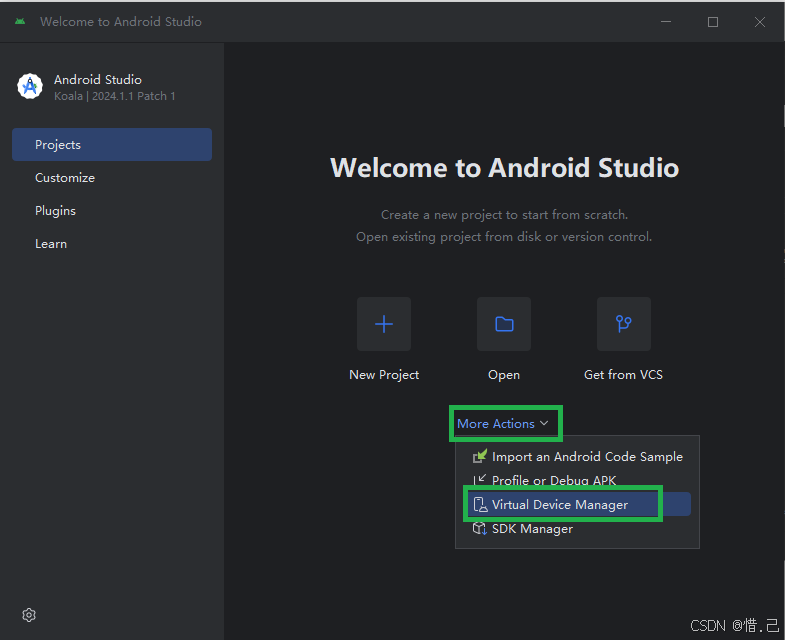
在主界面 ===> More Actions ===> SDK Manger
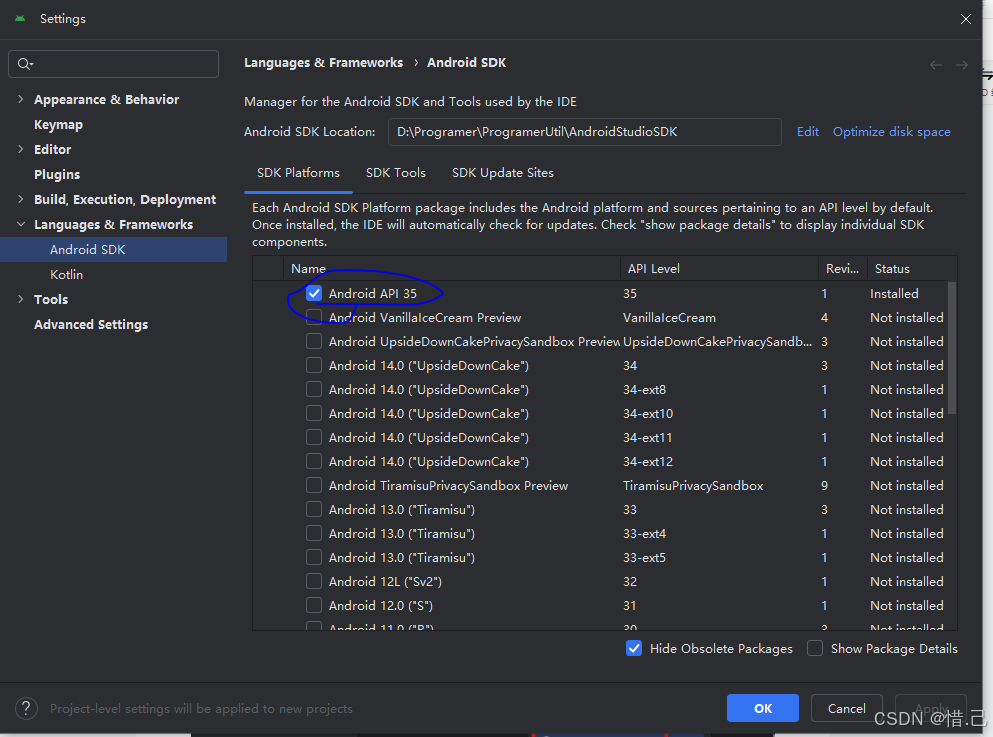
之前安装时已经下载好了一个
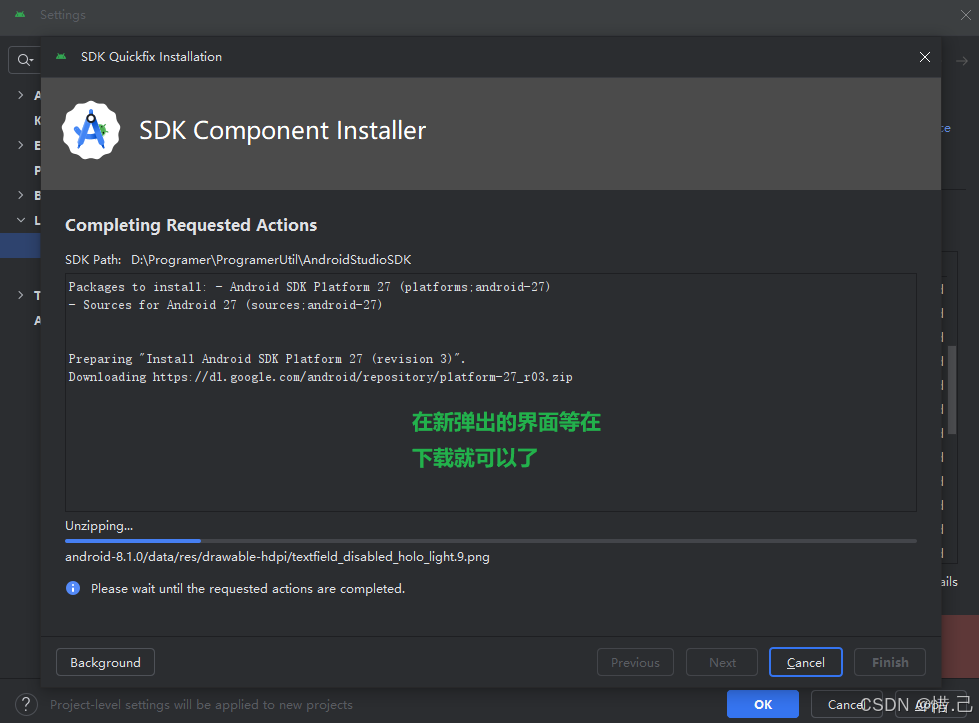
这里在演示下载一个,当然你也可以下载其他版本
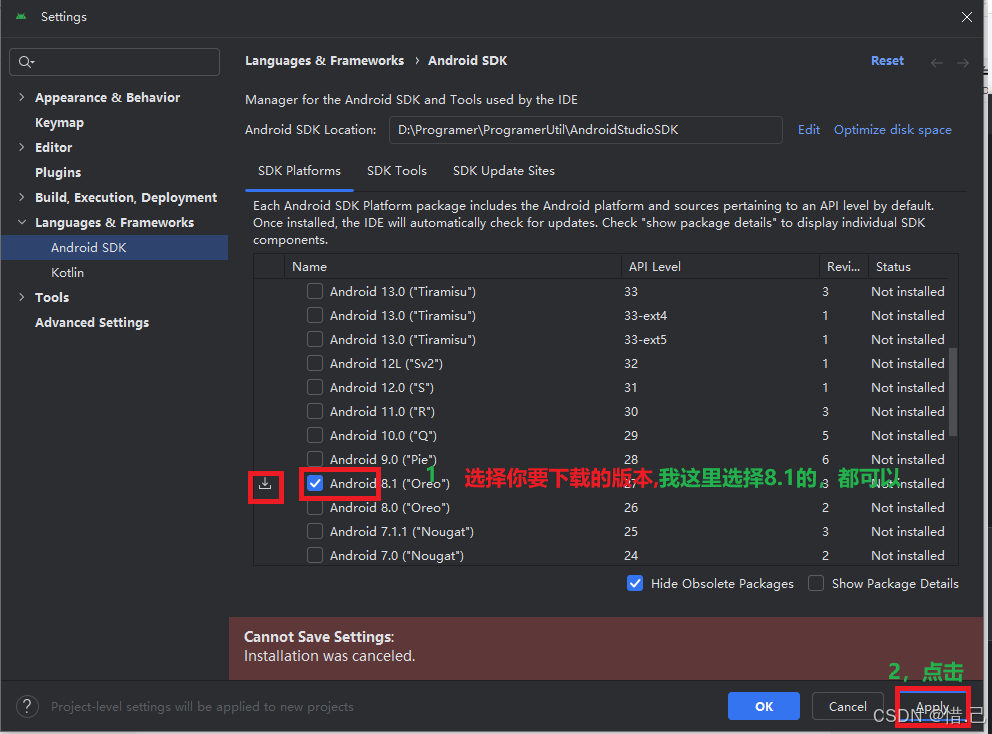
点击apply ==》在新弹出的界面点击Ok即可

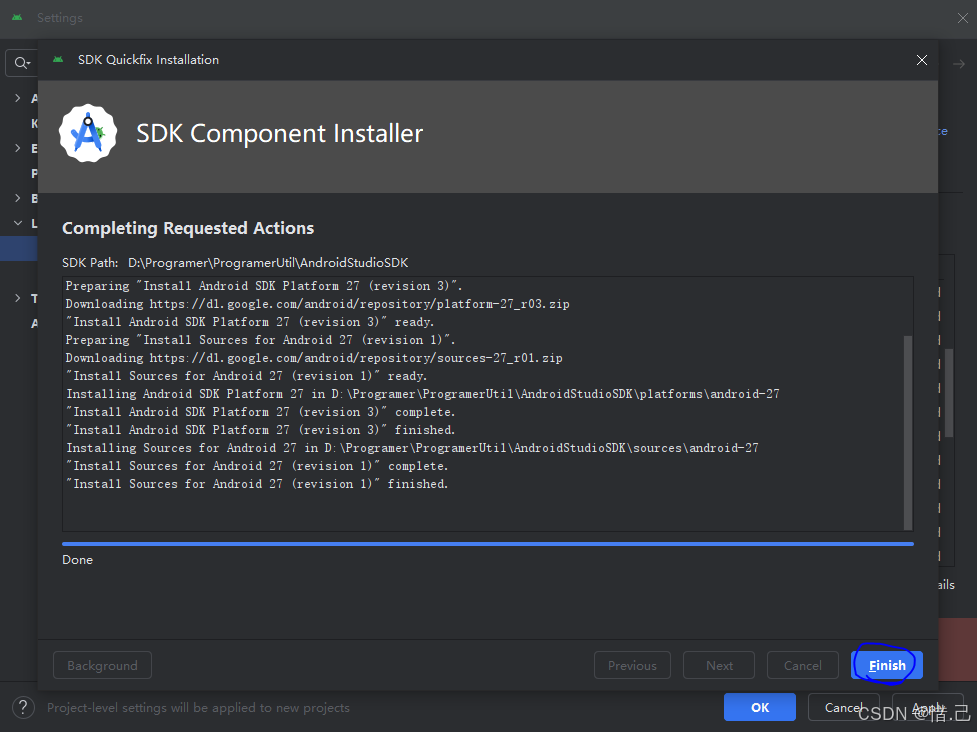
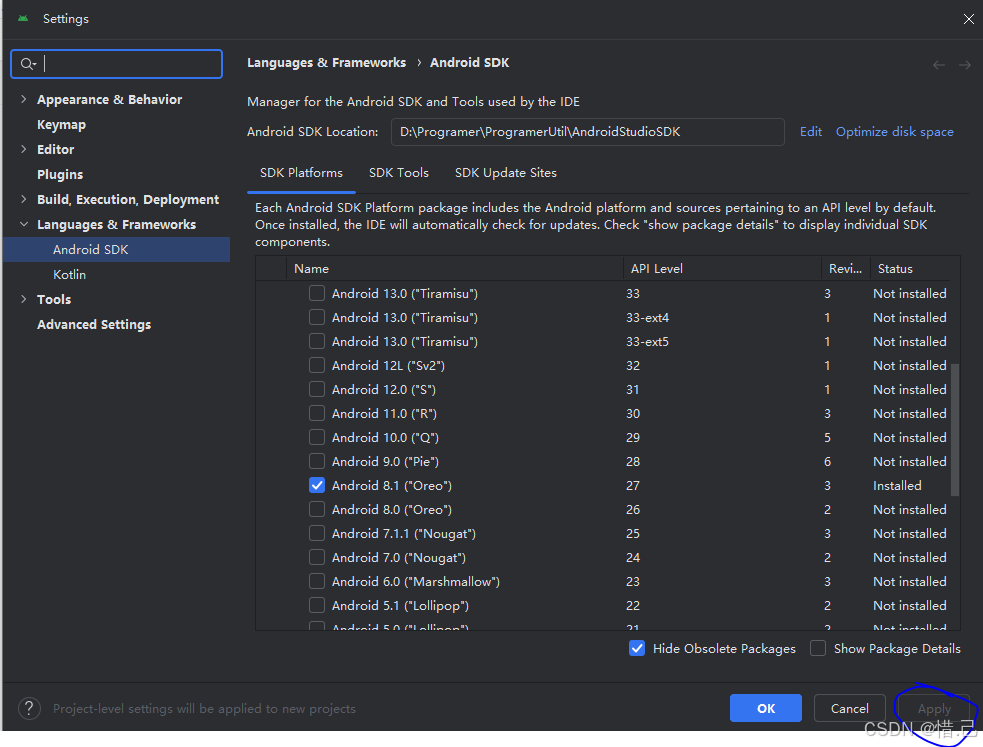
点击Ok即可
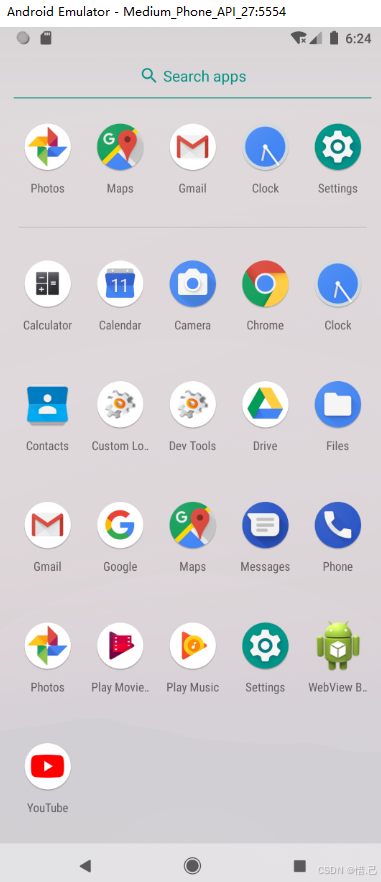
Android的Virtual Device Manger安装
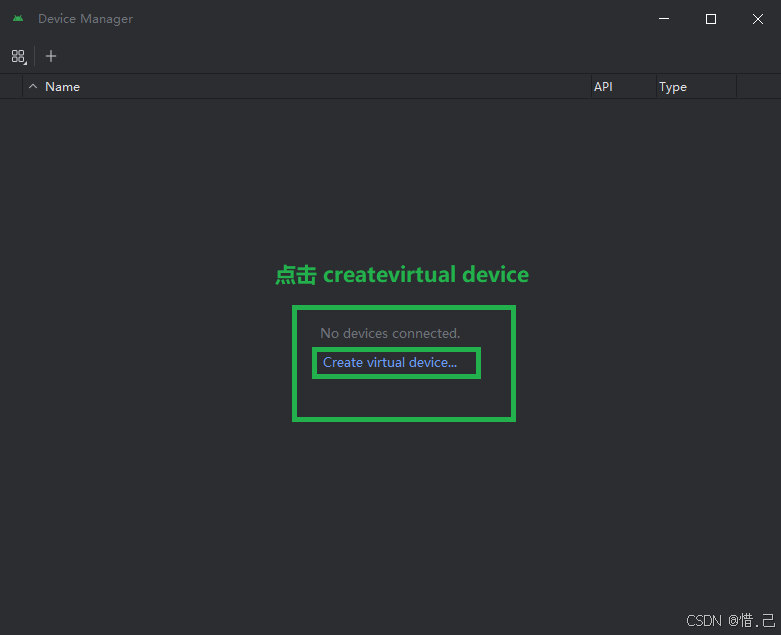
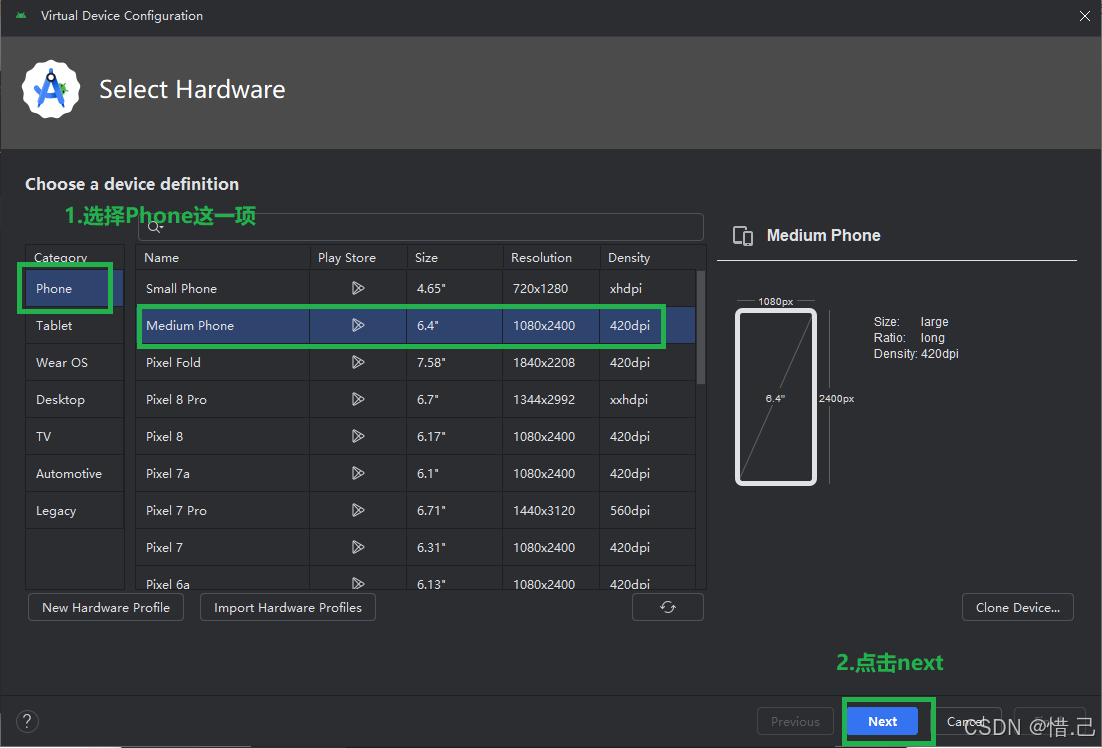
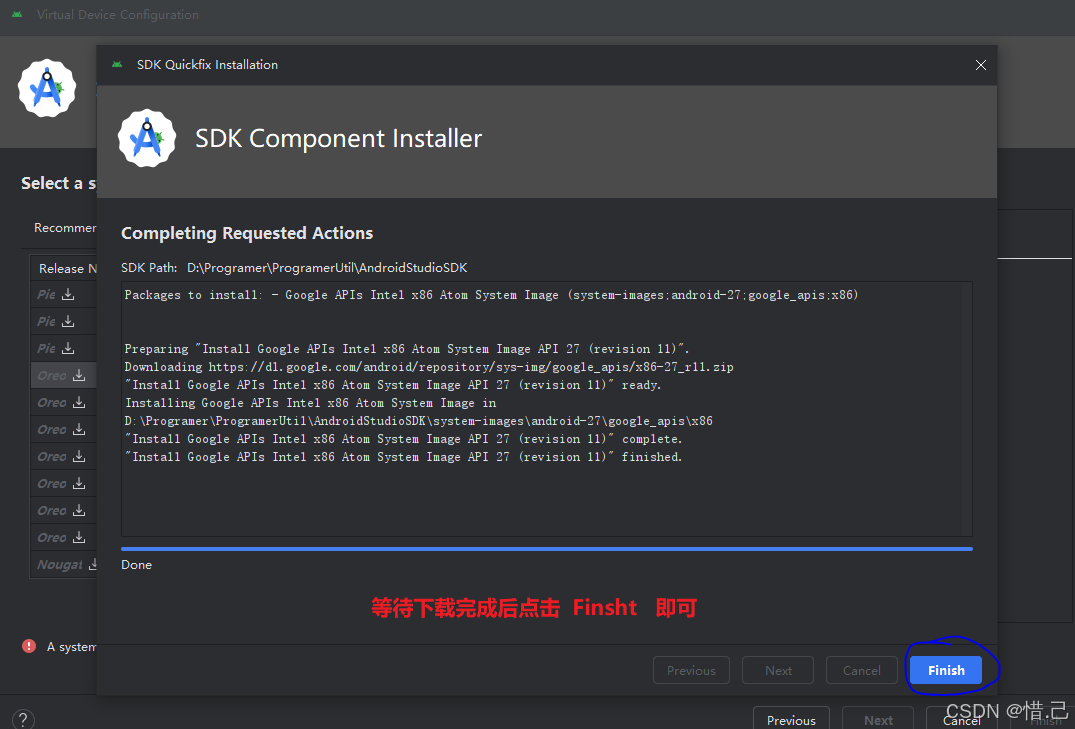
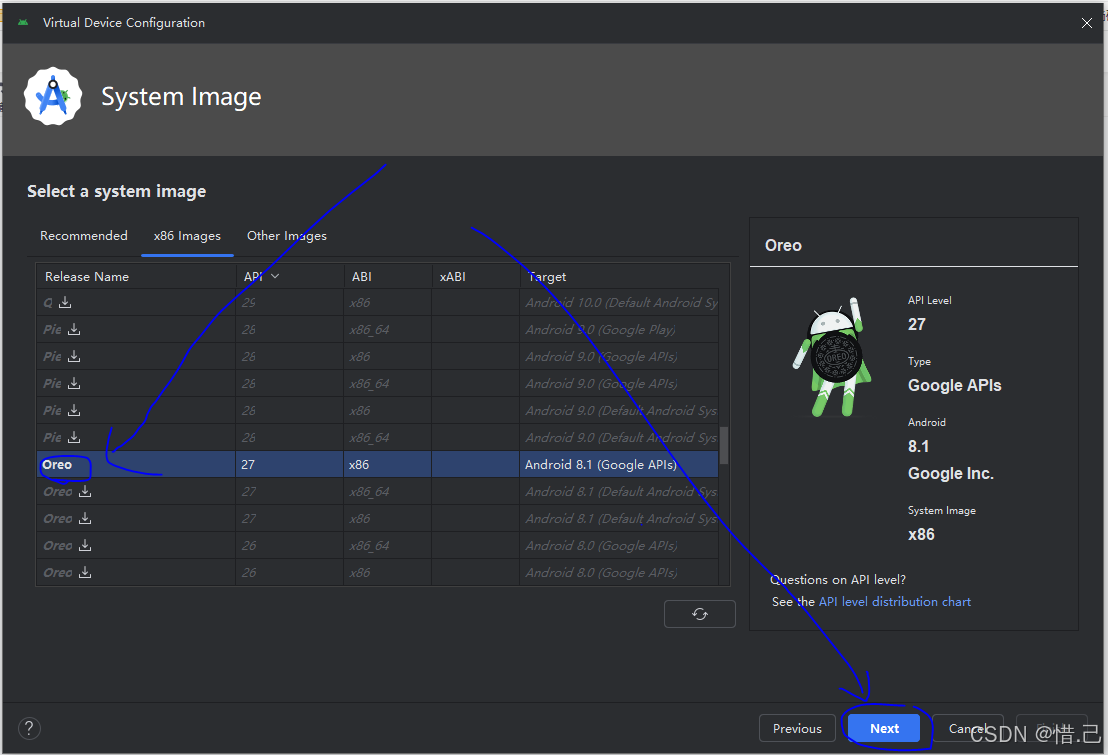
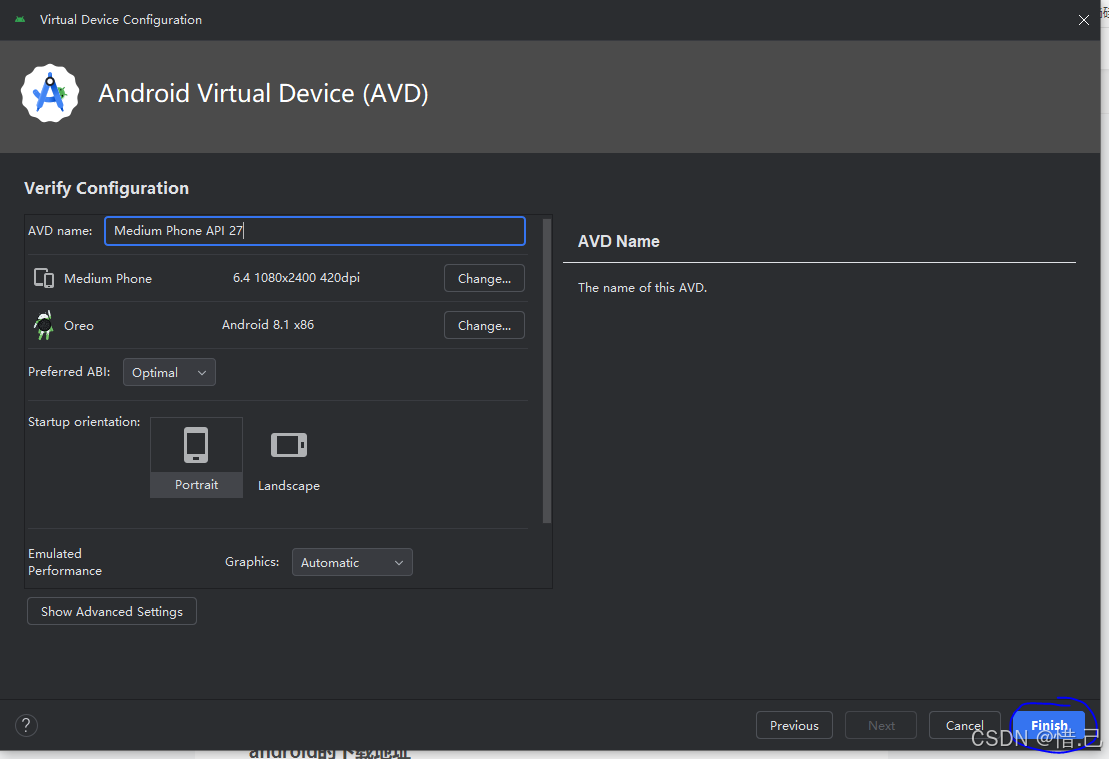
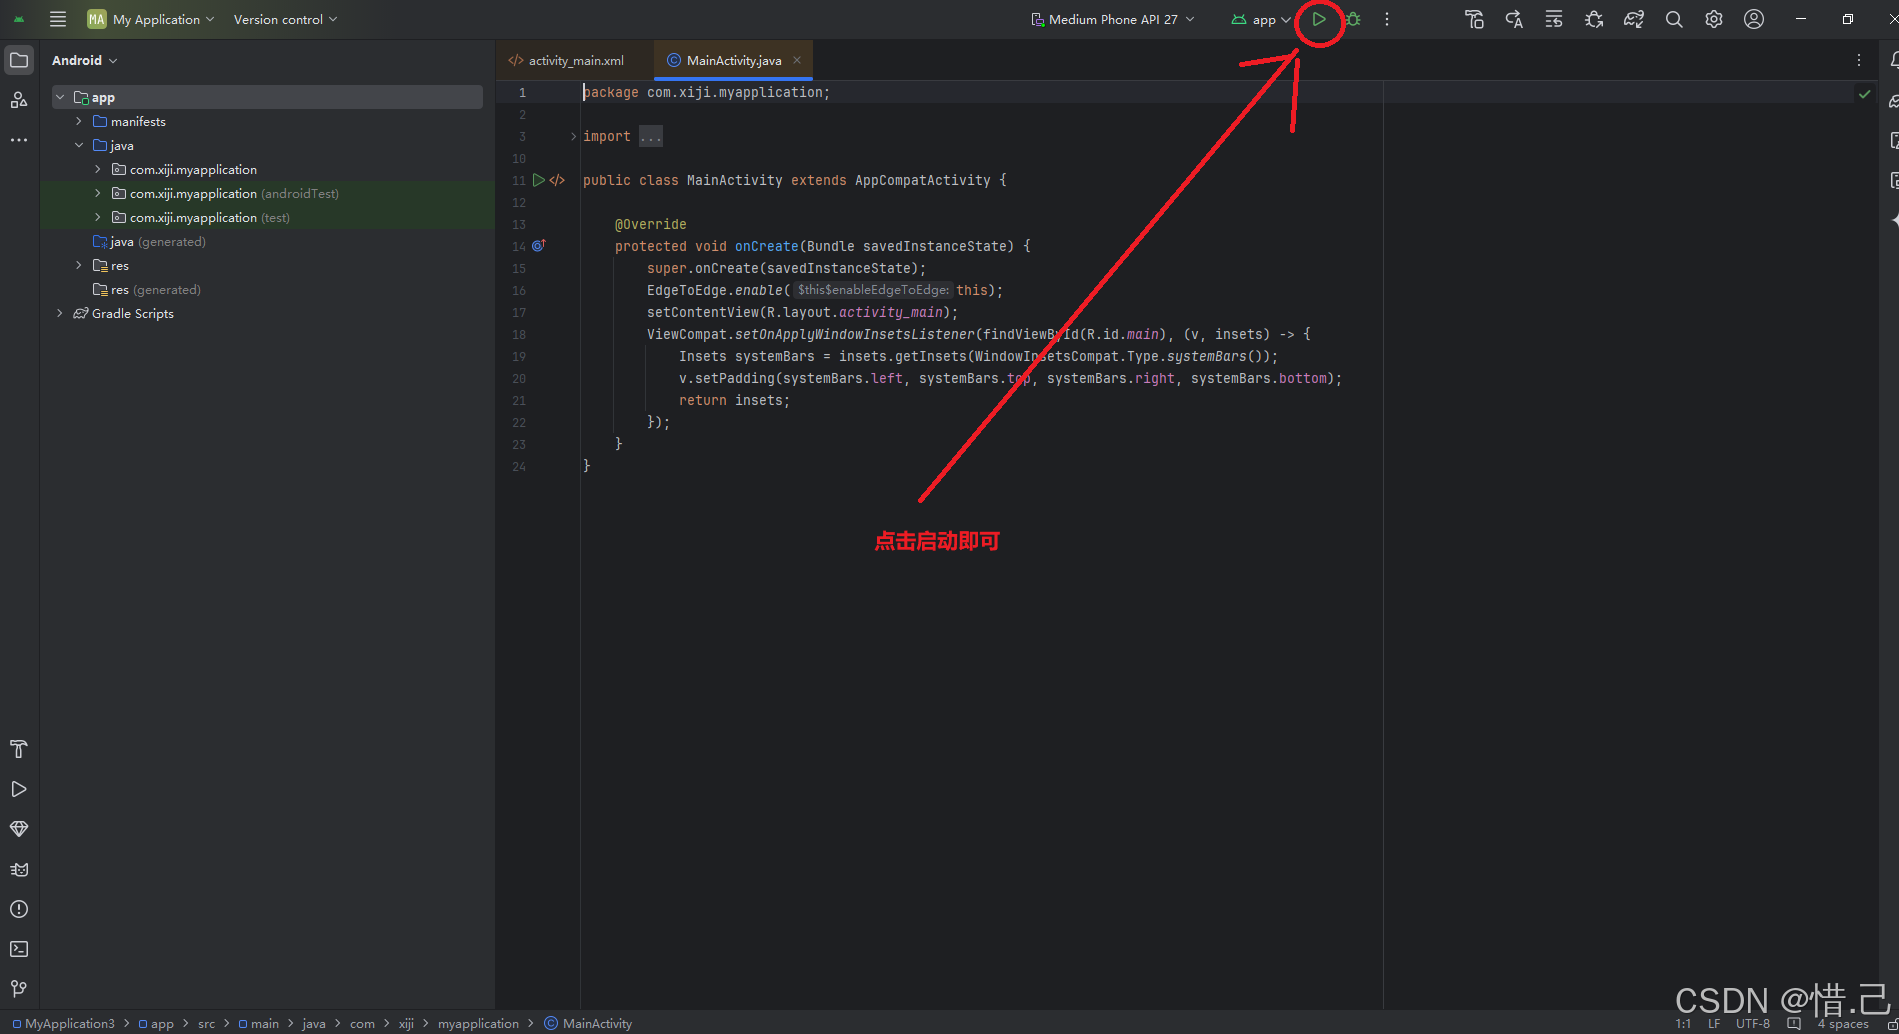
点击启动
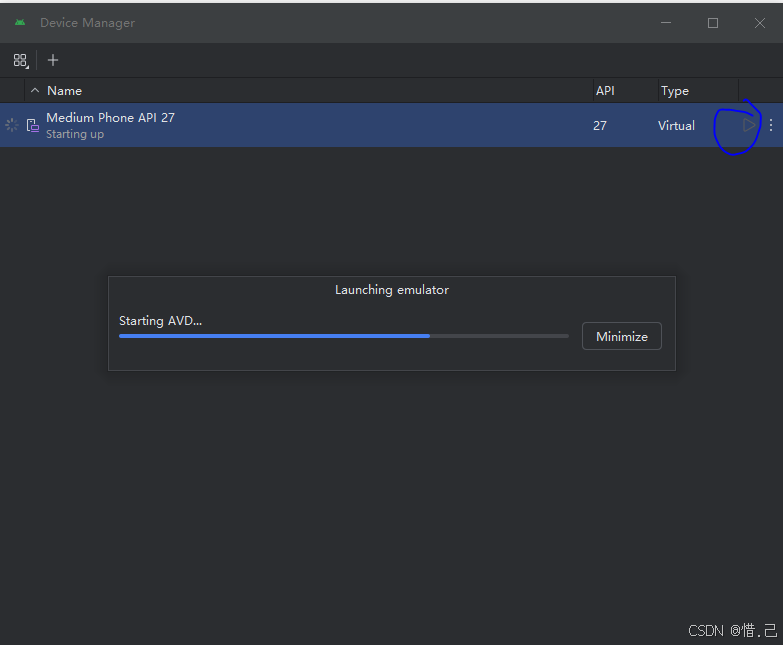
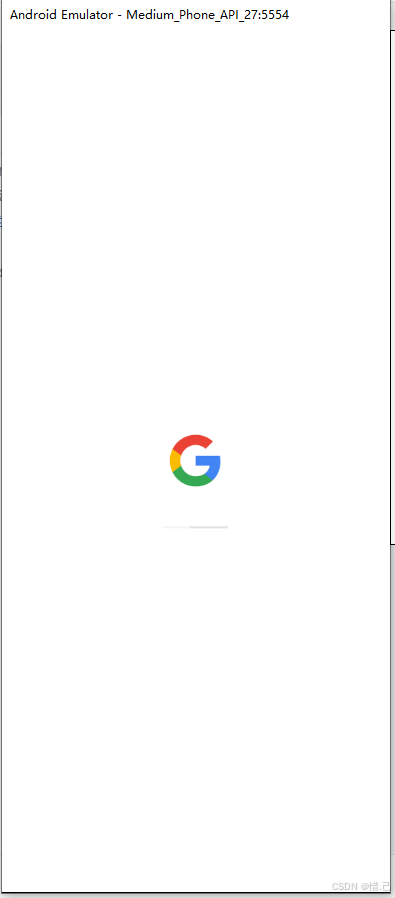
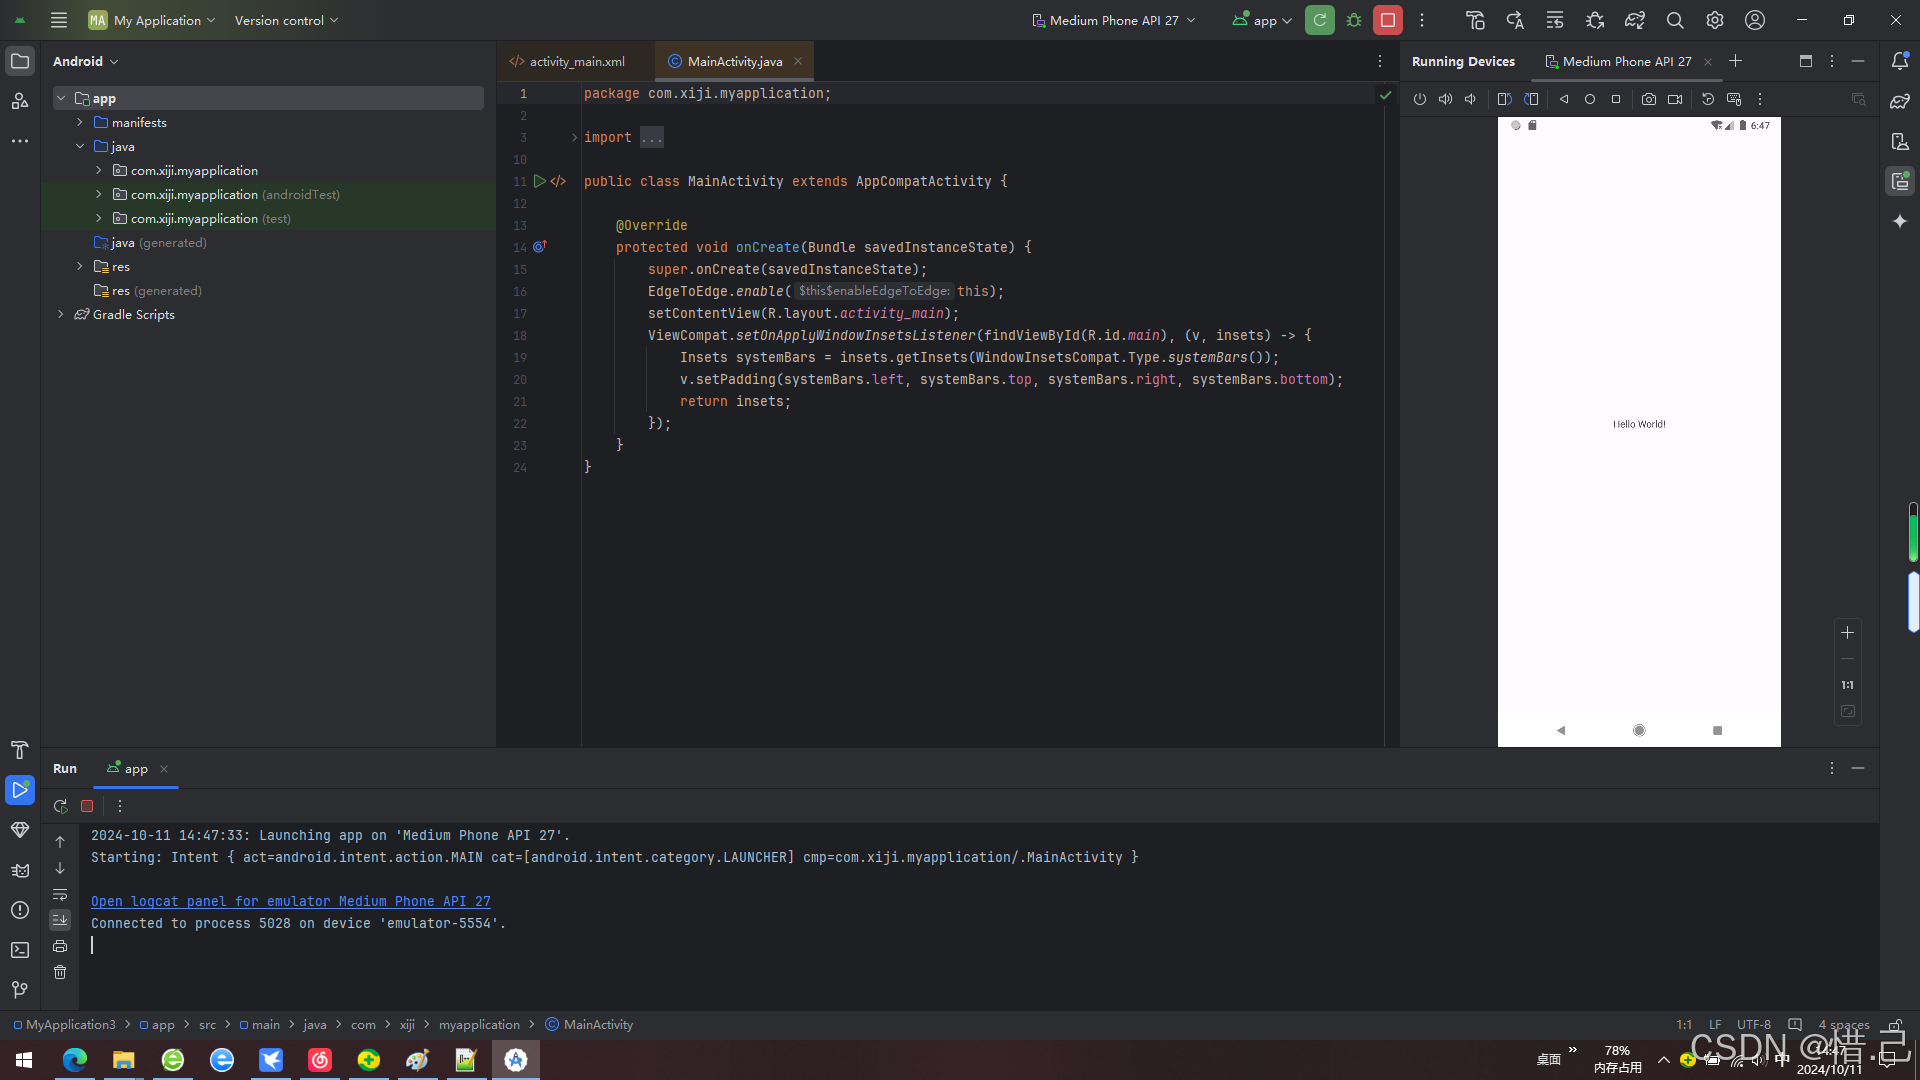
android虚拟手机创建成功

3.Android Studio 全局Gradle配置
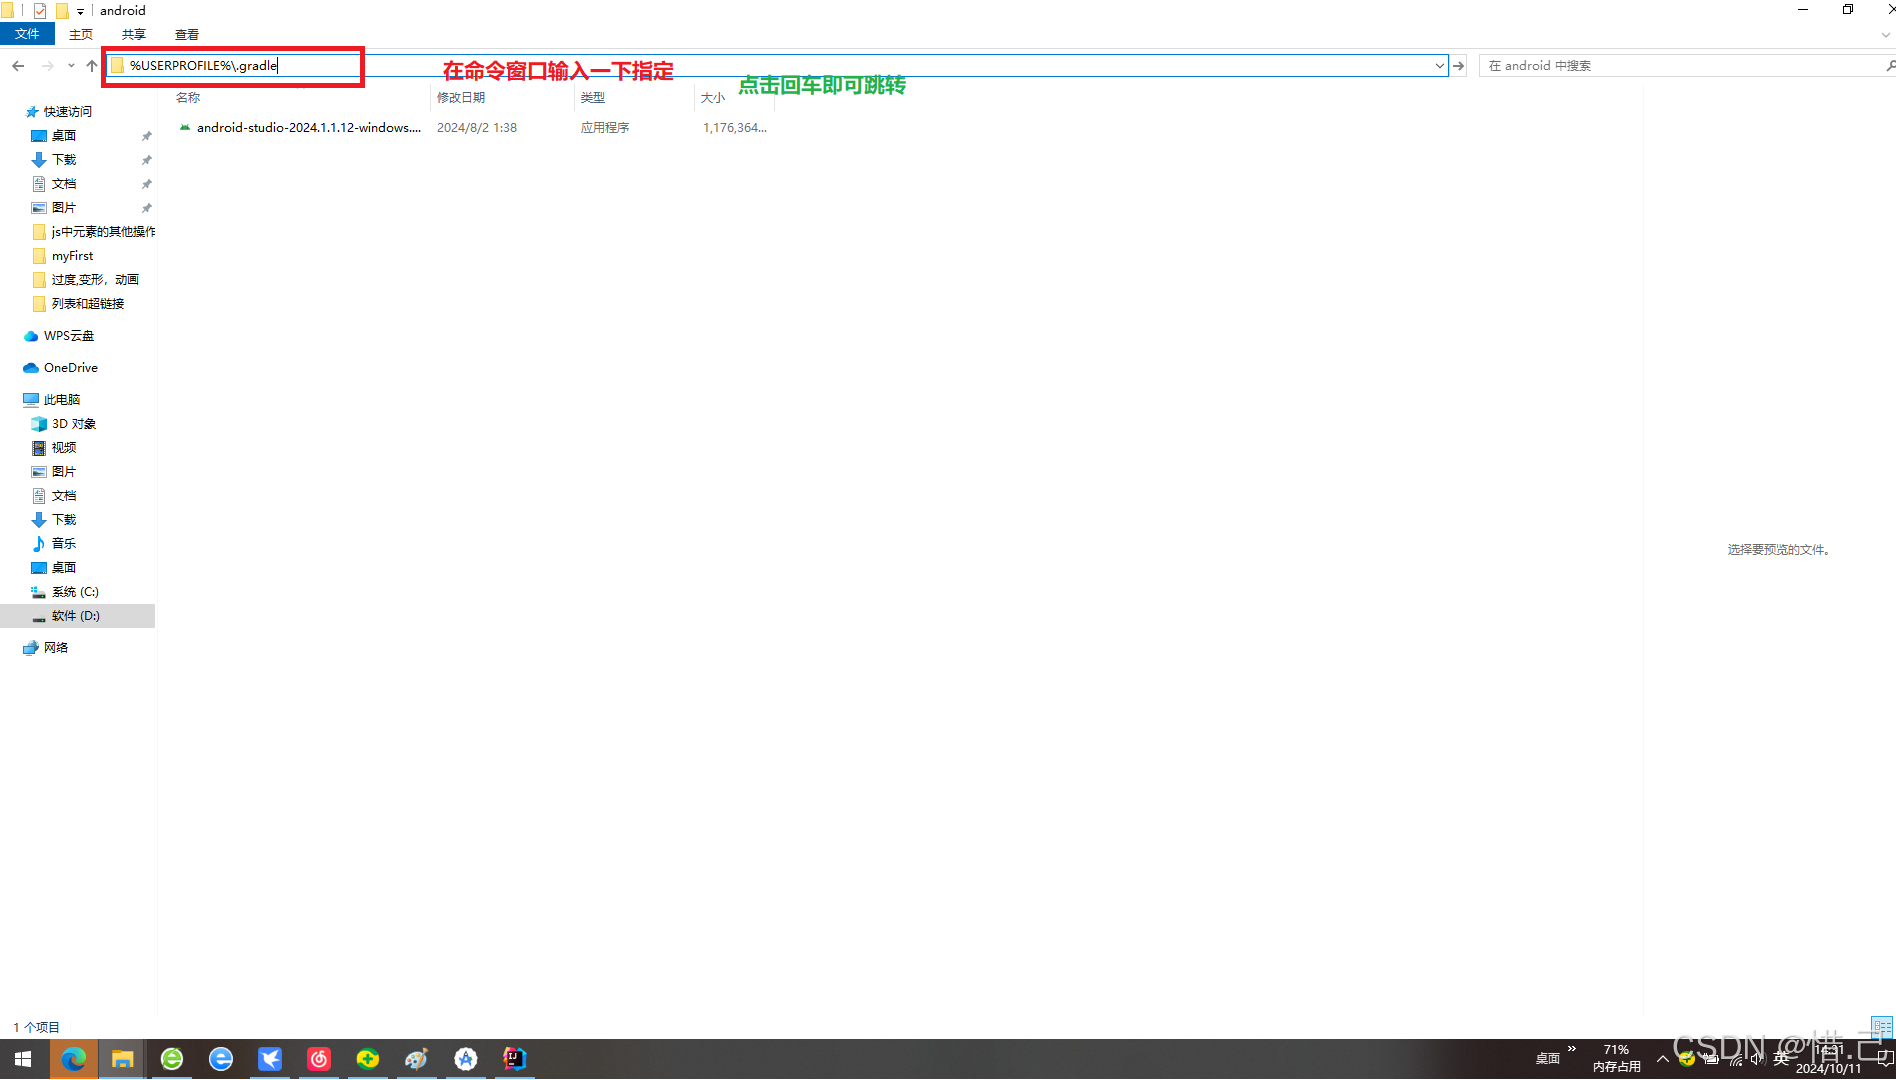
Gradle 的全局配置文件通常位于用户的主目录中,具体位置取决于操作系统:
window系统
%USERPROFILE%\.gradle
Unix/Linux/MacOS
$HOME/.gradle
打开任意的文件夹
在窗口中输入上面的指令即可跳转
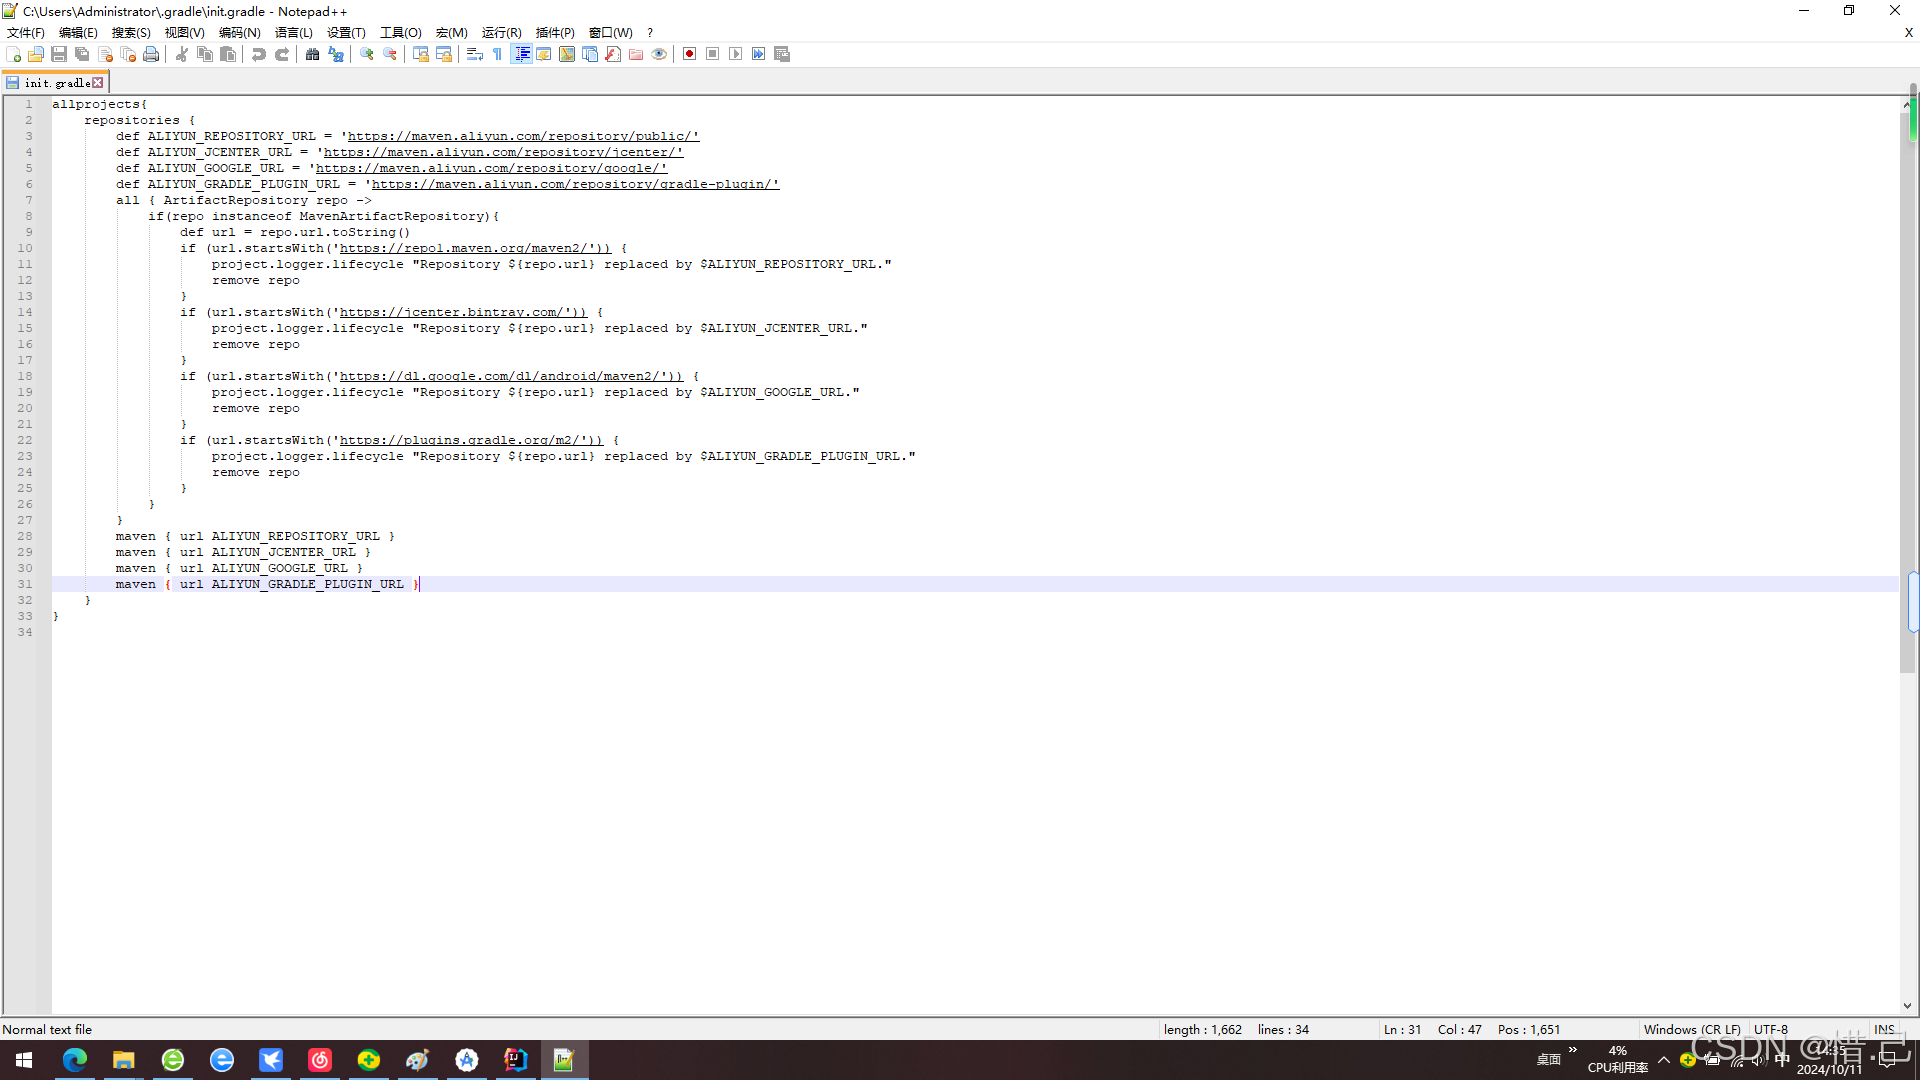
在该目录下创建gradle.init文件
把下面的内容复制进去
allprojects{
repositories {
def ALIYUN_REPOSITORY_URL = 'https://maven.aliyun.com/repository/public/'
def ALIYUN_JCENTER_URL = 'https://maven.aliyun.com/repository/jcenter/'
def ALIYUN_GOOGLE_URL = 'https://maven.aliyun.com/repository/google/'
def ALIYUN_GRADLE_PLUGIN_URL = 'https://maven.aliyun.com/repository/gradle-plugin/'
all { ArtifactRepository repo ->
if(repo instanceof MavenArtifactRepository){
def url = repo.url.toString()
if (url.startsWith('https://repo1.maven.org/maven2/')) {
project.logger.lifecycle "Repository {repo.url} replaced by ALIYUN_REPOSITORY_URL."
remove repo
}
if (url.startsWith('https://jcenter.bintray.com/')) {
project.logger.lifecycle "Repository {repo.url} replaced by ALIYUN_JCENTER_URL."
remove repo
}
if (url.startsWith('https://dl.google.com/dl/android/maven2/')) {
project.logger.lifecycle "Repository {repo.url} replaced by ALIYUN_GOOGLE_URL."
remove repo
}
if (url.startsWith('https://plugins.gradle.org/m2/')) {
project.logger.lifecycle "Repository {repo.url} replaced by ALIYUN_GRADLE_PLUGIN_URL."
remove repo
}
}
}
maven { url ALIYUN_REPOSITORY_URL }
maven { url ALIYUN_JCENTER_URL }
maven { url ALIYUN_GOOGLE_URL }
maven { url ALIYUN_GRADLE_PLUGIN_URL }
}
}

创建我的第一个Android Studio 项目
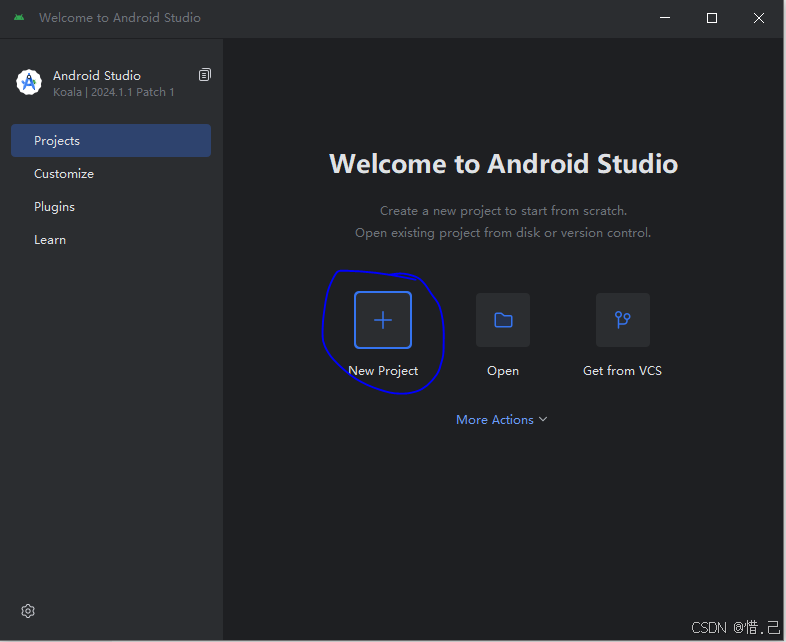
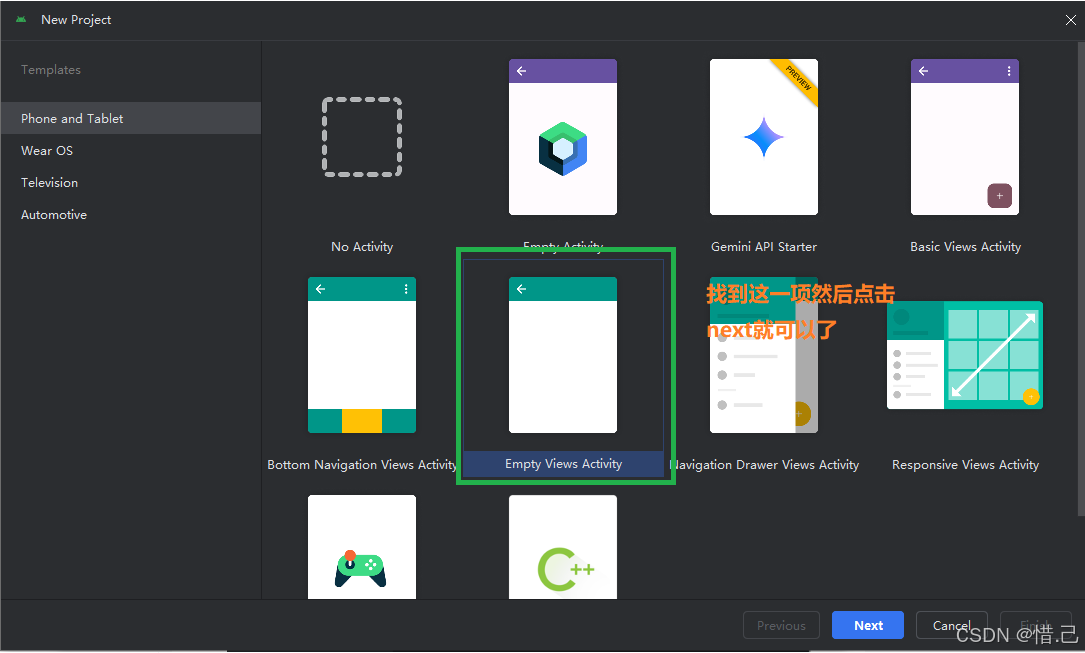
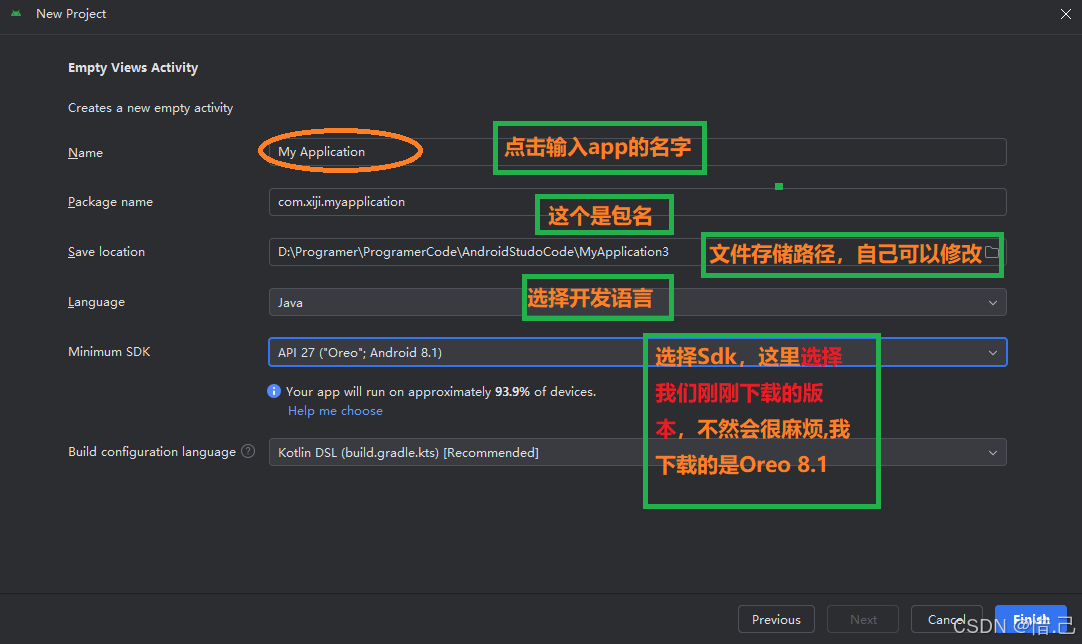

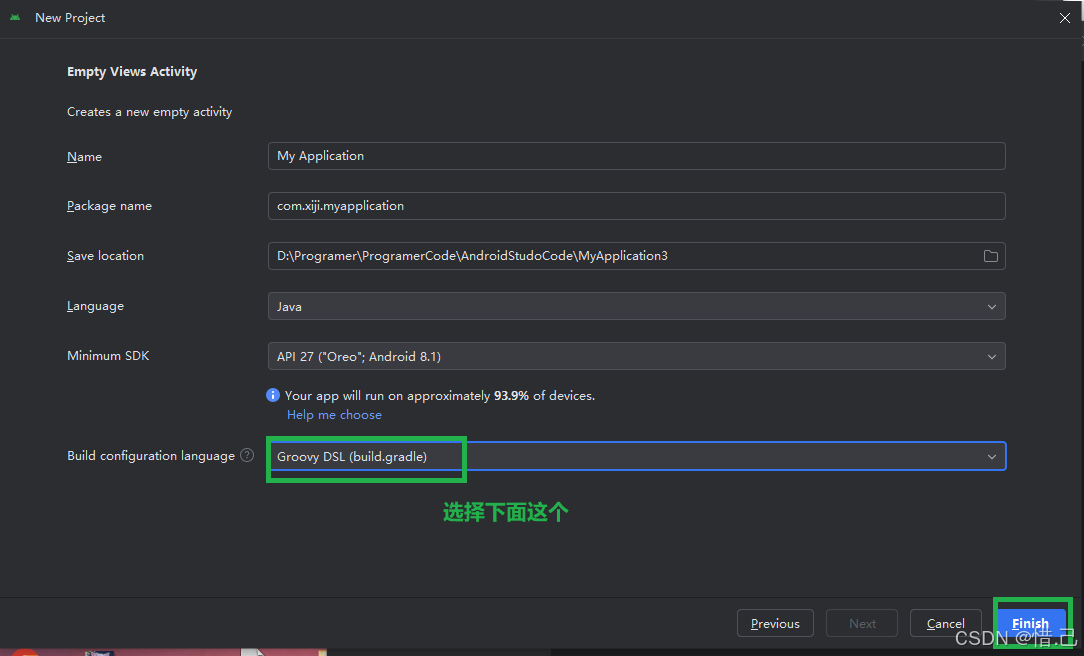
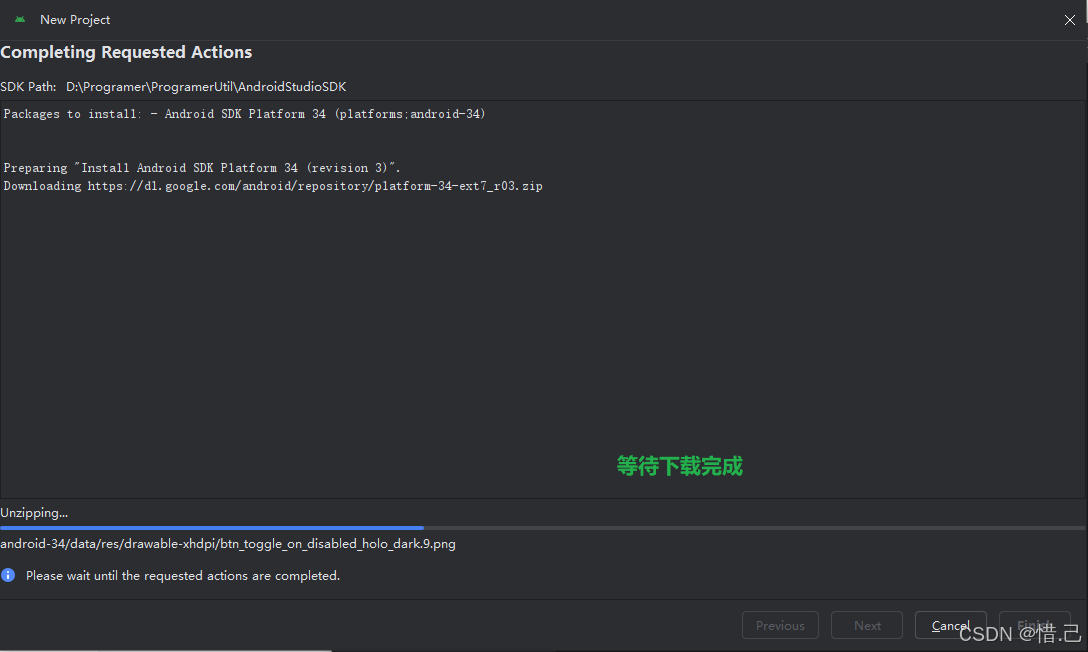
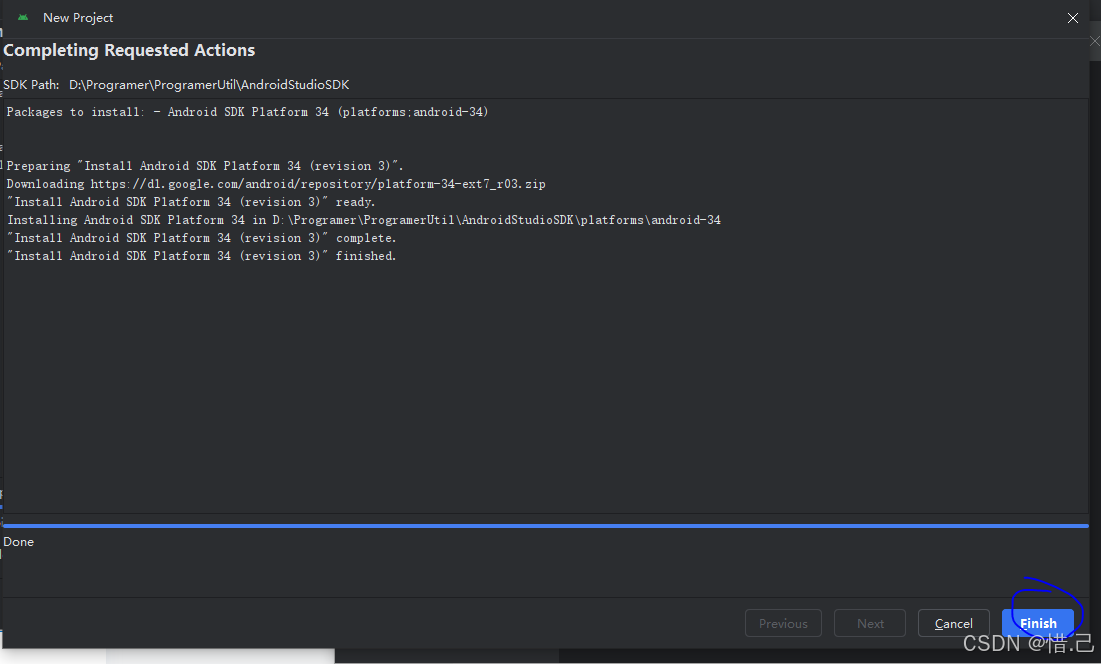

我的第一个安卓程序创建完成
4.Android的目录结构
1)gradle/
这个隐藏目录包含了 Gradle 缓存和日志等数据。
2)idea/
包含了 IntelliJ IDEA 或者 Android Studio 使用的一些配置文件,比如代码样式、运行配置等。
3)app/
这是默认的应用模块目录。如果你创建的是多模块项目,这里可能会有多个这样的目录,每个对应一个模块。在这个目录下通常包含以下子目录:
4)src/
源代码目录。
5)main/:
主源集(source set),包含了应用的主要源码和资源。
6)java/:
Java 或 Kotlin 源代码文件存放的地方。根据你选择的语言,这个目录可能叫做 kotlin/。
7)res/
存放 应用程序的各种资源文件,如布局文件(XML)、图片、字符串等。
8)layout/
布局 XML文件。
9)drawable/ , mipmap/
图片资源。
10)values/
字符串、颜色、尺寸等值资源。
11)AndroidManifest.xml
应用程序的清单文件,定义了应用程序的组件、权限等。
12)assets/ (可选)
存放原始文件,这些文件不会被编译,直接打包进 APK。
13)androidTest/
Android 测试代码。
14)test/
单元测试代码。
15)build/
存放编译后的文件以及中间产物,比如 dex 文件、APK 文件等。
16)build.gradle (Project: 项目名)
项目的 Gradle 构建脚本,定义了整个项目级别的设置。
17)build.gradle (Module: app)
应用模块的 Gradle 构建脚本,定义了该模块的依赖、版本号等信息。
18)gradle/
包含自定义的 Gradle脚本或插件。
19)gradlew , gradlew.bat
Gradle Wrapper 脚本,用于跨平台地启动正确的 Gradle 版本。
20)settings.gradle
定义了项目中所包含的模块。
5.Android Studio中资源的使用
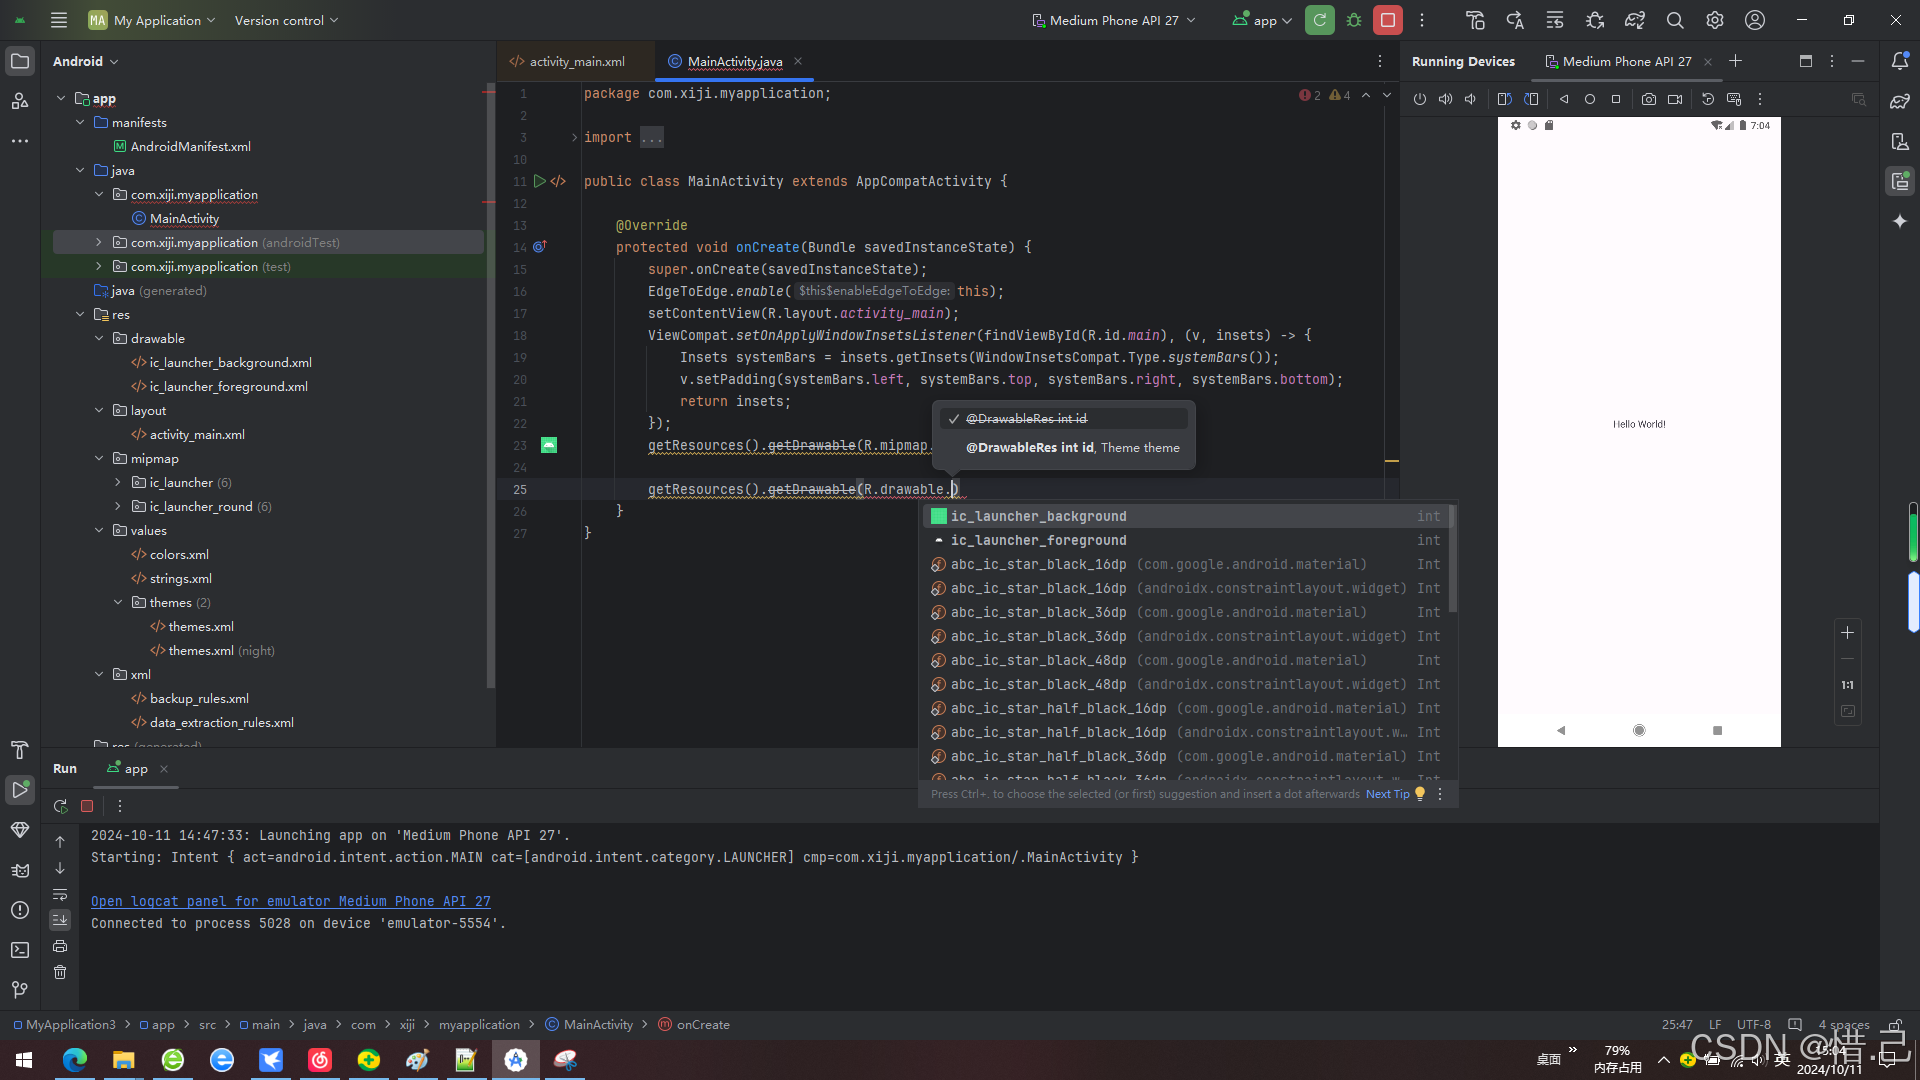
1)图片资源
1-java代码使用图片资源
getResources().getDrawable(R.mipmap.ic_launcher);

getResources().getDrawable(R.drawable.ic_launcher_background);
2-xml布局文件使用图片资源
@drawable/ic_launcher_background
@mipmap/ic_launcher
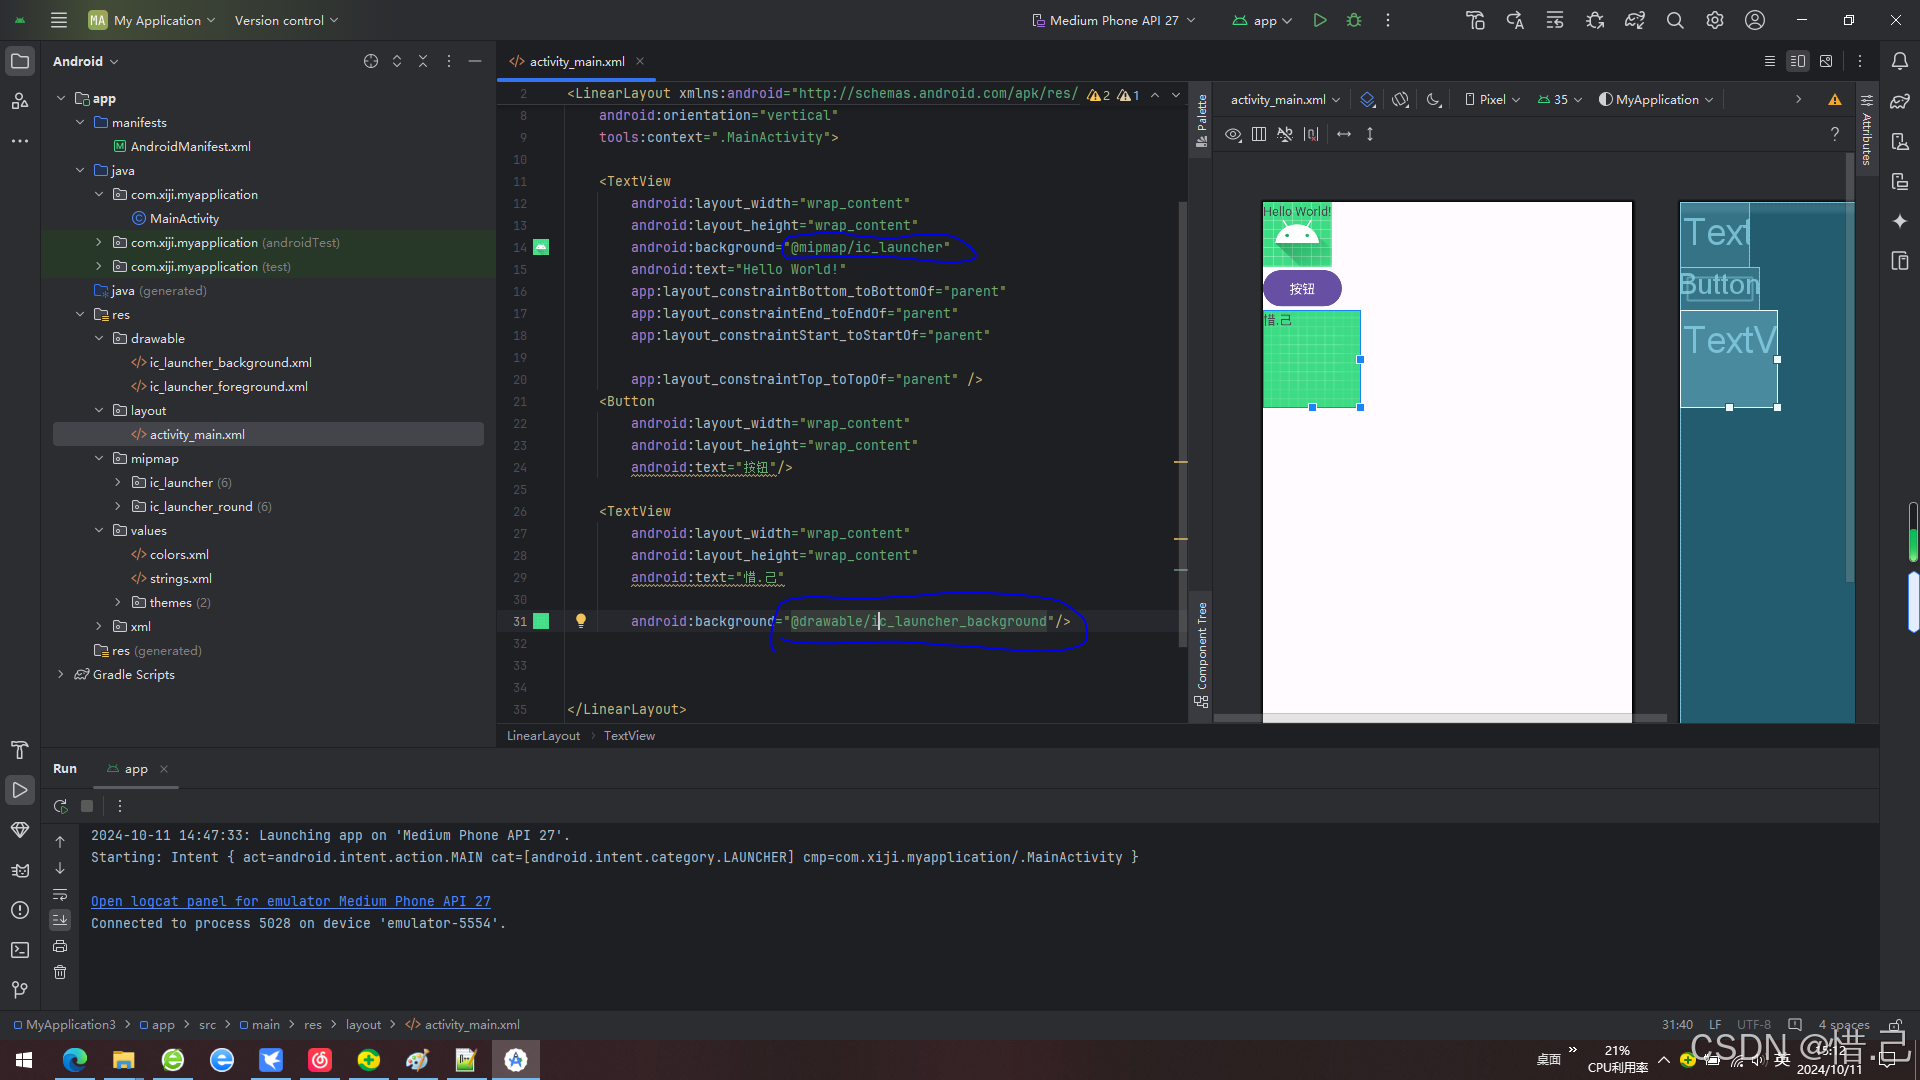
3-activity_main.xml 代码
XML<?xml version="1.0" encoding="utf-8"?> <LinearLayout xmlns:android="http://schemas.android.com/apk/res/android" xmlns:app="http://schemas.android.com/apk/res-auto" xmlns:tools="http://schemas.android.com/tools" android:id="@+id/main" android:layout_width="match_parent" android:layout_height="match_parent" android:orientation="vertical" tools:context=".MainActivity"> <TextView android:layout_width="wrap_content" android:layout_height="wrap_content" android:background="@mipmap/ic_launcher" android:text="Hello World!" app:layout_constraintBottom_toBottomOf="parent" app:layout_constraintEnd_toEndOf="parent" app:layout_constraintStart_toStartOf="parent" app:layout_constraintTop_toTopOf="parent" /> <Button android:layout_width="wrap_content" android:layout_height="wrap_content" android:text="按钮"/> <TextView android:layout_width="wrap_content" android:layout_height="wrap_content" android:text="惜.己" android:background="@drawable/ic_launcher_background"/> </LinearLayout>
2)主题和样式资源
1-主题
- 主题资源定义在res/values 下的styles.xml文件中
- AndroidManifest.xml文件配置主题
- java代码配置主题


2-样式
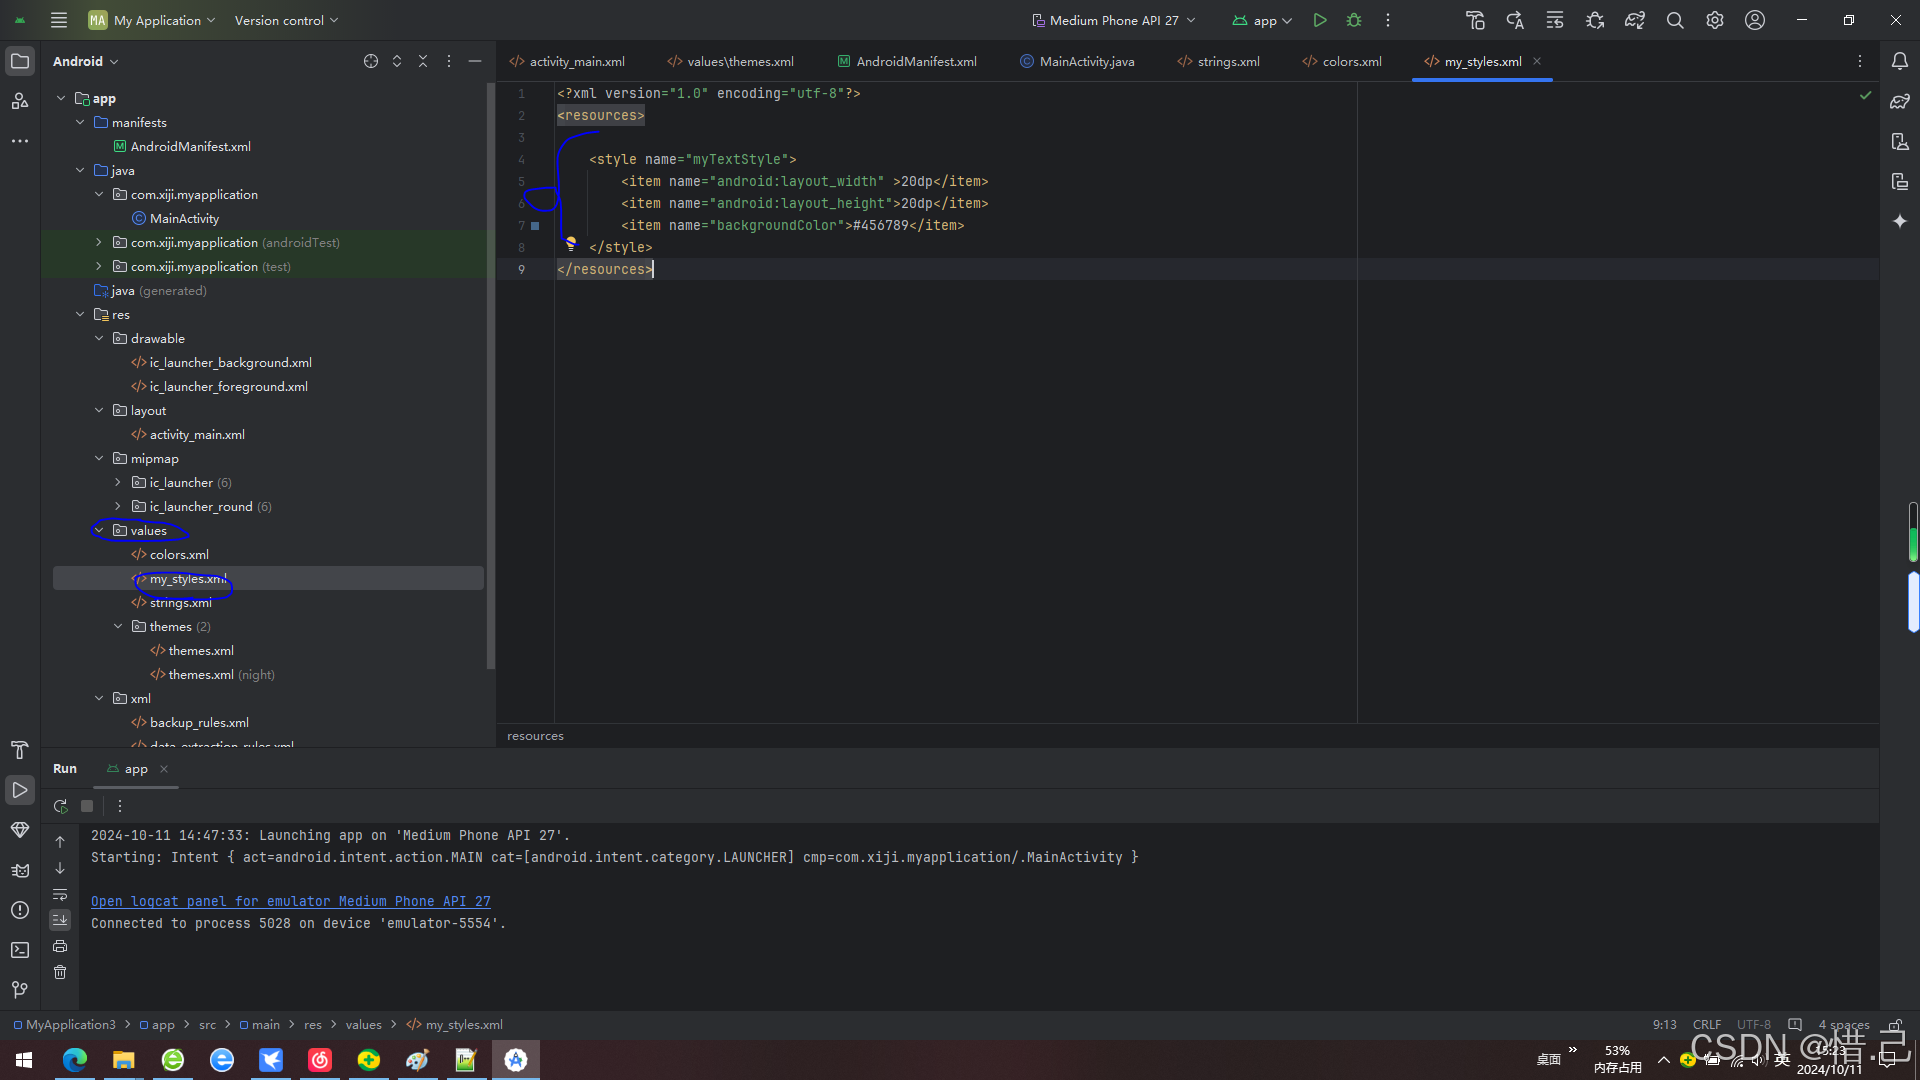
在resuorce中定义一个样式
XML<?xml version="1.0" encoding="utf-8"?> <resources> <style name="myTextStyle"> <item name="android:layout_width" >20dp</item> <item name="android:layout_height">20dp</item> <item name="backgroundColor">#456789</item> </style> </resources>
1.使用样式
<TextView
    style="@style/myTextStyle"
    android:text="惜.己"

    />
3)布局资源
布局资源在res/layout文件夹下创建
1-java中使用布局资源
setContentView(R.layout.activity_main);
2-xml使用布局资源
<include layout="@layout/activity_main"/>
4)颜色资源的使用
1-定义颜色资源
<?xml version="1.0" encoding="utf-8"?>
<resources>
    <color name="black">#FF000000</color>
    <color name="white">#FFFFFFFF</color>
    \<color name="myColor"\>#456789\</color\>
</resources>
2-java中使用颜色资源
getResources().getColor(R.color.myColor);
3-xml文件中使用颜色资源
getResources().getColor(R.color.myColor);
5)尺寸资源
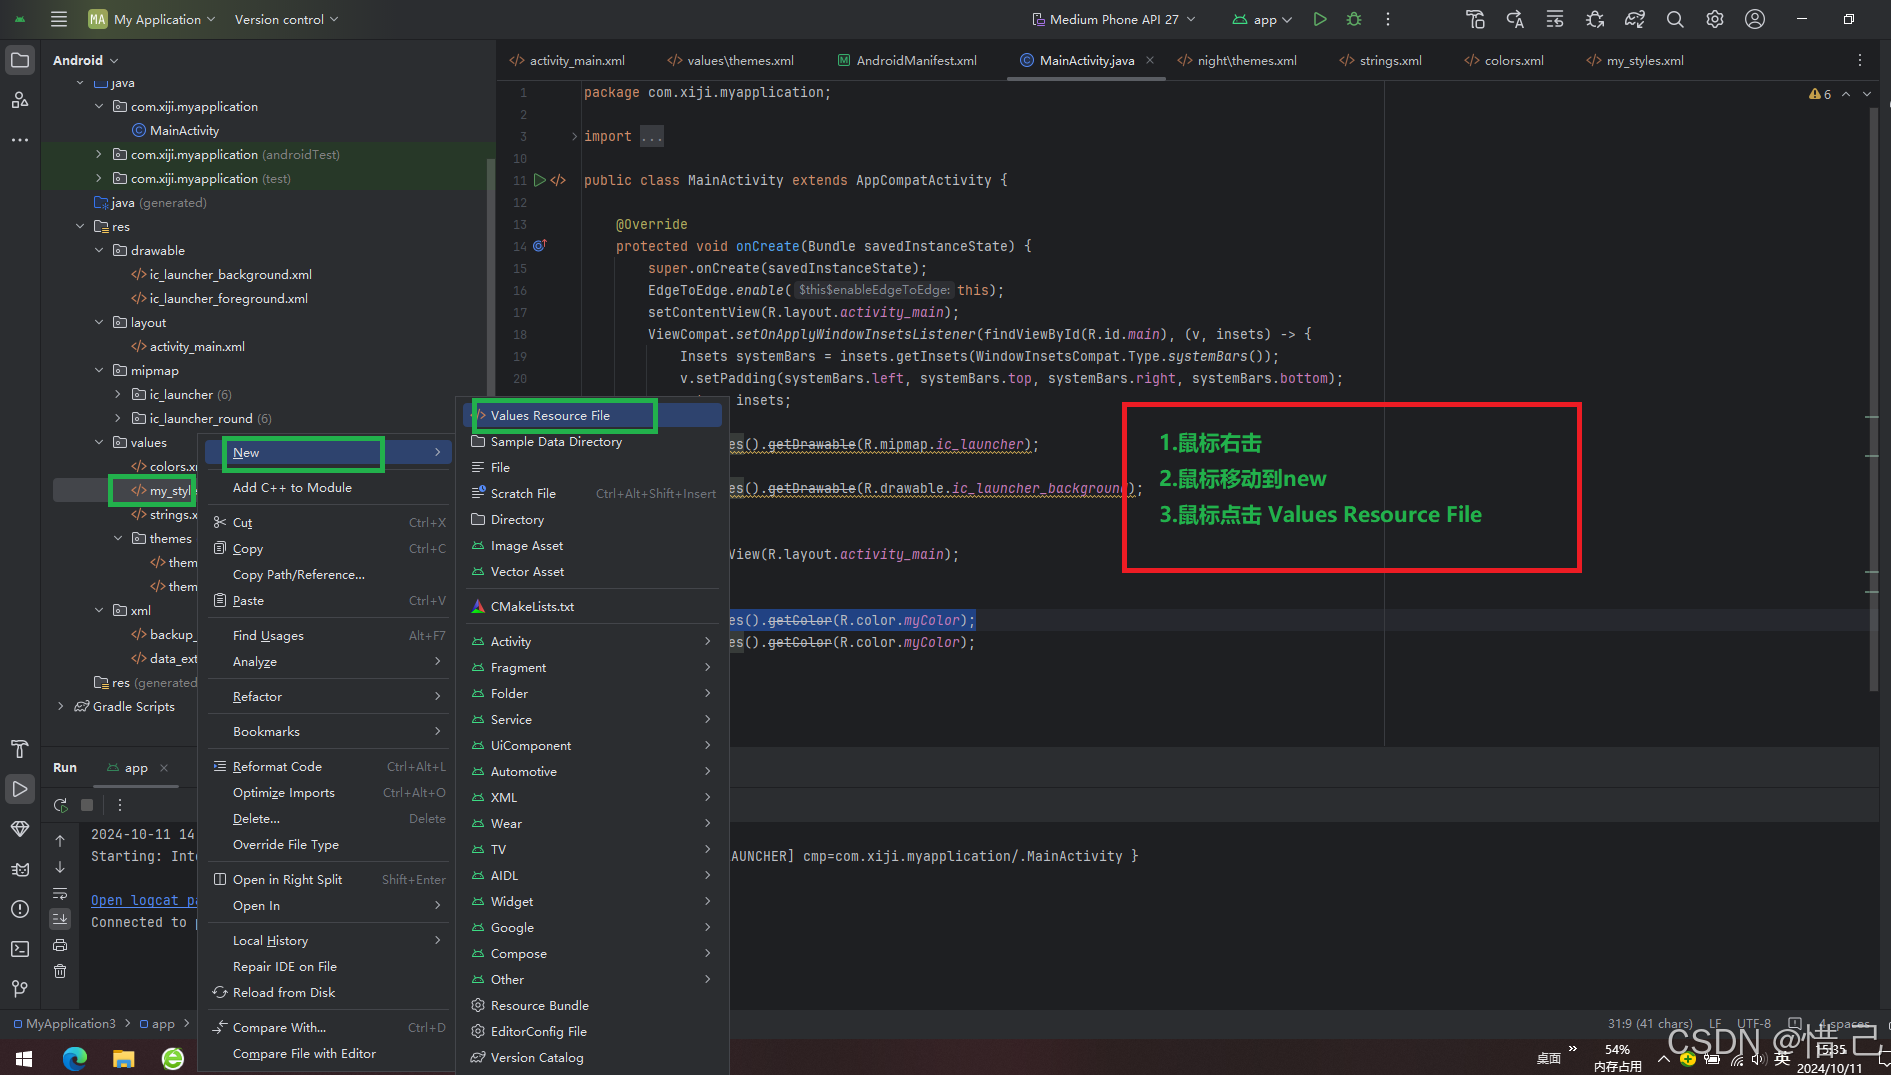
1-创建dimens.xml文件
鼠标右键===>new === >values==>Resource File
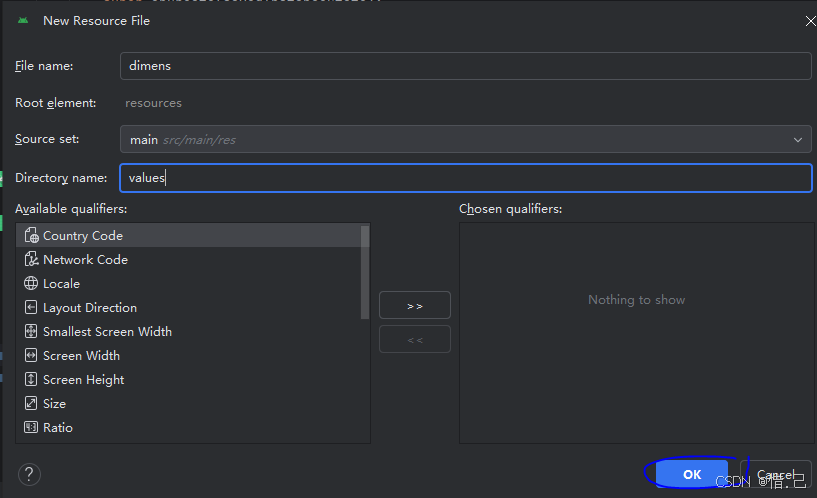
<?xml version="1.0" encoding="utf-8"?>
<resources>
    \<dimen name="activity_horizontal_margin"\>16dp\</dimen\>
</resources>
2-java中使用
//使用样式资源
getResources().getDimension(R.dimen.activity_horizontal_margin);
3-xml文件中使用
@dimen/尺寸资源名字
6.附录:
android的下载地址
android-studio-2024.1.1.12-windows.exe官方版下载丨最新版下载丨绿色版下载丨APP下载-123云盘