**前置知识:
1、线性层和非线性激活函数:
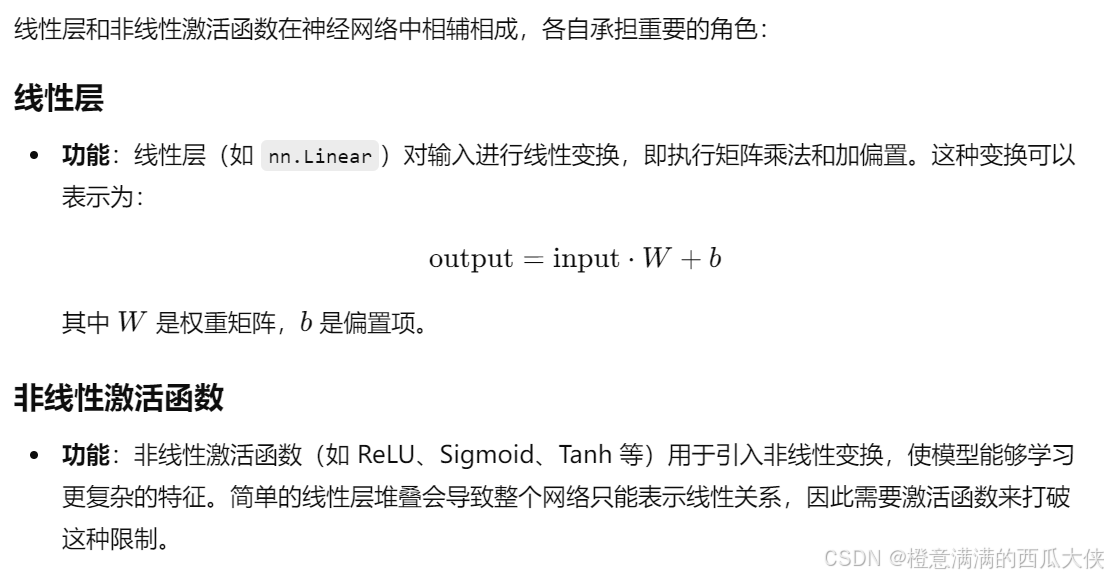
组合使用:通常,线性层后面会接一个非线性激活函数。这样,网络先做一次简单的转换(线性),然后用激活函数(非线性)添加一些复杂性。
(即 output = activation(linear(input)) )
2、
- 线性层:执行线性变换。
- 全连接层:是一种特殊的线性层,所有输入节点与所有输出节点相连。
在实践中,两者常常被视作同义词。
3、linear_layer = nn.Linear(4, 2)
-
输入特征数量:in_features (int) -- size of each input sample
-
输出特征数量:out_features (int) -- size of each output sample
-
偏置:bias (bool) -- If set to
False, the layer will not learn an additive bias. Default:True
(默认True,自动学习并添加偏置参数)
4、
python
import torch
from torch import nn

# 创建一个线性层,输入特征为 4,输出特征为 2
linear_layer = nn.Linear(4, 2)

# 创建一个示例输入,batch_size 为 3
input_tensor = torch.tensor([[1.0, 2.0, 3.0, 4.0],
                              [5.0, 6.0, 7.0, 8.0],
                              [9.0, 10.0, 11.0, 12.0]])

# 前向传播
output_tensor = linear_layer(input_tensor)

# 打印输出
print("Output Tensor:")
print(output_tensor)

#tensor([[ 1.3422, -1.4755],
#        [ 2.4565, -2.6873],
#        [ 3.5708, -3.8991]], grad_fn=<AddmmBackward0>)
这里,input_tensor形状为(3,4),意味着有3个样本(batch_size),每个样本有4个特征
(输入张量的每一列通常代表一个特征)
output_tensor形状为(3,4),意味着还是3个样本,但是特征数变成了2
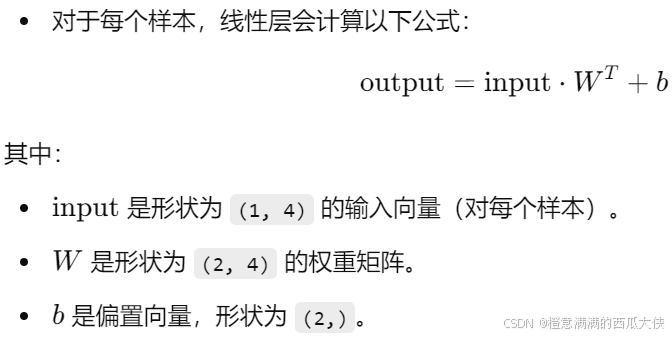
5、具体如何计算,将 4 个输入特征转换为 2 个输出特征:
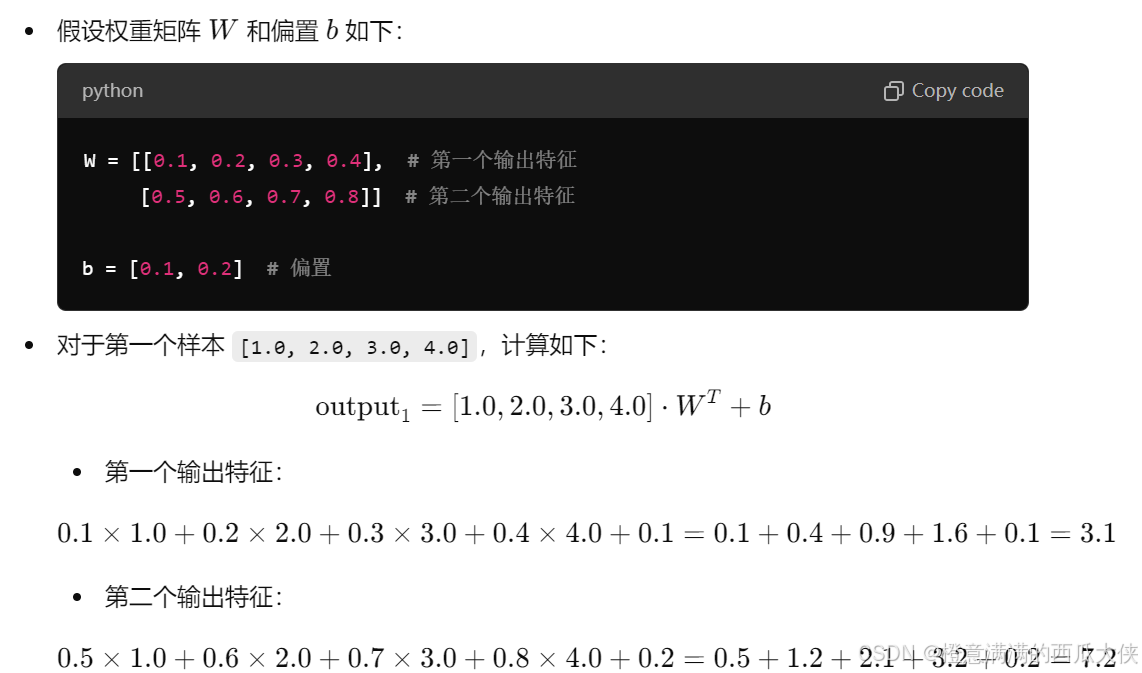
经过这样的计算,输入的 4 个特征被转换为 2 个特征,得到的输出张量将是:
output = \[3.1, 7.2, # 第一个样本的输出
..., # 第二个样本的输出
...] # 第三个样本的输出
6、关于权重和偏置:
在 PyTorch 中,线性层的权重矩阵 W 和偏置 b 是在模型创建时自动初始化的。
这些参数的具体值是在模型训练之前随机生成的,通常使用某种分布(如均匀分布或正态分布)进行初始化。
在训练过程中,权重和偏置会自动调整。(向前传播------计算损失------反向传播------更新参数)
**代码:
python
import torch
import torchvision.datasets
from torch import nn
from torch.nn import Linear
from torch.utils.data import DataLoader

test_set=torchvision.datasets.CIFAR10(root="./dataset",train=False,transform=torchvision.transforms.ToTensor(),download=True)
dataloader=DataLoader(test_set,batch_size=64,drop_last=True)

class Xigua(nn.Module):
    def __init__(self):
        super().__init__()
        self.linear1=Linear(196608,10)

    def forward(self,input):
        output=self.linear1(input)
        return output
xigua1=Xigua()

for data in dataloader:
    imgs,targets=data #torch.Size([64, 3, 32, 32])
    # input=torch.reshape(imgs,(1,1,1,-1))#torch.Size([1, 1, 1, 196608])
    input=torch.flatten(imgs) #flatten展开成一行(仅一维)
    print(input.shape)
    output=xigua1(input)
    print(output)