1.加载并准备 Fashion-MNIST 数据集
import torch
from torch import nn
from d2l import torch as d2l

batch_size = 256
train_iter, test_iter = d2l.load_data_fashion_mnist(batch_size)
2.实现具有单隐藏层的多层感知机,包含256个隐藏单元
num_inputs, num_outputs, num_hiddens = 784, 10, 256

W1 = nn.Parameter(torch.randn(
    num_inputs, num_hiddens, requires_grad=True) * 0.01)
b1 = nn.Parameter(torch.zeros(num_hiddens, requires_grad=True))
W2 = nn.Parameter(torch.randn(
    num_hiddens, num_outputs, requires_grad=True) * 0.01)
b2 = nn.Parameter(torch.zeros(num_outputs, requires_grad=True))

params = [W1, b1, W2, b2]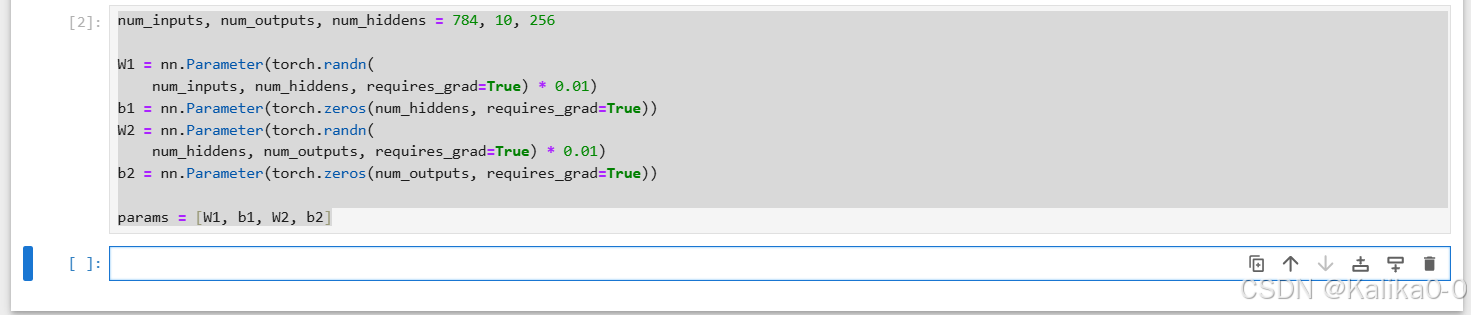
3.实现ReLU激活函数
def relu(X):
    a = torch.zeros_like(X)
    return torch.max(X, a)
4.使用reshape将每个二维图像转换为长度为num_inputs的向量
def net(X):
    X = X.reshape((-1, num_inputs))
    H = relu(X@W1 + b1)
    return (H@W2 + b2)

loss = nn.CrossEntropyLoss(reduction='none')
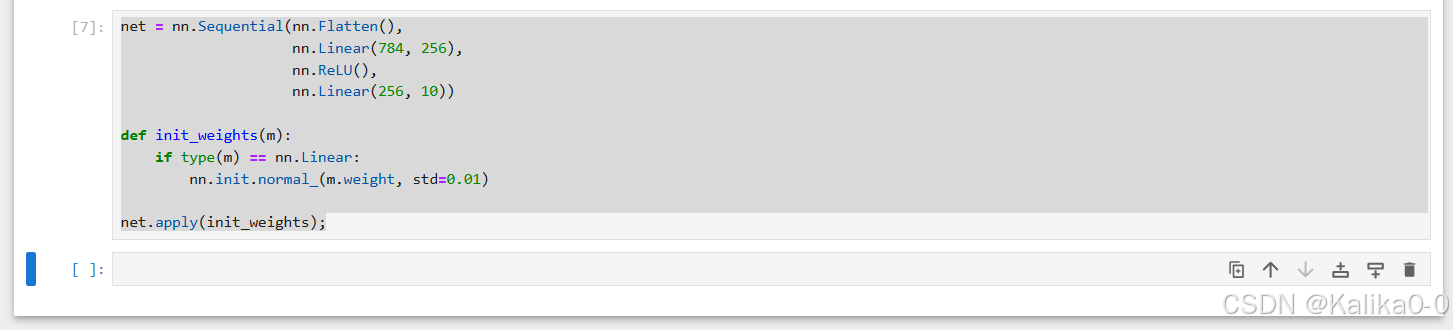
5.隐藏层包含256个隐藏单元,并使用了ReLU激活函数
net = nn.Sequential(nn.Flatten(),
                    nn.Linear(784, 256),
                    nn.ReLU(),
                    nn.Linear(256, 10))

def init_weights(m):
    if type(m) == nn.Linear:
        nn.init.normal_(m.weight, std=0.01)

net.apply(init_weights);