CentOS版本:CentOS 7
Nginx版本:1.24.0
有两种安装方式
一、通过编译源码包安装
编译源码包:.tar.gz或.tar包文件
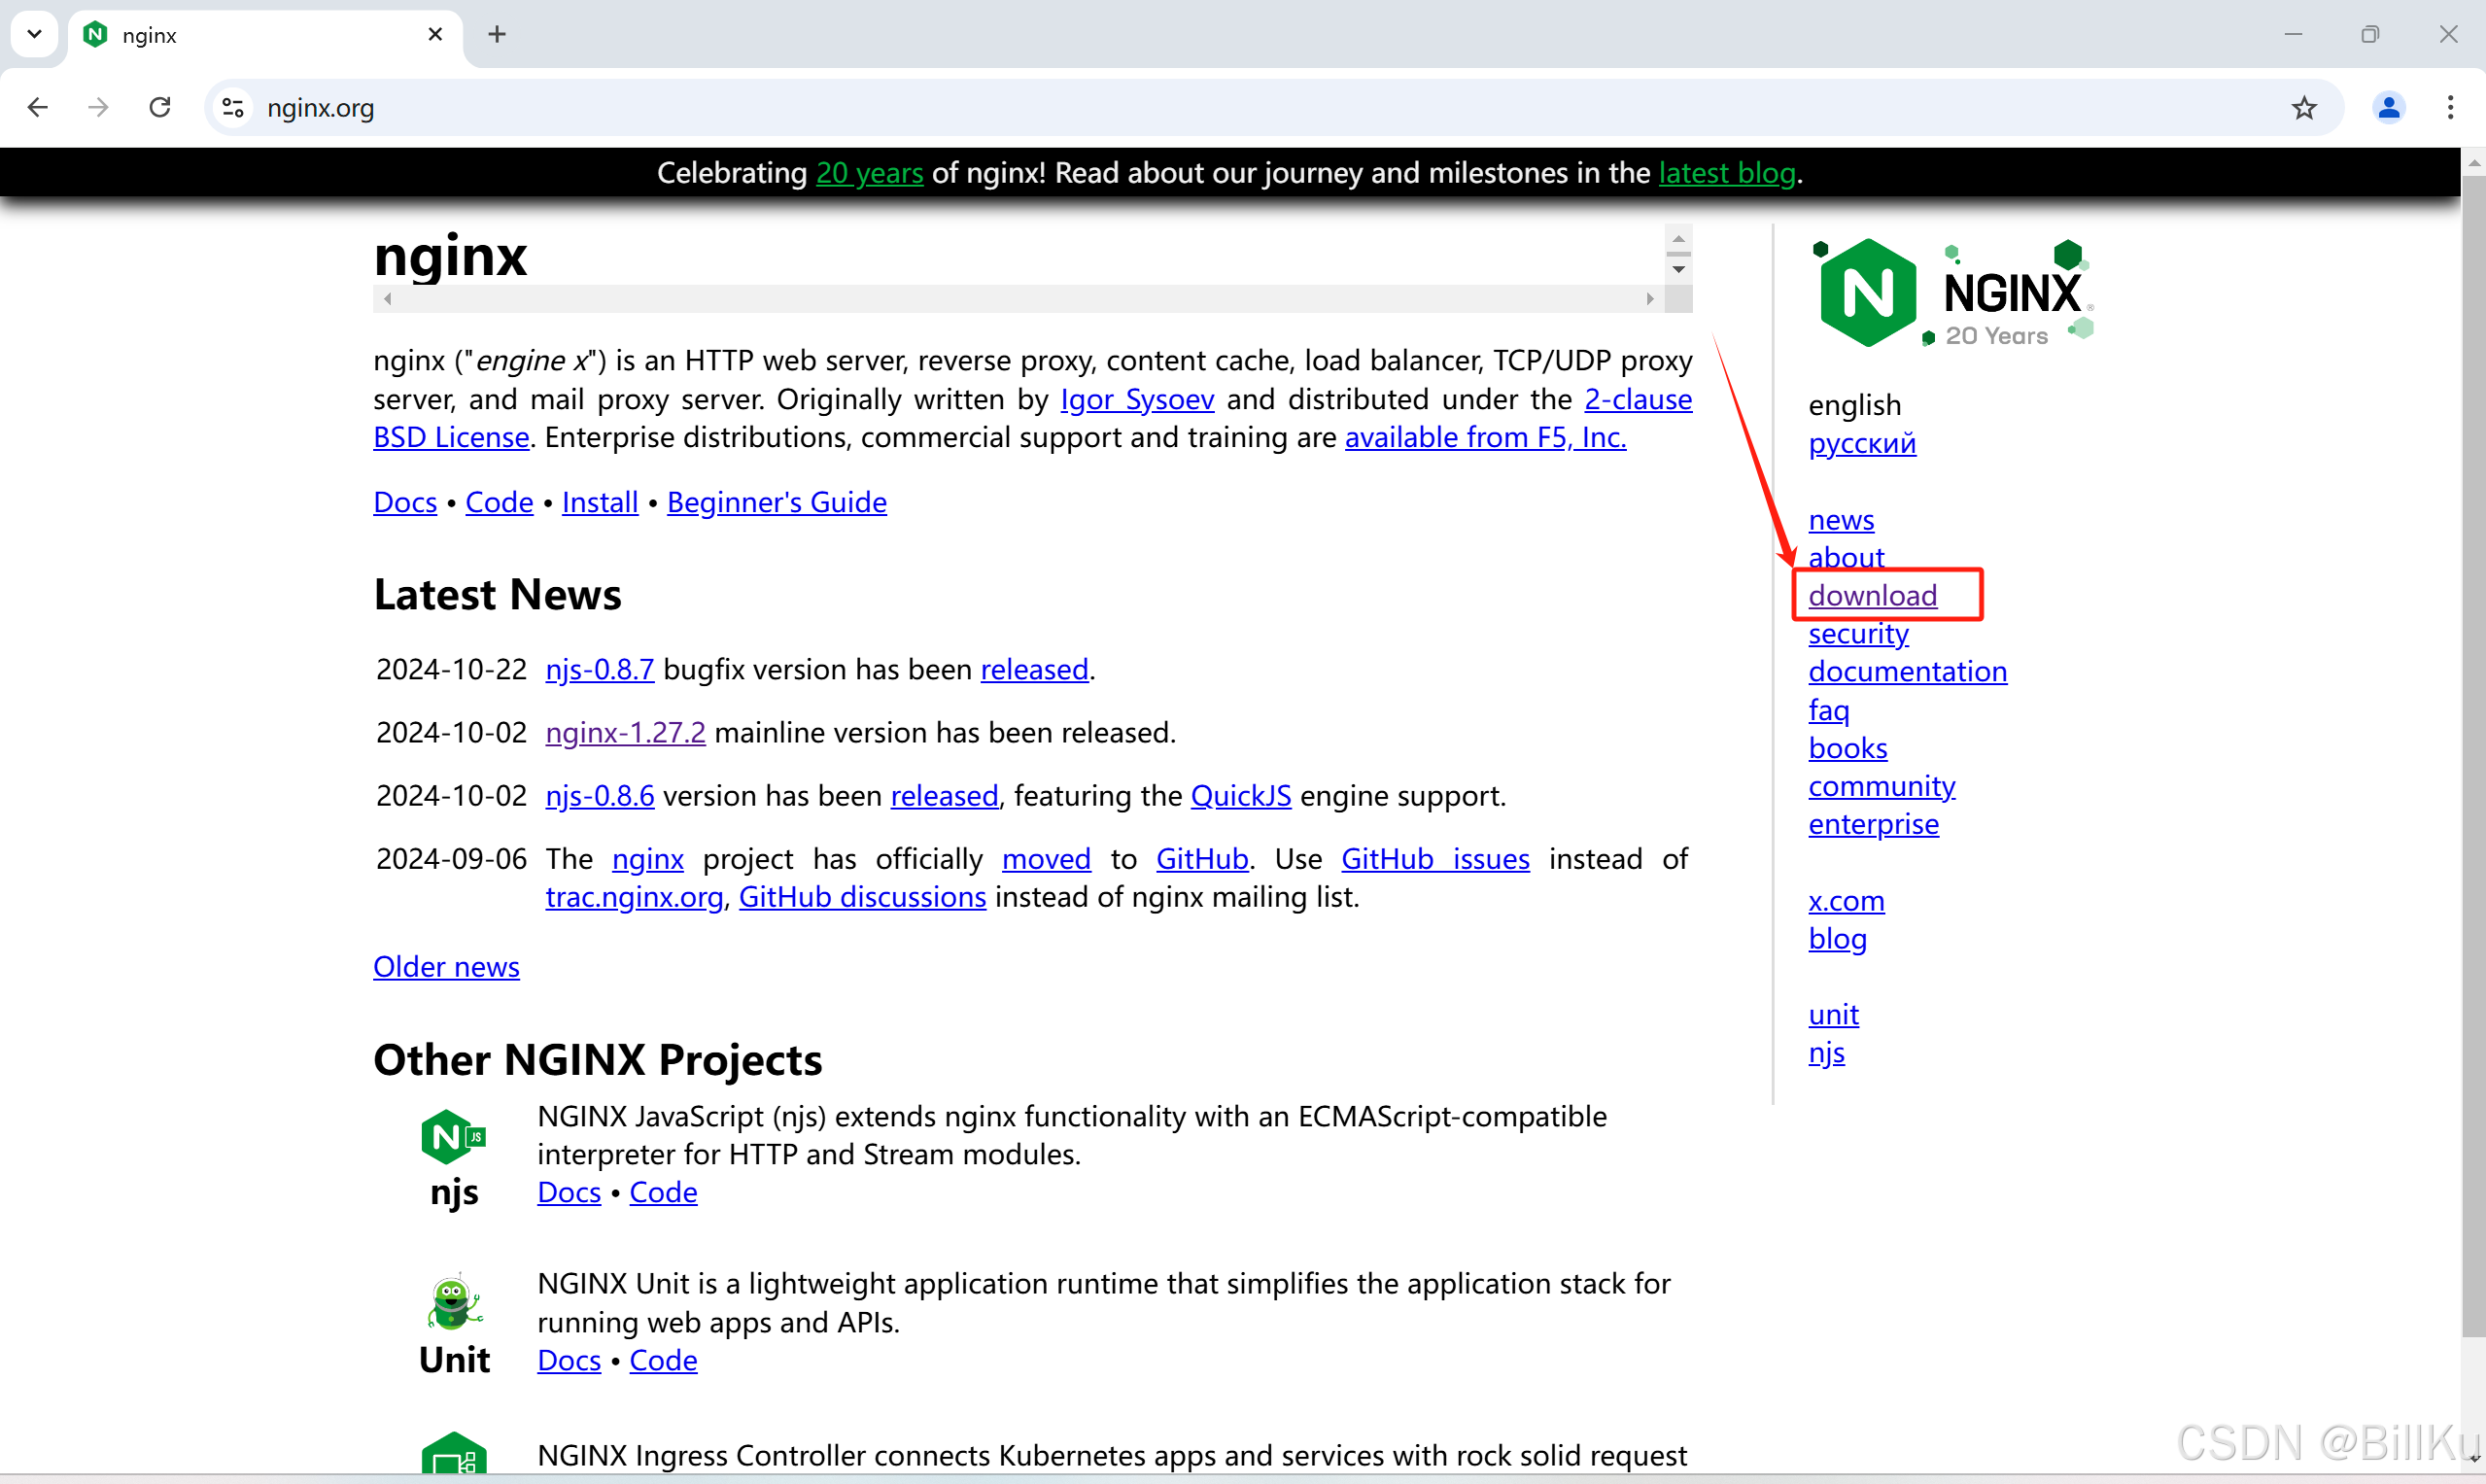
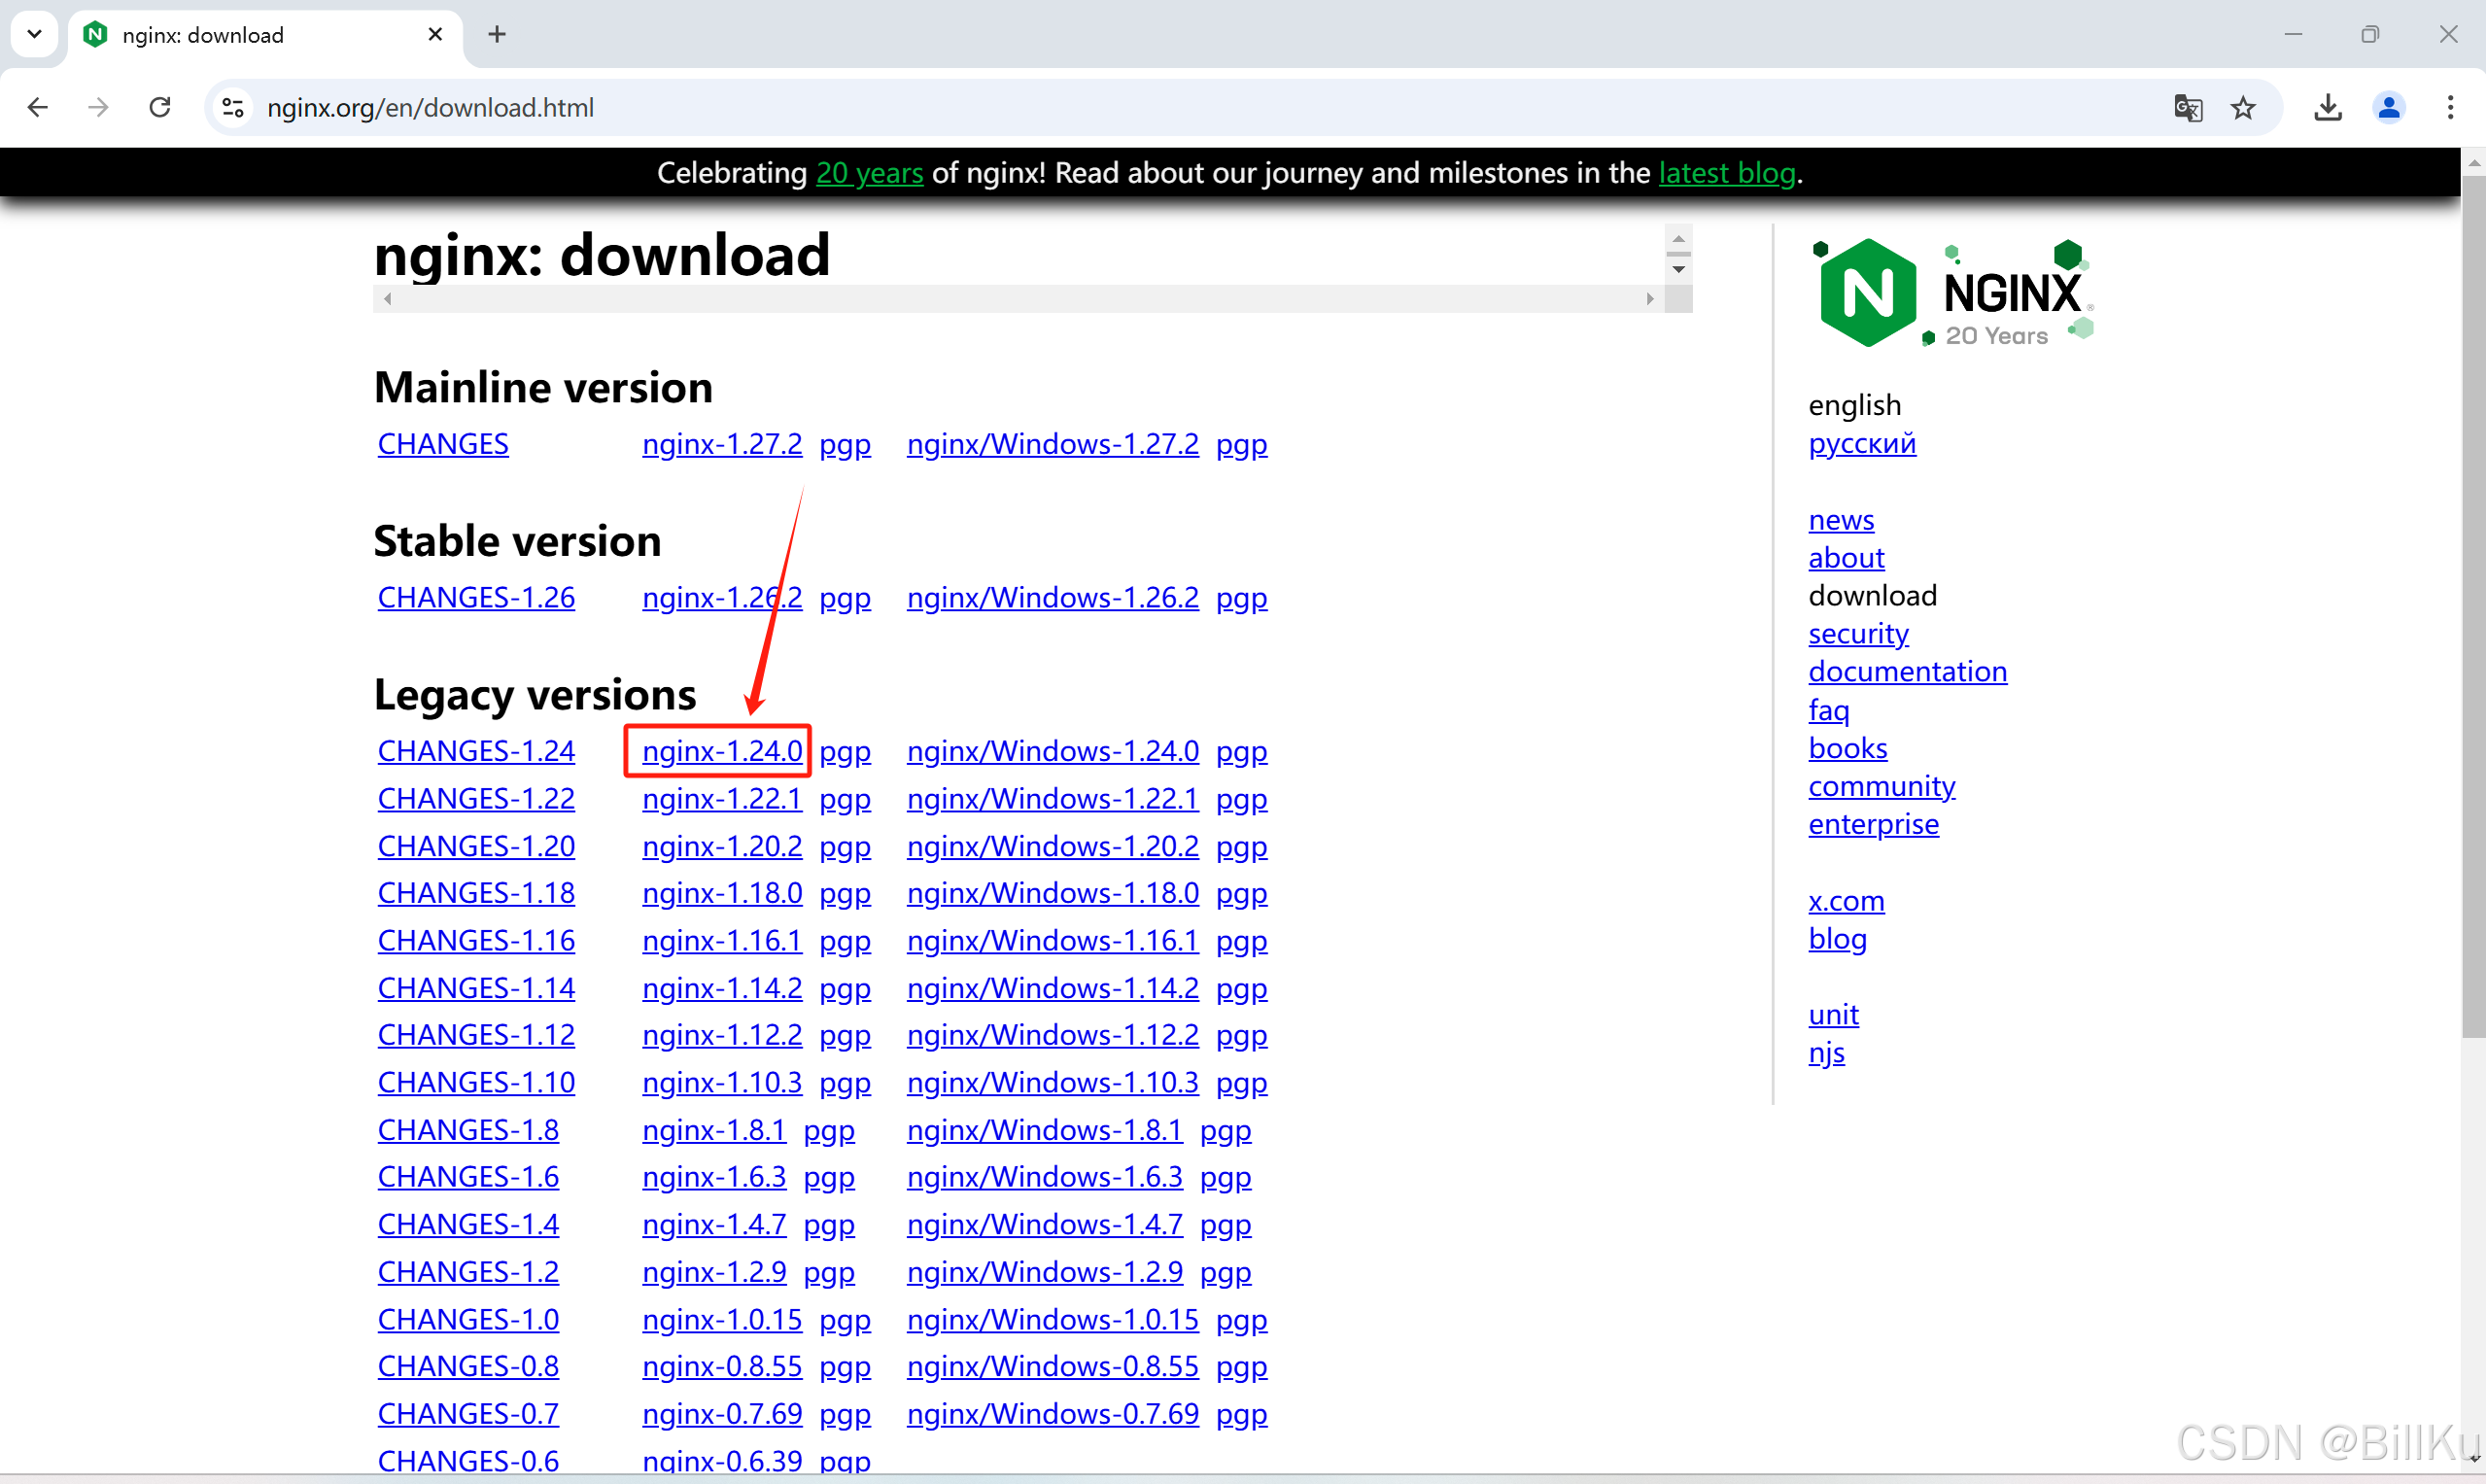
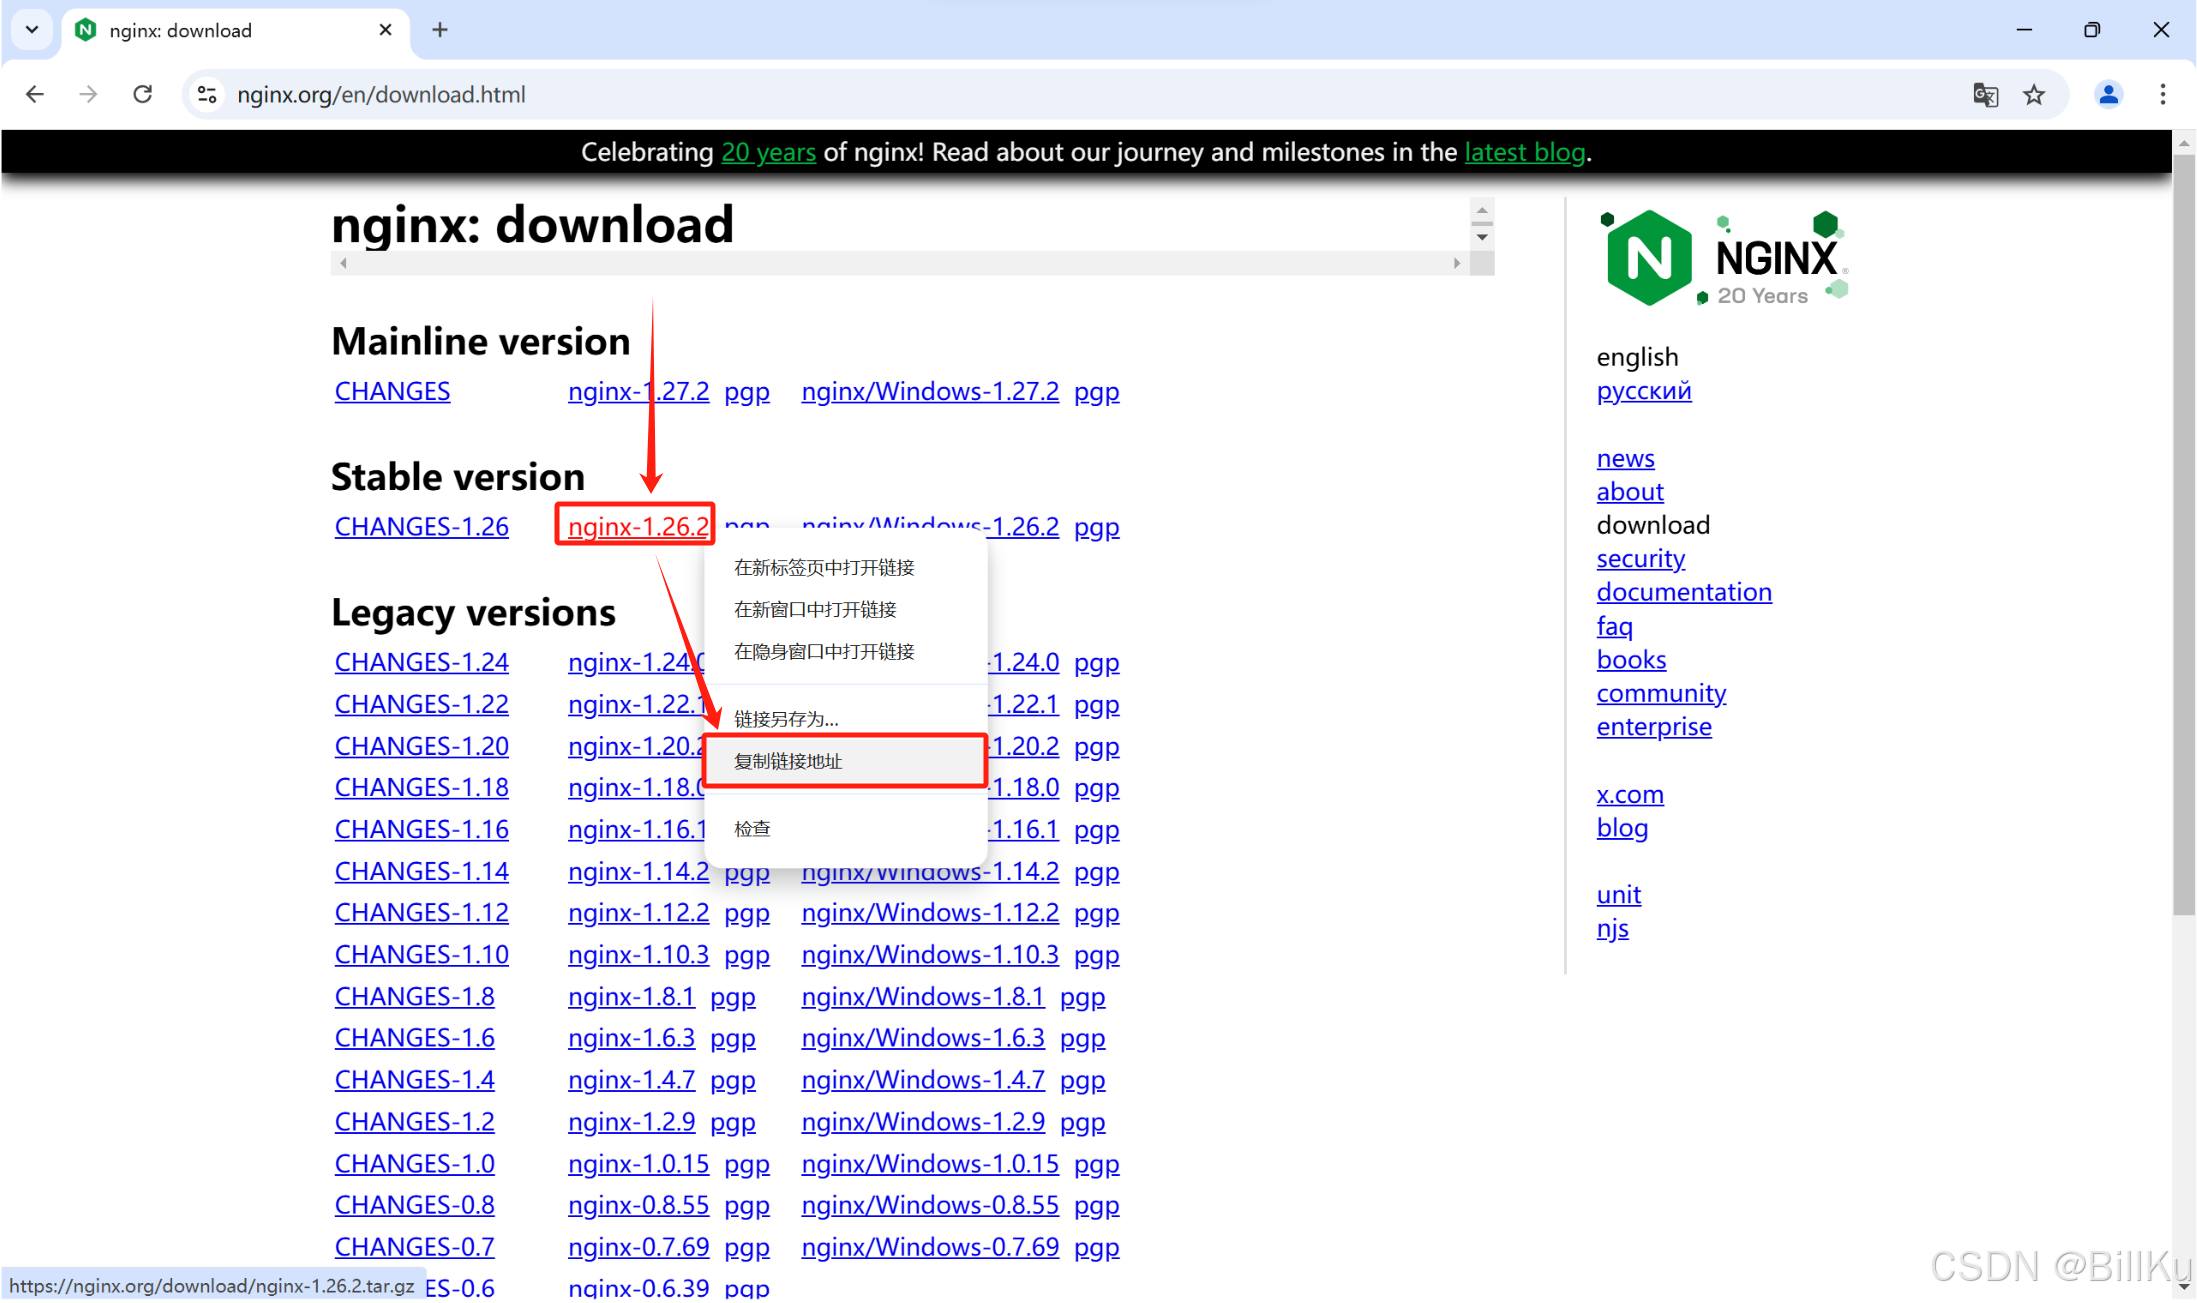
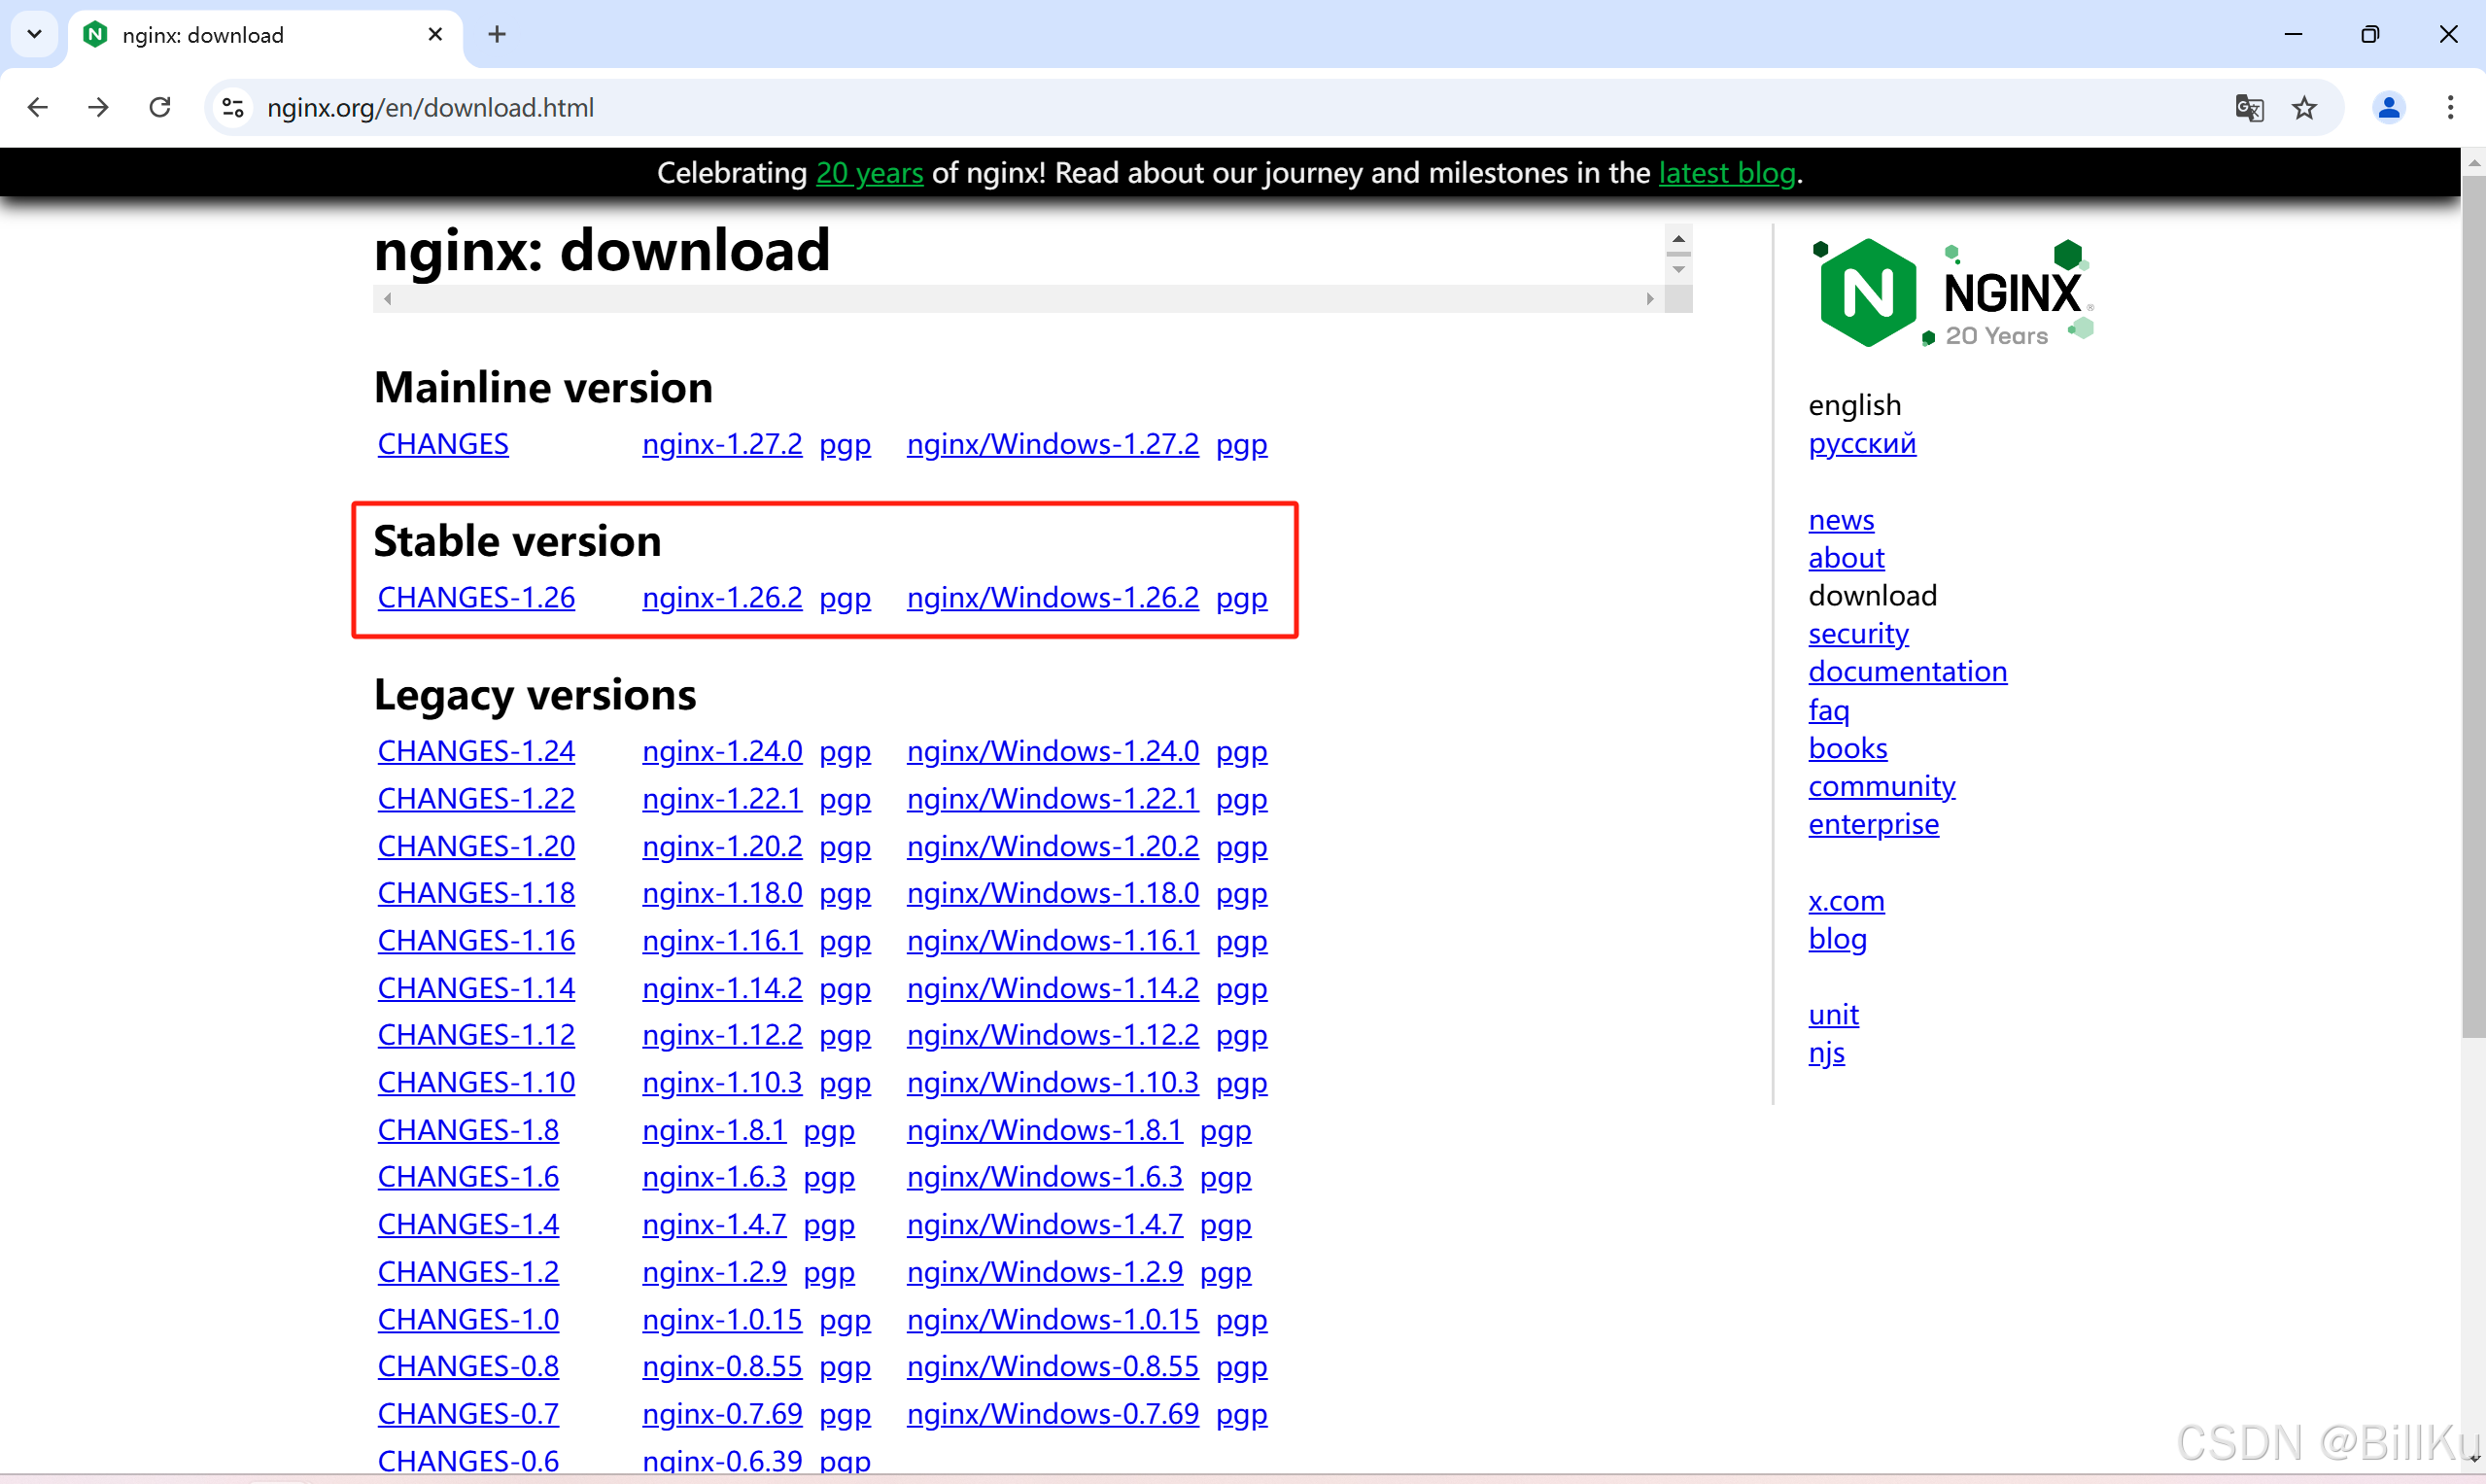
1、下载 Nginx
打开Nginx官网:https://nginx.org/
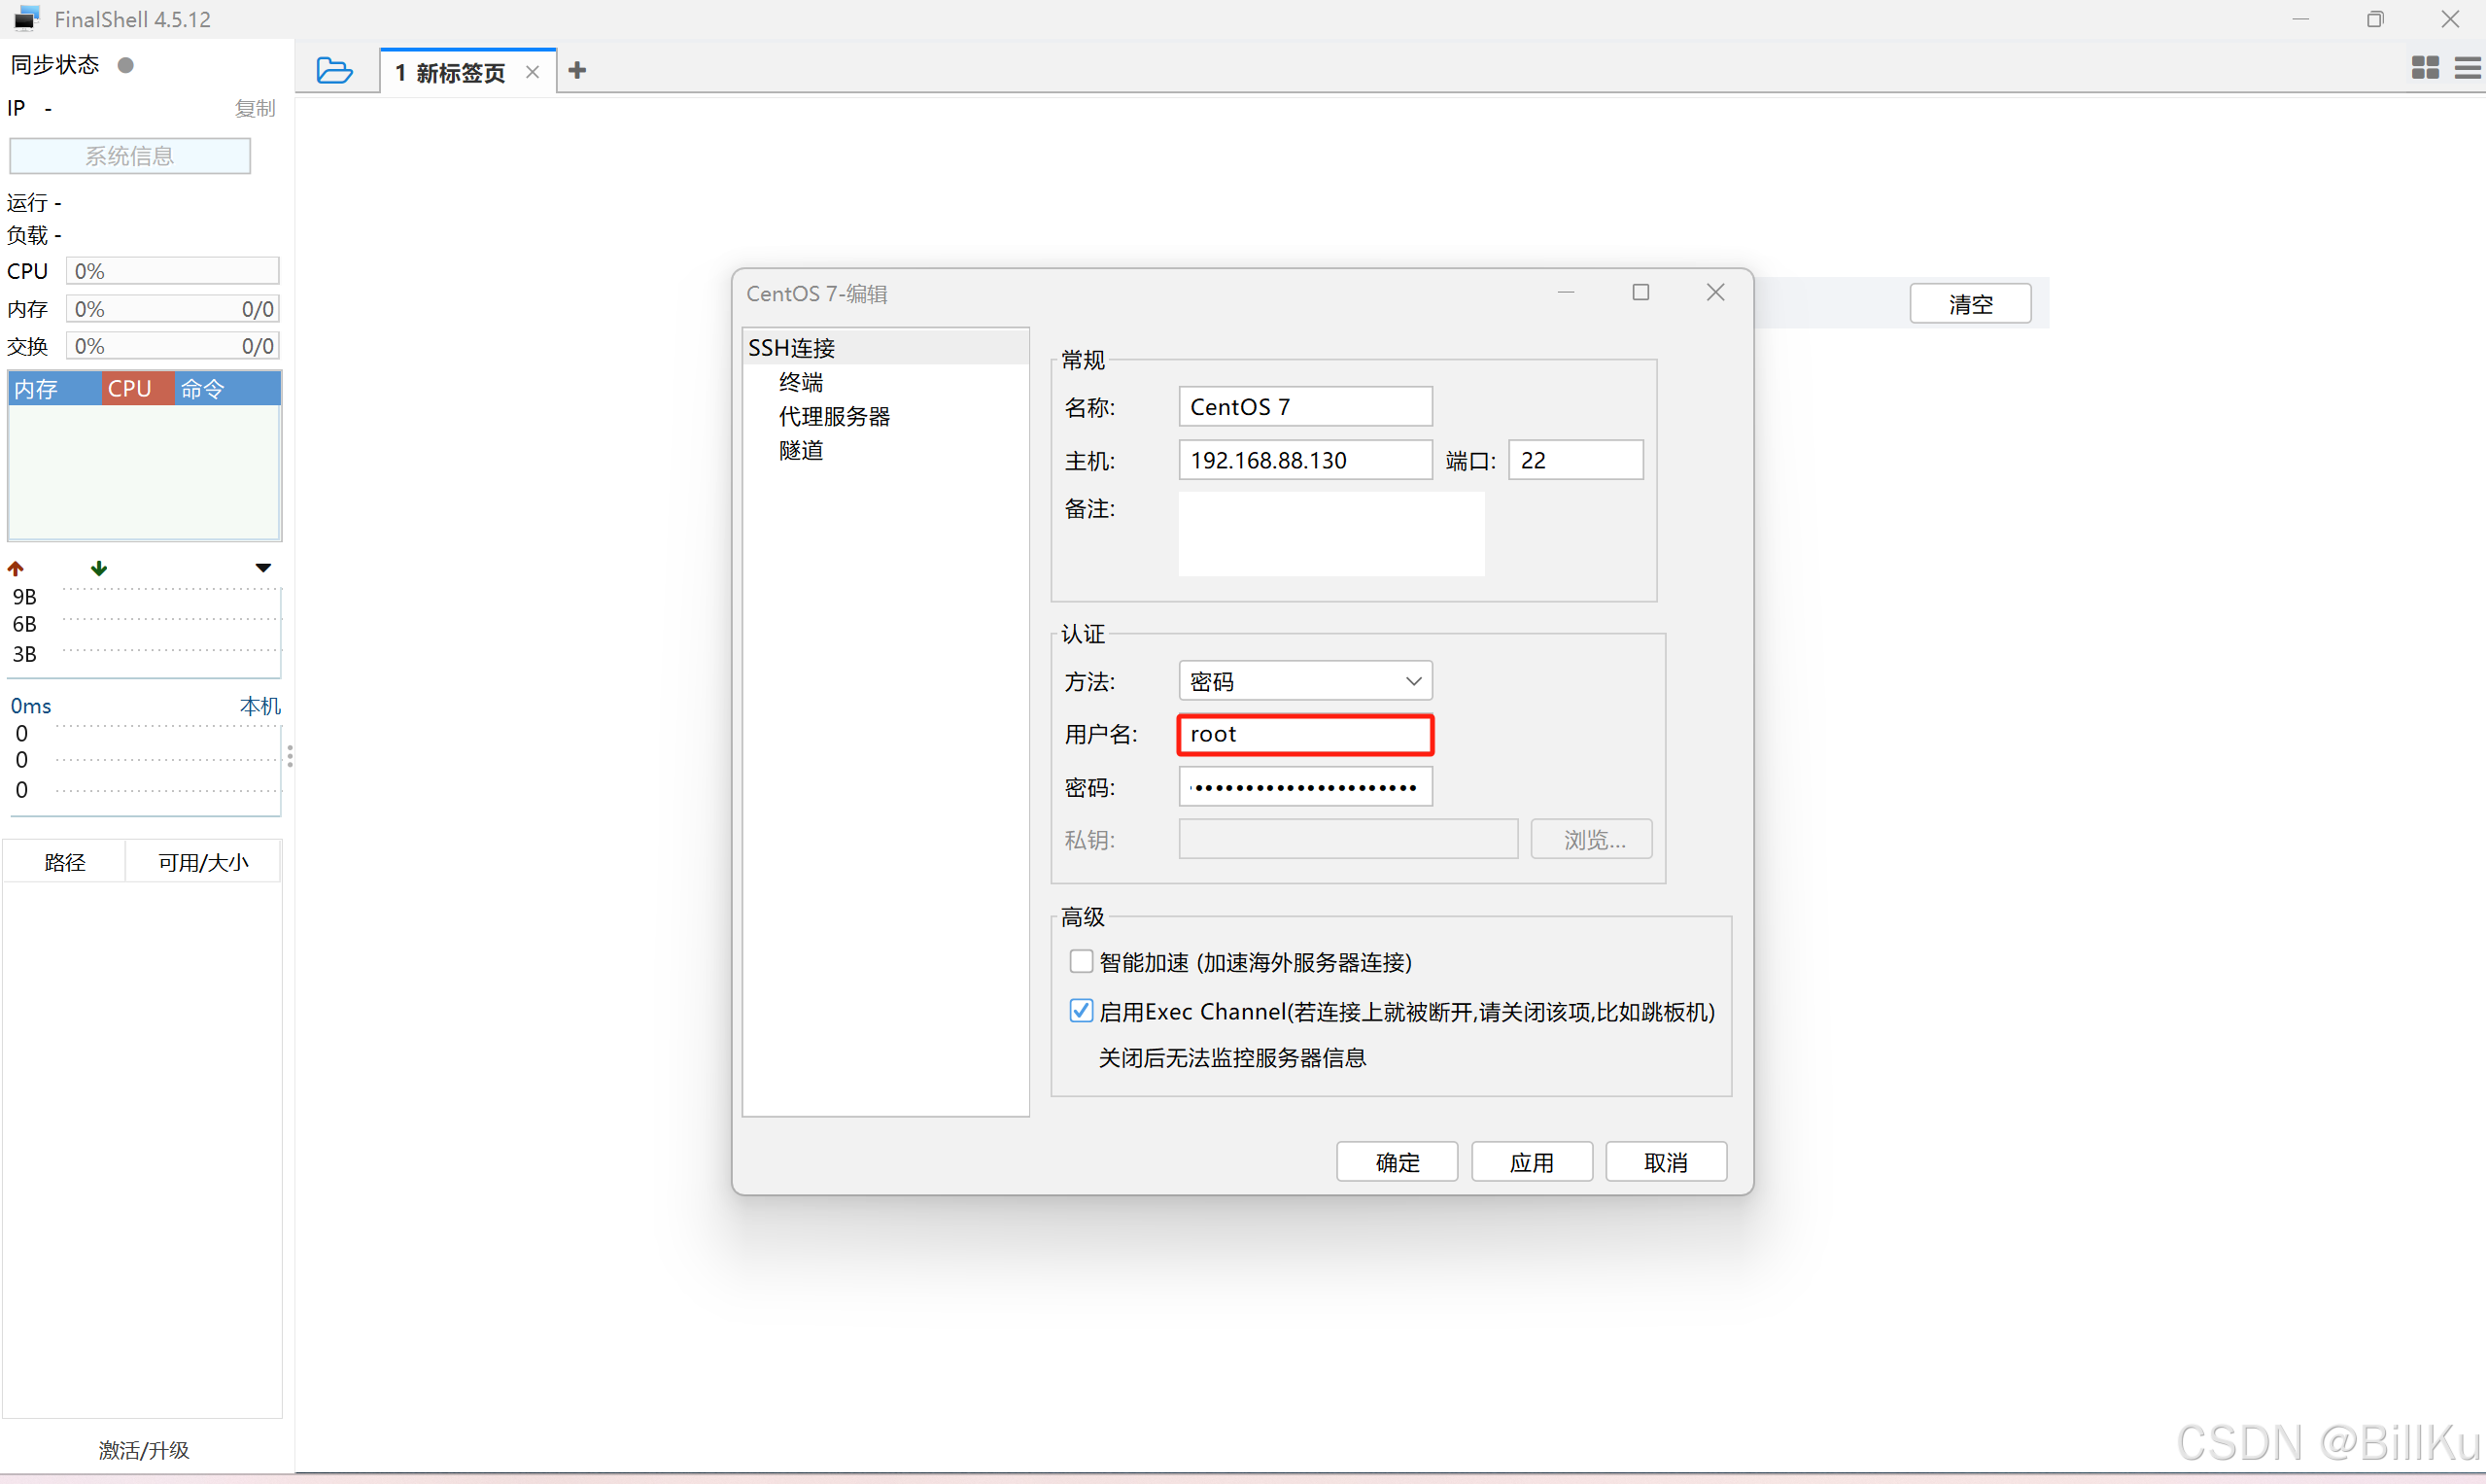
2、上传 Nginx 文件到 CentOS
使用FinalShell远程登录工具,并且使用 root 用户连接登录(注意这里说的root用户连接登录是指这样的)


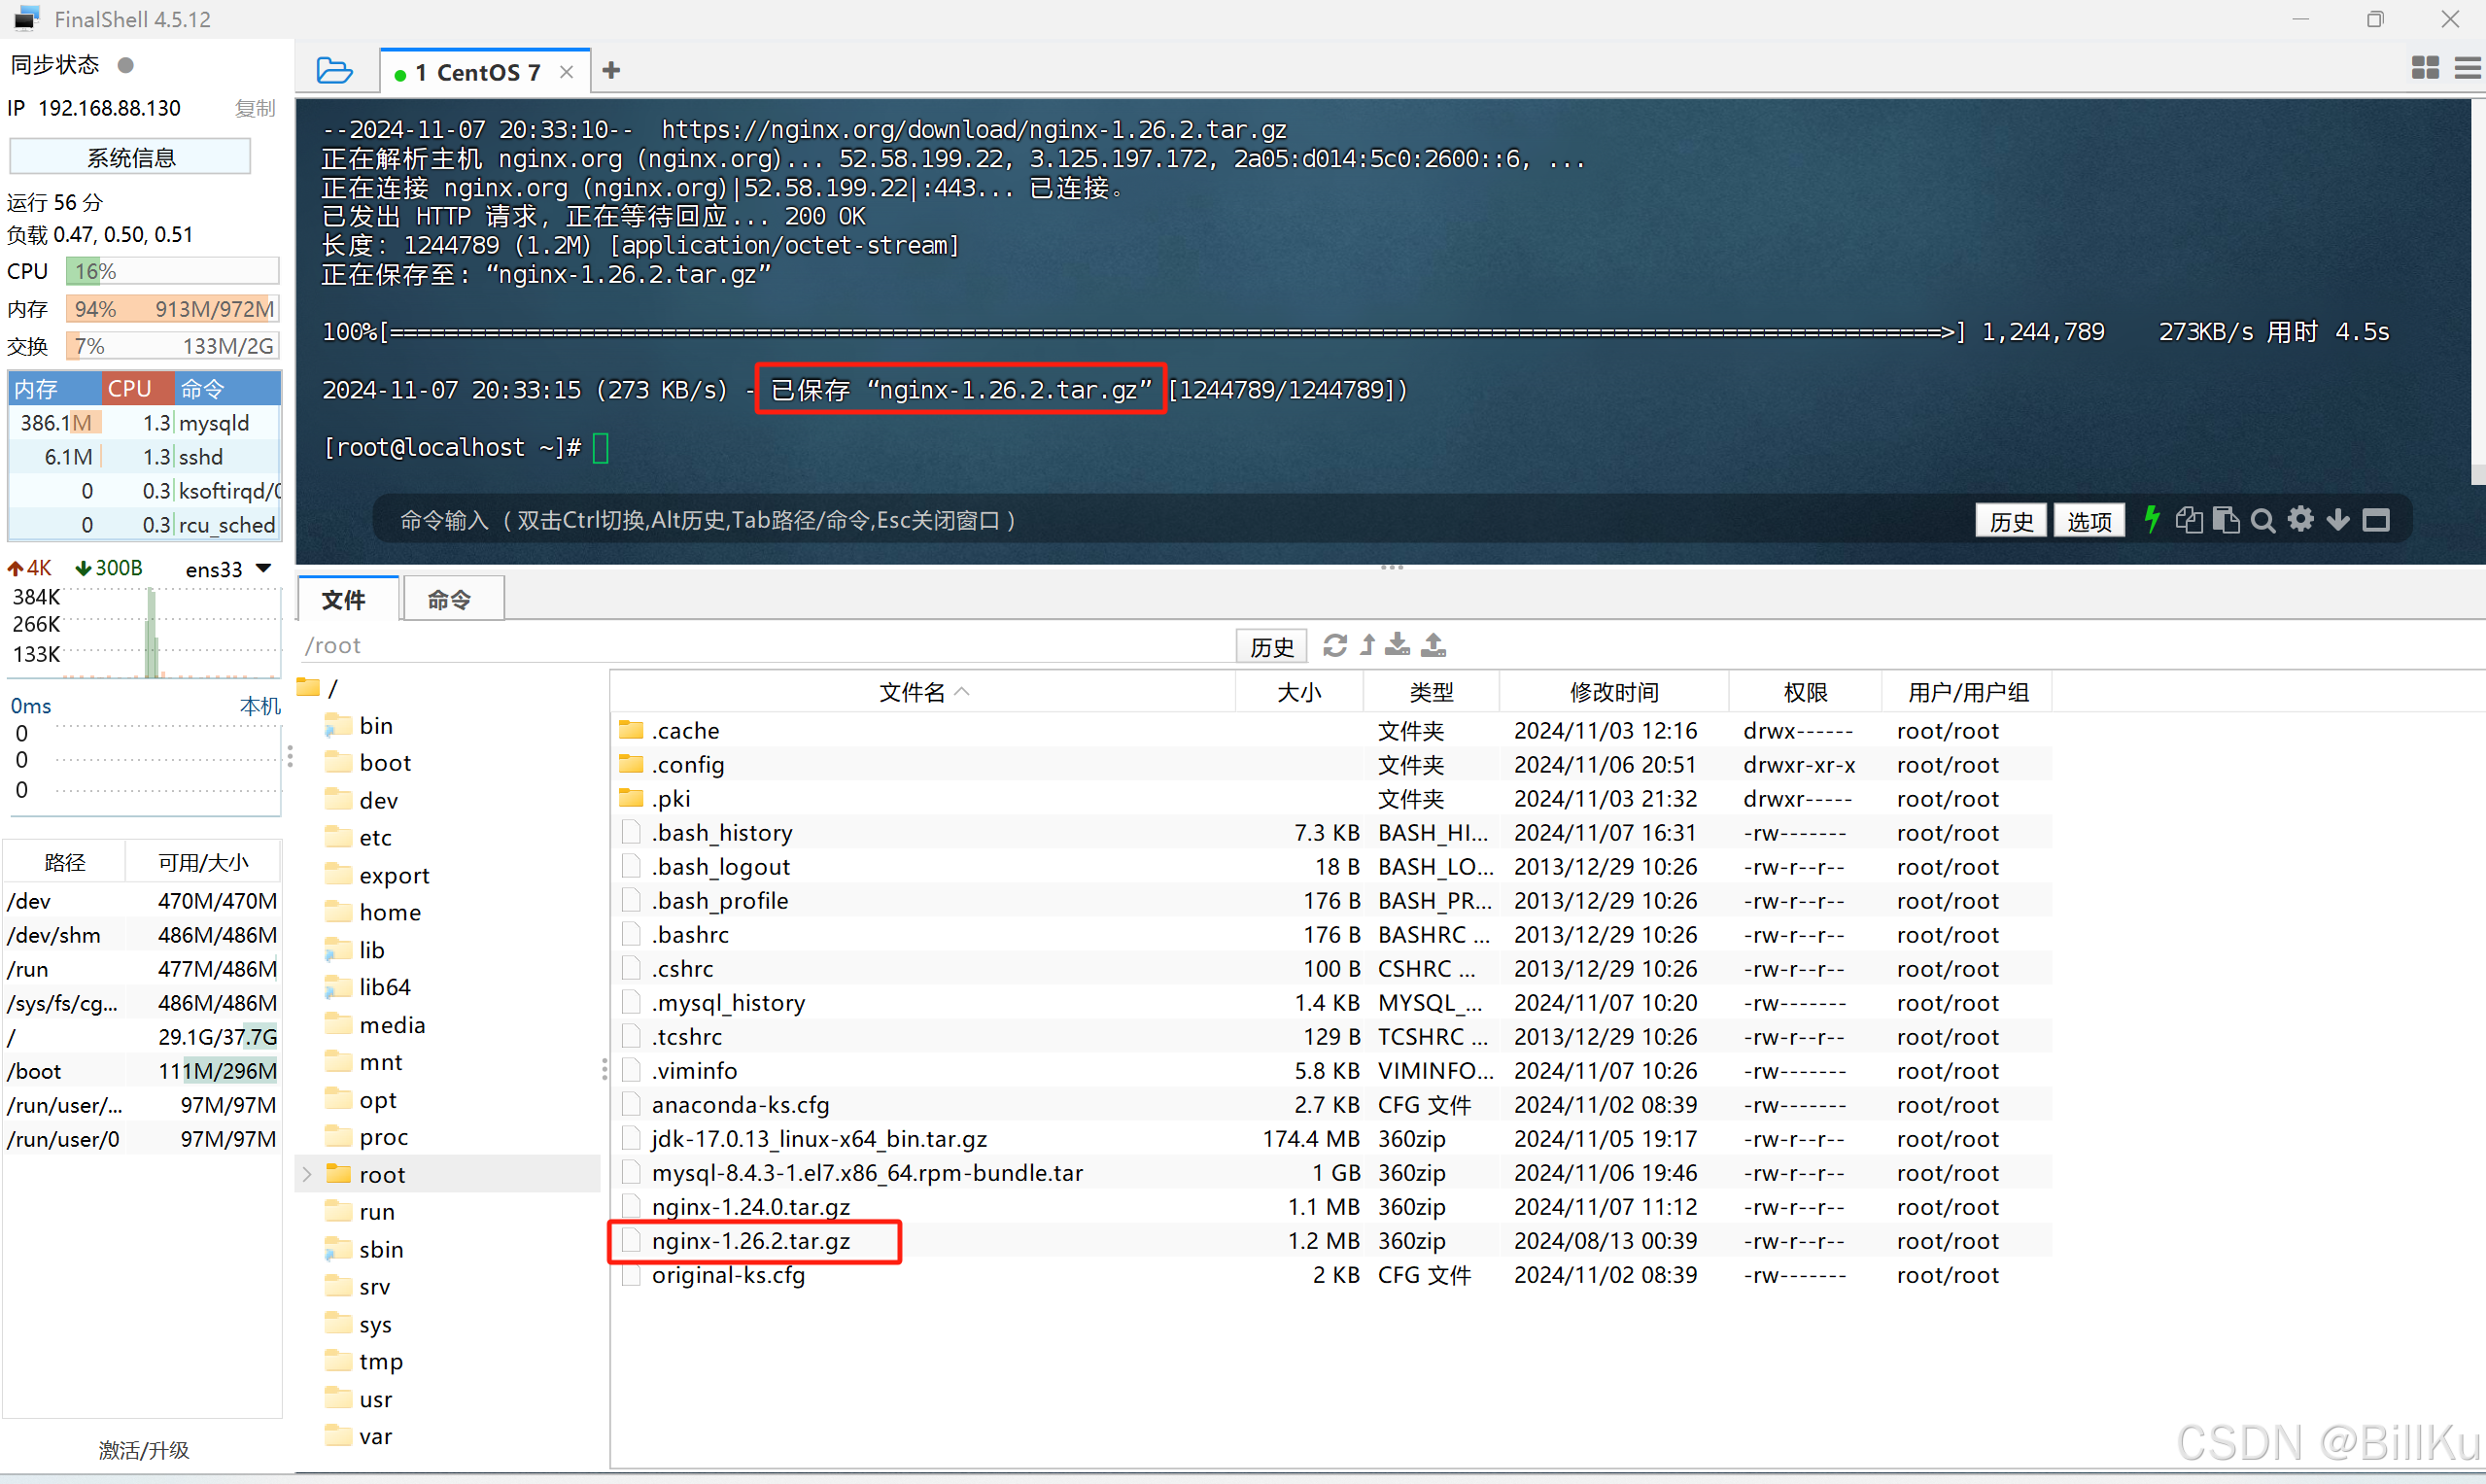
也可以使用 wget 命令直接下载到 CentOS,前提需要安装好 wget
获取下载地址:https://nginx.org/download/nginx-1.26.2.tar.gz
bash
wget https://nginx.org/download/nginx-1.26.2.tar.gz

3、解压 Nginx
创建目录 /export/server
bash
mkdir -p /export/server解压到目录 /export/server,.tar.gz格式的压缩包,使用tar -zxvf,.tar格式的压缩包,使用tar -xvf
bash
tar -zxvf nginx-1.24.0.tar.gz -C /export/server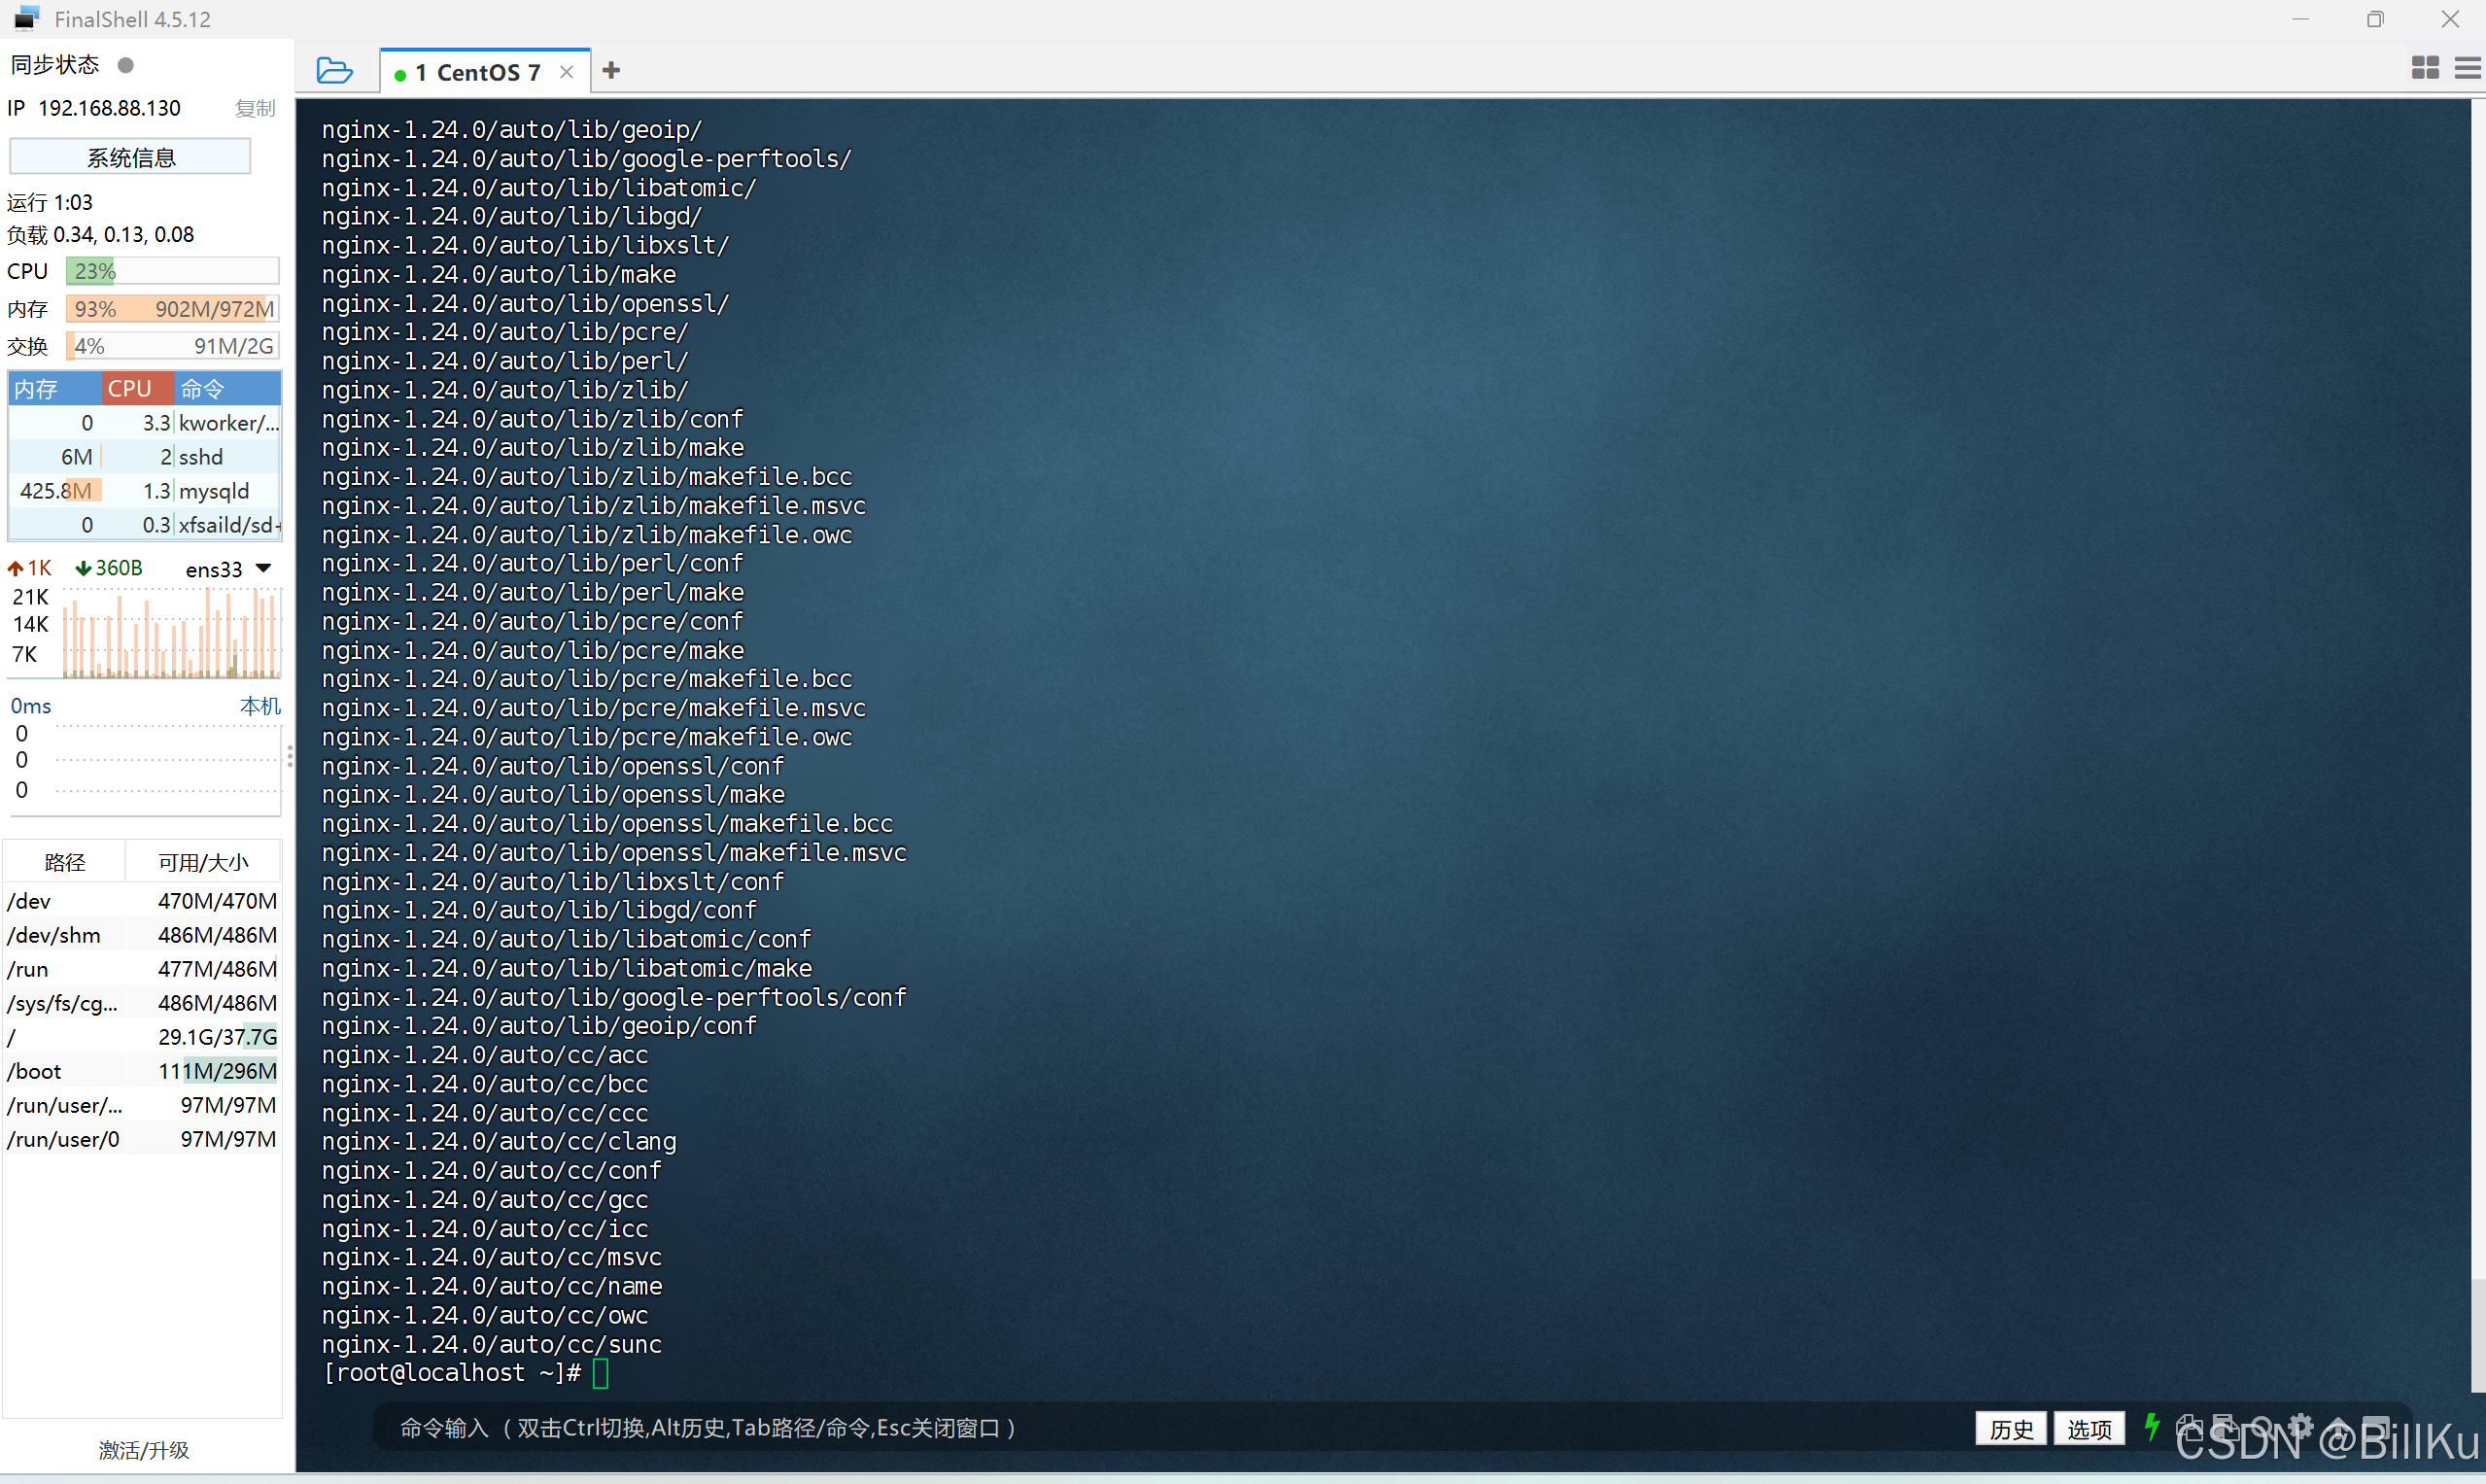
查看解压后情况

4、安装编译环境和依赖
安装 gcc-c++编译器
因为 nginx 是使用C语言开发的,所以需要安装相关的编译环境来对其进行编译安装
bash
yum install gcc-c++

bash
yum install -y openssl openssl-devel
安装pcre
PCRE(Perl Compatible Regular Expressions)是一个用C语言编写的正则表达式函数库,nginx对其有依赖
bash
yum install -y pcre pcre-devel
安装zlib
zlib是一个提供数据压缩的函数库,nginx对其有依赖
bash
yum install -y zlib zlib-devel
5、安装 Nginx
切换到解压后的nginx目录下 /export/server/nginx-1.24.0
bash
cd /export/server/nginx-1.24.0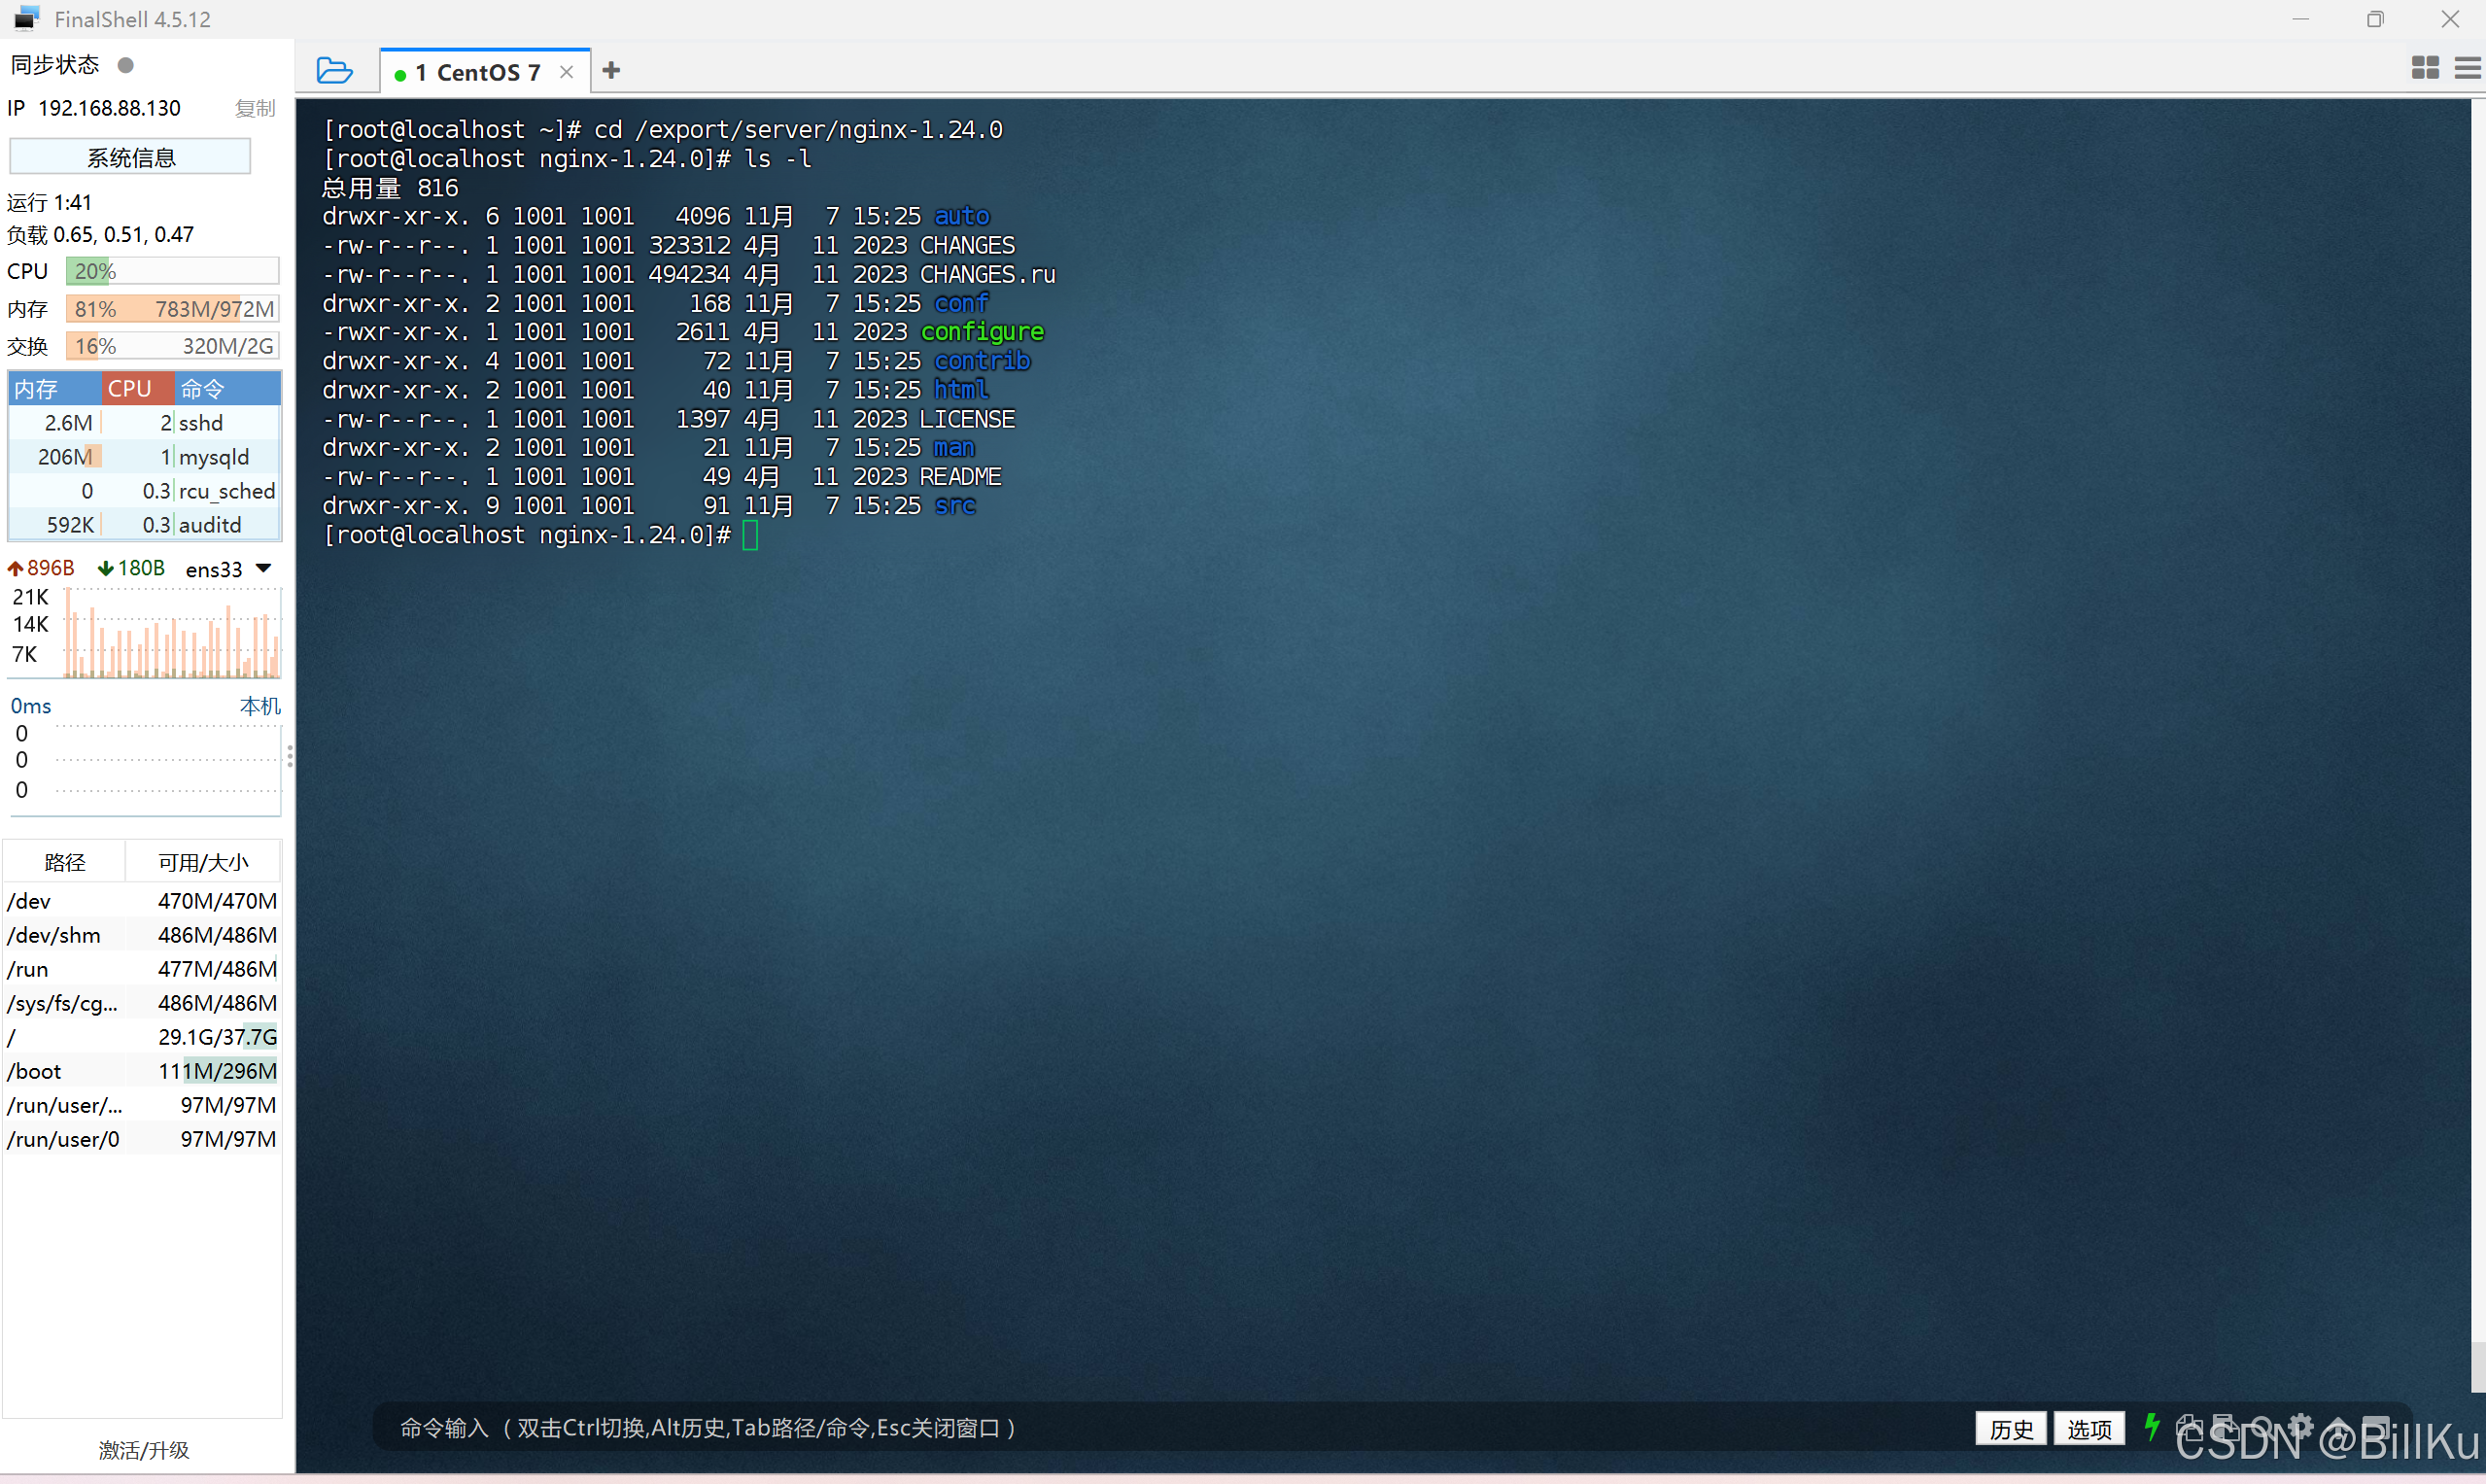
配置安装目录
bash
./configure --prefix=/export/server/nginx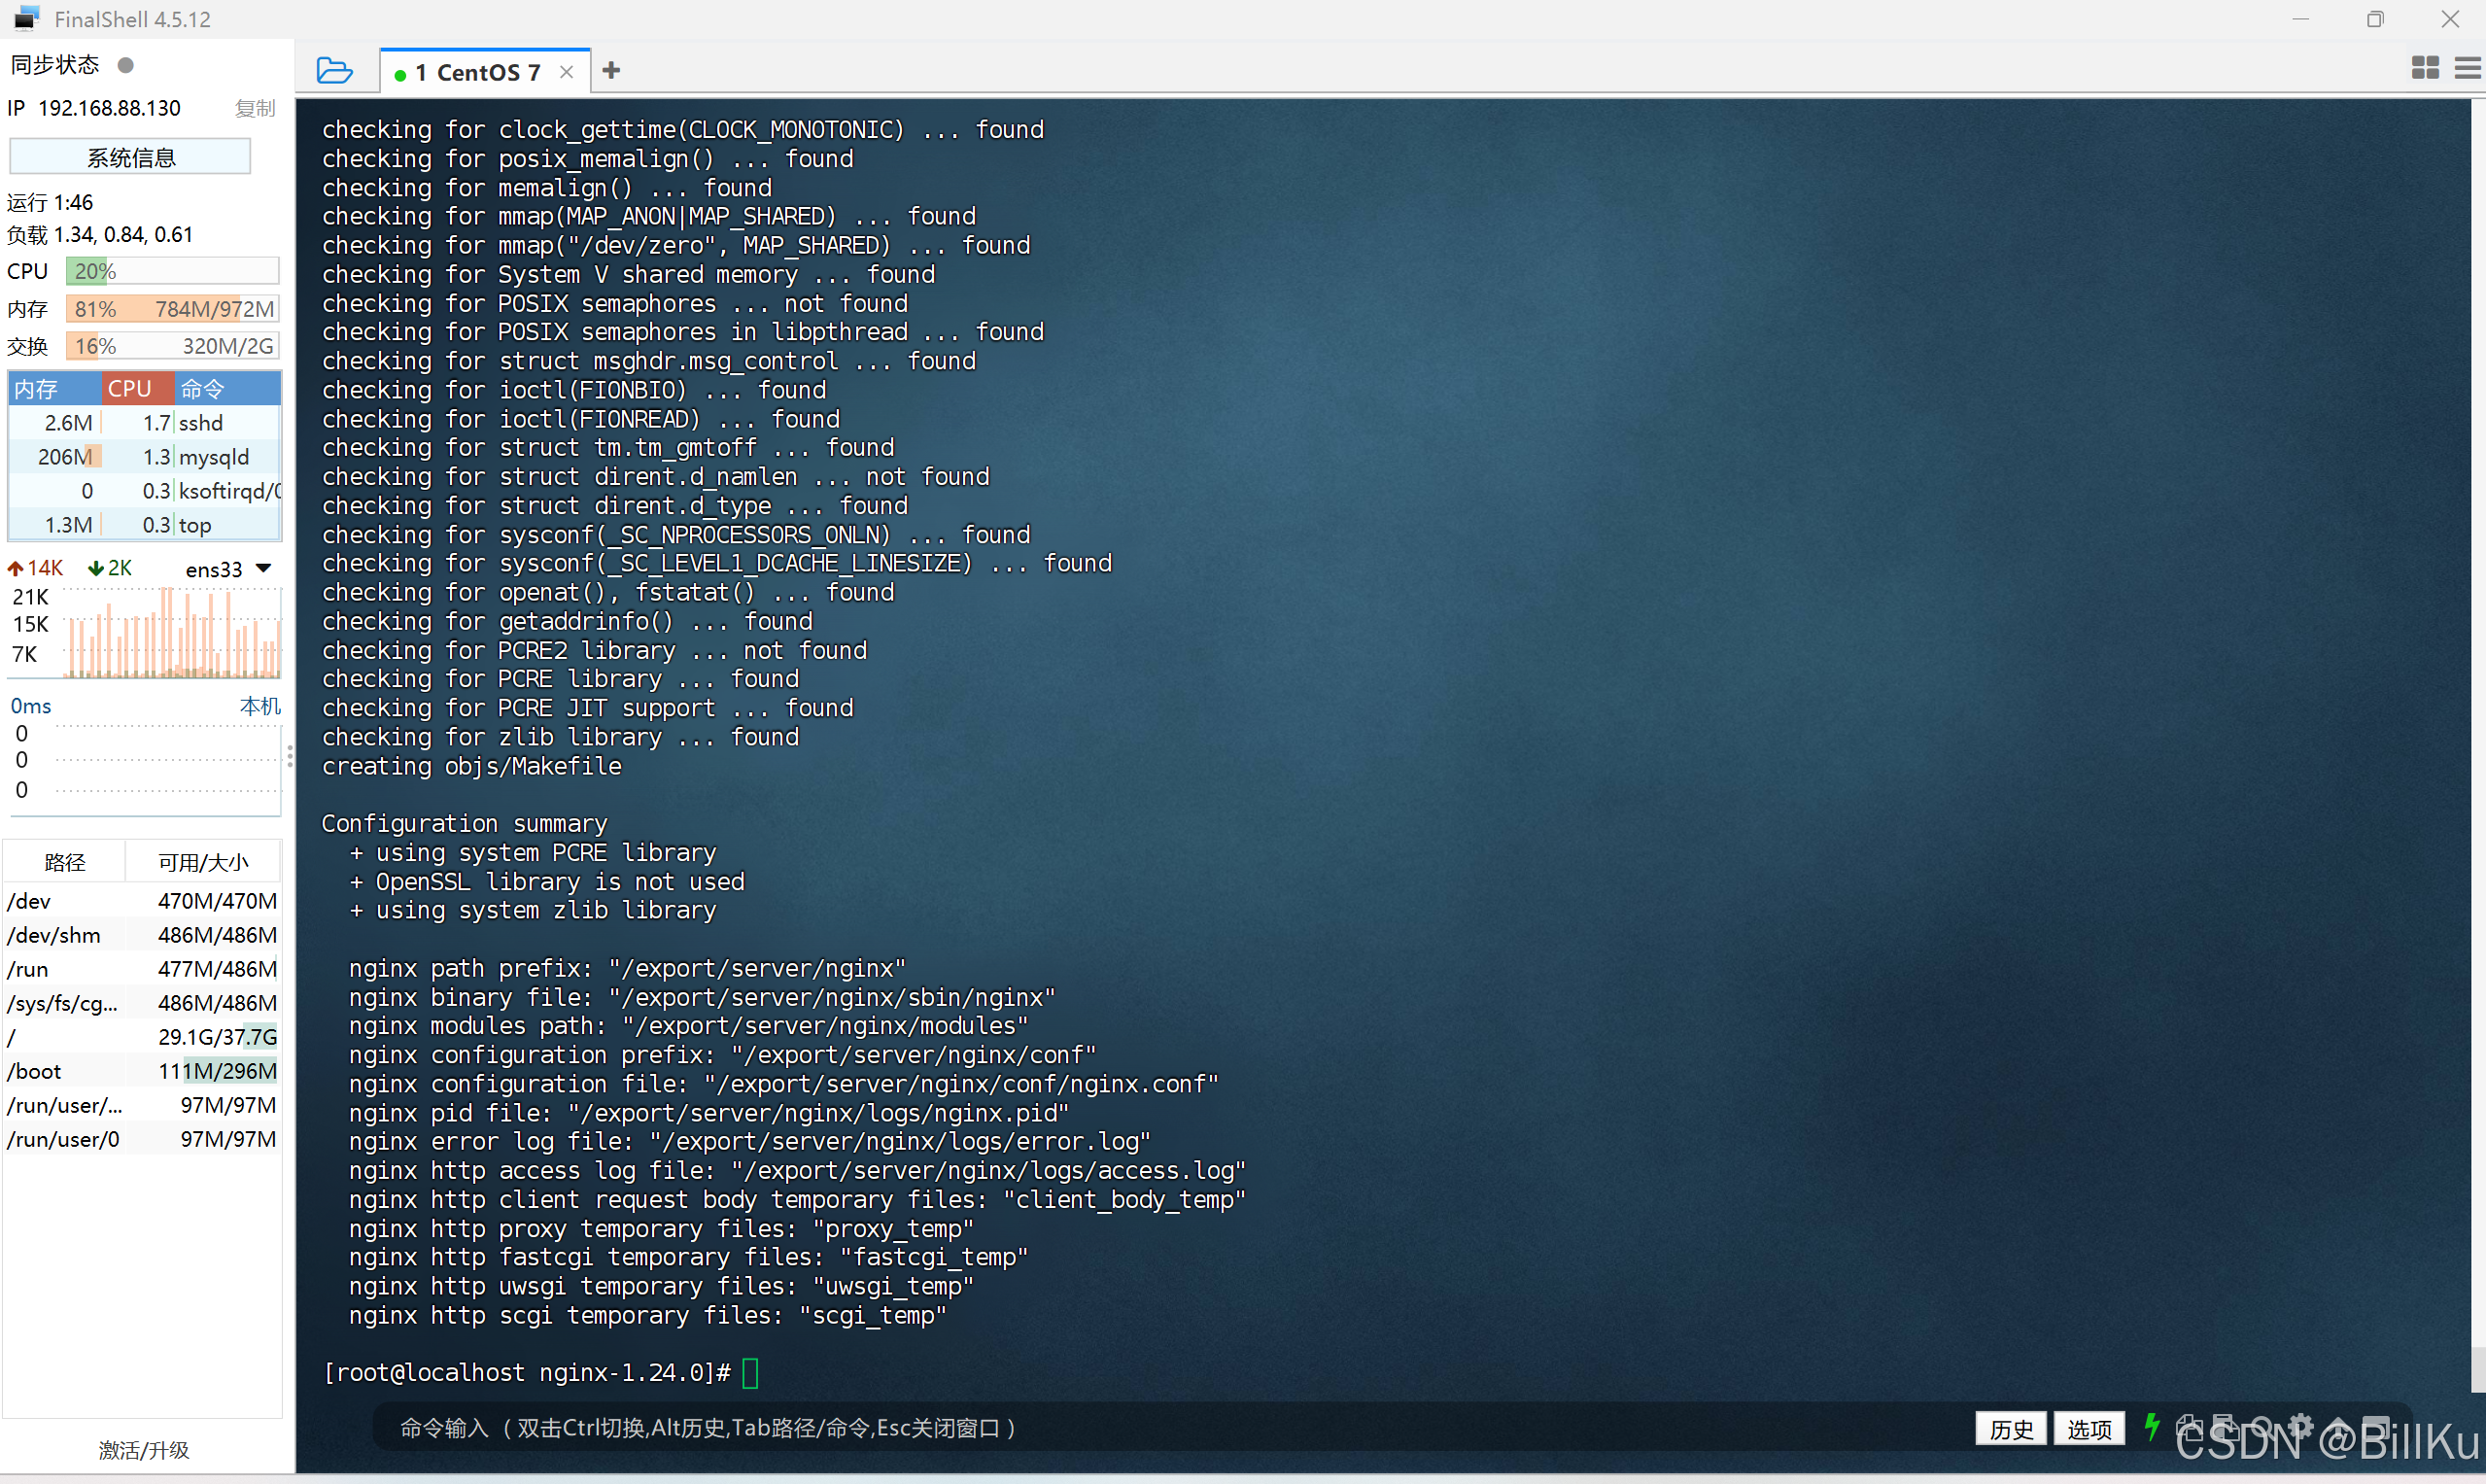
执行 make 和 make install 命令进行安装
bash
make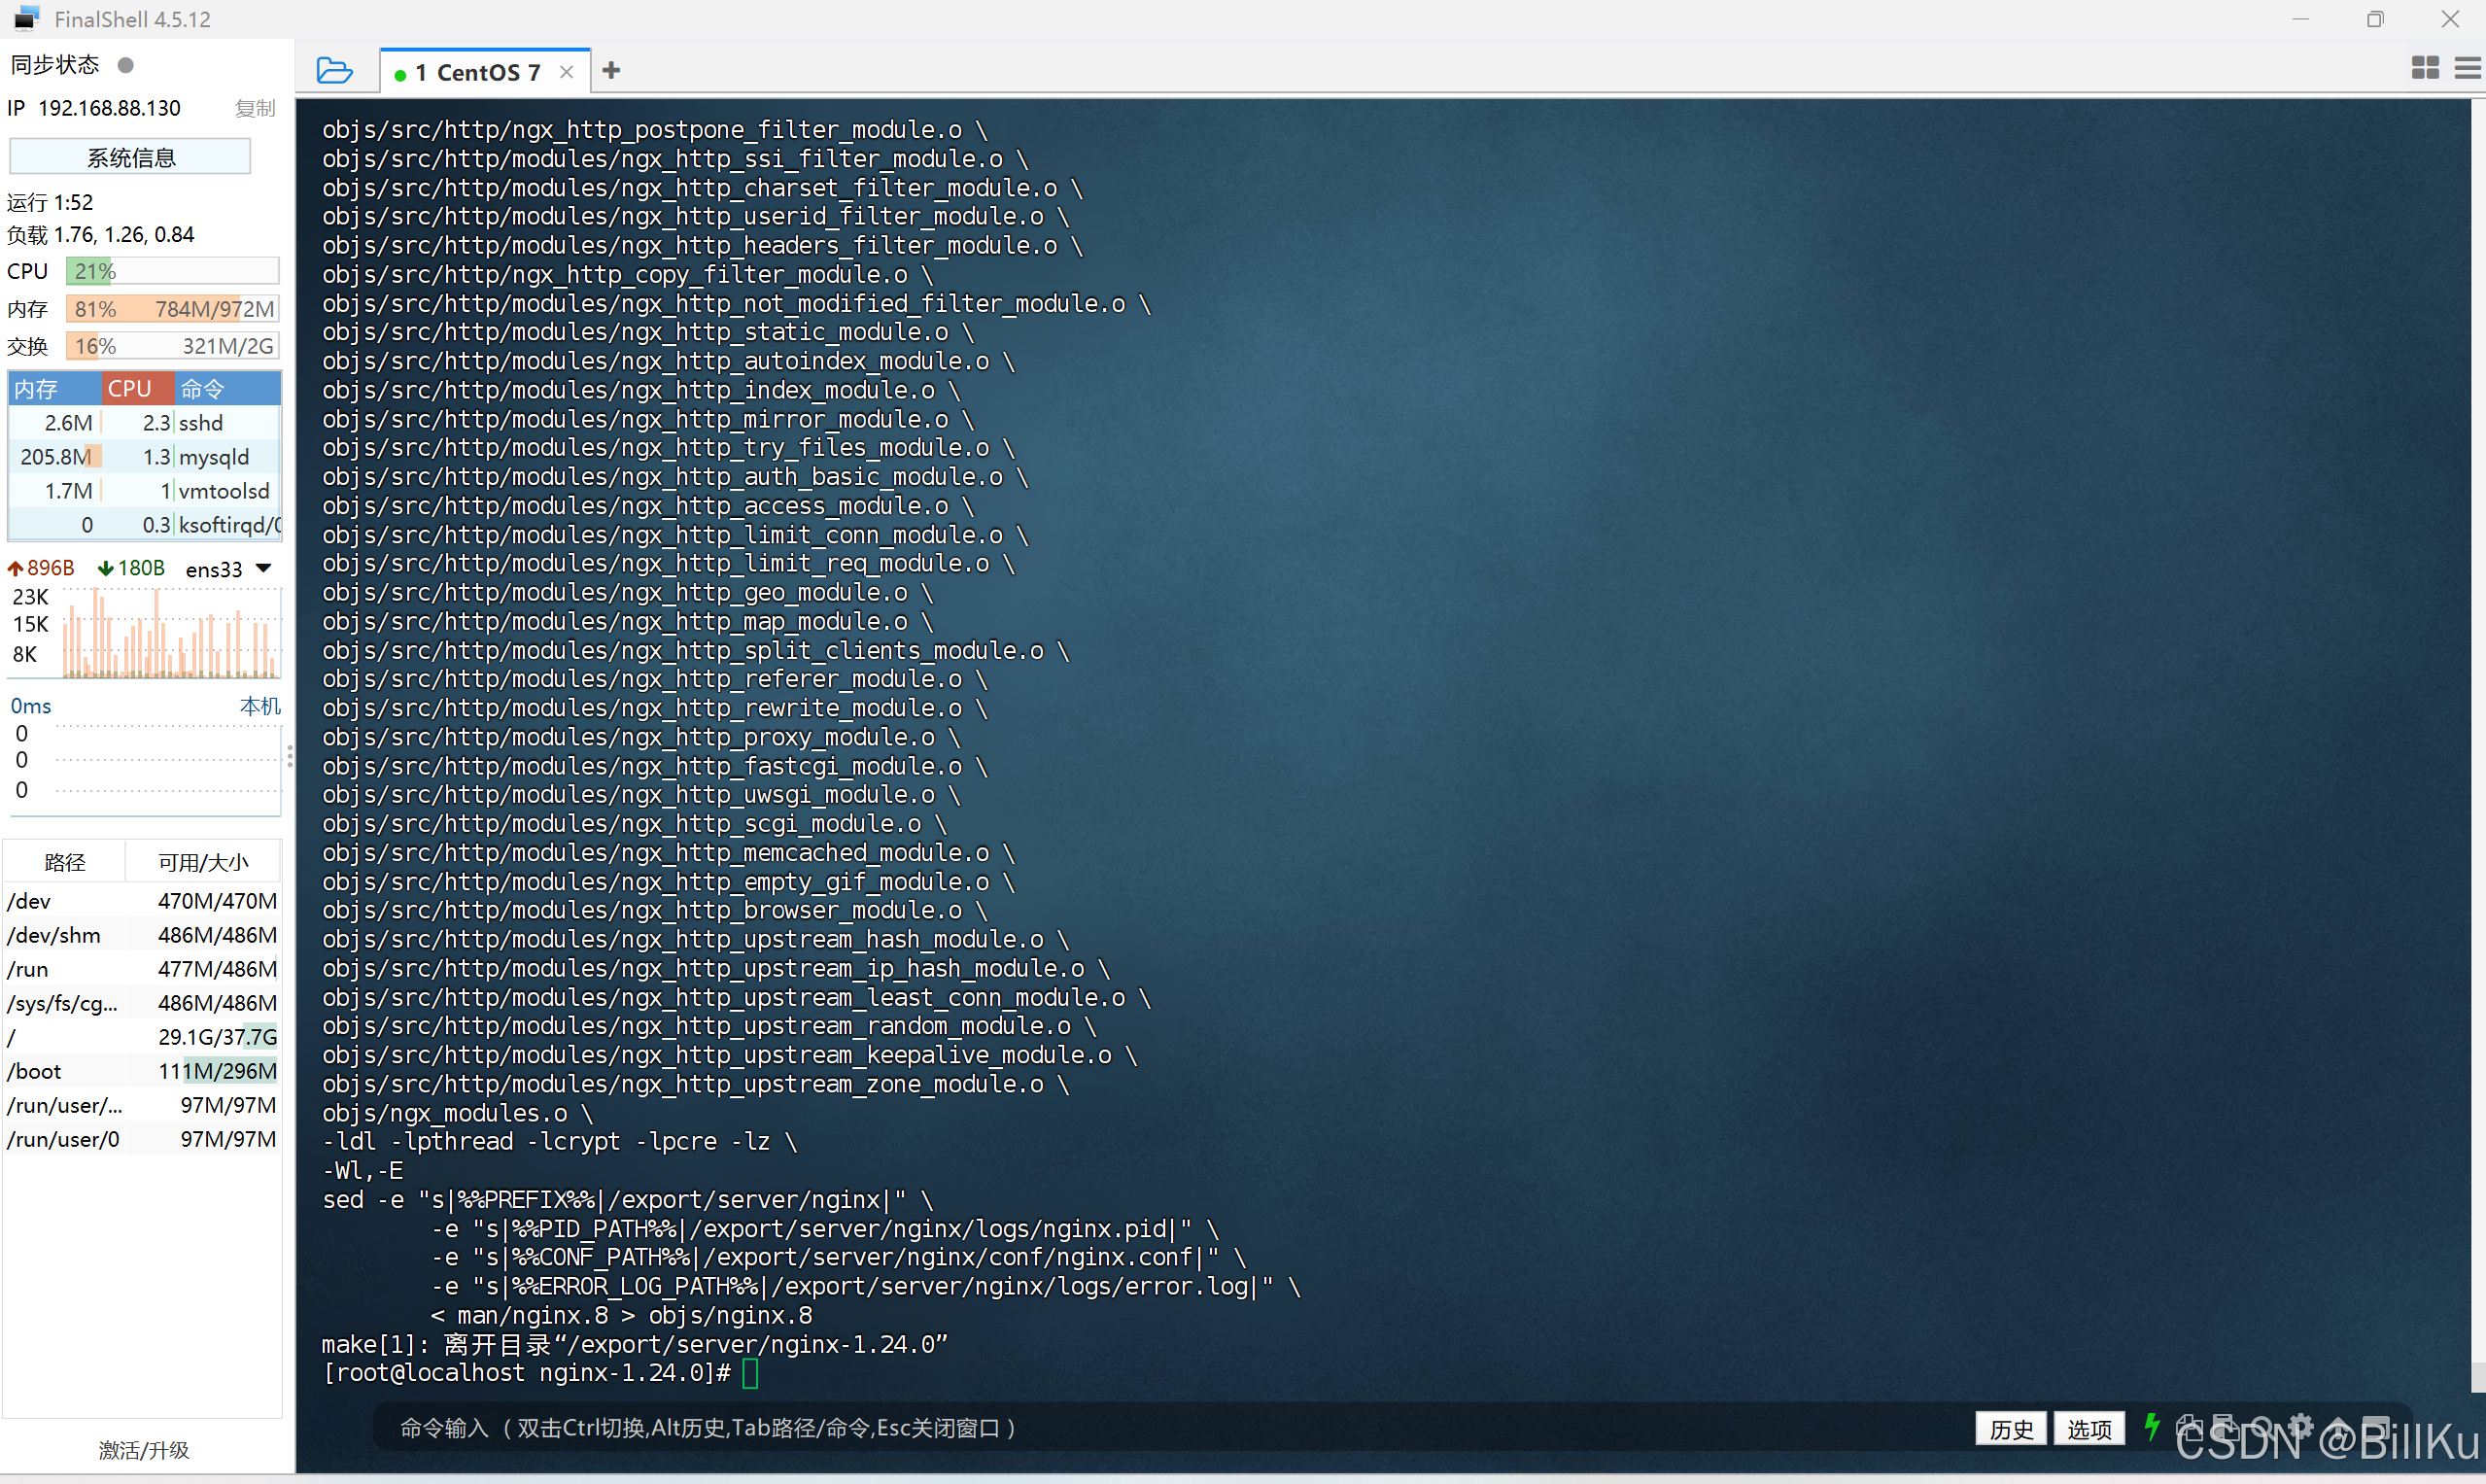
bash
make install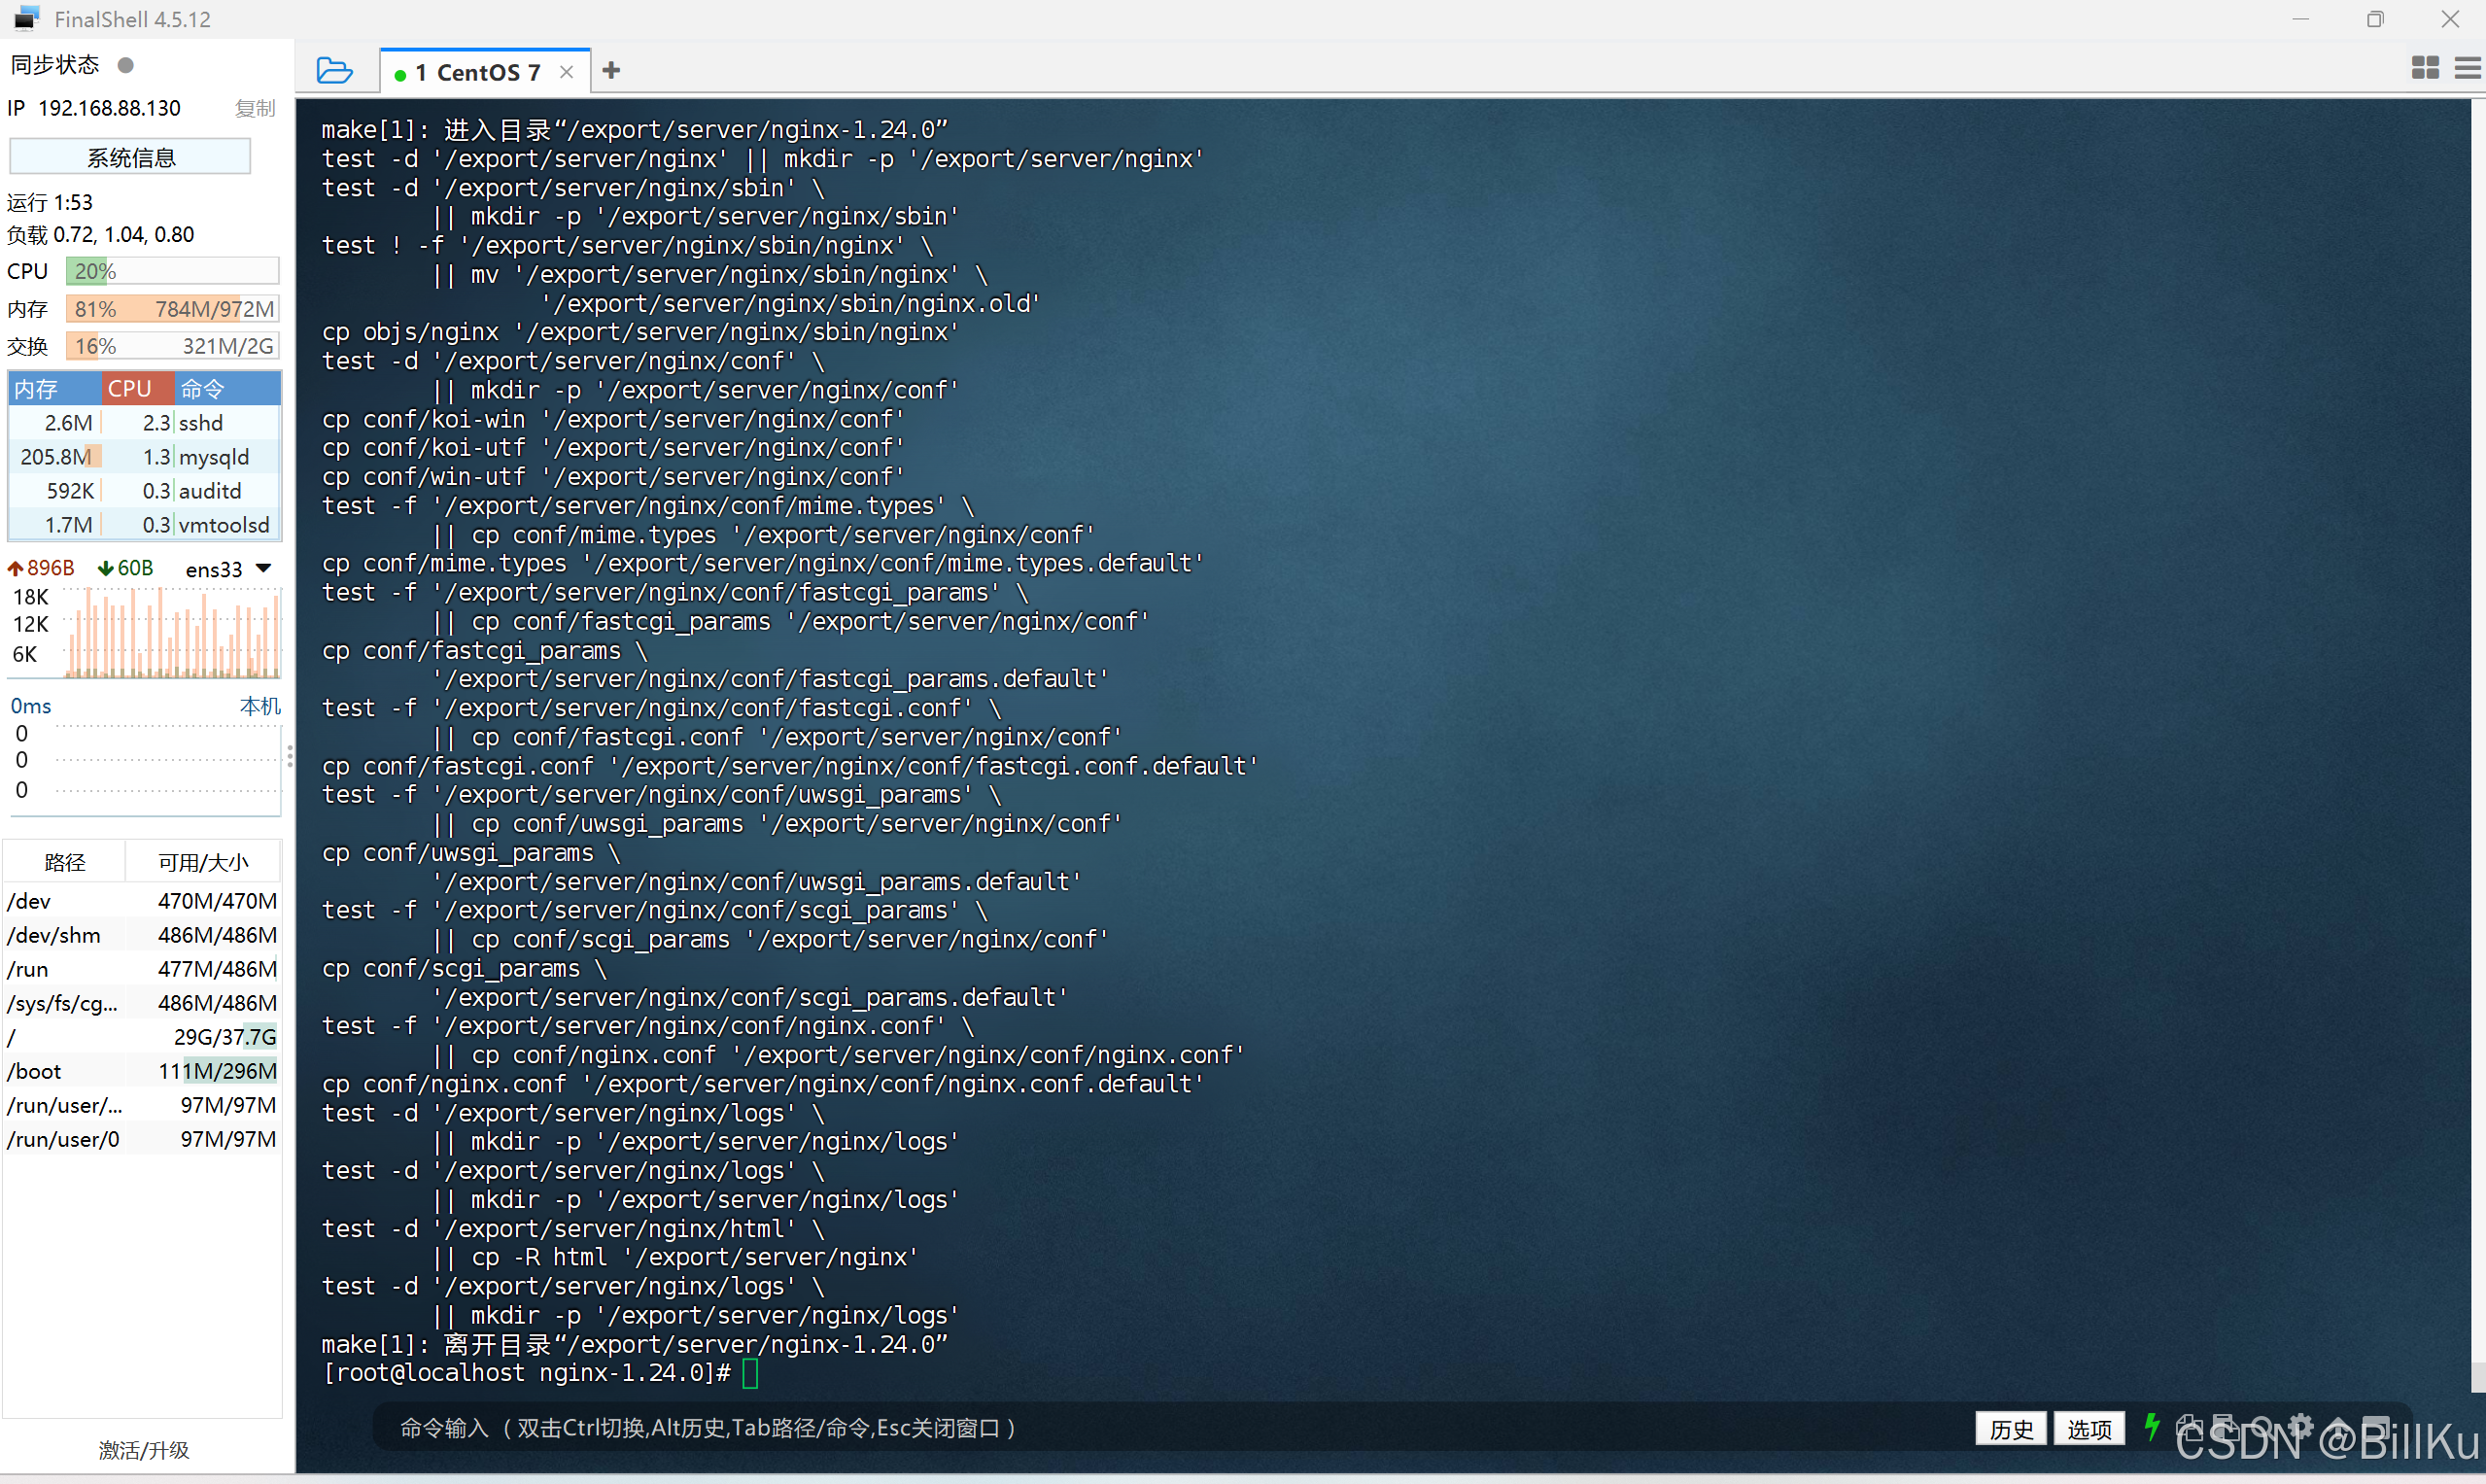
查看安装后的情况,目录 /export/server 下多了 nginx

6、开放端口,80
检查端口是否开放
bash
firewall-cmd --zone=public --query-port=80/tcp开放端口
bash
firewall-cmd --zone=public --add-port=80/tcp --permanent重新加载
bash
firewall-cmd --reload再检查端口是否开放
bash
firewall-cmd --zone=public --query-port=80/tcp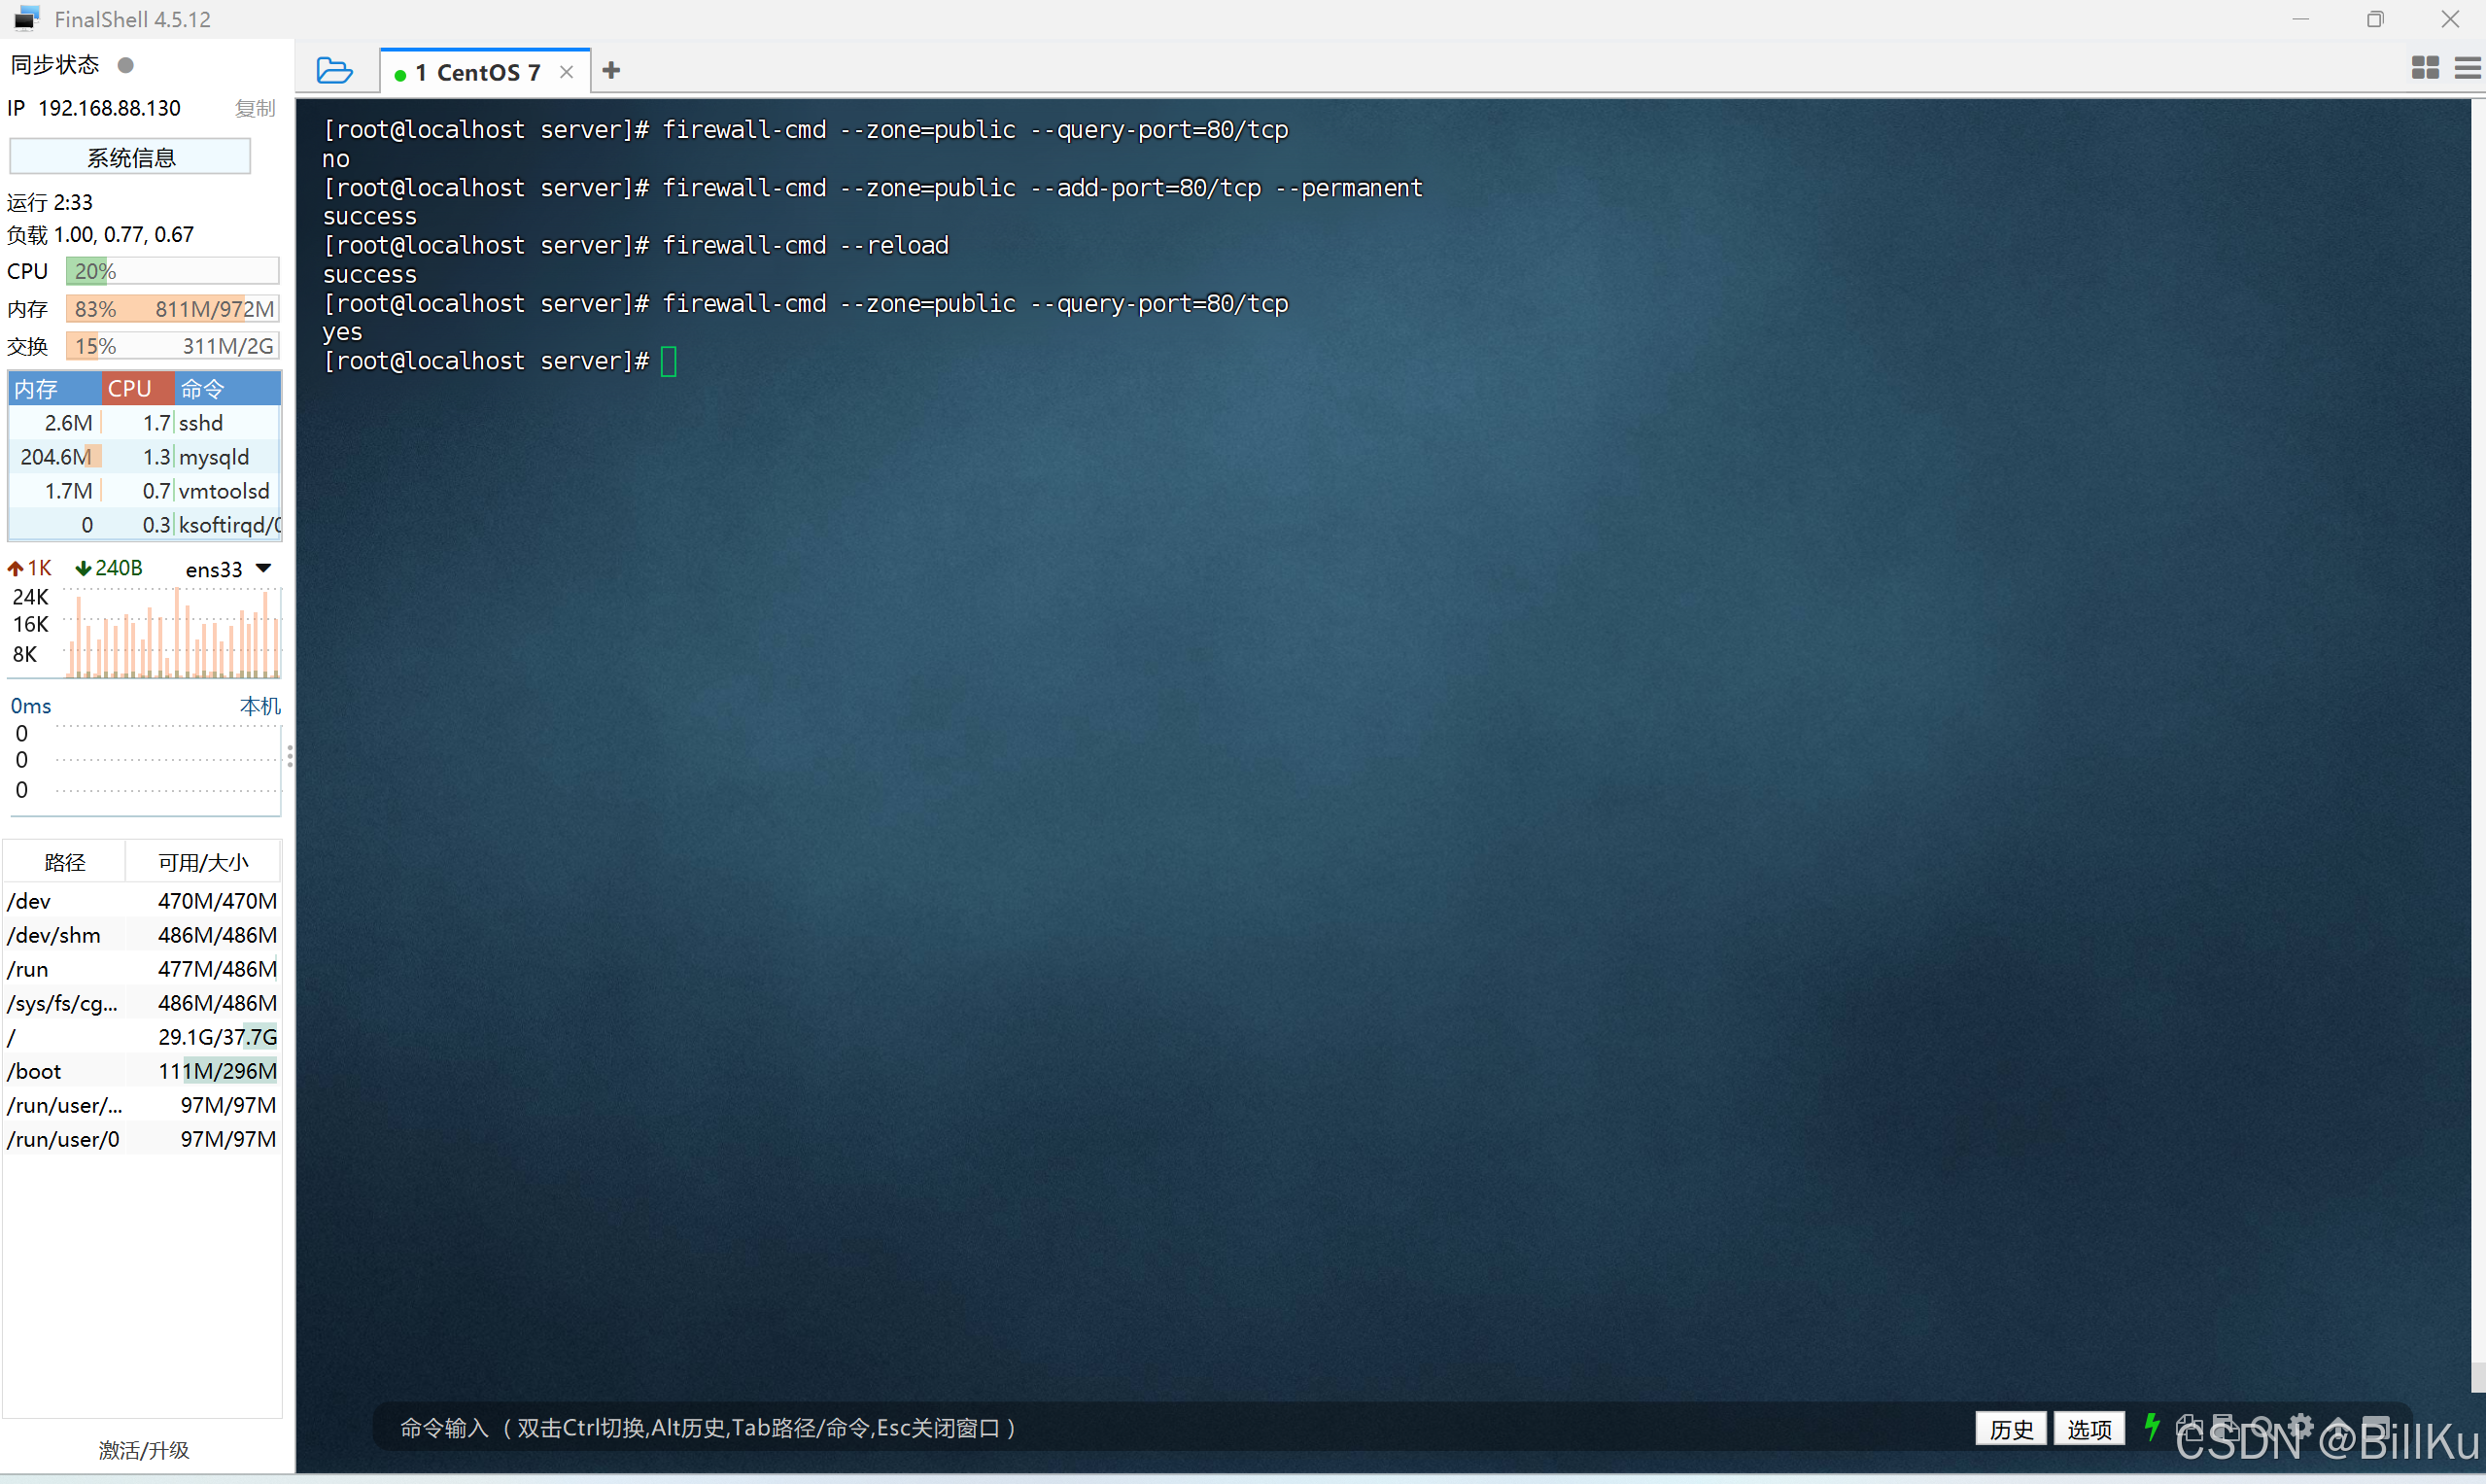
7、启动 Nginx
切换到nginx安装目录下的sbin /export/server/nginx/sbin
bash
cd /export/server/nginx/sbin
执行 ./nginx
bash
./nginx
查看 nginx 相关的进程
bash
ps -ef | grep nginx
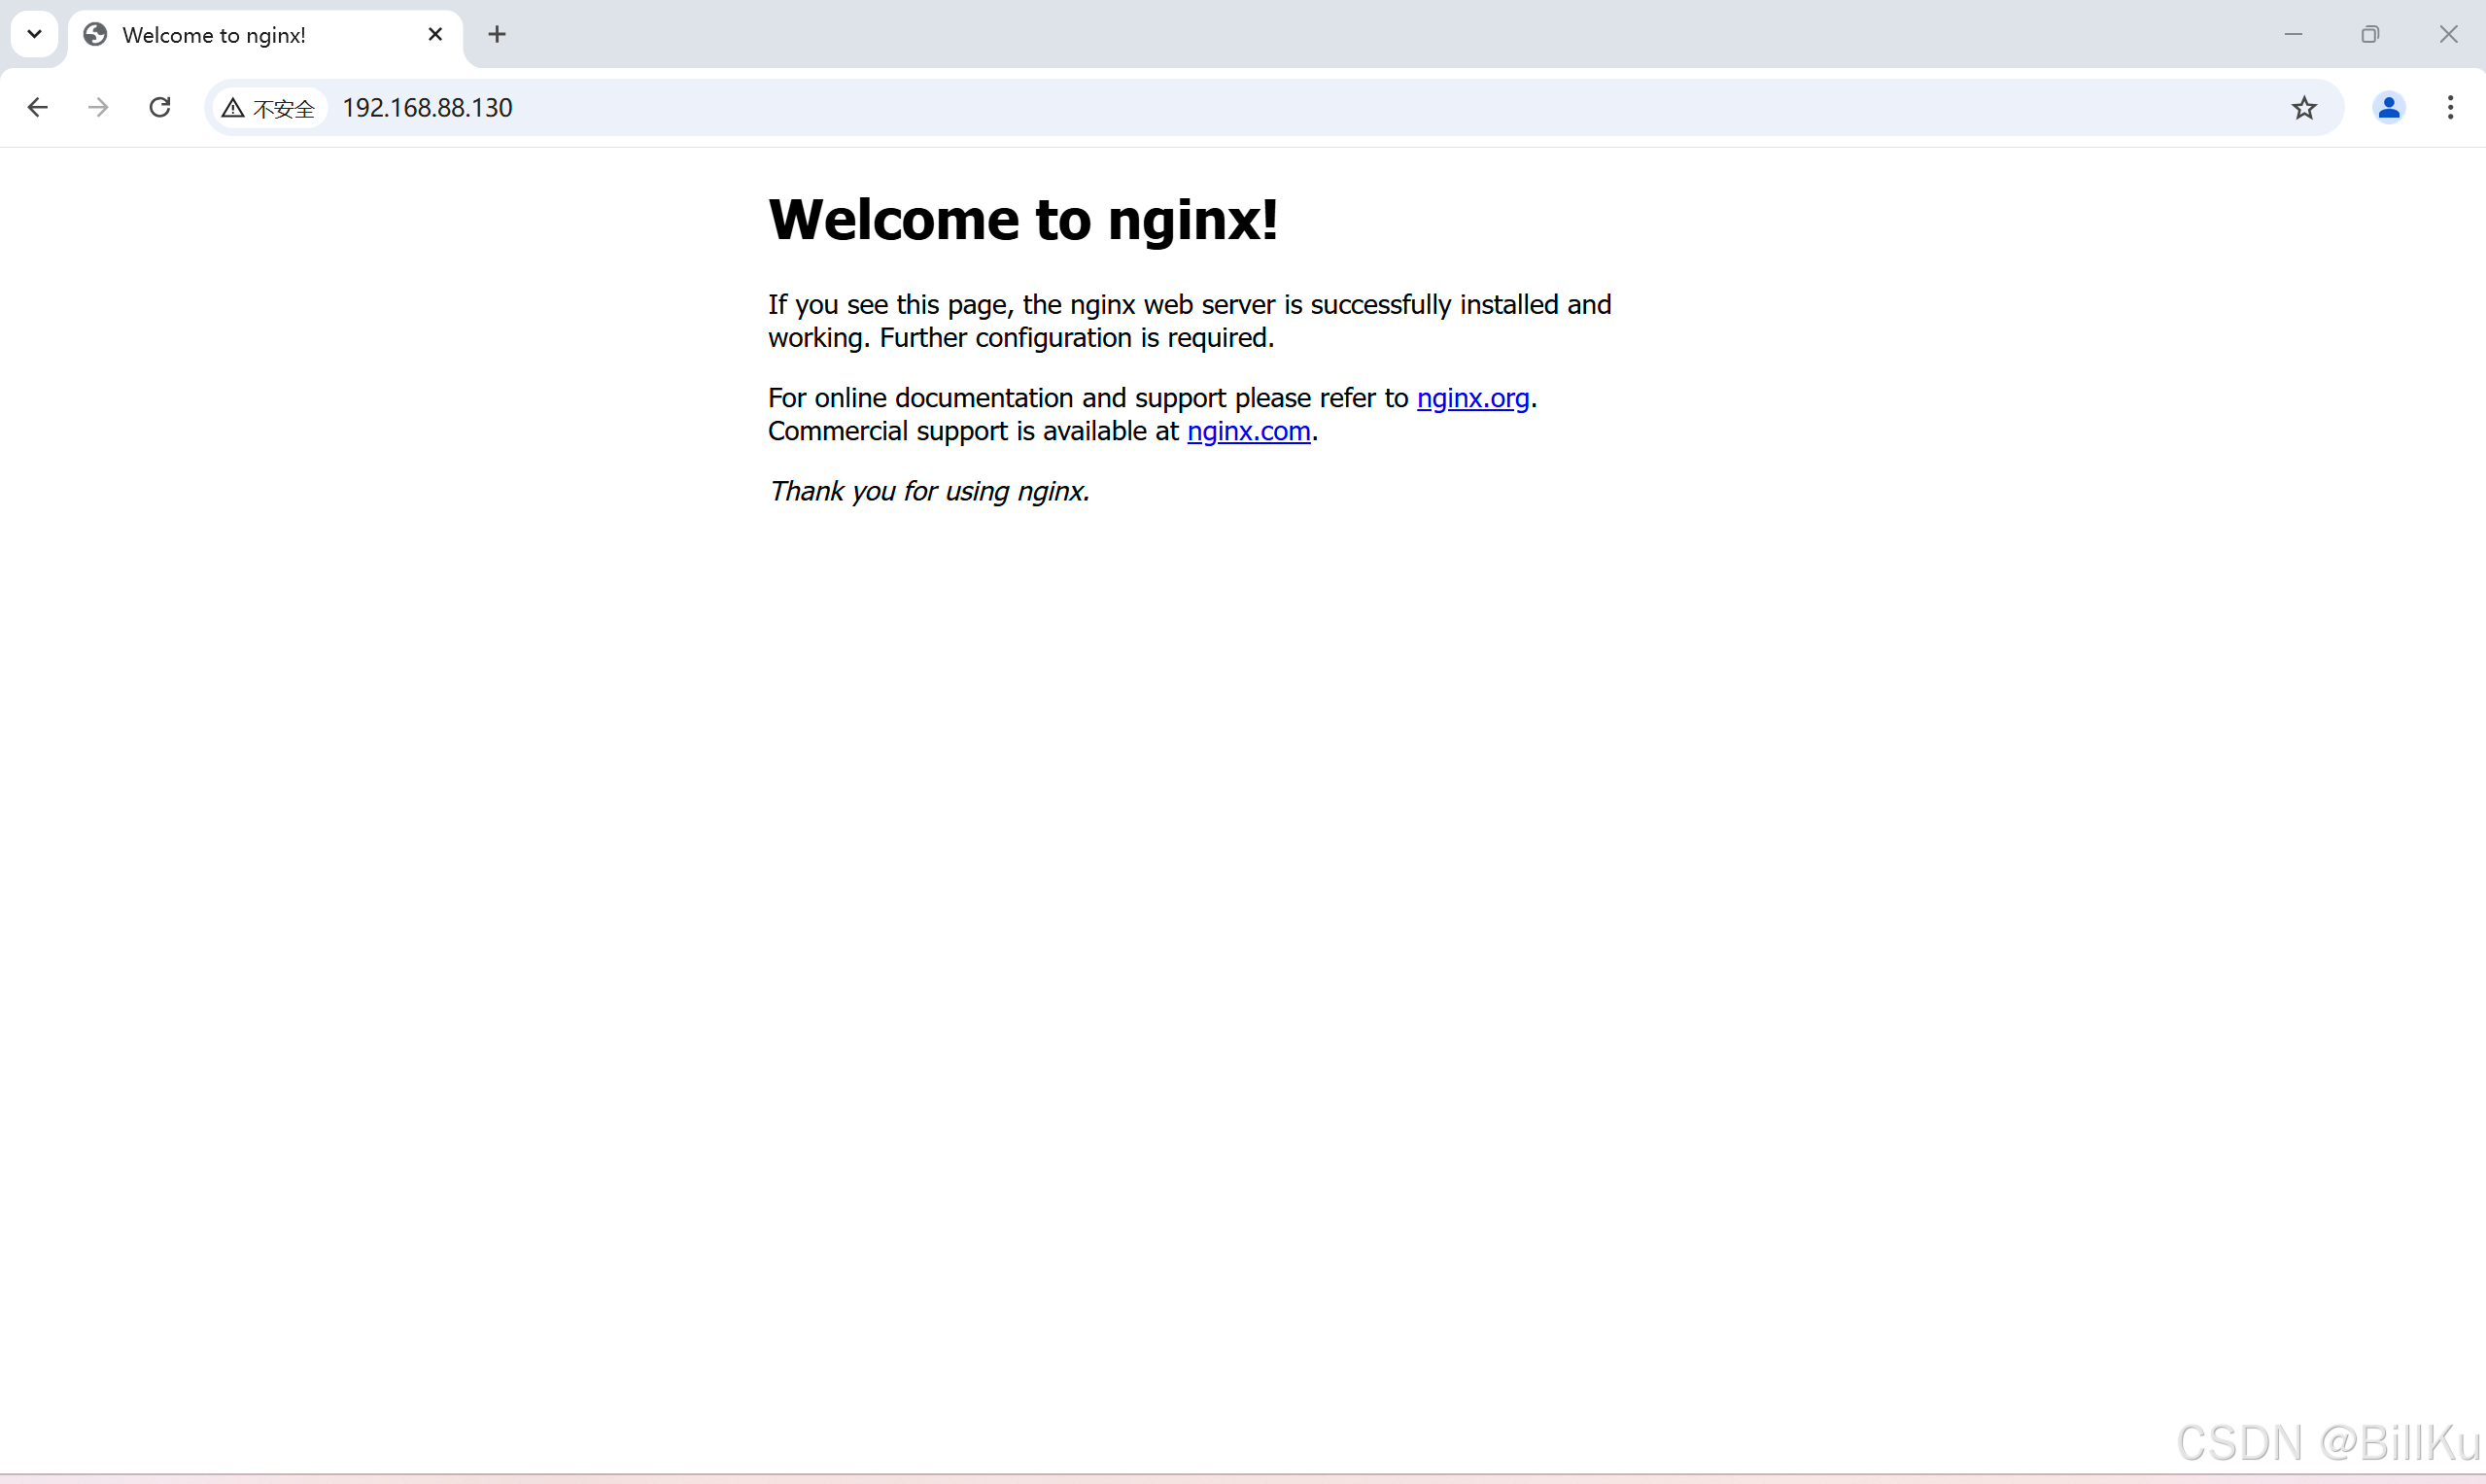
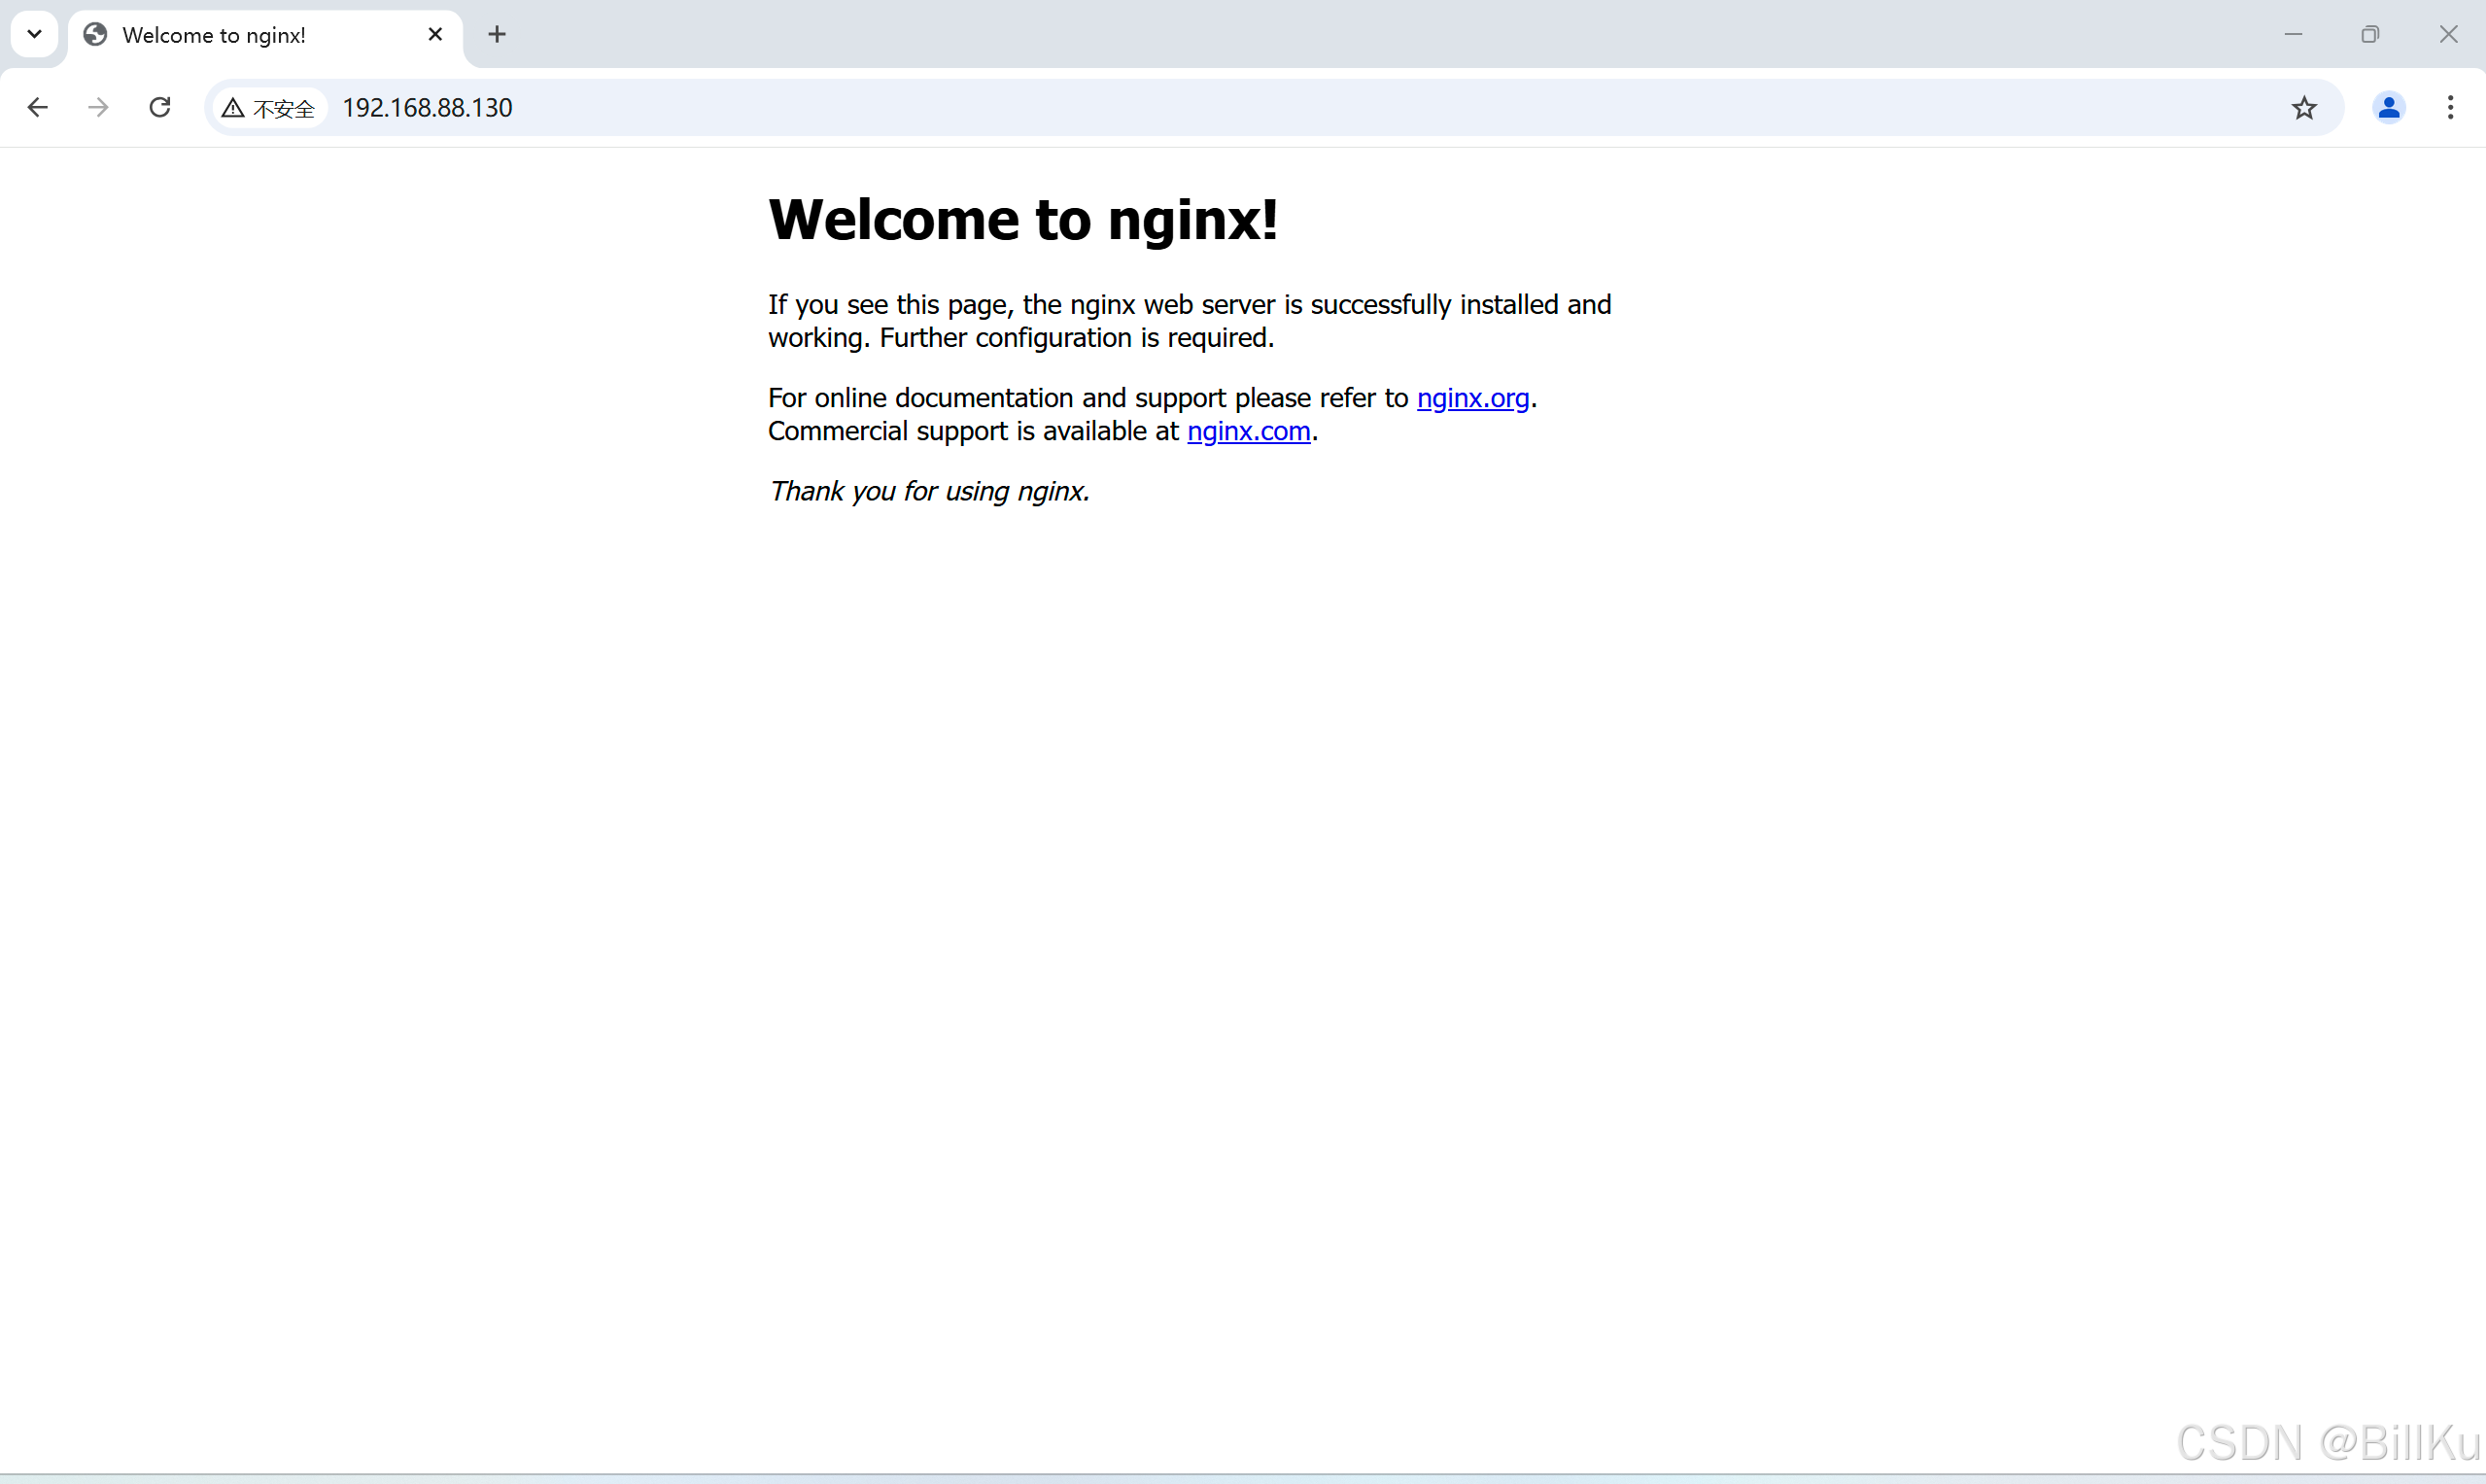
8、验证 Nginx
在其他终端,打开浏览器,输入ip,回车
二、通过yum仓库安装
普通用户使用 sudo 进行命令操作
参考:https://nginx.org/en/linux_packages.html#RHEL
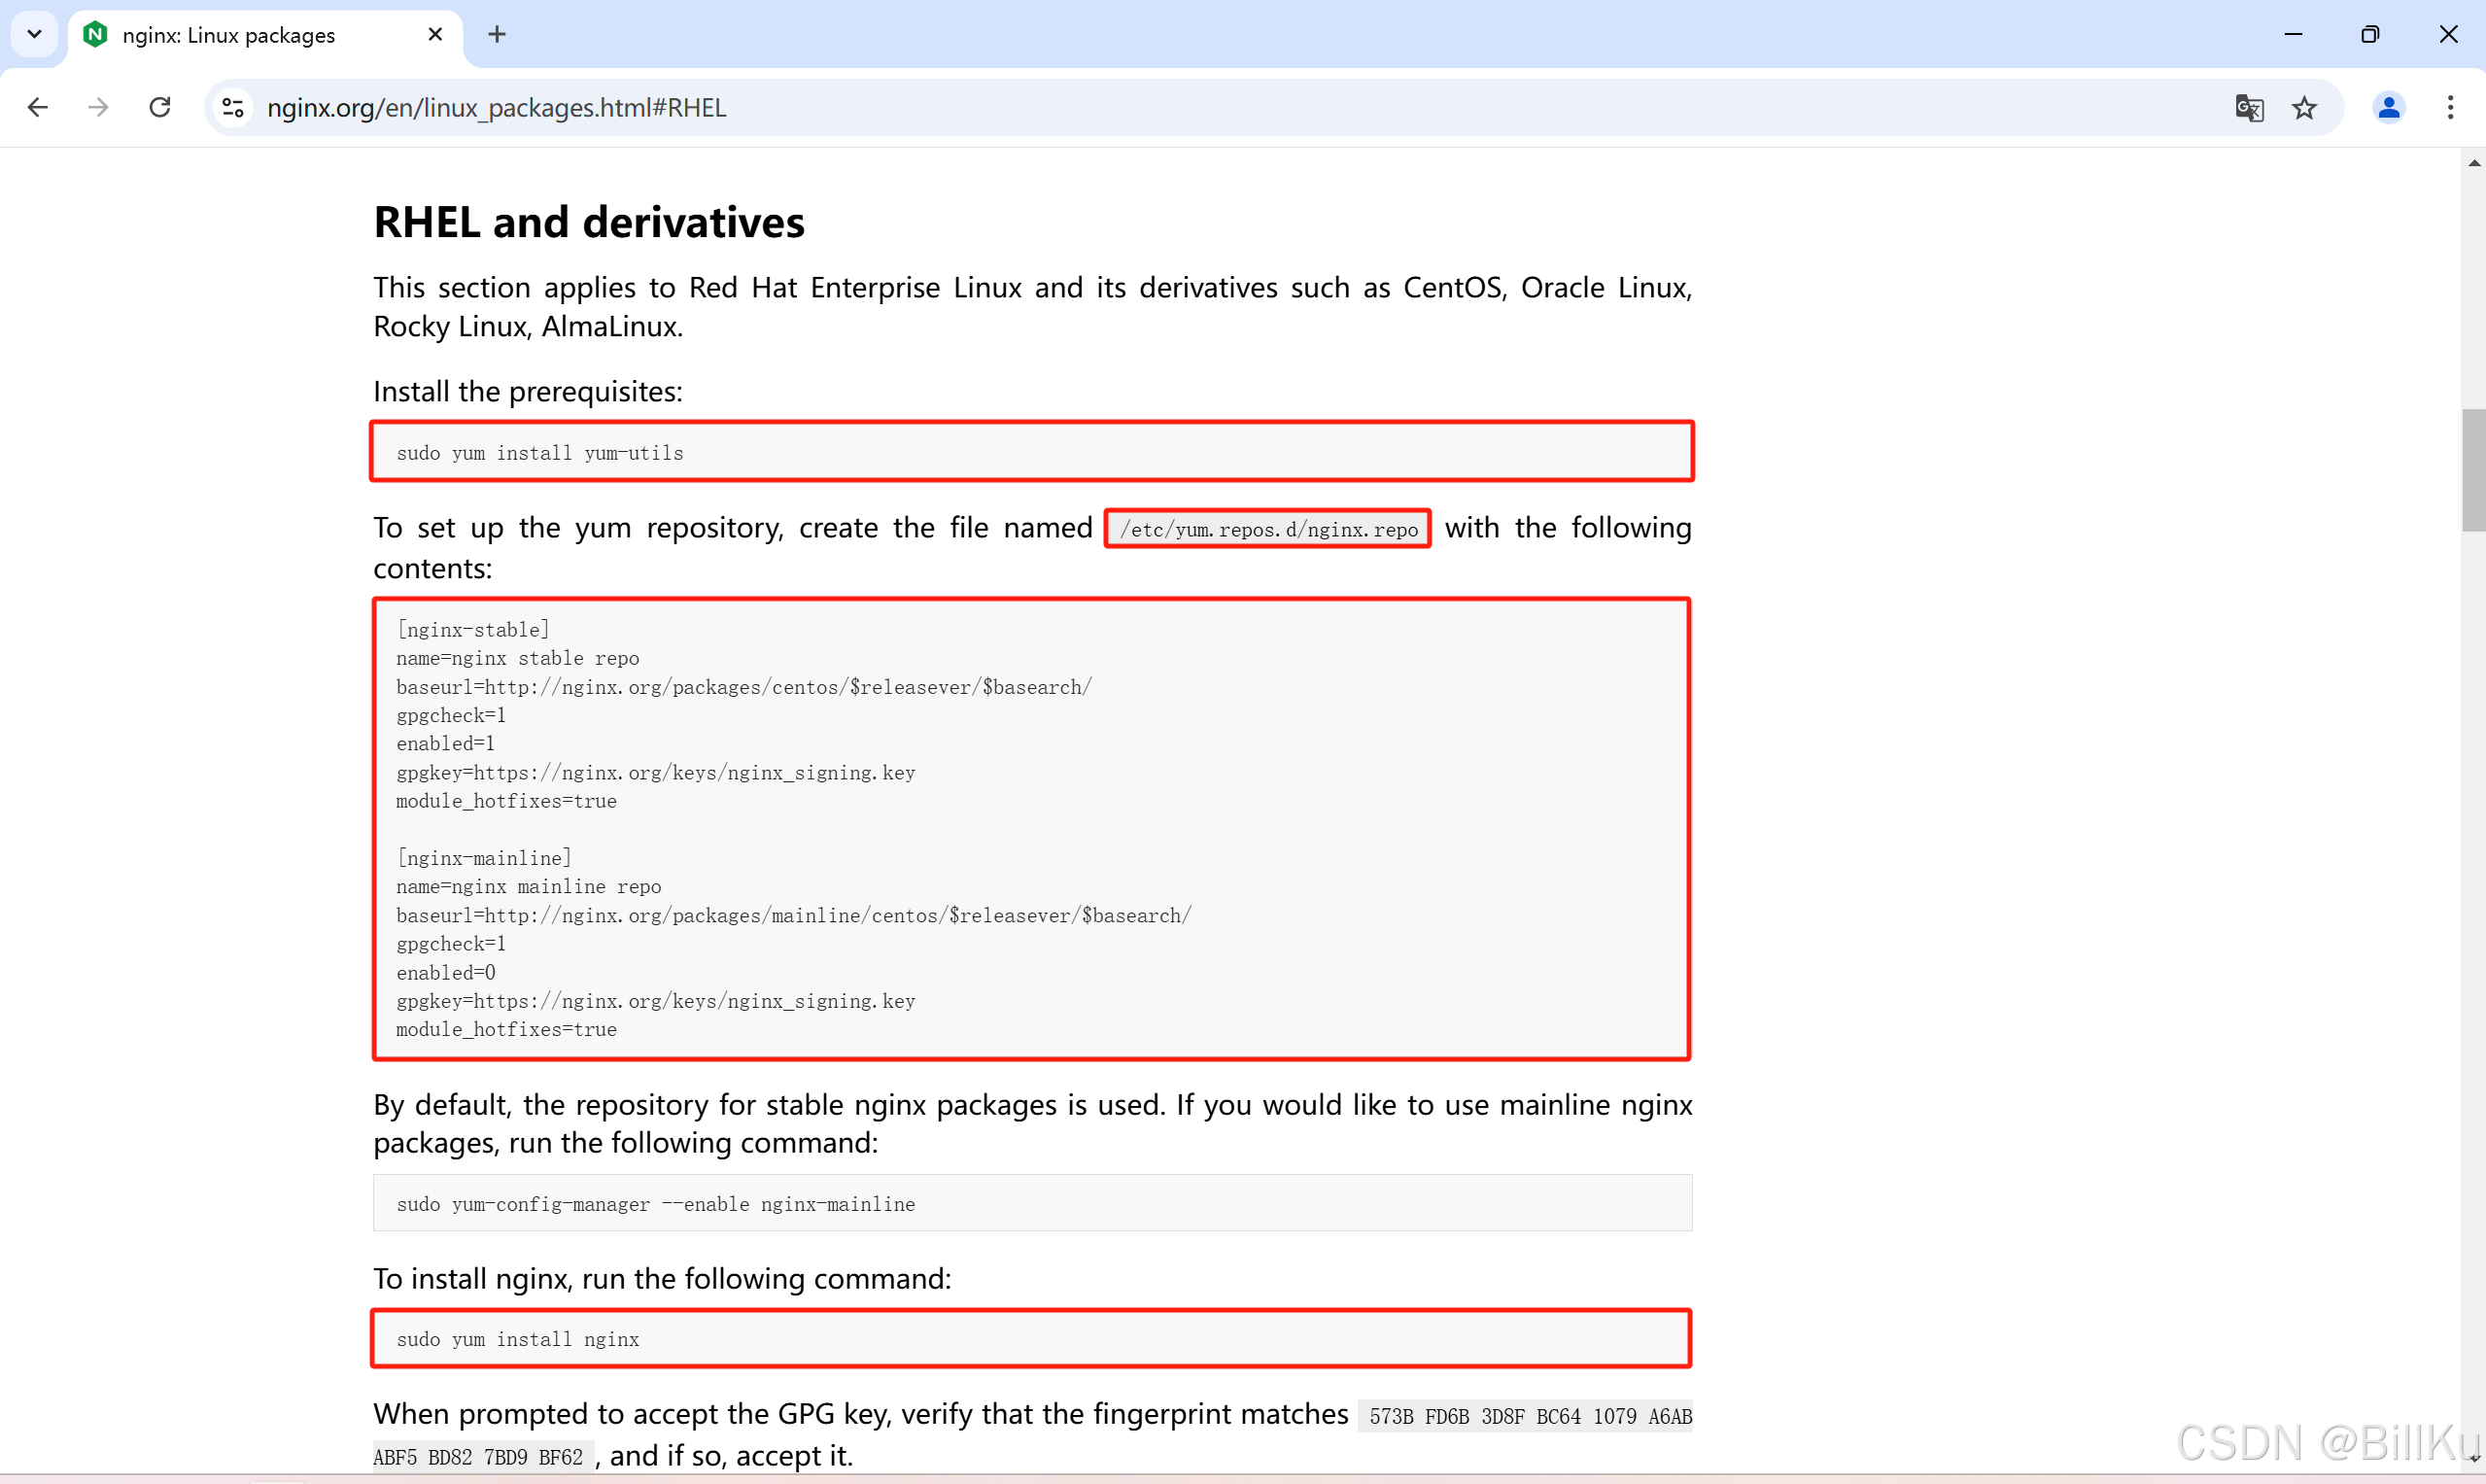
1、安装依赖
bash
sudo yum install yum-utils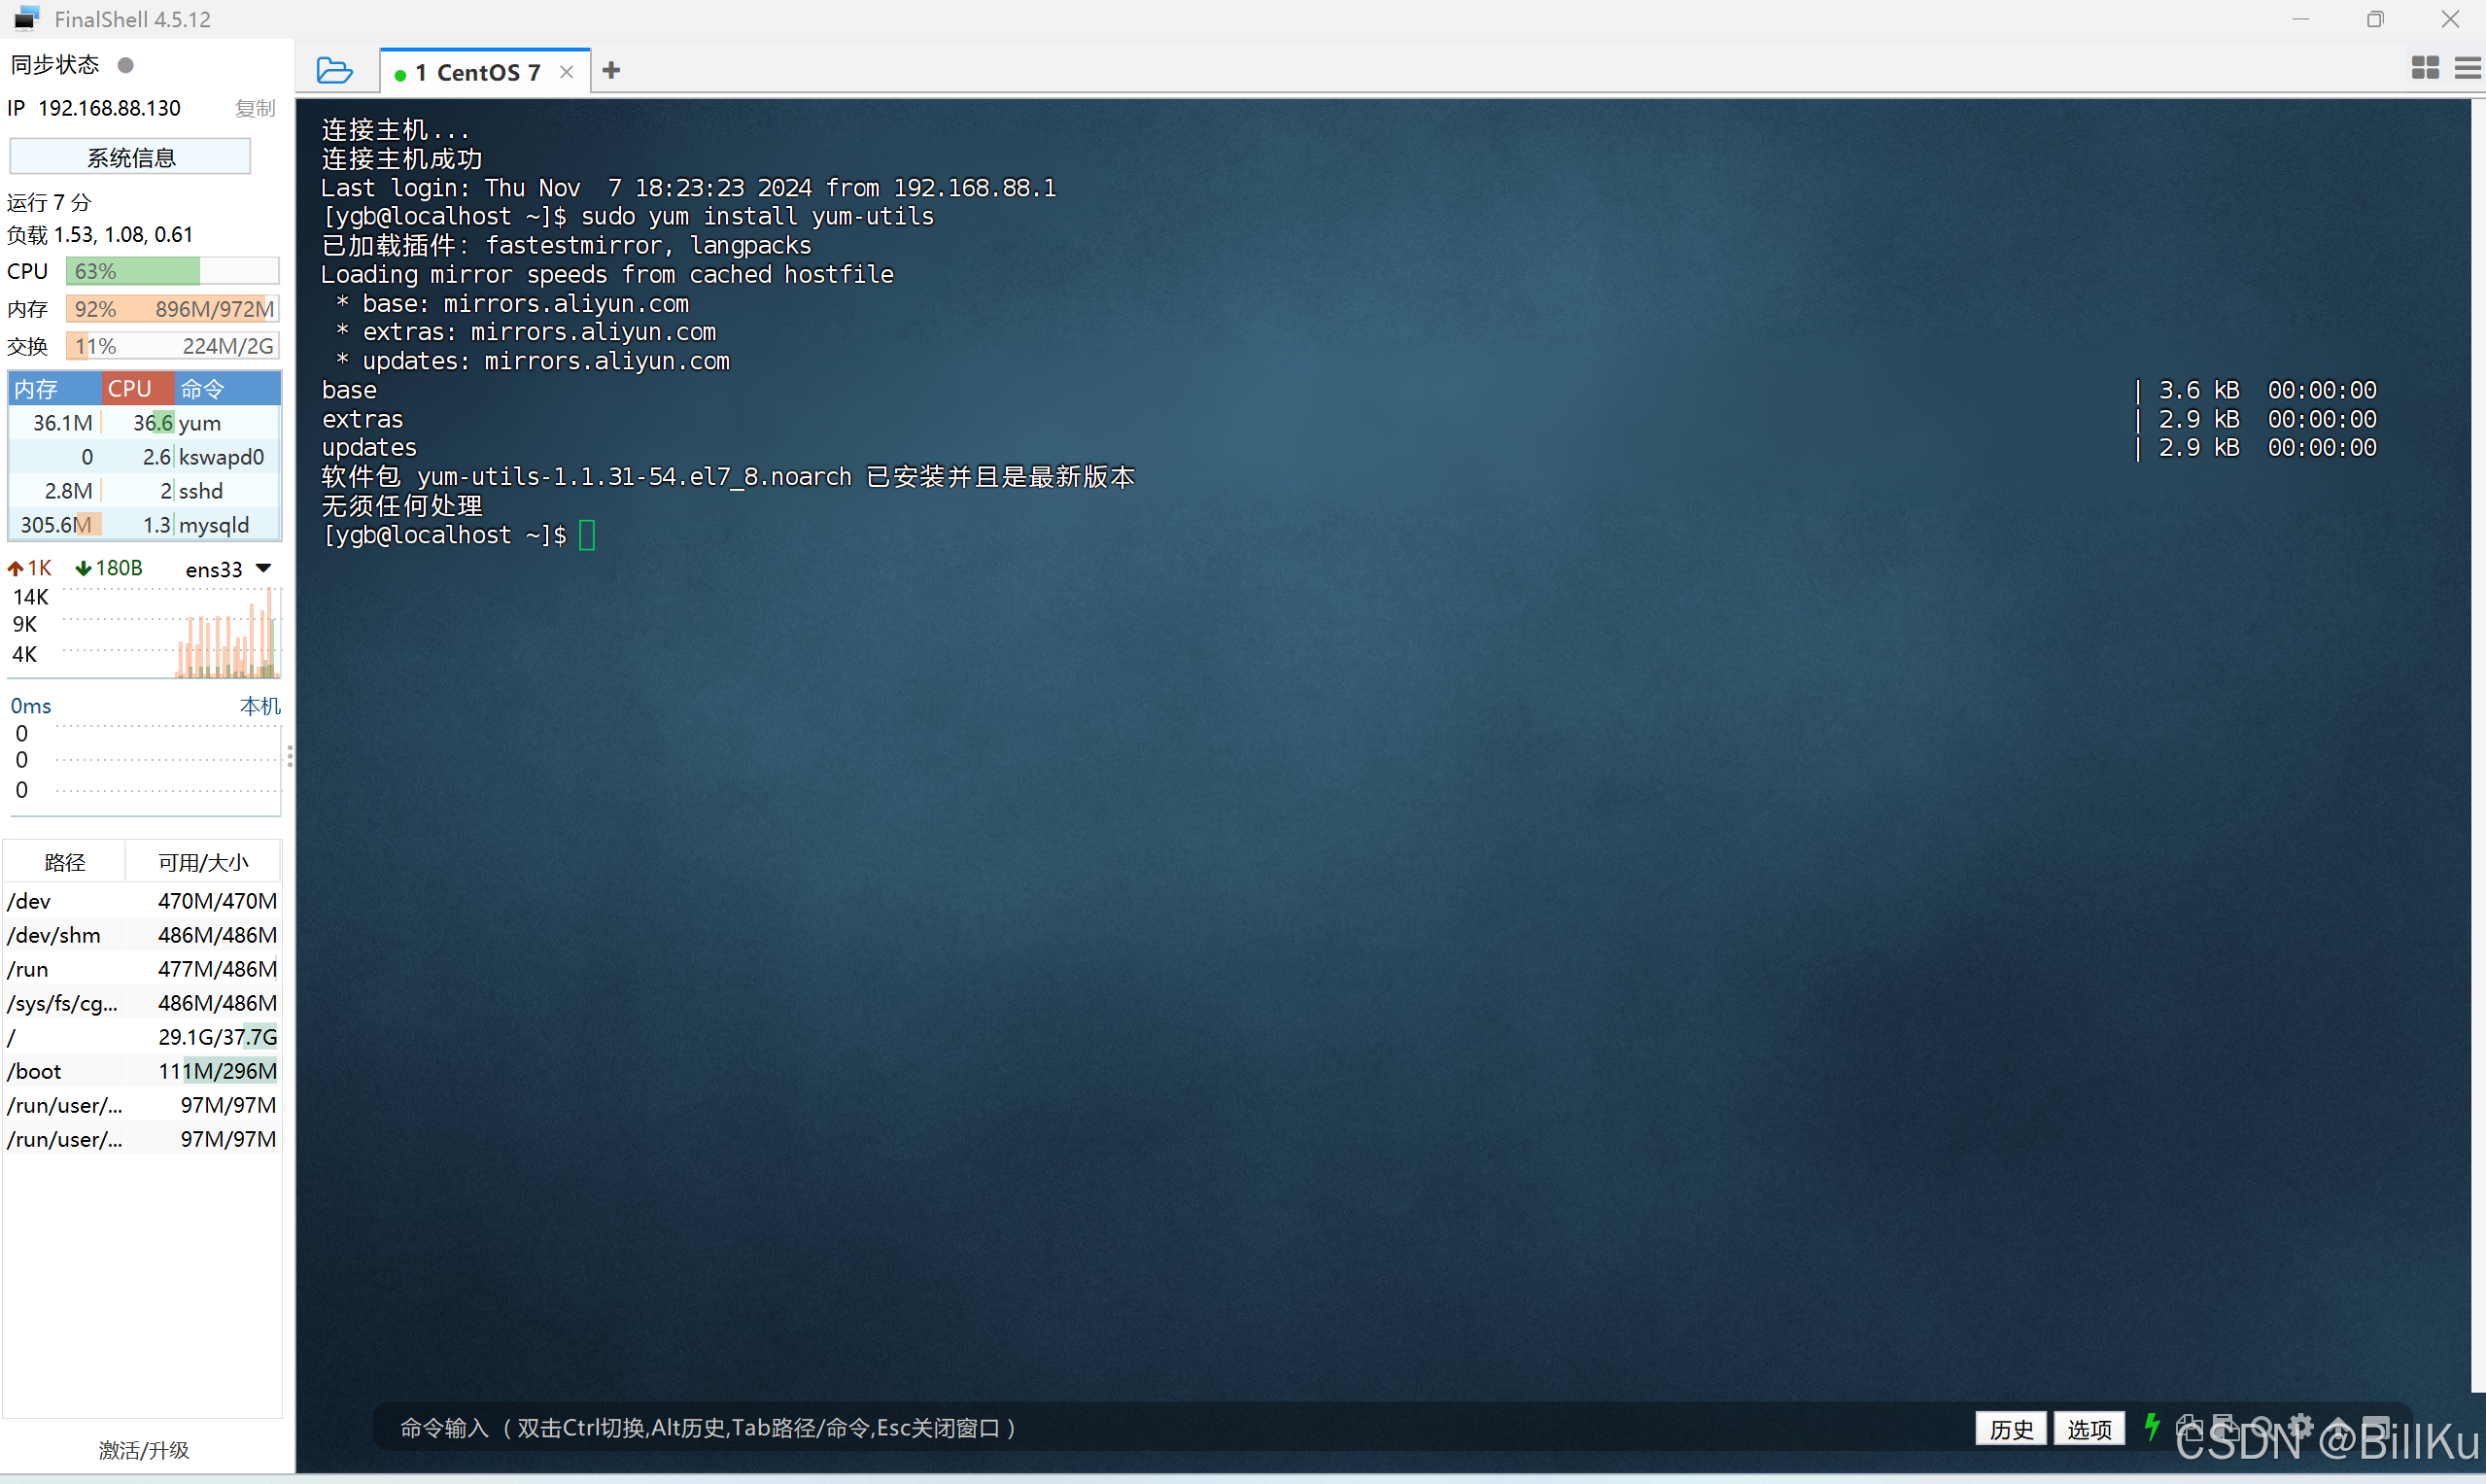
2、创建仓库文件
在 /etc/yum.repos.d 目录下创建仓库文件 nginx.repo,并在文件中添加以下内容:
bash
sudo vim /etc/yum.repos.d/nginx.repo
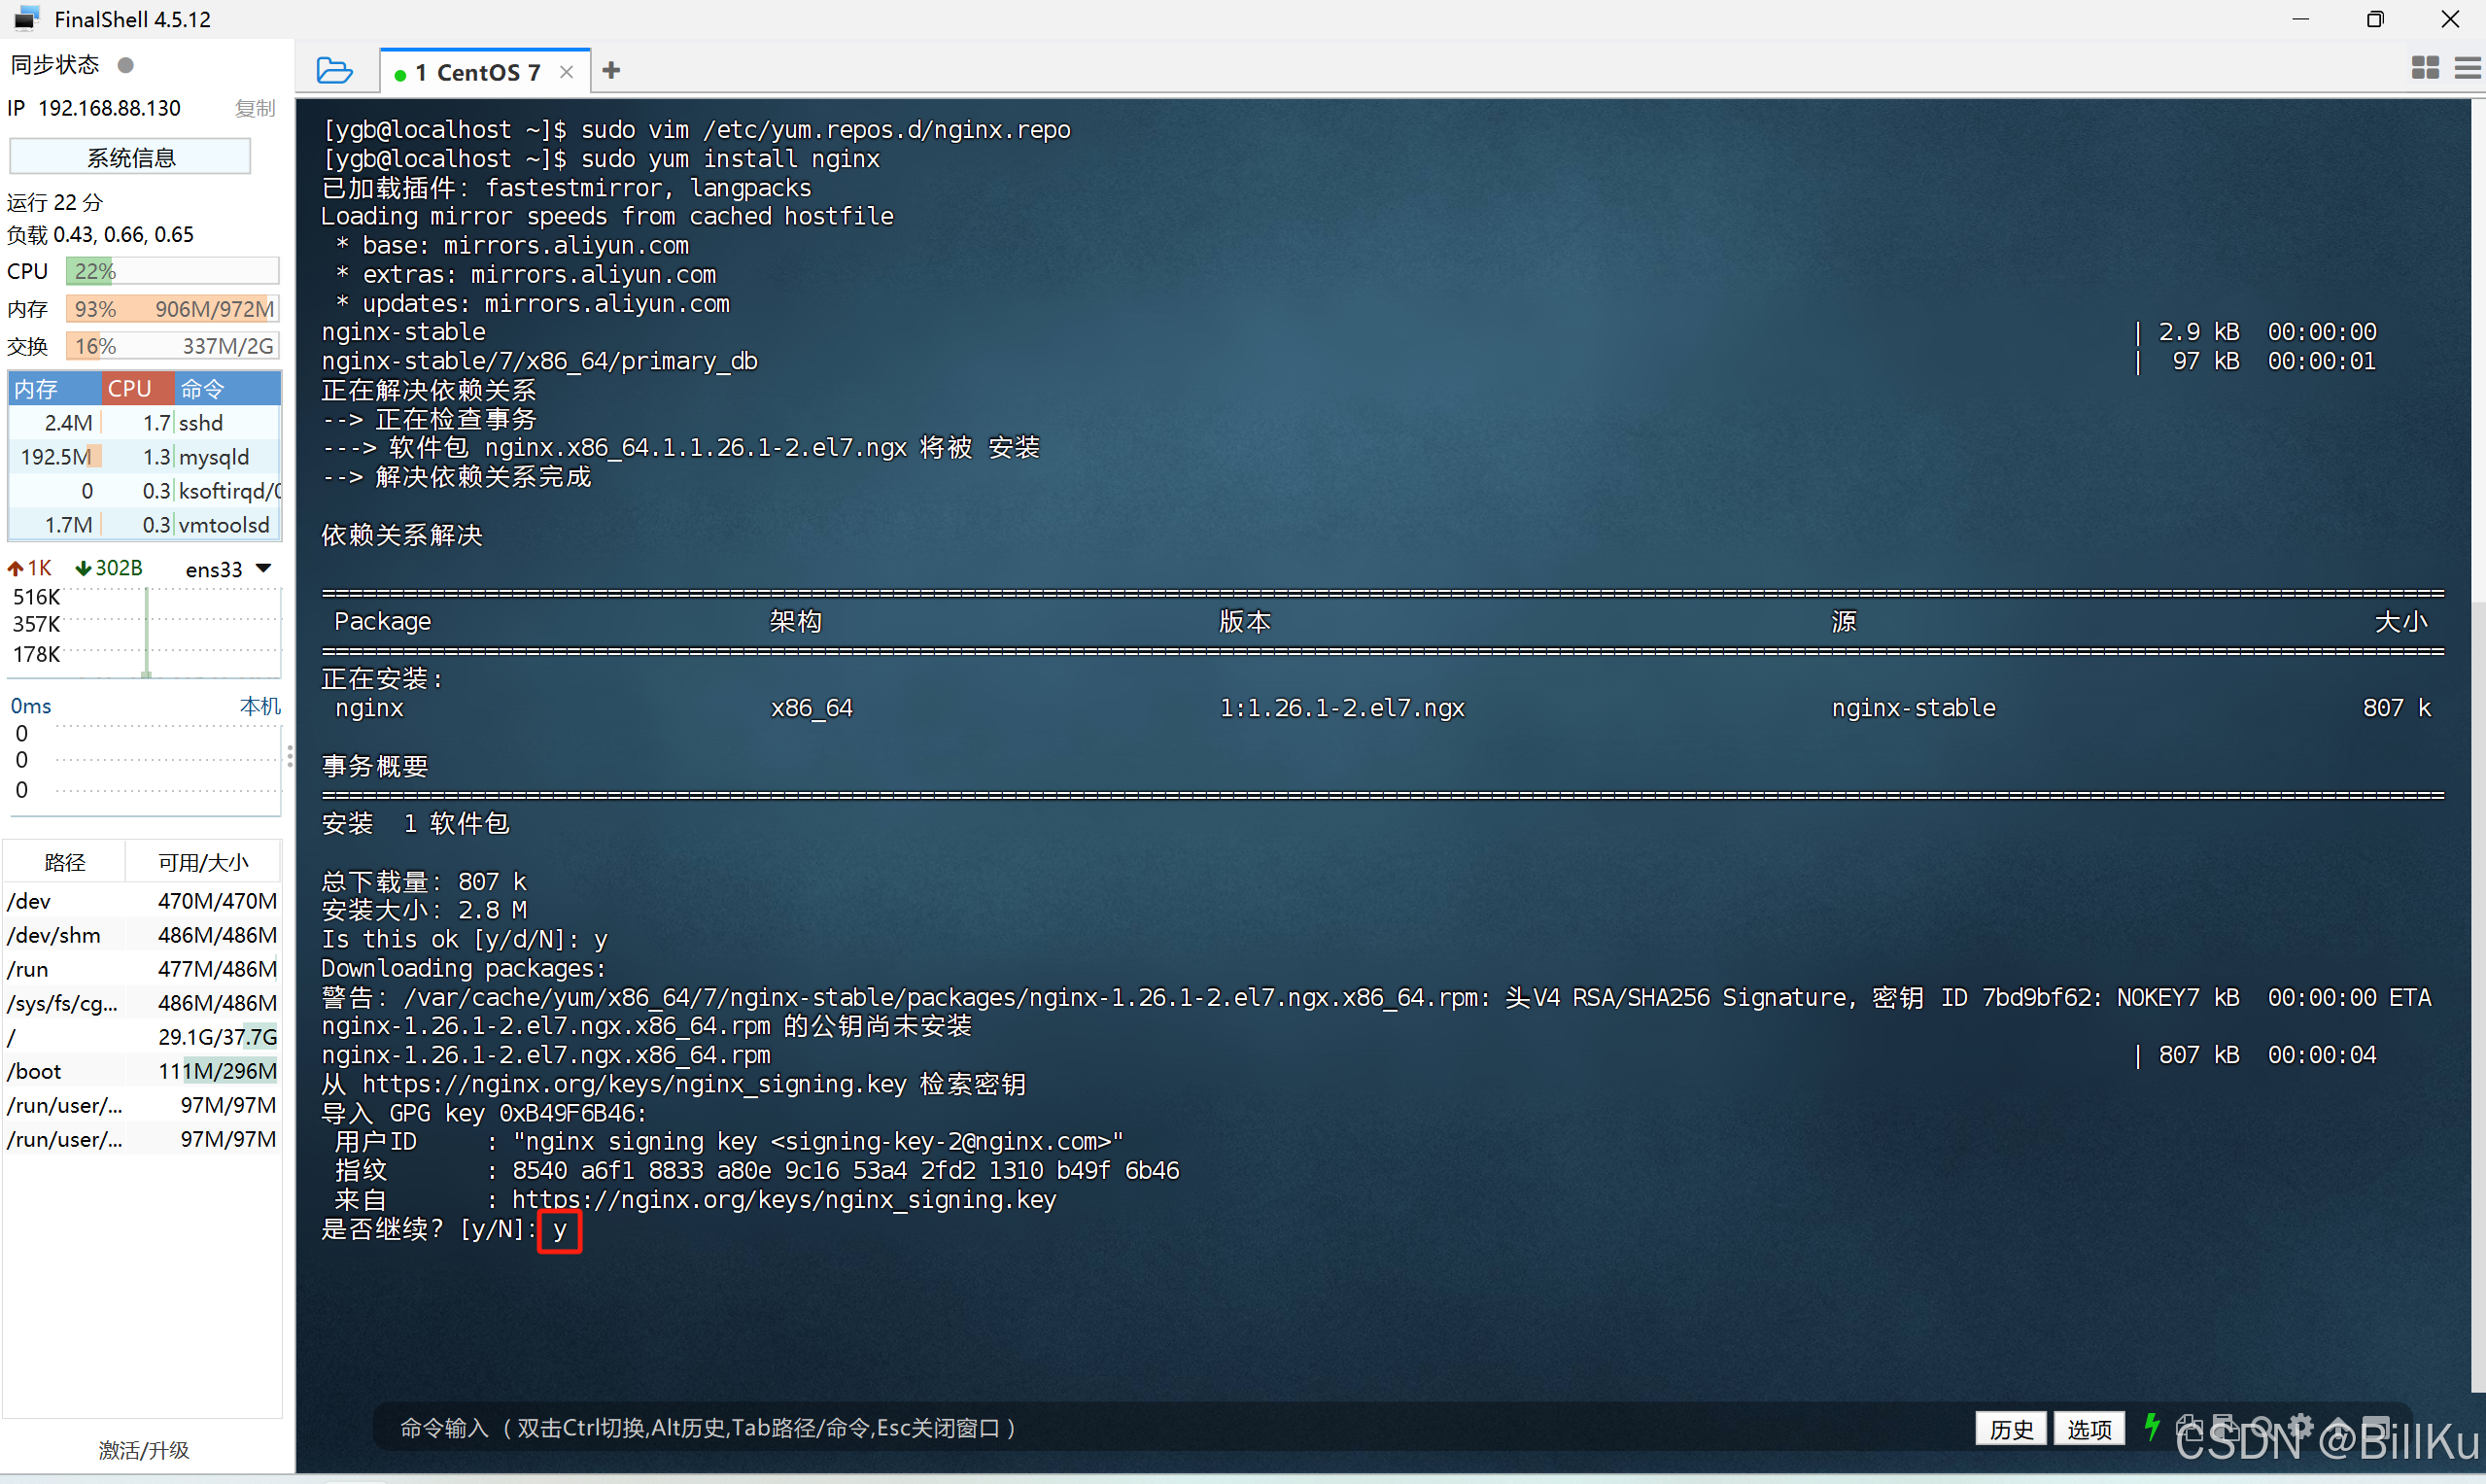
3、安装 Nginx
默认情况下,安装 Stable version 当前稳定版本
bash
sudo yum install nginx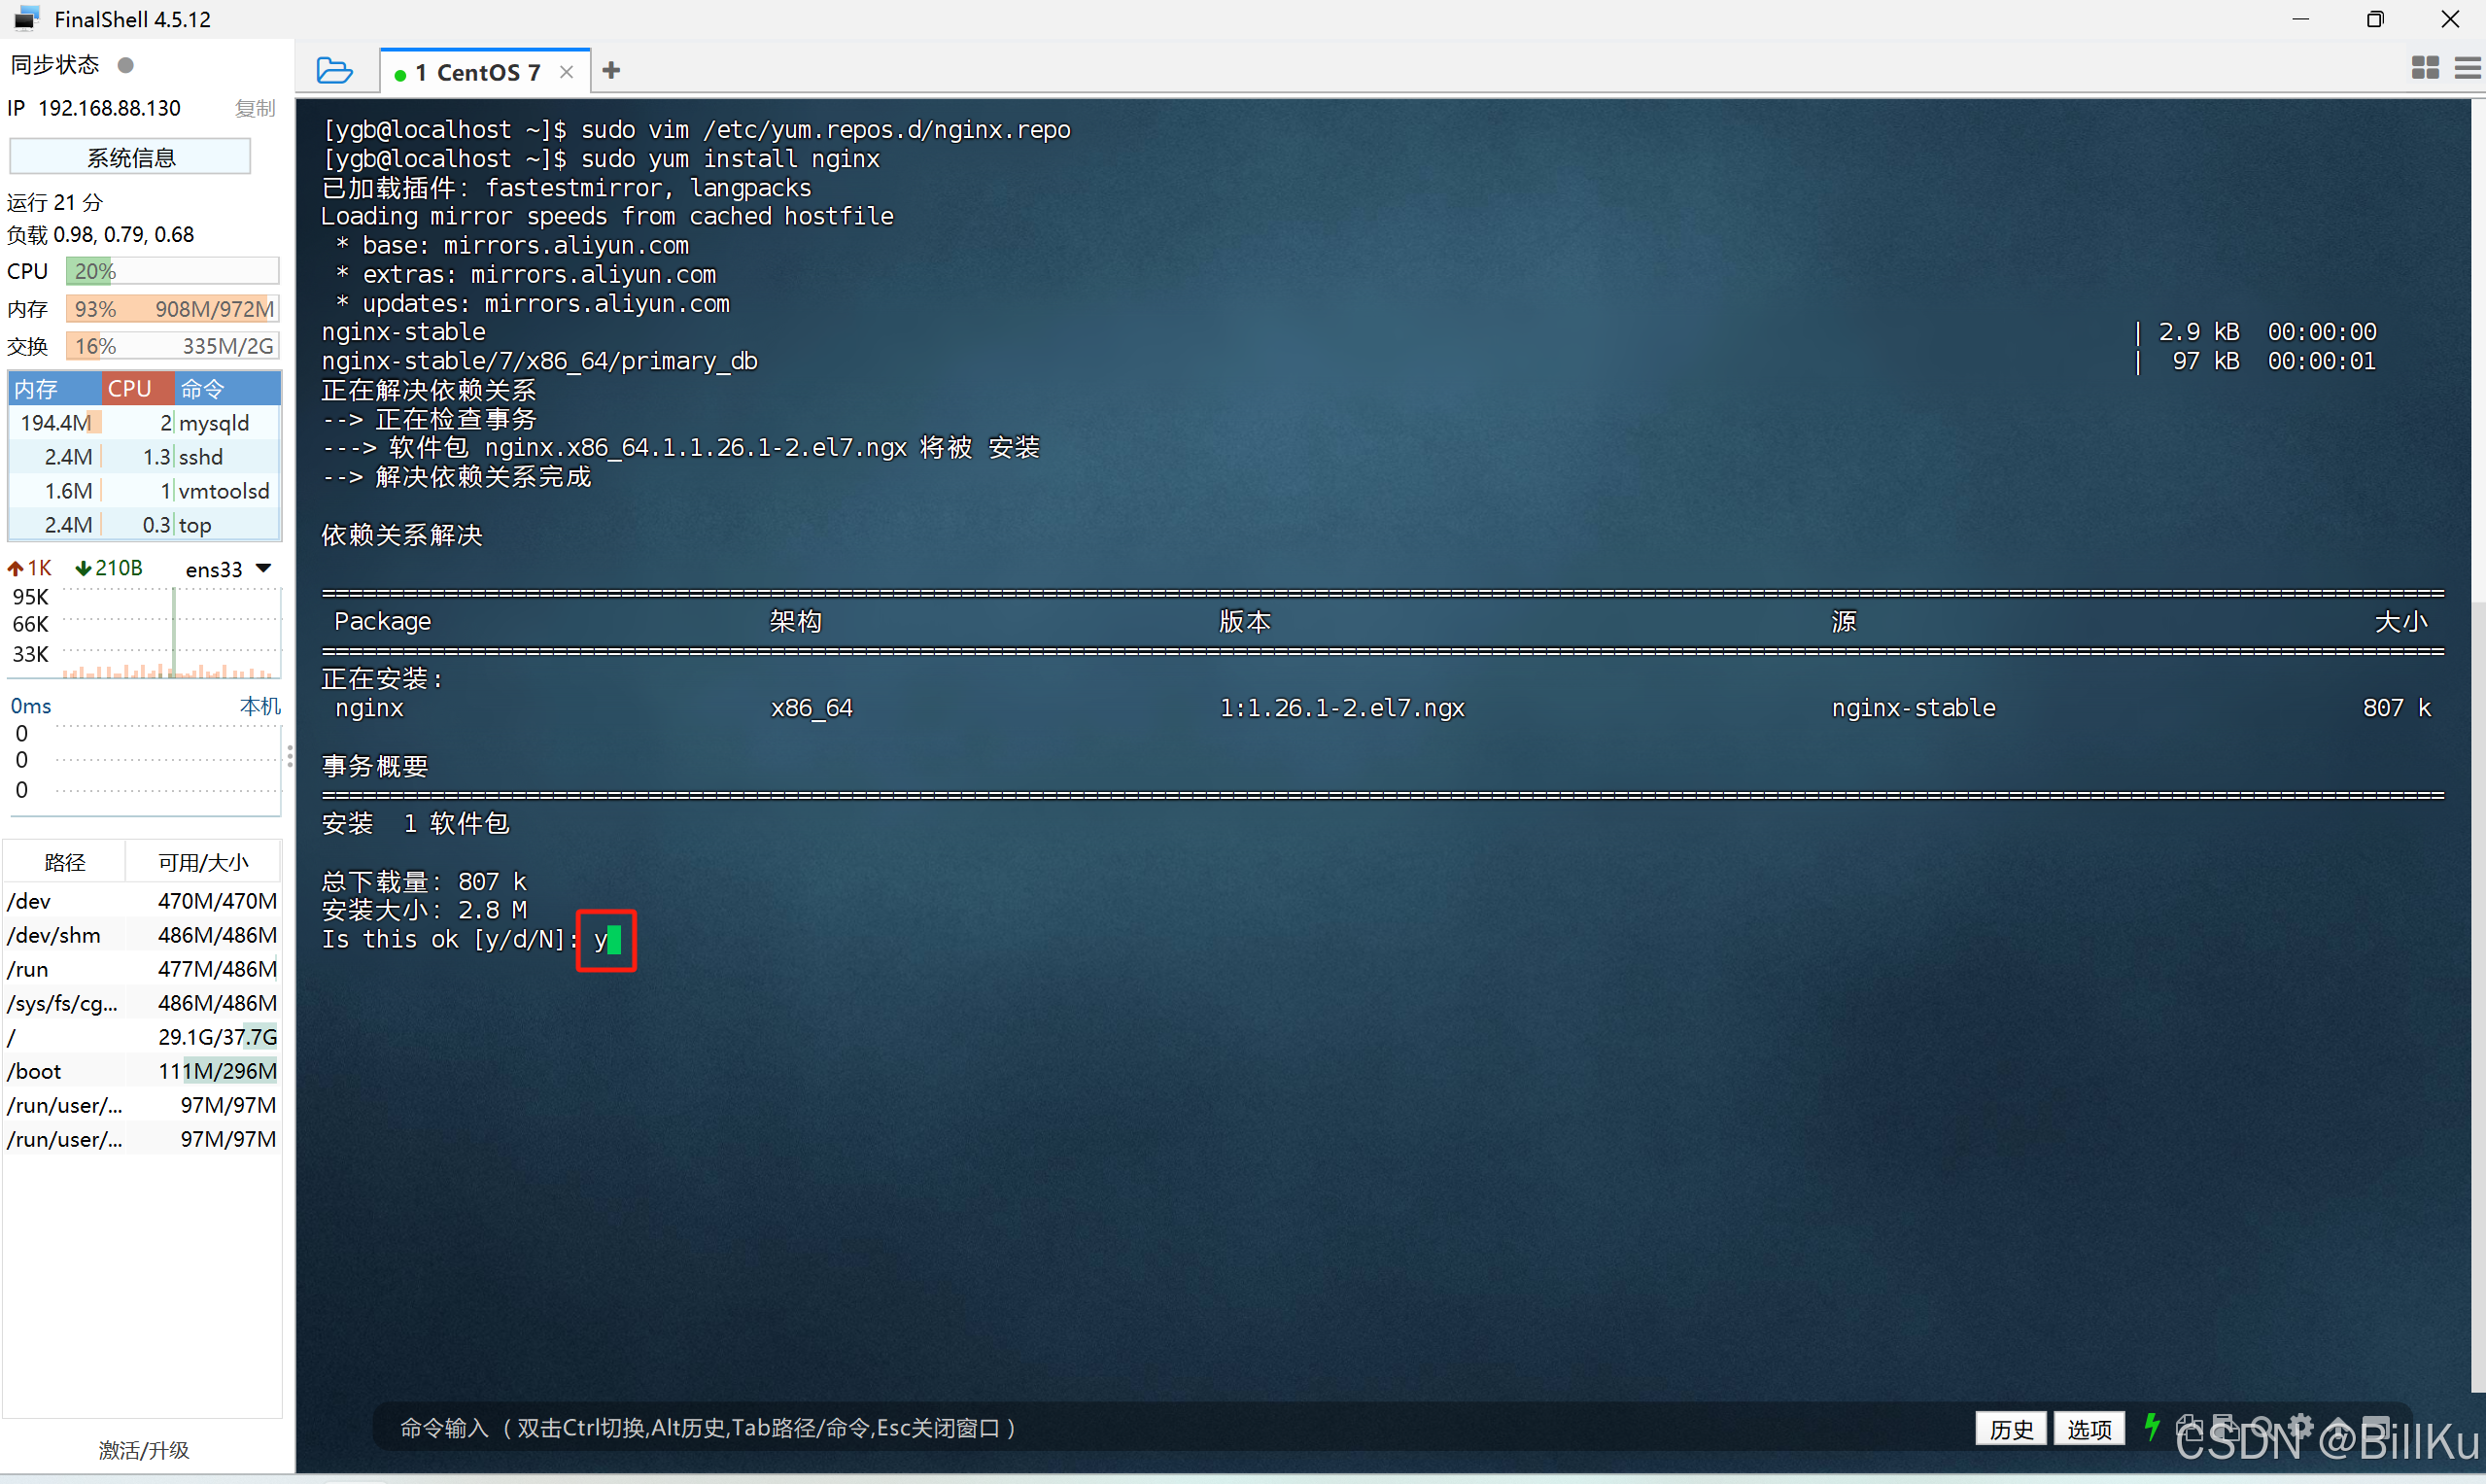


查看 nginx 安装目录
bash
whereis nginx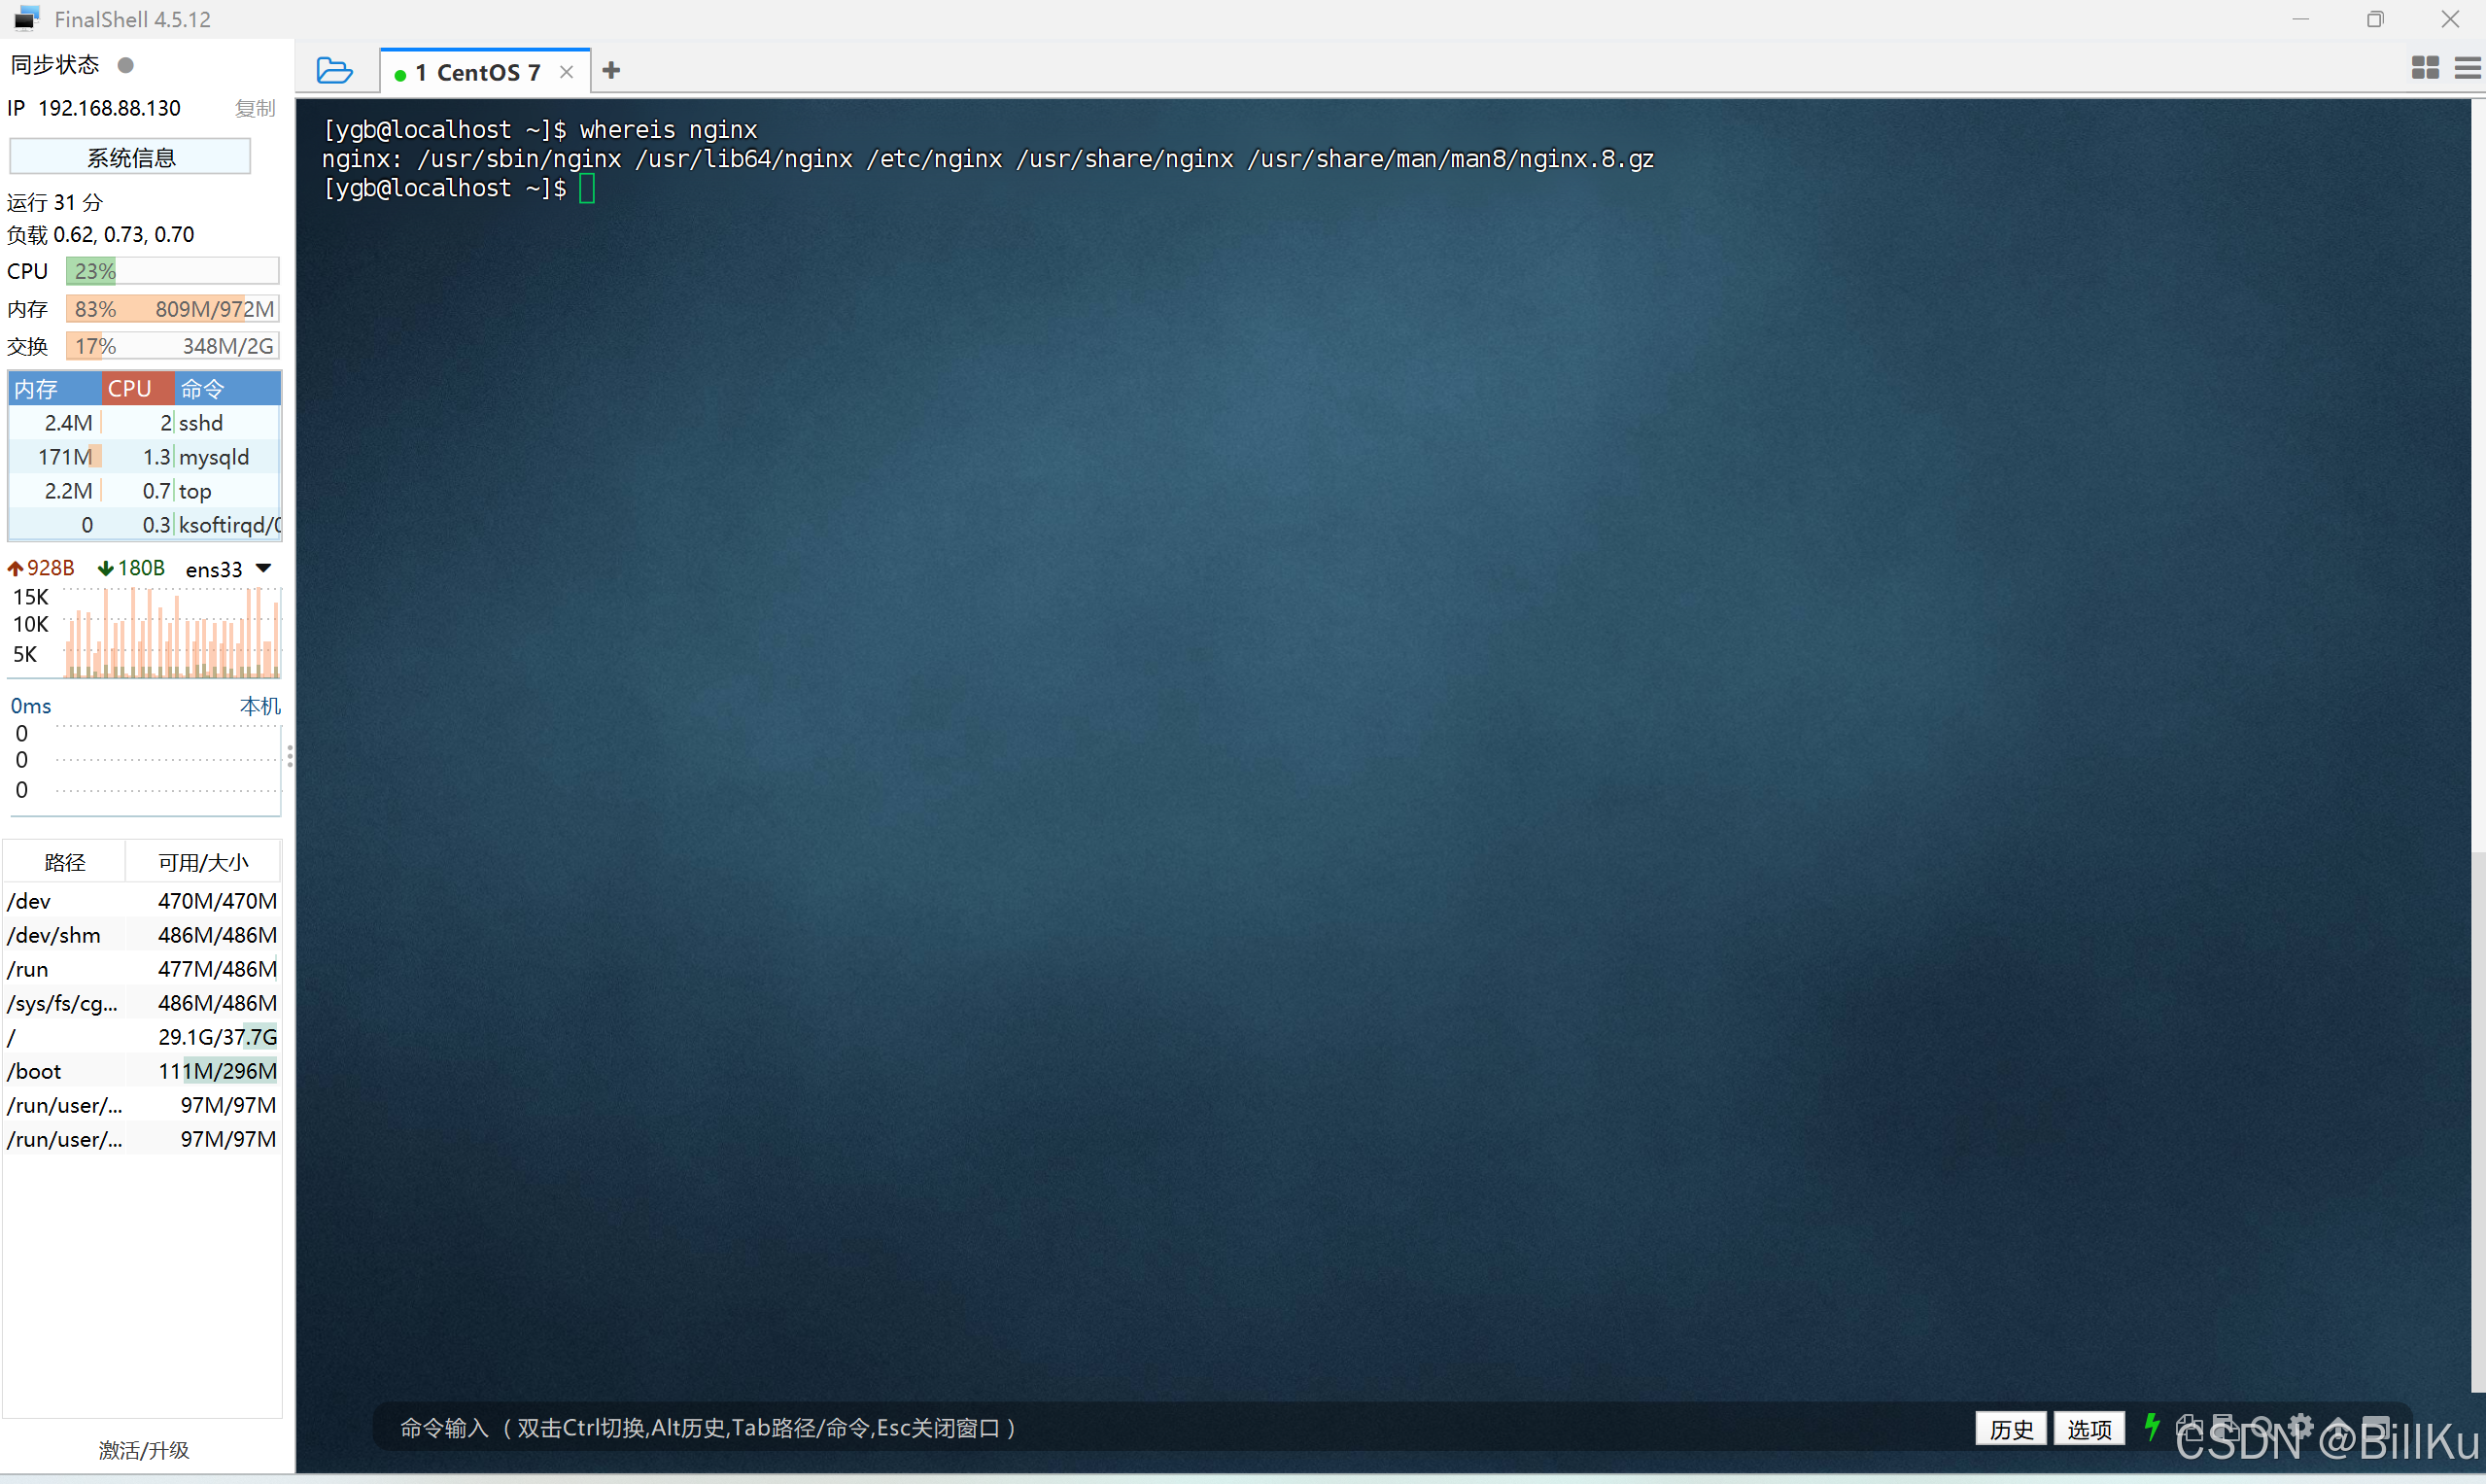
/usr/sbin 目录存放 nginx 启动程序
/etc/nginx 目录存放 nginx 配置文件
/usr/share/html 目录存放网站项目文件
4、开放端口,80
检查端口是否开放
bash
sudo firewall-cmd --zone=public --query-port=80/tcp开放端口
bash
sudo firewall-cmd --zone=public --add-port=80/tcp --permanent重新加载
bash
sudo firewall-cmd --reload再检查端口是否开放
bash
sudo firewall-cmd --zone=public --query-port=80/tcp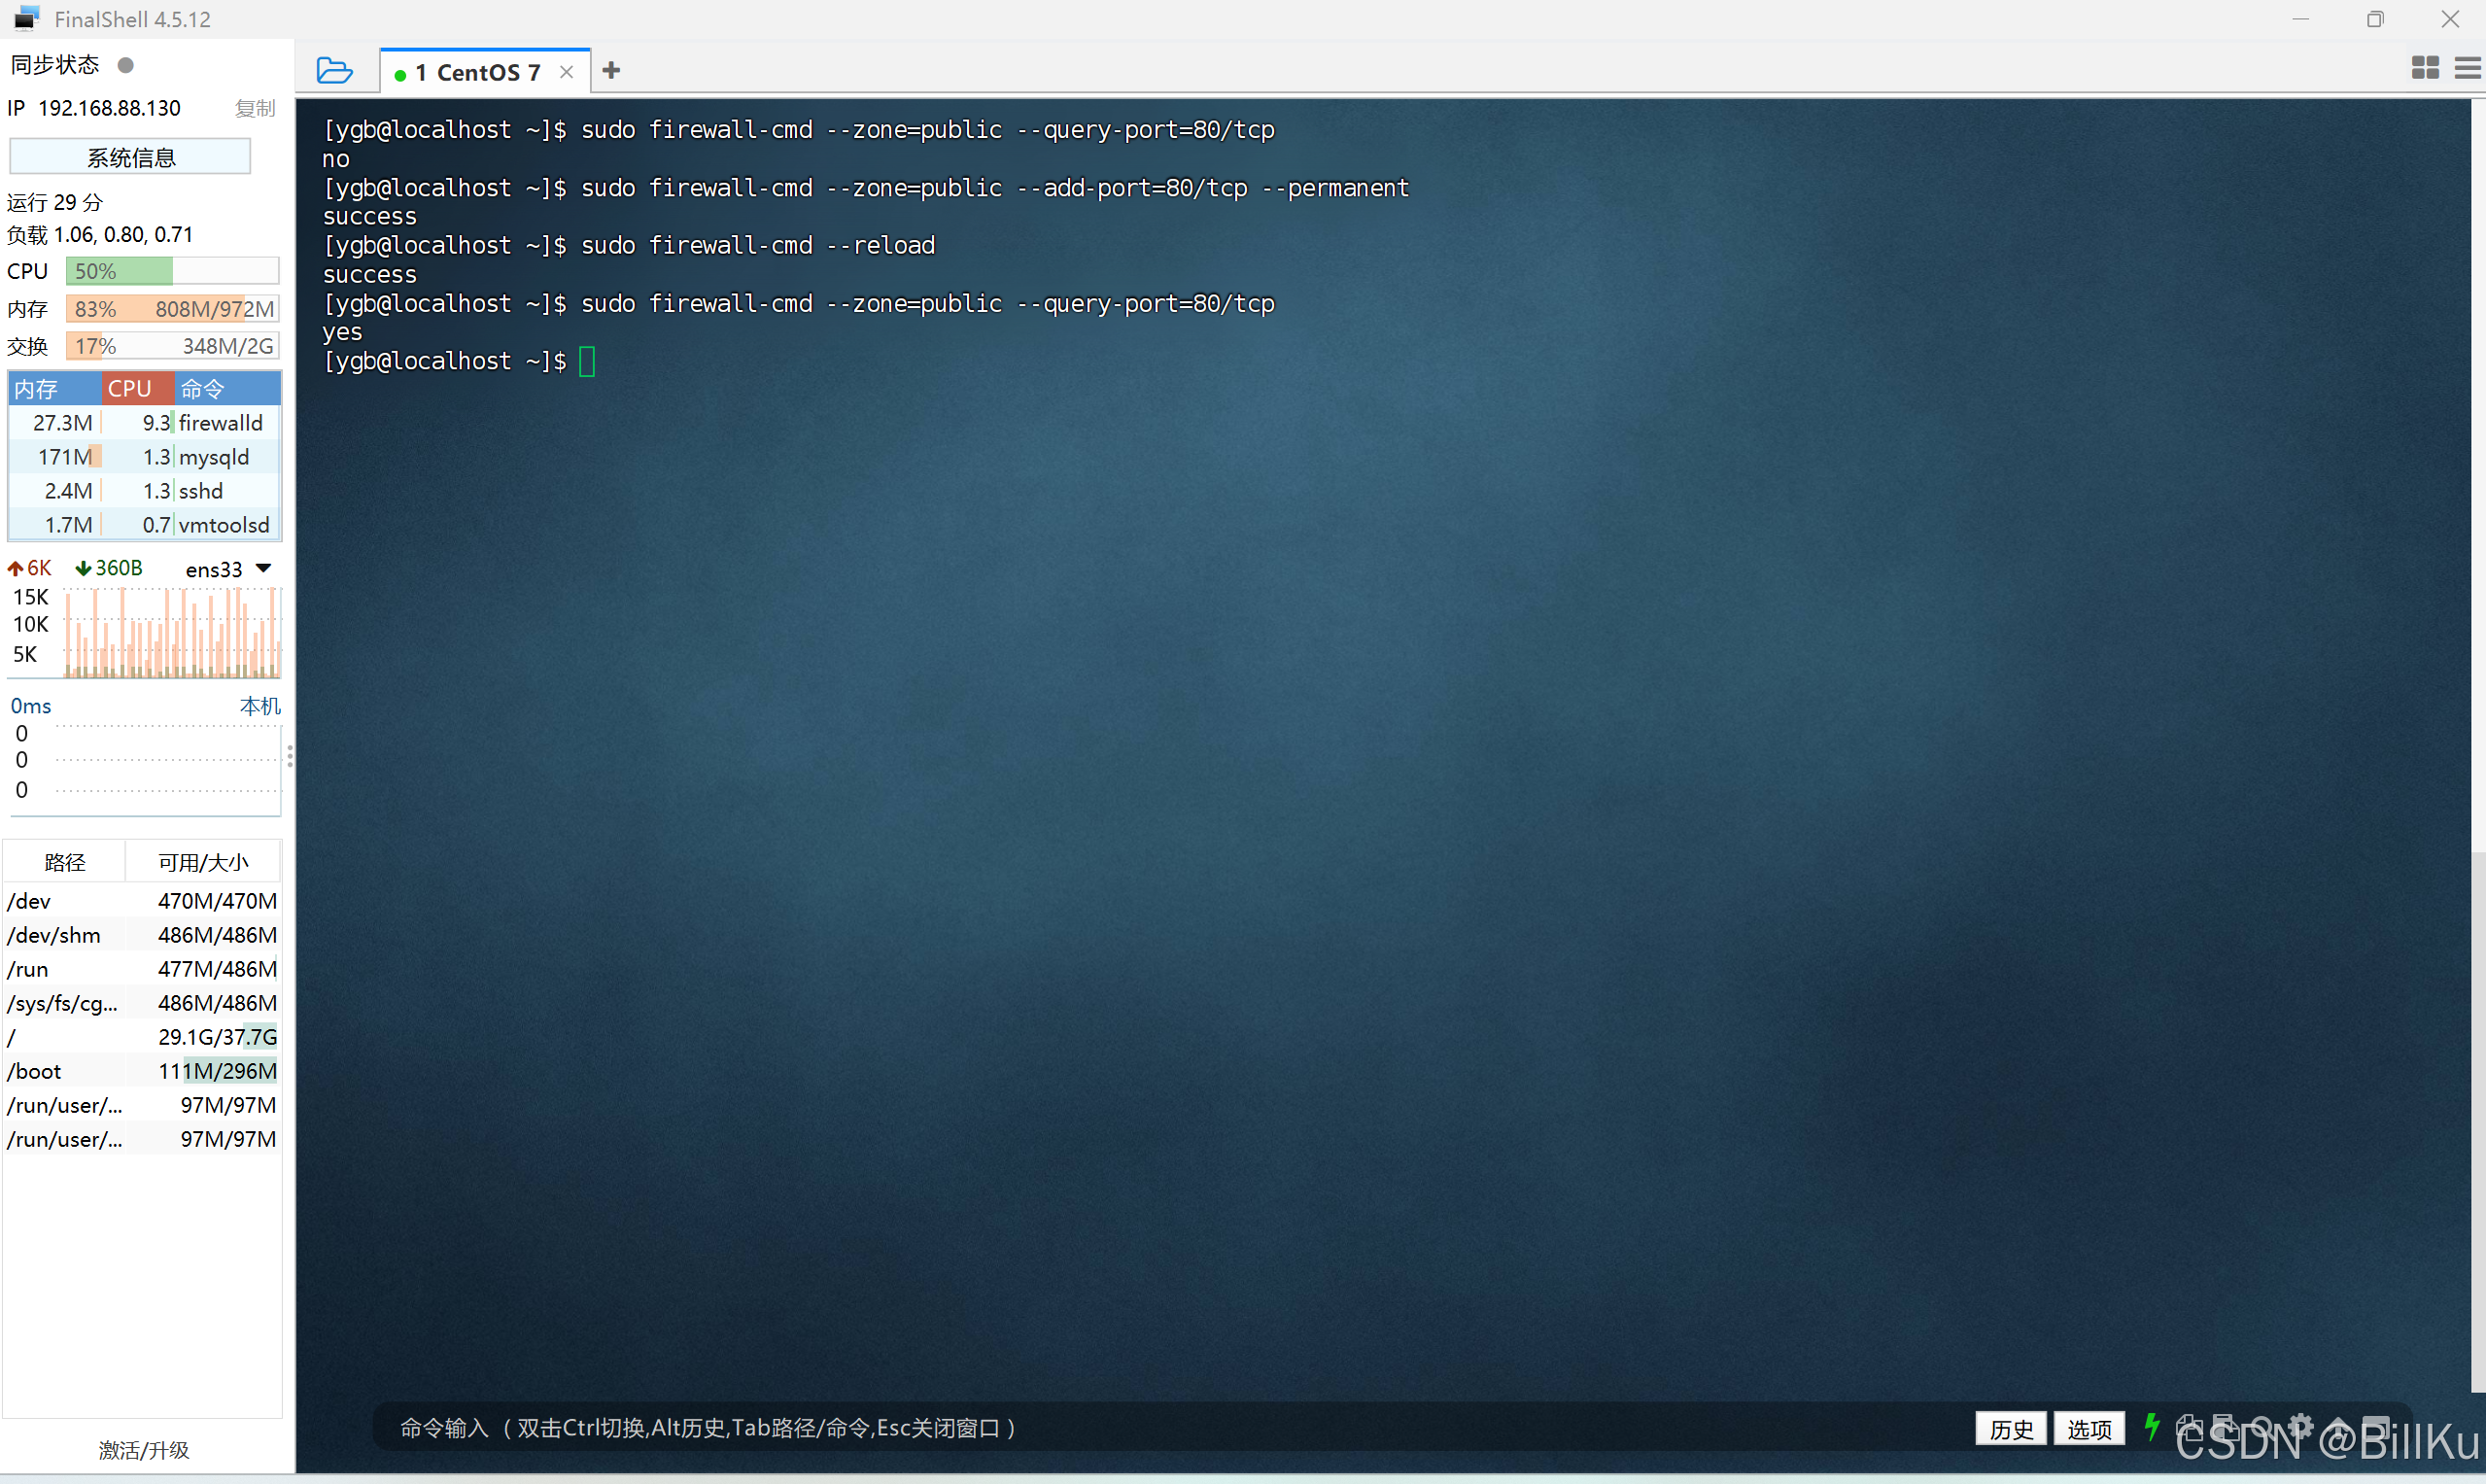
5、启动 Nginx
bash
sudo nginx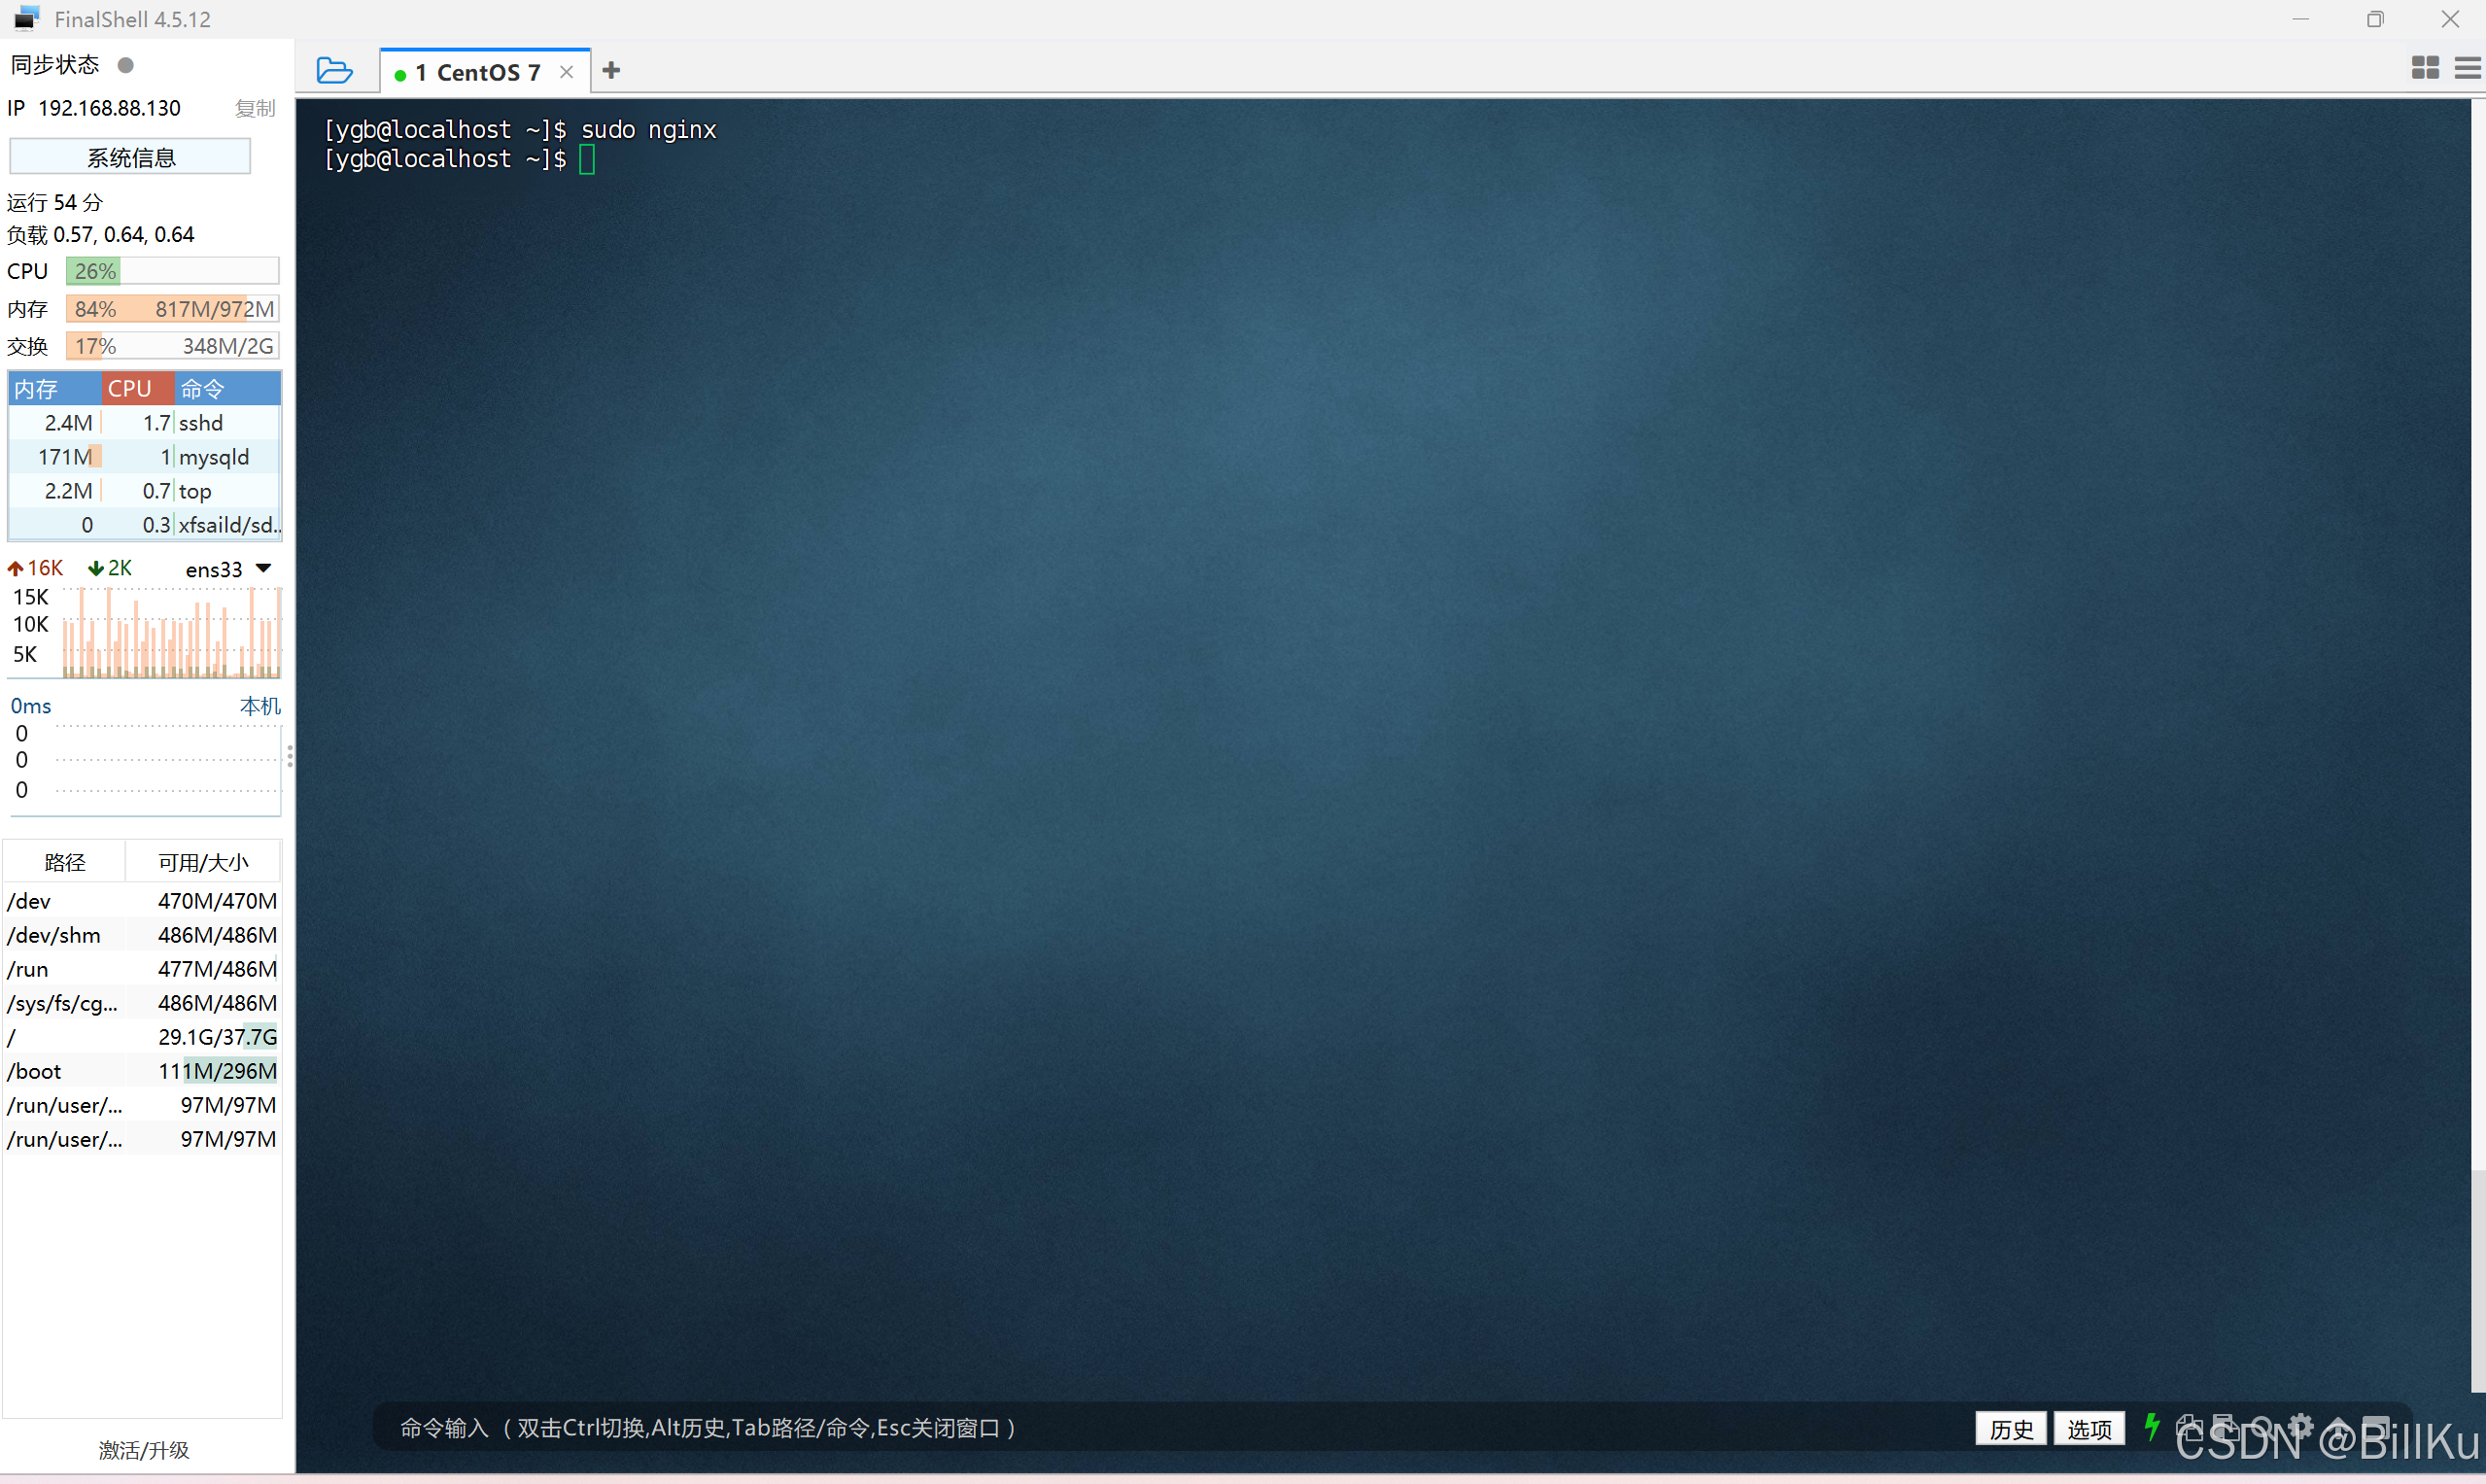
6、验证 Nginx
在其他终端,打开浏览器,输入ip,回车