操作步骤
1、实验箱(或者电脑)需要联网
2、拷贝文件
拷贝 Miniconda3-latest-Linux-aarch64.sh 到开发板(电脑上的Ubuntu安装使用Miniconda3-latest-Linux-x86_64.sh)
3、运行安装文件
运行安装 Miniconda3-latest-Linux-aarch64.sh(电脑上的Ubuntu安装使用Miniconda3-latest-Linux-x86_64.sh)
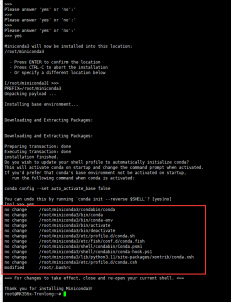
./Miniconda3-latest-Linux-aarch64.sh
回车(一直回车到提示输入"yes")->yes->回车->yes
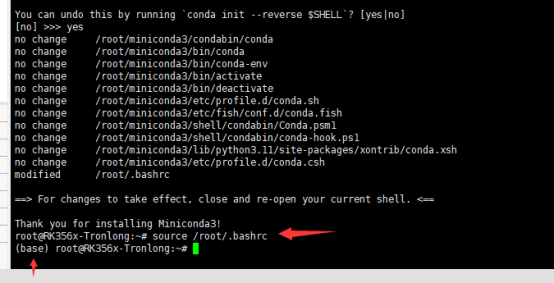
4、更新环境变量
source /home/tronlong/.bashrc
5、更新环境
/home/tronlong/miniconda3/condabin/conda shell.bash hook
6、创建虚拟环境
创建python虚拟环境,虚拟环境名字为:rk3568-python
conda create -n rk3568-python python==3.11
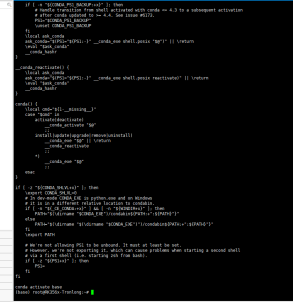
7、进入虚拟环境
conda activate rk3568-python
8、安装opencv-python
pip install opencv-python - i https://pypi.tuna.tsinghua.edu.cn/simple
9、更新软件源和软件
sudo apt update sudo apt upgrade sudo apt-get dist-upgrade
10、安装setuptools
pip install launchpadlib pip install setuptools==45.2
11、安装jupyter和jupyterlab
pip install -i https://pypi.tuna.tsinghua.edu.cn/simple jupyter pip install -i https://pypi.tuna.tsinghua.edu.cn/simple jupyterlab
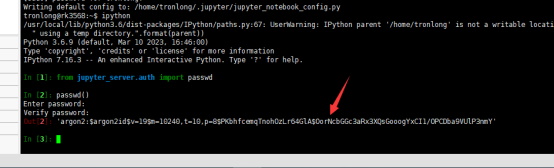
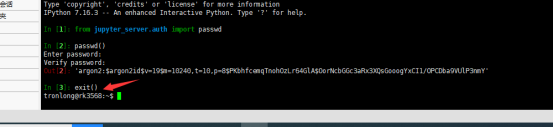
12、获取生成码
jupyter notebook --generate-config ipython from jupyter_server.auth import passwd passwd() 输密码:tronlong exit()
拷贝生成的码
13、添加内容
在jupyter_notebook_config.py添加内容
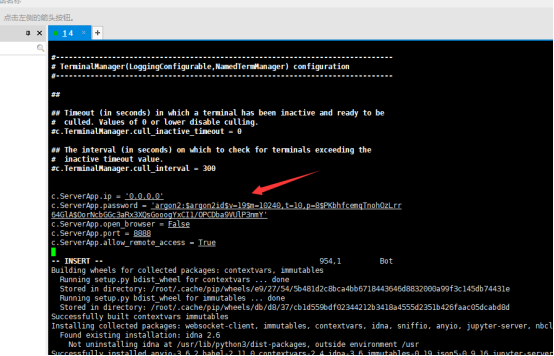
根据实际生成的码进行修改
c.ServerApp.ip = '0.0.0.0' c.ServerApp.password = 'argon2:$argon2id$v=19$m=10240,t=10,p=8$jEef4LFNODvFiXh4XFNwhw$yRwwFOFOWtVp1/cN/cwXMJl3zQubclPkhhHBEsswo6k' c.ServerApp.open_browser = False c.ServerApp.port = 8888 c.ServerApp.allow_remote_access = True
添加后保存退出
14、安装nodejs npm
sync sudo apt install nodejs npm
15、安装SSH
sudo apt install openssh-server
16、检查安装
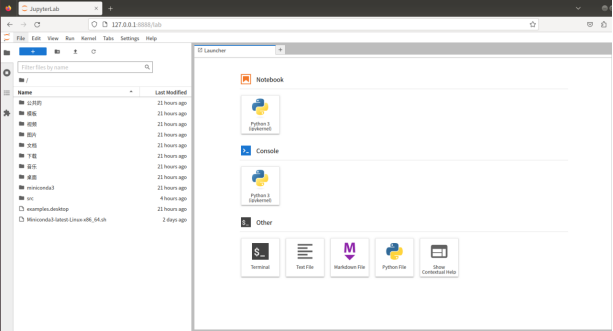
jupyter lab --allow-root
然后打开次连接,第一次进入需要输入密码,密码为第12步骤输入的密码
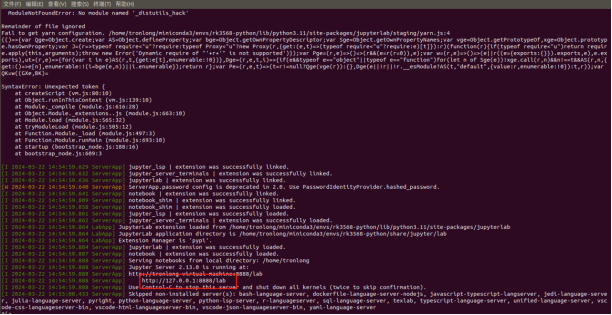
然后就可以看到如下界面,则证明安装成功。
关闭:关掉网页,然后终端ctrl+c,输入y,回车。
17、安装插件
pip install scikit-build -i https://pypi.tuna.tsinghua.edu.cn/simple pip install cmake -i https://pypi.tuna.tsinghua.edu.cn/simple pip install Cython -i https://pypi.tuna.tsinghua.edu.cn/simple pip install pycocotools -i https://pypi.tuna.tsinghua.edu.cn/simple pip install opencv-python -i https://pypi.tuna.tsinghua.edu.cn/simple
pip install cv -i https://pypi.tuna.tsinghua.edu.cn/simple pip install opencv-python-headless -i https://pypi.tuna.tsinghua.edu.cn/simple pip install pyserial -i https://pypi.tuna.tsinghua.edu.cn/simple
pip install absl-py pip install pygame pip install baidu-aip pip install torch -i https://pypi.tuna.tsinghua.edu.cn/simple pip install rospkg、pip install catkin-tools pip install Adafruit_BBIO pip install Adafruit_SSD1306 pip install Pillow pip install chardet pip install matplotlib pip uninstall setuptools pip install setuptools==45.2 pip install demjson
18、安装arm_lib库
将src拷贝到开发板(或者电脑ubuntu)中
cd src/Dofbot/0.py_install
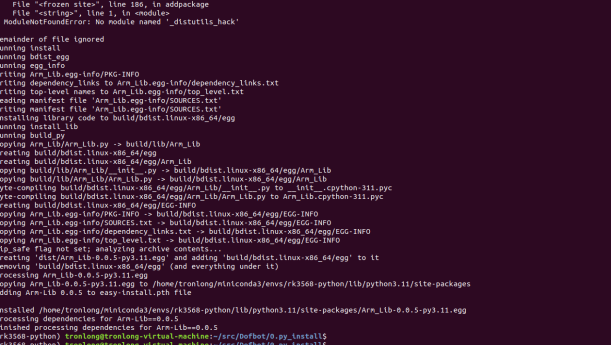
然后安装arm_lib库:
python setup.py install
安装完毕后如下显示: