UIPickerView
前言
笔者这周学习了这个UI控件,这个控件和UItableView比较相似,这里笔者简单介绍一下这个控件的用法。
实现效果
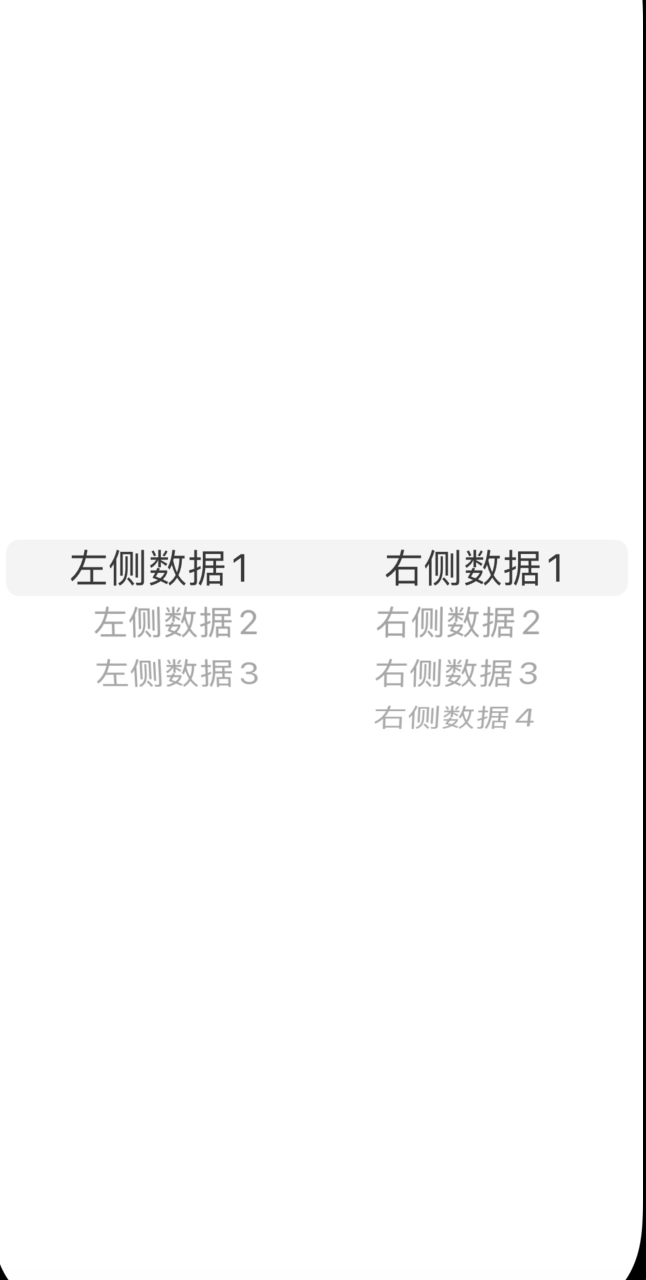
我们先来看一下这个UI控件的一个实现效果,其实也就是我们生活中经常用到的选择功能,而UIPickView就是用来实现这个功能的,这里简单介绍一下这个UIPickVIew的一个使用
相关代理函数
之前我们学过有关于UITableView的相关协议函数的内容,使用这个View也要遵循对应的协议函数的内容,先设置他的代理和数据源,也同时一定要遵循对应的来那个函数,剩下的都是可选的。
objc
//这两个函数是必须实现的
- (NSInteger)numberOfComponentsInPickerView:(UIPickerView *)pickerView;// 设置UIPickerView的列数
- (NSInteger)pickerView:(UIPickerView *)pickerView numberOfRowsInComponent:(NSInteger)component;// 设置UIPickerView的行数
这剩下的函数是可选的:
objc
// 设置PickerView第row行的选项标题
- (NSString *)pickerView:(UIPickerView *)pickerView titleForRow:(NSInteger)row forComponent:(NSInteger)component;
// 设置第component列第row行显示的视图
- (UIView *)pickerView:(UIPickerView *)pickerView viewForRow:(NSInteger)row forComponent:(NSInteger)component reusingView:(UIView *)view;
// 当选中第component列第row行的时候,就调用该方法
- (void)pickerView:(UIPickerView *)pickerView didSelectRow:(NSInteger)row inComponent:(NSInteger)component;
// 设置第component列的宽度
- (CGFloat)pickerView:(UIPickerView *)pickerView widthForComponent:(NSInteger)component;
// 设置第component列的行高
- (CGFloat)pickerView:(UIPickerView *)pickerView rowHeightForComponent:(NSInteger)component;

// 获取第component列第row行的视图,前提是该列必须是通过视图显示
- (UIView *)viewForRow:(NSInteger)row forComponent:(NSInteger)component;
// 刷新所有列的数据
- (void)reloadAllComponents;
// 刷新第component列的数据
- (void)reloadComponent:(NSInteger)component;
// 在PickerView里显示选中第component列第row的数据
- (void)selectRow:(NSInteger)row inComponent:(NSInteger)component animated:(BOOL)animated;
// 获取第component列选中的行号
- (NSInteger)selectedRowInComponent:(NSInteger)component;
小demo
objc
#import "ViewController.h"

@interface ViewController ()

@end

@implementation ViewController

- (void)viewDidLoad {
    [super viewDidLoad];
    self.pickerView = [[UIPickerView alloc] init];
    self.pickerView.delegate = self;
    self.pickerView.dataSource = self;
    self.pickerView.frame = CGRectMake(0, 200, self.view.frame.size.width, 400);
    self.leftArray = @[@"左侧数据1", @"左侧数据2", @"左侧数据3"];
    self.rightArray = @[@"右侧数据1", @"右侧数据2", @"右侧数据3", @"右侧数据4"];
    self.rightArrayTwo = @[@"数据1", @"数据2", @"数据3", @"数据4"];
    self.rightArrayThird = @[@"数1", @"数2", @"数3", @"数4"];
    self.myArray = _rightArray;
    [self.view addSubview:self.pickerView];
    // Do any additional setup after loading the view.
}
- (NSInteger)numberOfComponentsInPickerView:(UIPickerView *)pickerView {
    return 2;
}
- (NSInteger)pickerView:(UIPickerView *)pickerView numberOfRowsInComponent:(NSInteger)component {
    if (component == 0) {
        return 3;
    }
    return 4;
}
- (NSString *)pickerView:(UIPickerView *)pickerView titleForRow:(NSInteger)row forComponent:(NSInteger)component {
    if (component == 0) {
        return _leftArray[row];
    } else {
        return _myArray[row];
    }
}
- (void)pickerView:(UIPickerView *)pickerView didSelectRow:(NSInteger)row inComponent:(NSInteger)component {
    if (component == 0) {
        switch (row) {
            case 0:
                self.myArray = _rightArray;
                break;
            case 1:
                self.myArray = _rightArrayTwo;
                break;
            case 2:
                self.myArray = _rightArrayThird;
                break;
        }
        [self.pickerView reloadComponent:1];
    }
}
@end