文章目录
- [1,通过命令行创建uniapp vue3 ts项目](#1,通过命令行创建uniapp vue3 ts项目)
- [2, 创建springboot后台项目](#2, 创建springboot后台项目)
- [3, 联调测试](#3, 联调测试)
1,通过命令行创建uniapp vue3 ts项目
官方通过命令行创建项目的地址:https://zh.uniapp.dcloud.io/quickstart-cli.html
在执行下面操作之前,请先保证已安装node.js。网址:https://nodejs.org/en
第一步:全局安装vue-cli,如果已经安装过,可以跳过次步骤
shell
npm install -g @vue/cli 可以通过在命令行中输入下面指令查看安装后的版本
shell
vue -V第二步:创建以 typescript 开发的工程(如命令行创建失败,请直接访问 gitee 下载模板)
shell
npx degit dcloudio/uni-preset-vue#vite-ts uni-vue3-project-one第三步:用Visual Studio Code打开上面创建的项目
第四步:在项目目录执行npm install命令安装相关依赖包
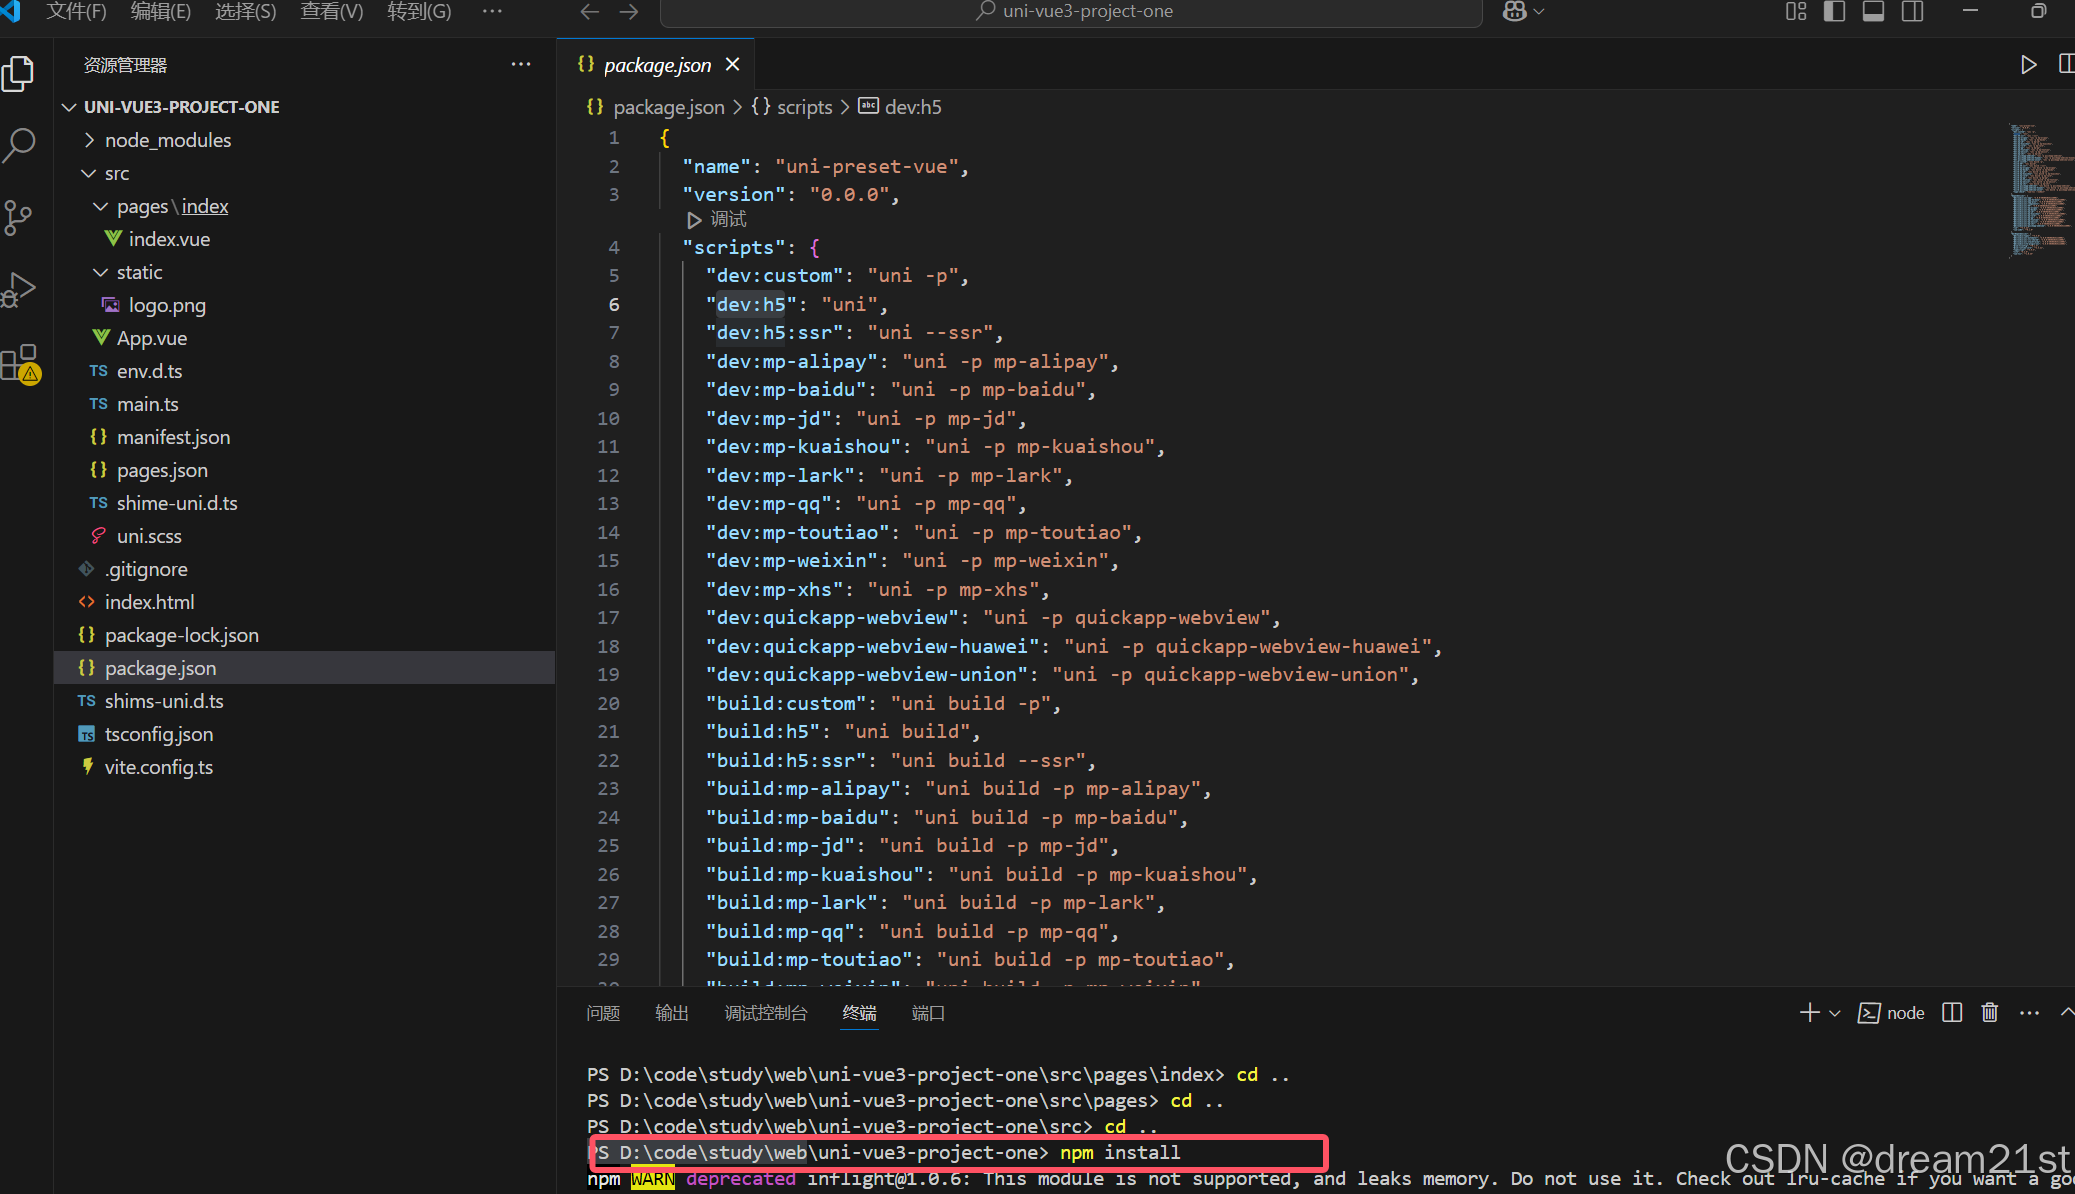
第五步:通过下面命令在页面中启动项目
shell
npm run dev:h5 其他方式的启动和打包指令可以在package.json中查看。
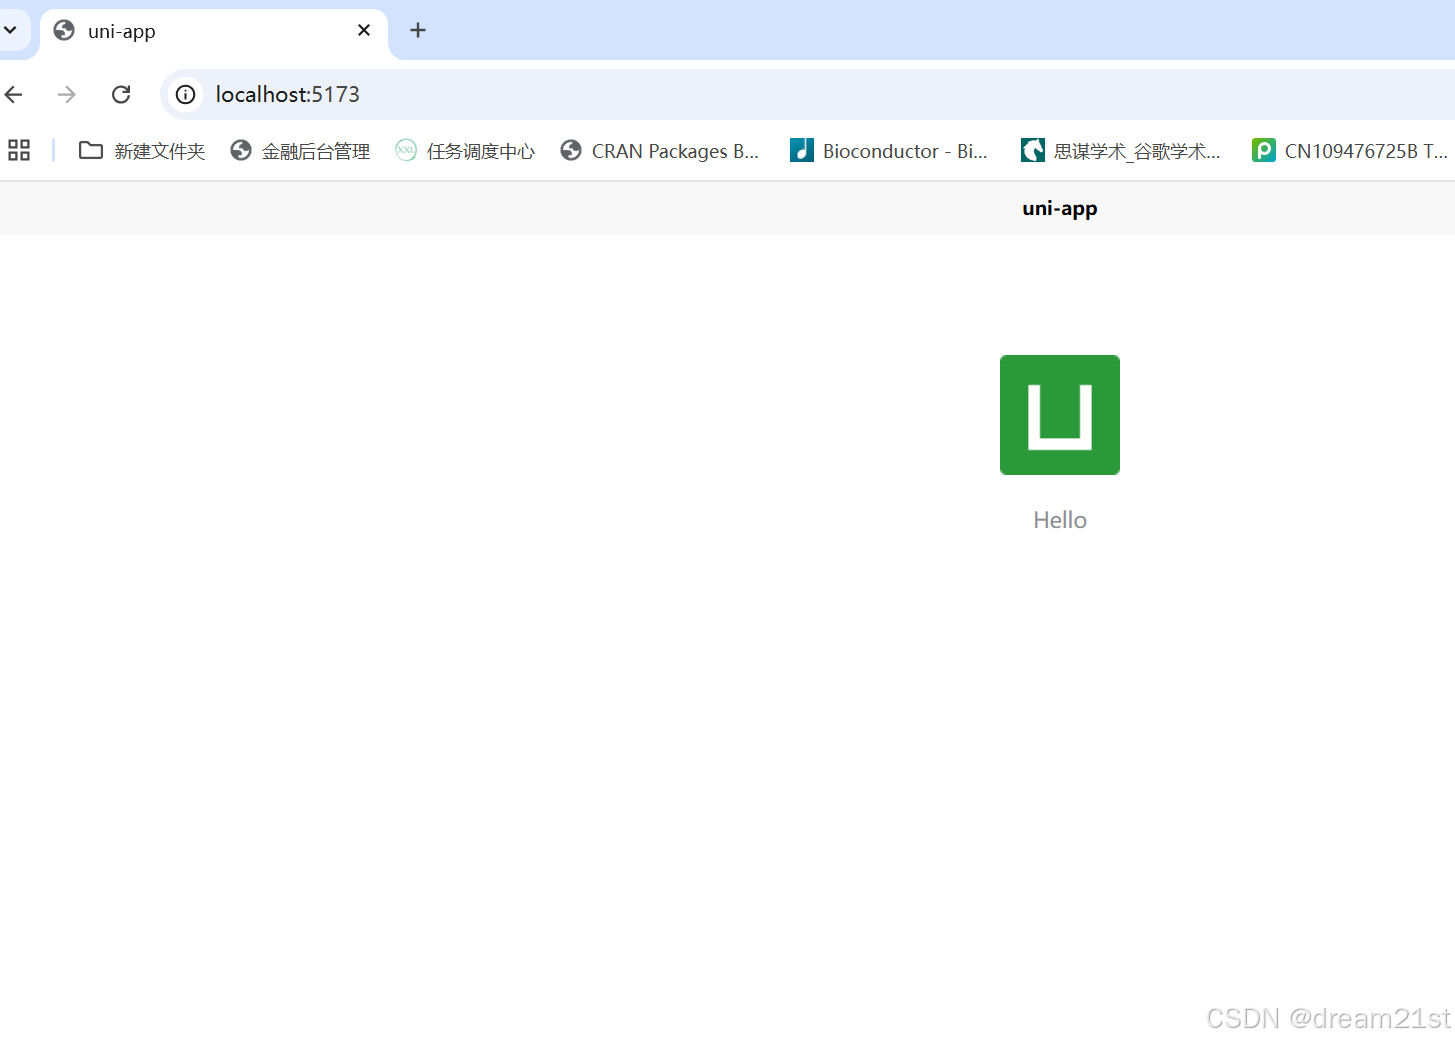
第六步:通过页面访问
第七步:安装uni相关的插件
由于HbuilderX 对 TS 类型支持暂不完善,VS Code 对 TS 类型支持友好,同时这个编辑器也是大家熟悉的编译器。在Visual Studio Code中安装下面三个插件。
!外链图片转存失败,源站可能有防盗链机制,建议将图片保存下来直接上传(https://img-home.csdnimg.cn/images/20230724024159.png?origin_url=D%3A\developsoftware\mayun\note\study-note\uniapp\image\image-20241227150015412.pn
g&pos_id=img-1Bxtnns6-1735366929877)
第八步:安装uni的TS支持类型
在执行下面安装方法之前,我们先将package.json中的"typescript": "^4.9.4",改成"typescript": "^5.0.0",。修改完成后,执行npm install后在执行下面操作。
npm install @types/wechat-miniprogram -D
npm install @uni-helper/uni-app-types -D
npm install @uni-helper/uni-ui-types -D 修改tsconfig.json配置文件内容如下:
json
{
  "extends": "@vue/tsconfig/tsconfig.json",
  "compilerOptions": {
    "sourceMap": true,
    "baseUrl": ".",
    "paths": {
      "@/*": ["./src/*"]
    },
    "lib": ["esnext", "dom"],
    "types": [
      "@dcloudio/types",
      "@types/wechat-miniprogram",
      "@uni-helper/uni-app-types",
      "@uni-helper/uni-ui-types"
    ],
  },
  "vueCompilerOptions": {
    "plugins": ["@uni-helper/uni-app-types/volar-plugin"],
  },
  "include": ["src/**/*.ts", "src/**/*.d.ts", "src/**/*.tsx", "src/**/*.vue"]
} 修改完成后,会看到下面报错信息
!外链图片转存失败,源站可能有防盗链机制,建议将图片保存下来直接上传(https://img-home.csdnimg.cn/images/20230724024159.png?
origin_url=D%3A%5Cdevelopsoftware%5Cmayun%5Cnote%5Cstudy-note%5Cuniapp%5Cimage%5Cimage-20241227151617055.png&pos_id=img-hcnex7Oq-1735366929877)
打开@vue/tsconfig/tsconfig.json文件,注释下面两行代码:
shell
   // "preserveValueImports": true,
   //  "importsNotUsedAsValues": "error",
第九步:编写请求接口的相关内容
在src目录下面新建utils目录,新建index.ts,http.ts两个文件,代码的内容如下:
index.ts代码内容如下:
tsx
/**
 * 日期格式化函数
 * @param date 日期对象
 * @param format 日期格式,默认为 YYYY-MM-DD HH:mm:ss
 */
export const formatDate = (date: Date, format = 'YYYY-MM-DD HH:mm:ss') => {
  // 获取年月日时分秒,通过 padStart 补 0
  const year = String(date.getFullYear())
  const month = String(date.getMonth() + 1).padStart(2, '0')
  const day = String(date.getDate()).padStart(2, '0')
  const hours = String(date.getHours()).padStart(2, '0')
  const minutes = String(date.getMinutes()).padStart(2, '0')
  const seconds = String(date.getSeconds()).padStart(2, '0')
  const millSeconds = String(date.getMilliseconds())

  // 返回格式化后的结果
  return format
    .replace('YYYY', year)
    .replace('MM', month)
    .replace('DD', day)
    .replace('HH', hours)
    .replace('mm', minutes)
    .replace('ss', seconds)
    .replace('SSS',millSeconds)
} http.ts代码内容如下:
tsx
import {formatDate} from "@/utils/index"

const baseURL = '/api'

/**
 * 后台请求报文结构
 */
export class ComReq{
  requestTime: string;
  origin:string;
  data: any;

  constructor(requestTime: string,data: any){
      this.requestTime=requestTime;
      this.data=data;
      this.origin="H5";
  }
}

/**
 * 后台响应报文结构
 */
export type ComResp<T>={
  reponseTime: string,
  code: string,
  msg: string,
  data: T
}

// 添加拦截器
const httpInterceptor = {
  // 拦截前触发
  invoke(options: UniApp.RequestOptions) {
    // 1. 非 http 开头需拼接地址
    if (!options.url.startsWith('http')) {
      options.url = baseURL + options.url
    }
    // 2. 请求超时, 默认 60s
    options.timeout = 30000
    // 3. 添加小程序端请求头标识
    options.header = {
      ...options.header,
      'source-client': 'H5',
    }
    // 4.统一封装请求后台数据结构
    options.data=new ComReq(formatDate(new Date(),"YYYYMMDDHHmmssSSS"),options.data)
  },
}
uni.addInterceptor('request', httpInterceptor)
uni.addInterceptor('uploadFile', httpInterceptor)


// 2.2 添加类型,支持泛型
export const http = <T>(options: UniApp.RequestOptions) => {
  // 1. 返回 Promise 对象
  return new Promise<T>((resolve, reject) => {
    uni.request({
      ...options,
      // 响应成功
      success(res) {
        // 状态码 2xx, axios 就是这样设计的
        if (res.statusCode >= 200 && res.statusCode < 300) {
          // 2.1 提取核心数据 res.data
          const result=res.data as ComResp<T>
          if(result.code==='0000'){
            resolve(result.data)
          }else{
            uni.showToast({
              icon: 'none',
              title: result.msg || '接口响应错误',
            })
            console.log(111)
            reject(res)
          }
        } else if (res.statusCode === 401) {
          // 401错误  -> 清理用户信息,跳转到登录页
          uni.navigateTo({ url: '/pages/login/login' })
          reject(res)
        } else {
          // 其他错误 -> 根据后端错误信息轻提示
          uni.showToast({
            icon: 'none',
            title: (res.data as ComResp<T>).msg || '请求错误',
          })
          reject(res)
        }
      },
      // 响应失败
      fail(err) {
        uni.showToast({
          icon: 'none',
          title: '网络错误,换个网络试试',
        })
        reject(err)
      },
    })
  })
}
第十步:编写一个测试用的登录接口
在src目录下面新建目录types,在该目录下面建一个文件login.d.ts用来定义登录的请求和响应类型,具体的代码如下:
tsx
/**
 * 请求登录类型
 */
export type LoginReqDTO = {
    username: string
    password: string
}

/**
 * 登录响应类型
 */
export type LoginRespDTO = {
    token: string
} 在src目录下面新建目录api,在该目录下面新建文件login.ts,具体的代码类型如下:
tsx
import { LoginReqDTO,LoginRespDTO } from '@/types/login'
import { http } from '@/utils/http'


export const loginByPwd = (data: LoginReqDTO) => {
  return http<LoginRespDTO>({
    method: 'POST',
    url: '/login',
    data,
  })
} 修改pages/index/index.vue文件,在代码中新增调用接口loginByPwd的按钮,具体的代码逻辑如下:
vue
<template>
  <view class="content">
    <image mode="aspectFill" class="logo" src="/static/logo.png"/>
    <view class="text-area" @tap="doLogin">
      <text class="title">点击</text>
    </view>
  </view>
</template>

<script setup lang="ts">
import {loginByPwd} from "@/api/login"

const doLogin=async()=>{
    const res=await loginByPwd({username:"dream21th",password:"123456"})
    console.log(res)
}
</script>

<style>
.content {
  display: flex;
  flex-direction: column;
  align-items: center;
  justify-content: center;
}

.logo {
  height: 200rpx;
  width: 200rpx;
  margin-top: 200rpx;
  margin-left: auto;
  margin-right: auto;
  margin-bottom: 50rpx;
}

.text-area {
  display: flex;
  justify-content: center;
}

.title {
  font-size: 36rpx;
  color: #8f8f94;
}
</style> 修改vite.config.ts文件,增加接口代理请求地址并允许跨域请求:
tsx
import { defineConfig } from "vite";
import uni from "@dcloudio/vite-plugin-uni";

// https://vitejs.dev/config/
export default defineConfig({
  server:{
    //页面默认打开
    open:true,
    //页面打开端口
    port:8088,
    //代理请求地址
    proxy:{
      '/api':'http://127.0.0.1:8081'
    },
    //允许跨域请求
    cors: true
  },
  plugins: [uni()],
});
2, 创建springboot后台项目
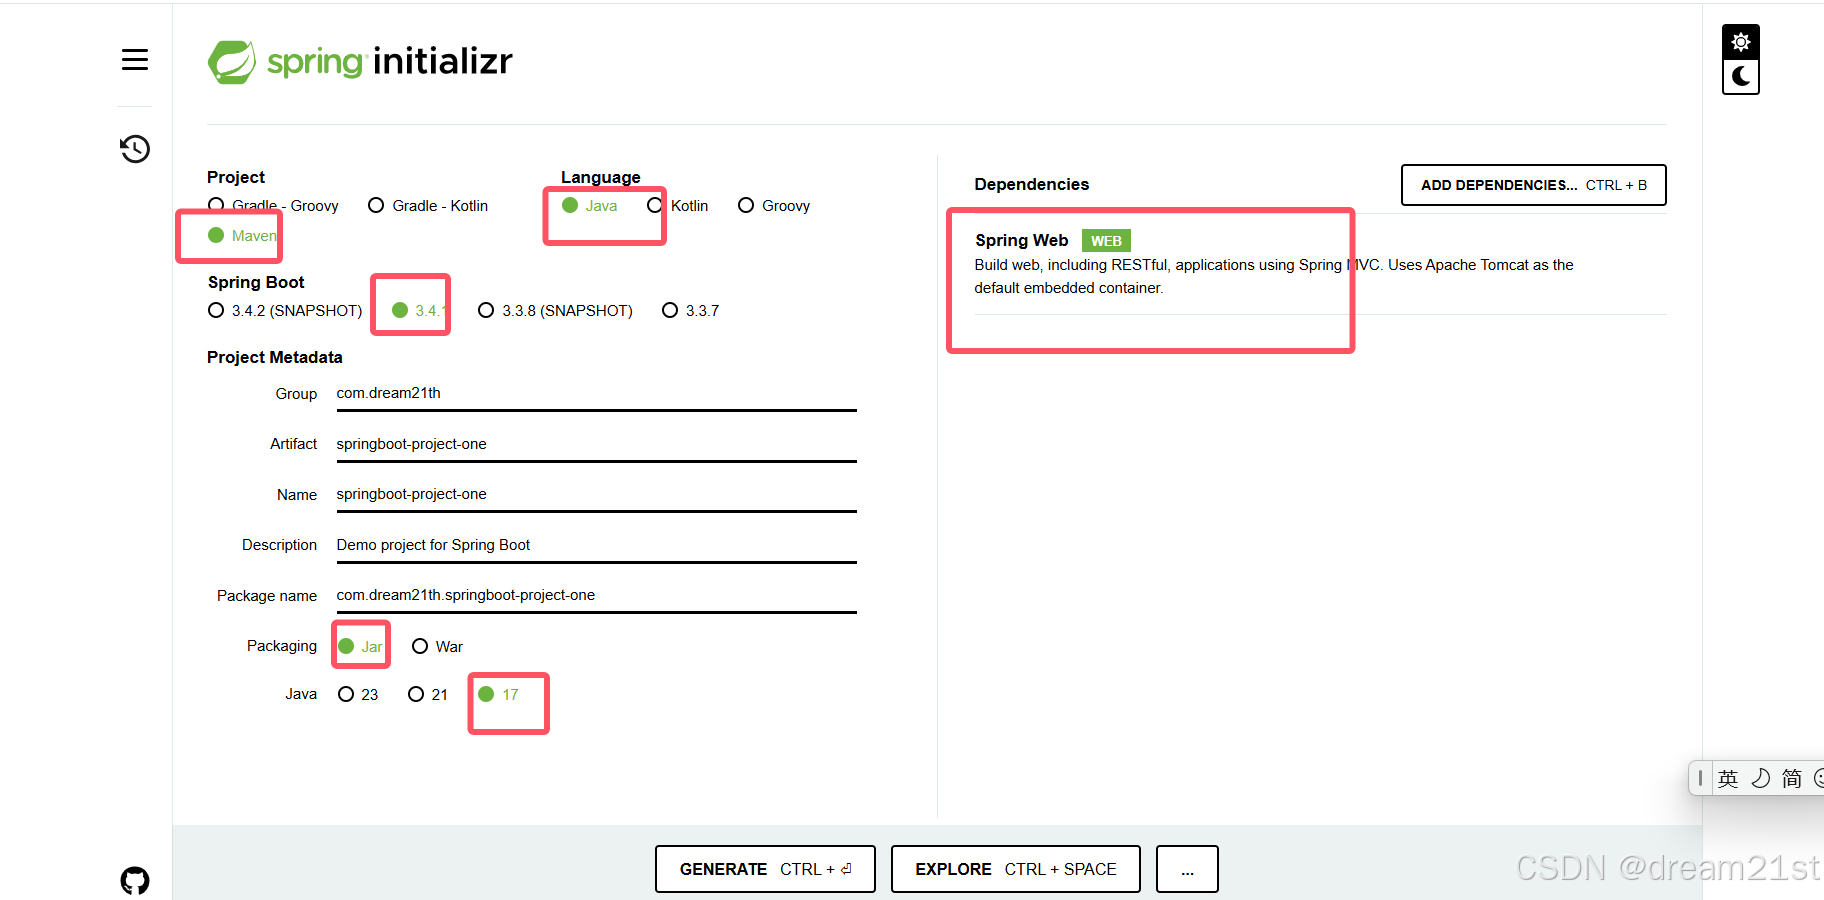
springboot项目初始化地址:https://start.spring.io/
本次构建项目的参数选择如下。创建项目完成后,用idea导入项目。
第一步:在pom.xml文件中增加下面的依赖
xml
        <dependency>
			<groupId>org.projectlombok</groupId>
			<artifactId>lombok</artifactId>
			<scope>provided</scope>
</dependency>第二步:将application.properties文件重命名为application.yml,修改里面的内容如下:
yml
spring:
  application:
    name: project-one
server:
  port: 8081
第三步:编写一些通用类,来完成接口的联调
编写com.dream21th.springboot.project.one.utils.Dates类来获取时间格式化数据,具体的代码实现如下:
java
package com.dream21th.springboot.project.one.utils;

import java.time.*;
import java.time.format.DateTimeFormatter;

public final class Dates {


    public static final String YYYYMMDDHHMMSS = "yyyyMMddHHmmss";


    /**
     * 得到当前时间,格式为yyyyMMddHHmmss
     *
     * @return
     */
    public static String getyyyyMMddHHmmssCurDate() {
        return LocalDateTime.now().format(DateTimeFormatter.ofPattern(YYYYMMDDHHMMSS));
    }
} 编写响应码值的枚举类com.dream21th.springboot.project.one.enums.ResultEnum
java
package com.dream21th.springboot.project.one.enums;

/**
 * @Author dream21th
 * @Date 2024/12/28 10:20
 */
public enum ResultEnum {

    SUCCESS("0000","SUCCESS"),
    ERROR("9999","ERROR");
    public final String code;

    public final String msg;

    ResultEnum(String code,String msg){
        this.code=code;
        this.msg=msg;
    }
} 编写通用请求com.dream21th.springboot.project.one.dto.ComReq和响应类型com.dream21th.springboot.project.one.dto.ComResp
java
package com.dream21th.springboot.project.one.dto;

import lombok.AllArgsConstructor;
import lombok.Data;
import lombok.NoArgsConstructor;
import lombok.ToString;

/**
 * @Author dream21th
 * @Date 2024/12/28 10:41
 */
@Data
@ToString
@NoArgsConstructor
@AllArgsConstructor
public class ComReq<T> {

    private String requestTime;

    private String requestNo;

    T data;
}
java
package com.dream21th.springboot.project.one.dto;

import com.dream21th.springboot.project.one.enums.ResultEnum;
import com.dream21th.springboot.project.one.utils.Dates;
import lombok.Getter;

/**
 * @Author dream21th
 * @Date 2024/12/28 10:04
 */
@Getter
public class ComResp<T> {

    private String reponseTime;

    private String responseNo;

    private String code;

    private String msg;

    T data;

    public ComResp<T> responseNo(String responseNo){
        this.responseNo=responseNo;
        return this;
    }

    public ComResp<T> data(T data){
        this.data=data;
        return this;
    }

    public ComResp<T> success(){
        this.code= ResultEnum.SUCCESS.code;
        this.msg=ResultEnum.SUCCESS.msg;
        this.reponseTime= Dates.getyyyyMMddHHmmssCurDate();
        return this;
    }

    public ComResp<T> error(){
        this.code= ResultEnum.ERROR.code;
        this.msg=ResultEnum.ERROR.msg;
        this.reponseTime= Dates.getyyyyMMddHHmmssCurDate();
        return this;
    }

    public ComResp<T> error(ResultEnum resultEnum){
        this.code= resultEnum.code;
        this.msg=resultEnum.msg;
        this.reponseTime= Dates.getyyyyMMddHHmmssCurDate();
        return this;
    }
} 编写登录接口的请求和响应结构体
java
package com.dream21th.springboot.project.one.dto.login;

import lombok.Data;

/**
 * @Author dream21th
 * @Date 2024/12/28 13:28
 */
@Data
public class LoginReqDTO {

    private String username;

    private String password;
}
java
package com.dream21th.springboot.project.one.dto.login;

import lombok.Builder;
import lombok.Data;

/**
 * @Author dream21th
 * @Date 2024/12/28 13:28
 */
@Data
@Builder
public class LoginRespDTO {

    private String token;
}
第四步: 编写登录接口,具体的代码实现如下(接口没有具体的逻辑,只是接受前端的请求参数,并返回一个token)
java
package com.dream21th.springboot.project.one.controller;

import com.dream21th.springboot.project.one.dto.ComReq;
import com.dream21th.springboot.project.one.dto.ComResp;
import com.dream21th.springboot.project.one.dto.login.LoginReqDTO;
import com.dream21th.springboot.project.one.dto.login.LoginRespDTO;
import org.springframework.web.bind.annotation.PostMapping;
import org.springframework.web.bind.annotation.RequestBody;
import org.springframework.web.bind.annotation.RequestMapping;
import org.springframework.web.bind.annotation.RestController;

import java.util.UUID;

/**
 * @Author dream21th
 * @Date 2024/12/27 16:58
 */
@RestController
@RequestMapping("/api")
public class LoginController {

    @PostMapping("/login")
    public ComResp<LoginRespDTO> login(@RequestBody ComReq<LoginReqDTO> comReq){
        return new ComResp<LoginRespDTO>().data(LoginRespDTO.builder().token(UUID.randomUUID().toString()).build()).responseNo(comReq.getRequestNo()).success();
    }
}
3, 联调测试
分别启动前端项目和后台项目,打开页面http://localhost:8088/,点击按钮


发现接口调用成功。到此一个示例uniapp和springboot项目搭建完成。