双目深度估计开源数据集很多都是用UE制作的,那么我们自己能否通过UE制作自己想要的场景的数据集呢。最近花了点时间研究了一下,分享给需要的小伙伴。
主要使用的是UnrealCV插件,UnrealCV是一个开源项目,旨在帮助计算机视觉研究人员使用虚幻引擎(UE)构建虚拟世界。
下载UnrealCV
GitHub - unrealcv/unrealcv: UnrealCV: Connecting Computer Vision to Unreal Engine
下载并安装对应版本的UE5,参考这个链接:
https://blog.csdn.net/ButDanJi/article/details/133919089
注意UnrealCV的版本和UE5的版本必须一致,例如UnrealCV5.2 必须对应UE5.2,否则可能会报错
进入UE,新建项目,例如这里可以创建一个第一人称游戏的项目:

项目创建完成后,关闭UE。在对应项目下新建Plugins文件夹,并把unrealcv放在项目的Plugins下,例如:E:\UE_Project\testproject5\Plugins\unrealcv-5.2
打开UE下的unrealcv.ini文件,E:\UnrealEngine-5.2.0-release\Engine\Binaries\Win64\unrealcv.ini
将EnableRightEye设置为True
再次打开UE,打开这个项目,此时会提示安装UnrealCV

点击yes安装UnrealCV,等待一段时间后会进入项目,点击编辑-插件,搜索UnrealCV,如果安装成功能搜到UnrealCV且处于启动状态

点击窗口-加载布局-UE4经典布局
在放置Actor下搜索fusion camera actor,放置2个相机到场景中

点击play 运行关卡

按下`输入vget /unrealcv/status

会得到以下日志:
cpp
LogUnrealCV: Warning: vget helper function, the real command is vget /unrealcv/status
LogUnrealCV: Warning: Is Listening
No Client Connected
9001
Configuration
Config file: E:/UnrealEngine-5.2.0-release/Engine/Binaries/Win64/unrealcv.ini
Port: 9001
Width: 640
Height: 480
FOV: 90.000000
EnableInput: true
EnableRightEye: true
此时UnrealCV已准备完毕,UnrealCV服务器正处于监听状态,接下来我们通过python构建客户端连接到UnrealCV进行采图
下载
https://github.com/ibaiGorordo/UnrealCV-stereo-depth-generation
注意直接运行会报错,UnrealCV的用法有改变,不能直接使用client.connect()
需要在代码开头加上
ip = '127.0.0.1'
port = 9001
client = Client((ip, port))
至于原因可以参考我在UnrealCV下问的帖子:
Can not connect to localhost · Issue #258 · unrealcv/unrealcv
这个项目可以获得平面深度,但不是视差图,我用以下代码获得视差图:
python
def convert_plane_depth_to_disp(plane_depth, f=320.0, baseline_meters=1.0):

    disp = f * baseline_meters * (1.0 / plane_depth)

return disp于是最后的代码为(这里是示例,相机的姿态等参数需要自己修改):
python
from unrealcv import Client
import sys
import numpy as np
import cv2
import io
ip = '127.0.0.1'
port = 9001
client = Client((ip, port))

camera_poses=np.array([[-106.933, 459.372, 167.895, 0.213, -80.610, 0.000],
[-97.576, 413.807, 168.308, 2.901, -79.483, 0.000],
[-88.197, 346.847, 166.356, 3.644, -89.711, 0.000],
[-82.595, 278.711, 172.572, 5.711, -85.554, 0.000],
[-73.239, 149.936, 176.386, 0.058, -89.777, 0.000],
[-71.879, 58.805, 175.112, 1.199, -89.030, 0.000],
[-69.923, 10.021, 161.958, 4.062, -59.268, 0.000],
[-28.289, -68.530, 159.251, 2.186, -61.090, 0.000],
[-28.289, -68.530, 159.251, 2.831, -43.937, 0.000],
[-28.289, -68.530, 159.251, 1.782, 0.917, 0.000],
[-28.289, -68.530, 159.251, 3.708, 33.667, 0.000],
[-28.289, -68.530, 159.251, 0.167, 92.277, 0.000],
[-32.458, 5.207, 157.922, 2.922, 93.428, 0.000],
[-35.463, 90.040, 156.689, 1.045, 97.168, 0.000],
[-46.087, 180.173, 155.370, 1.167, 96.643, 0.000],
[-52.370, 234.121, 154.580, 1.167, 96.315, 0.000],
[-52.370, 234.121, 154.580, 3.425, 54.474, 0.000],
[-52.370, 234.121, 154.580, 5.985, 18.172, 0.000],
[-52.370, 234.121, 154.580, 5.675, -10.430, 0.000],
[-52.370, 234.121, 154.580, 11.879, -34.452, 0.000],
[-52.370, 234.121, 154.580, 13.122, -66.362, 0.000],
[-52.370, 234.121, 154.580, 14.454, -81.988, 0.000]])

fps = 45
times = np.arange(0,camera_poses.shape[0]*fps,fps)
filled_times = np.arange(0,camera_poses.shape[0]*fps)

filtered_poses = np.array([np.interp(filled_times, times, axis) for axis in camera_poses.T]).T

class UnrealcvStereo():

    def __init__(self):

        client.connect()
        if not client.isconnected():
            print('UnrealCV server is not running. Run the game downloaded from http://unrealcv.github.io first.')
            sys.exit(-1)

    def __str__(self):
        return client.request('vget /unrealcv/status')

    @staticmethod
    def set_position(pose):

        # Set position of the first camera
        client.request(f'vset /camera/1/location {pose[0]} {pose[1]} {pose[2]}')
        client.request(f'vset /camera/1/rotation {pose[3]} {pose[4]} {pose[5]}')
        client.request(f'vset /camera/2/location {pose[0]} {pose[1]} {pose[2]}')
        client.request(f'vset /camera/2/rotation {pose[3]} {pose[4]} {pose[5]}')

    @staticmethod
    def get_stereo_pair(eye_distance):
        res = client.request('vset /action/eyes_distance %d' % eye_distance)
        res = client.request('vget /camera/1/lit png')
        left = cv2.imdecode(np.frombuffer(res, dtype='uint8'), cv2.IMREAD_UNCHANGED)
        res = client.request('vget /camera/2/lit png')
        right = cv2.imdecode(np.frombuffer(res, dtype='uint8'), cv2.IMREAD_UNCHANGED)

        return left, right

    @staticmethod
    def convert_depth(PointDepth, f=320):
        H = PointDepth.shape[0]
        W = PointDepth.shape[1]
        i_c = float(H) / 2 - 1
        j_c = float(W) / 2 - 1
        columns, rows = np.meshgrid(np.linspace(0, W-1, num=W), np.linspace(0, H-1, num=H))
        DistanceFromCenter = ((rows - i_c)**2 + (columns - j_c)**2)**(0.5)
        PlaneDepth = PointDepth / (1 + (DistanceFromCenter / f)**2)**(0.5)
        return PlaneDepth

    @staticmethod
    def get_depth():

        res = client.request('vget /camera/1/depth npy')
        point_depth = np.load(io.BytesIO(res))

        return UnrealcvStereo.convert_depth(point_depth)


    @staticmethod
    def color_depth(depth_map, max_dist):

        norm_depth_map = 255*(1-depth_map/max_dist)
        norm_depth_map[norm_depth_map < 0] =0
        norm_depth_map[depth_map == 0] =0

        return cv2.applyColorMap(cv2.convertScaleAbs(norm_depth_map,1), cv2.COLORMAP_MAGMA)


def convert_plane_depth_to_disp(plane_depth, f=320.0, baseline_meters=1.0):
    disp = f * baseline_meters * (1.0 / plane_depth)
    return disp
if __name__ == '__main__':

    eye_distance = 10
    max_depth = 5
    stereo_generator = UnrealcvStereo()

    for pose in filtered_poses:

        stereo_generator.set_position(pose)

        # Set the eye distance
        left, right = stereo_generator.get_stereo_pair(eye_distance)

        depth_map = stereo_generator.get_depth()

        baseline_cm =25
        # Parameters for camera
        cx = float(depth_map.shape[1]) / 2.0 - 1.0
        cy = float(depth_map.shape[0]) / 2.0 - 1.0
        f = cx
        disparity = convert_plane_depth_to_disp(plane_depth=depth_map, f=f, baseline_meters=baseline_cm/100.0)


        color_depth_map = stereo_generator.color_depth(disparity, max_depth)
        left = cv2.cvtColor(left, cv2.COLOR_BGRA2BGR)
        right = cv2.cvtColor(right, cv2.COLOR_BGRA2BGR)
        output_path = "C:/Users/chen/Desktop/output_image.jpg"
        output_path1 = "C:/Users/chen/Desktop/output_image1.jpg"
        output_path2 = "C:/Users/chen/Desktop/output_image2.jpg"
        cv2.imwrite(output_path, color_depth_map)
        cv2.imwrite(output_path1, left)
        cv2.imwrite(output_path2, right)

        combined_image = np.hstack((left, right, color_depth_map))

        cv2.imshow("stereo", combined_image)

        # Press key q to stop
        if cv2.waitKey(1) == ord('q'):
            break

    cv2.destroyAllWindows()
运行python文件(运行时,UE的项目必须处于运行状态,即play状态)
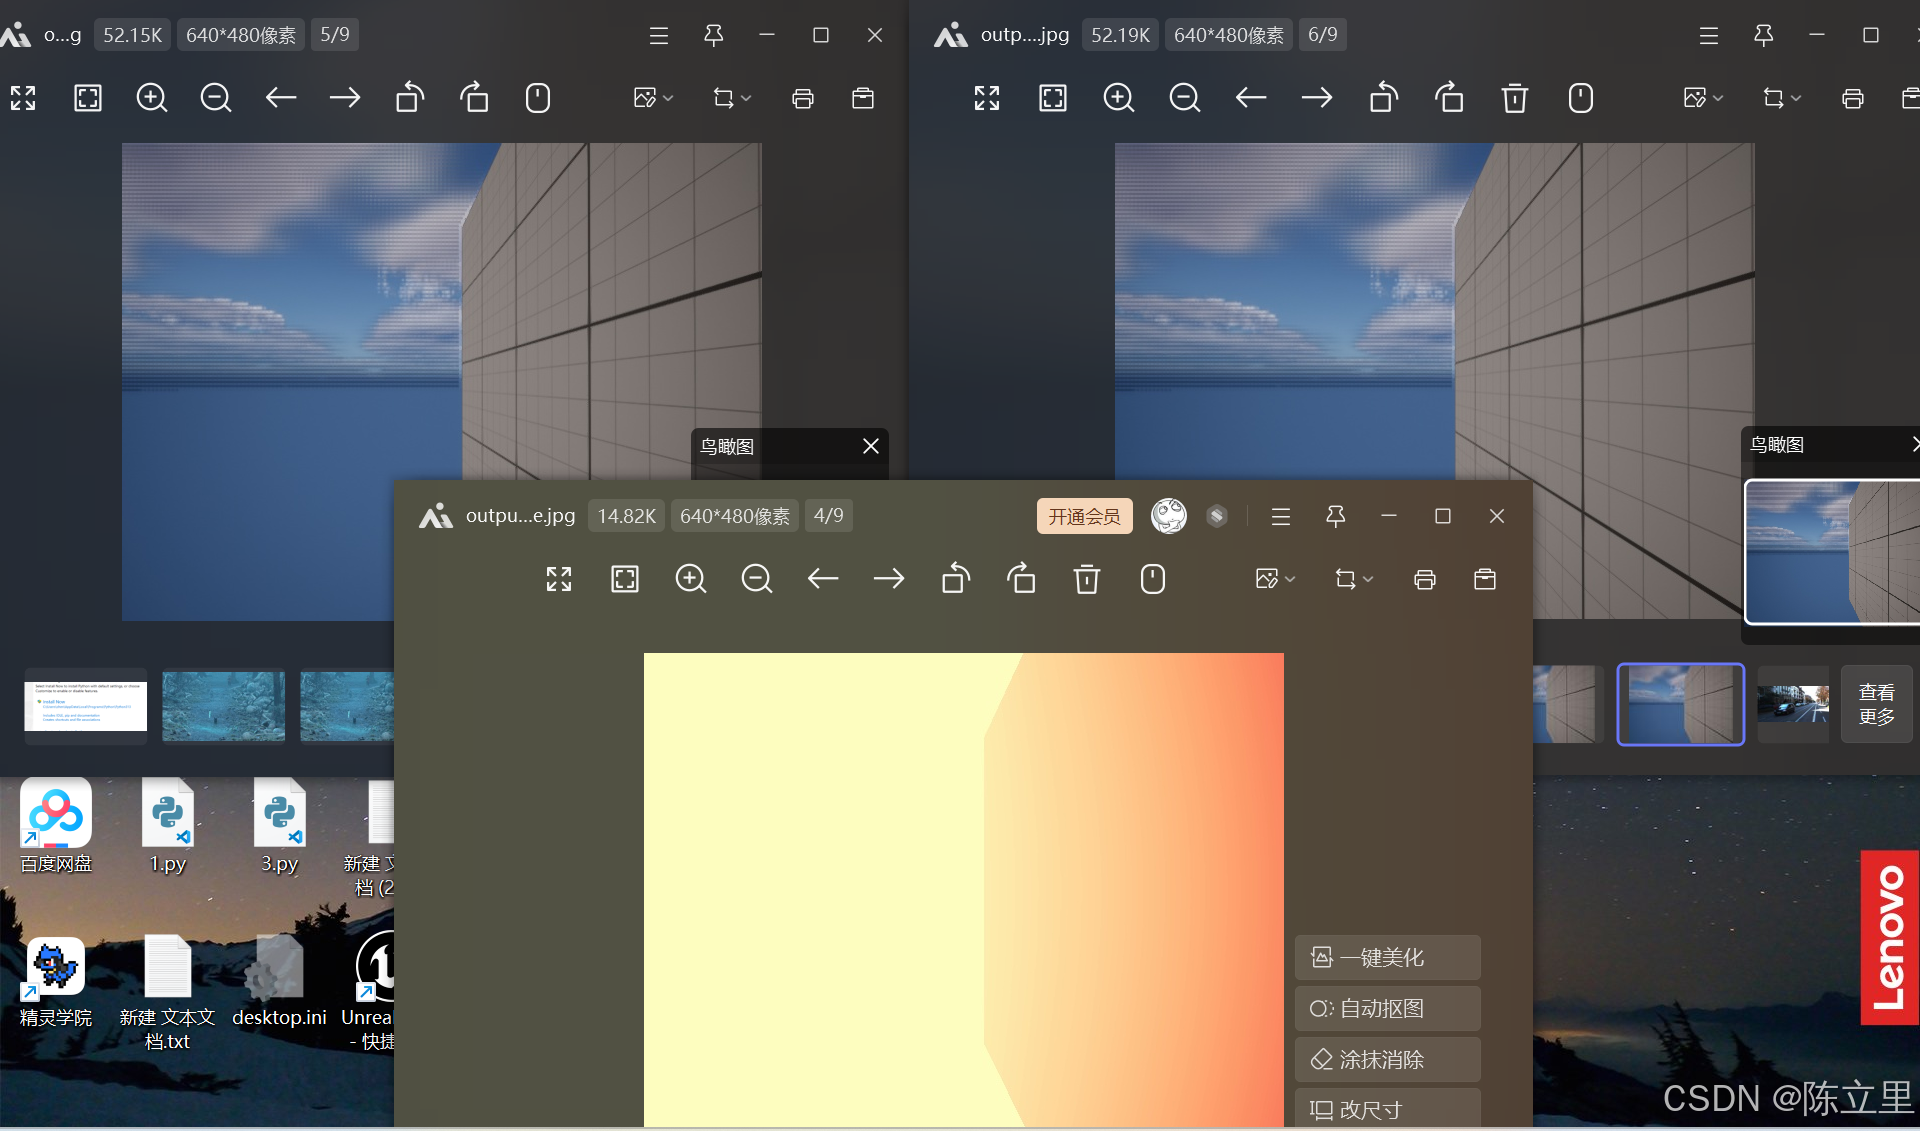
这时就能获得双目图像和视差图了。
再往后就是换成自己想要的场景并修改两个相机的姿态以及baseline_meters等参数,修改完就可以得到想要的图像了