文章目录
-
- [开源堡垒机 JumpServer 社区版实战教程:一步步构建企业安全运维环境](#开源堡垒机 JumpServer 社区版实战教程:一步步构建企业安全运维环境)
-
- 一、访问JumpServer
-
- [1.1 登录](#1.1 登录)
- [1.2 功能模块](#1.2 功能模块)
- [1.3 系统设置](#1.3 系统设置)
-
- [1.3.1 基本设置](#1.3.1 基本设置)
- [1.3.2 邮件设置](#1.3.2 邮件设置)
- 二、用户管理
-
- [2.1 场景](#2.1 场景)
- [2.2 创建用户](#2.2 创建用户)
- [2.3 用户登录密码重置](#2.3 用户登录密码重置)
- 三、资产管理
-
- [3.1 准备工作](#3.1 准备工作)
- [3.2 登录控制台](#3.2 登录控制台)
- [3.3 创建资产树](#3.3 创建资产树)
- [3.4 创建节点](#3.4 创建节点)
- [3.5 创建资产](#3.5 创建资产)
-
- [3.5.1 系统用户](#3.5.1 系统用户)
- [3.5.2 创建Linux资产](#3.5.2 创建Linux资产)
- [3.5.3 创建Windows资产](#3.5.3 创建Windows资产)
- [3.5.4 创建数据库资产](#3.5.4 创建数据库资产)
- 四、创建授权规则
-
- [4.1 创建Linux资产授权规则](#4.1 创建Linux资产授权规则)
- [4.2 创建Windows资产授权规则](#4.2 创建Windows资产授权规则)
- [4.3 创建PostgreSQL数据库资产授权规则](#4.3 创建PostgreSQL数据库资产授权规则)
- 五、资产登录使用
-
- [5.1 网页登录](#5.1 网页登录)
-
- [5.1.1 Linux资产登录](#5.1.1 Linux资产登录)
- [5.1.2 Windows资产登录](#5.1.2 Windows资产登录)
- [5.1.3 PostgreSQL数据库资产登录](#5.1.3 PostgreSQL数据库资产登录)
- [5.2 SSH工具登录](#5.2 SSH工具登录)
-
- [5.2.1 设置SSH登录](#5.2.1 设置SSH登录)
- [5.2.2 Linux资产登录](#5.2.2 Linux资产登录)
- [5.2.3 PostgreSQL数据库资产登录](#5.2.3 PostgreSQL数据库资产登录)
- 六、审计台
-
- [6.1 历史会话](#6.1 历史会话)
- [6.2 录像回放](#6.2 录像回放)
- 七、账户登录MFA加密(建议设置)
-
- [7.1 配置MFA加密](#7.1 配置MFA加密)
- [7.2 管理员MFA登录测试](#7.2 管理员MFA登录测试)
- [7.3 全局启用MFA加密](#7.3 全局启用MFA加密)
- [7.4 普通用户第一次登录MFA配置](#7.4 普通用户第一次登录MFA配置)
- [7.5 普通用户MFA登录测试](#7.5 普通用户MFA登录测试)
开源堡垒机 JumpServer 社区版实战教程:一步步构建企业安全运维环境
本文来讲如何访问 JumpServer 及配置和使用方法。
一、访问JumpServer
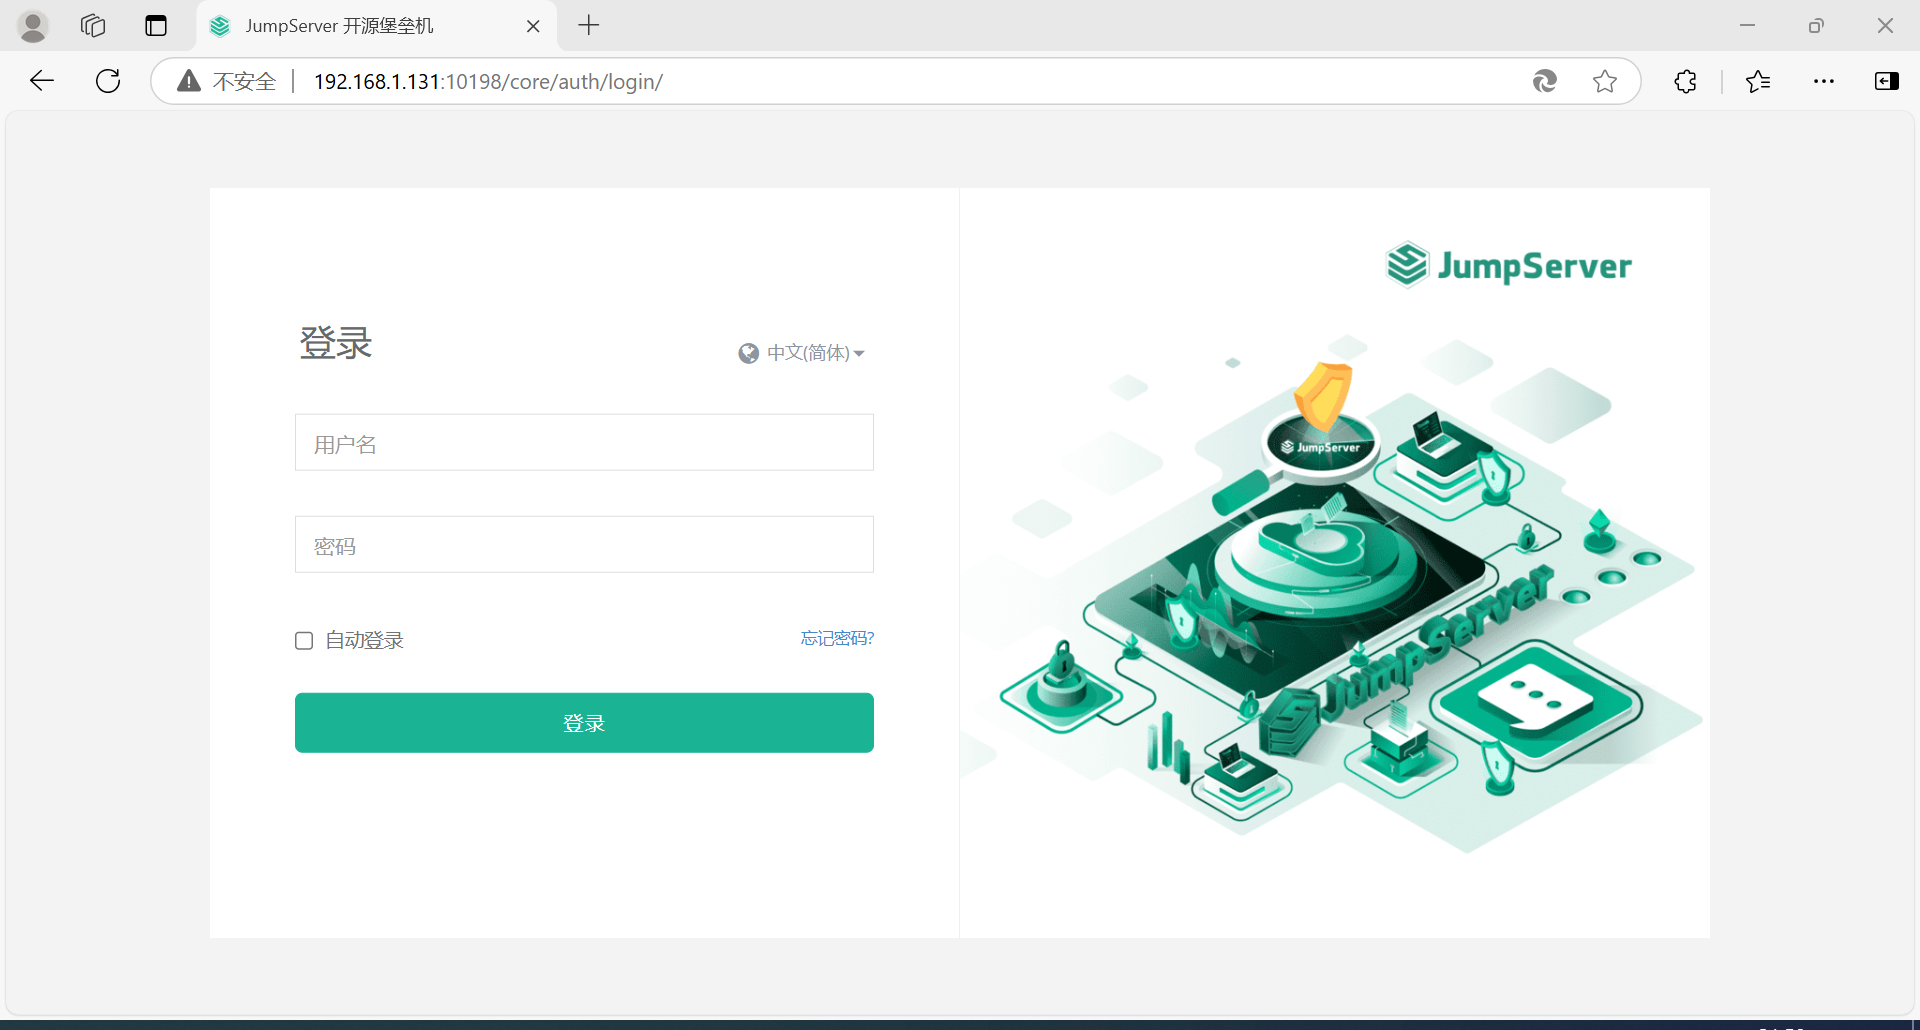
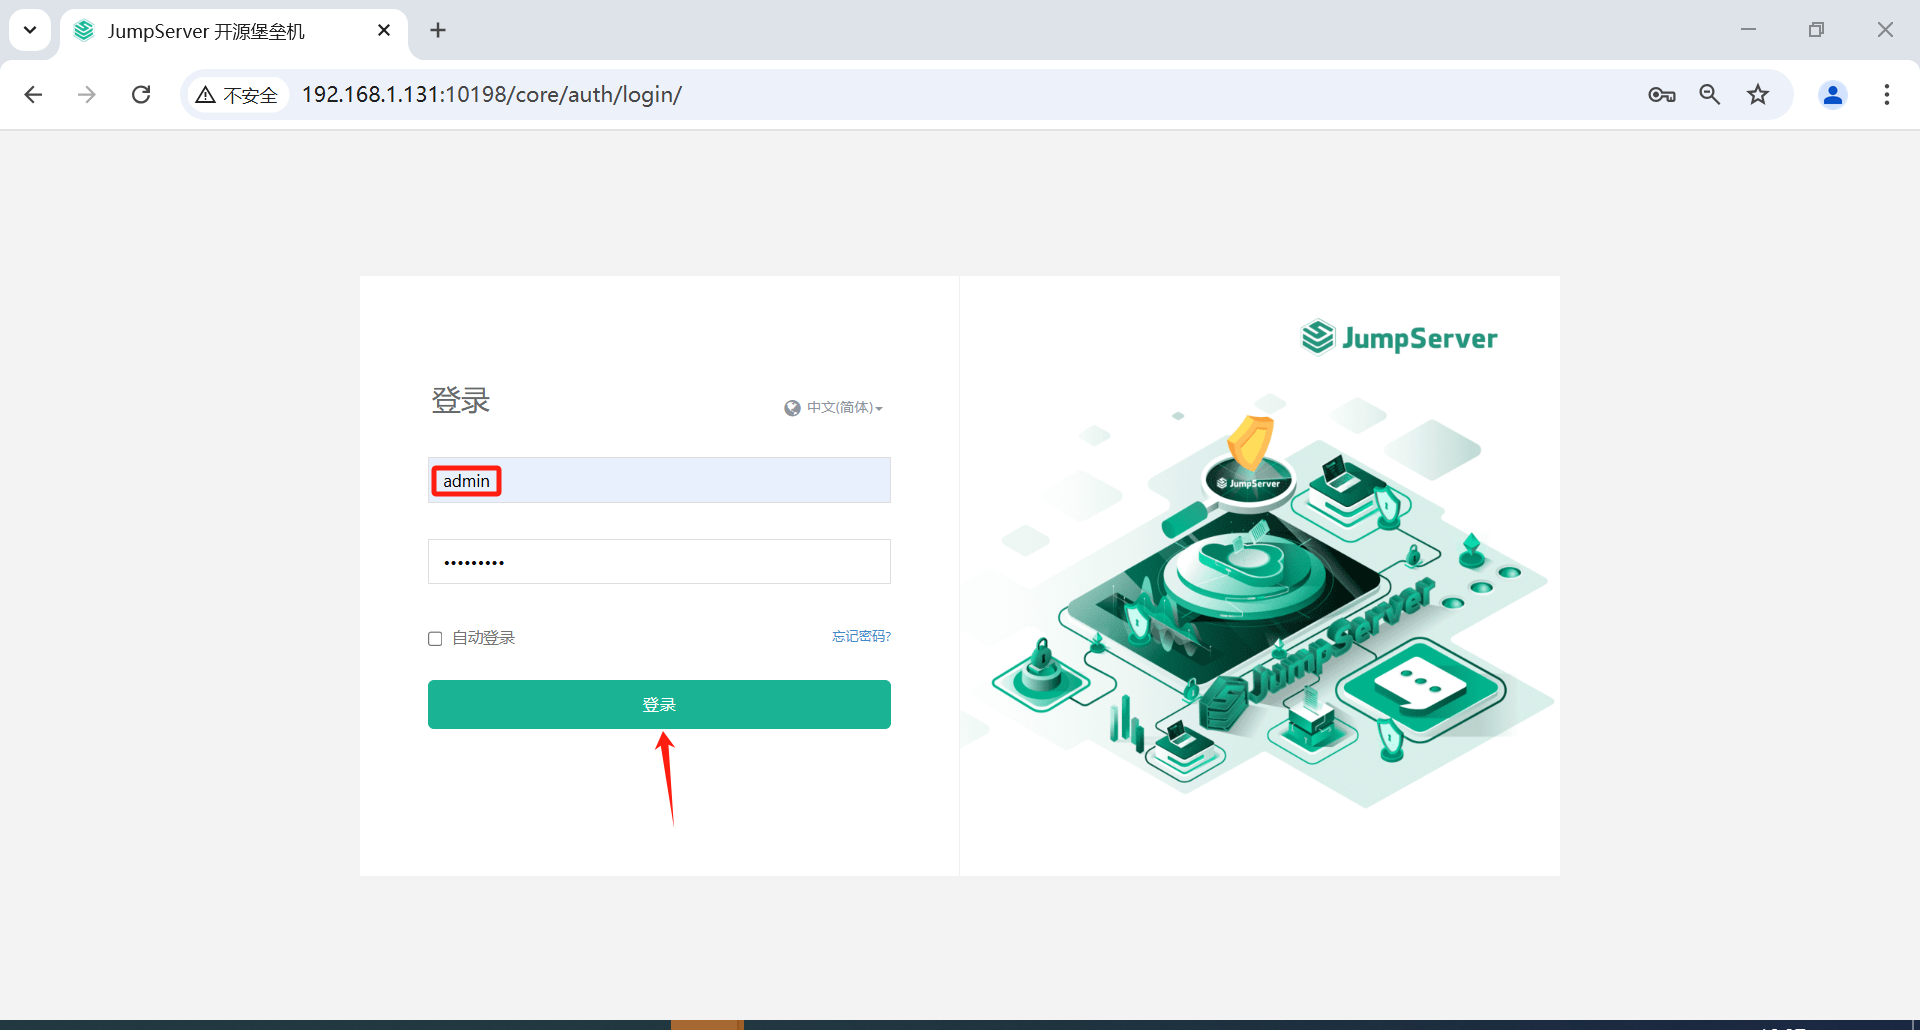
1.1 登录
安装成功后,通过浏览器访问登录 JumpServer。
地址: http:// ::<服务运行端口>,用户名: admin 密码: 你修改的密码。

进入 JumpServer。
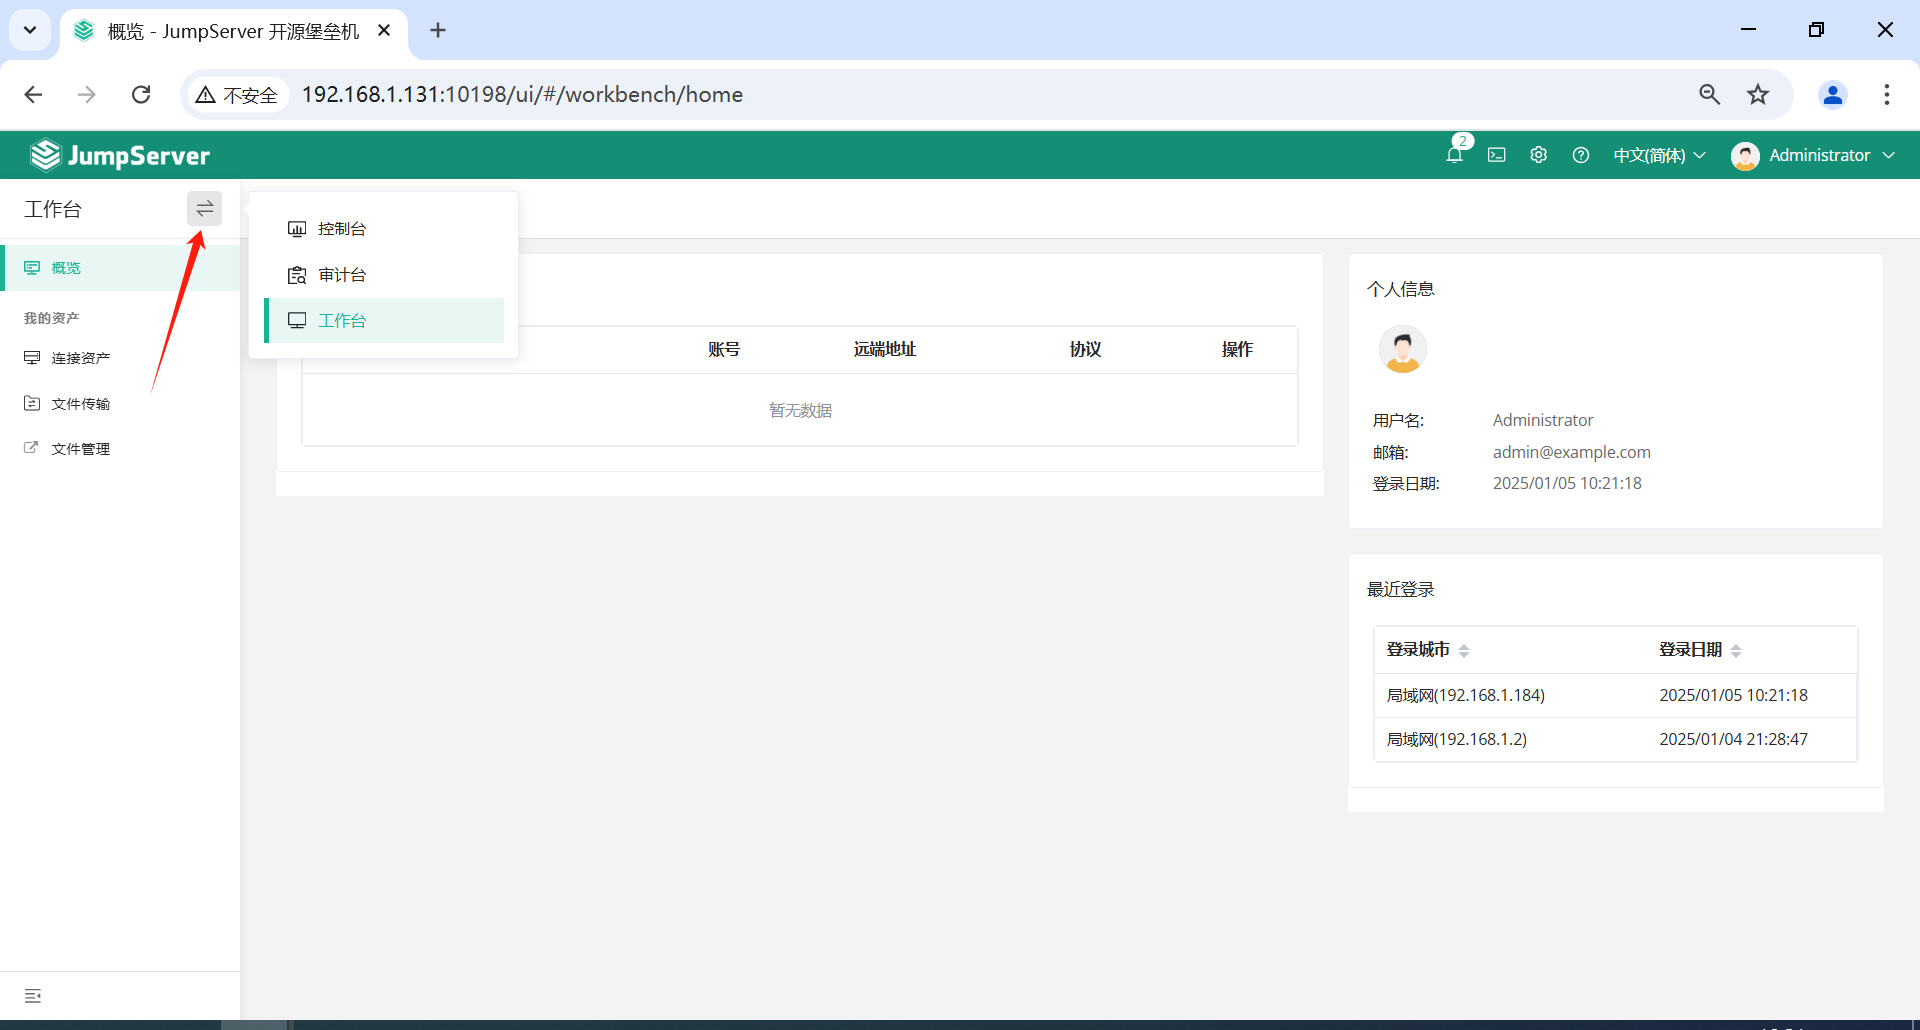
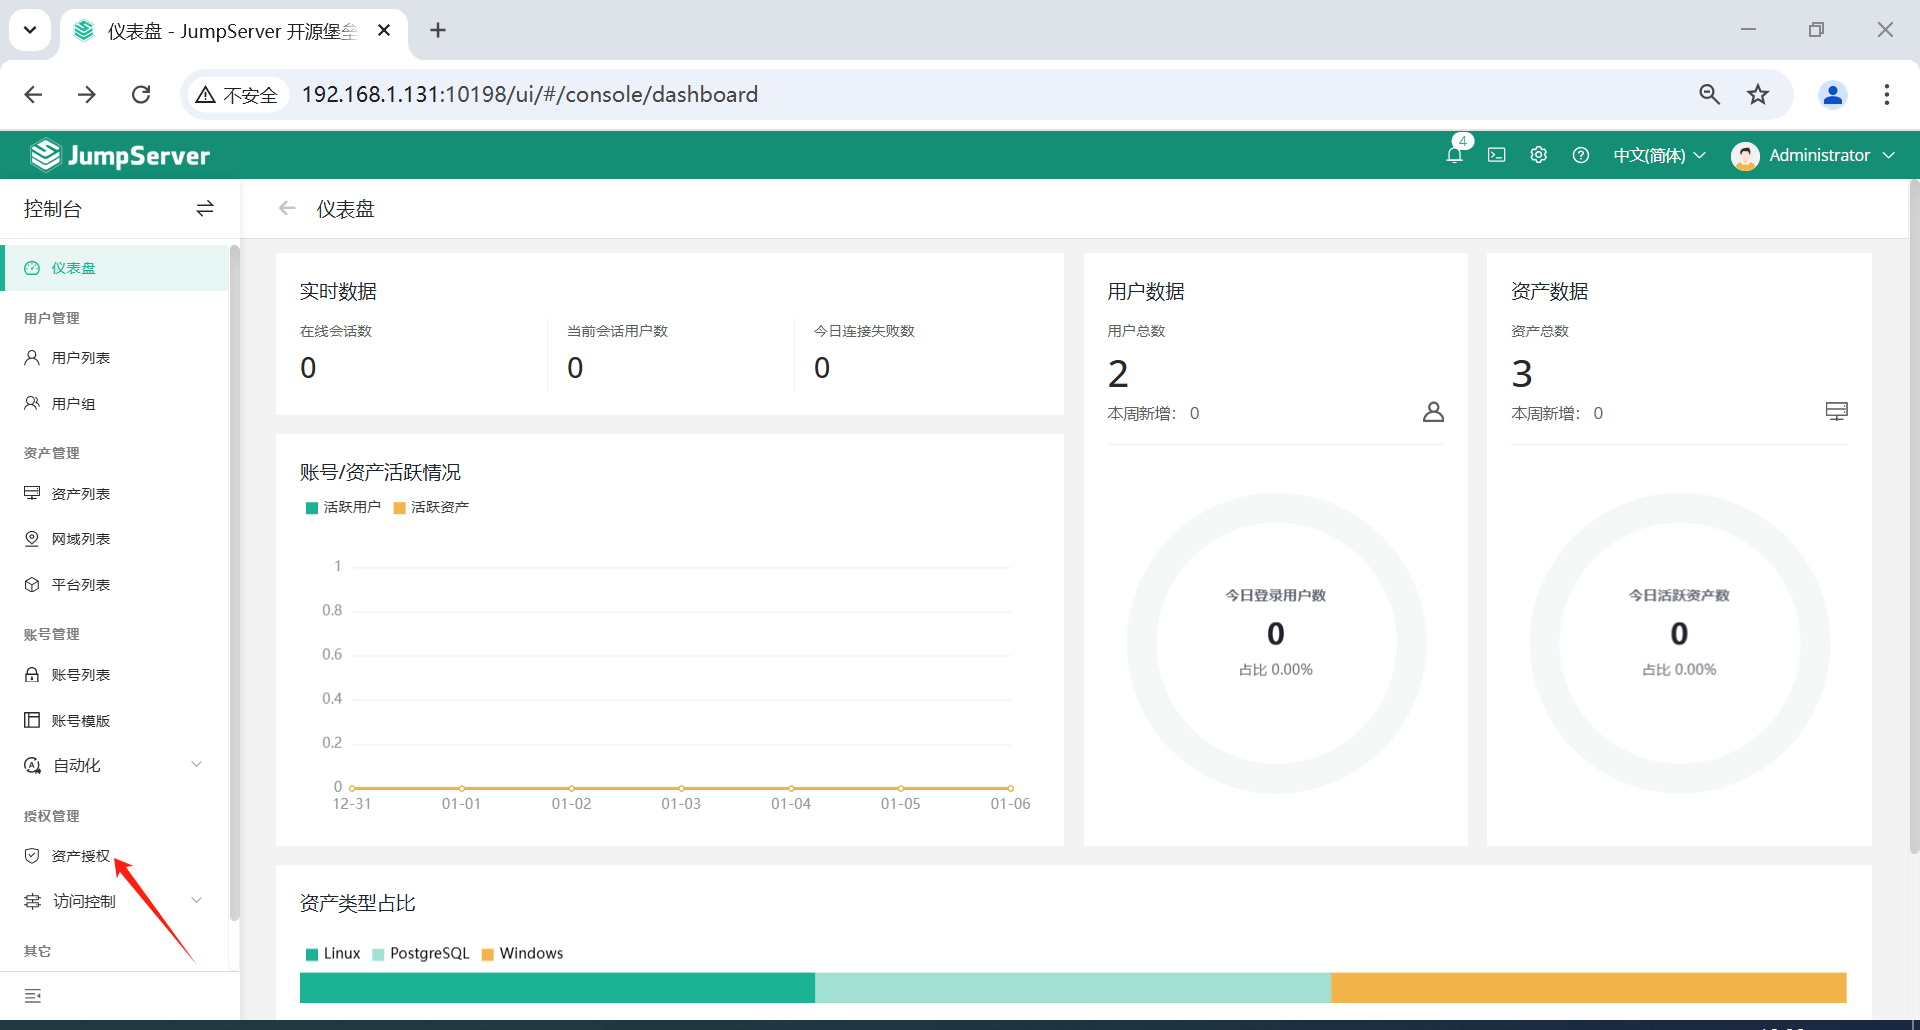
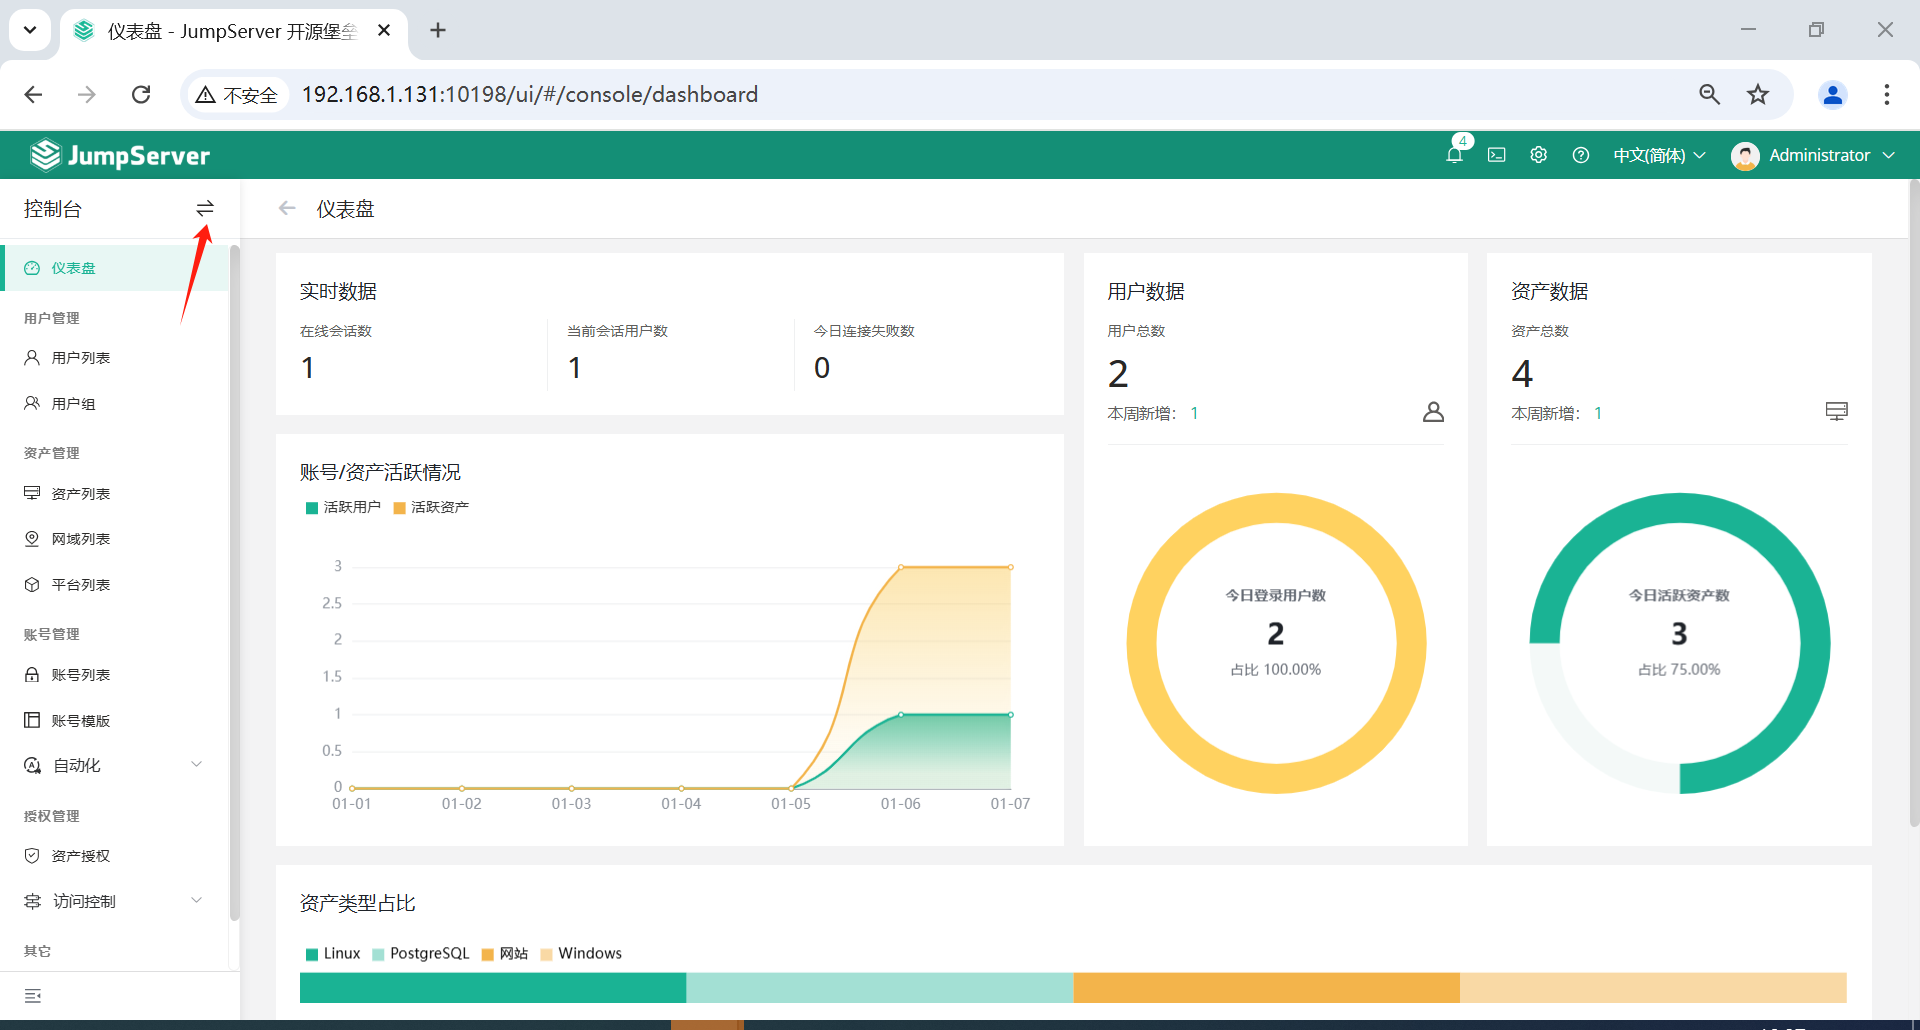
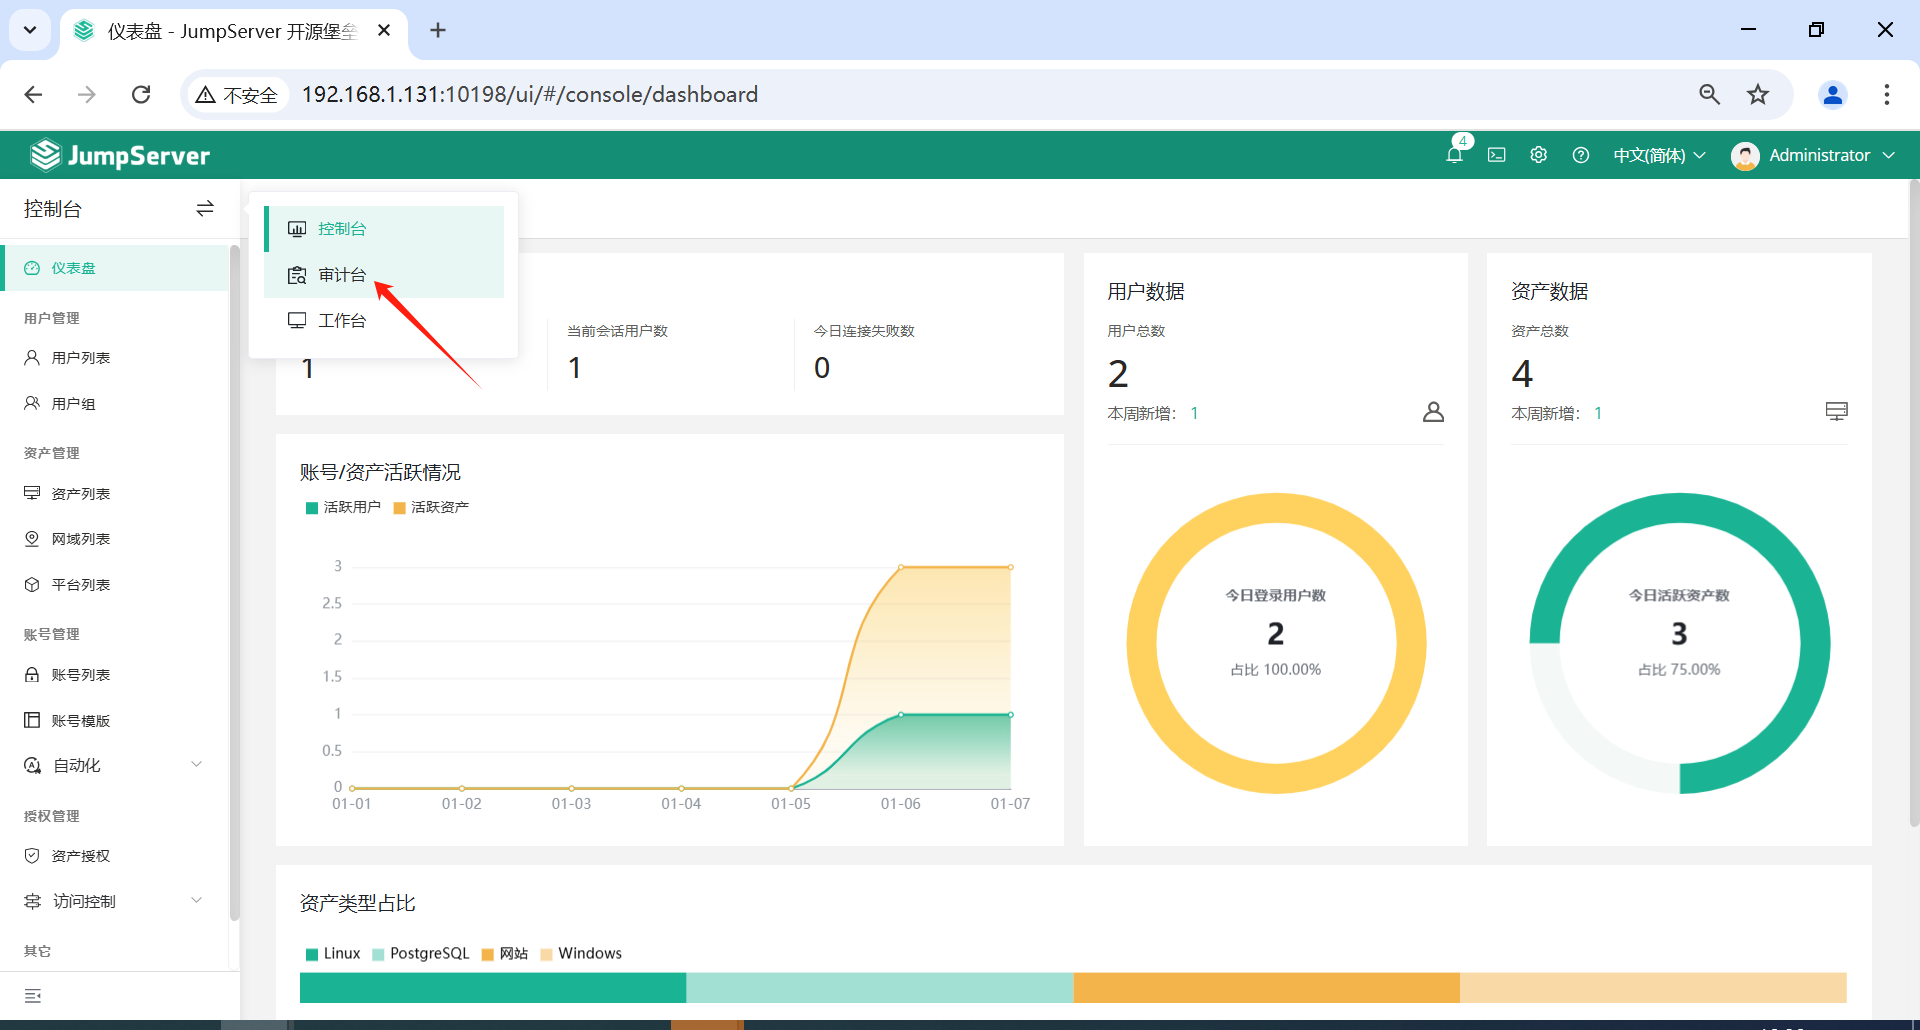
1.2 功能模块
控制分为三大功能模块,控制台、审计台、工作台。
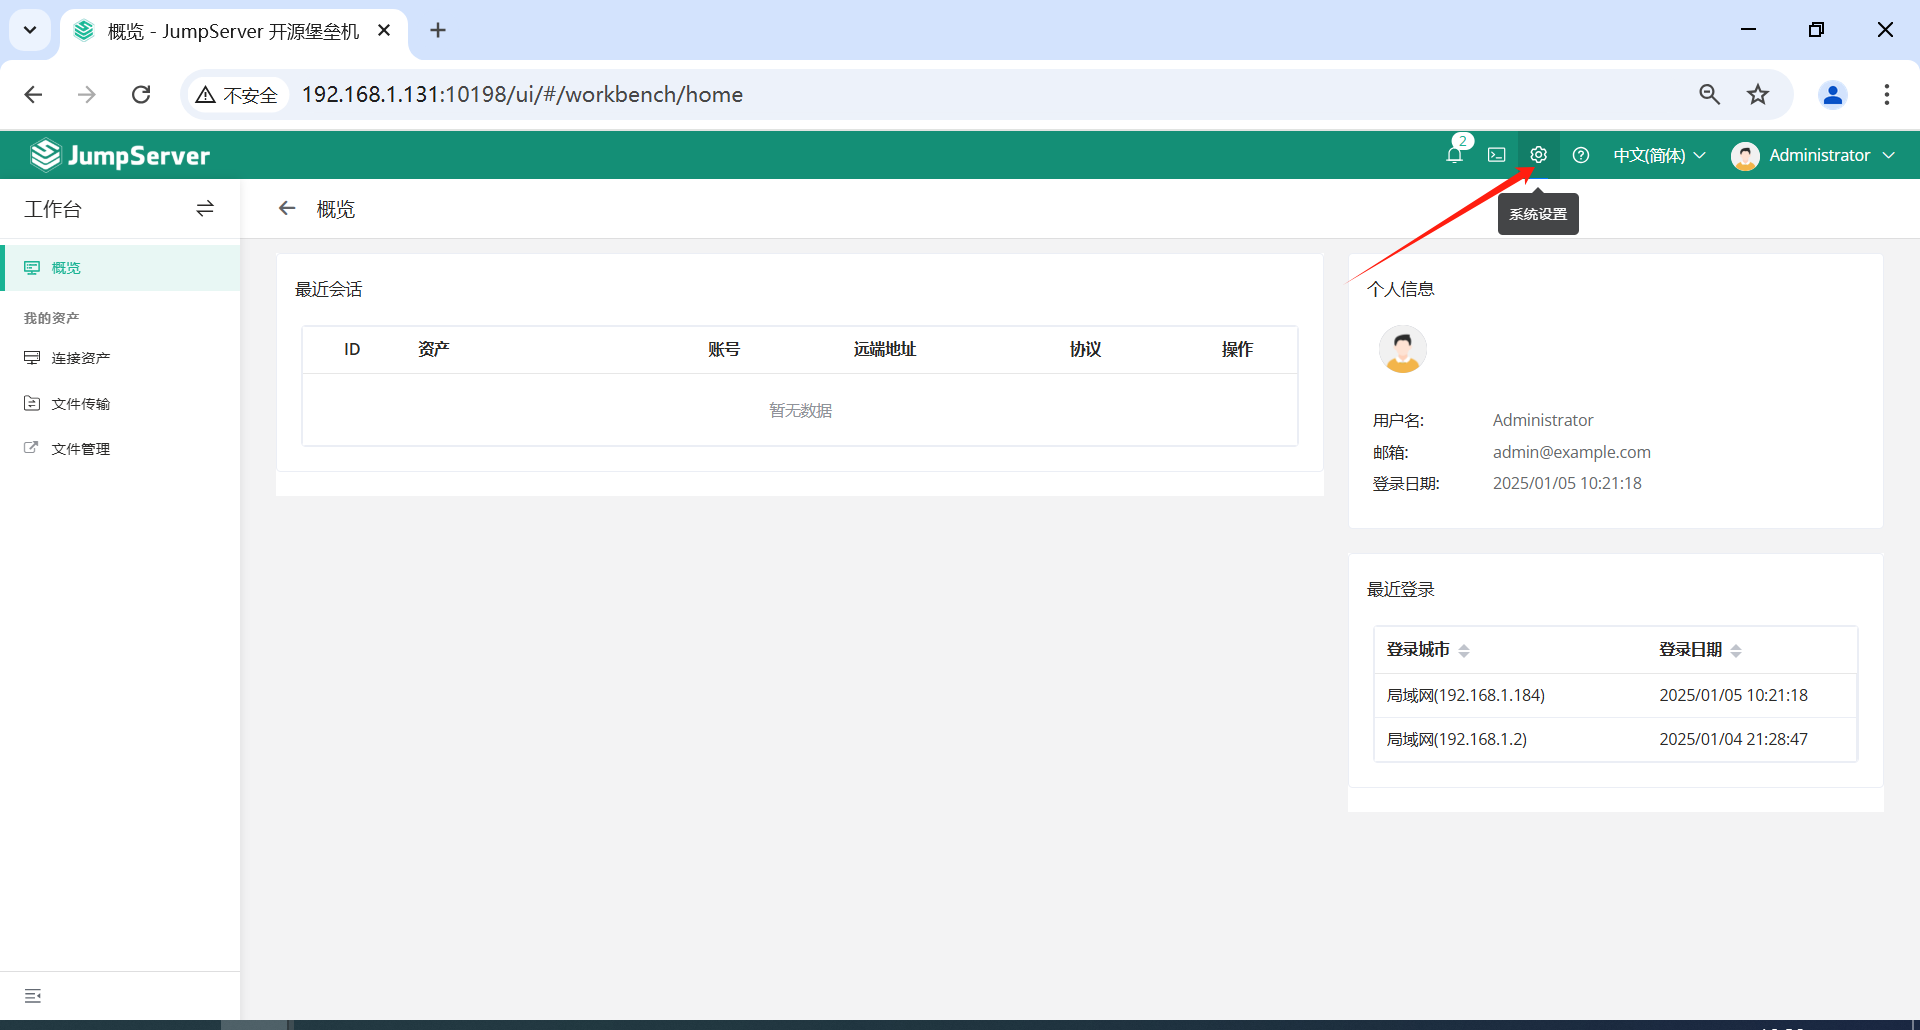
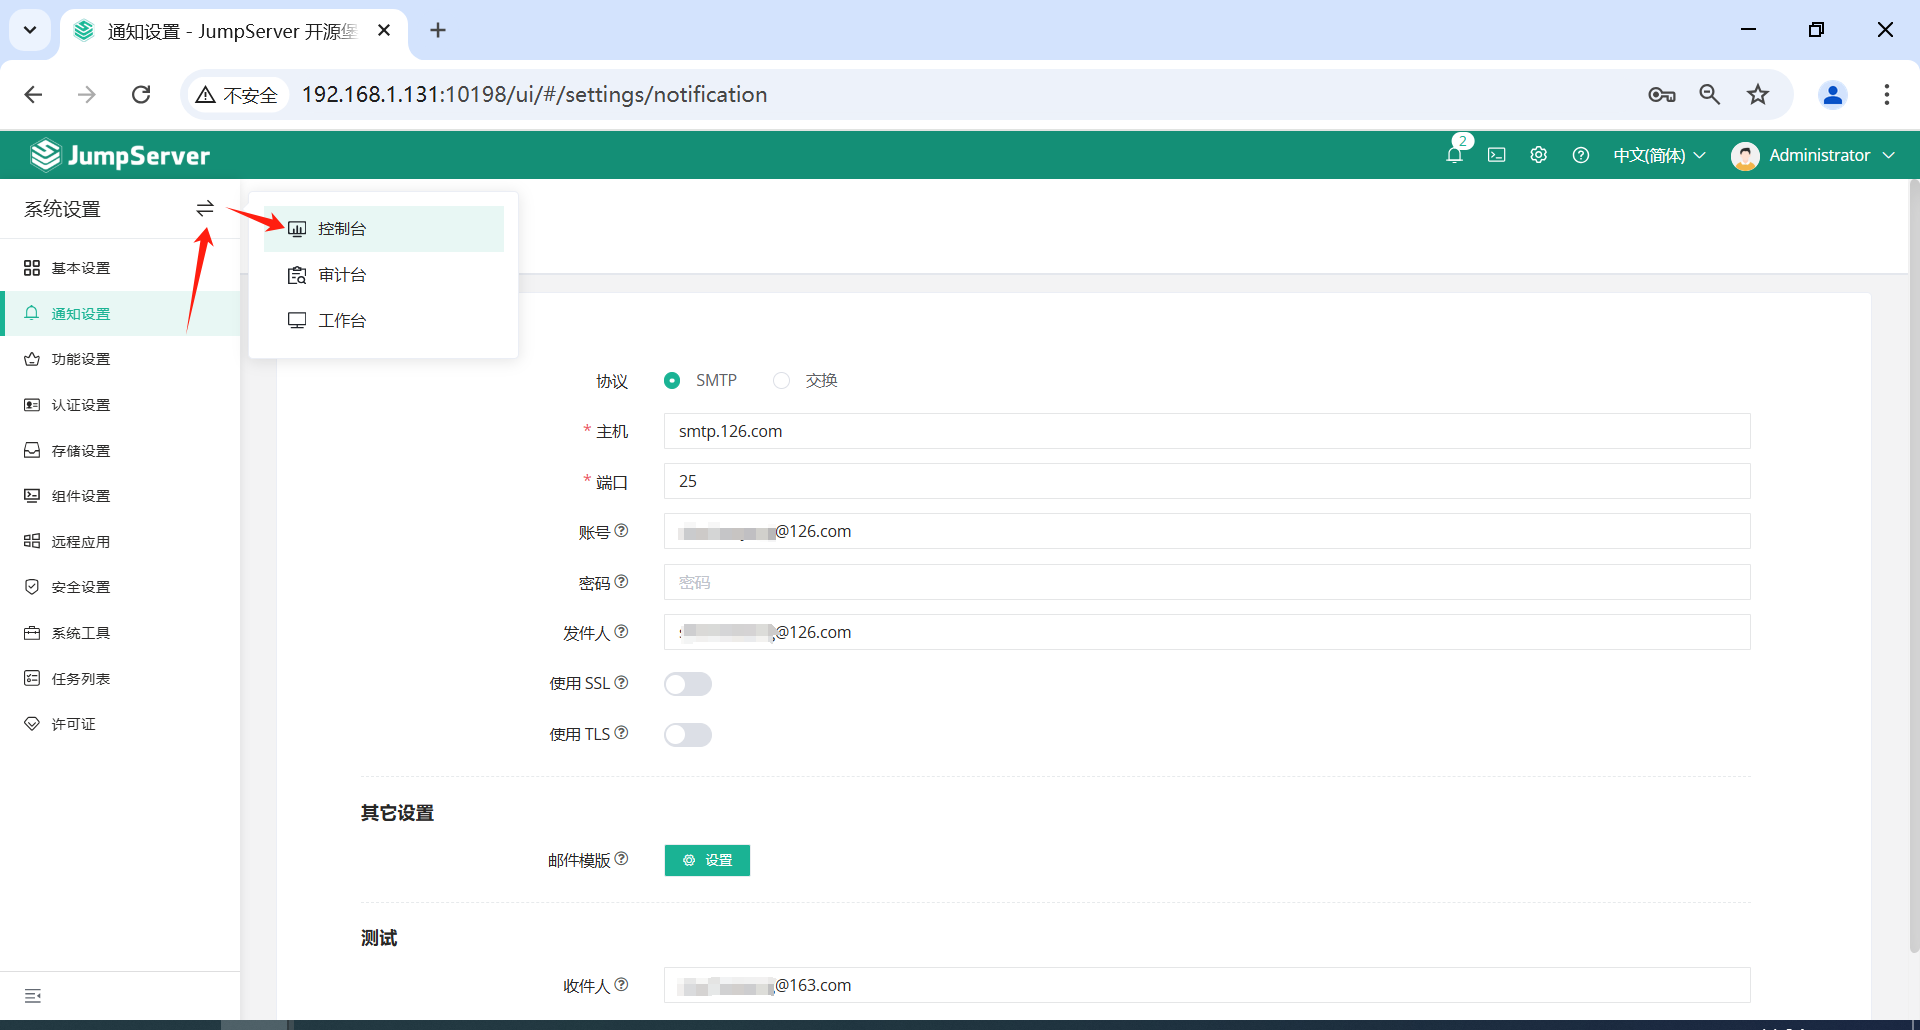
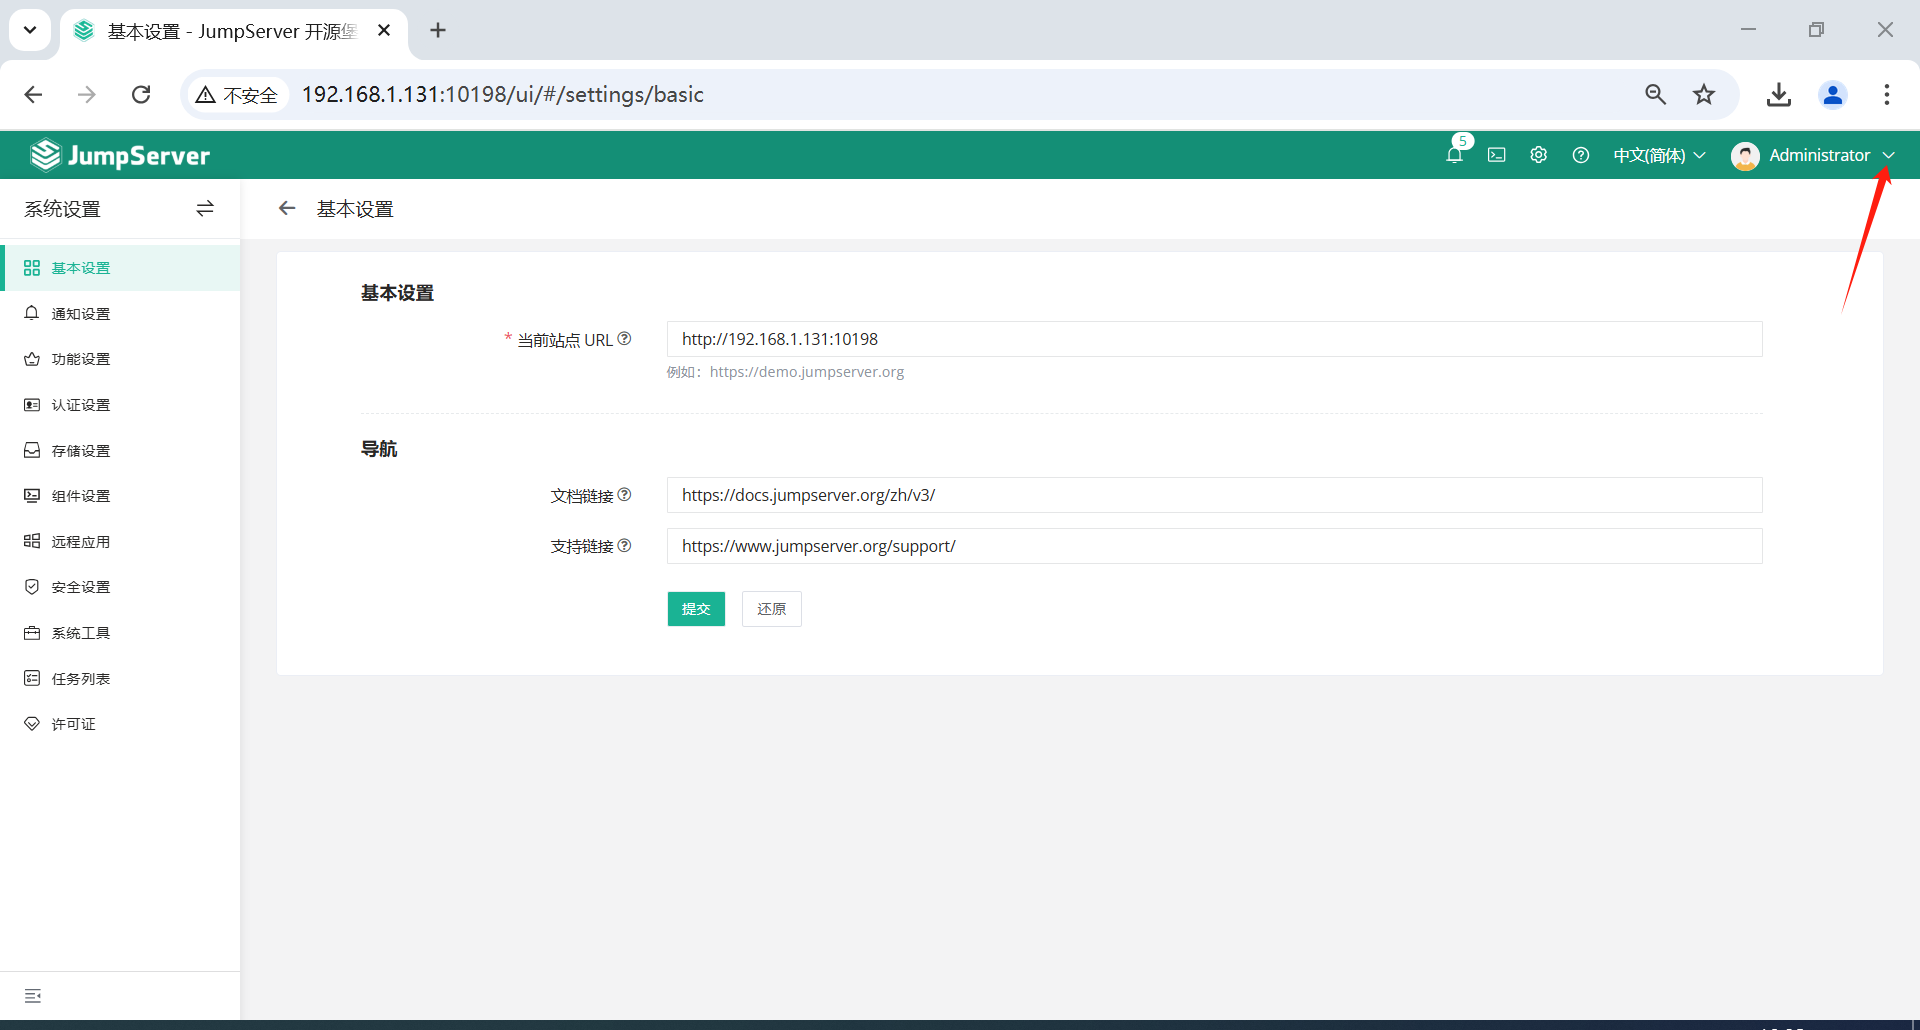
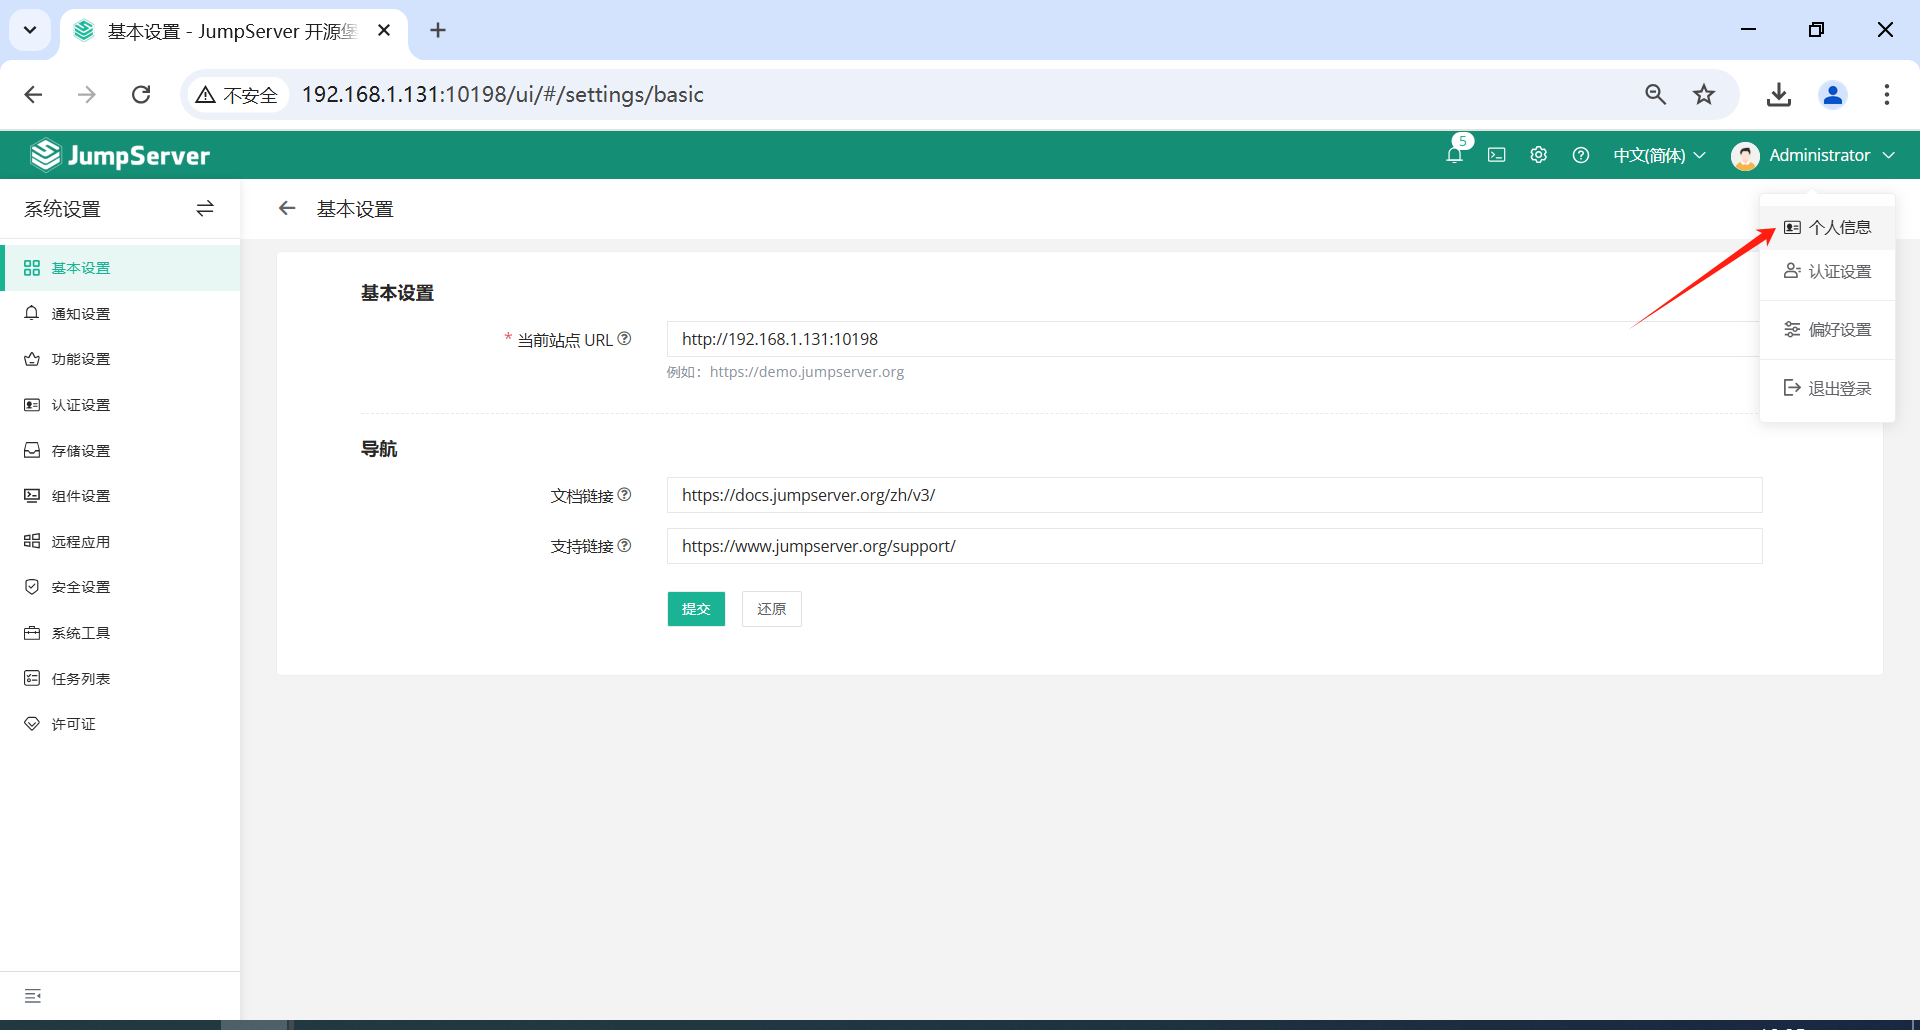
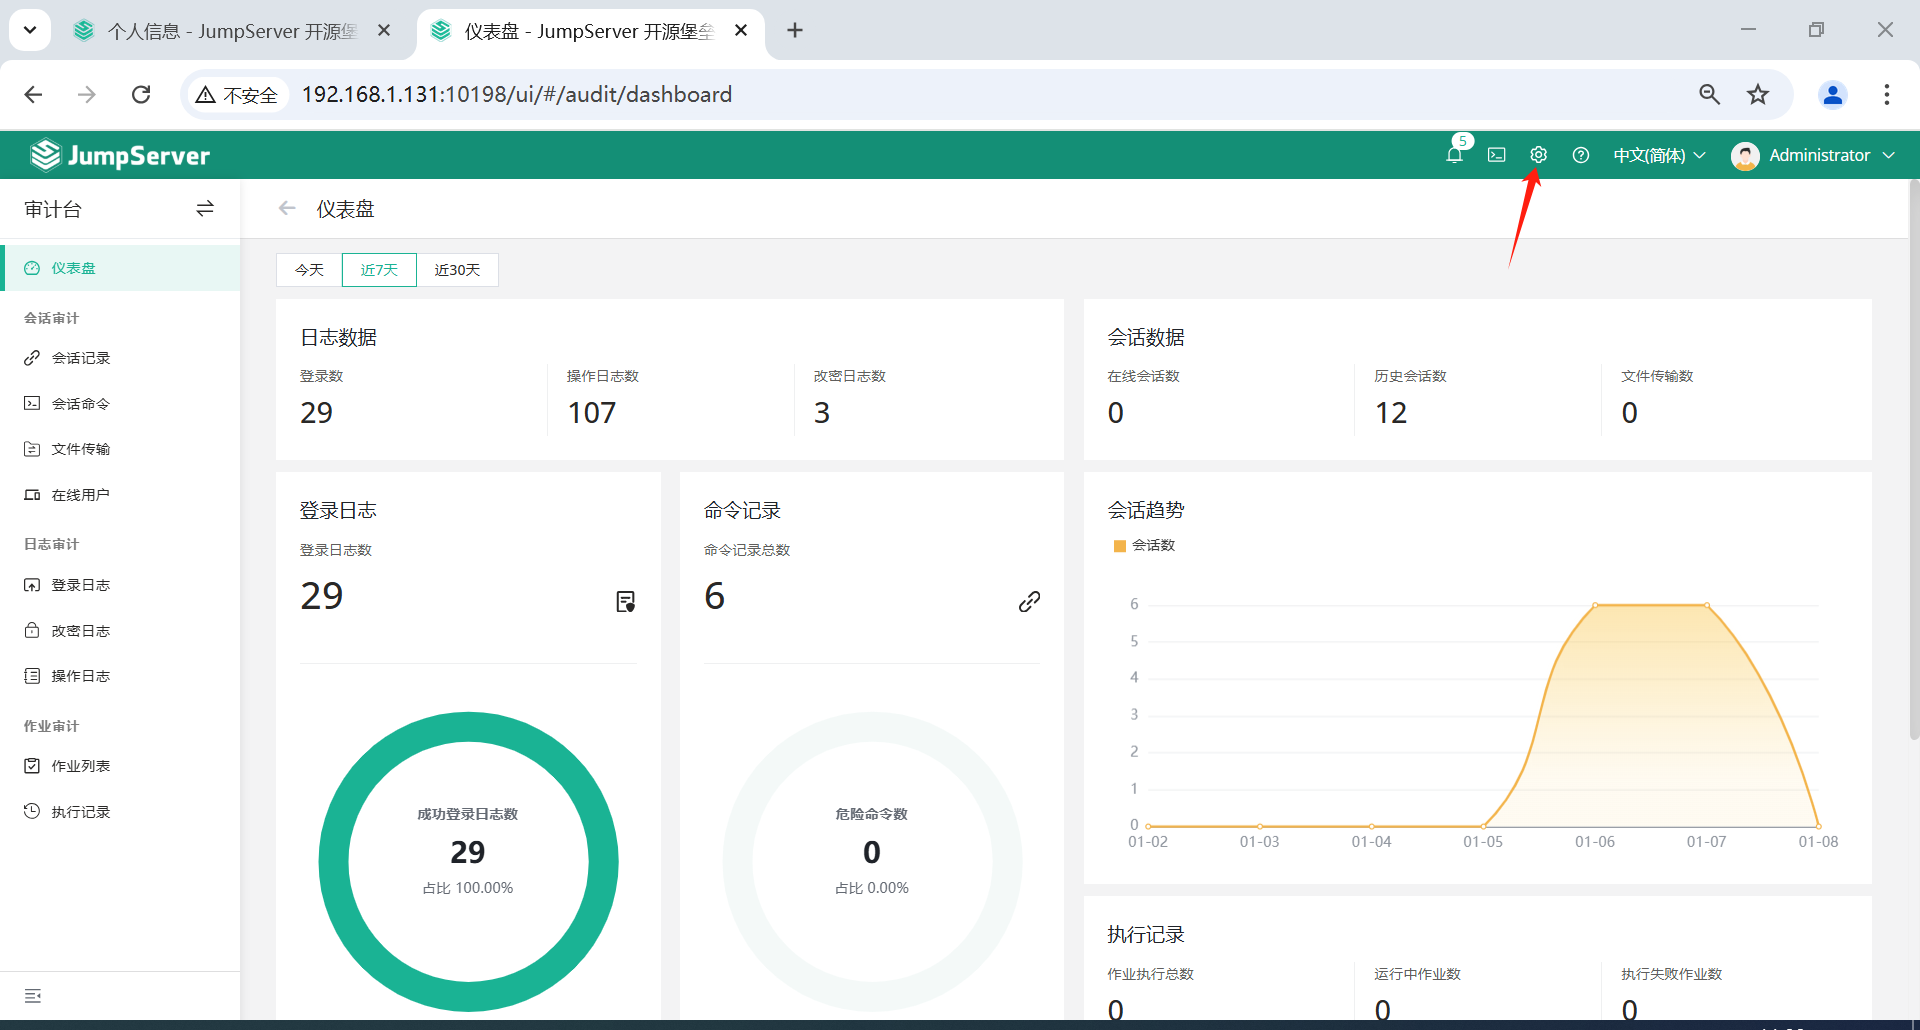
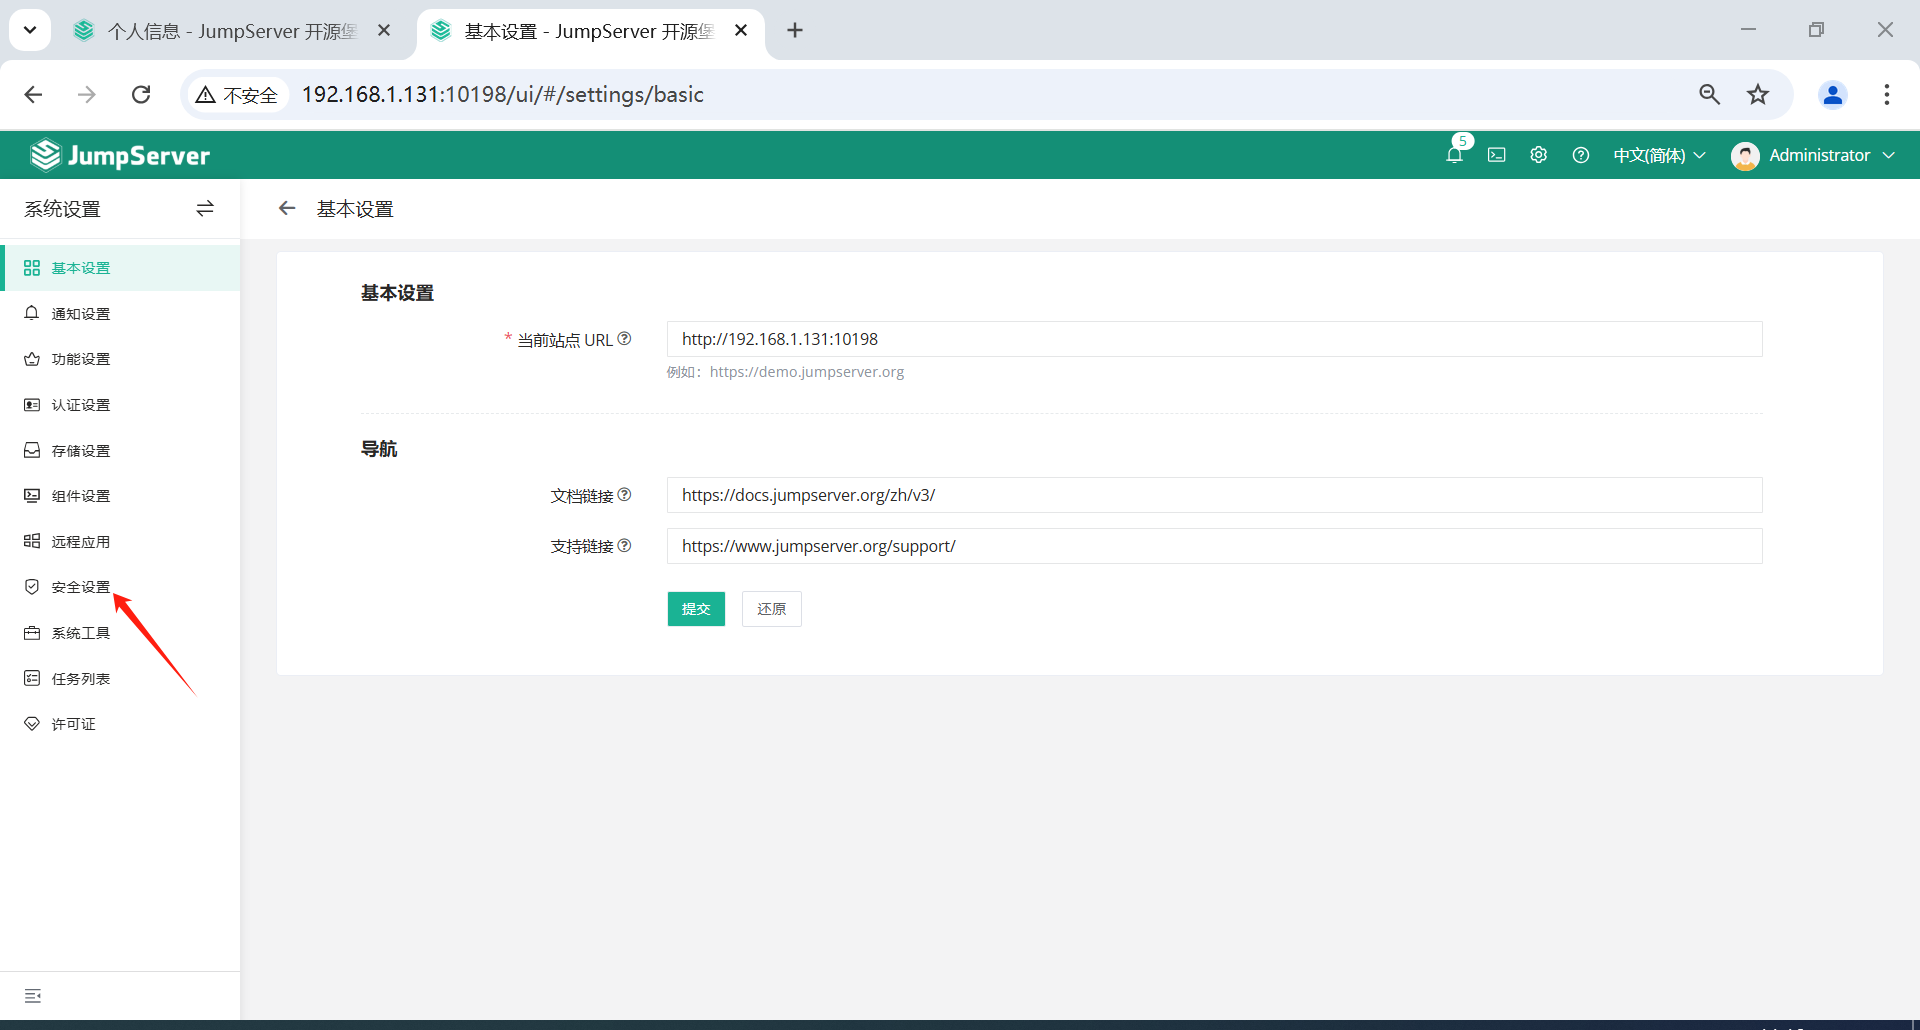
1.3 系统设置
点击页面右上角的系统设置进行配置。
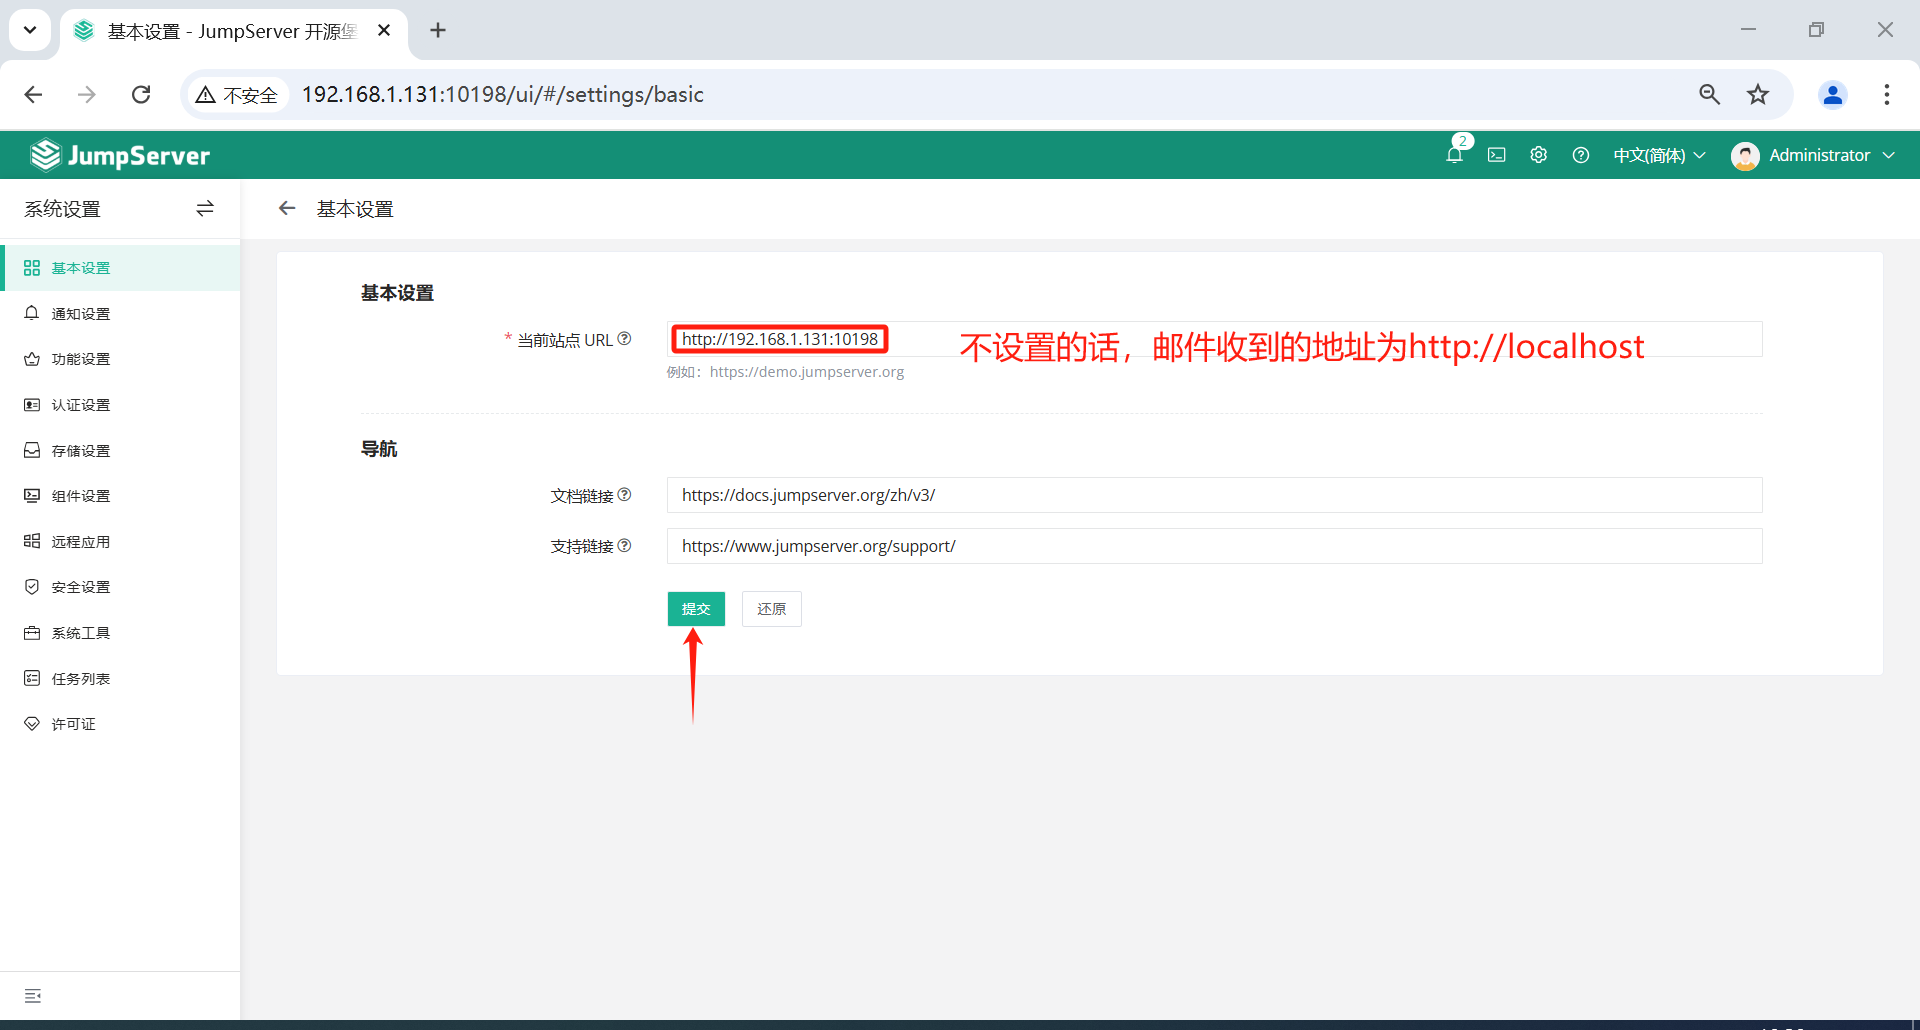
1.3.1 基本设置
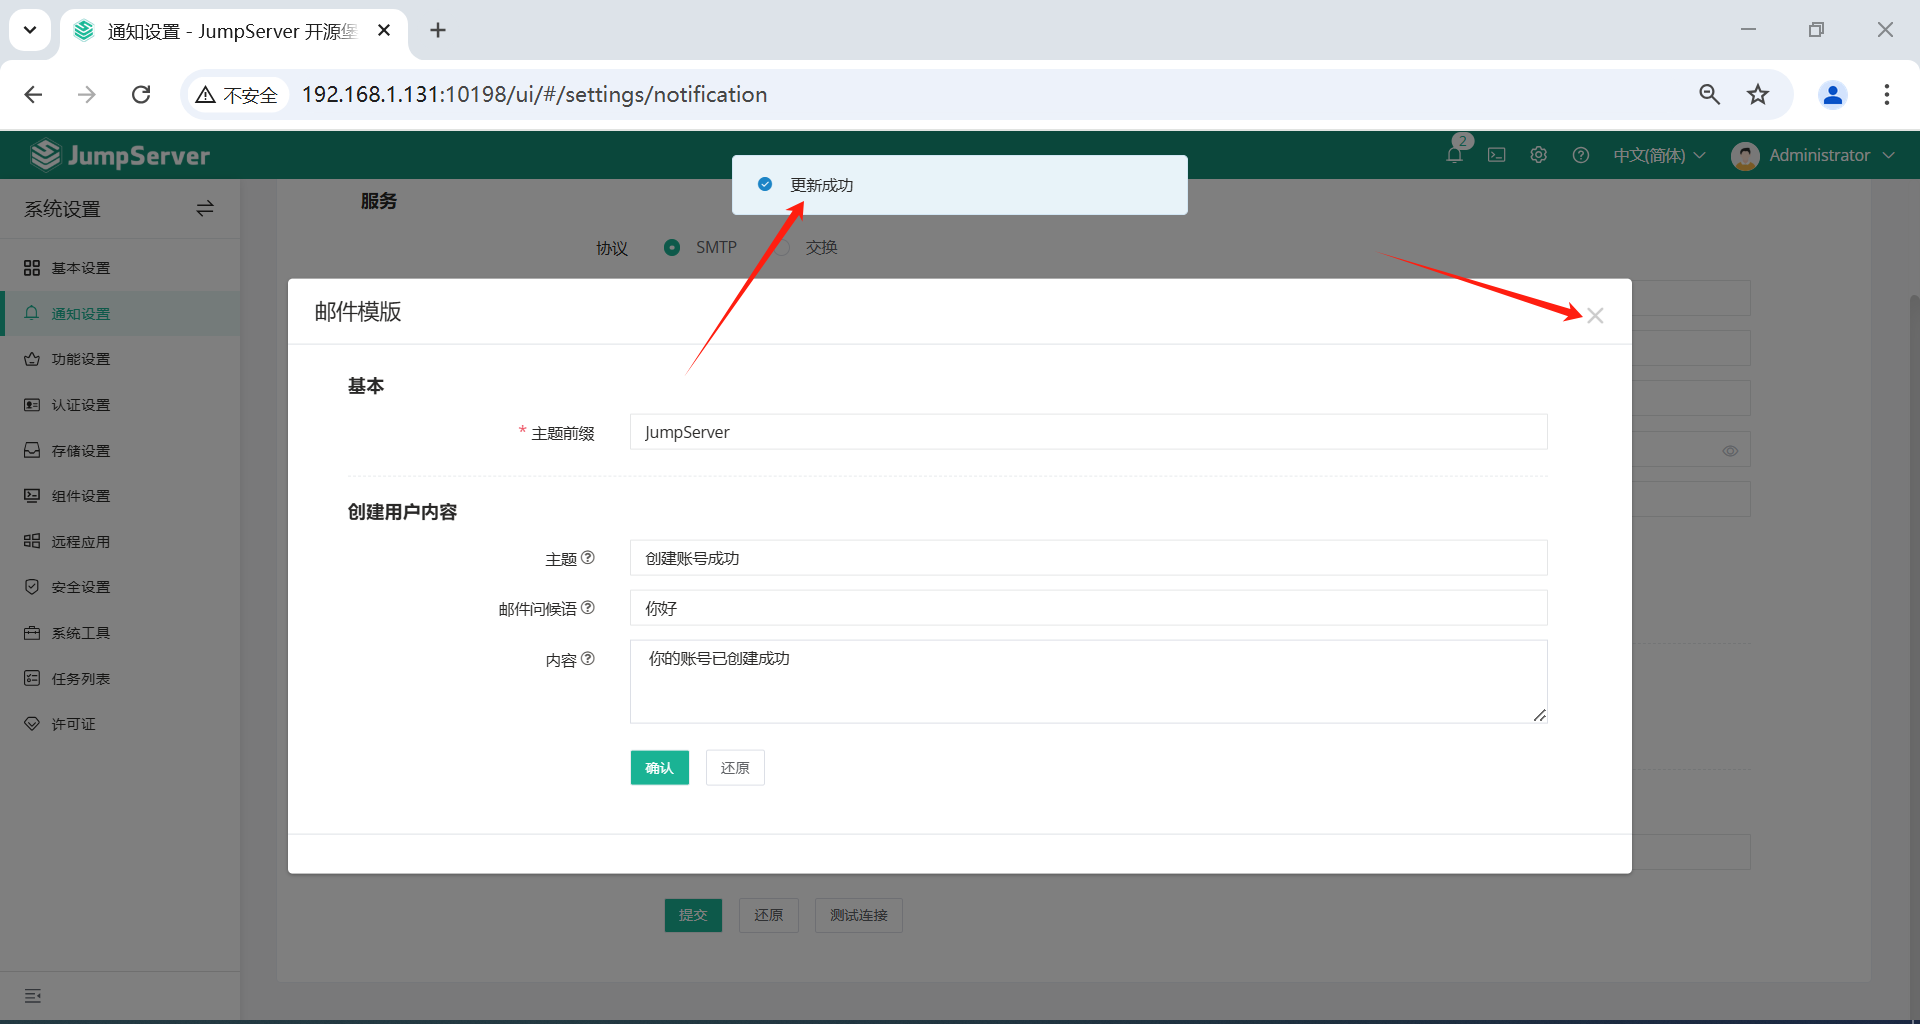
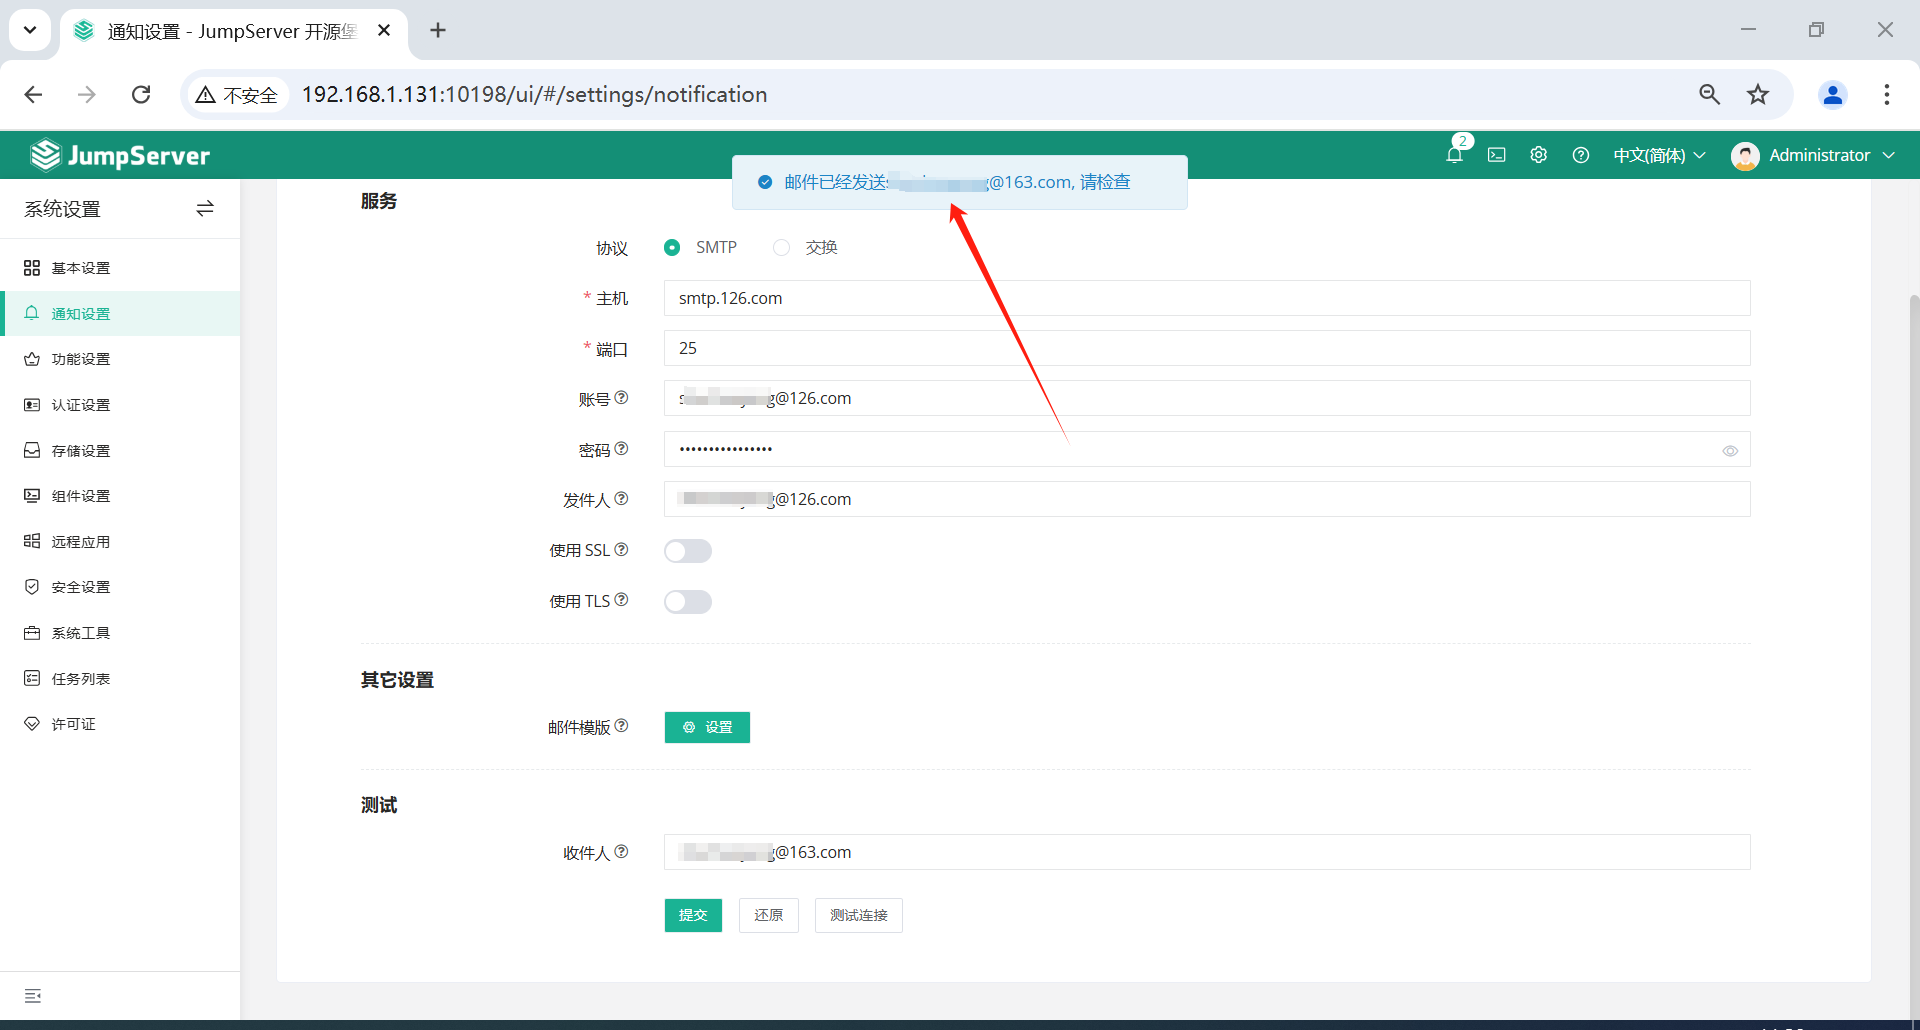
1.3.2 邮件设置
支持通过SMTP或EXCHANGE方式来对接邮件配置。
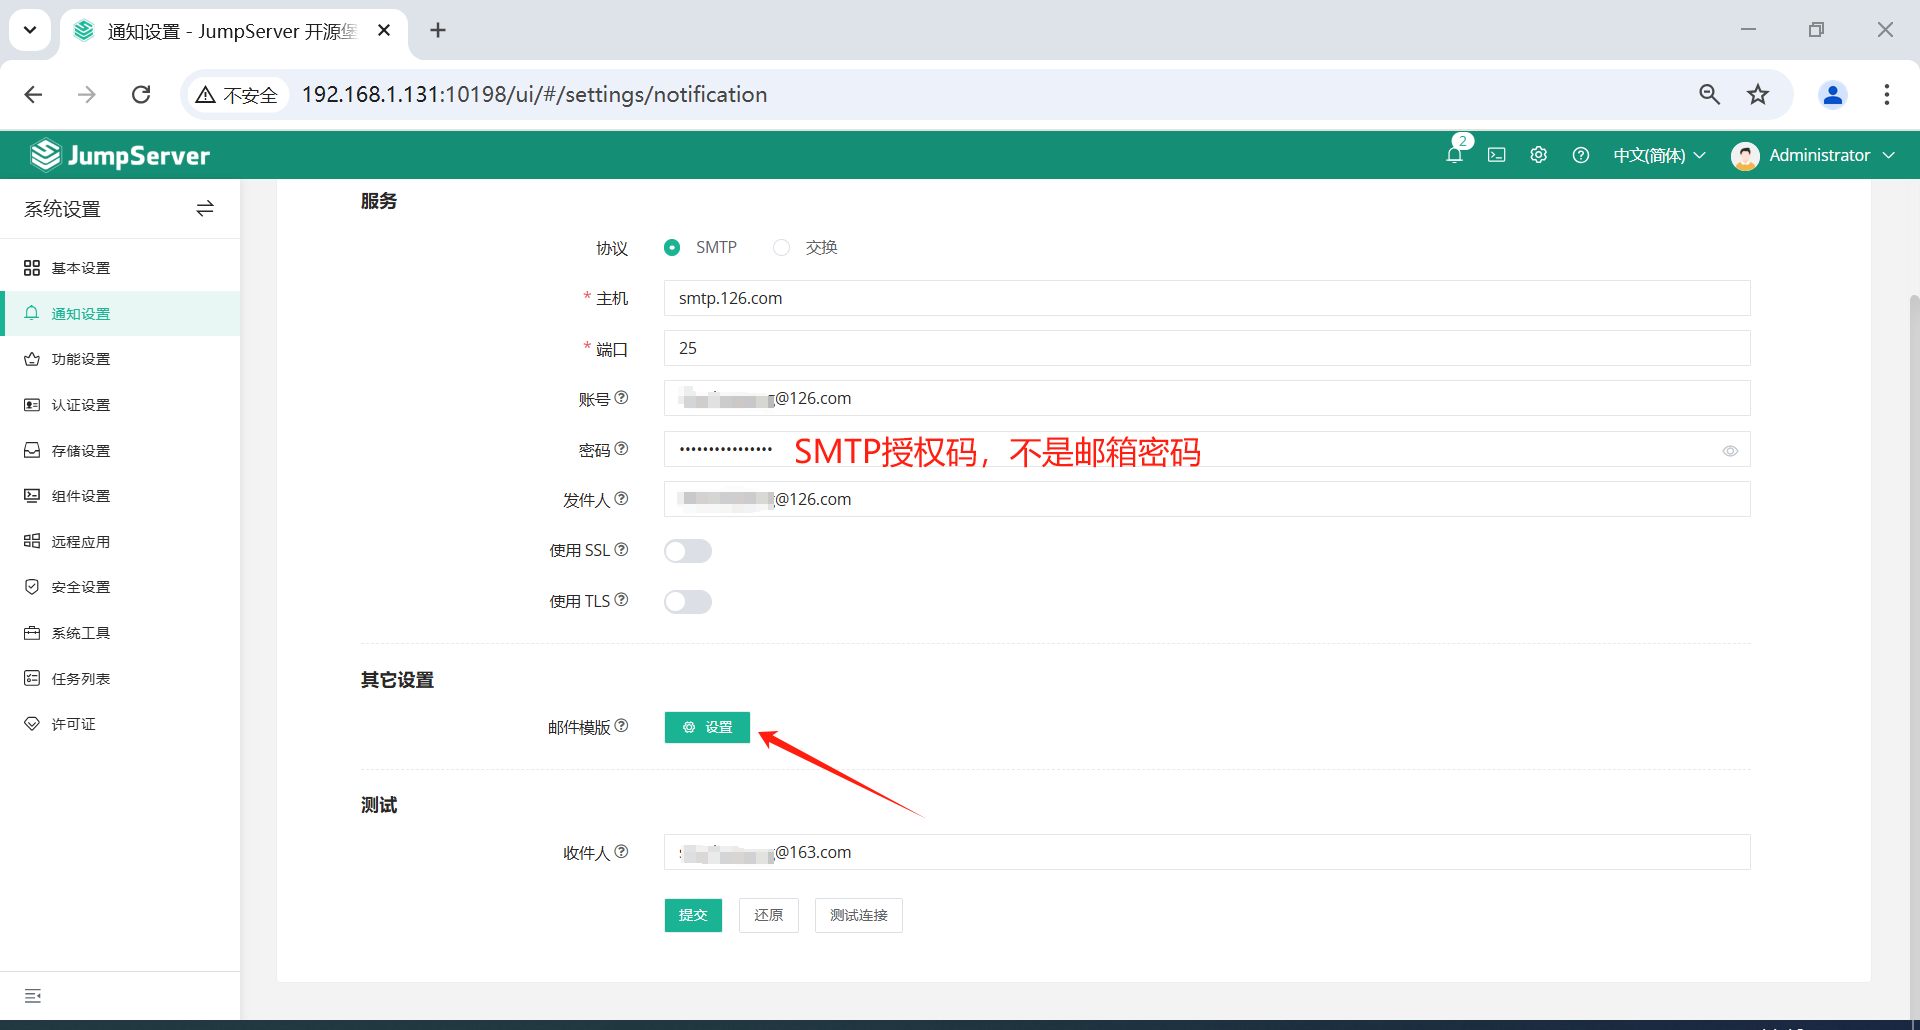
不可以同时勾选使用 SSL和使用 TLS。
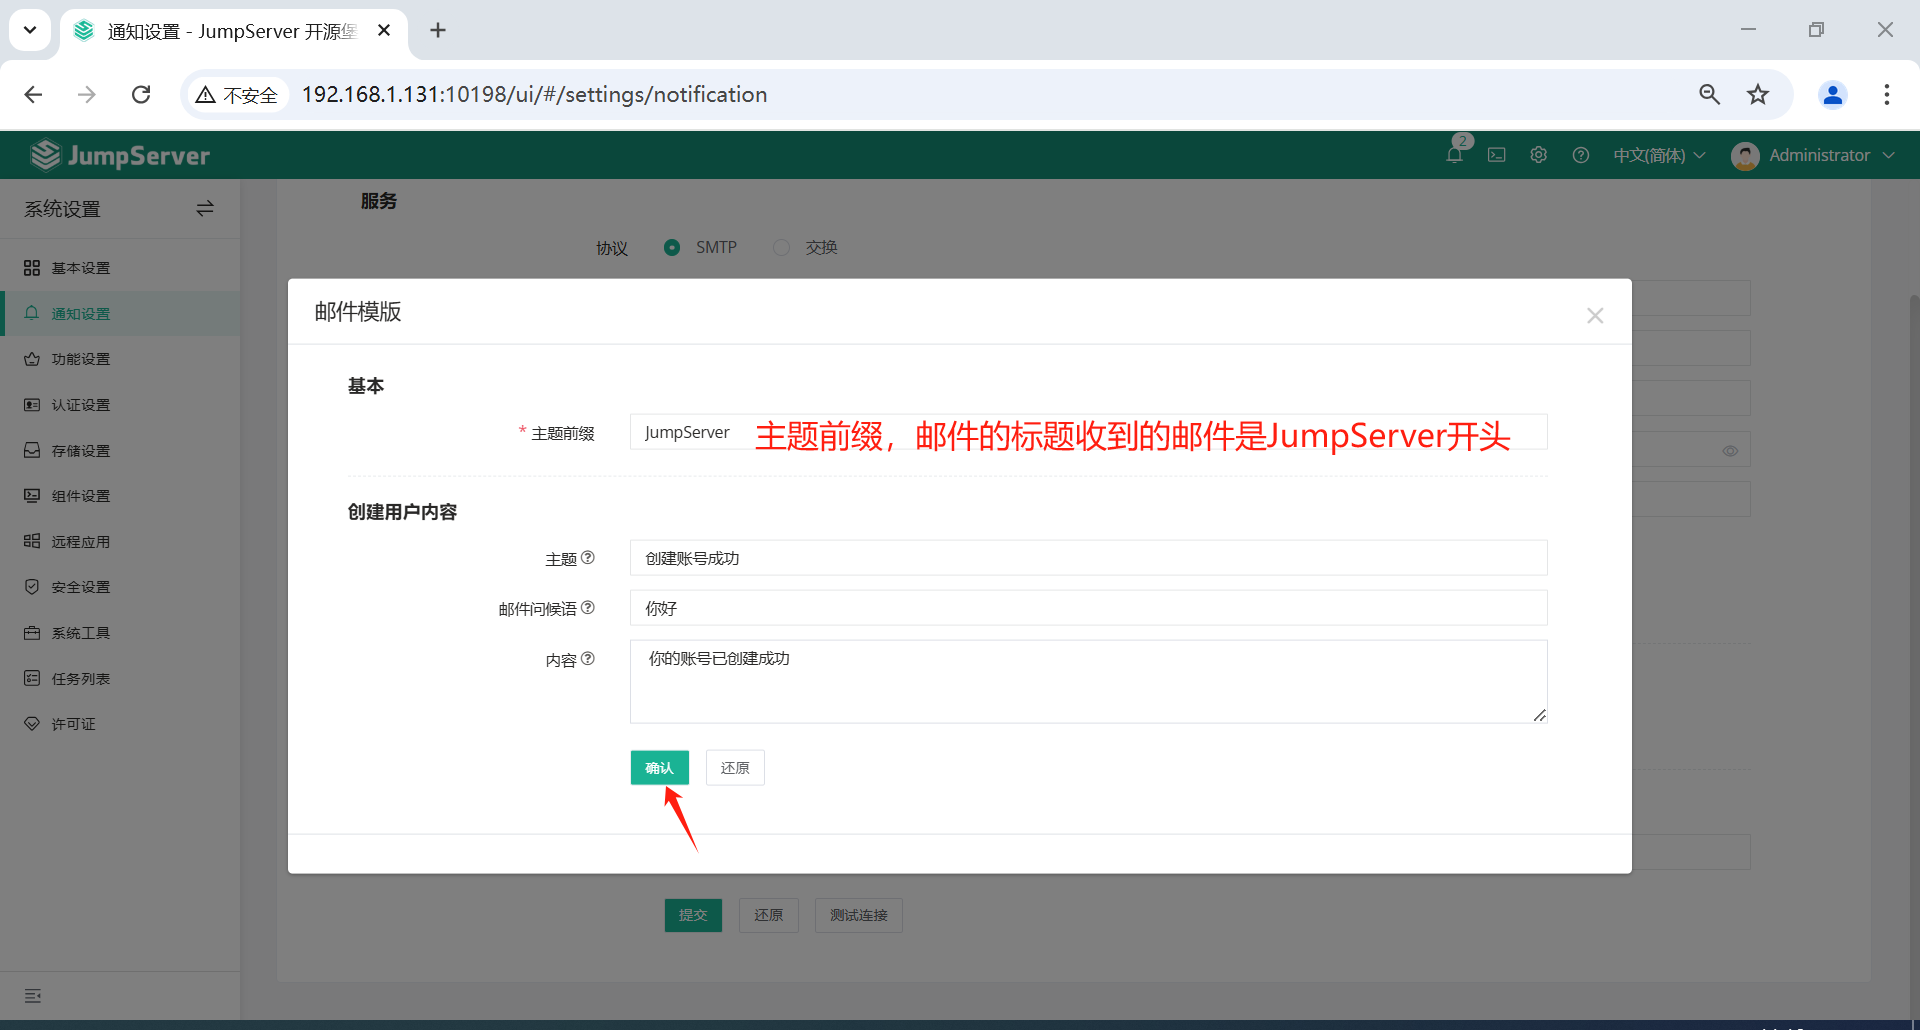
必须要输入主题前缀,设置之后邮件的标题收到的邮件是JumpServer开头。
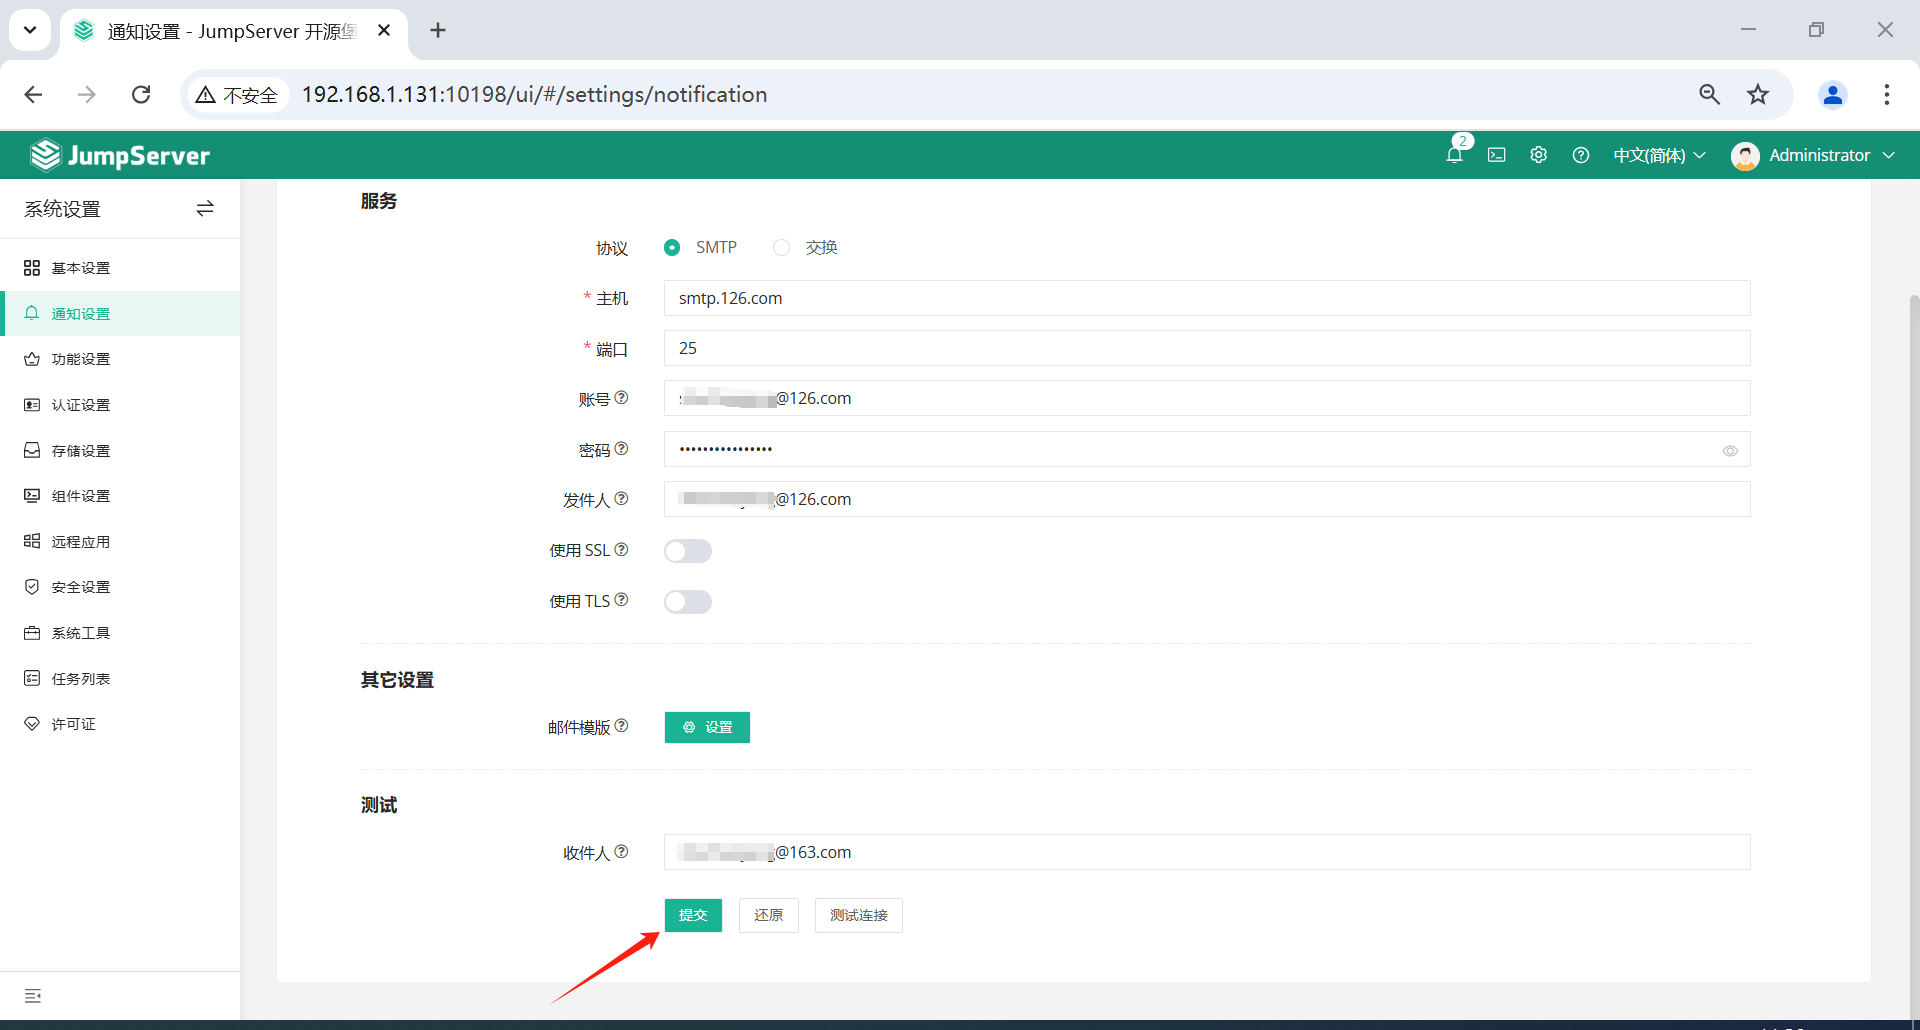
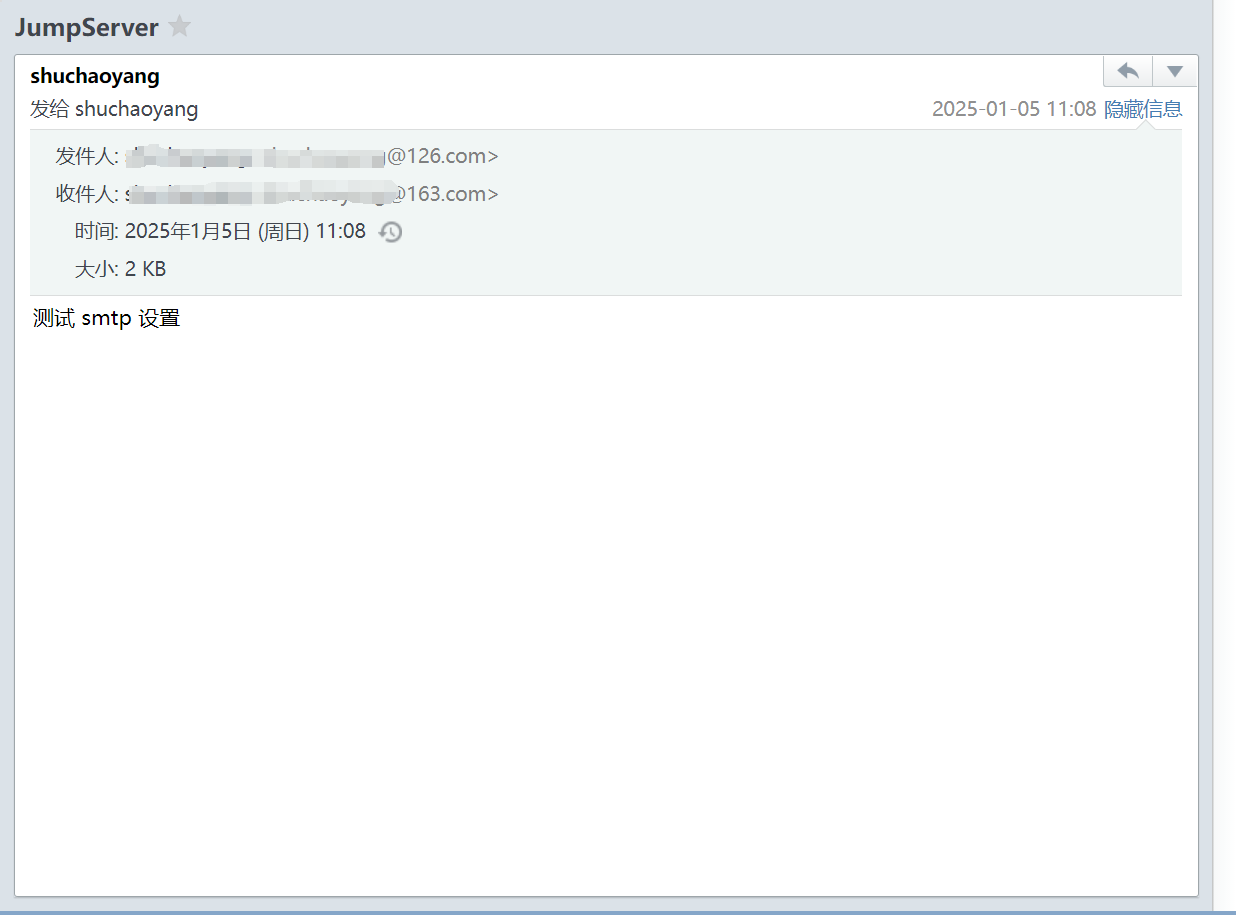
邮箱测试连接
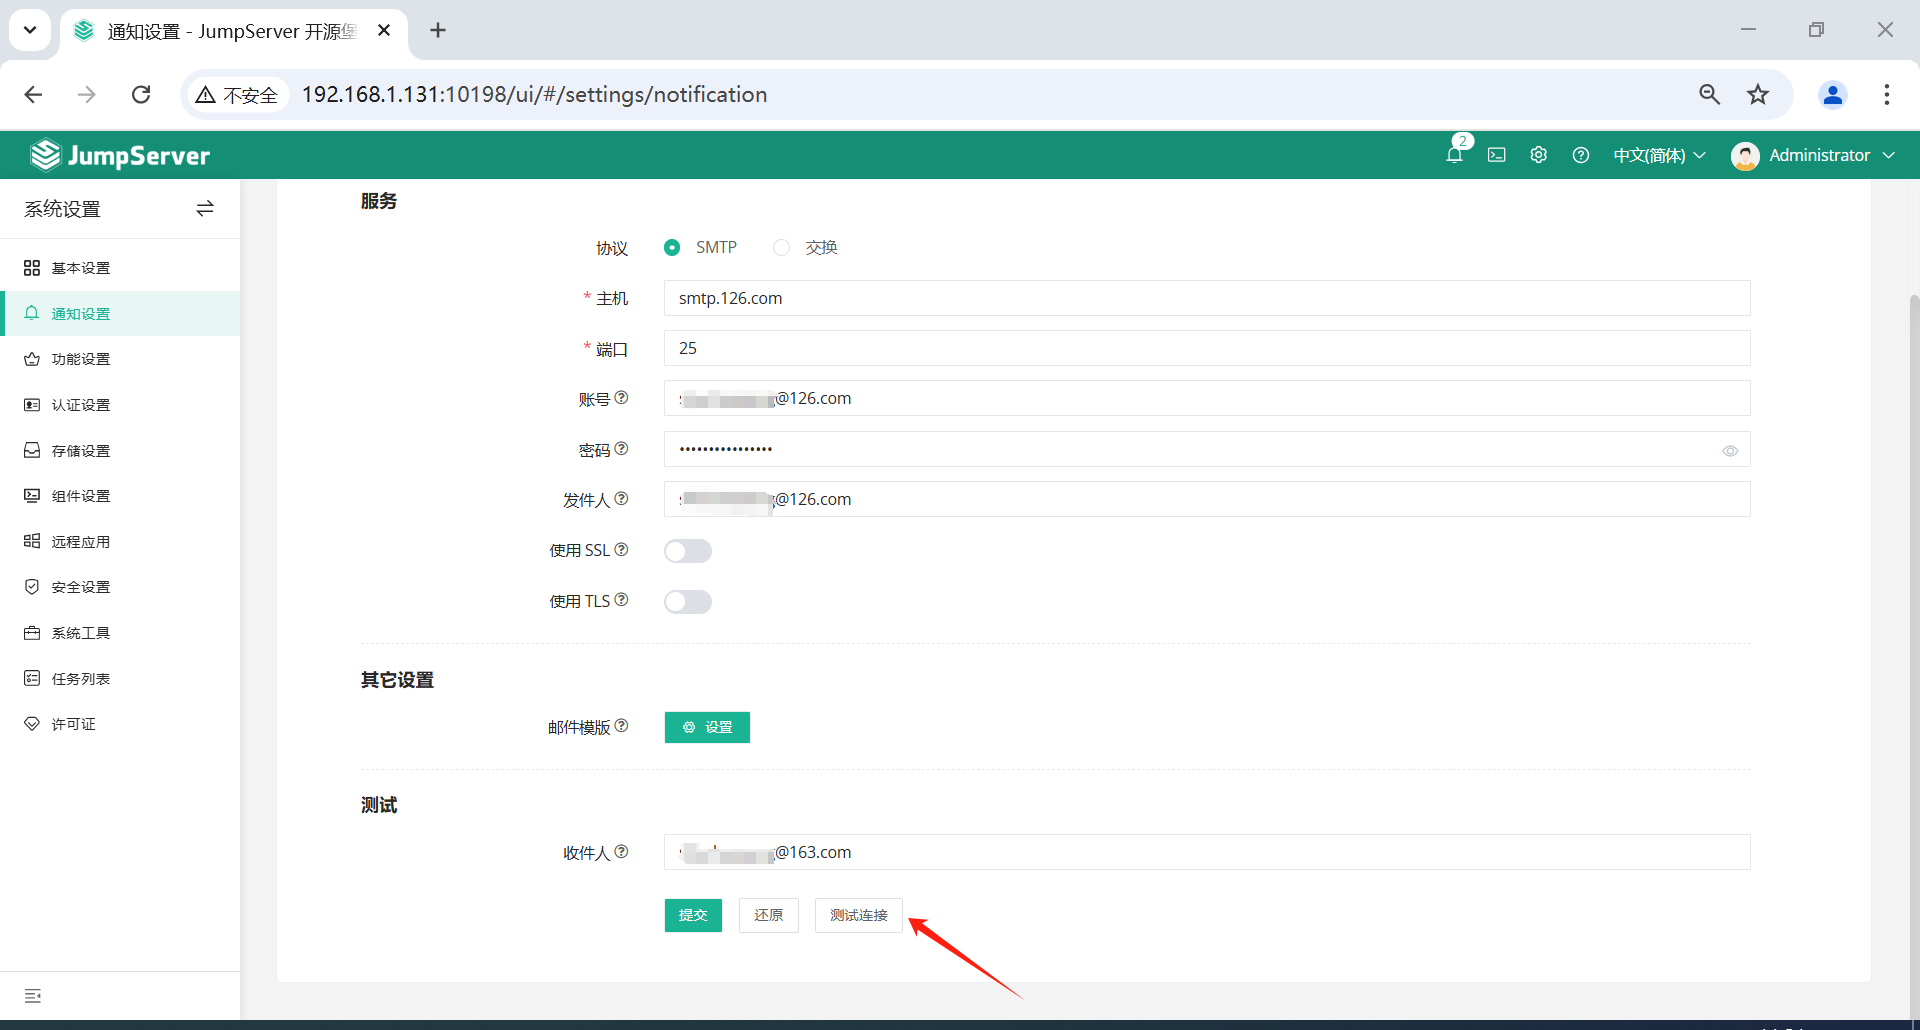
如图,点击测试连接
收到邮件
二、用户管理
2.1 场景
用户 superman,针对服务器192.168.1.132/192.168.1.186和192.168.1.132上的 PostgreSQL 数据库进行运维。
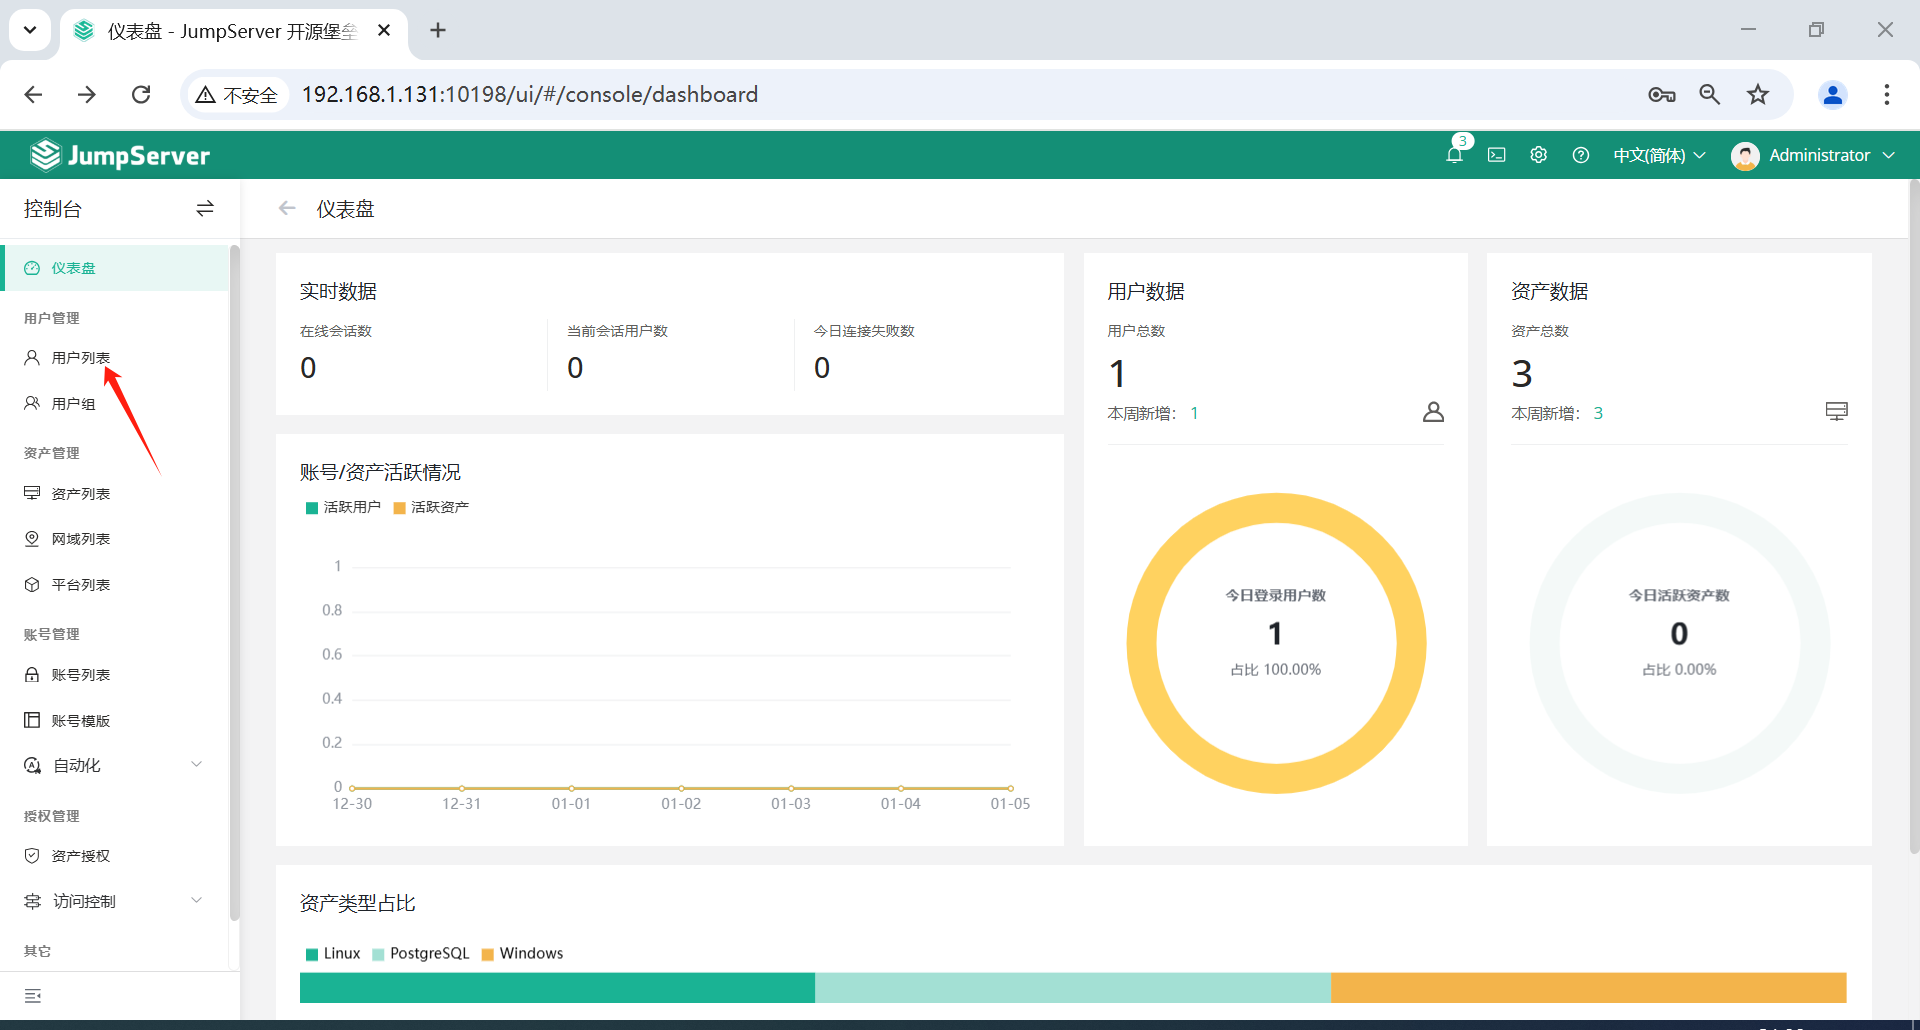
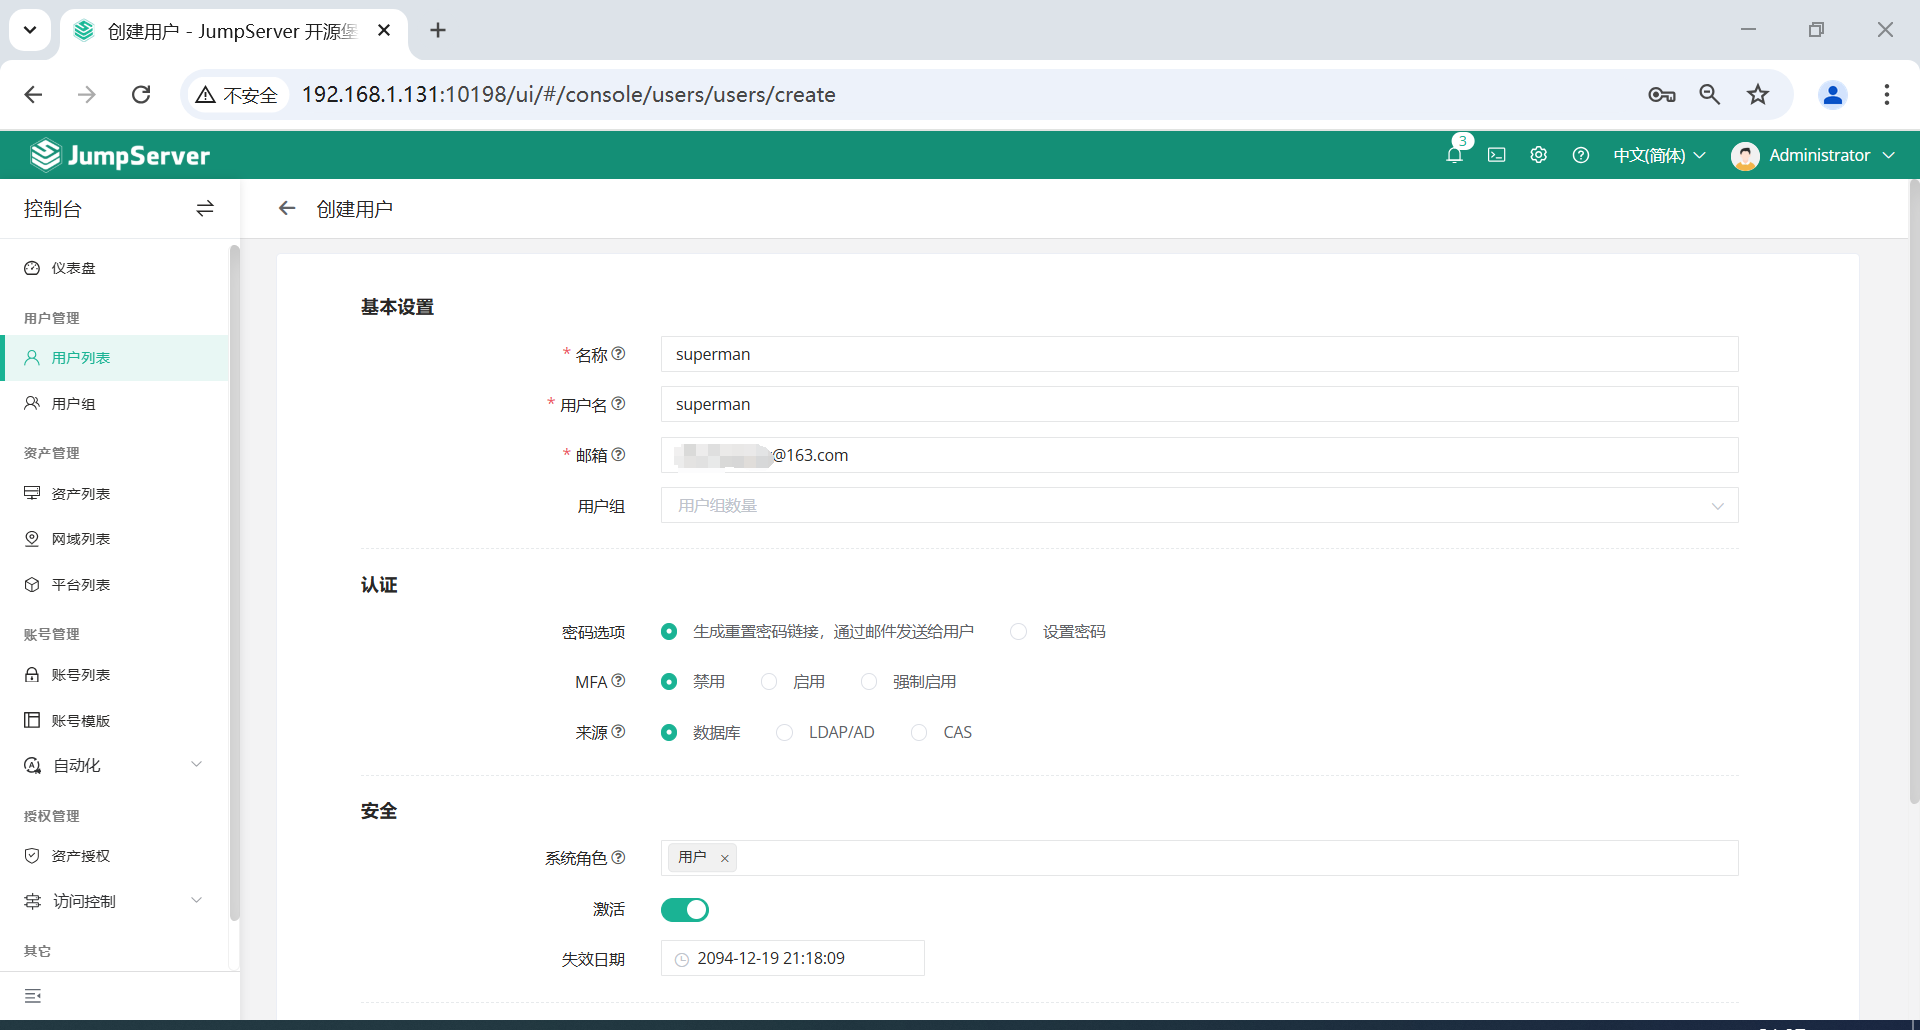
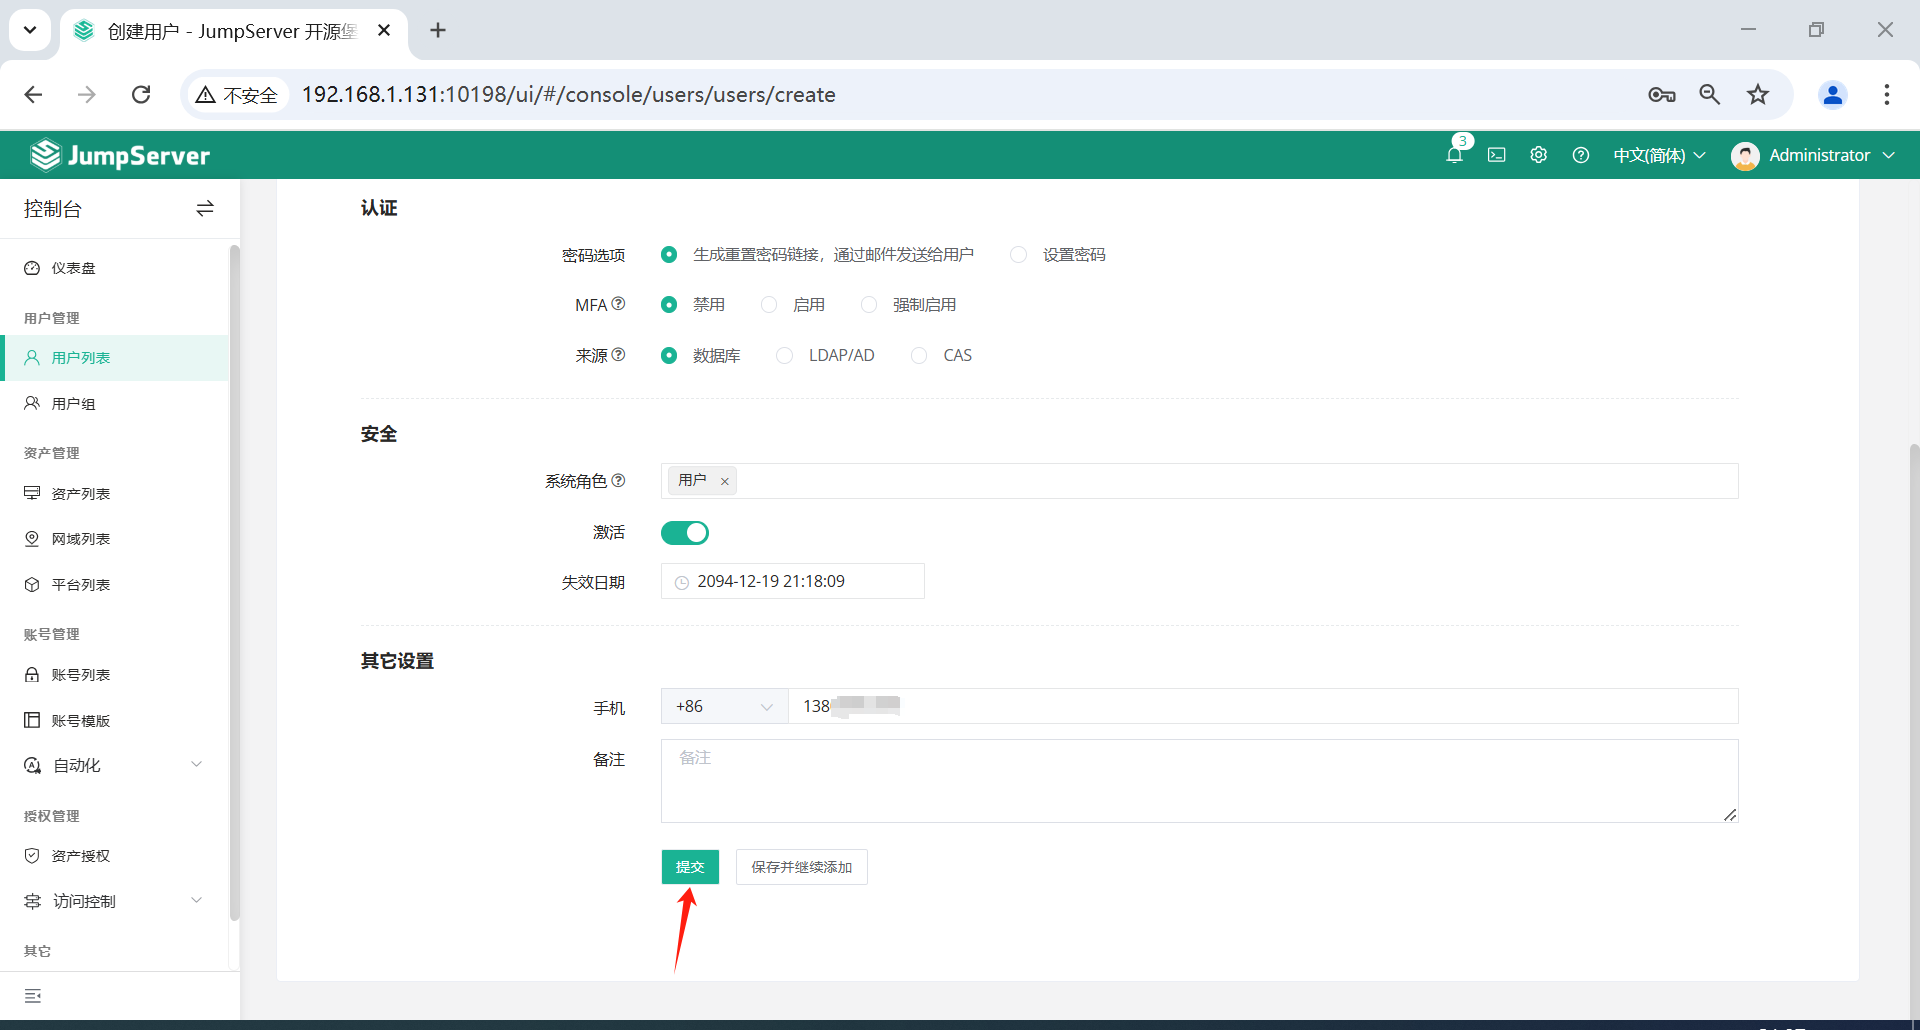
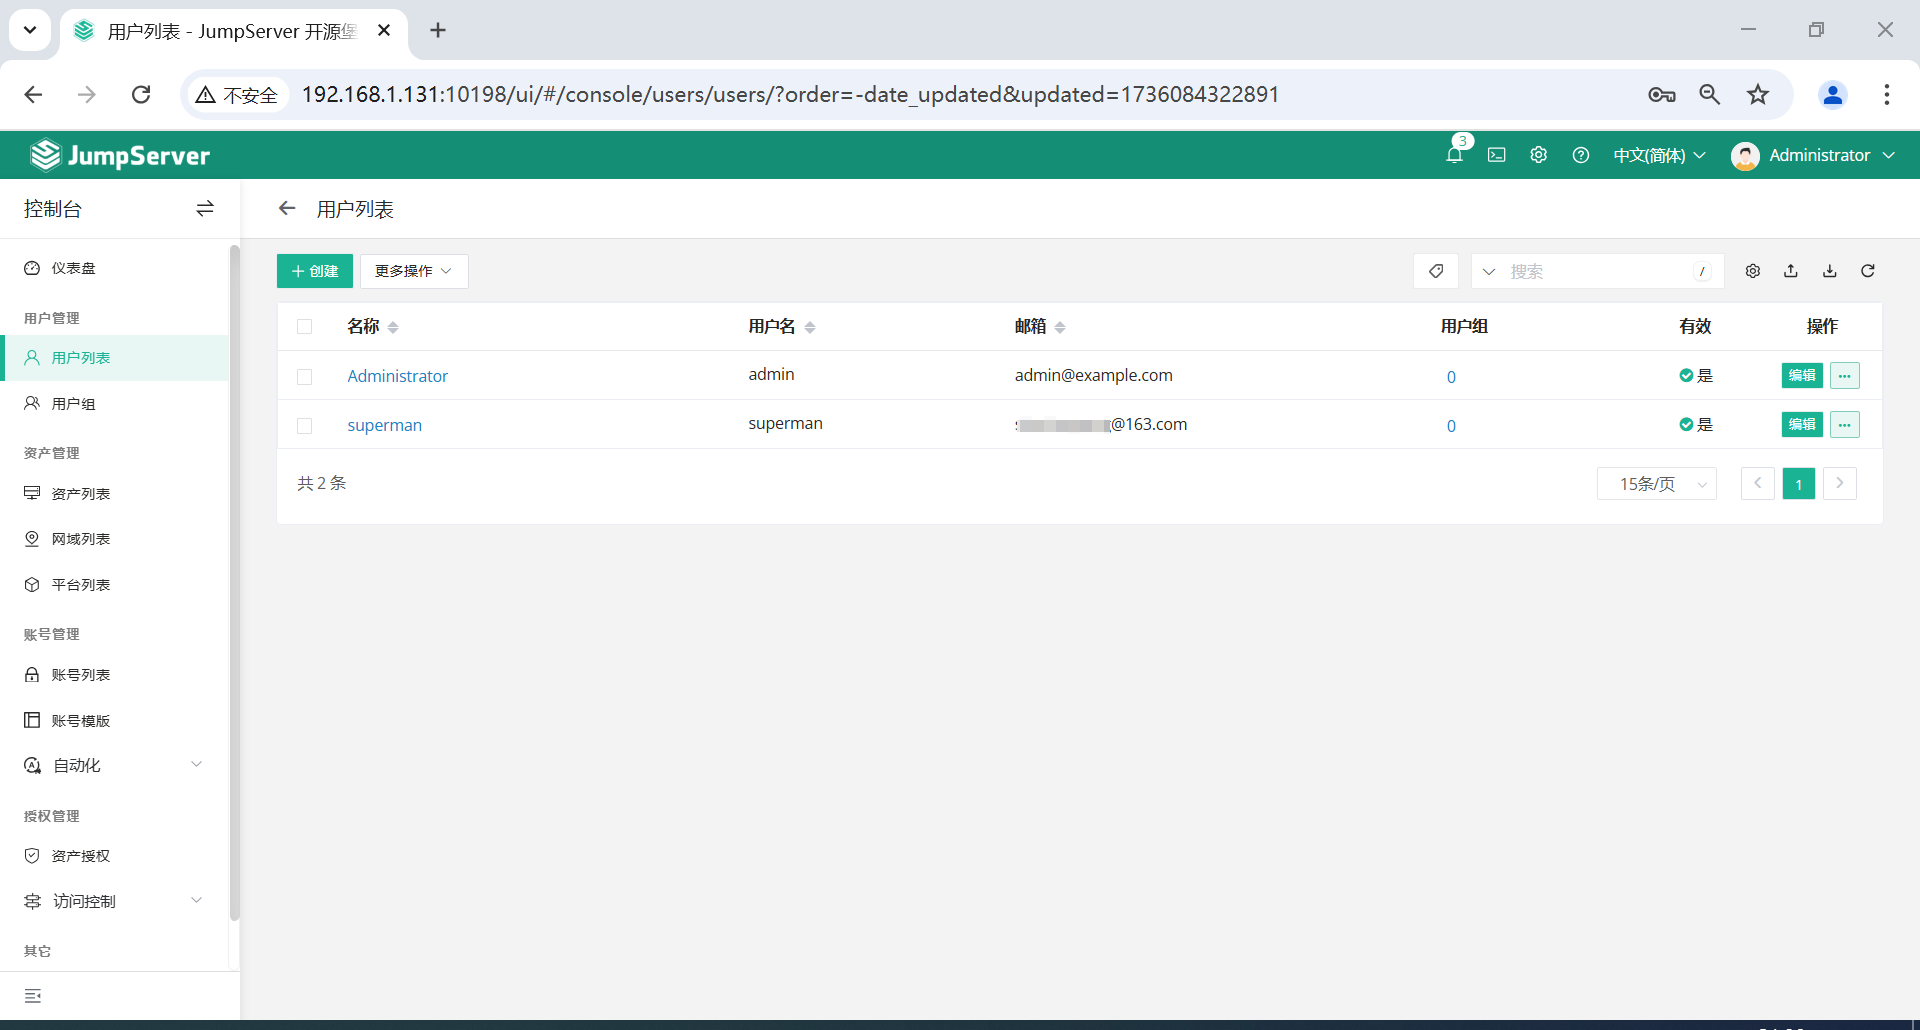
2.2 创建用户
点击页面左侧的用户管理-用户列表-创建。
添加员工账户 superman ,系统角色用户即可。

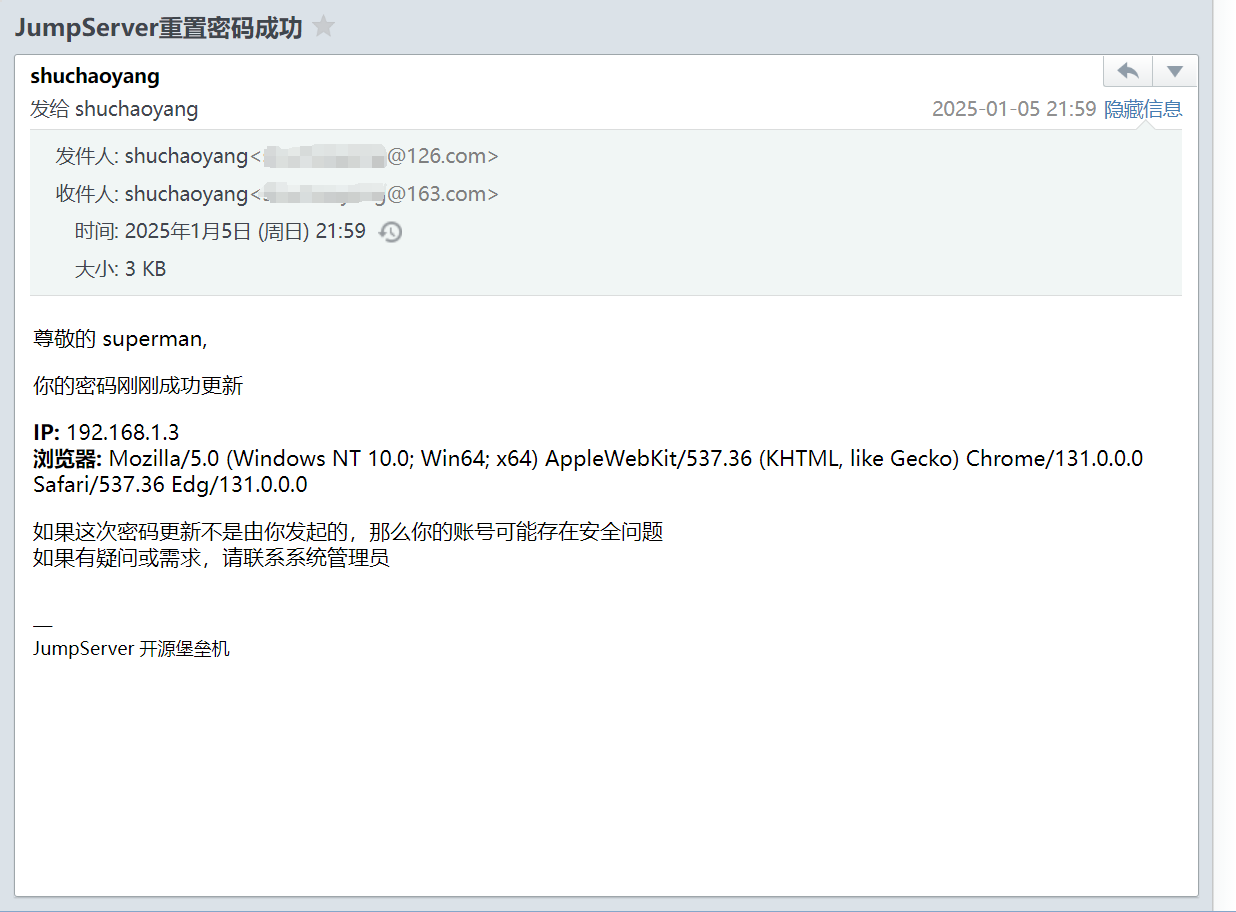
2.3 用户登录密码重置
用户创建之后会收到一封邮件,要求修改用户密码。
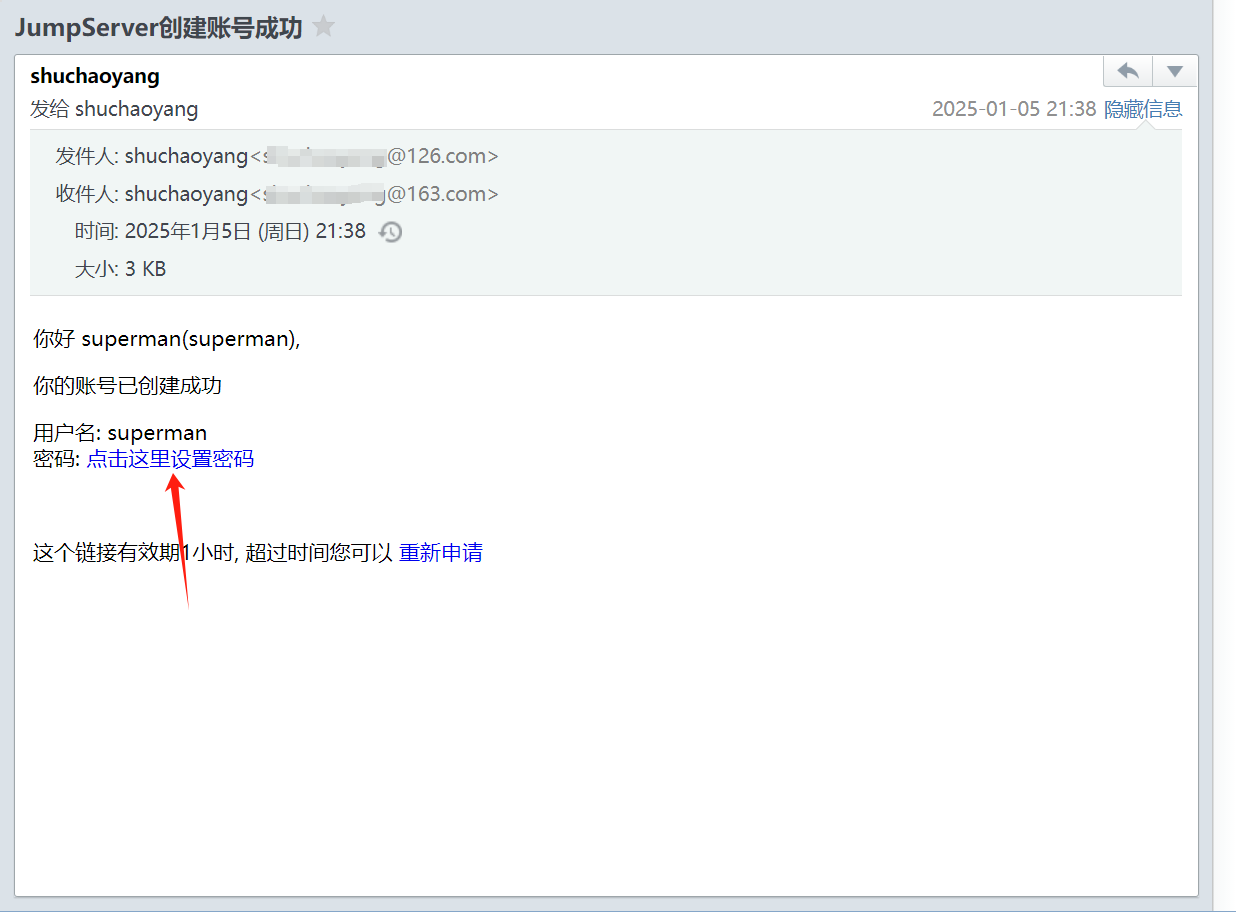
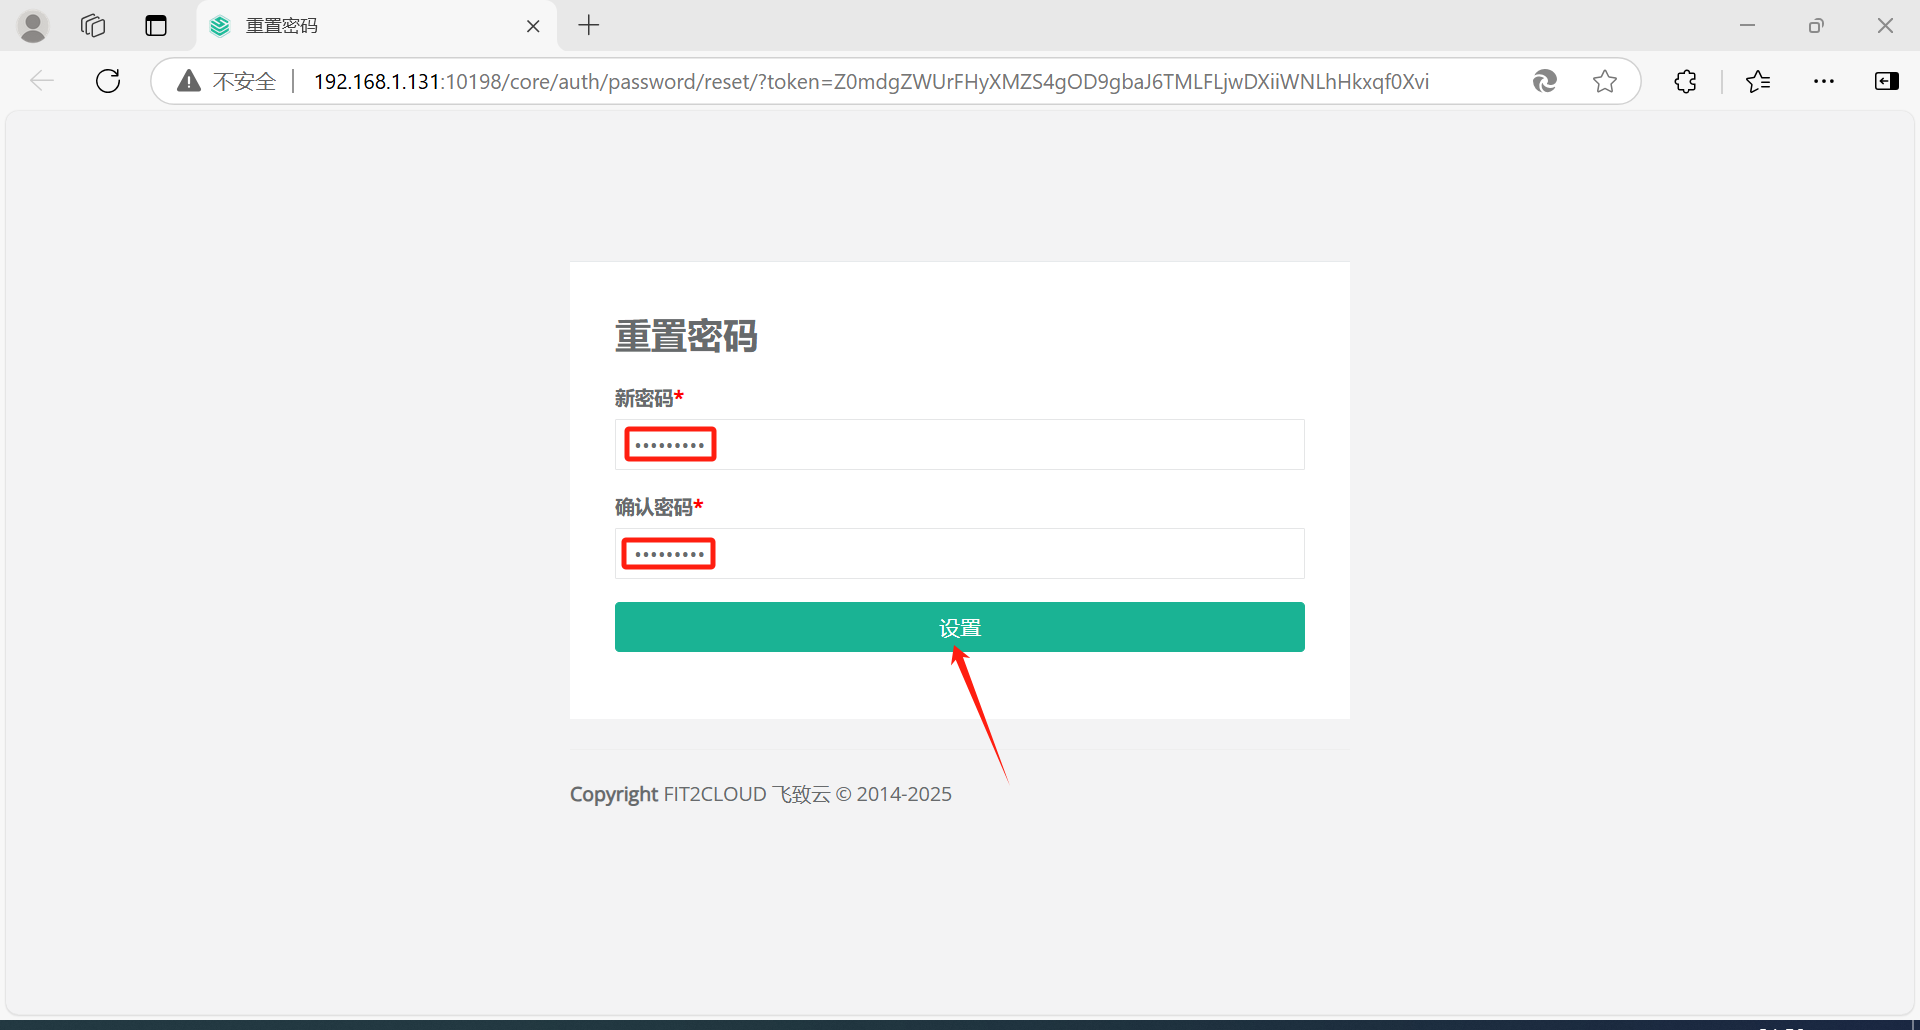
密码修改之后会收到一封邮件,类似如下:
三、资产管理
3.1 准备工作
准备两个服务器资产和一个数据库资产来验证功能。
| IP地址 | 主机名 | 端口 | 操作系统 | 管理员账户 | 管理员密码 | 备注 |
|---|---|---|---|---|---|---|
| 192.168.1.132 | postgresql | 22 | Ubuntu 22.04.1 | root | ******************** | Linux |
| 192.168.1.186 | win10 | 3389 | Windows 10 | administrator | ******************** | Windows |
| 192.168.1.132 | postgresql | 5432 | Ubuntu 22.04.1 | postgres | ******************** | 数据库 |
现在需要添加服务器192.168.1.132/192.168.1.186和192.168.1.132上的 PostgreSQL 数据库到 JumpServer 的资产管理上。
3.2 登录控制台
3.3 创建资产树
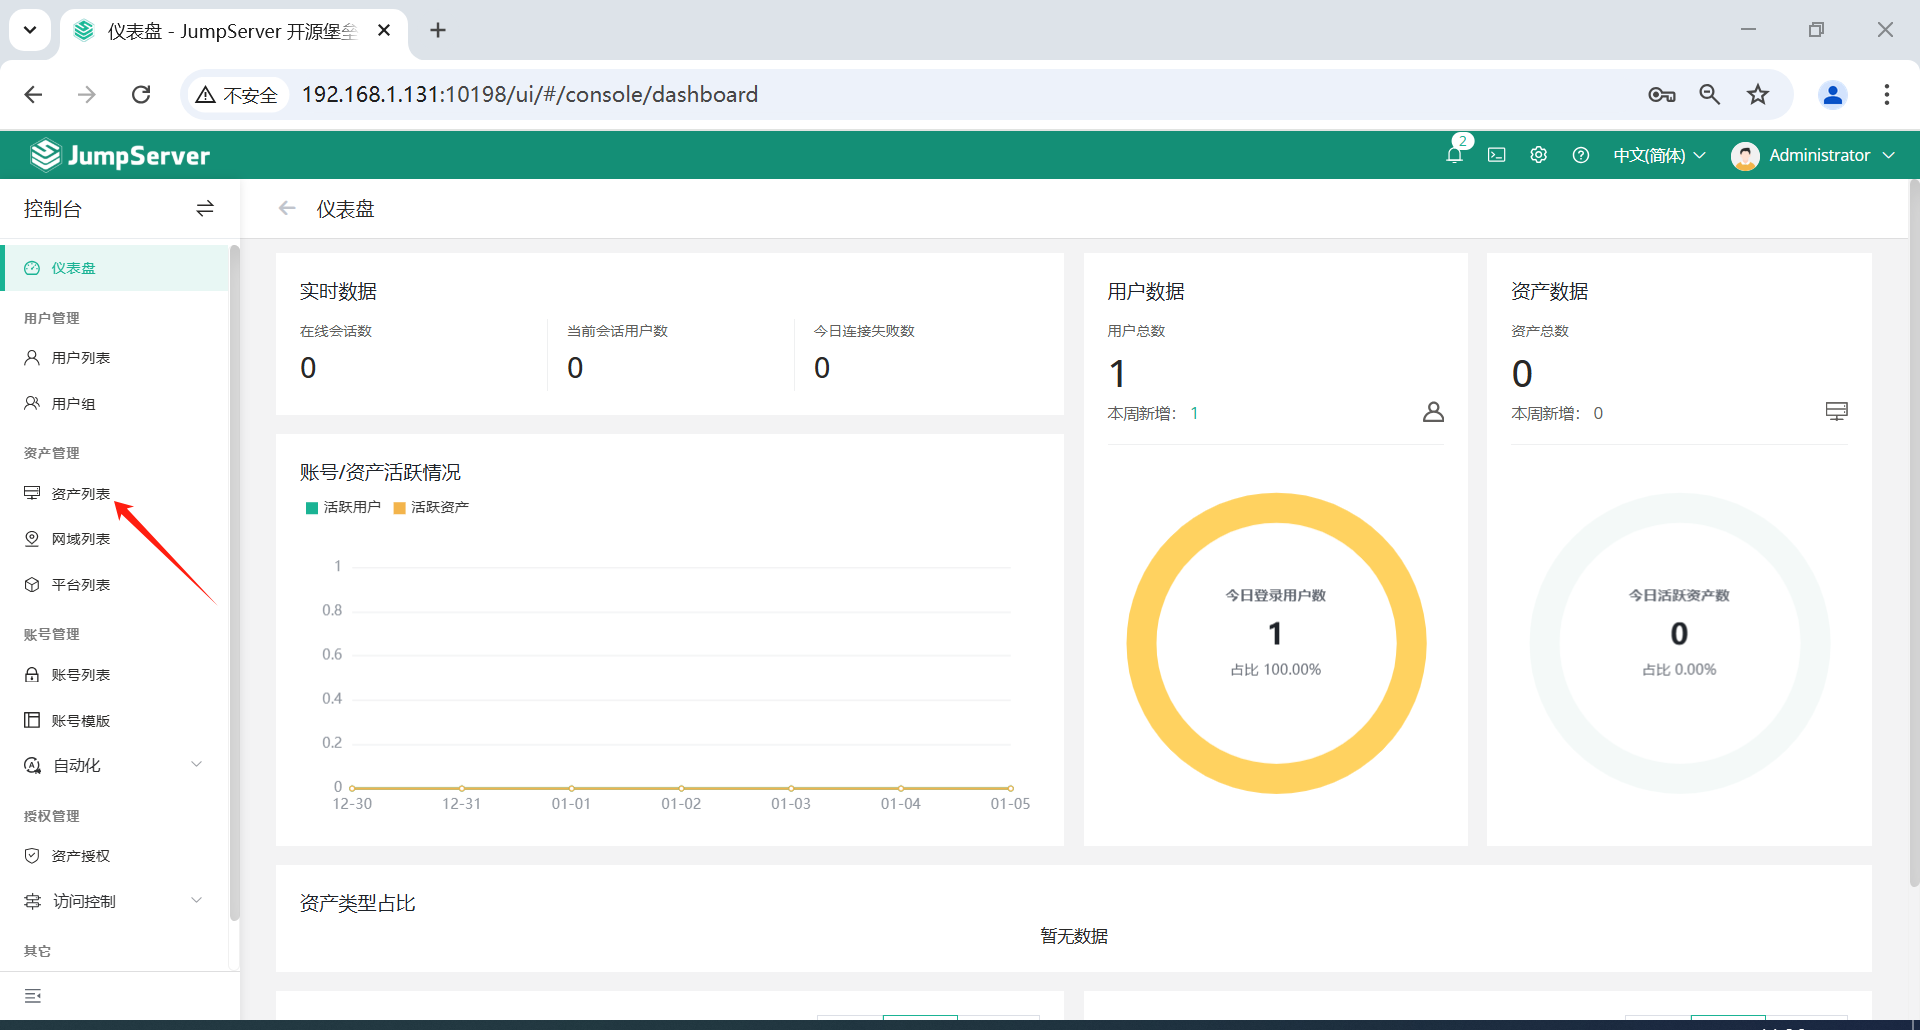
点击页面左侧的资产管理-资产列表。
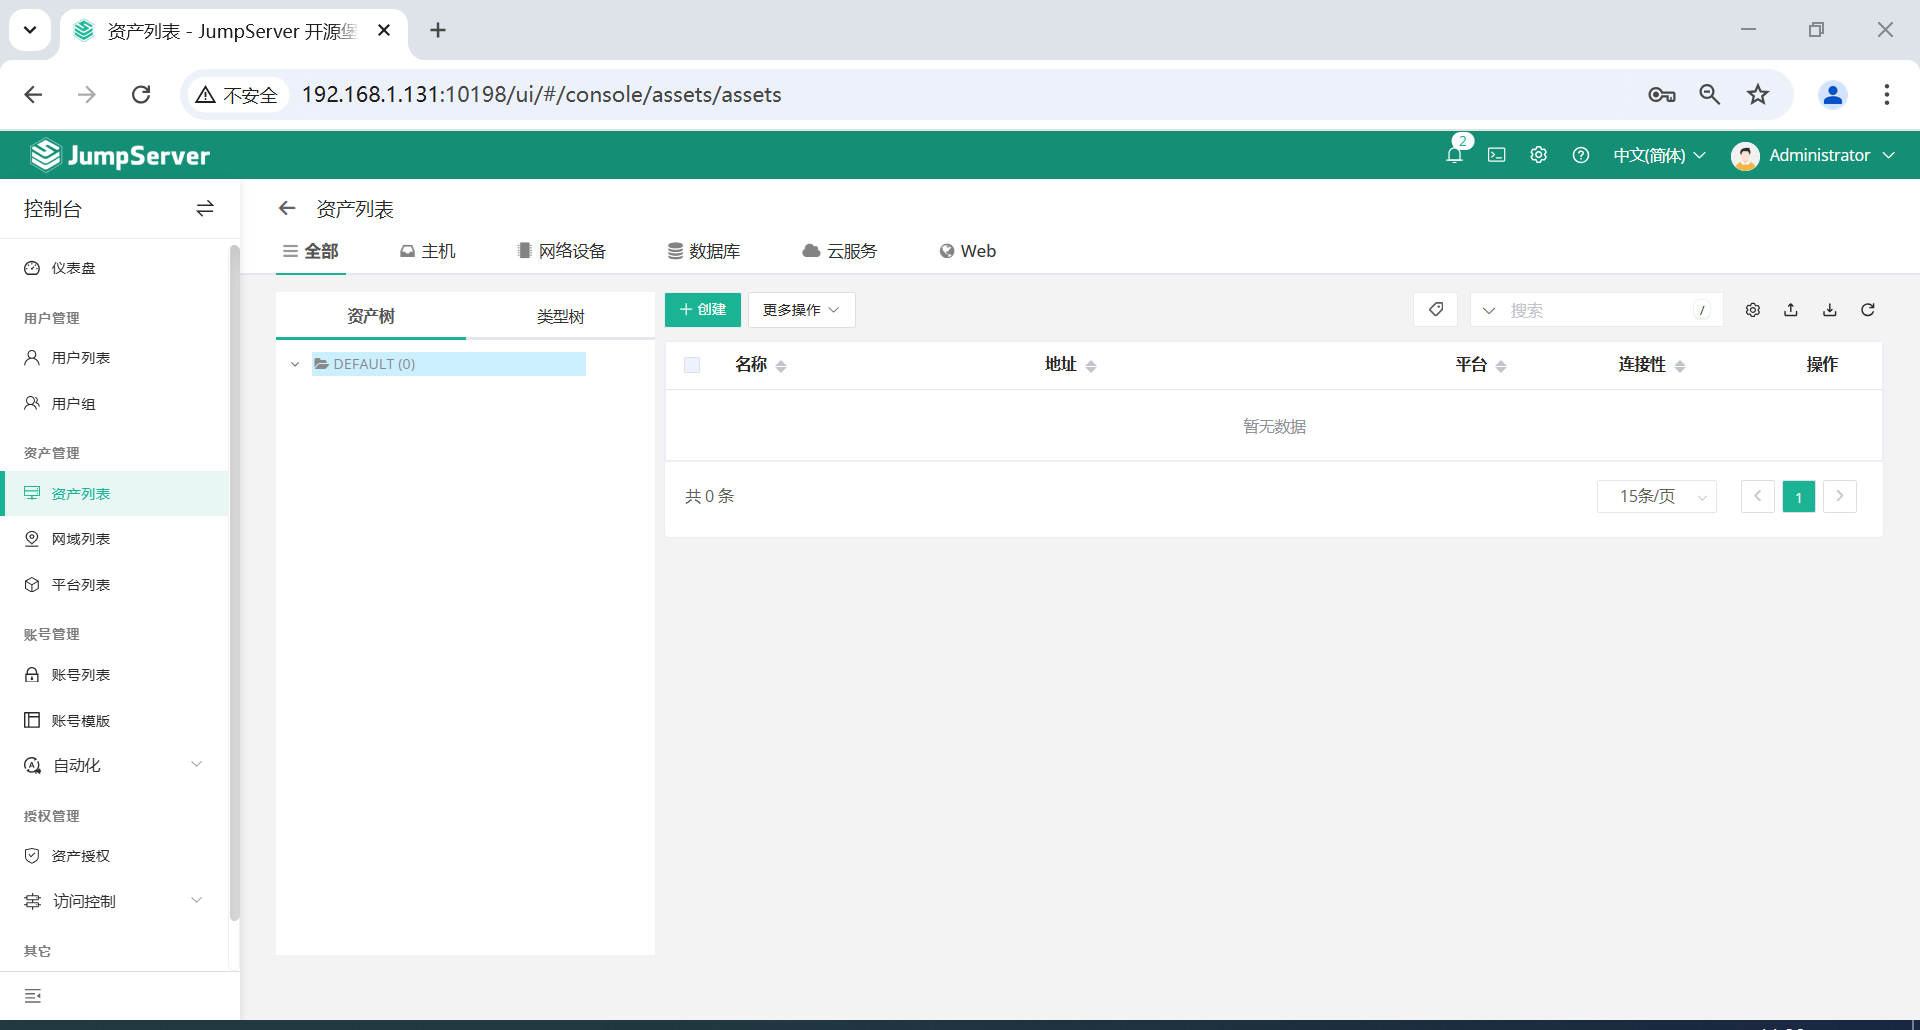
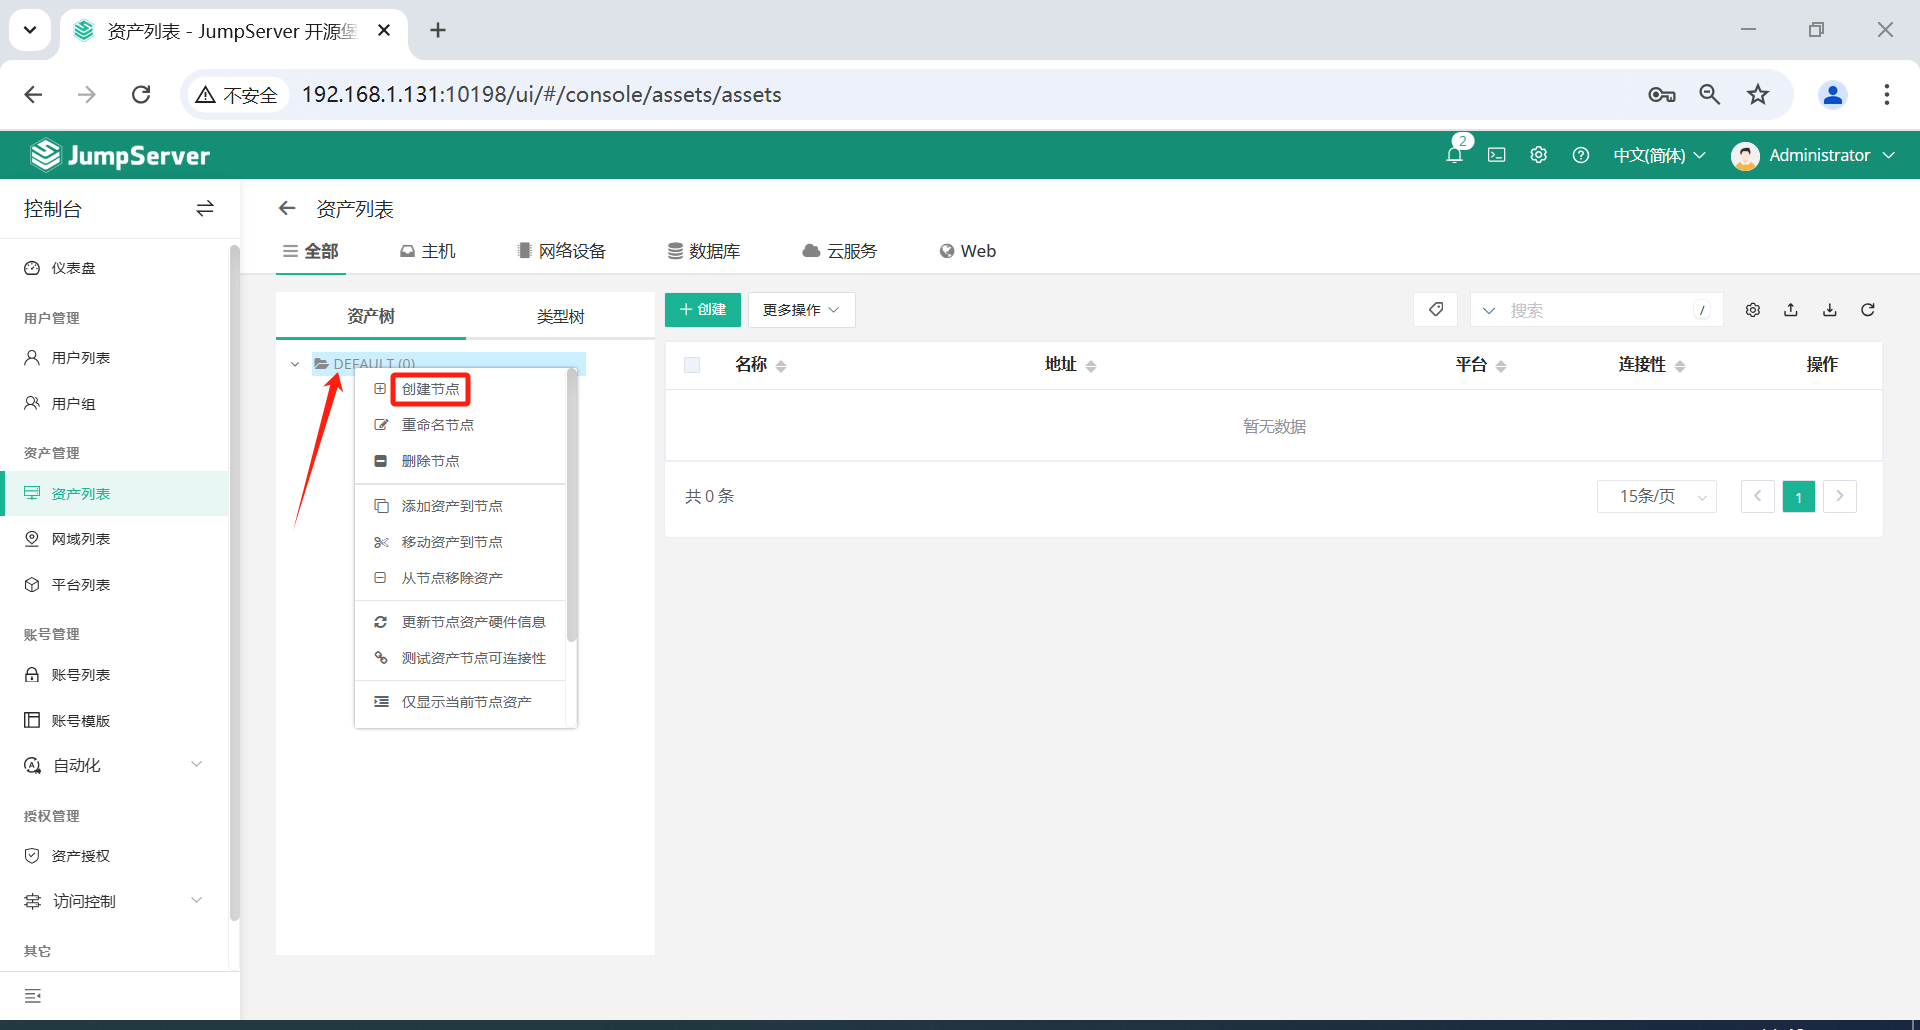
**注意:**根节点Default不能重命名,右击节点可以添加、删除和重命名节点,以及进行资产相关的操作。
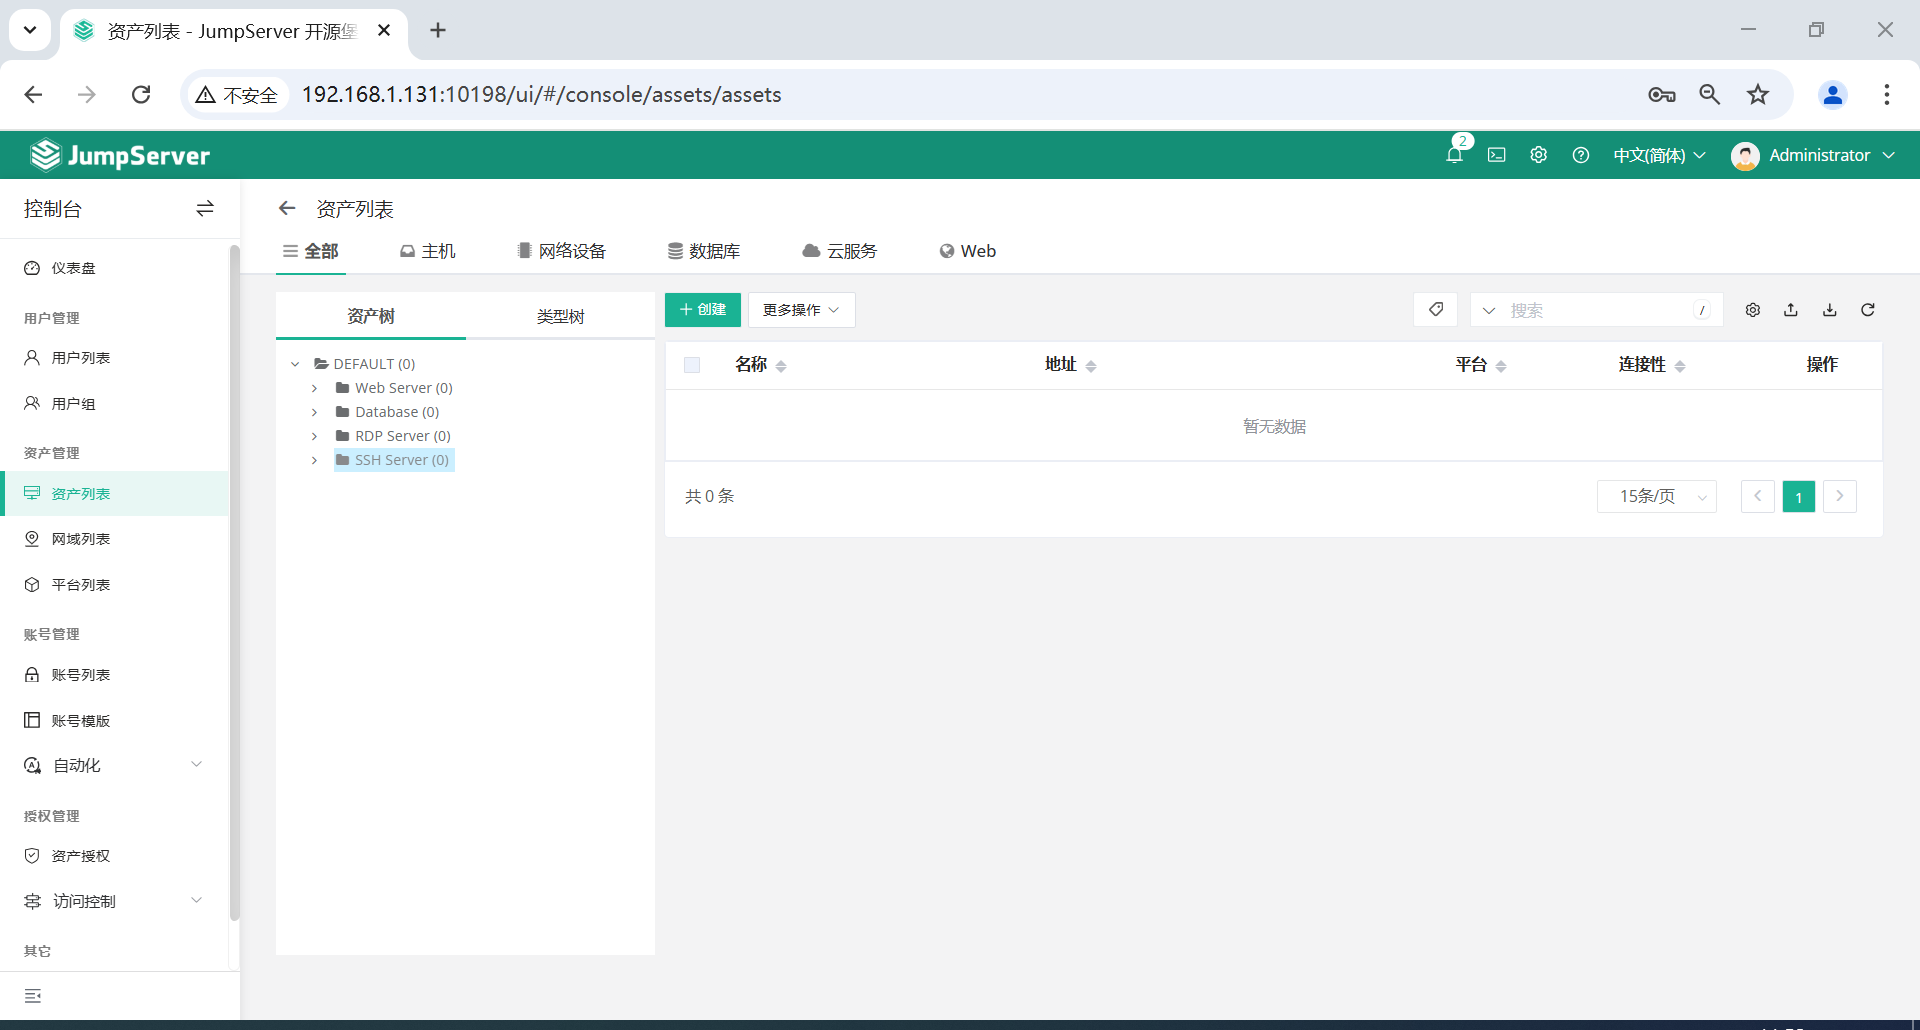
3.4 创建节点
在根节点Default右键可以新建SSH Server、RDP Server、Database、Web Server等节点。
3.5 创建资产
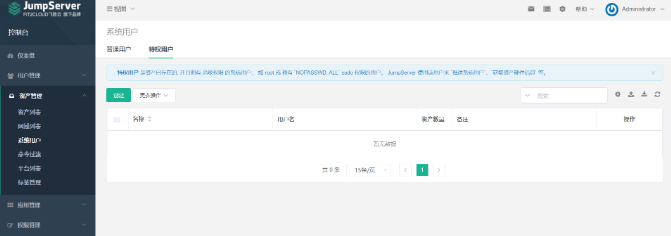
3.5.1 系统用户
系统用户选项,有普通用户和特权用户,有些人分不清楚。
这两个用户,都是给jumpserver这个软件使用的,jumpserver用这两个用户连接到其他服务器。
特权用户:最高权限, 如 root 或 拥有 NOPASSWD: ALL sudo 权限的用户,只允许jumpserver使用,JumpServer 使用该用户来 推送系统用户、获取资产硬件信息 等,系统也有提示。远程服务器上存在的用户信息。
普通用户:可以在服务器预先存在的用户,也可以由特权用户来自动创建。是superman登录服务器时用的用户名。也可以直接是特权用户root等,看权限分配。
创建特权用户,给jumpserver软件连接用,这里用的ubuntu,登录方式密钥,上传密钥即可。
普通用户,可创建也可以不创建,如直接使用特权用户ubuntu即可。如果创建后(如:user01),jumpserver会在远程服务器上通过ubuntu这个特权用户自动创建这个用户(如:user01)。
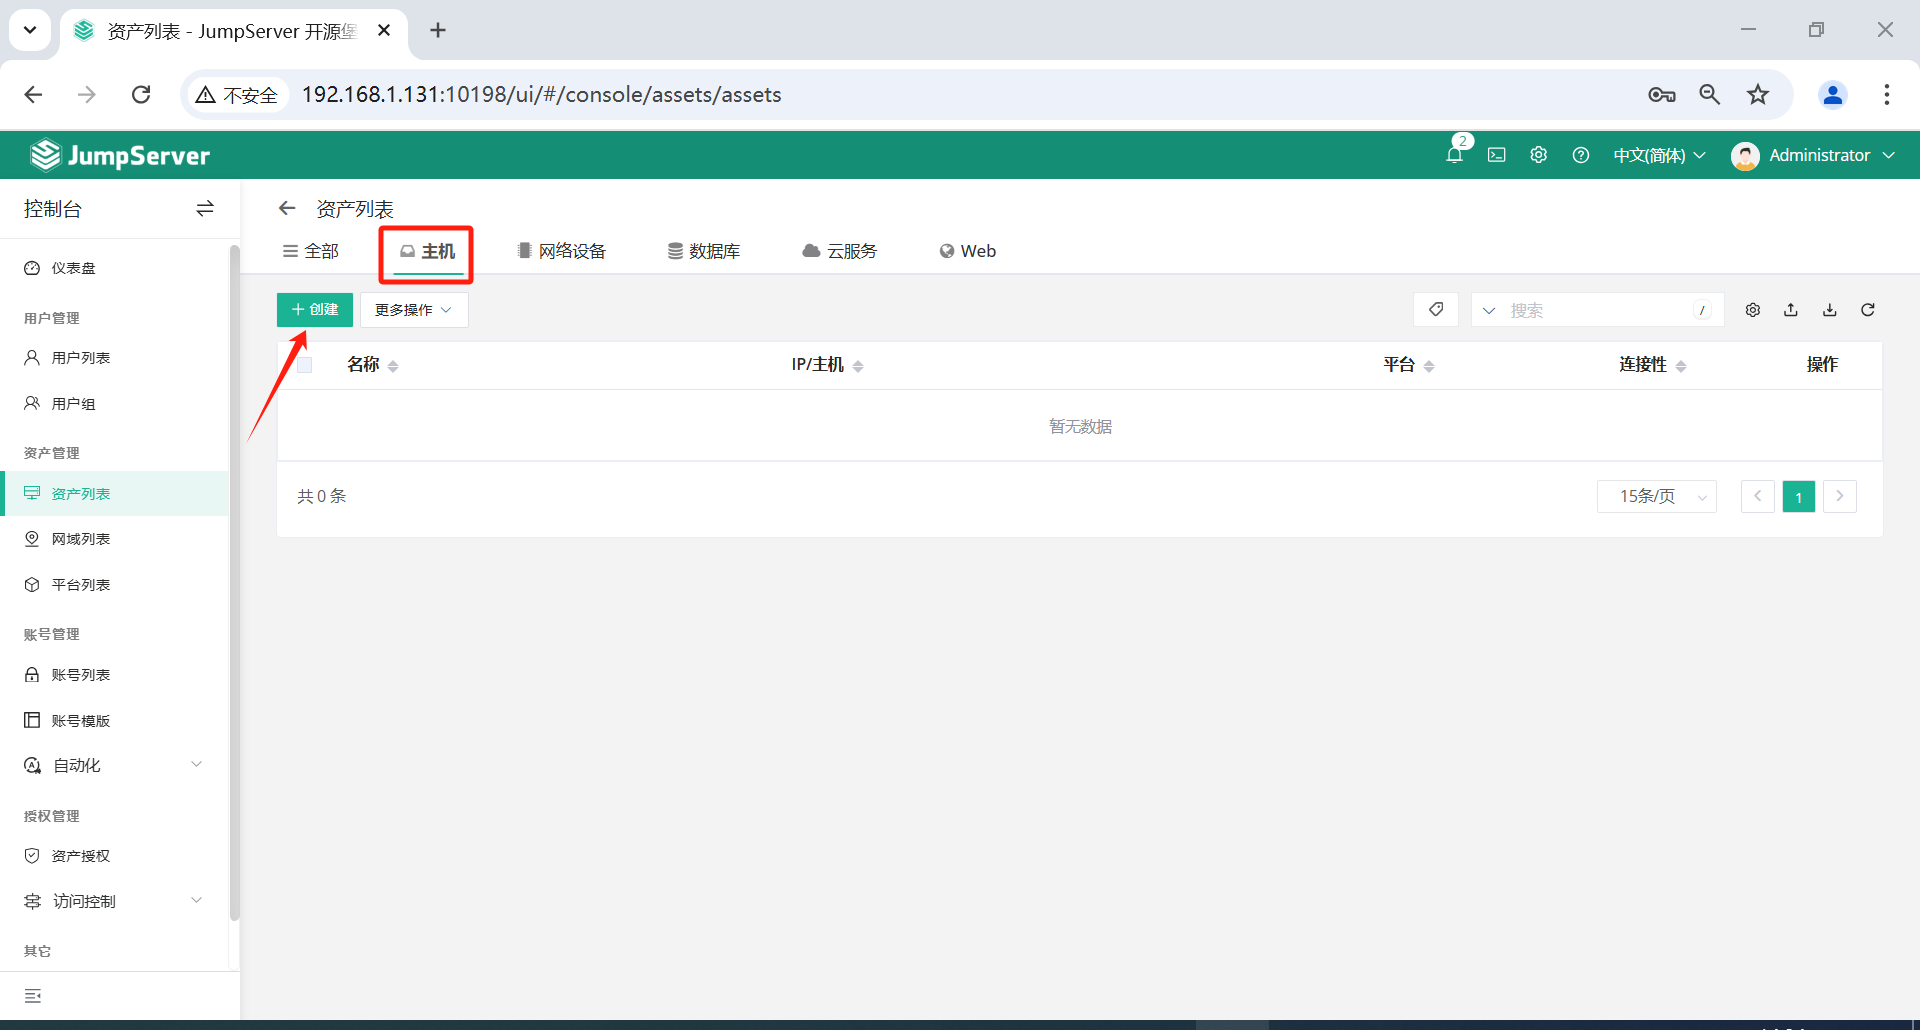
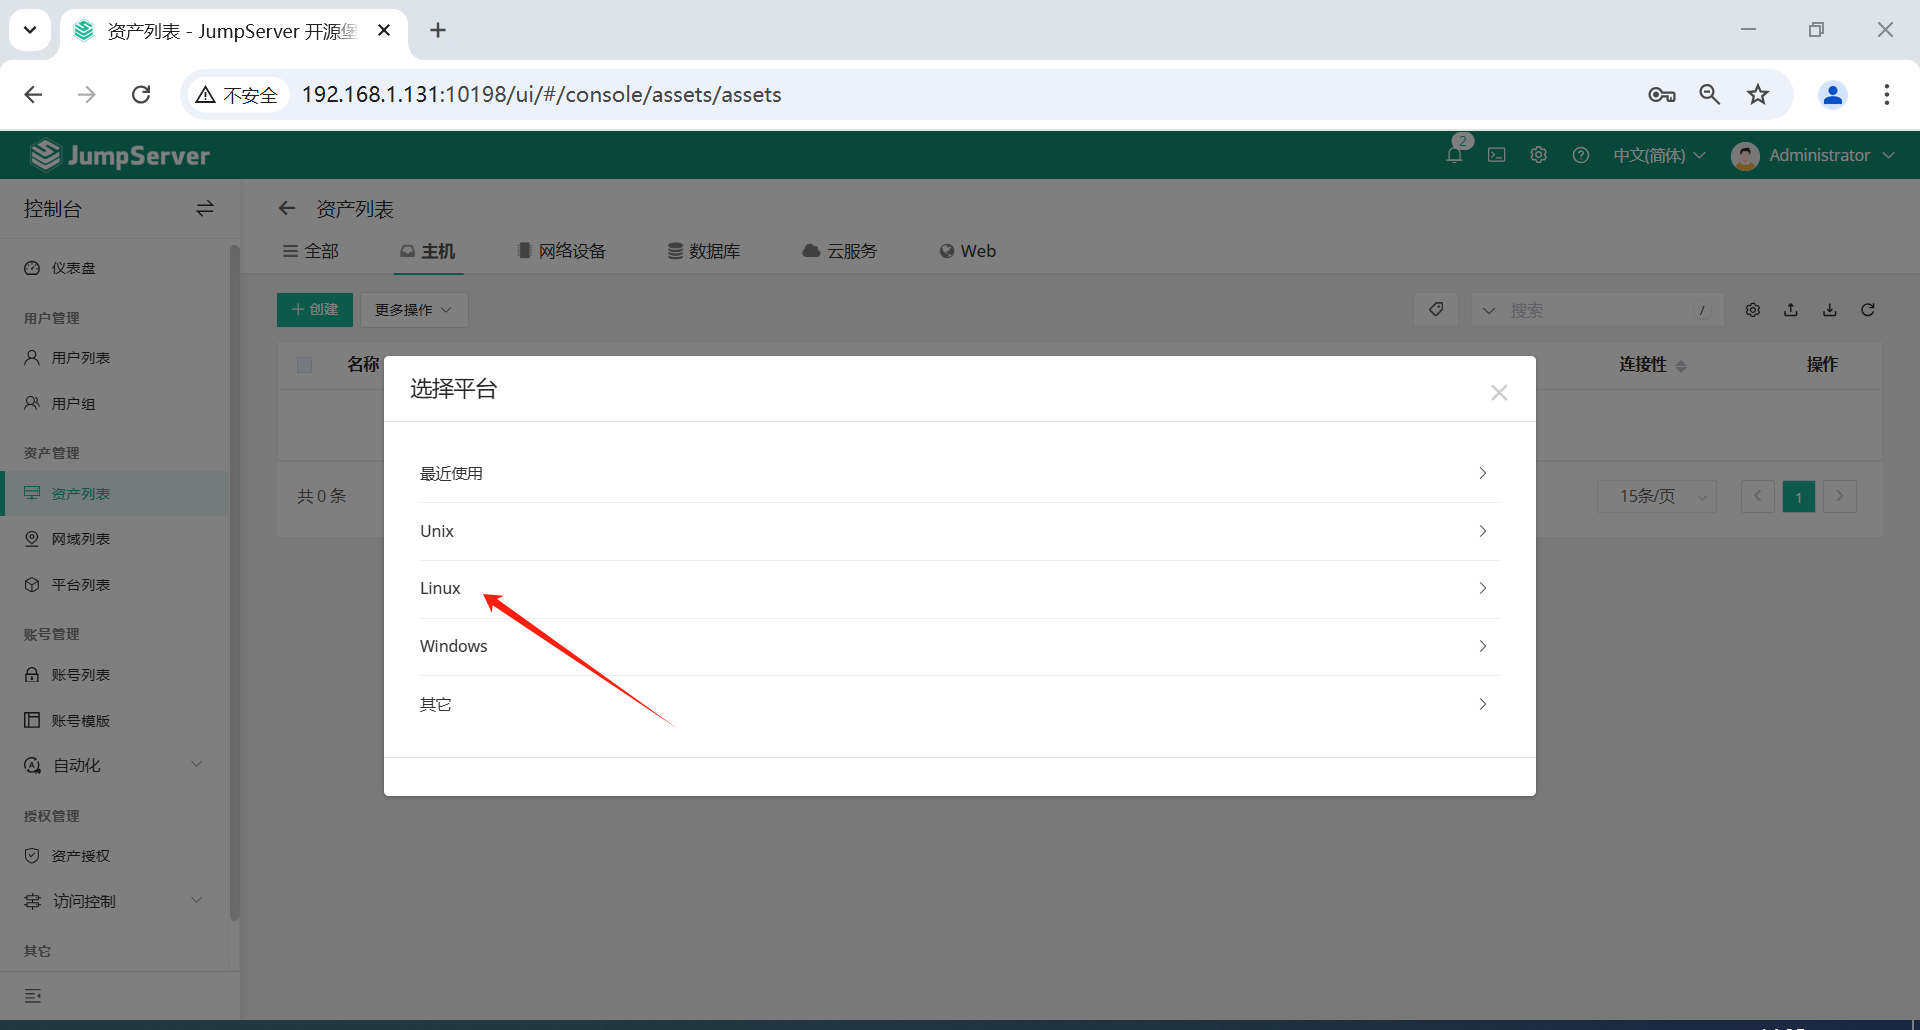
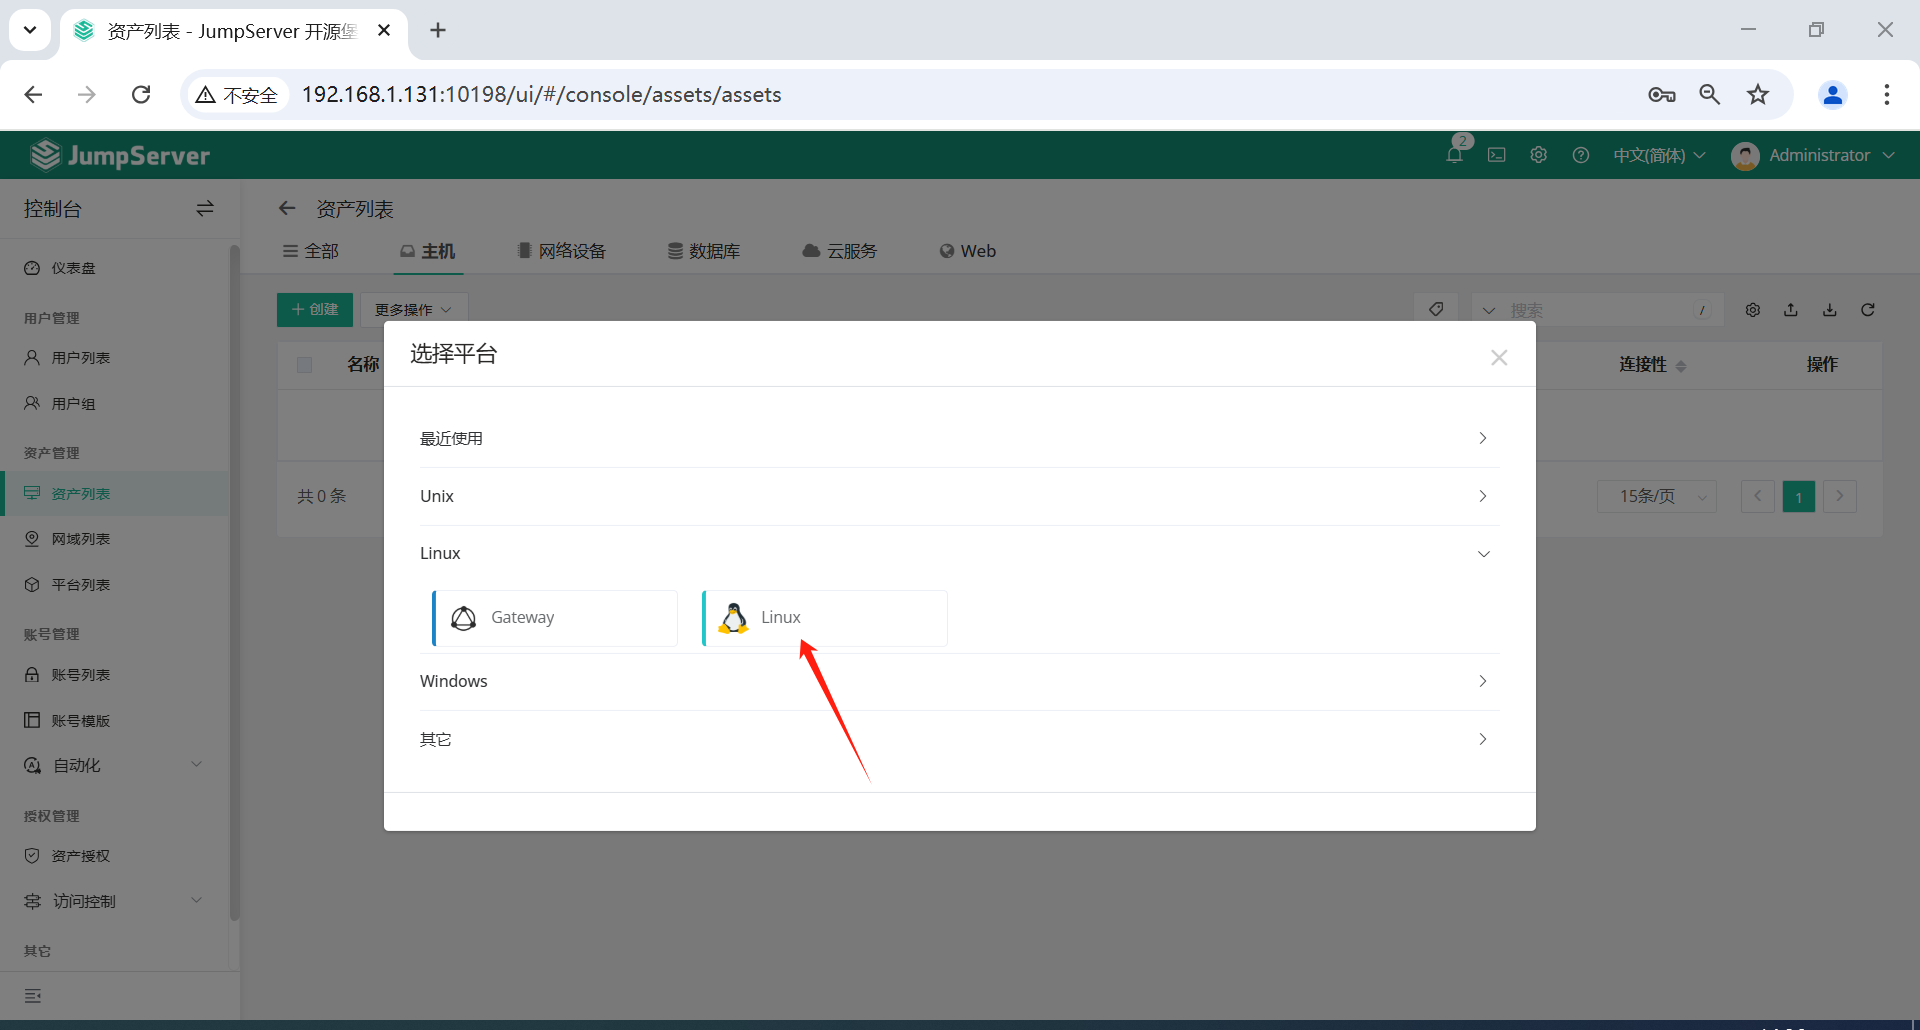
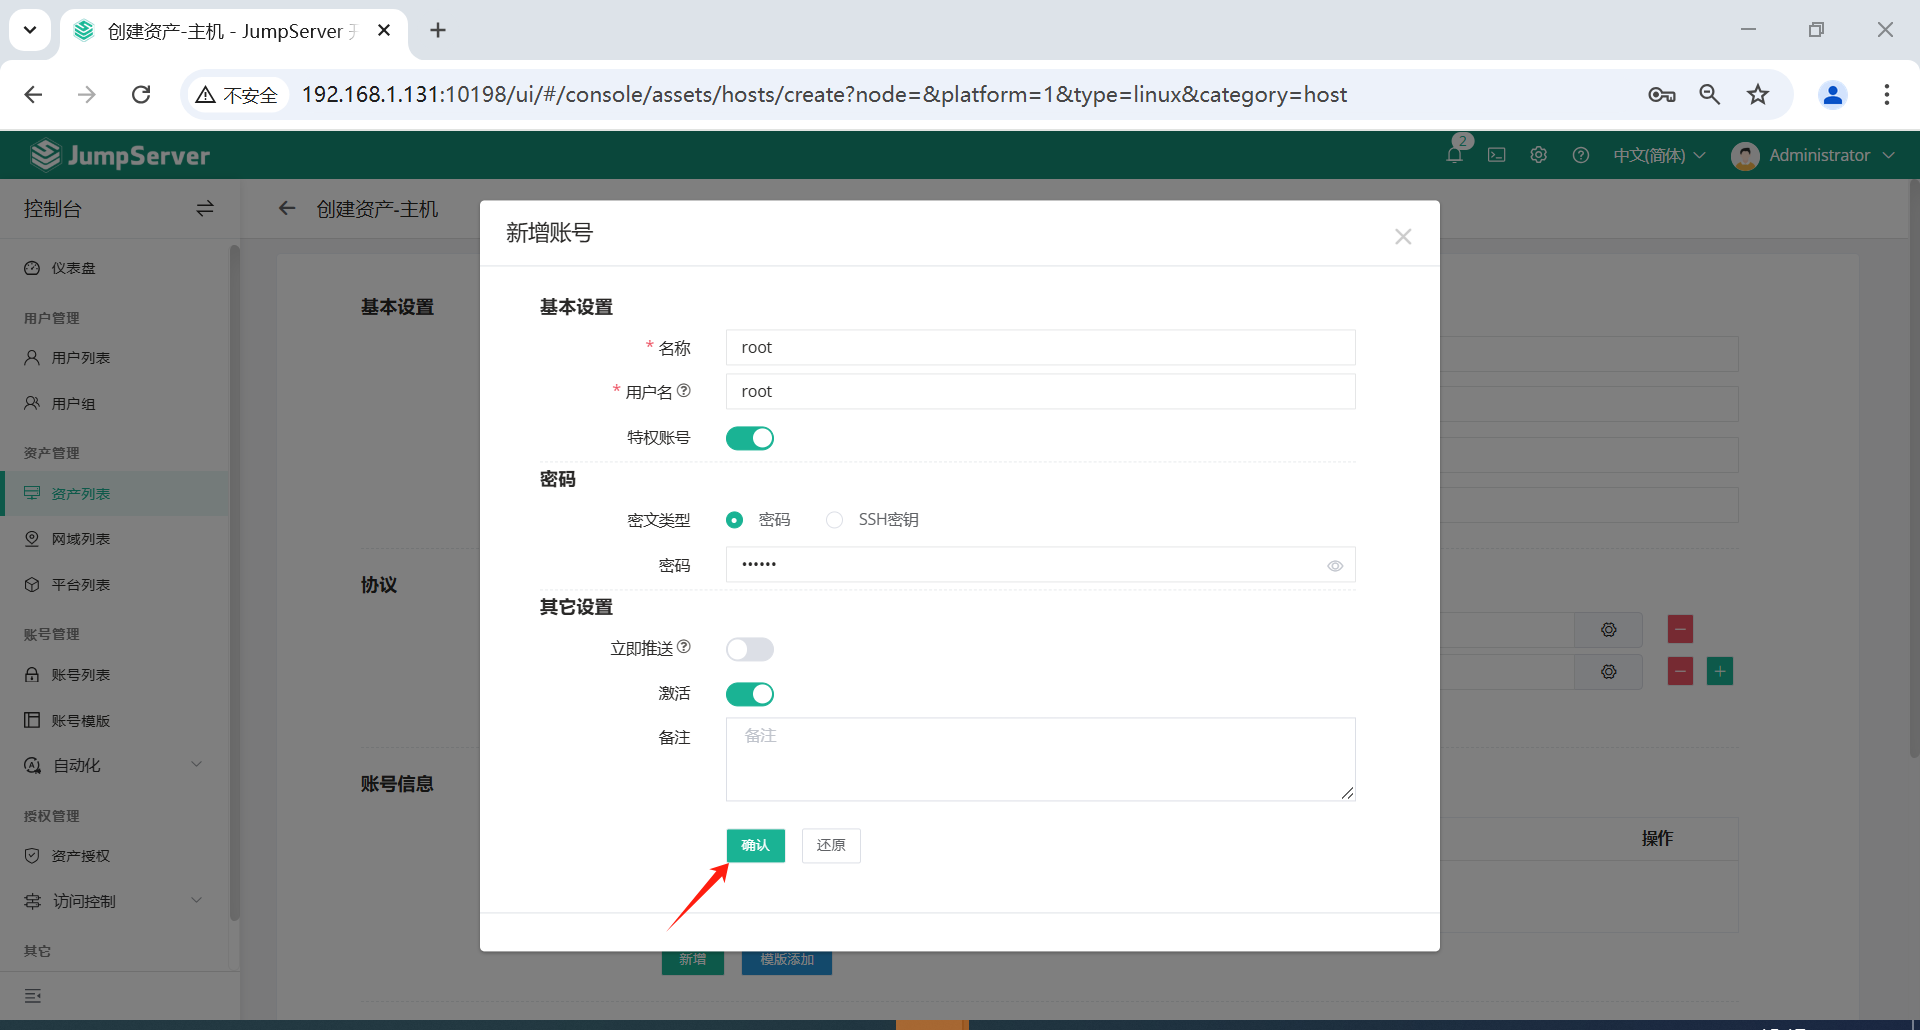
3.5.2 创建Linux资产
点击页面左侧的资产管理-资产列表-主机-创建。
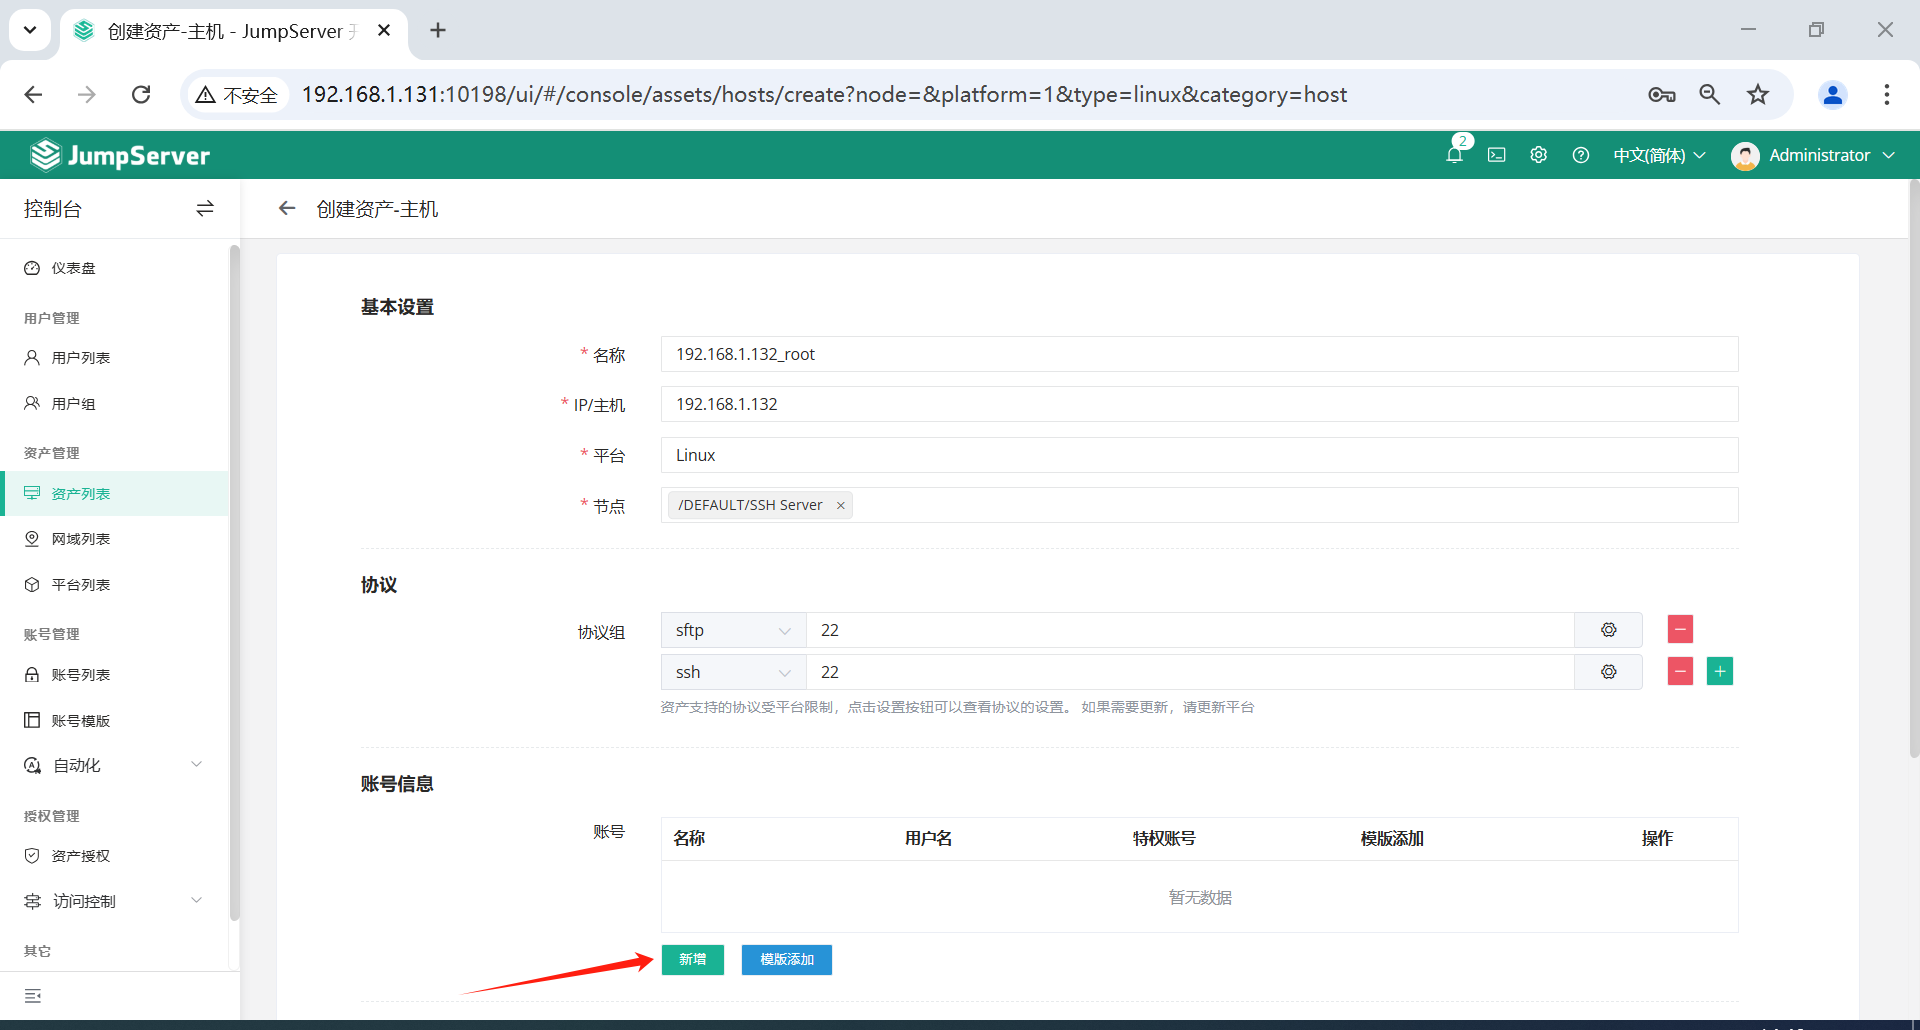
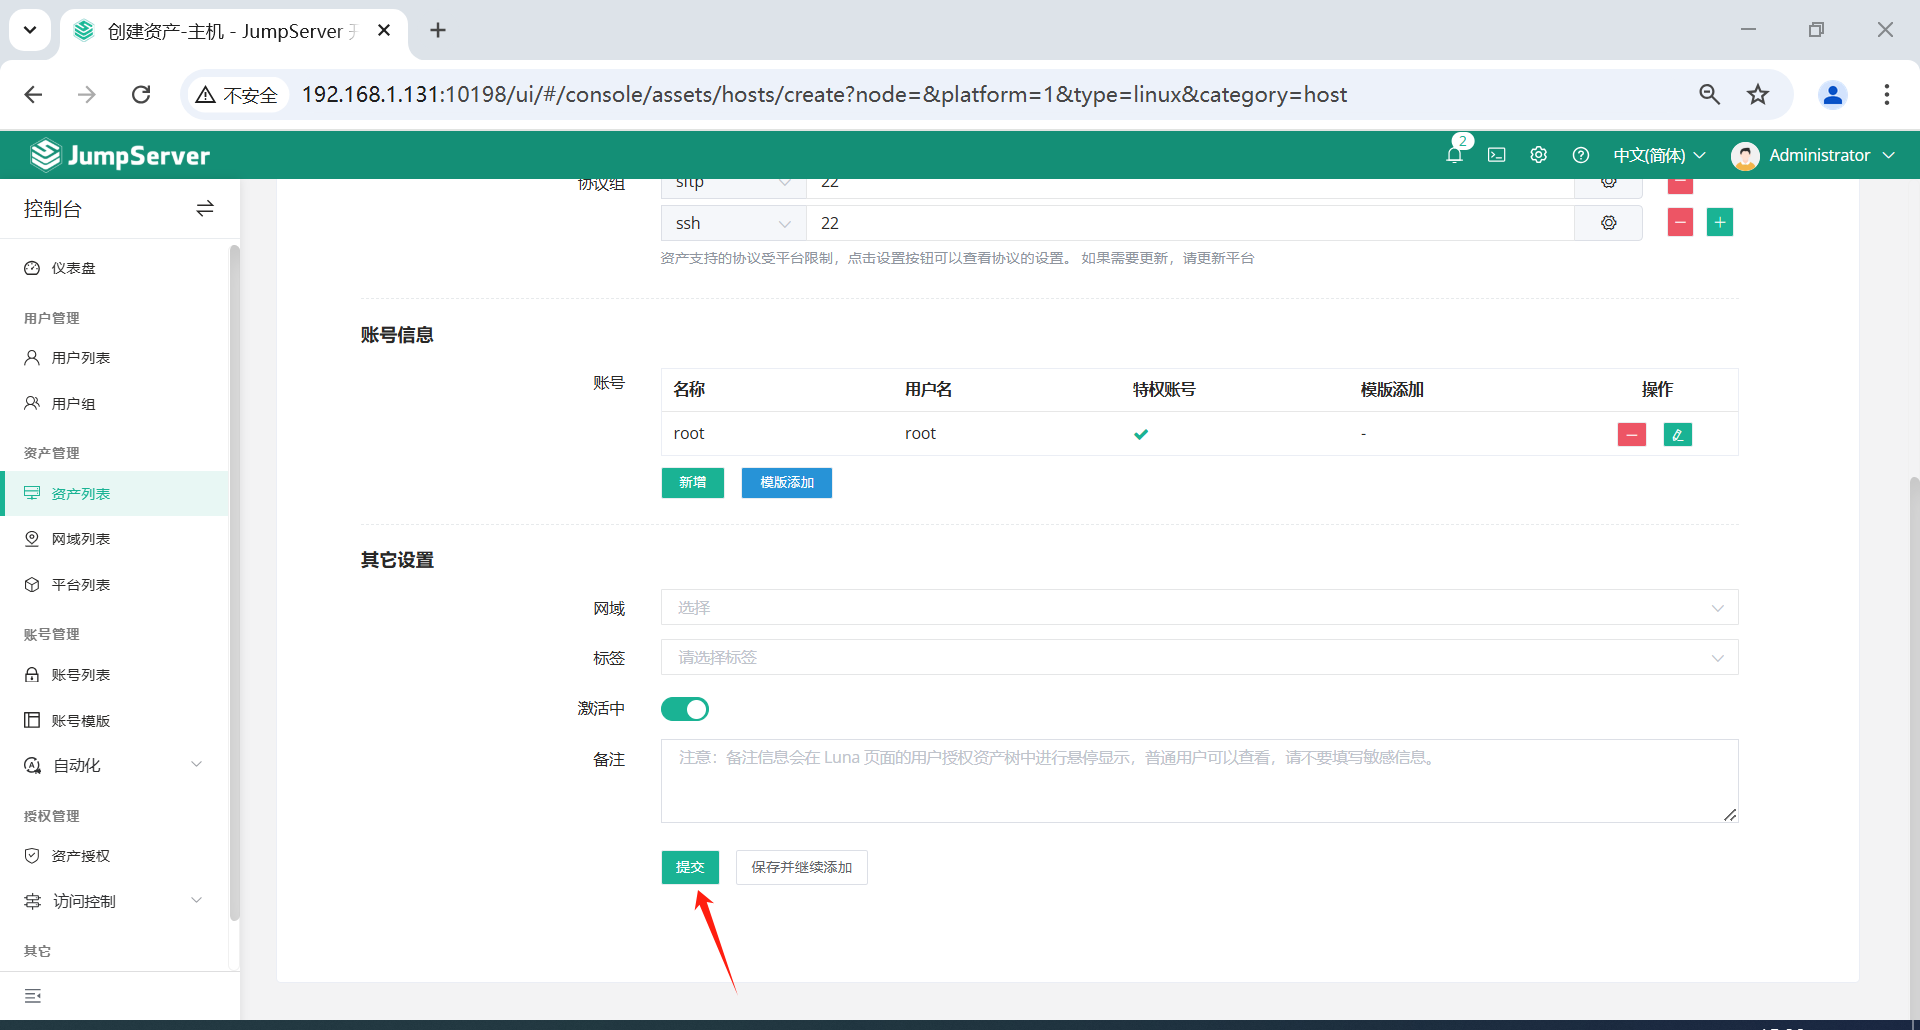
创建一台 Linux 服务器,并在创建资产过程中,创建特权用户,内容就是上面表单的管理员用户和密码。
注意:
名称不能重名,密码或者密钥二选一即可,一些资产不允许通过密码认证可以改用私钥认证。特权用户仅支持SSH协议,用于资产可连接性测试、推送用户、批量改密等自动化任务。- 资产创建信息填写好保存之后隔几秒钟时间刷新一下网页,
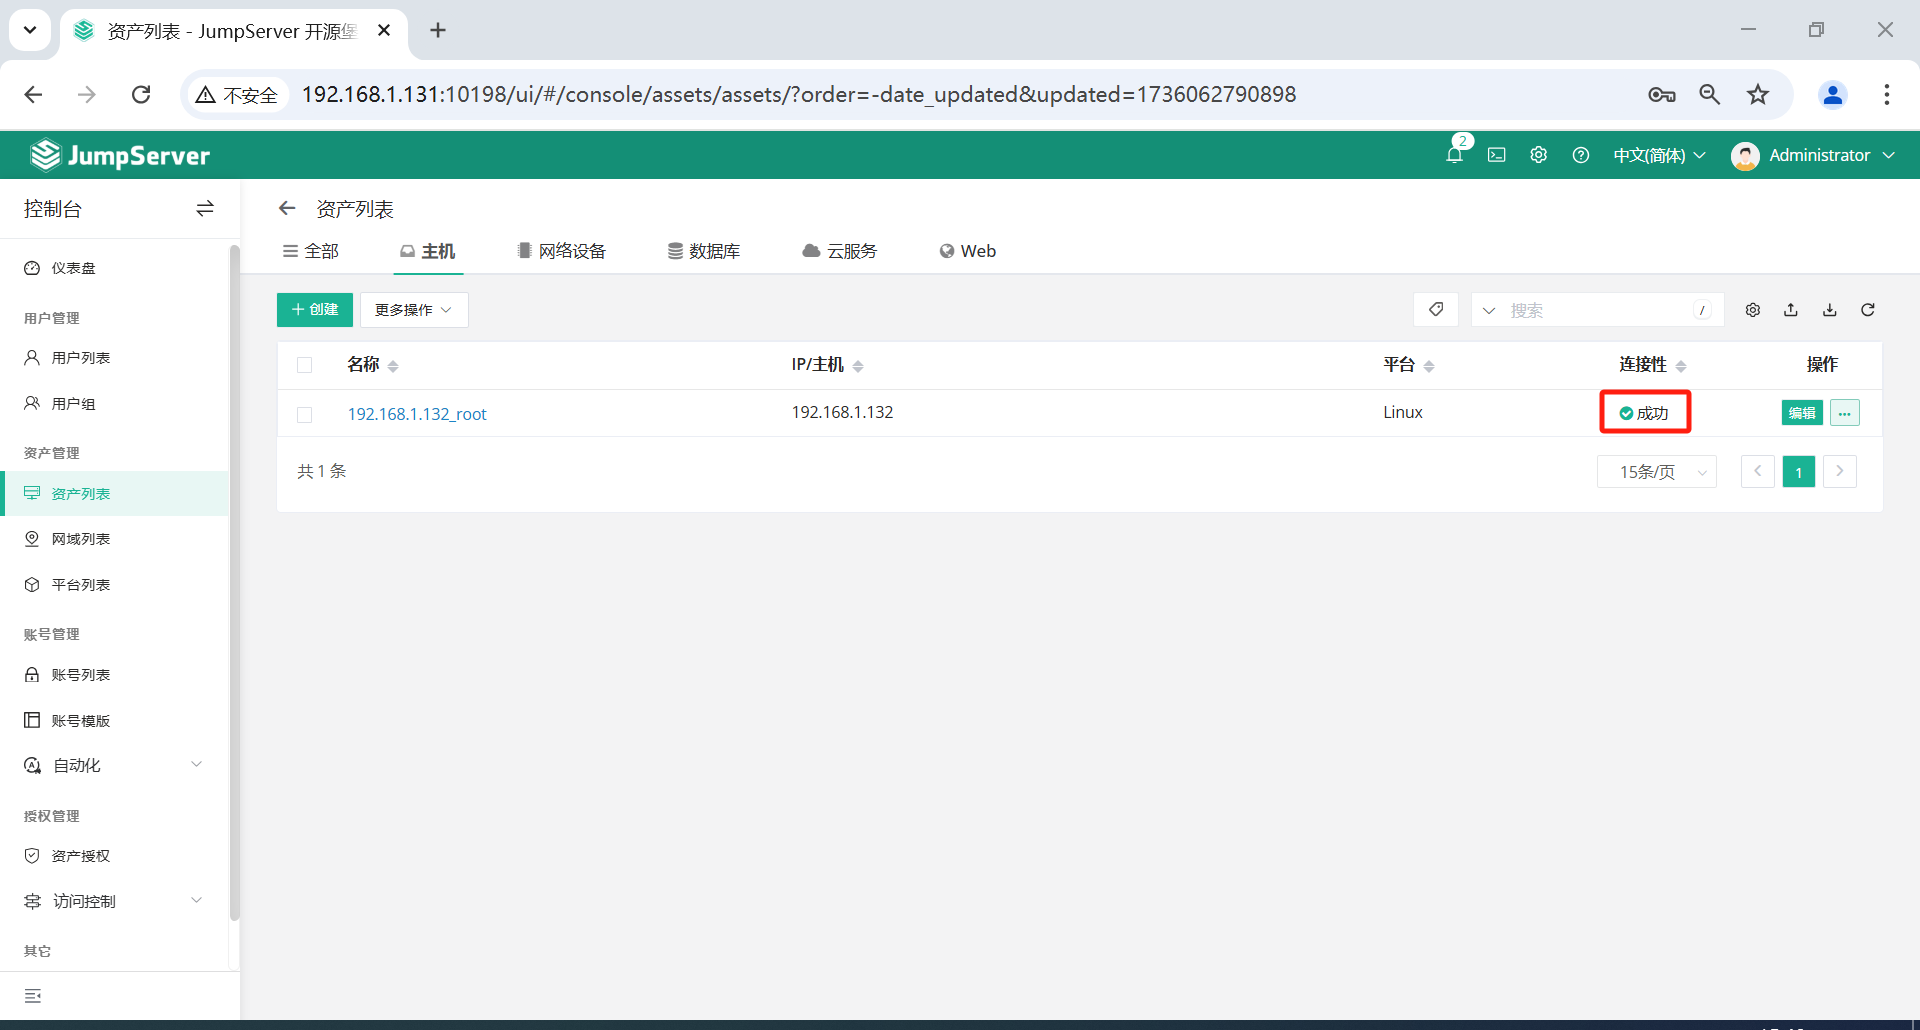
ssh协议资产的可连接图标会显示绿色,且硬件信息会显示出来。 - 如果
可连接的图标是黄色或者红色,可以点击资产的名称,在右侧快速修改-测试可连接性点击测试按钮,根据错误提示处理。 - 被连接
Linux资产需要python组件,且版本大于等于2.6,Ubuntu等资产默认不允许root用户远程ssh登录,请自行处理,Windows资产需要手动安装OpenSSH Server。 - 如果资产不能正常连接,请检查 特权用户 的
用户名和密码是否正确以及该特权用户是否能使用SSH从JumpServer主机正确登录到资产主机上。

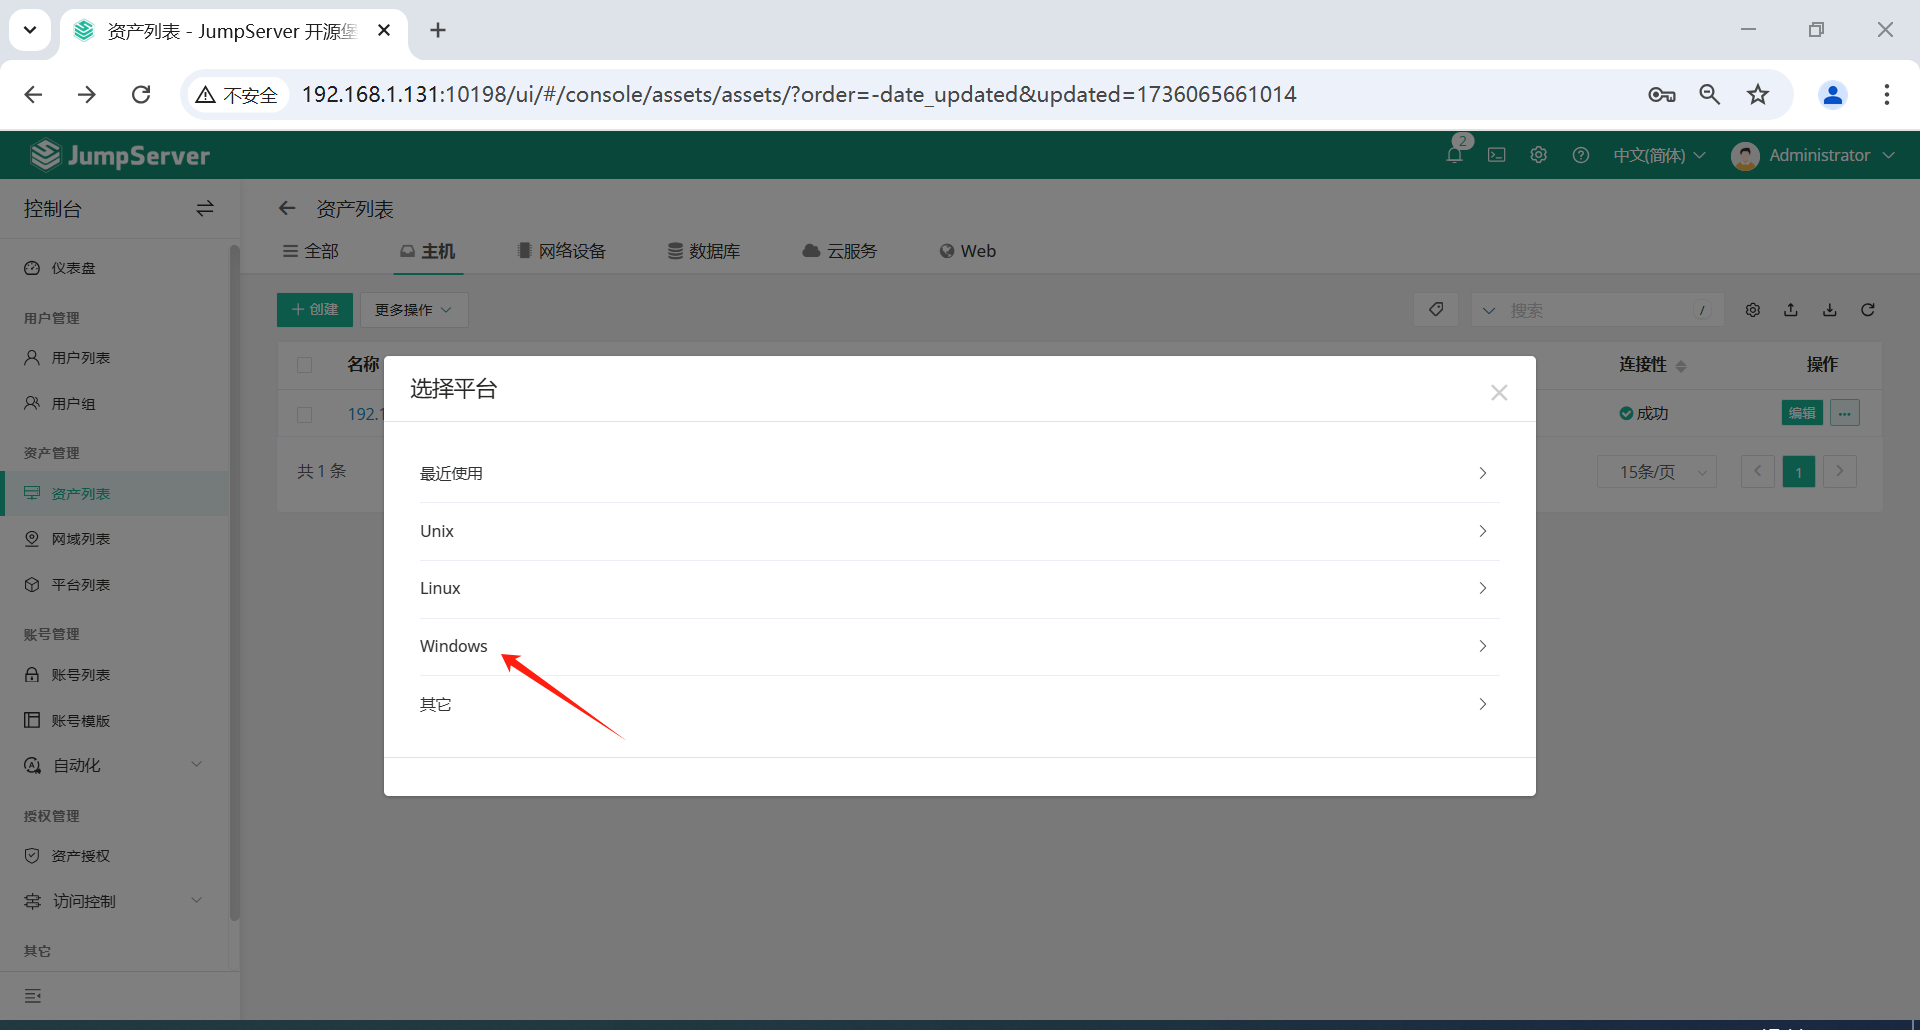
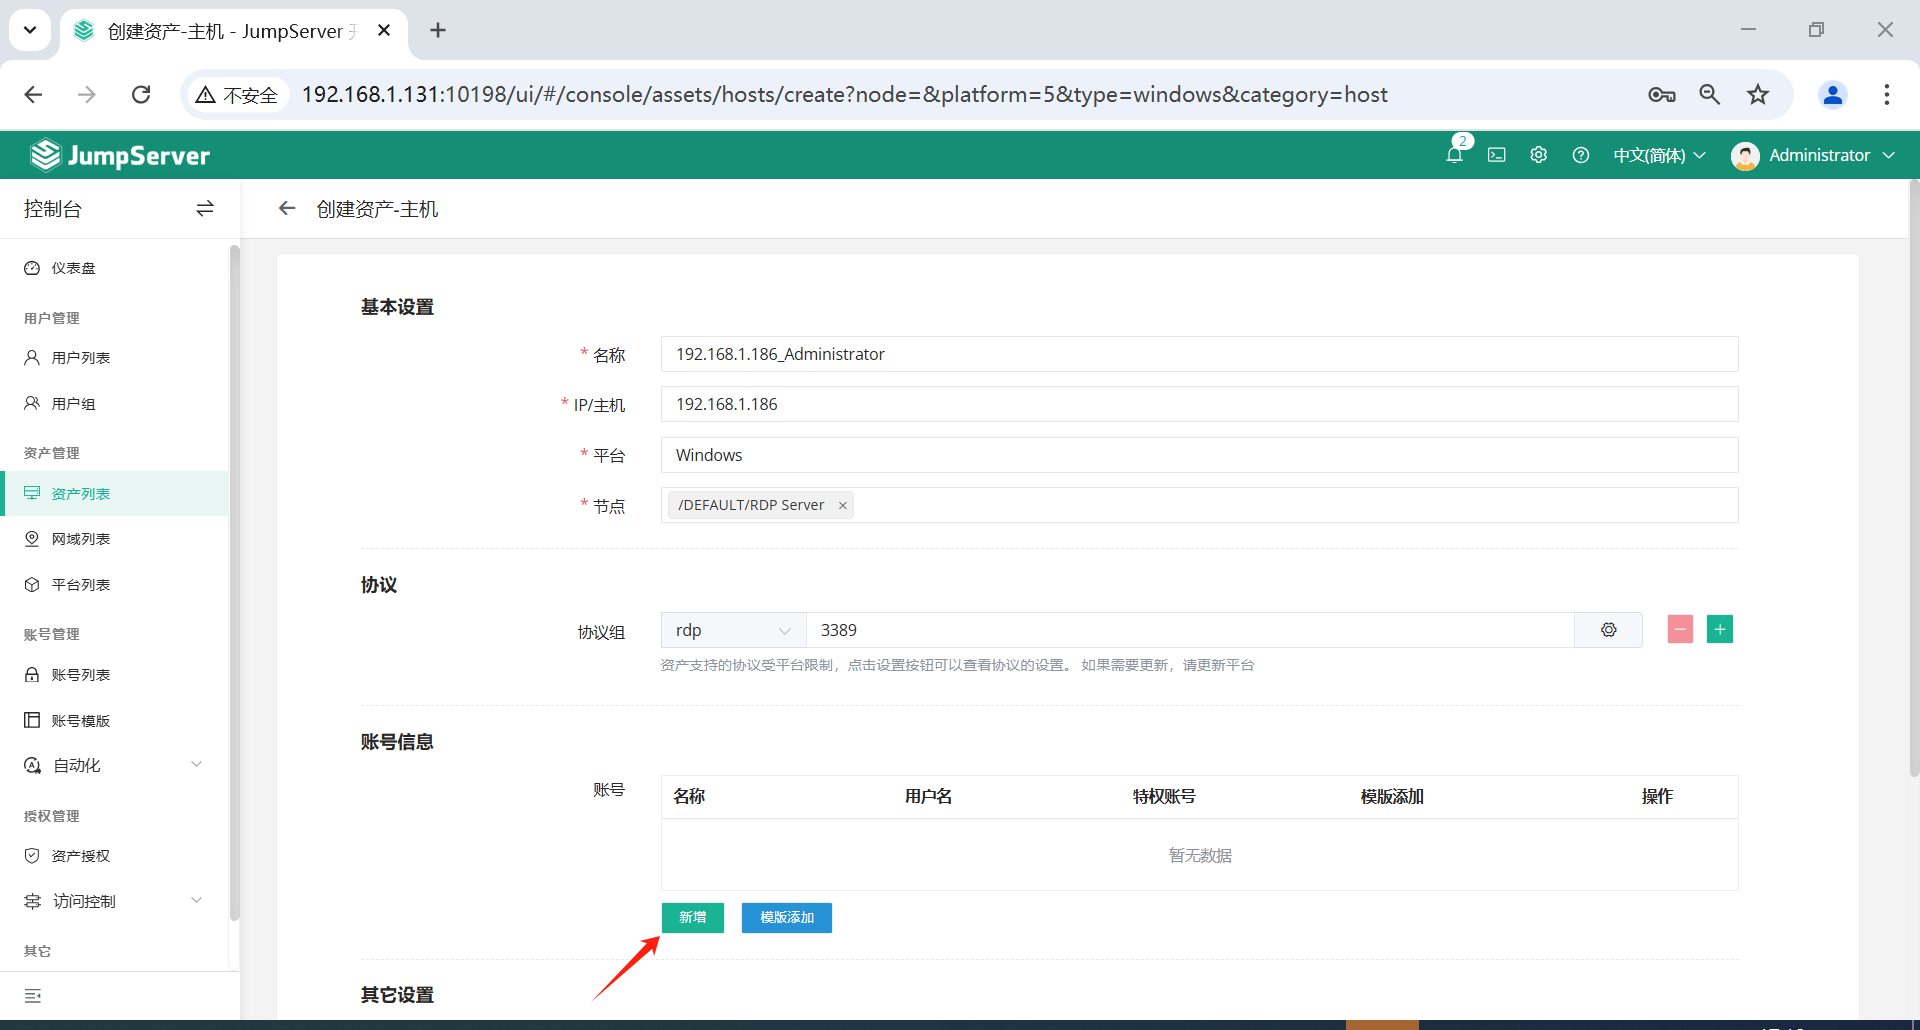
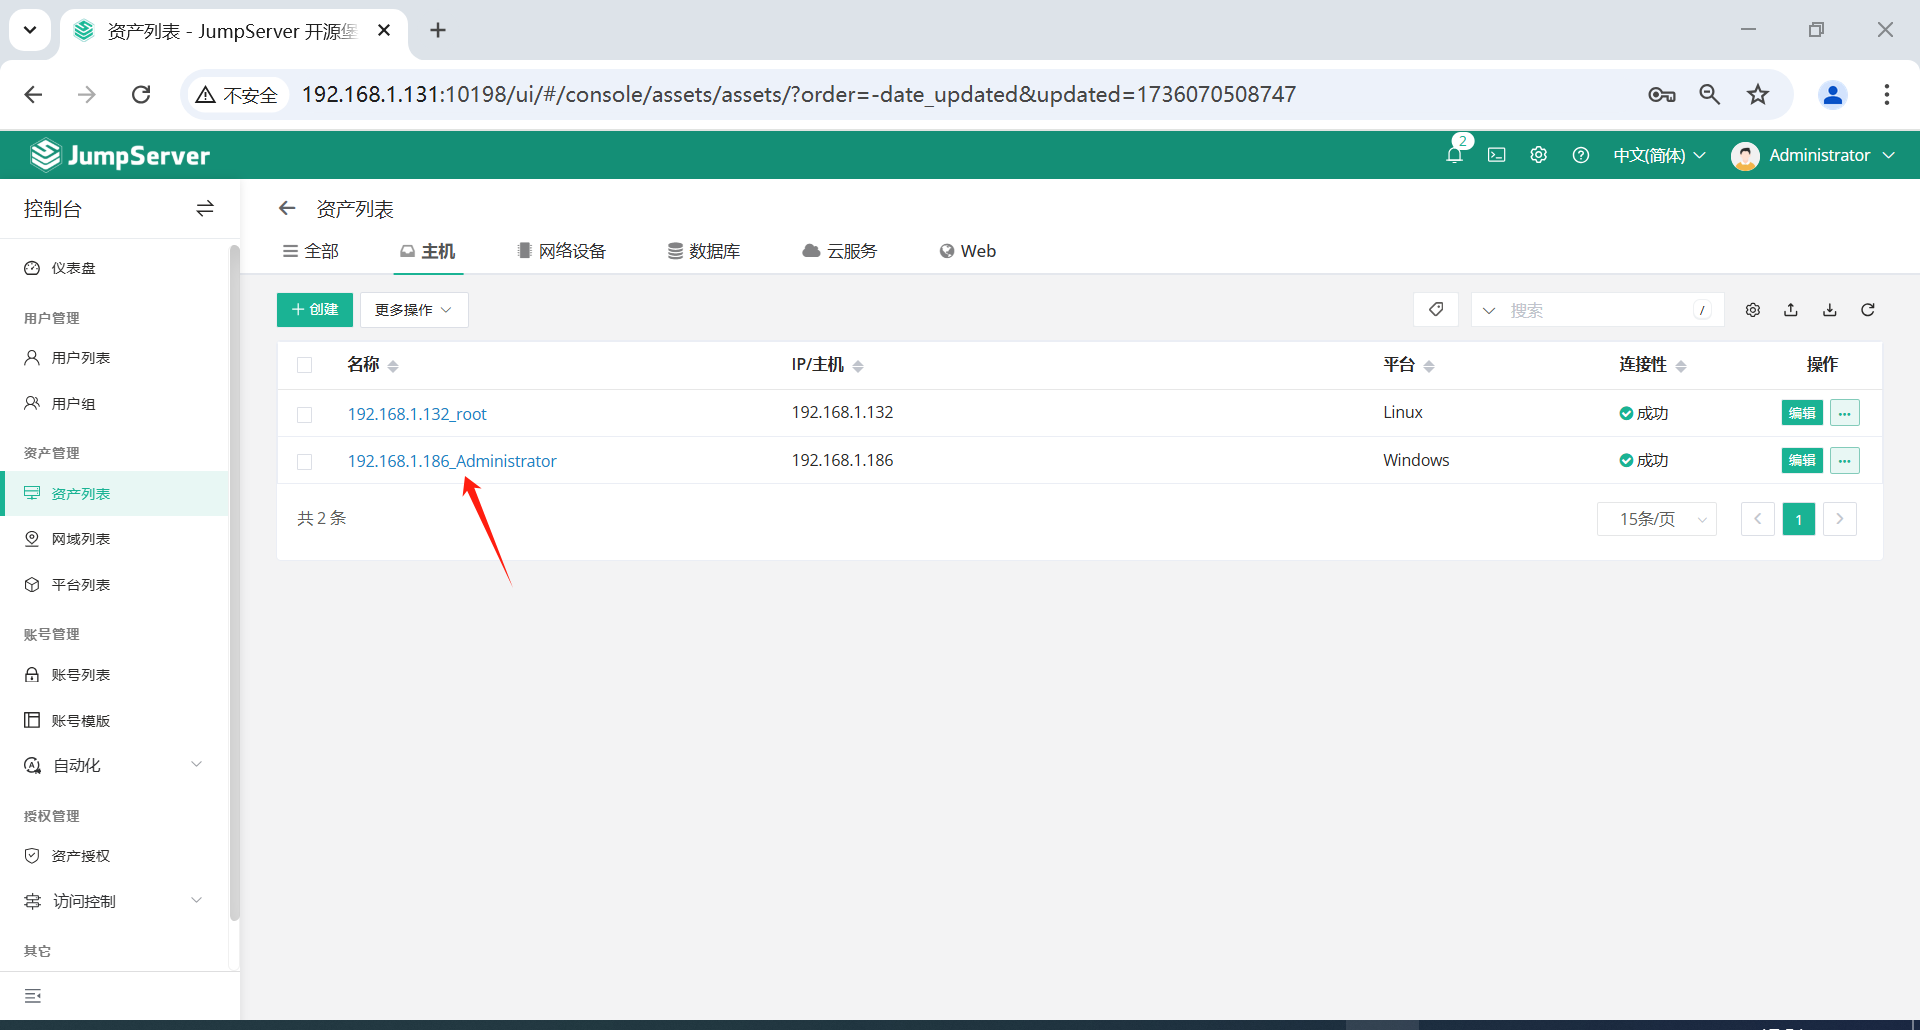
3.5.3 创建Windows资产
点击页面左侧的资产管理-资产列表-主机-创建。
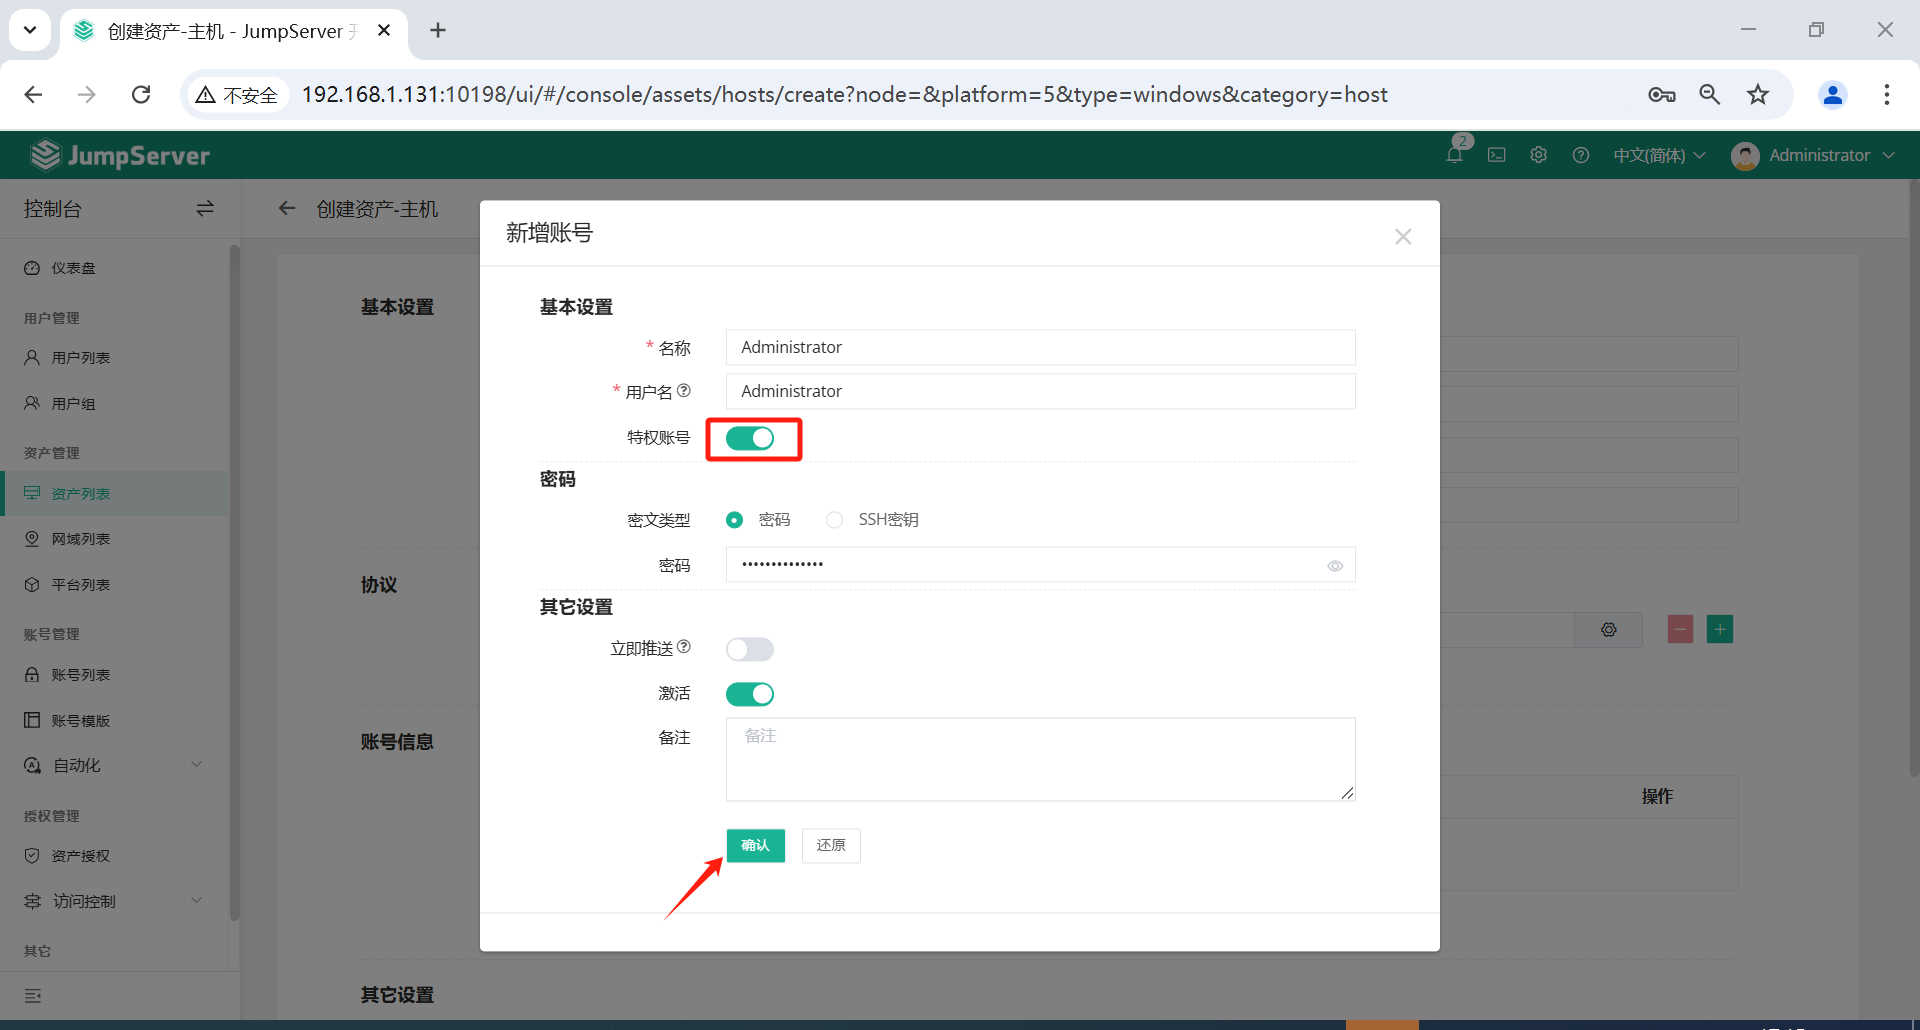
创建一台 Windows 服务器,并在创建资产过程中,创建特权用户,内容就是上面表单的管理员用户和密码。
注意:
-
Windows RDP 资产要求
- 部分安装了安全软件的资产无法正常连接。
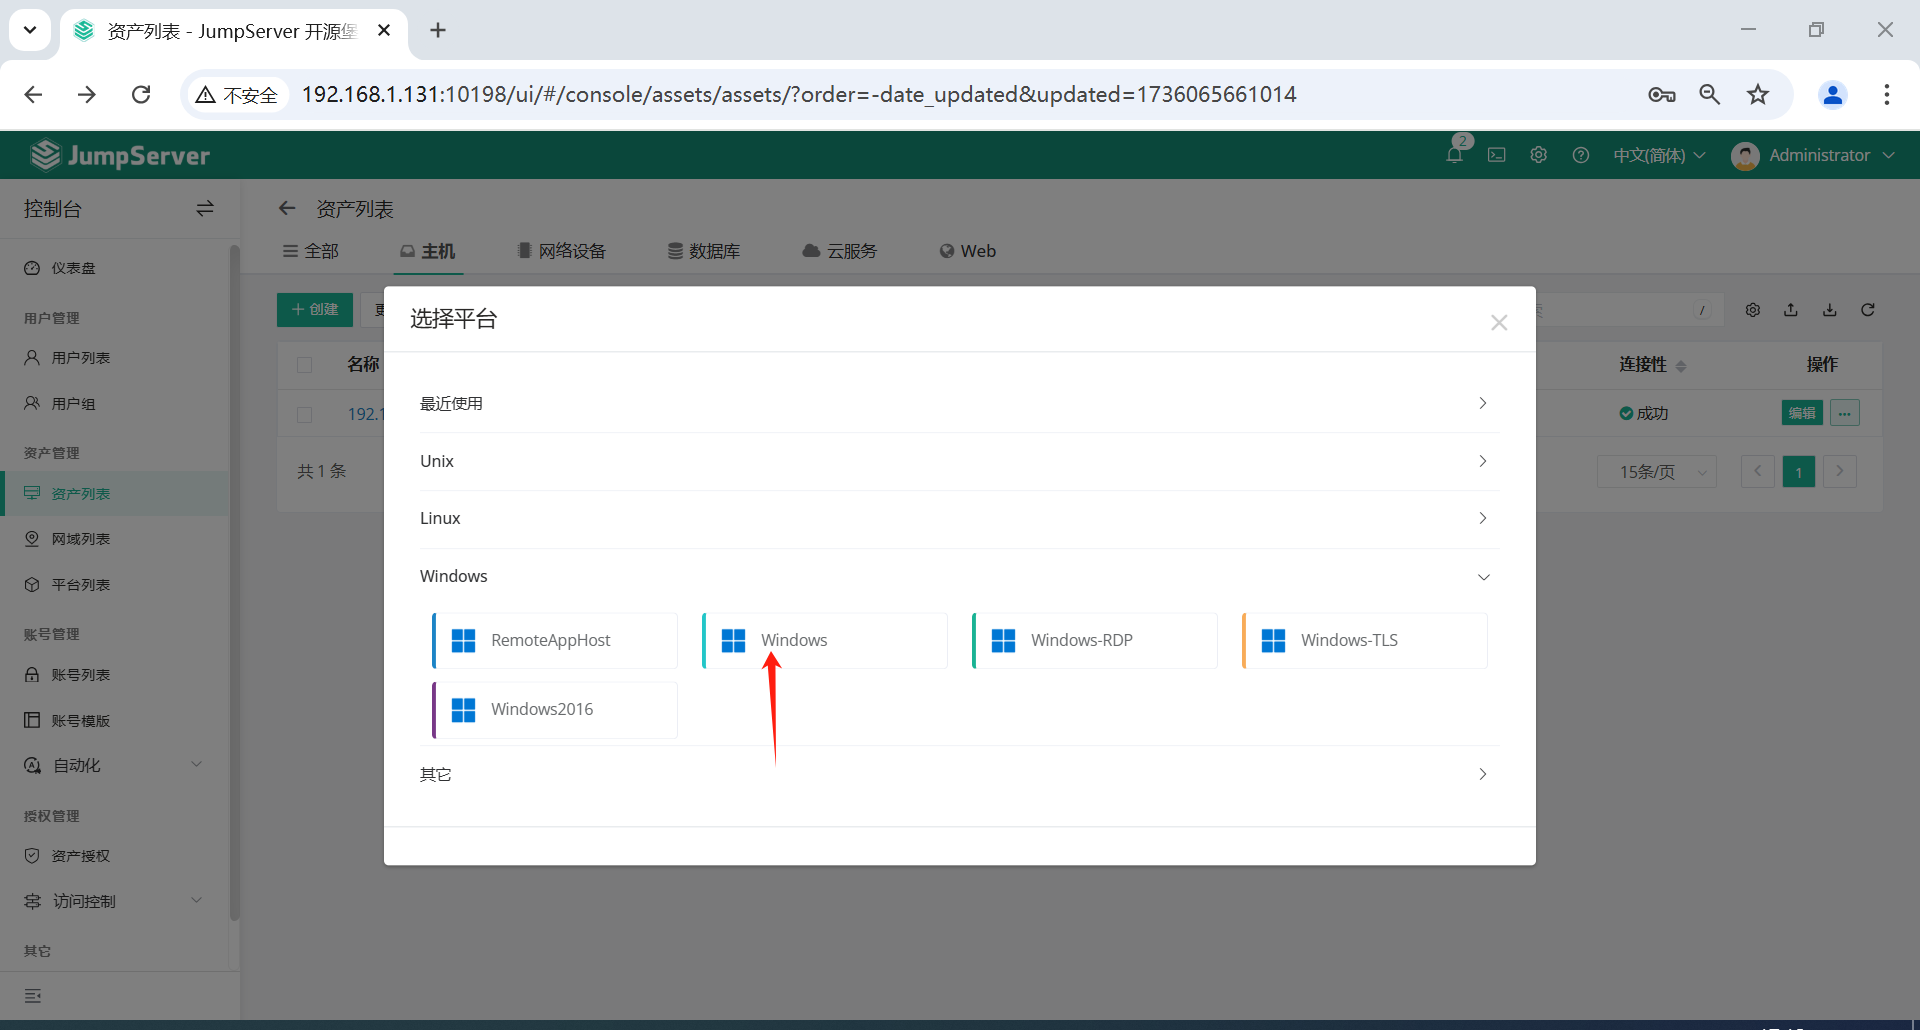
- 创建资产的 "资产平台" 默认情况下使用 Windows 即可。
-
Windows SSH 资产要求
-
安装好 Openssh 后,在 Web 的资产列表里面找到您的 Windows 资产,在协议组中加入 rdp 3389和 ssh 22协议,然后就可以使用资产测试连接、硬件信息获取、用户自动推送的功能。
-
Win7/Win2008 需要升级
powershell到 3.0 以上
-

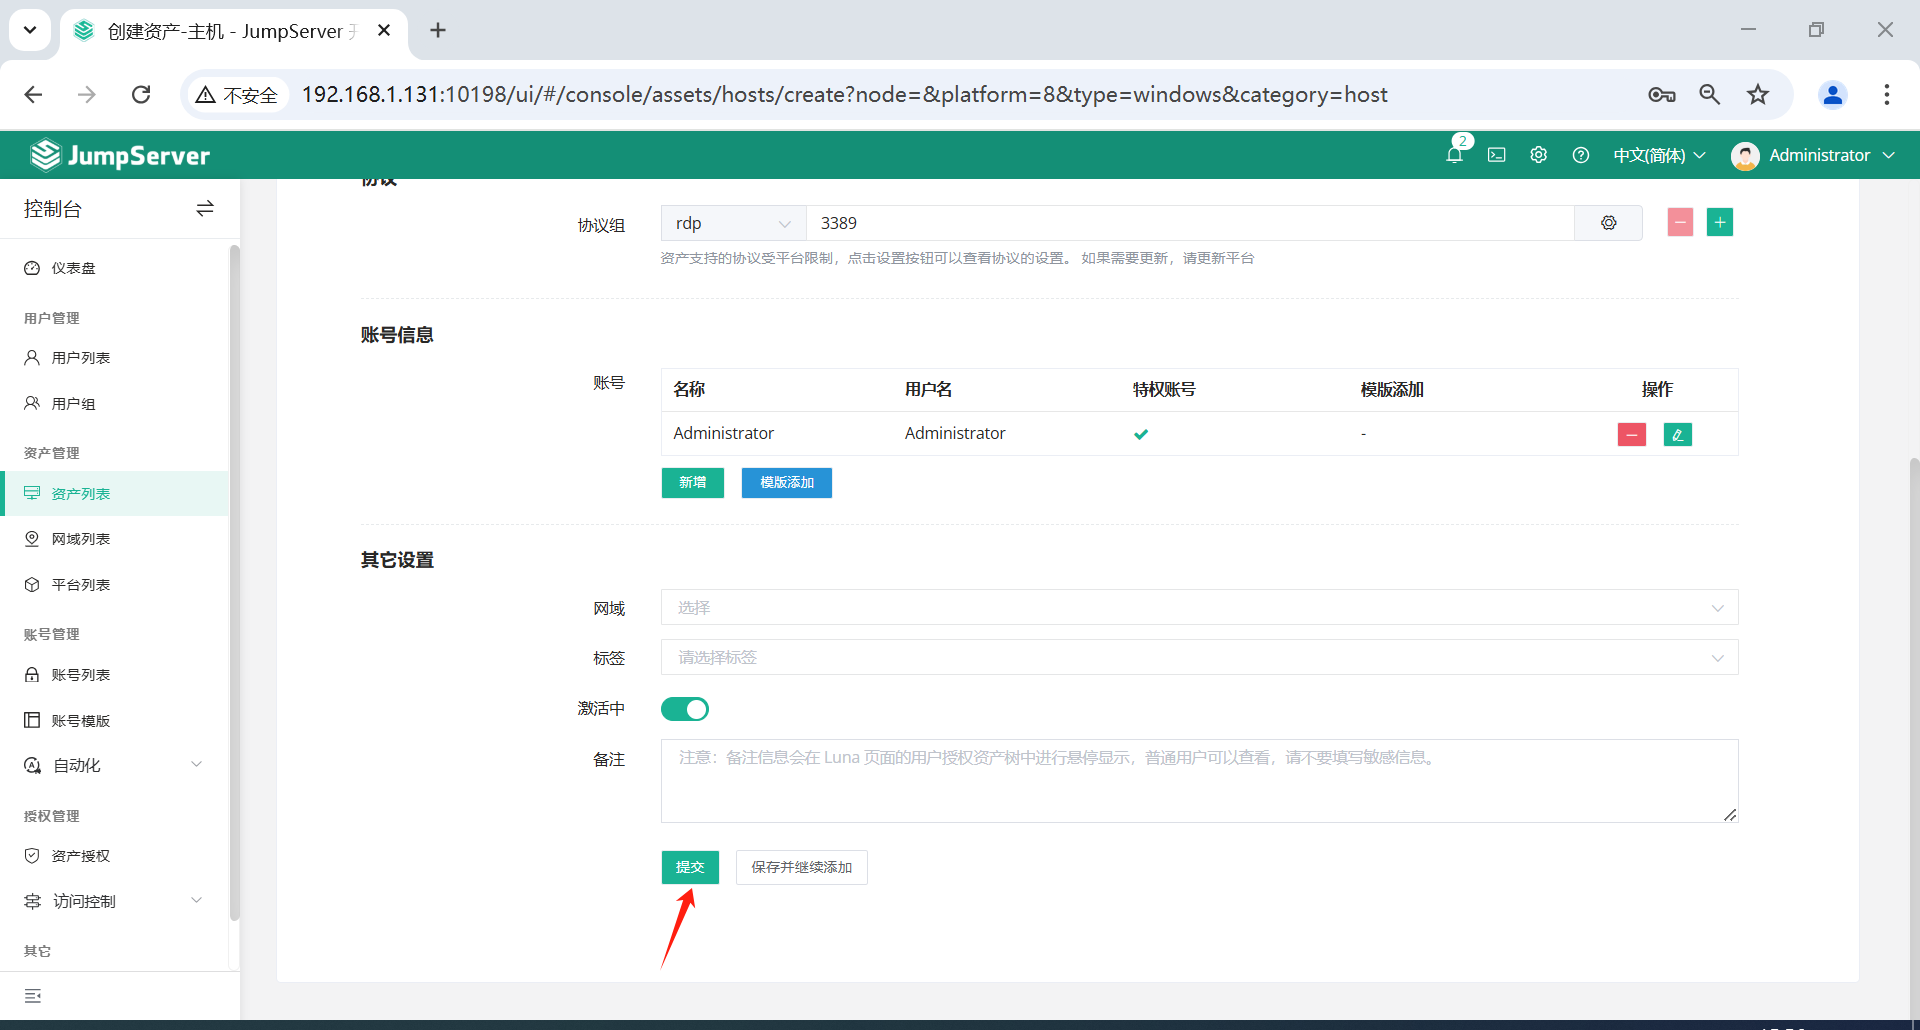
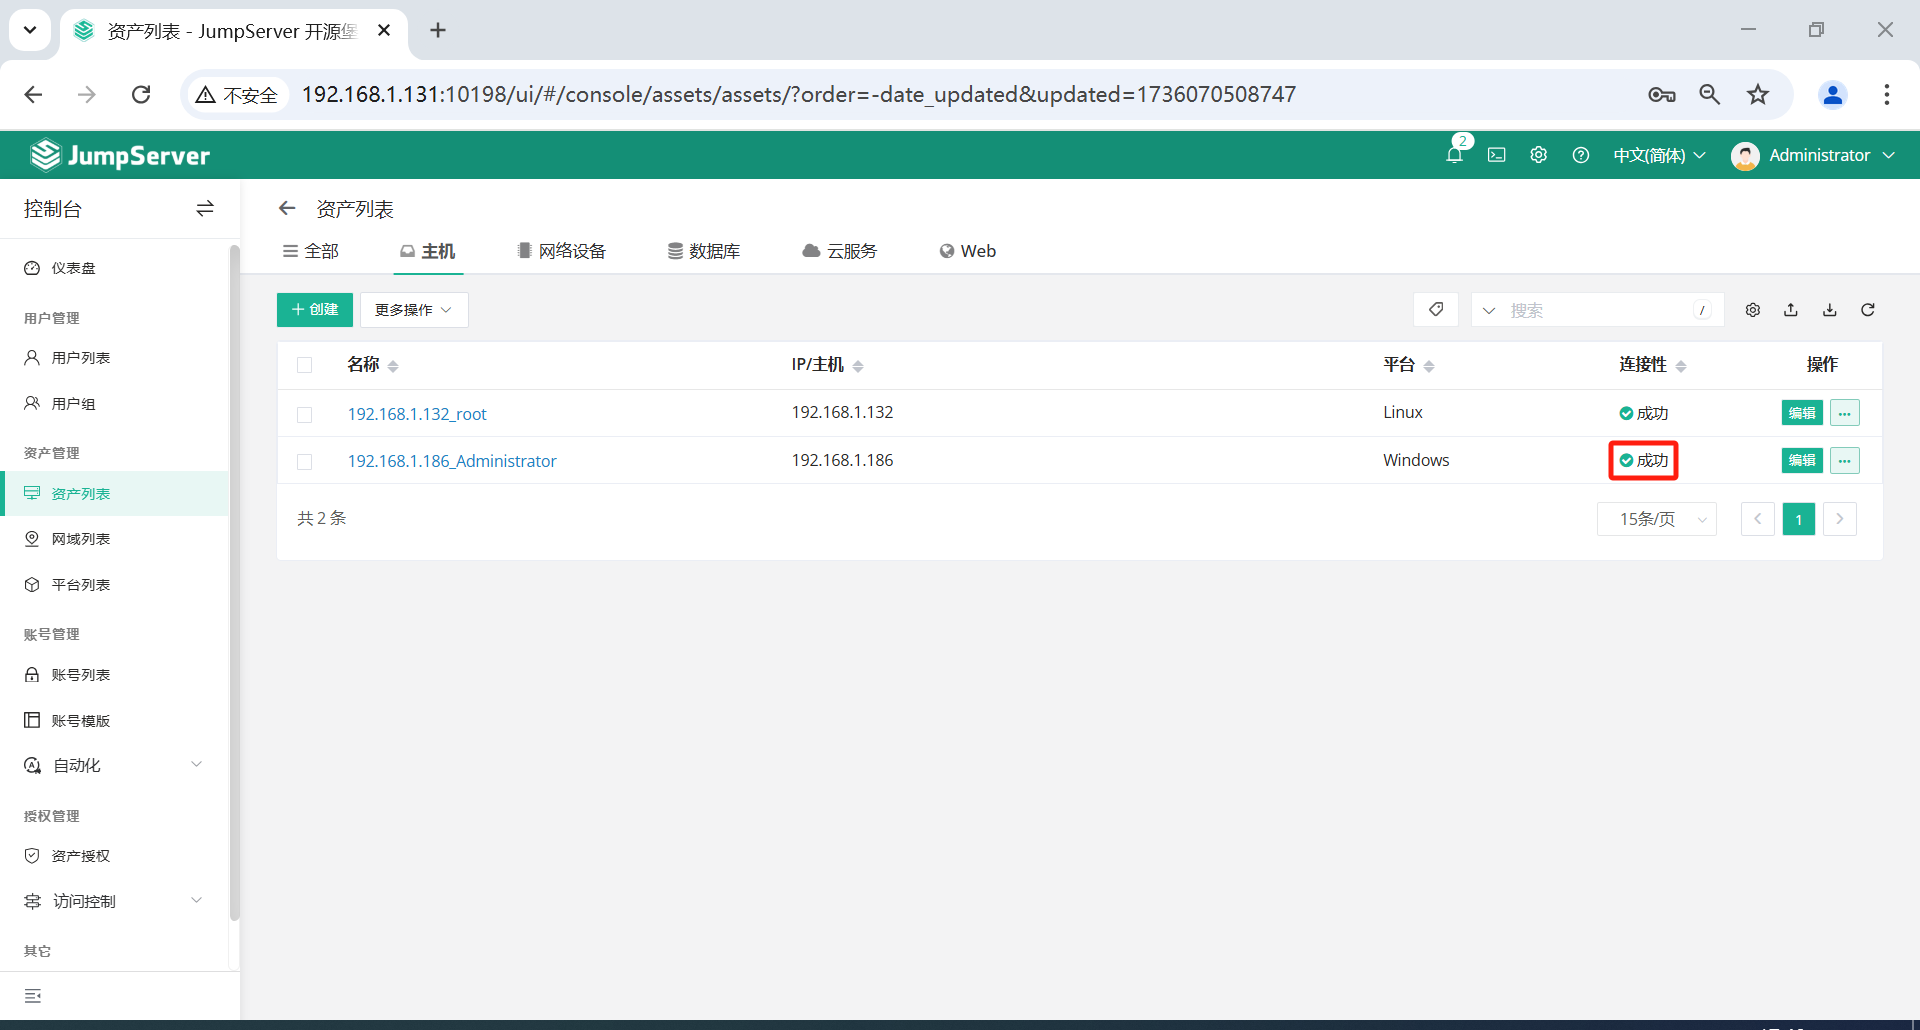
账户密码没错的话,添加完成后,可以看到连接性是成功。
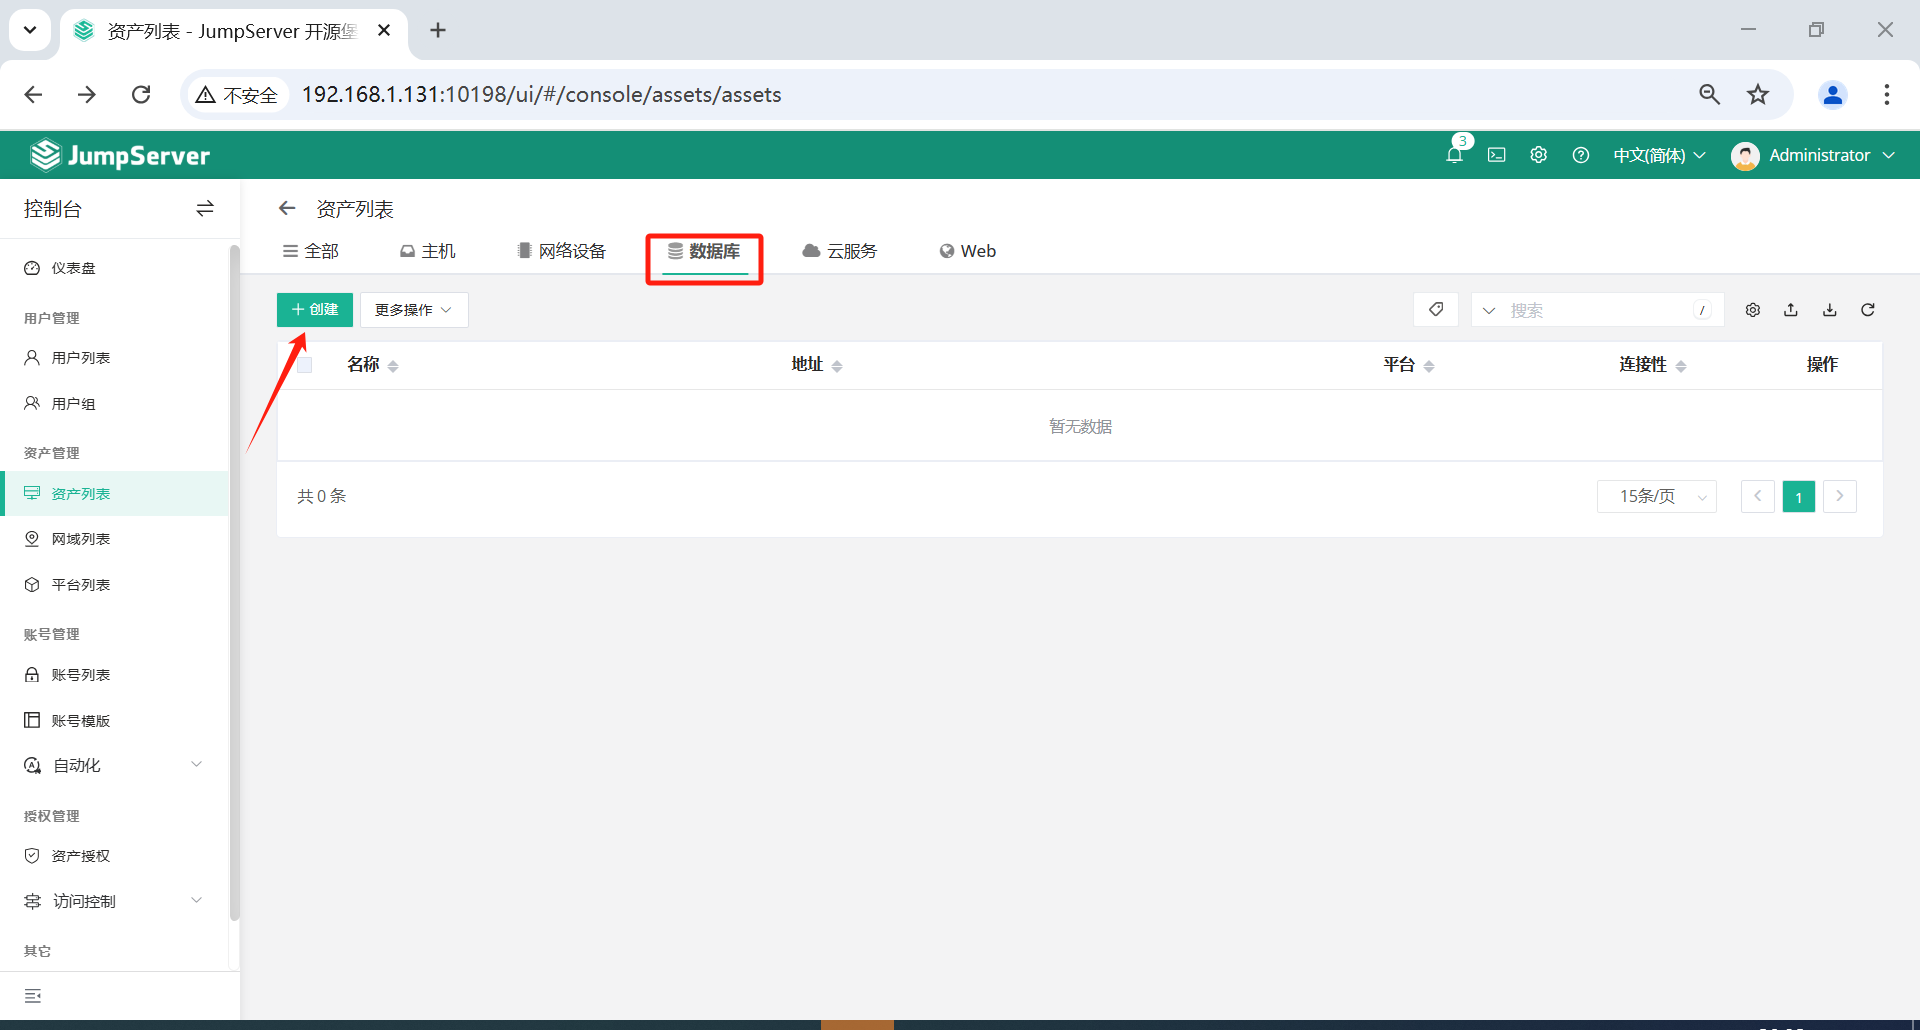
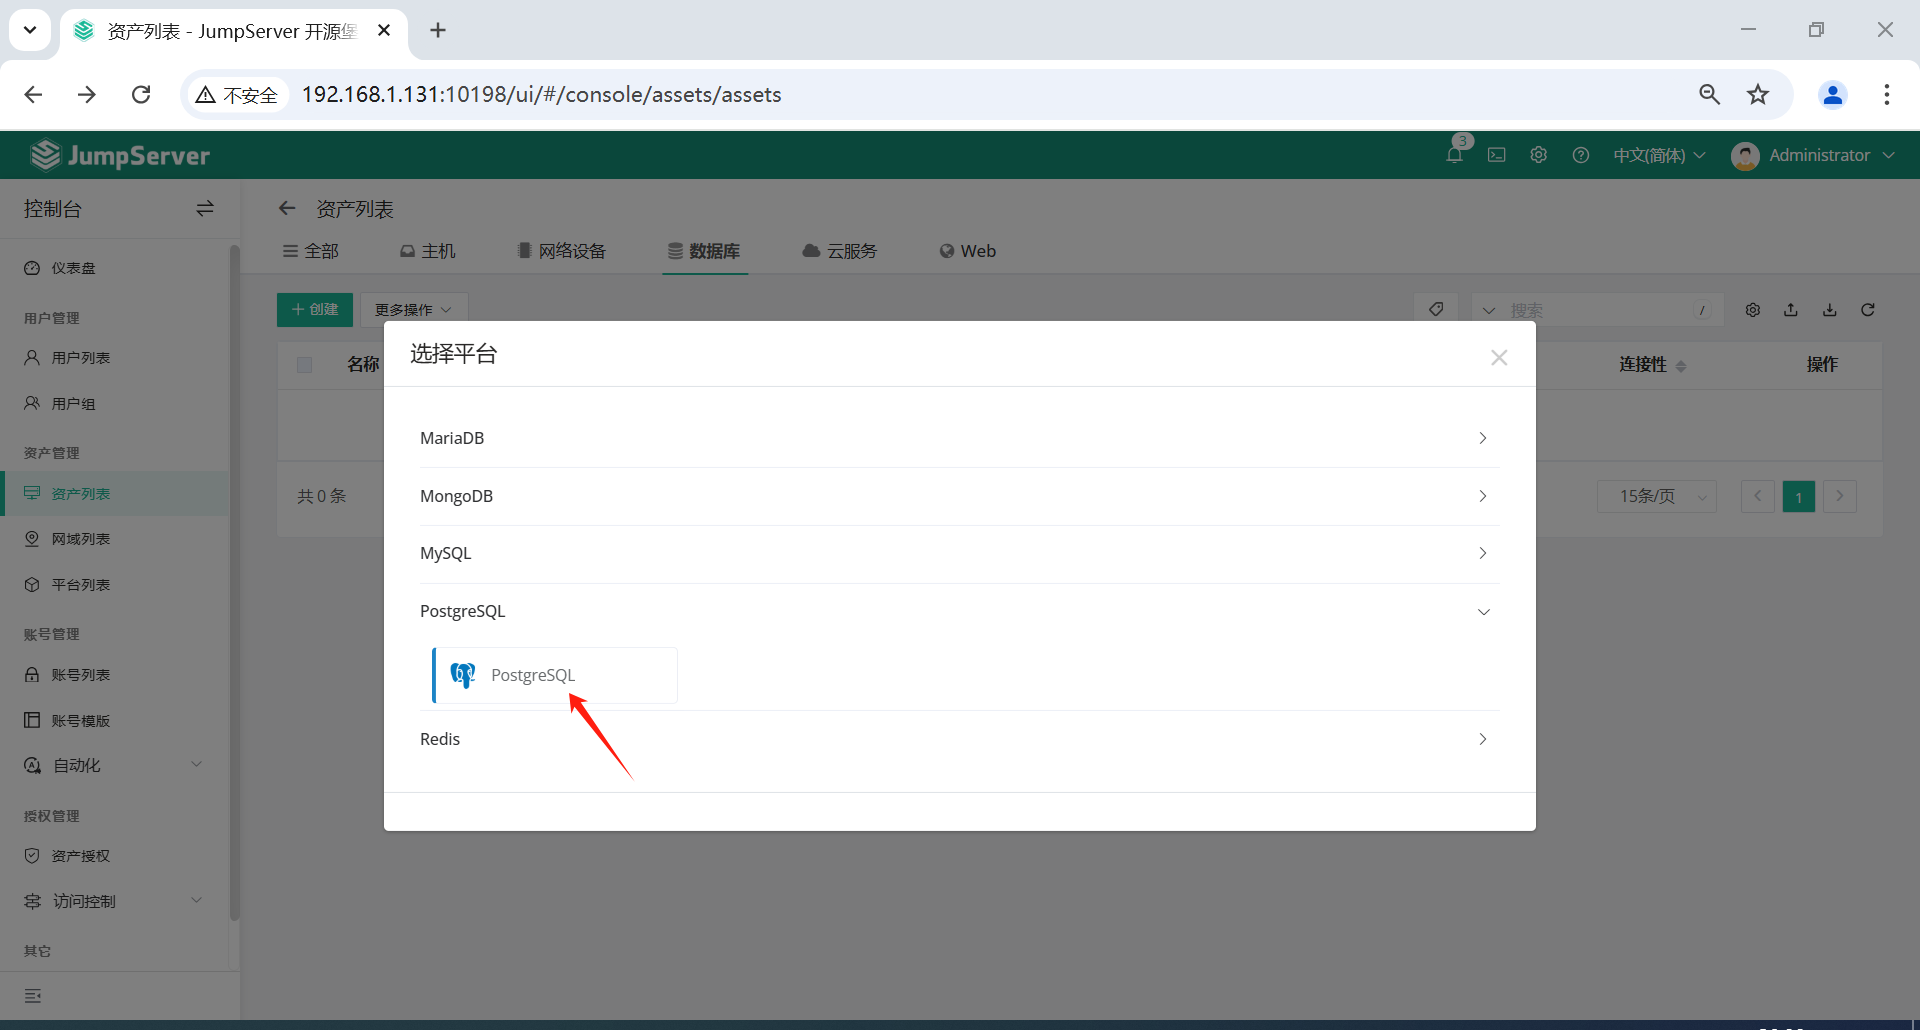
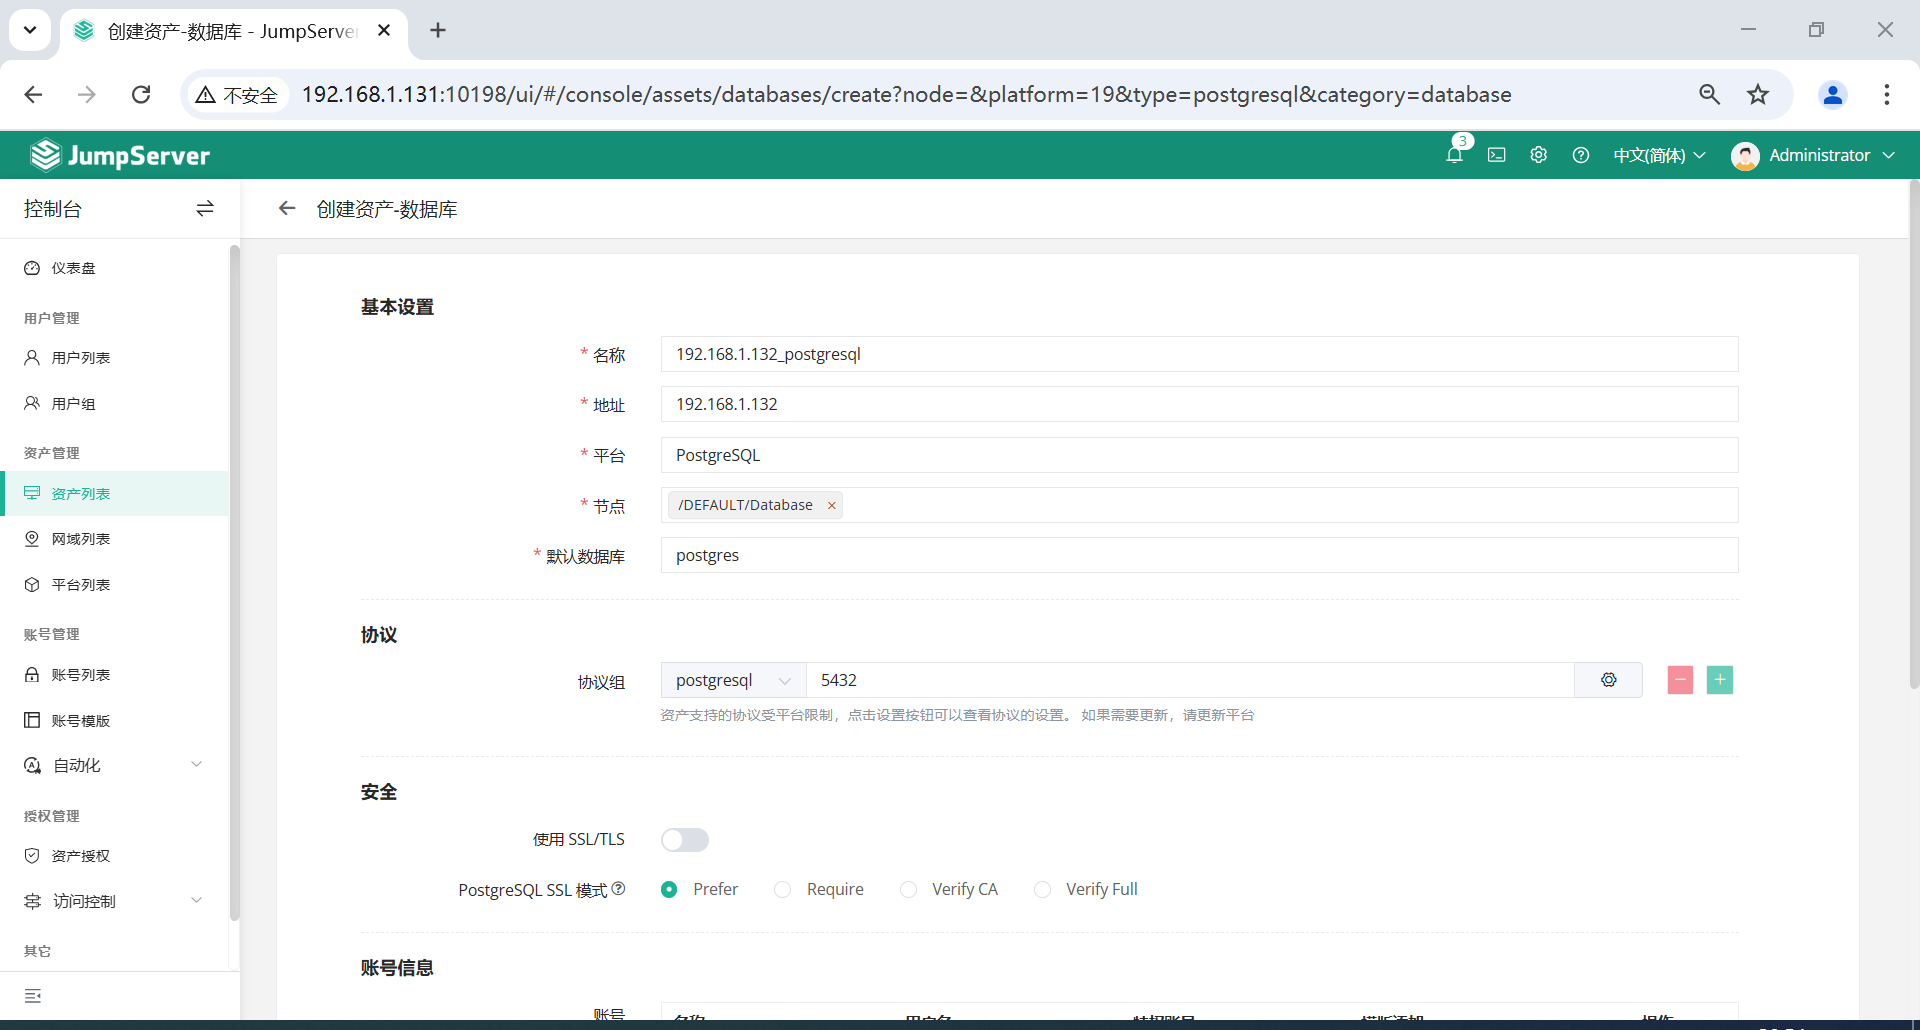
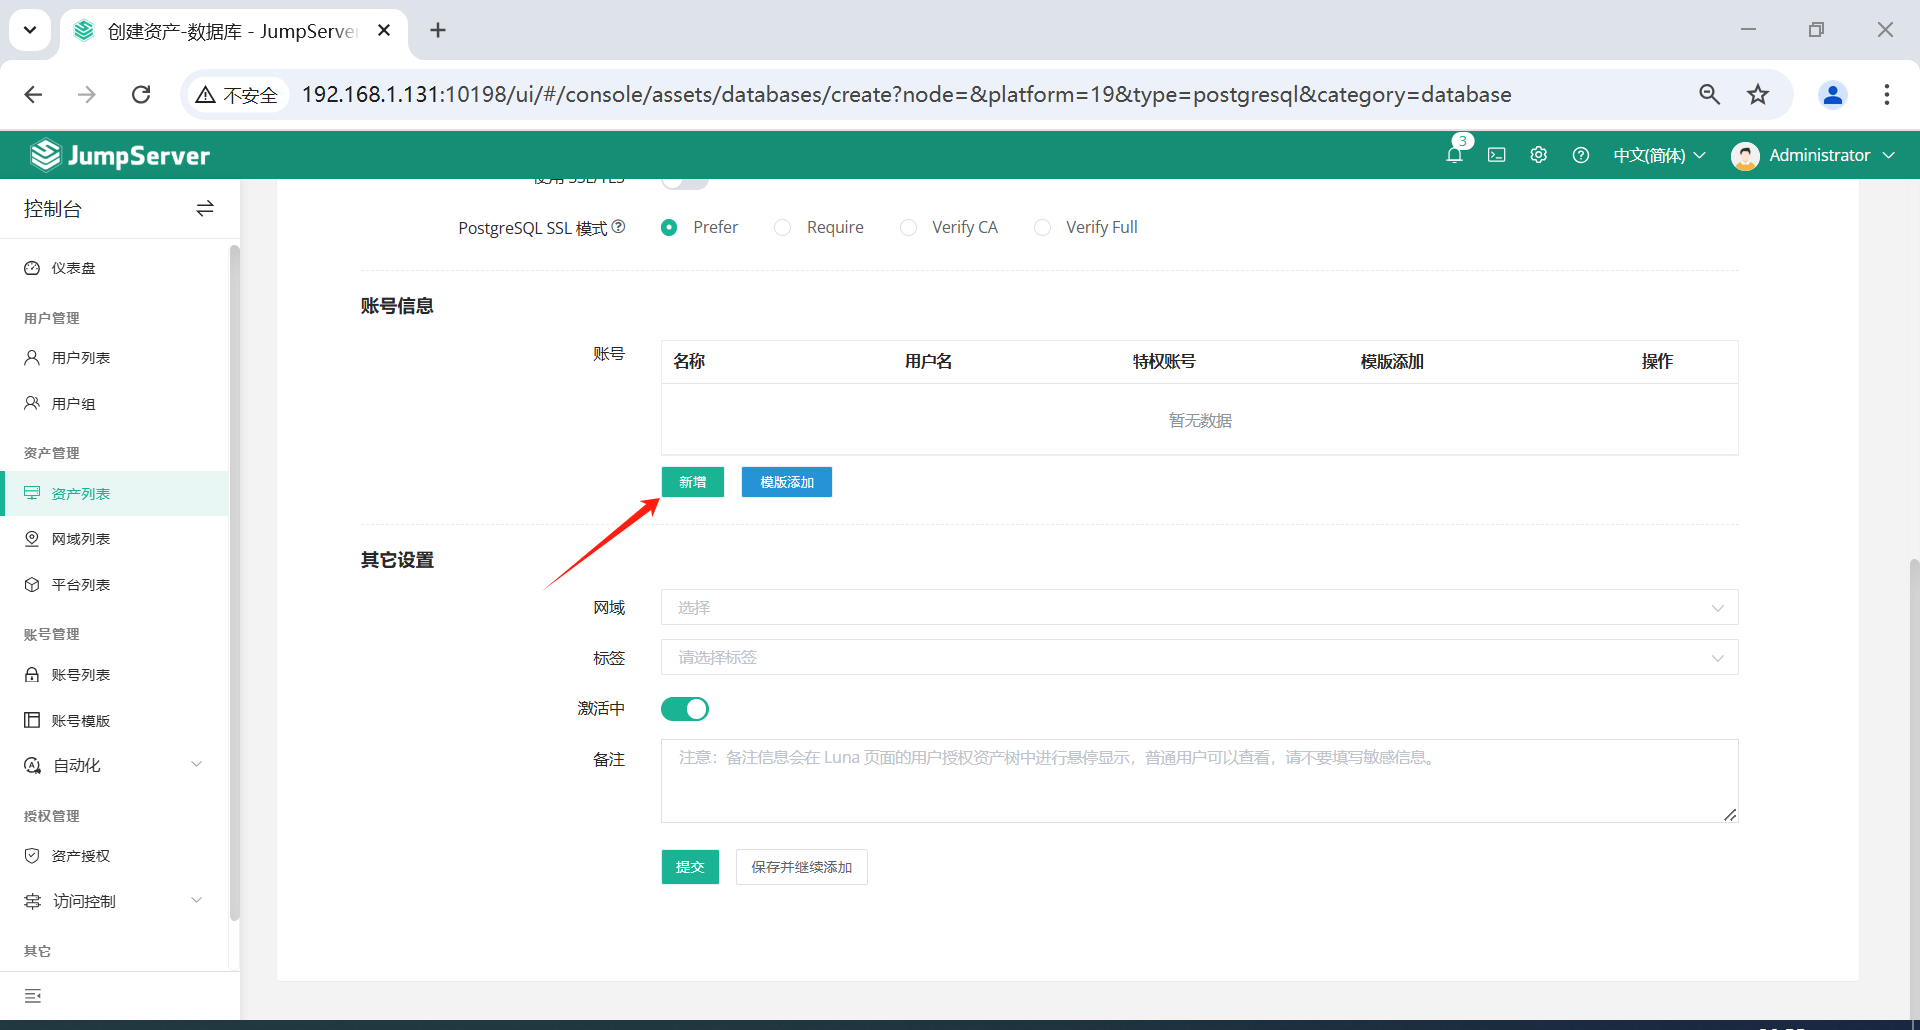
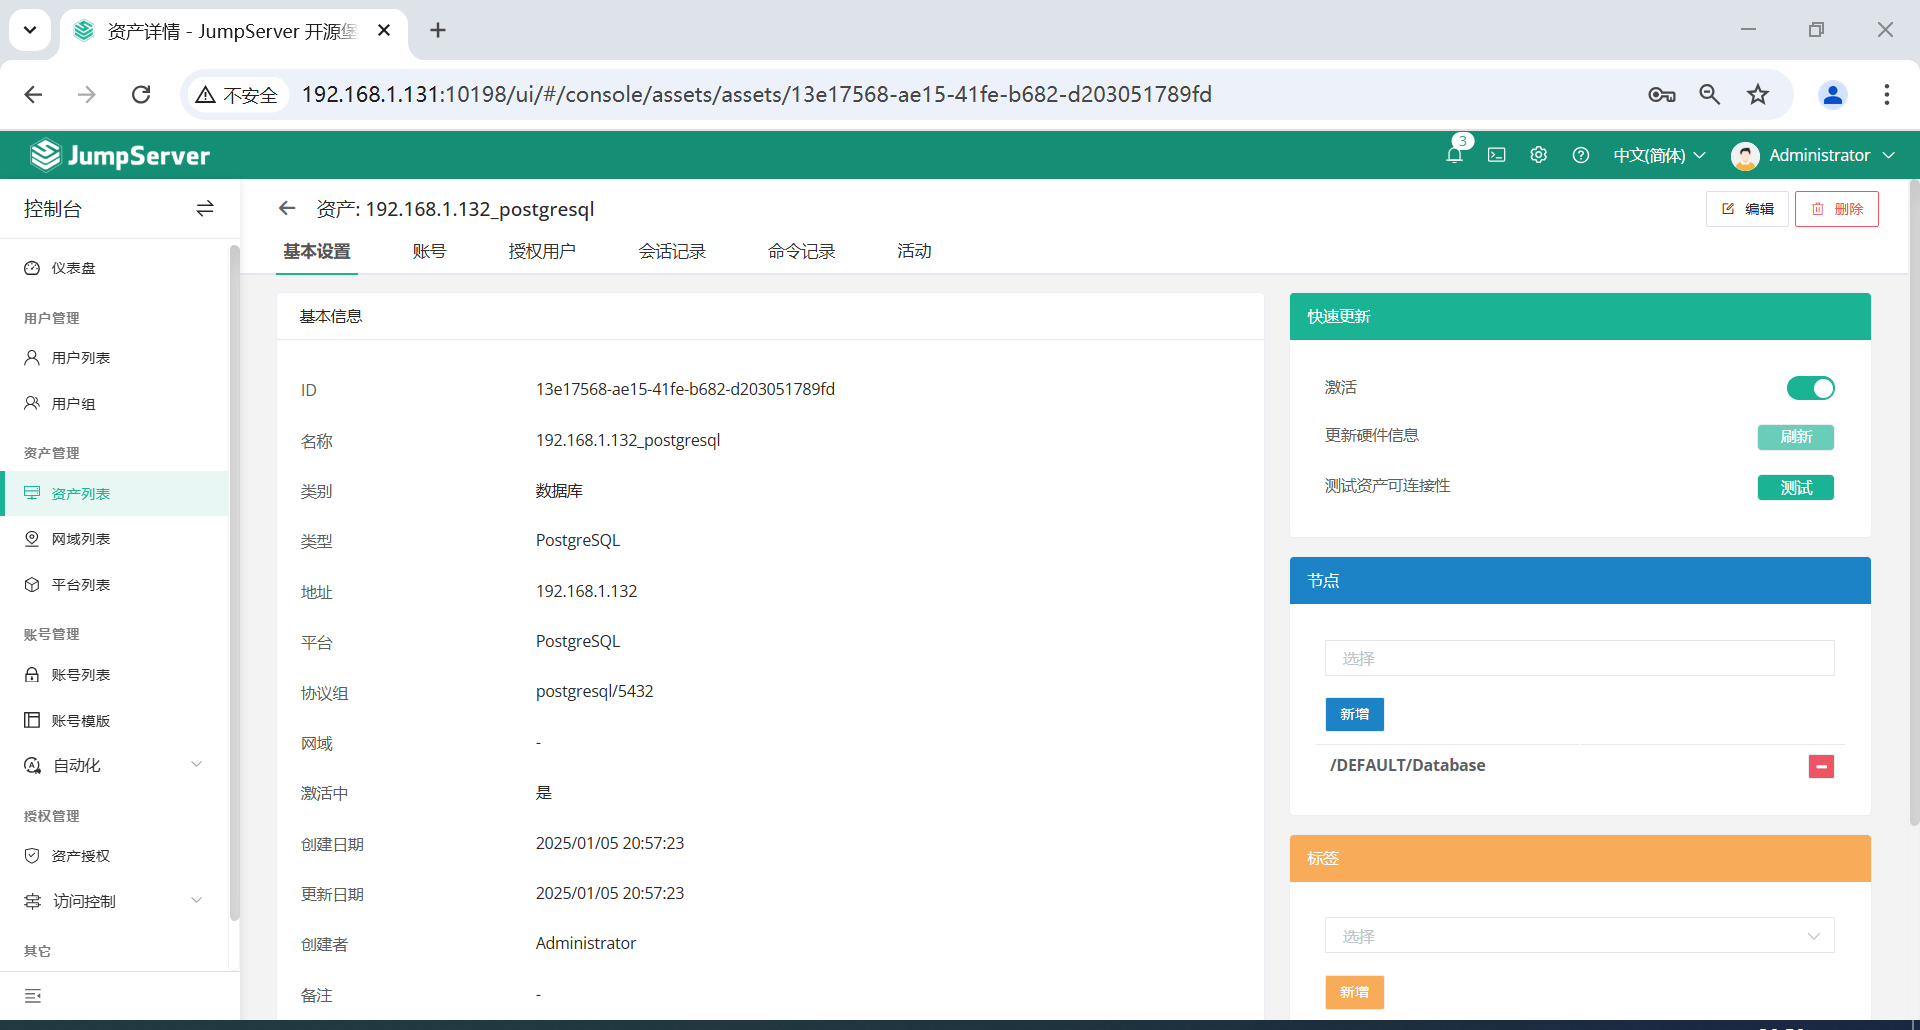
3.5.4 创建数据库资产
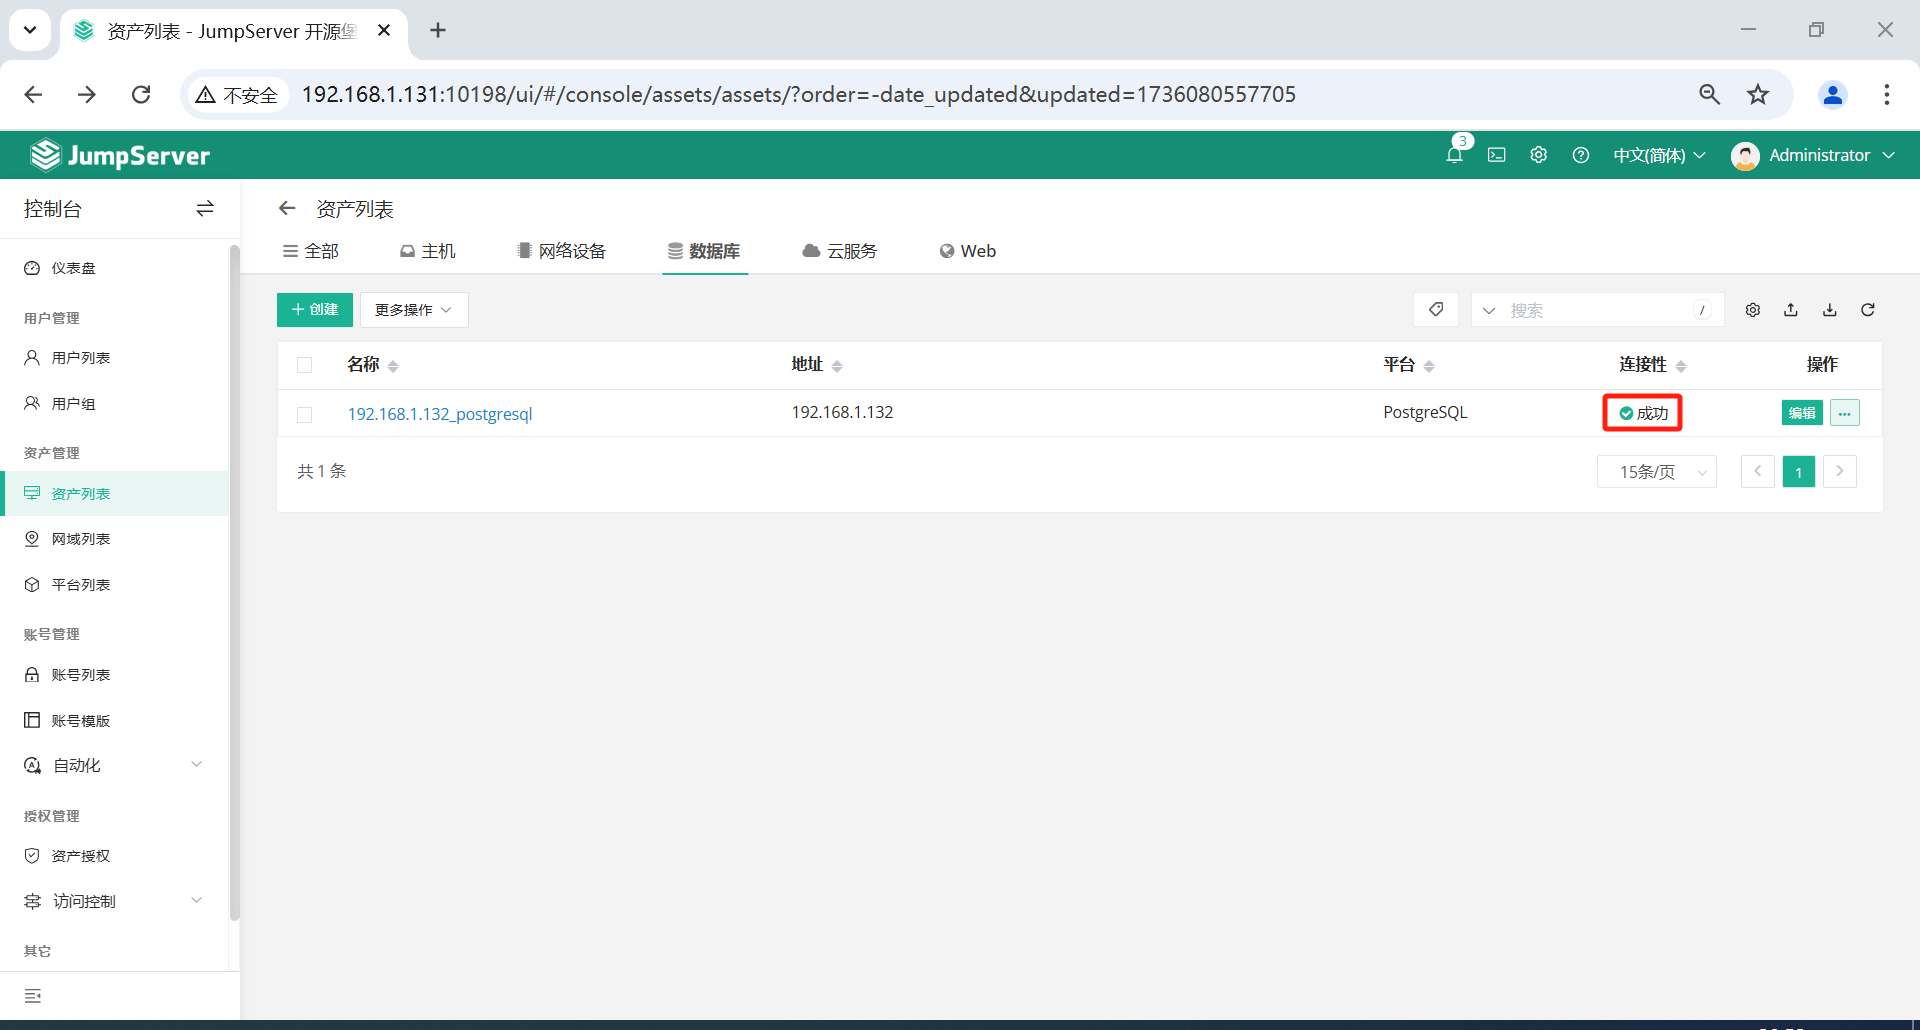
点击页面左侧的资产管理-资产列表-数据库-创建,选择 PostgreSQL数据库。

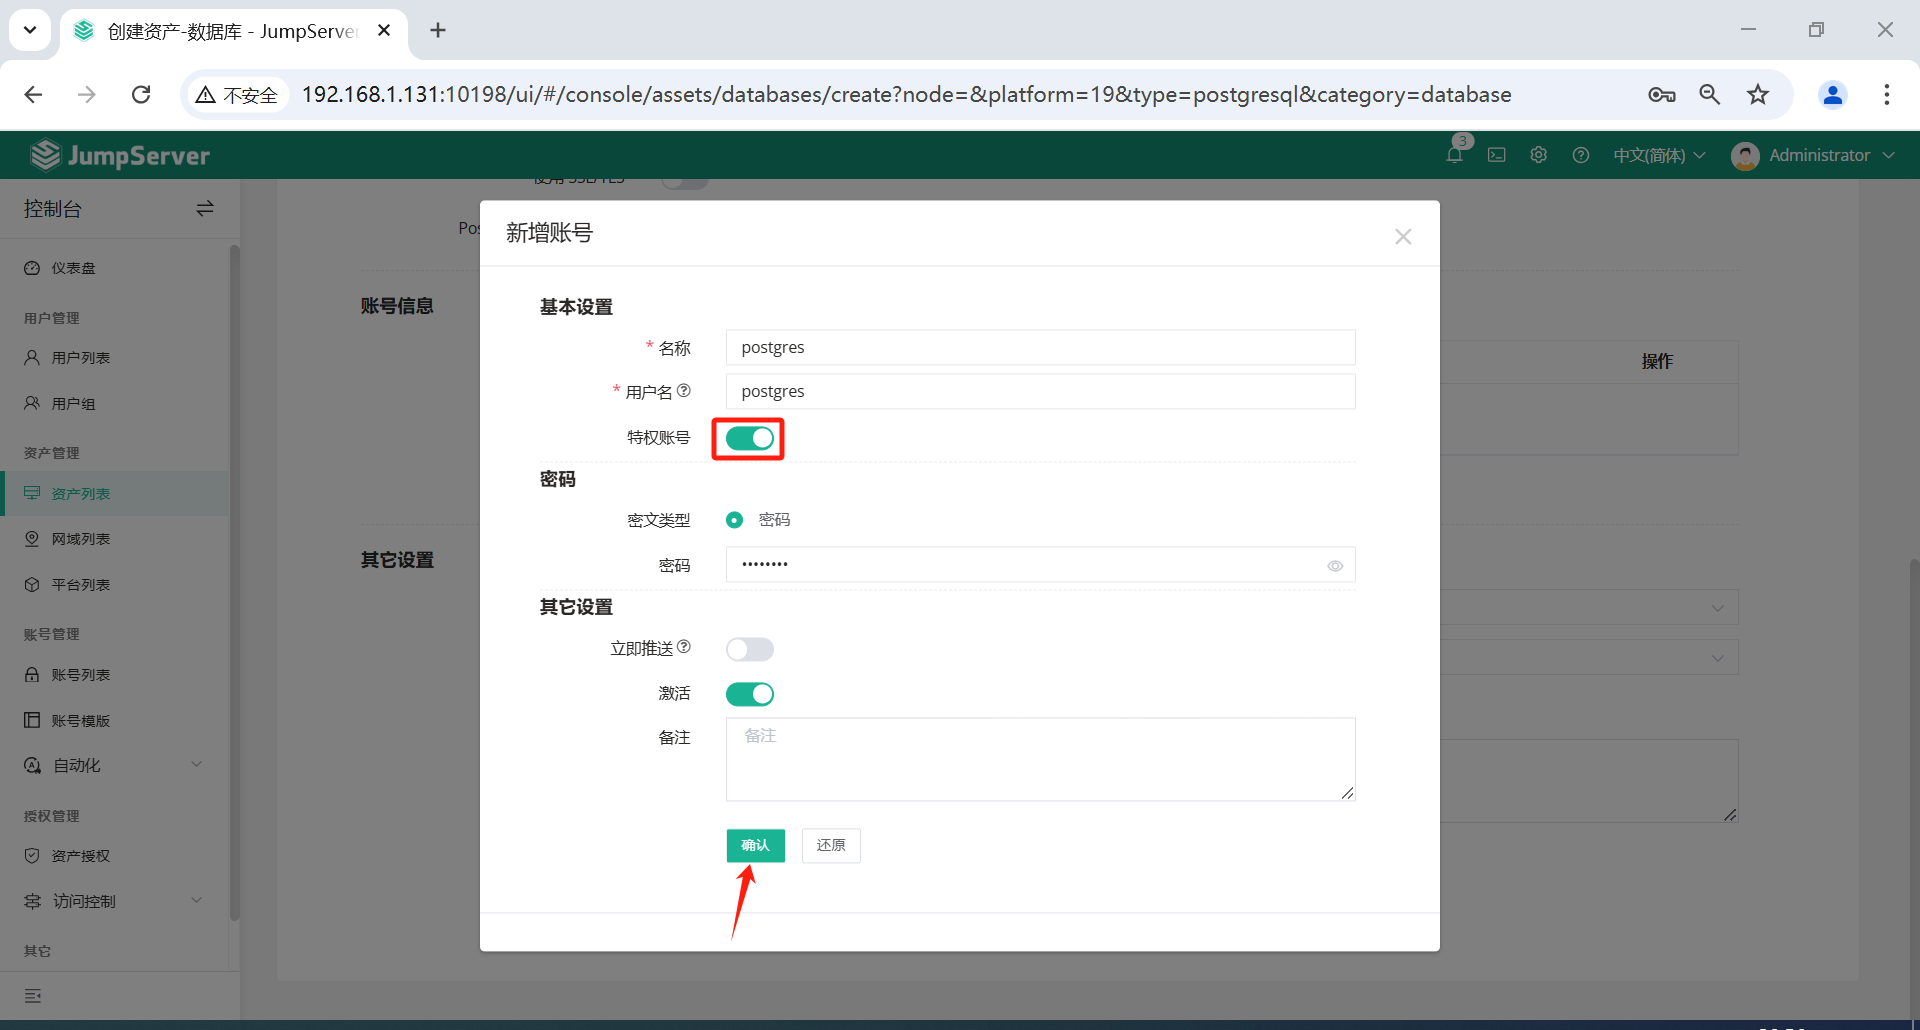
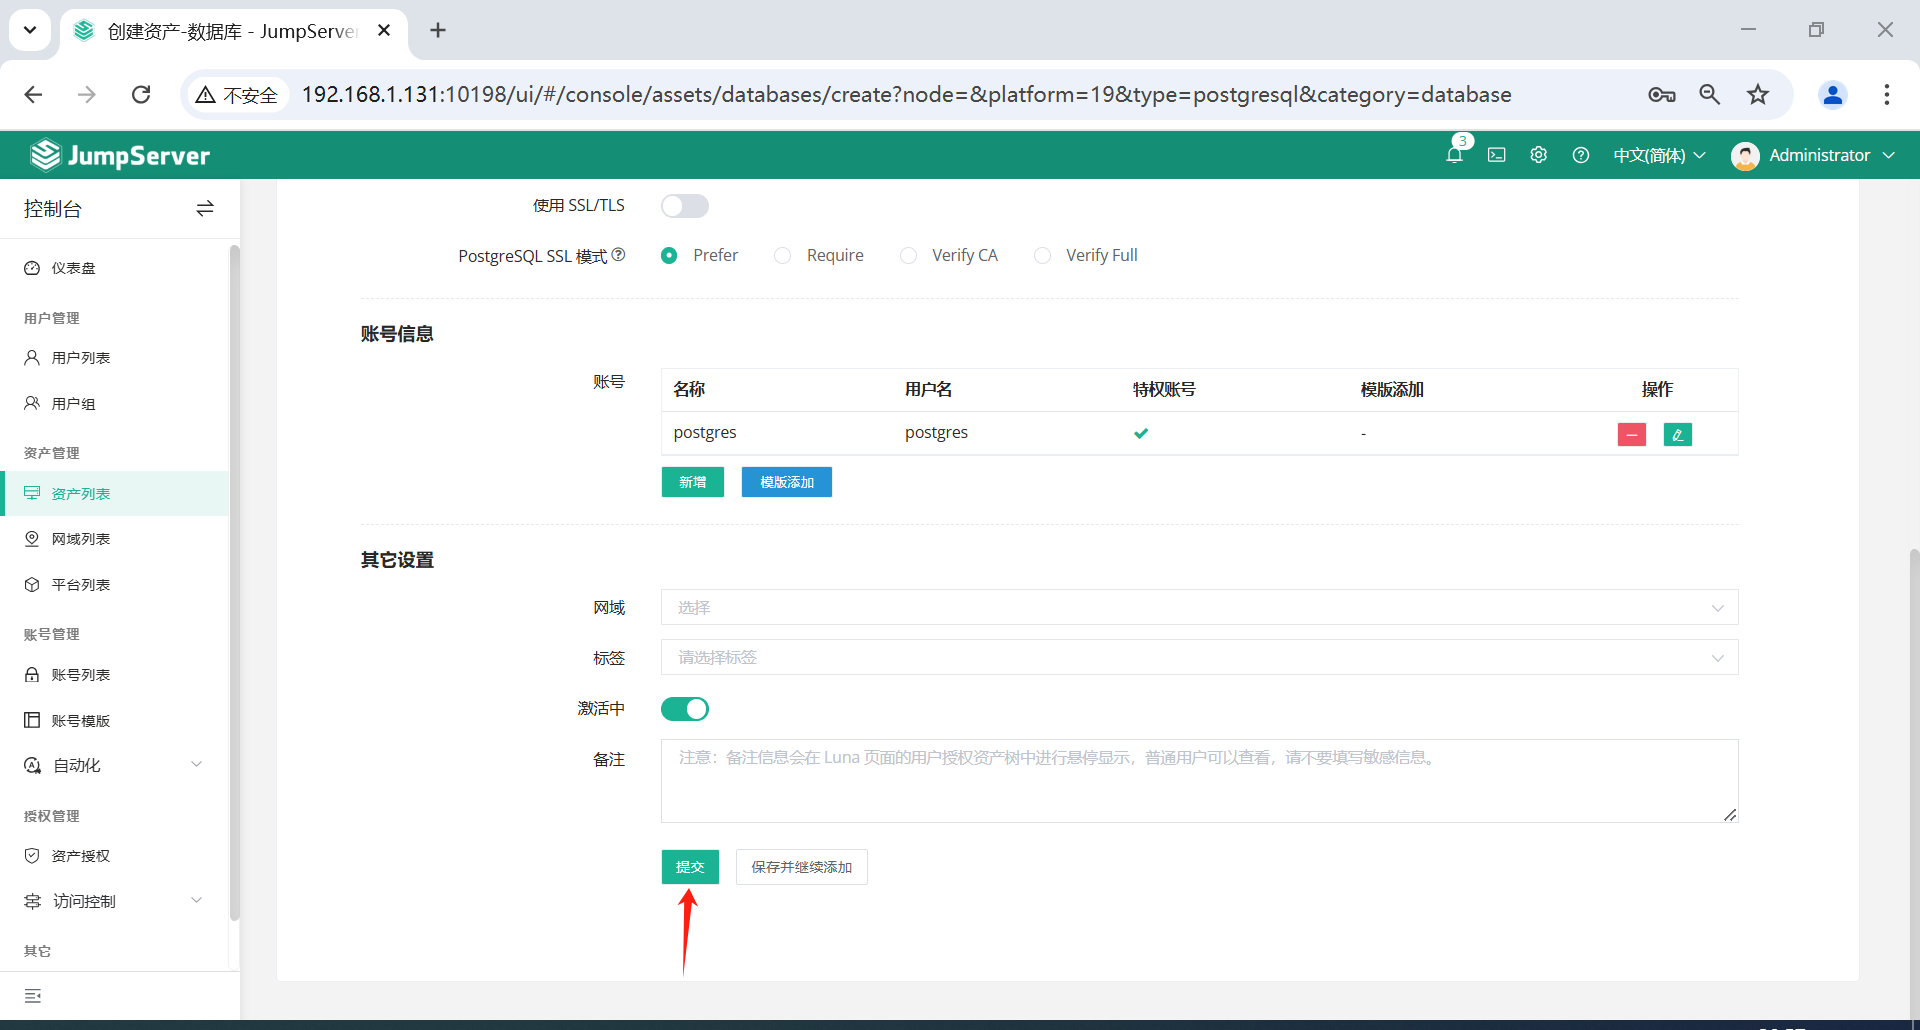
账户密码没错的话,添加完成后,可以看到连接性是成功。
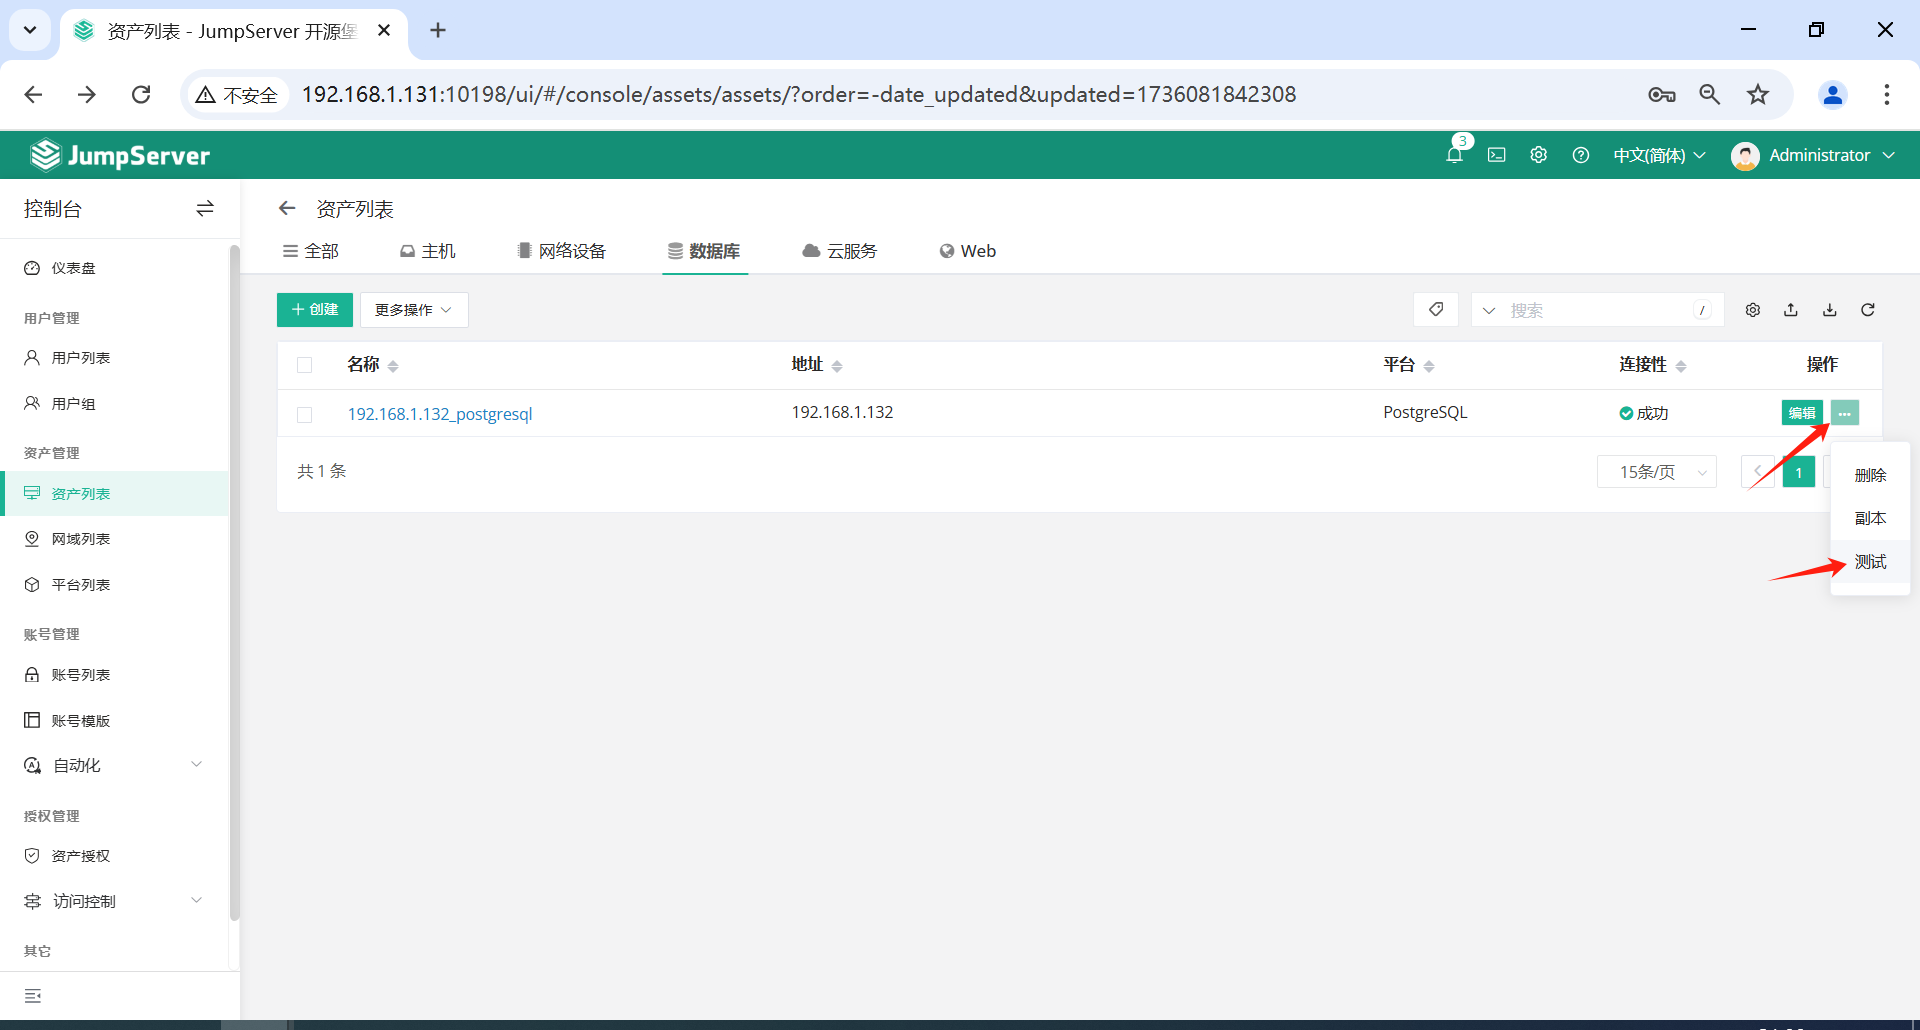
配置之后,点击测试,看是否能连通。
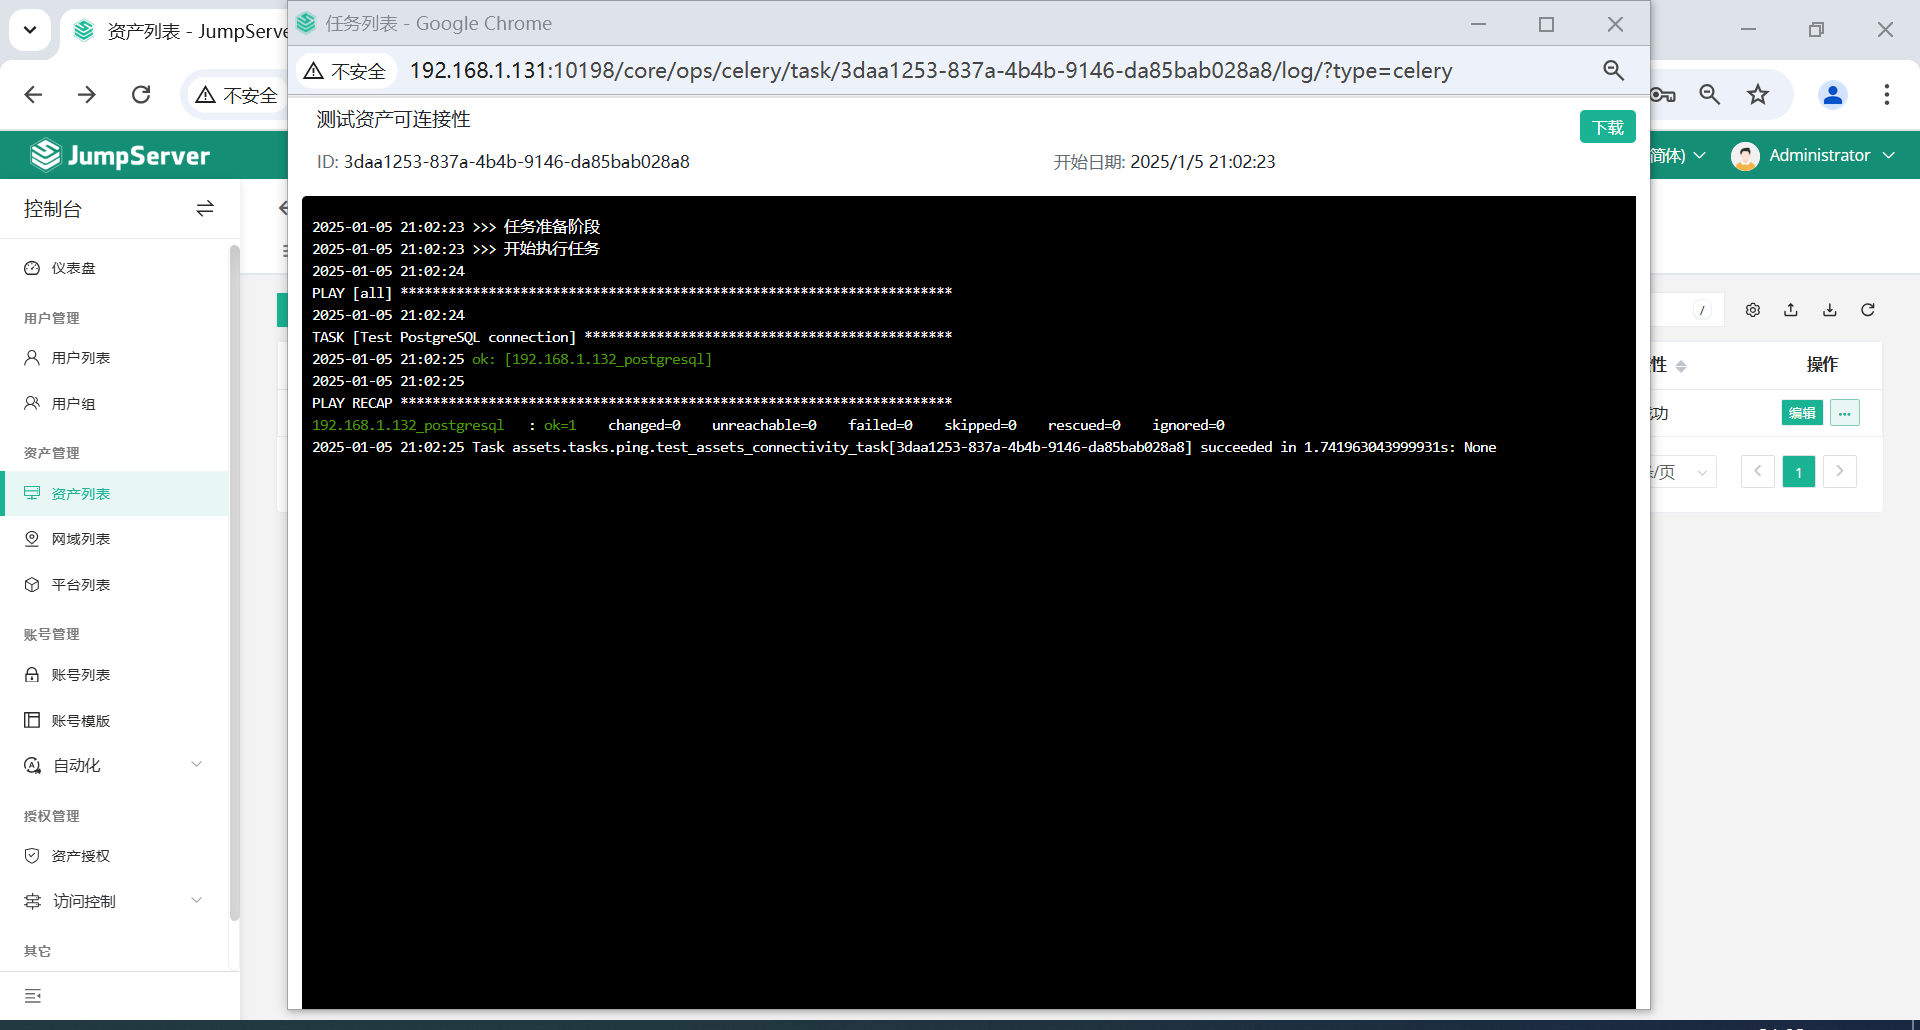
出现一下信息表示连通成功。
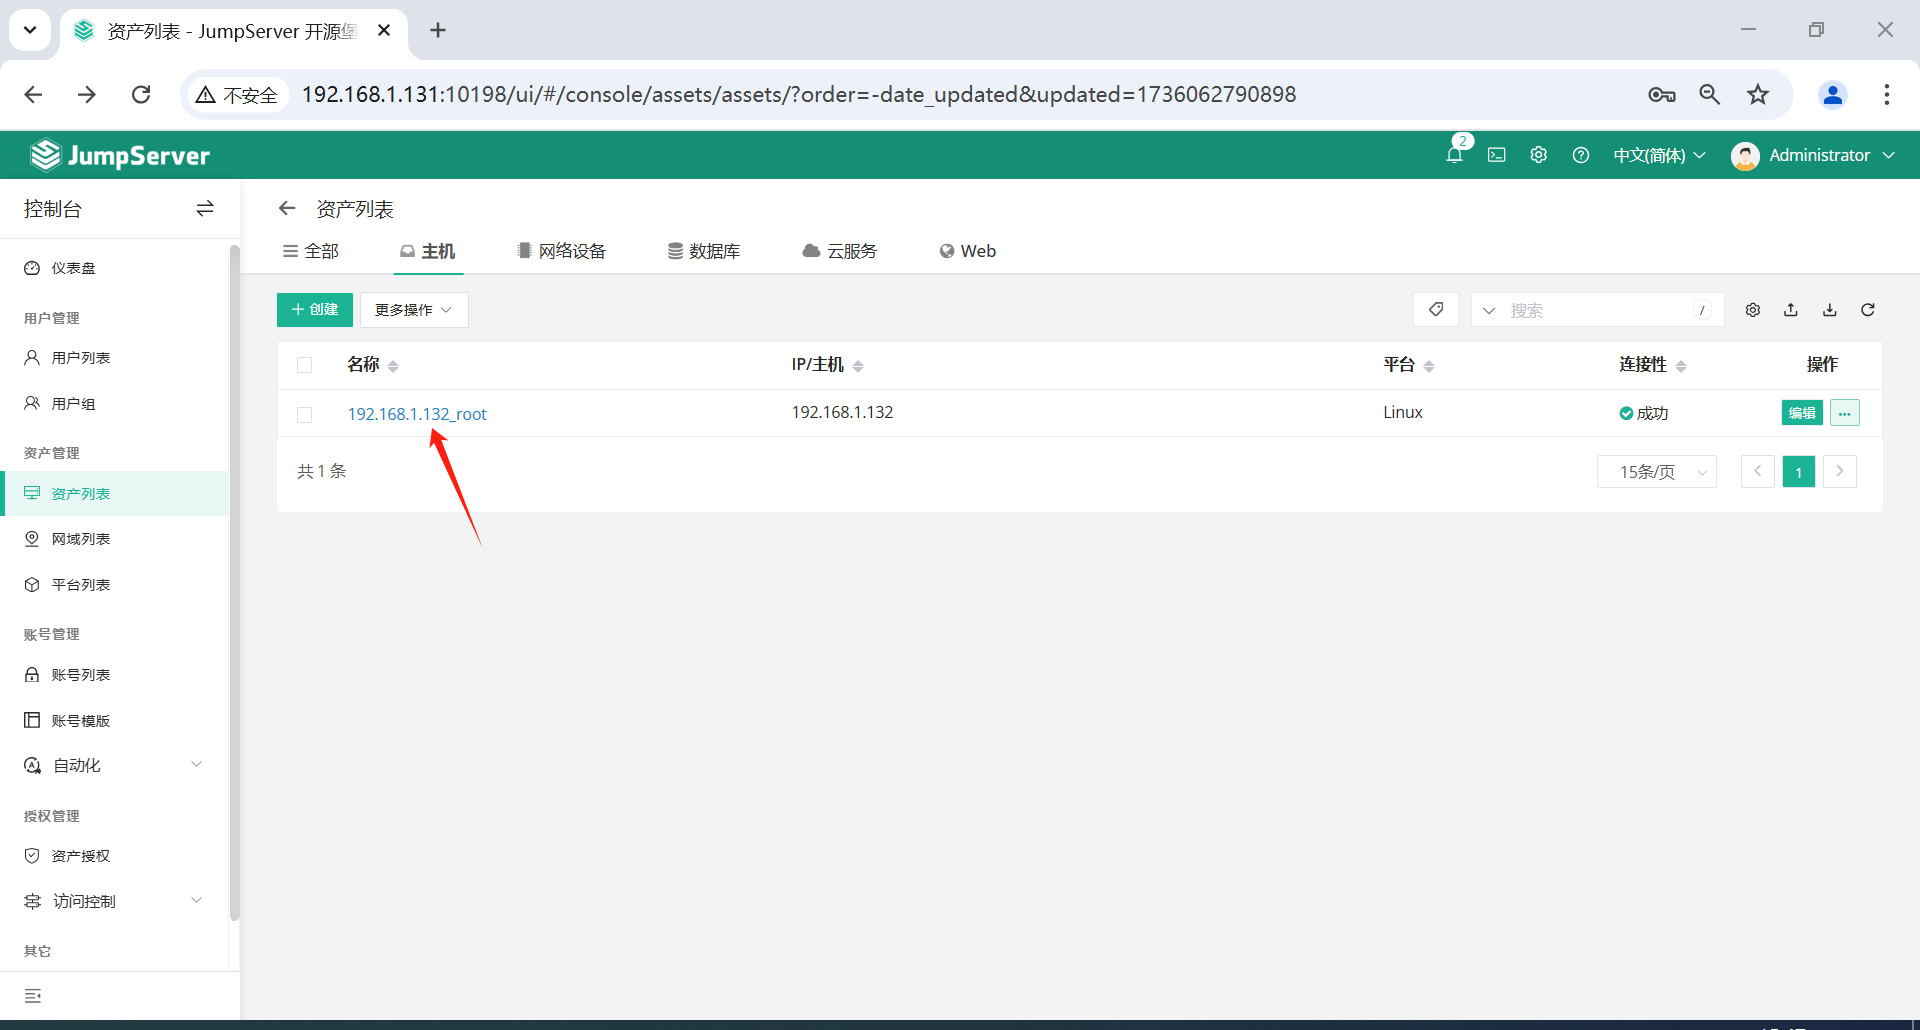
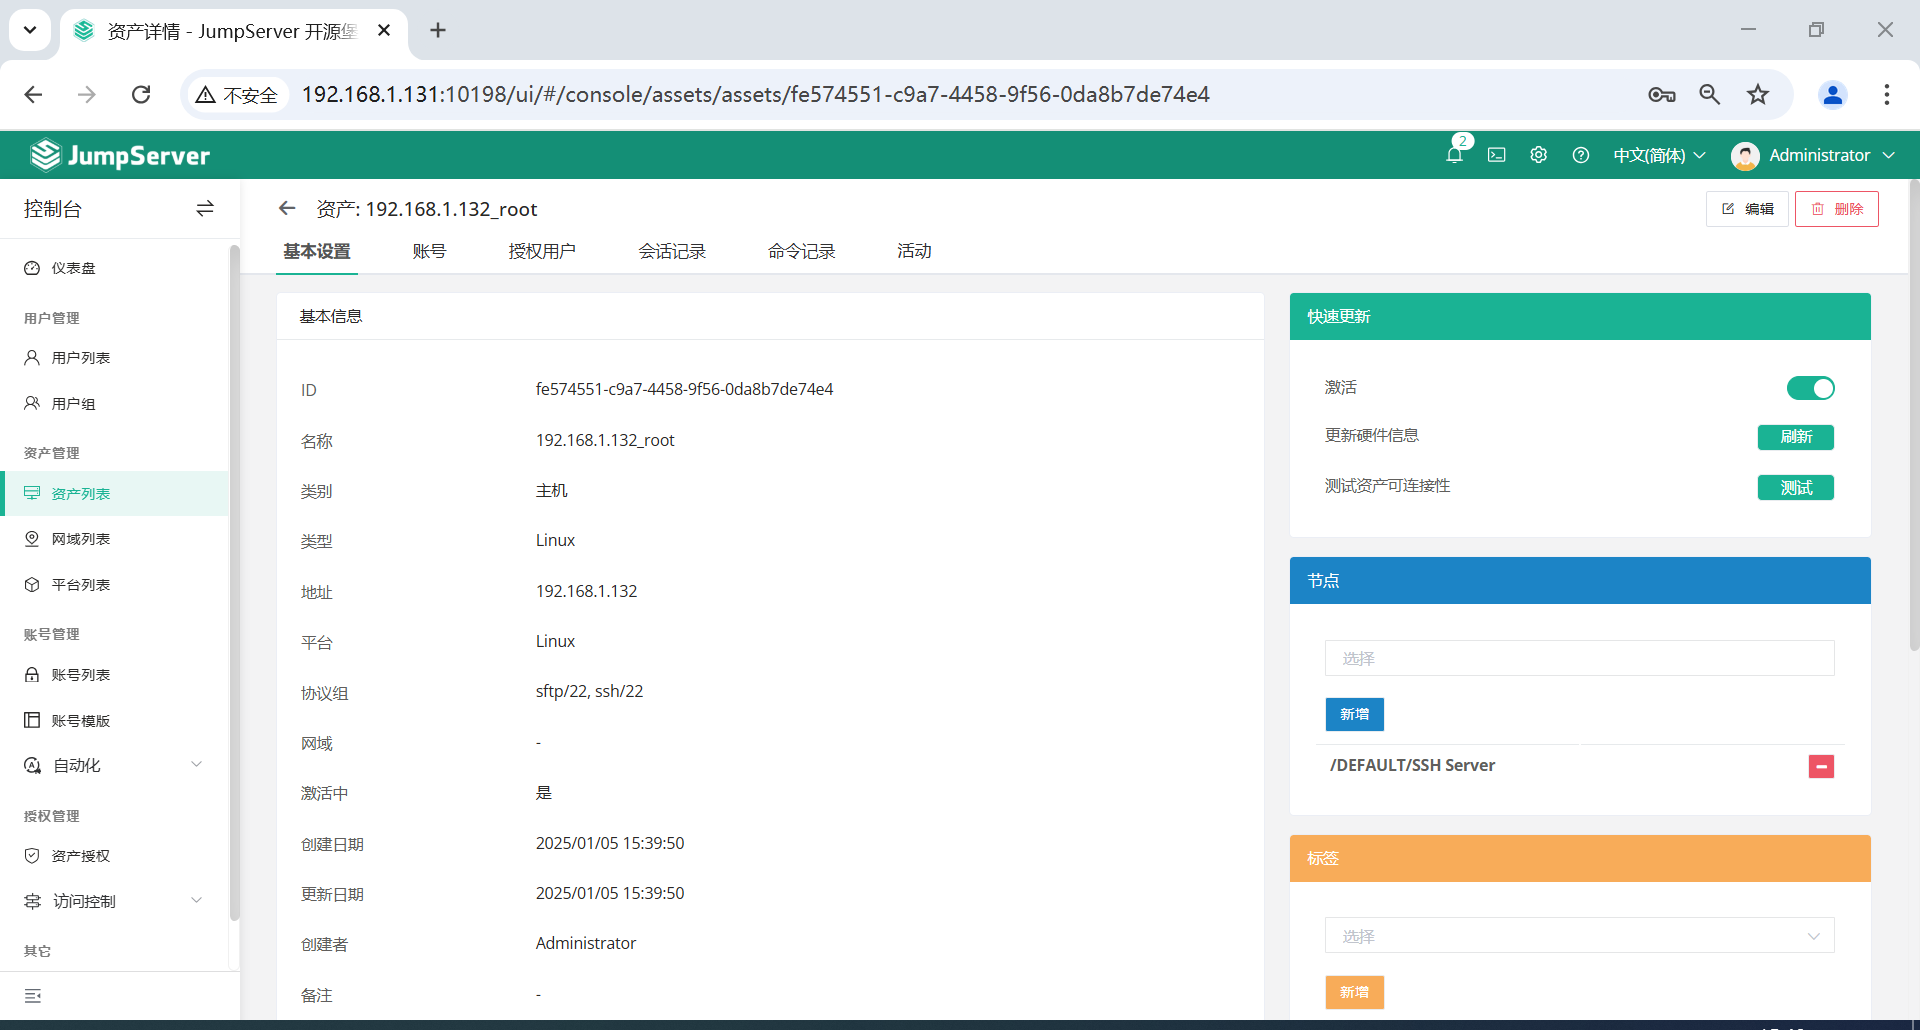
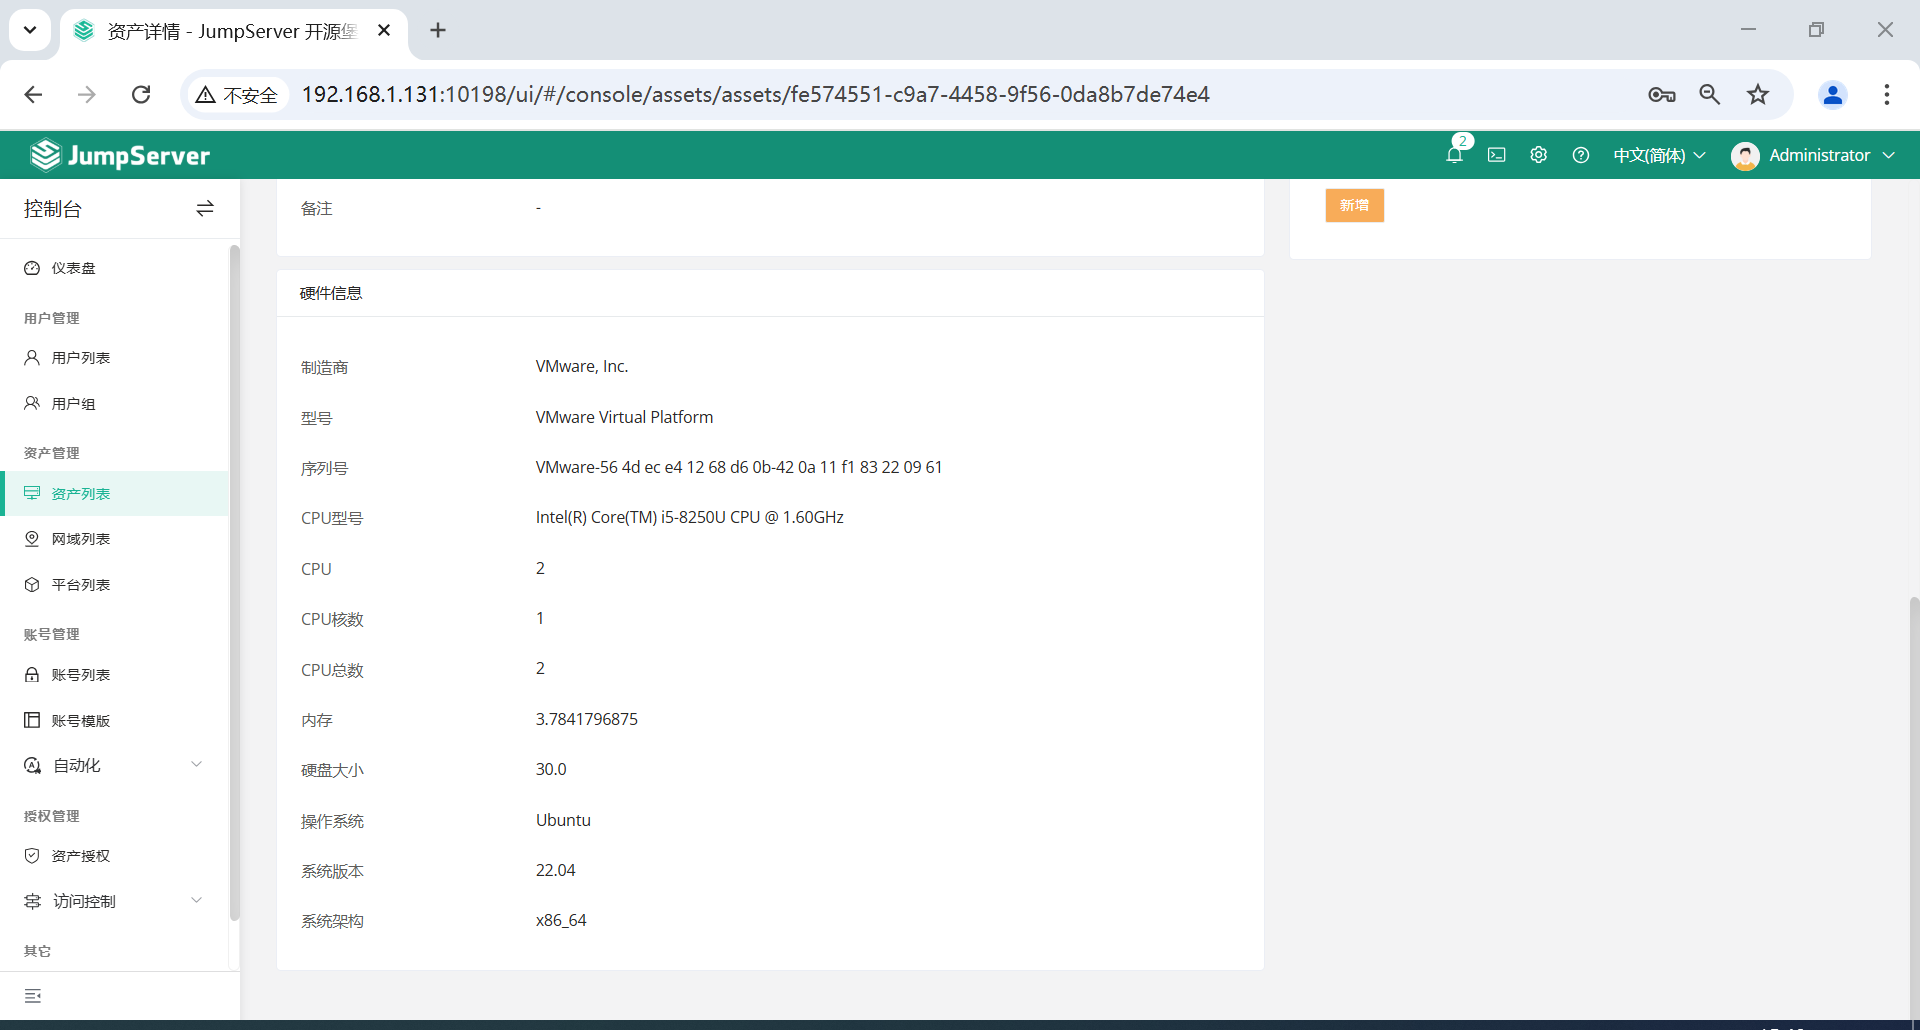
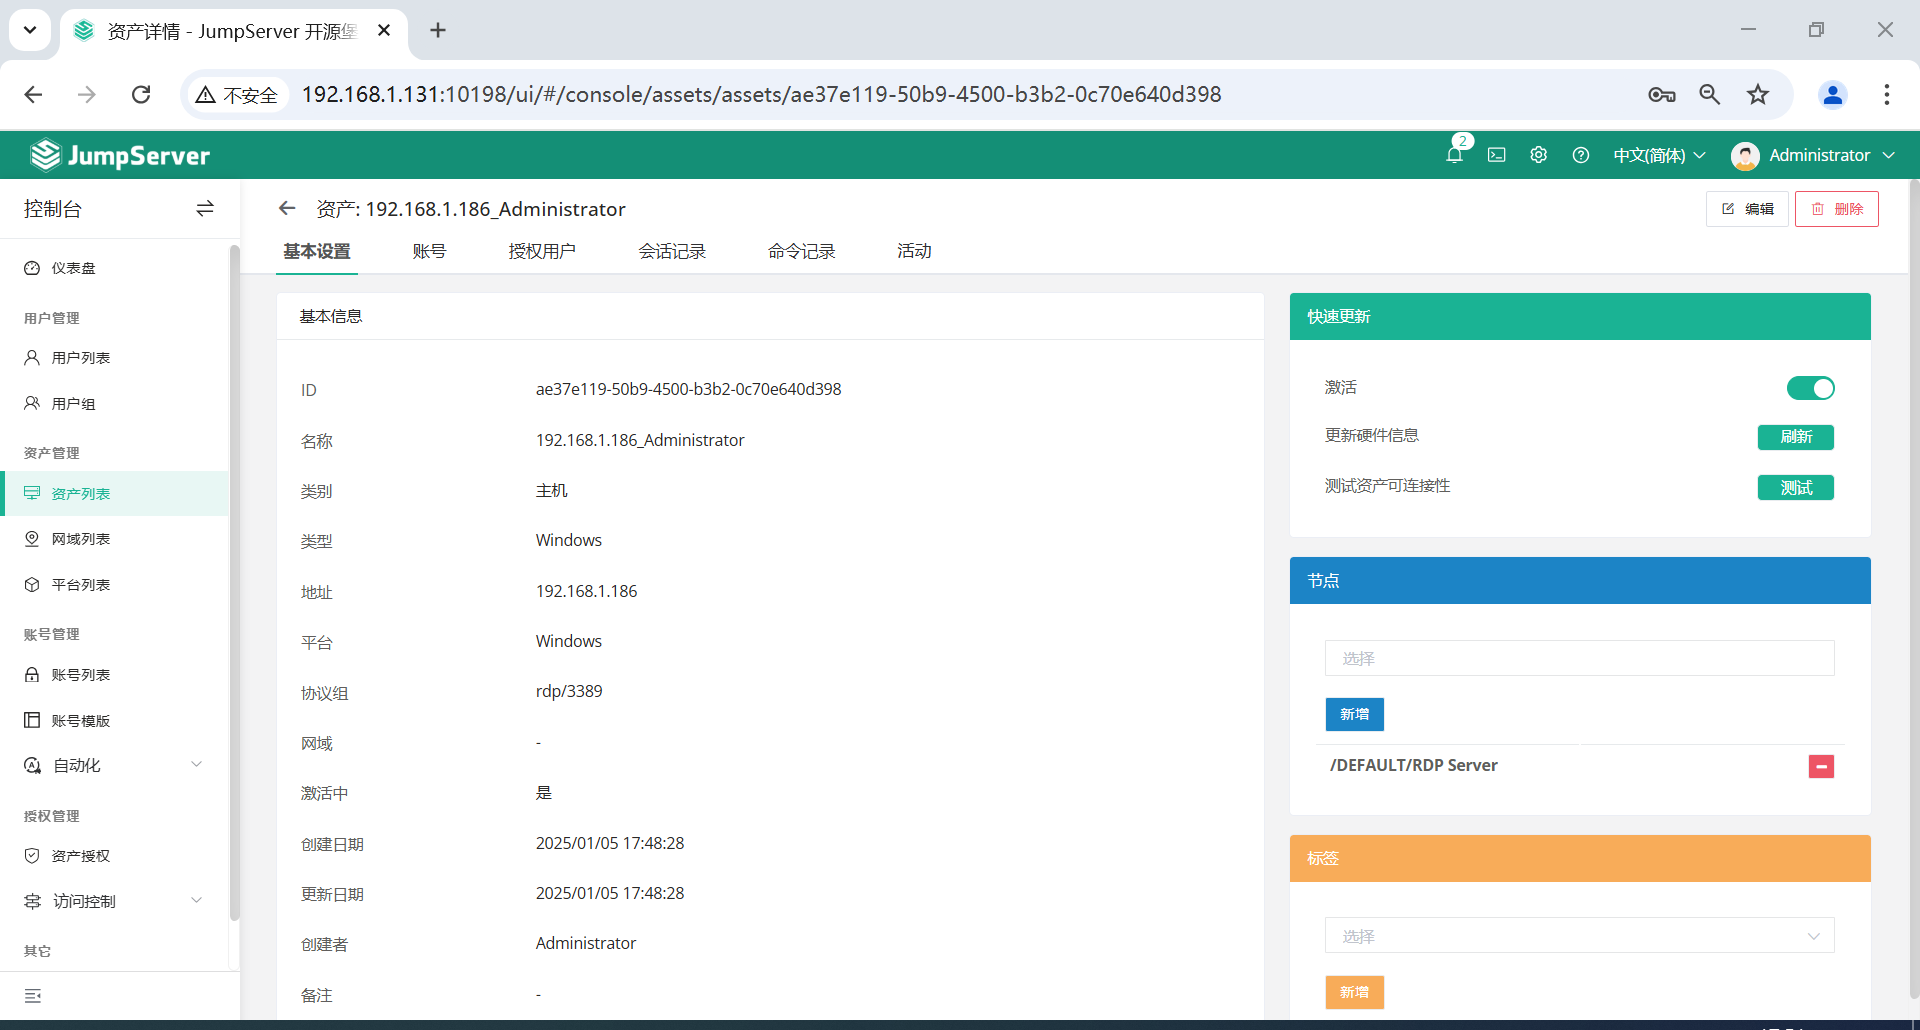
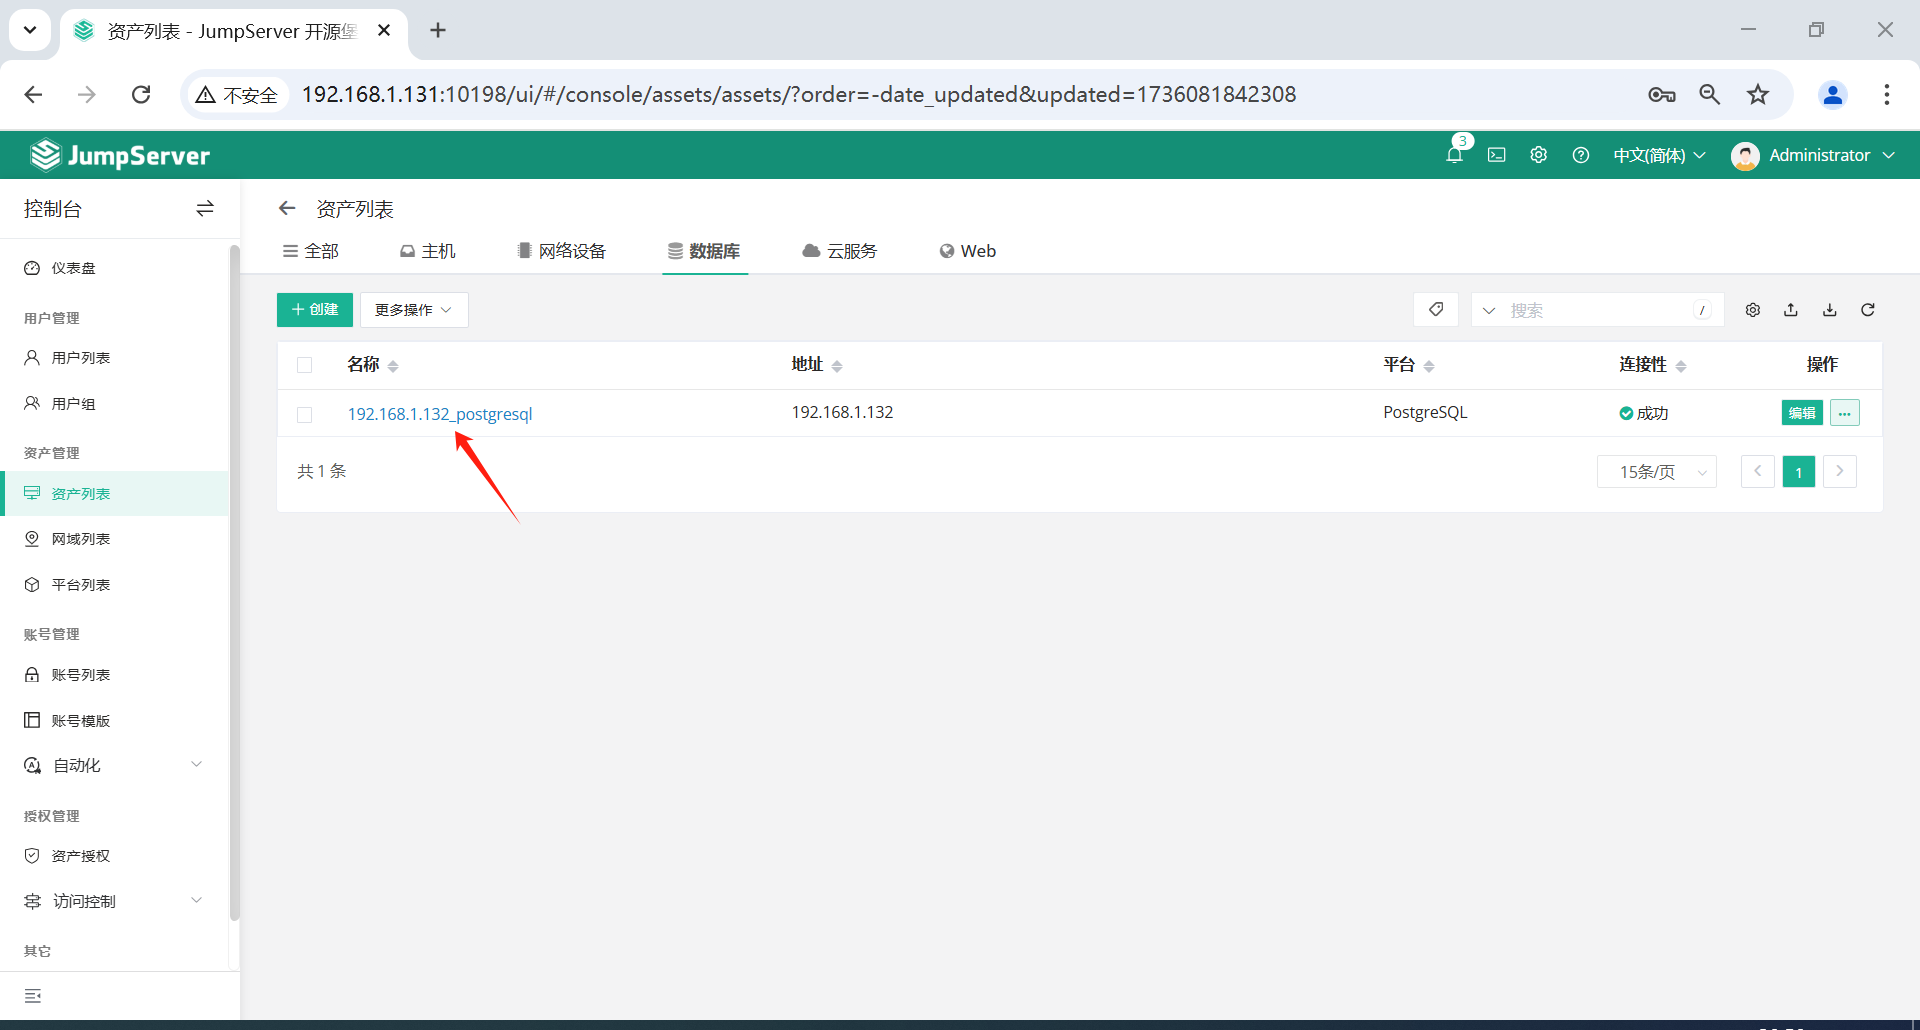
点击资产列表名称查看资产详情。

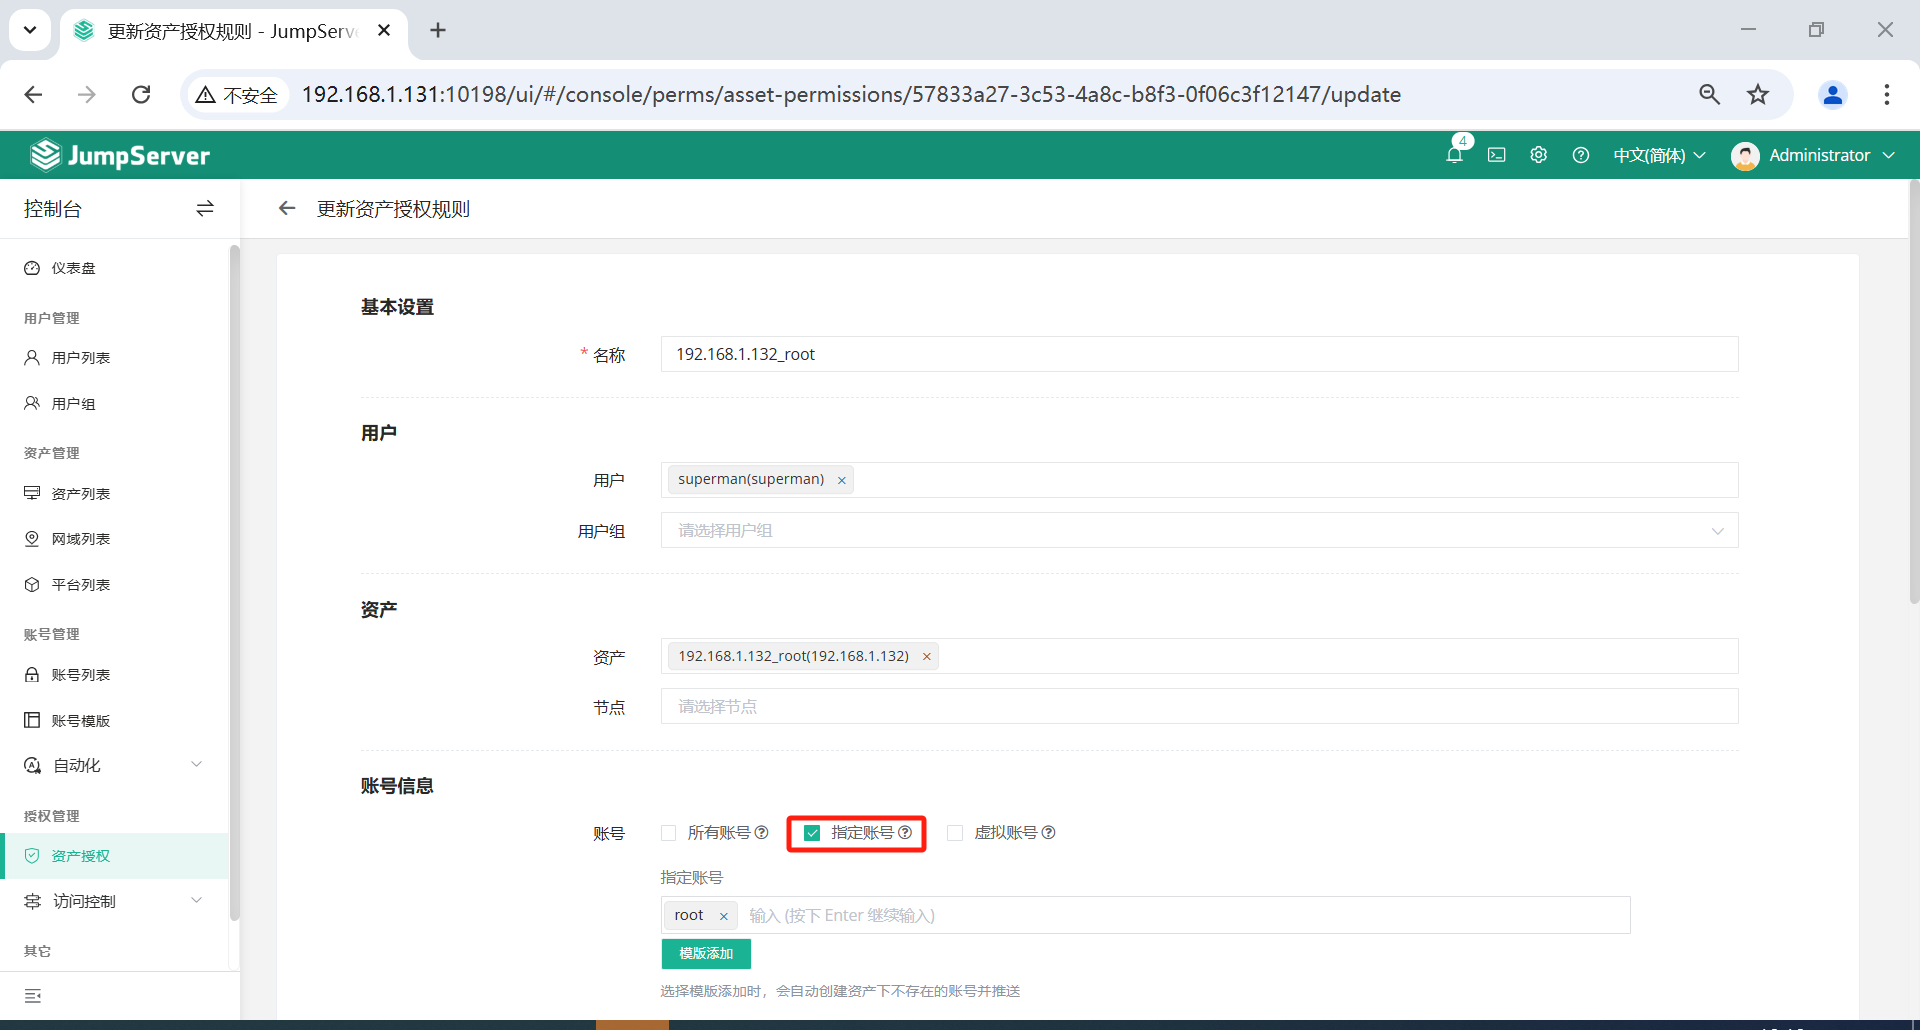
四、创建授权规则
针对用户 superman 进行授权,并允许员工 superman 登录相关服务器和数据库。
注意:
-
名称,授权的名称,不能重复。 -
用户和用户组二选一,不推荐即选择用户又选择用户组。 -
资产和节点二选一,选择节点会包含节点下面的所有资产。 -
账号,账号为连接资产的认证凭据。 -
用户(组),资产(节点)是一对一的关系,所以当拥有Linux、Windows不同类型资产时,应该分别给Linux资产和Windows资产创建授权规则。
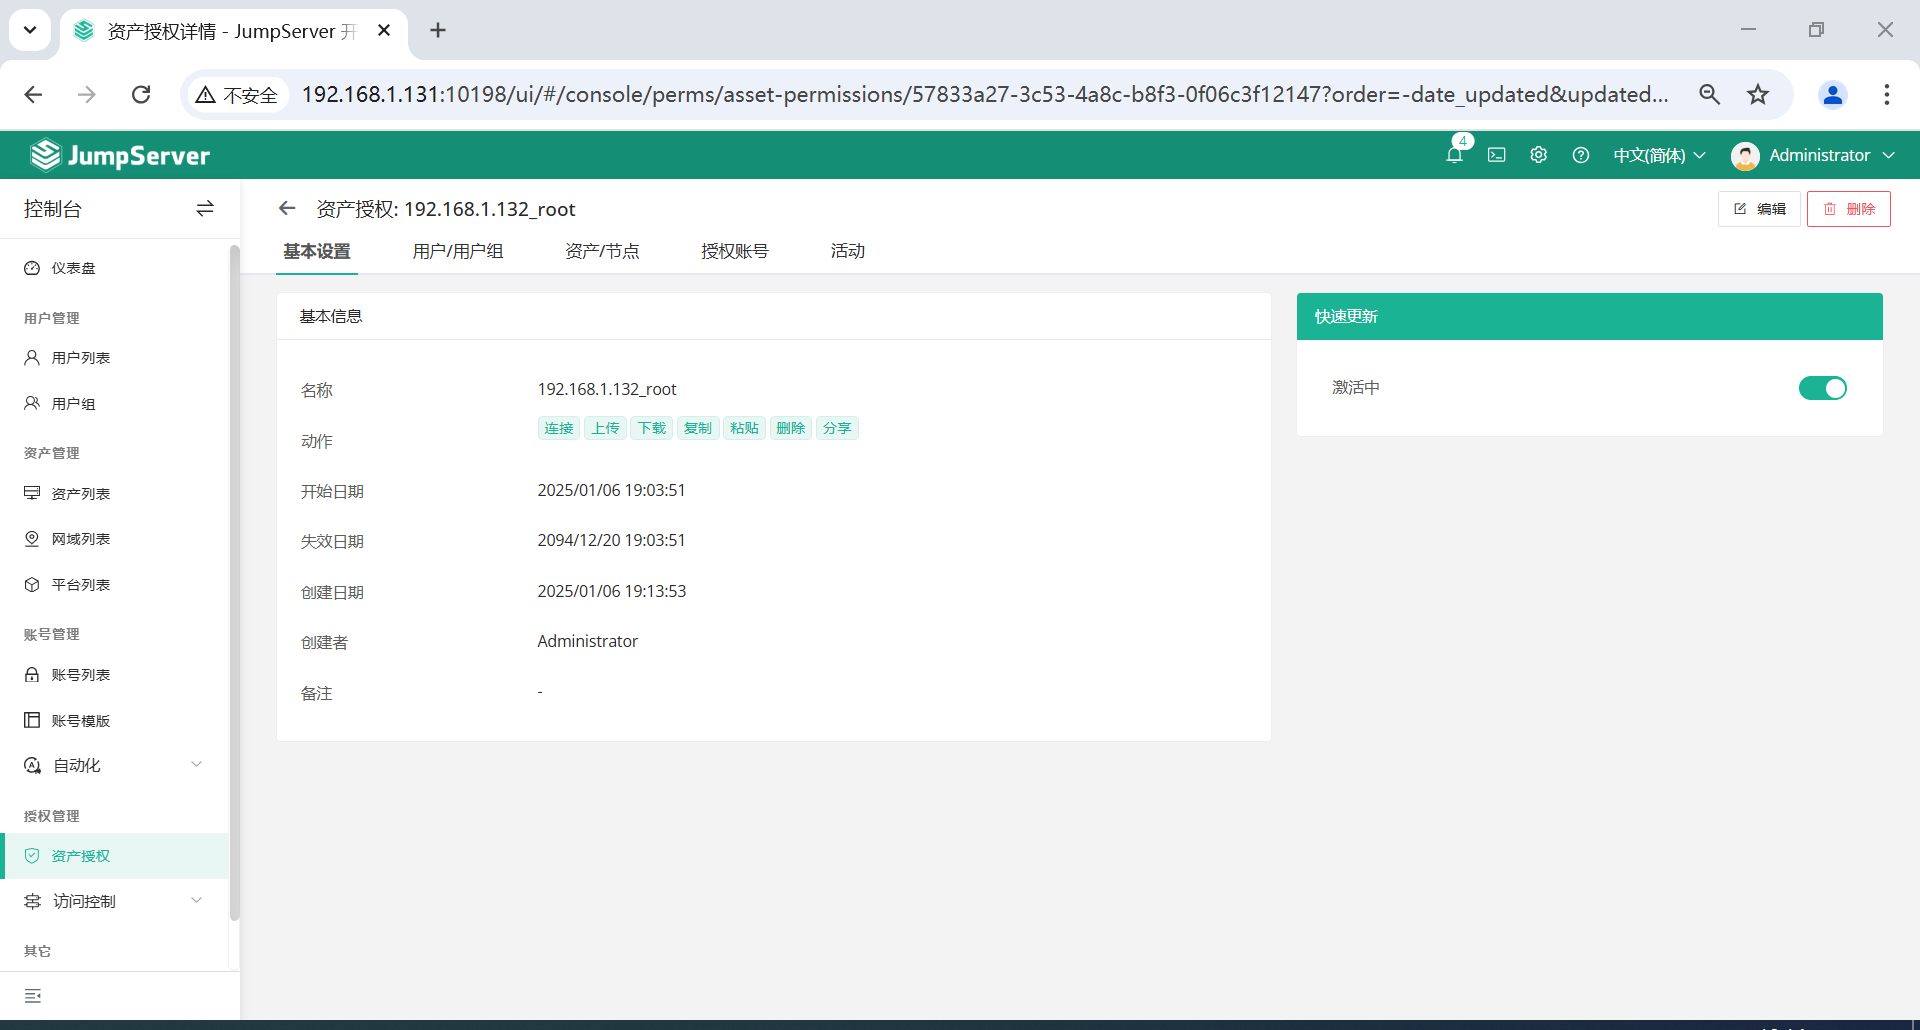
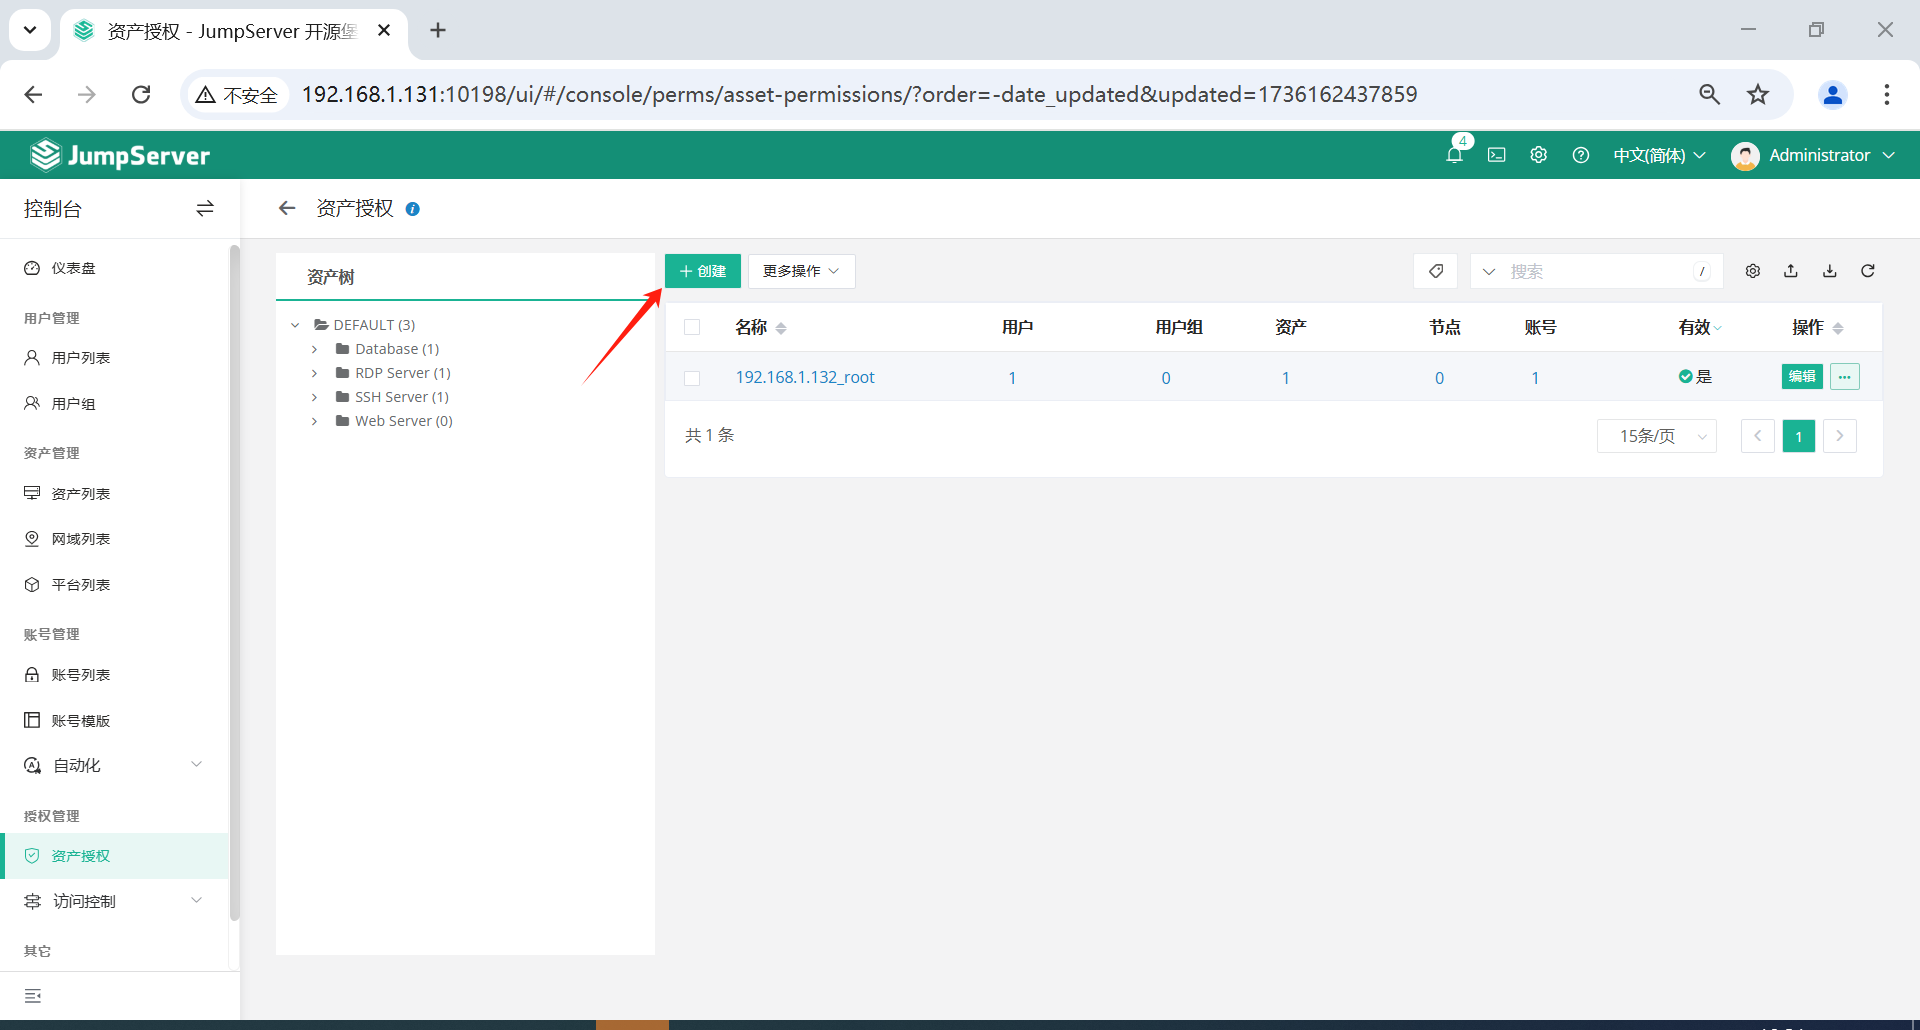
4.1 创建Linux资产授权规则
点击页面左侧的授权管理-资产授权-创建,创建一个Liunux资产授权。
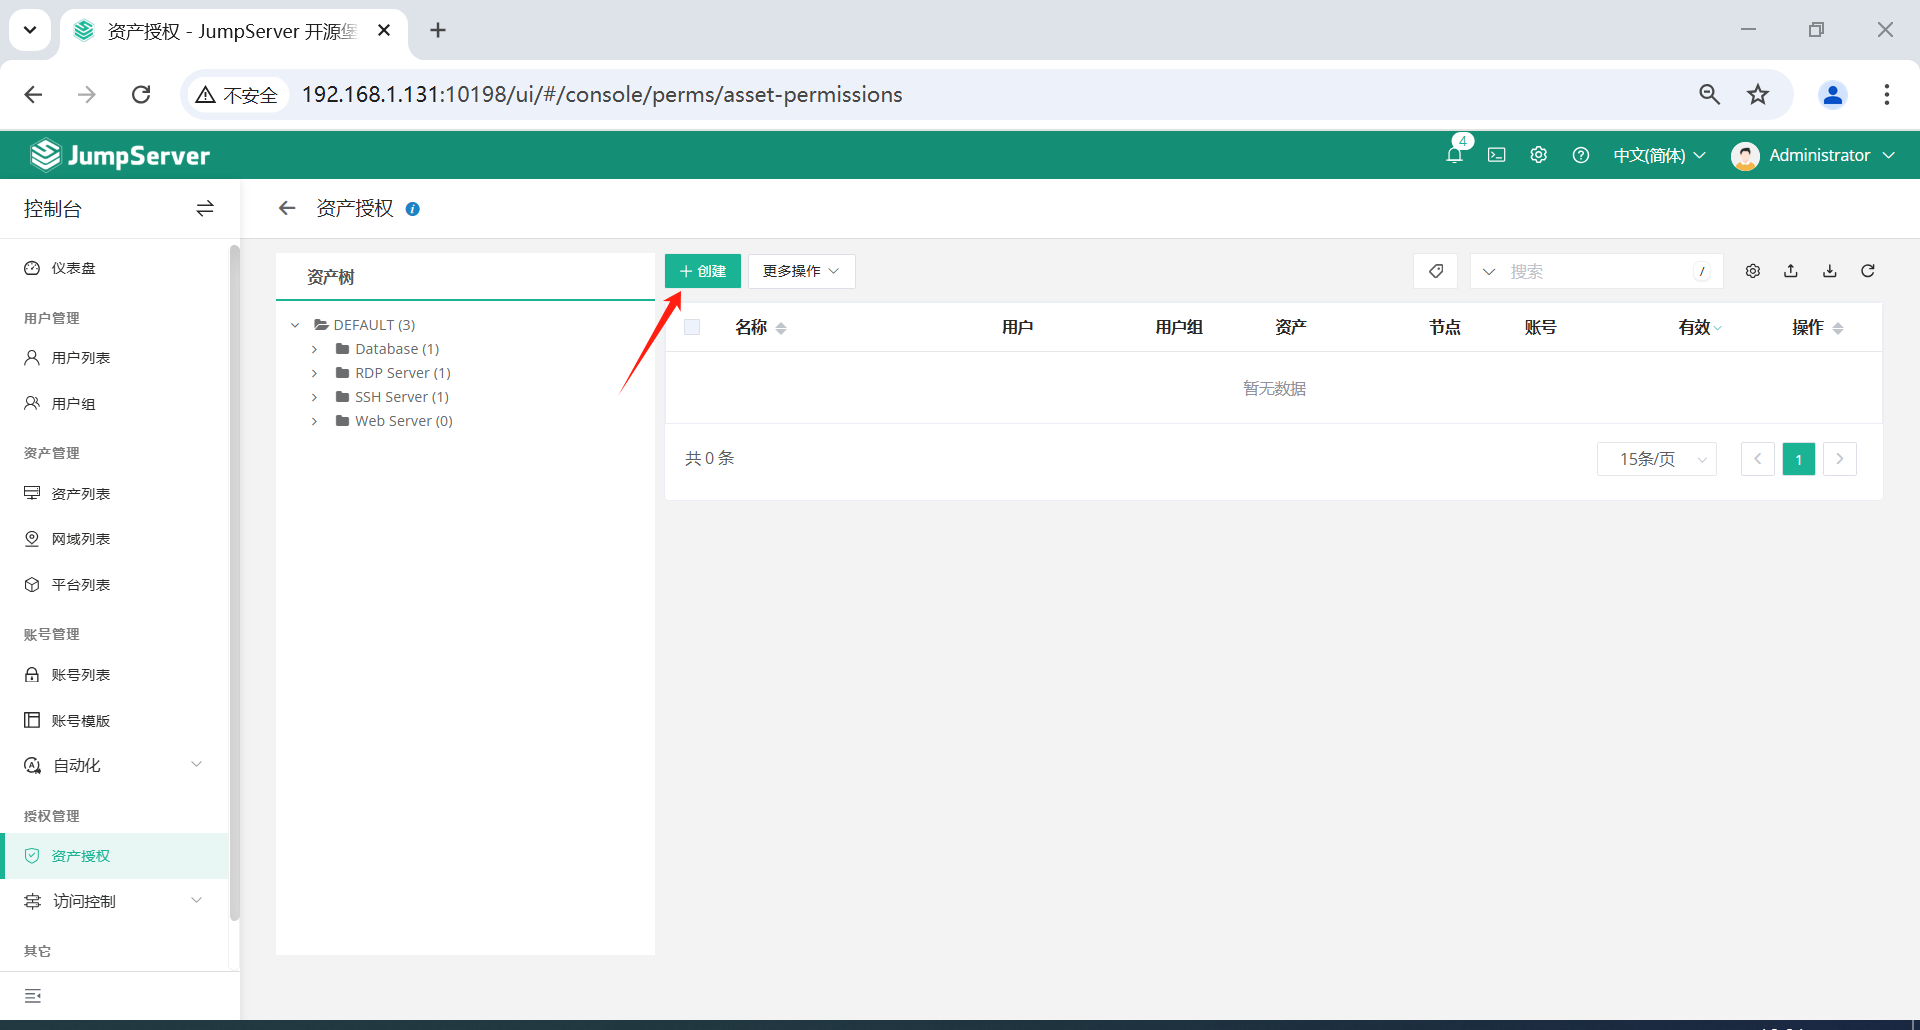
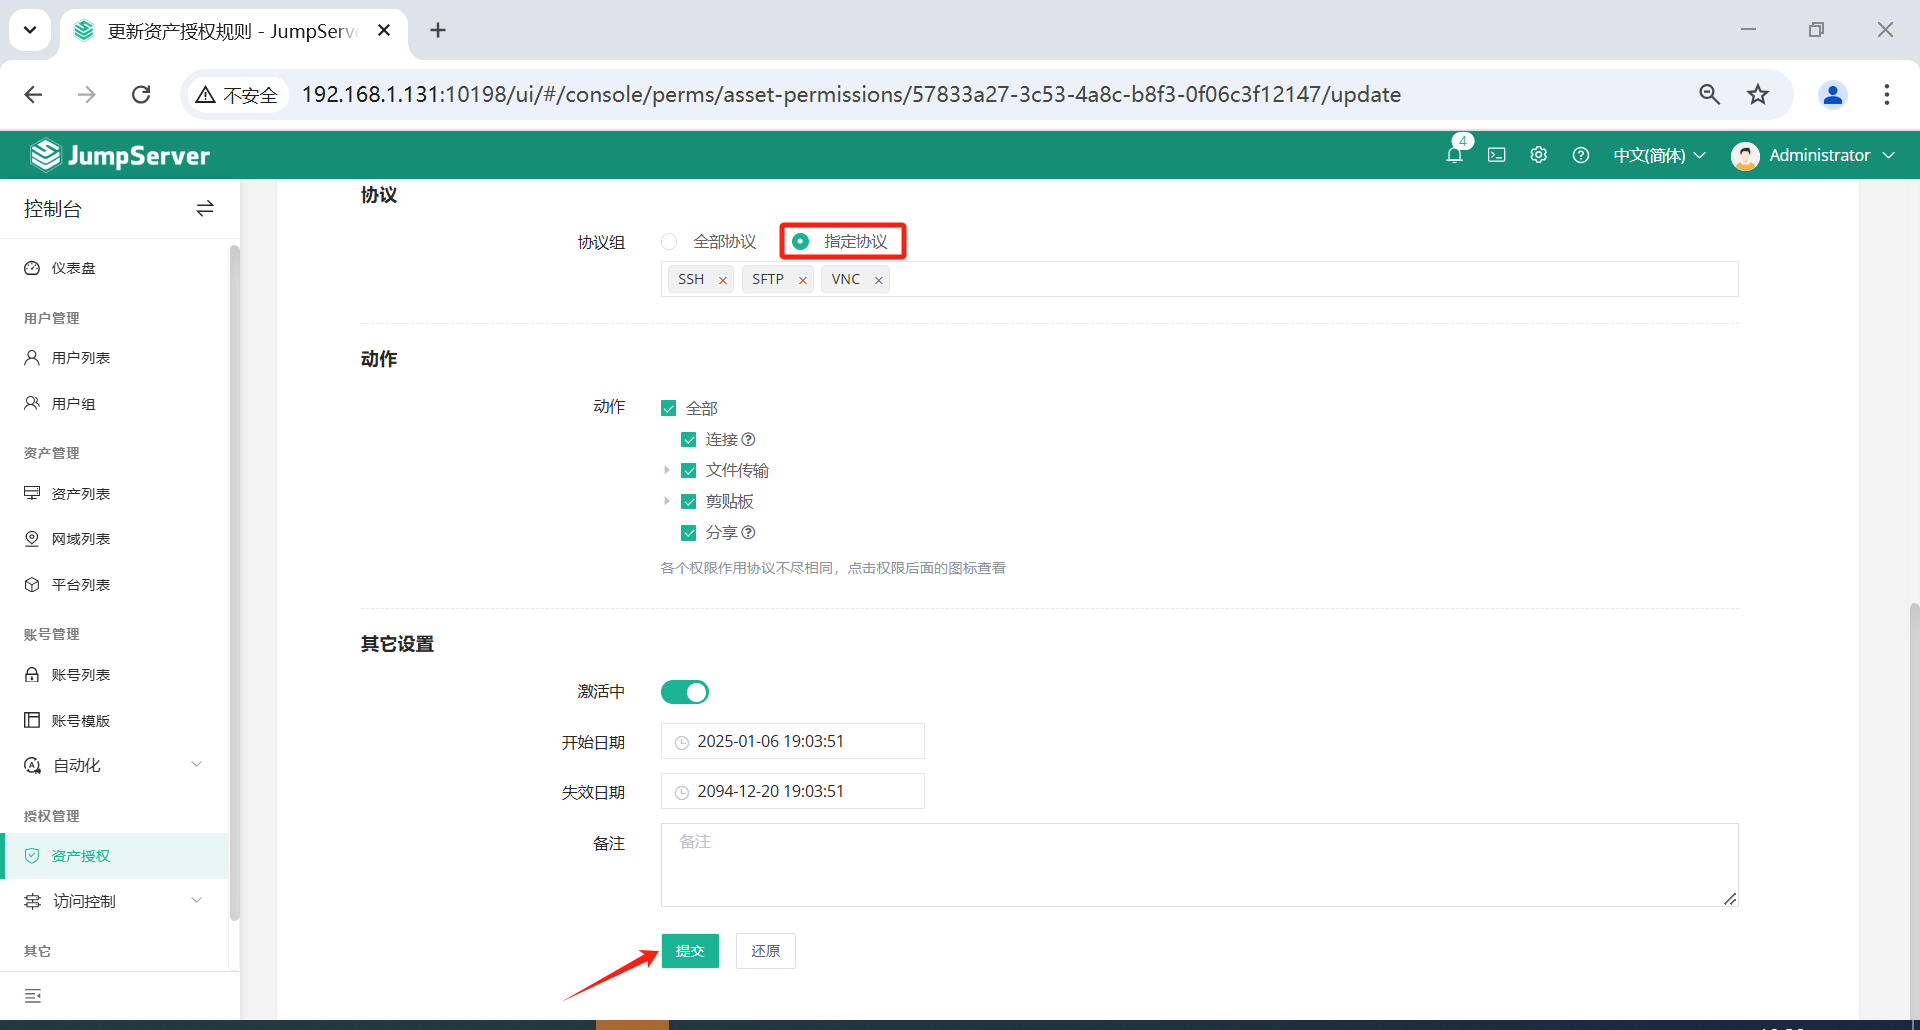
4.2 创建Windows资产授权规则
点击页面左侧的授权管理-资产授权-创建,创建一个Windows资产授权。
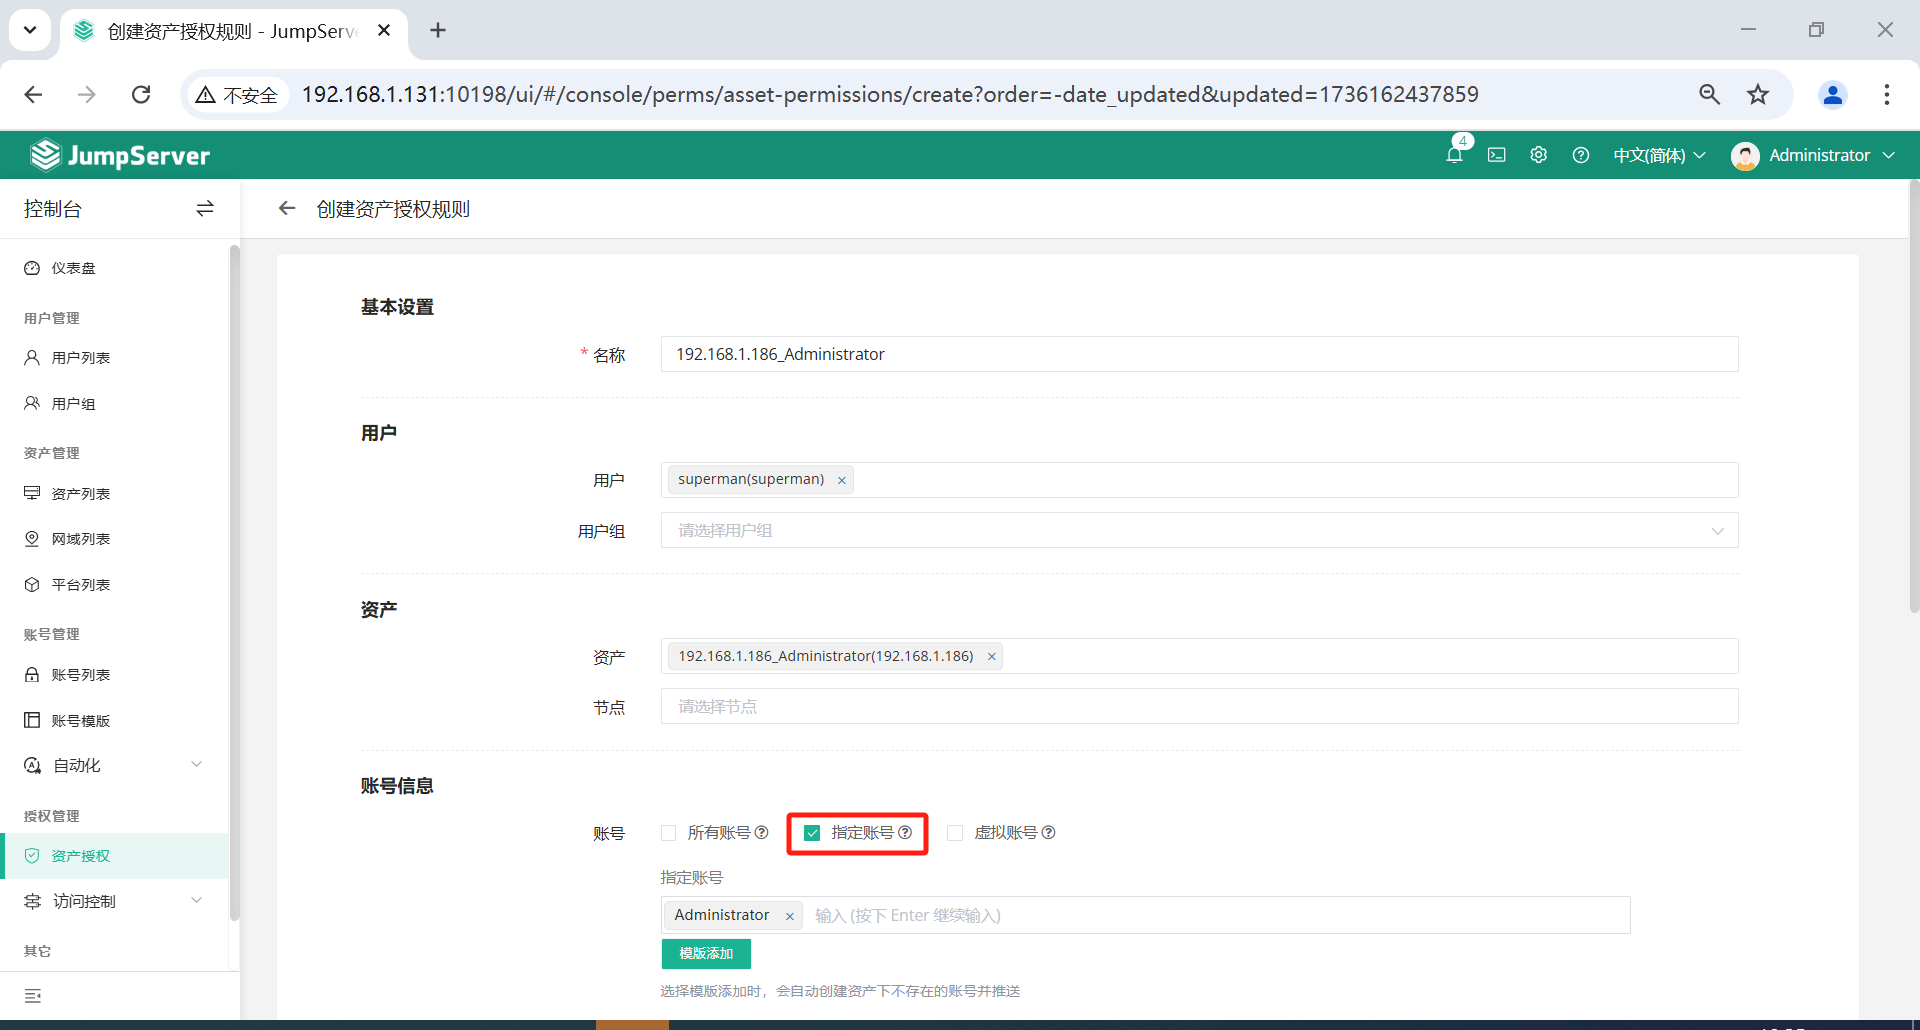
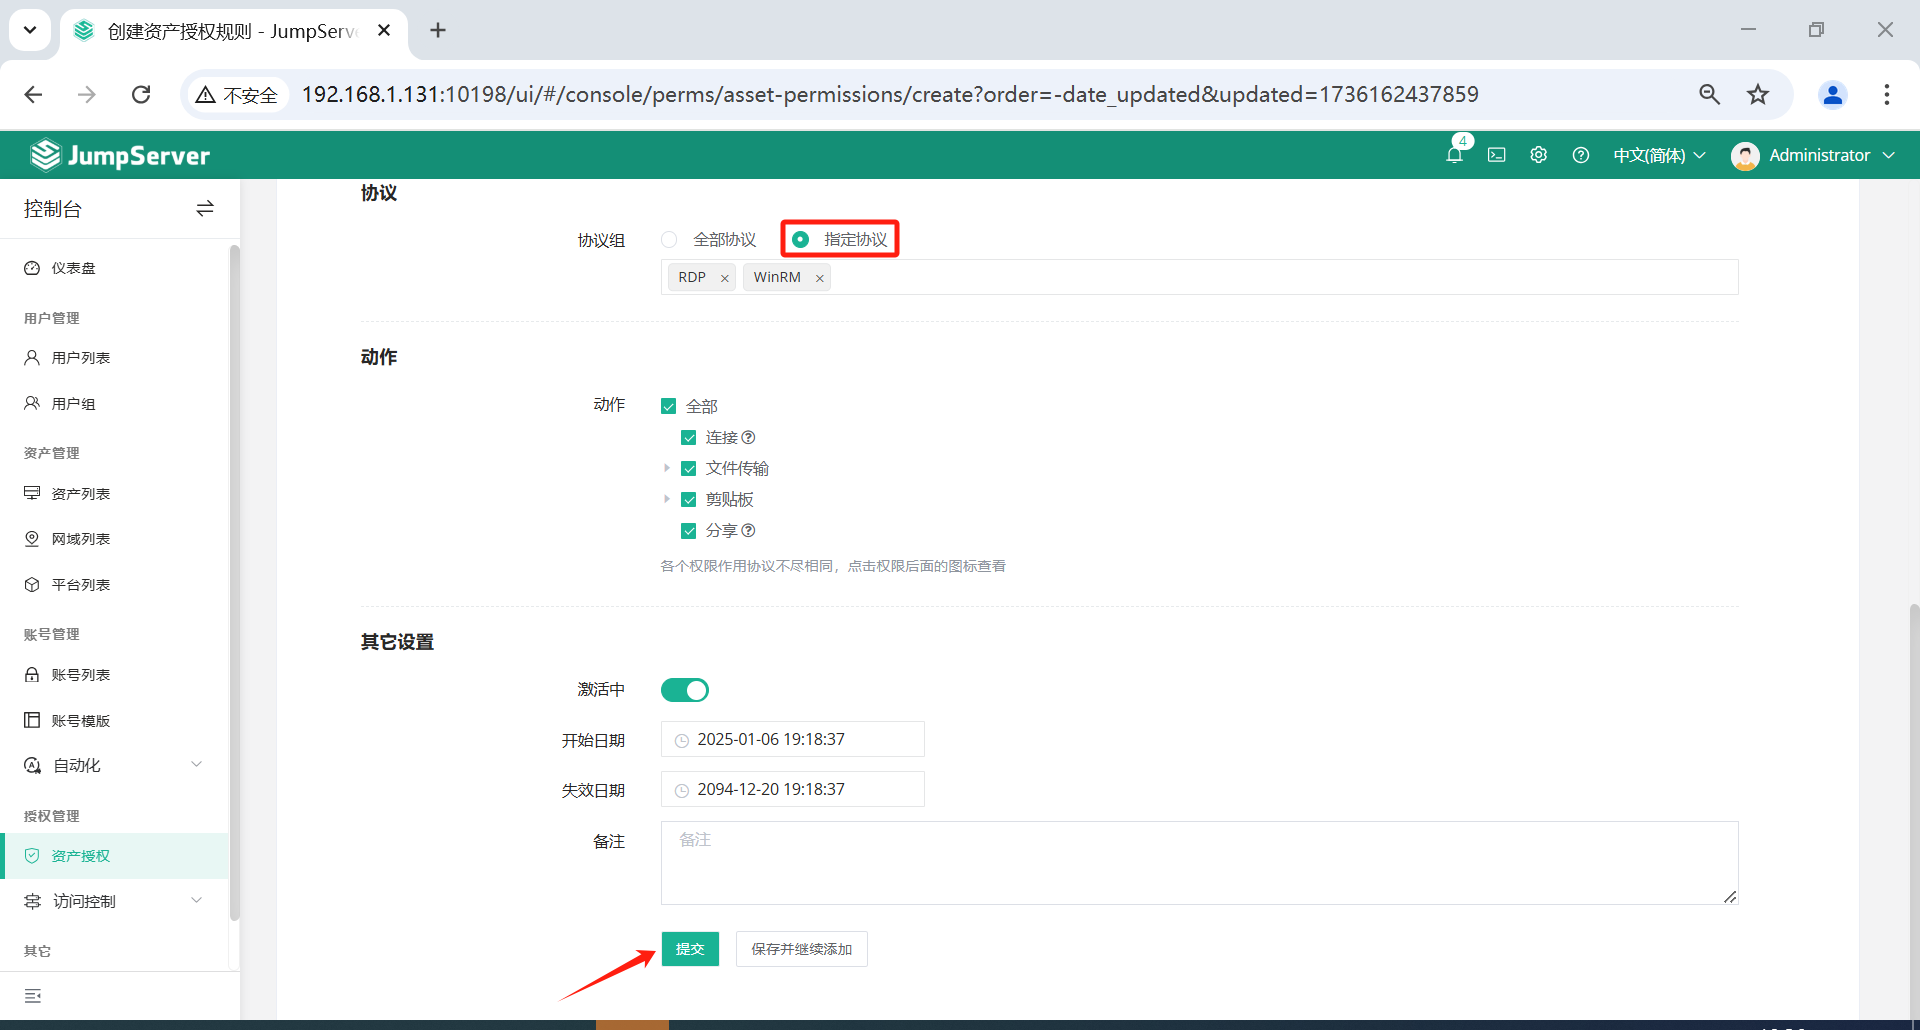
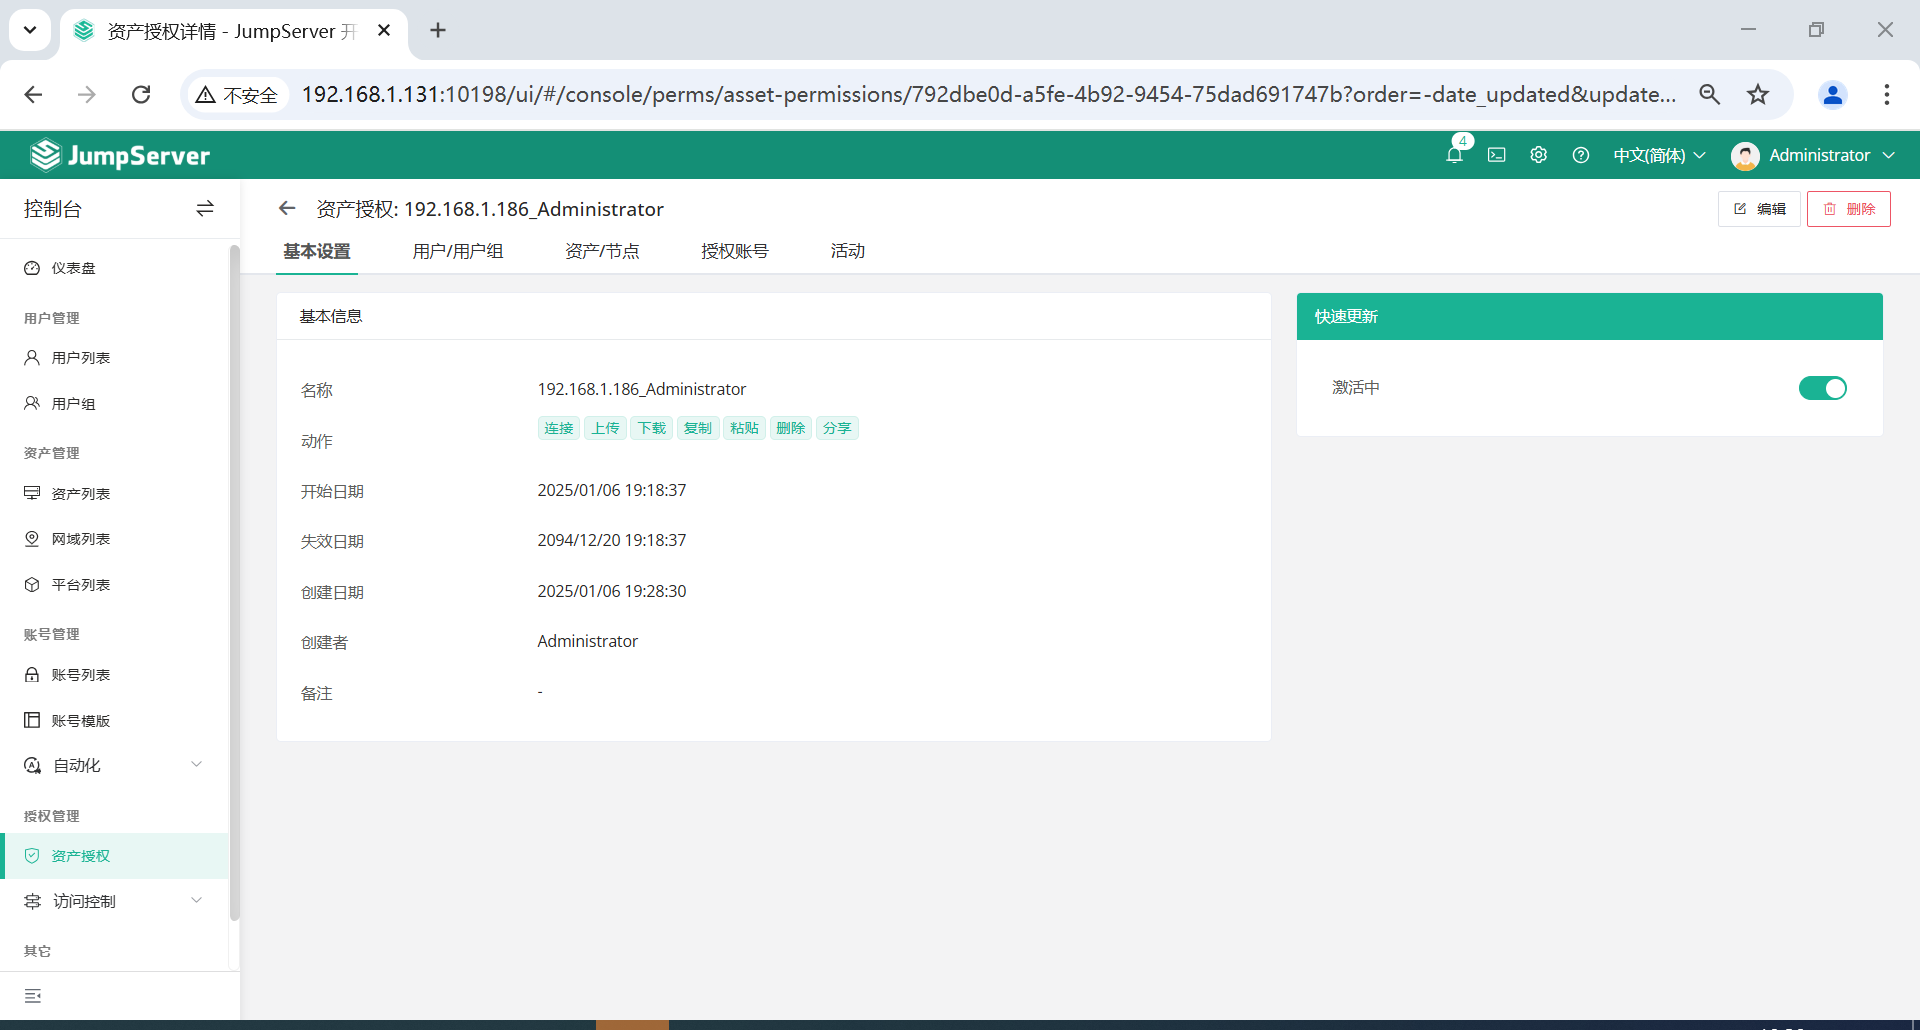
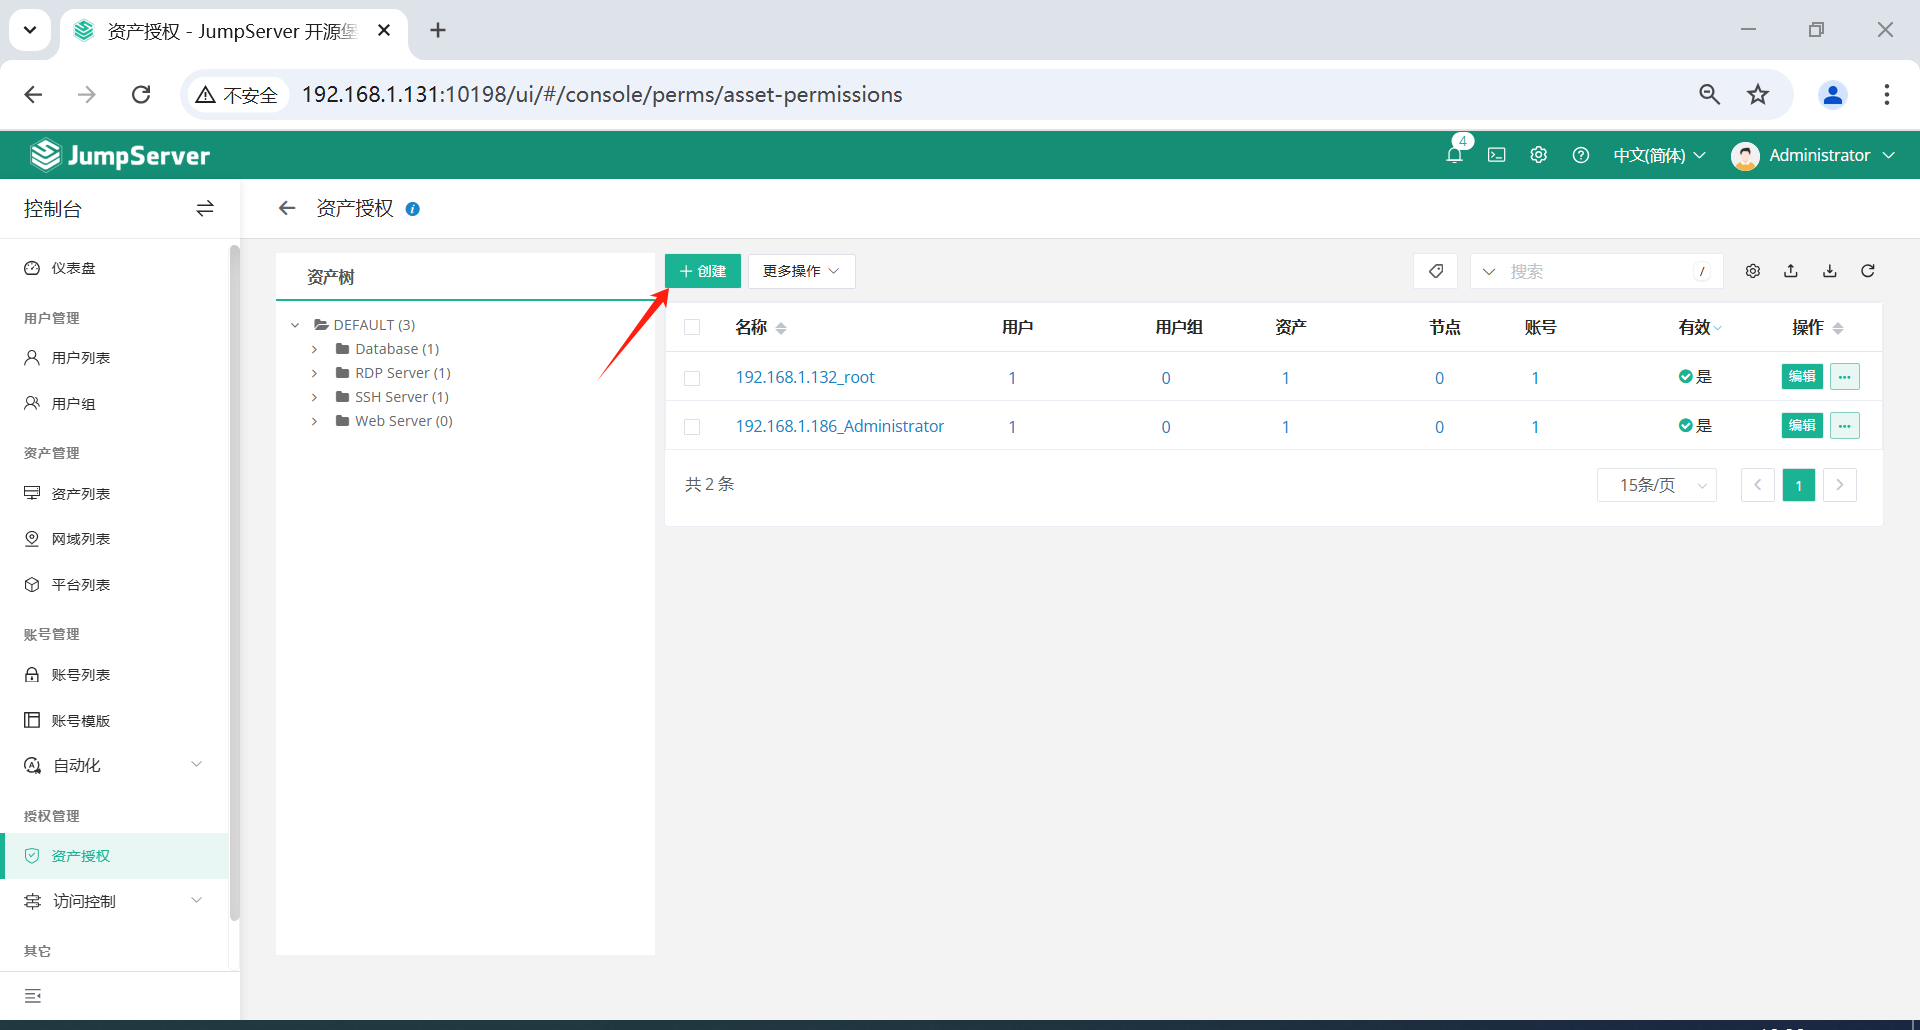
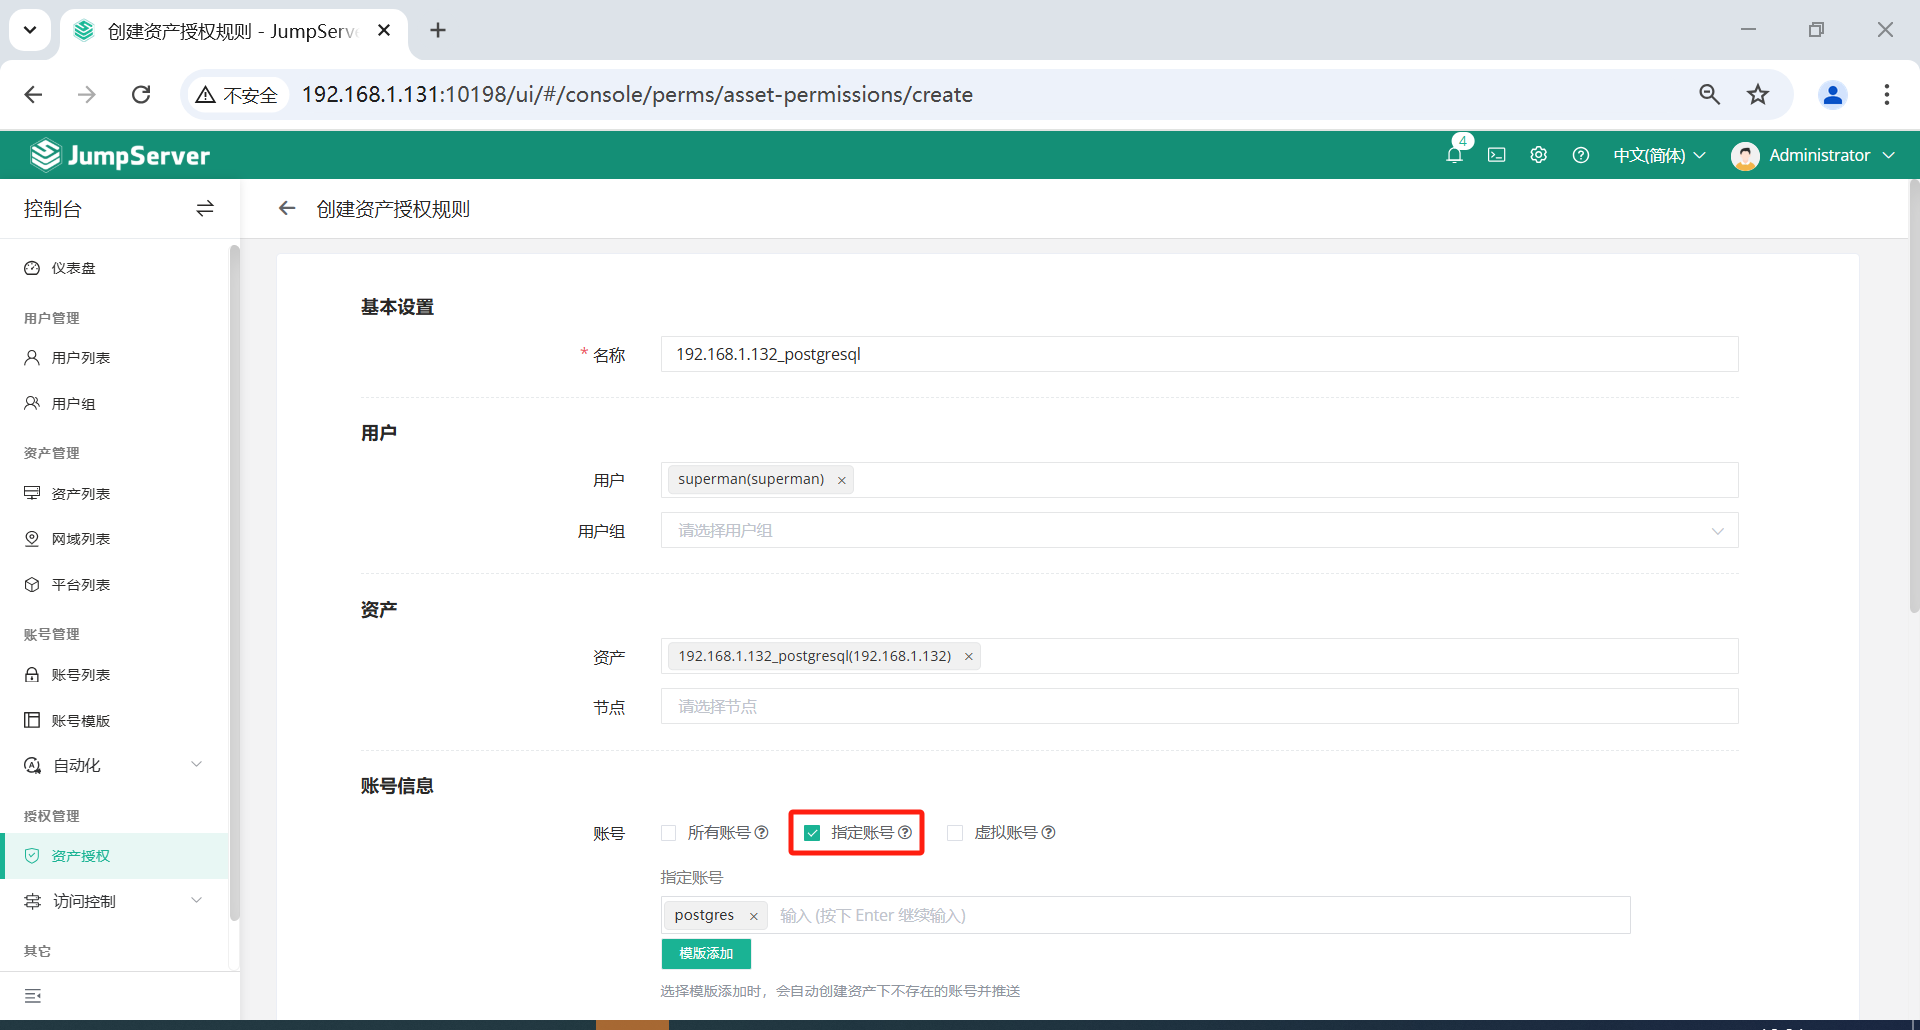
4.3 创建PostgreSQL数据库资产授权规则
点击页面左侧的授权管理-资产授权-创建,创建一个PostgreSQL数据库资产授权。
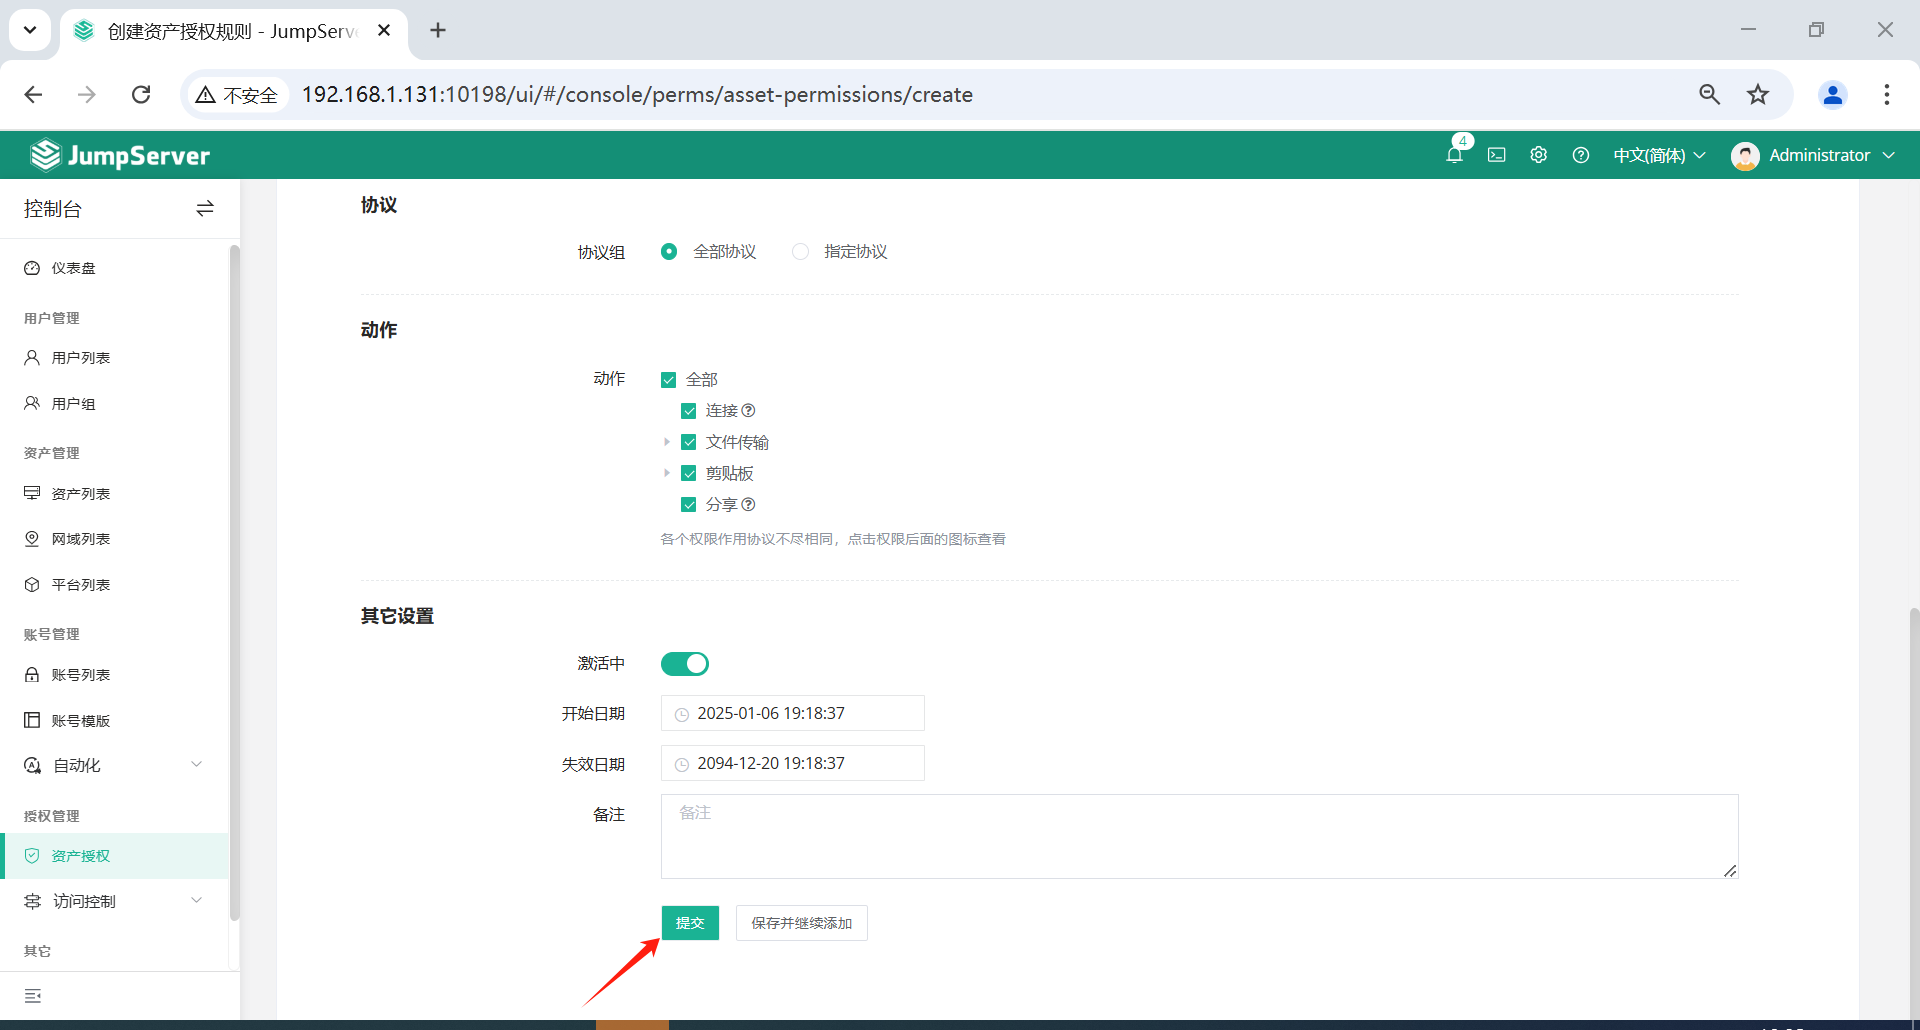
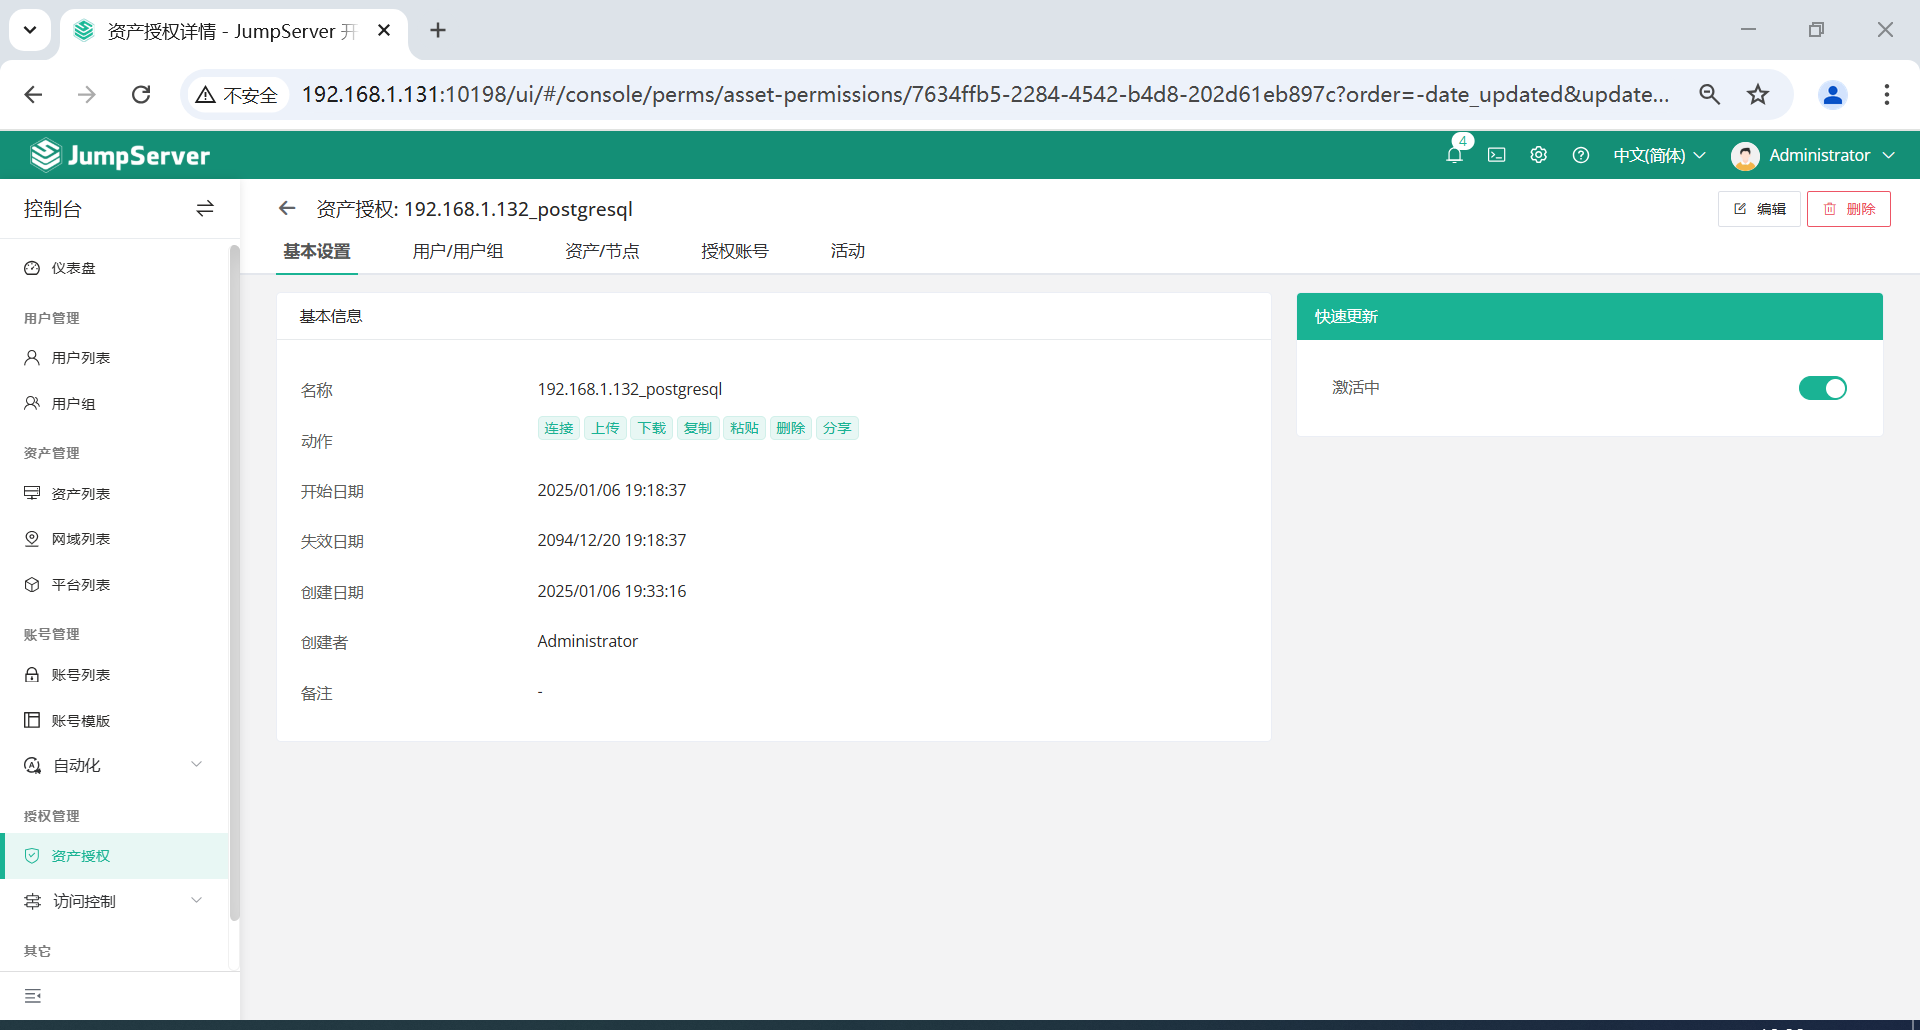
到这里,服务器授权管理已经完成。
五、资产登录使用
有两种登录方式,一种网页登录,另一种第三方工具登录。
注意:
- 用户只能看到自己被管理员授权了的
资产,如果登录后无资产,请联系管理员进行确认。
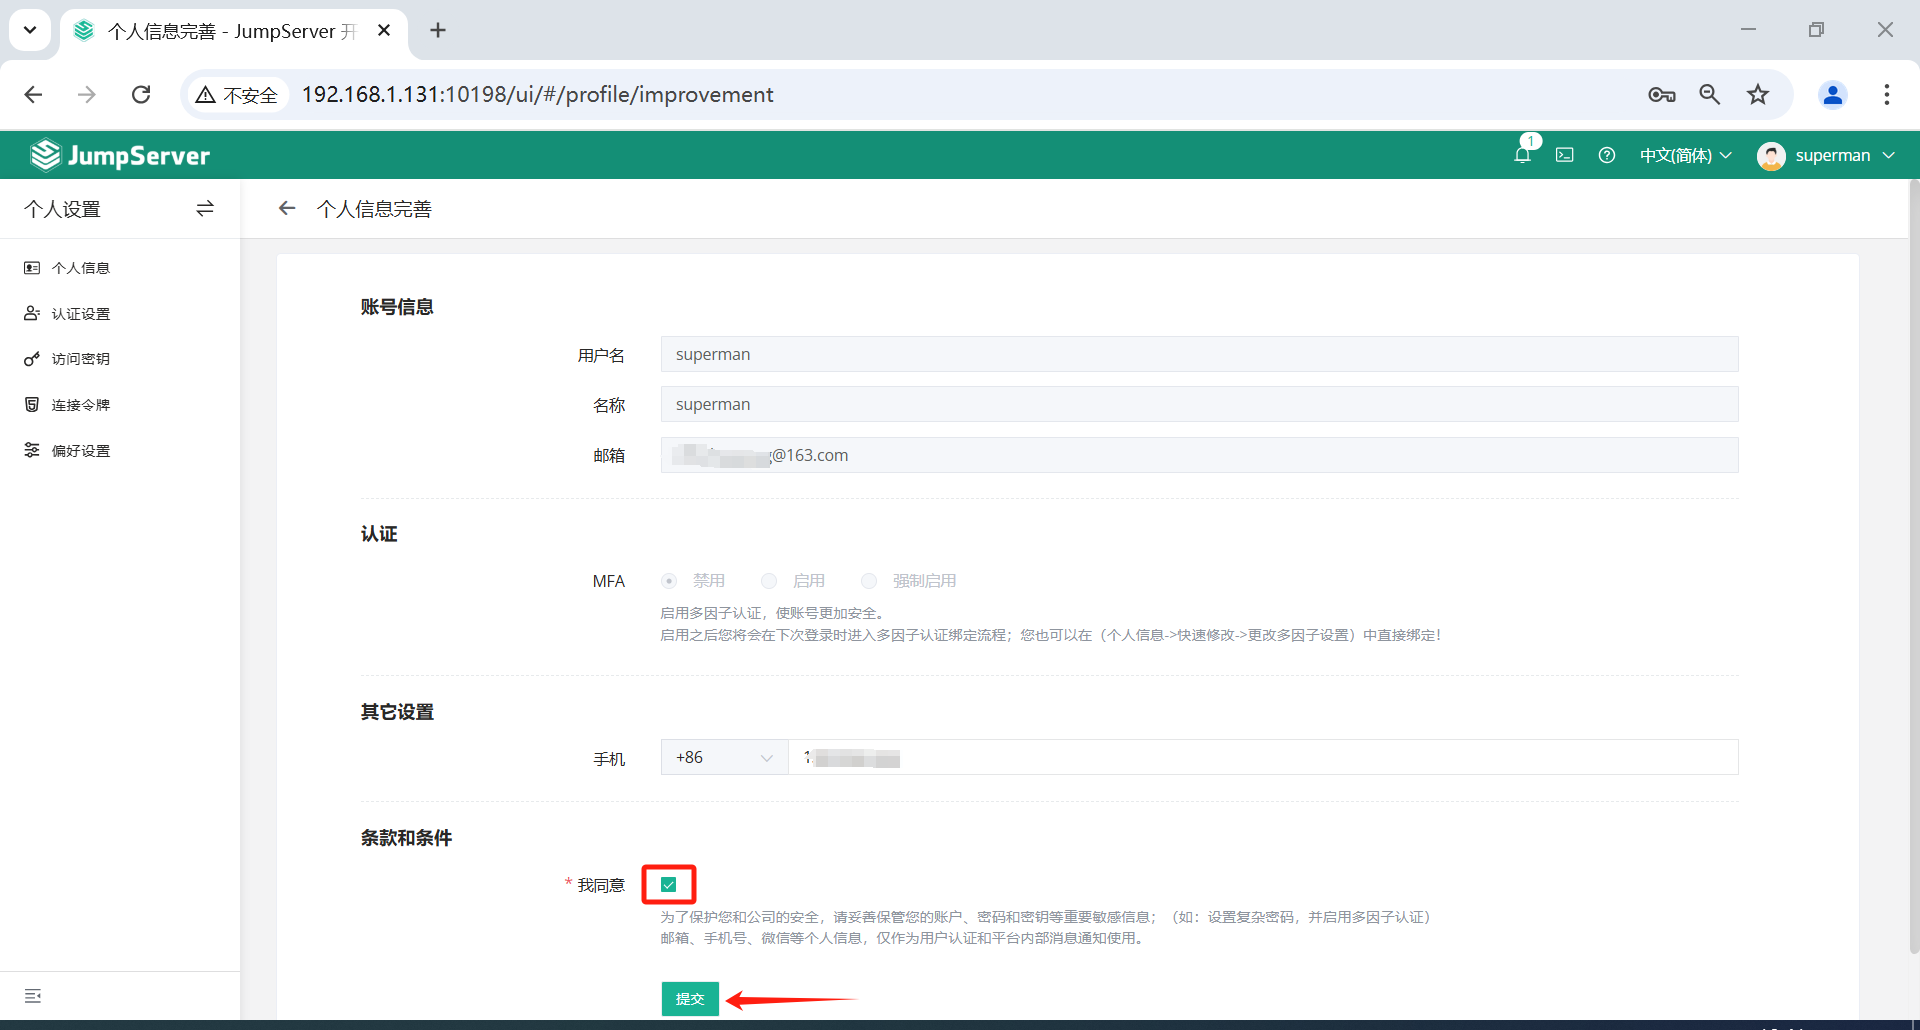
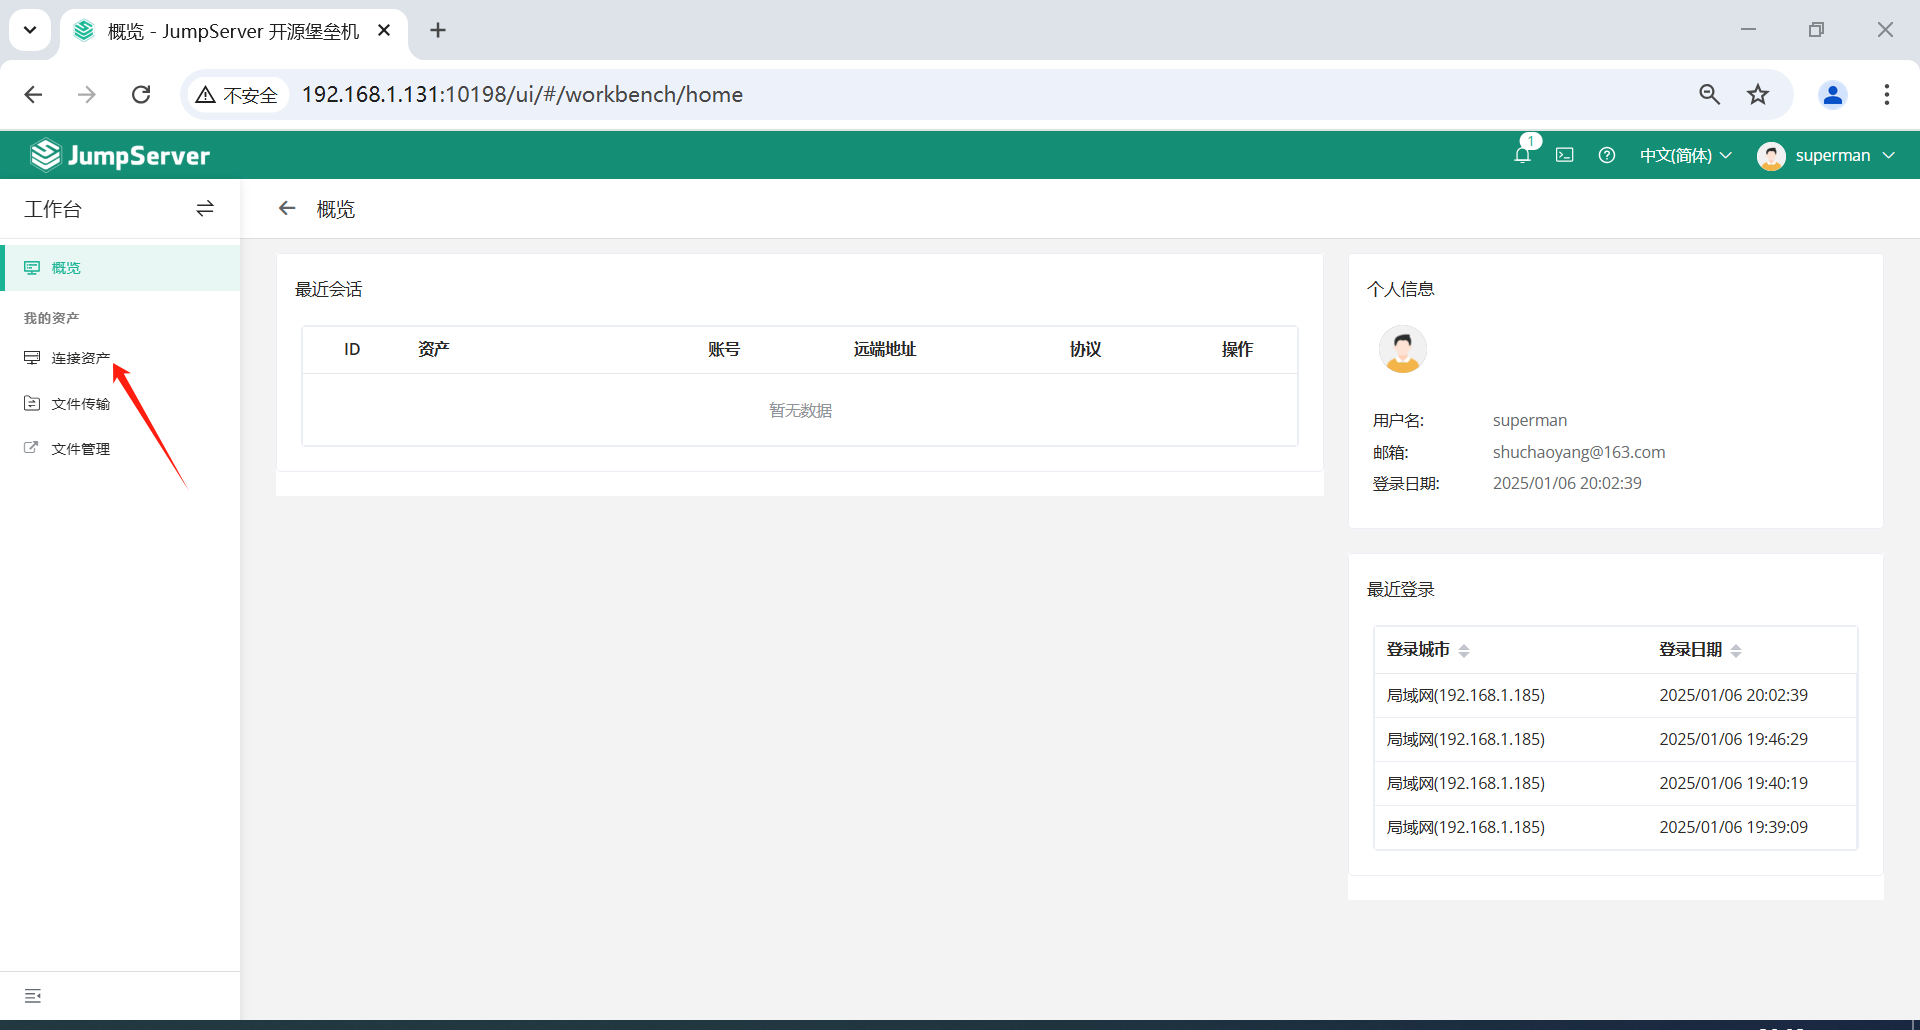
5.1 网页登录
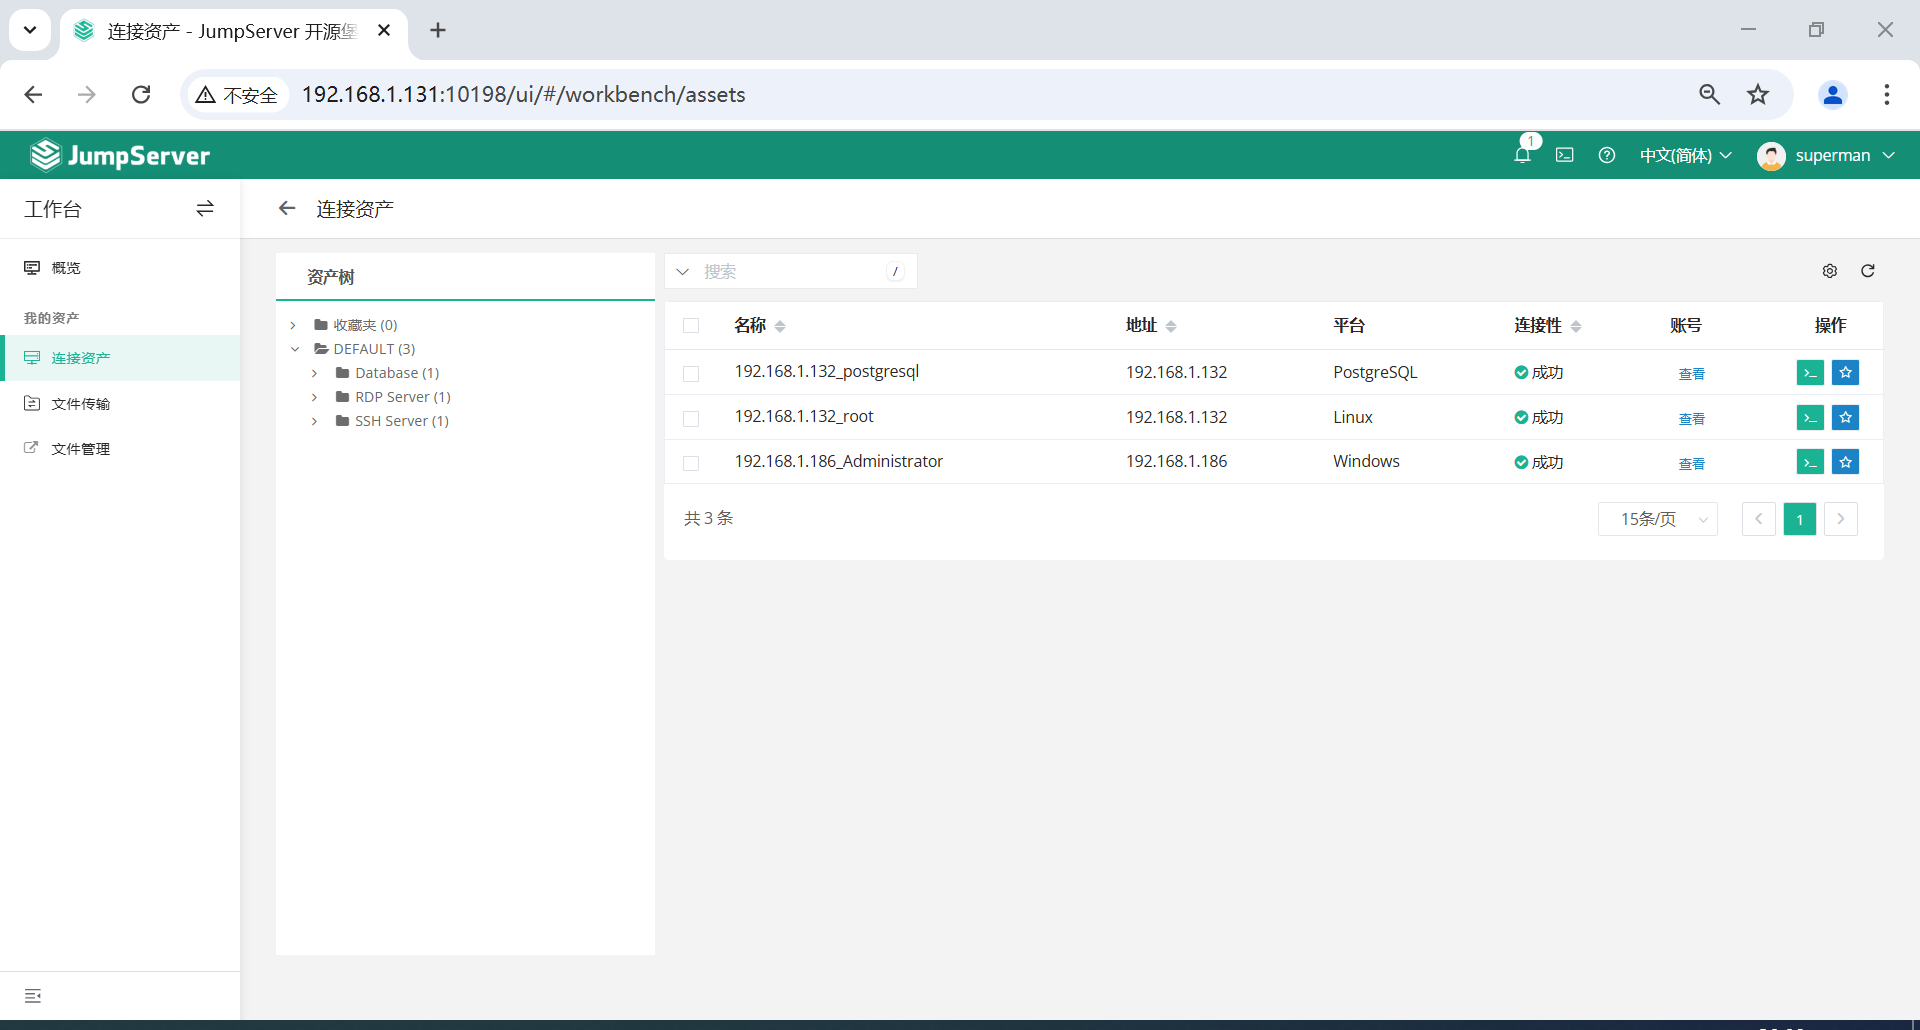
浏览器打开 JumpServer 网址。
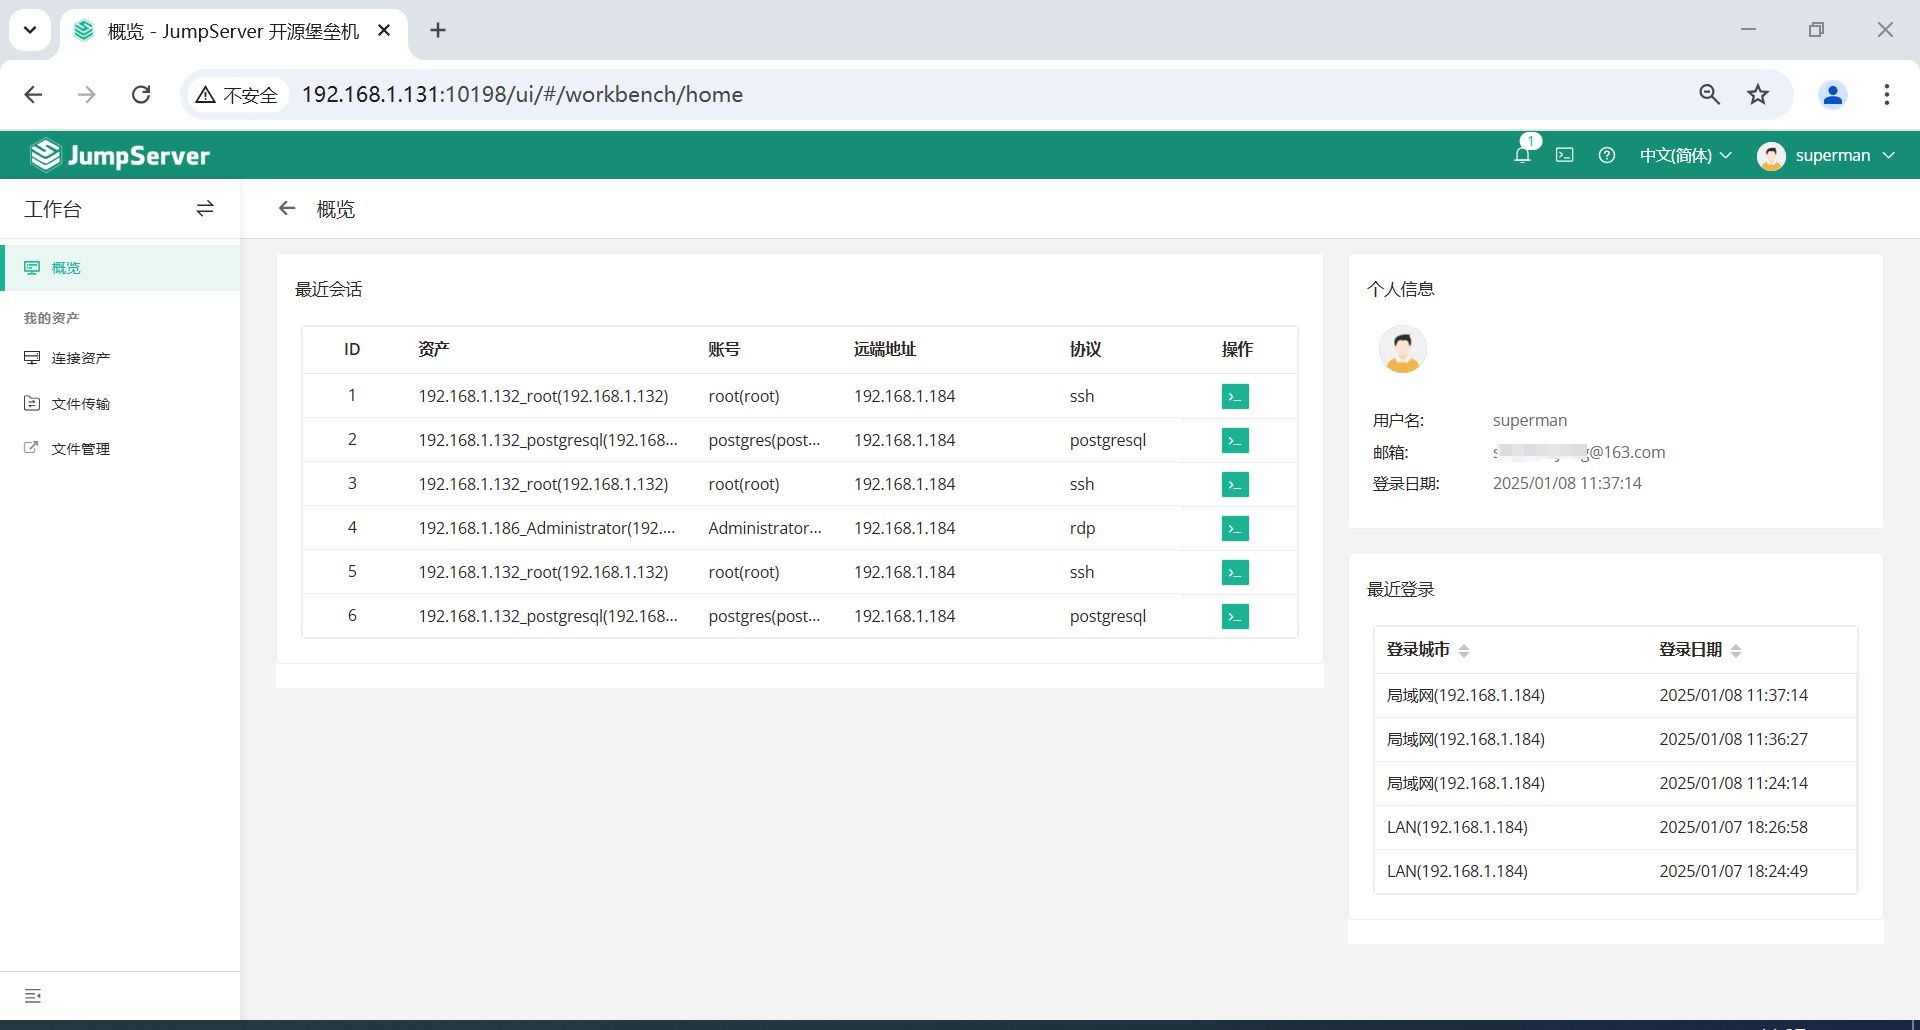
用 superman 账户登录 JumpServer,界面简单,只显示有权限的资产,即授过权限的资产名单。

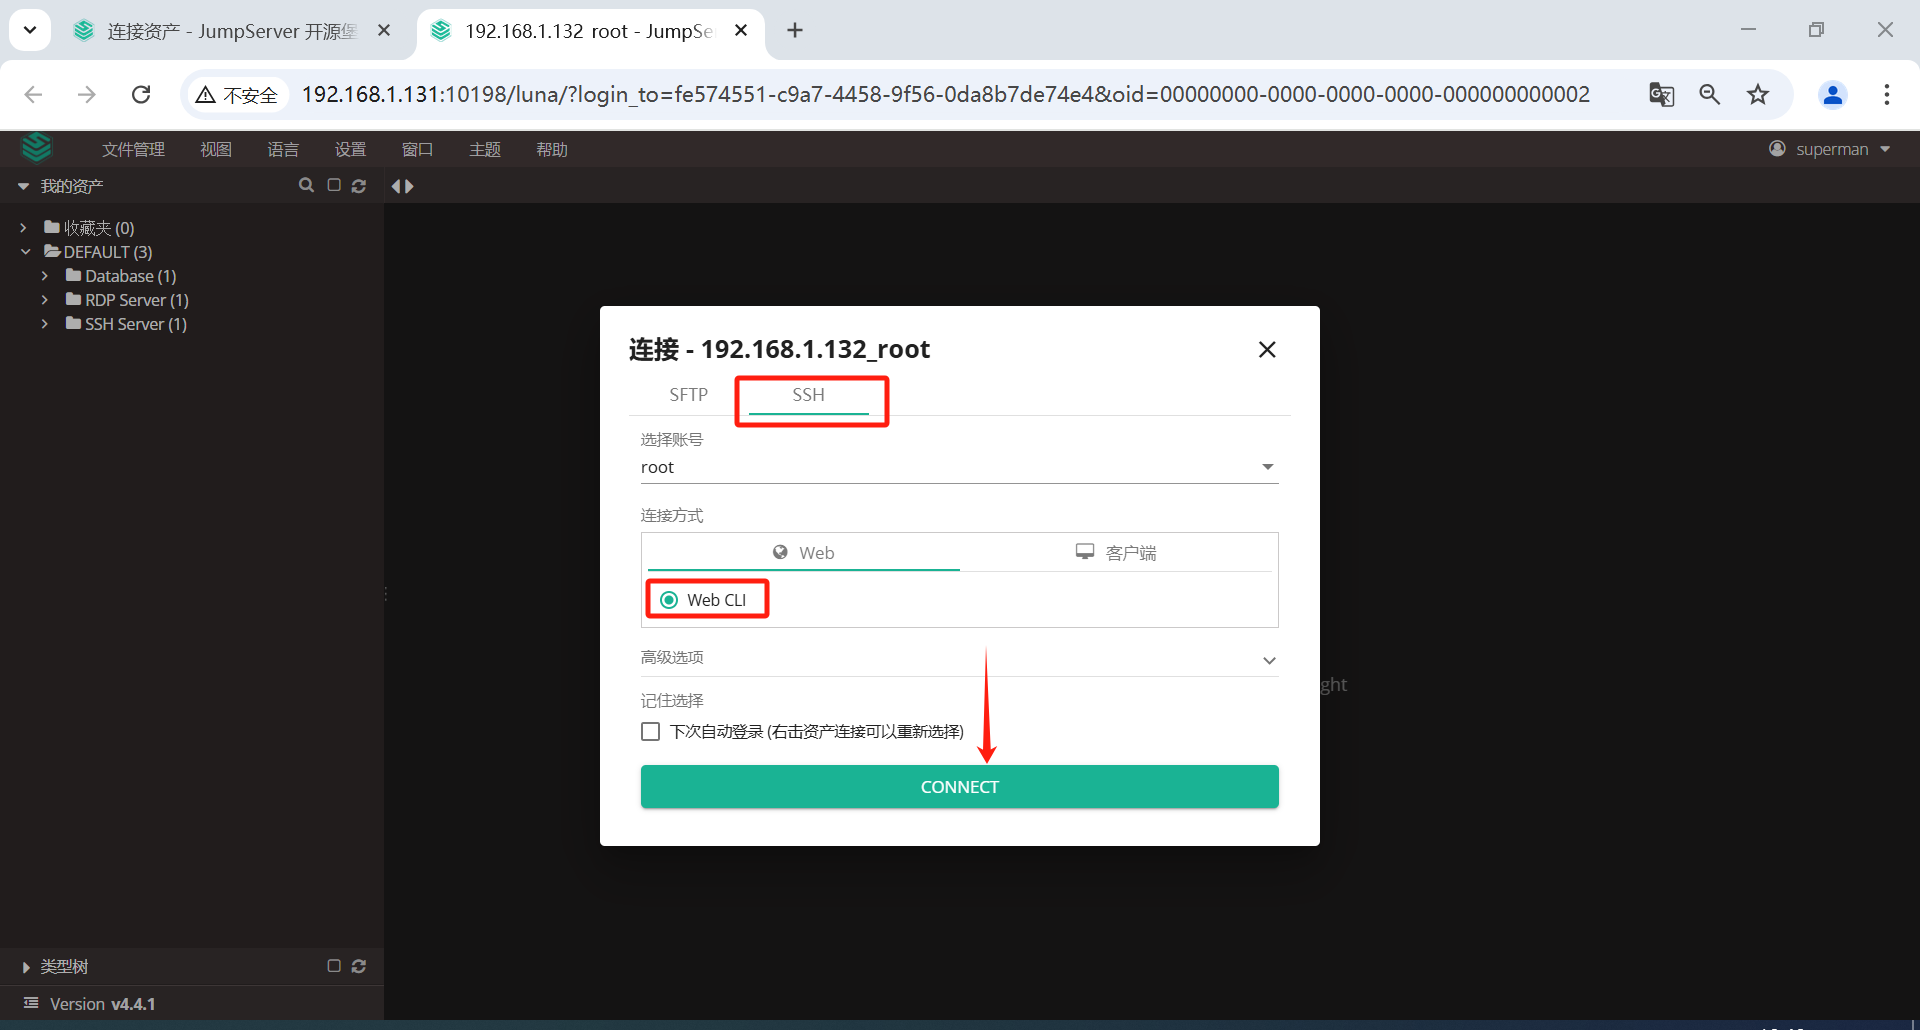
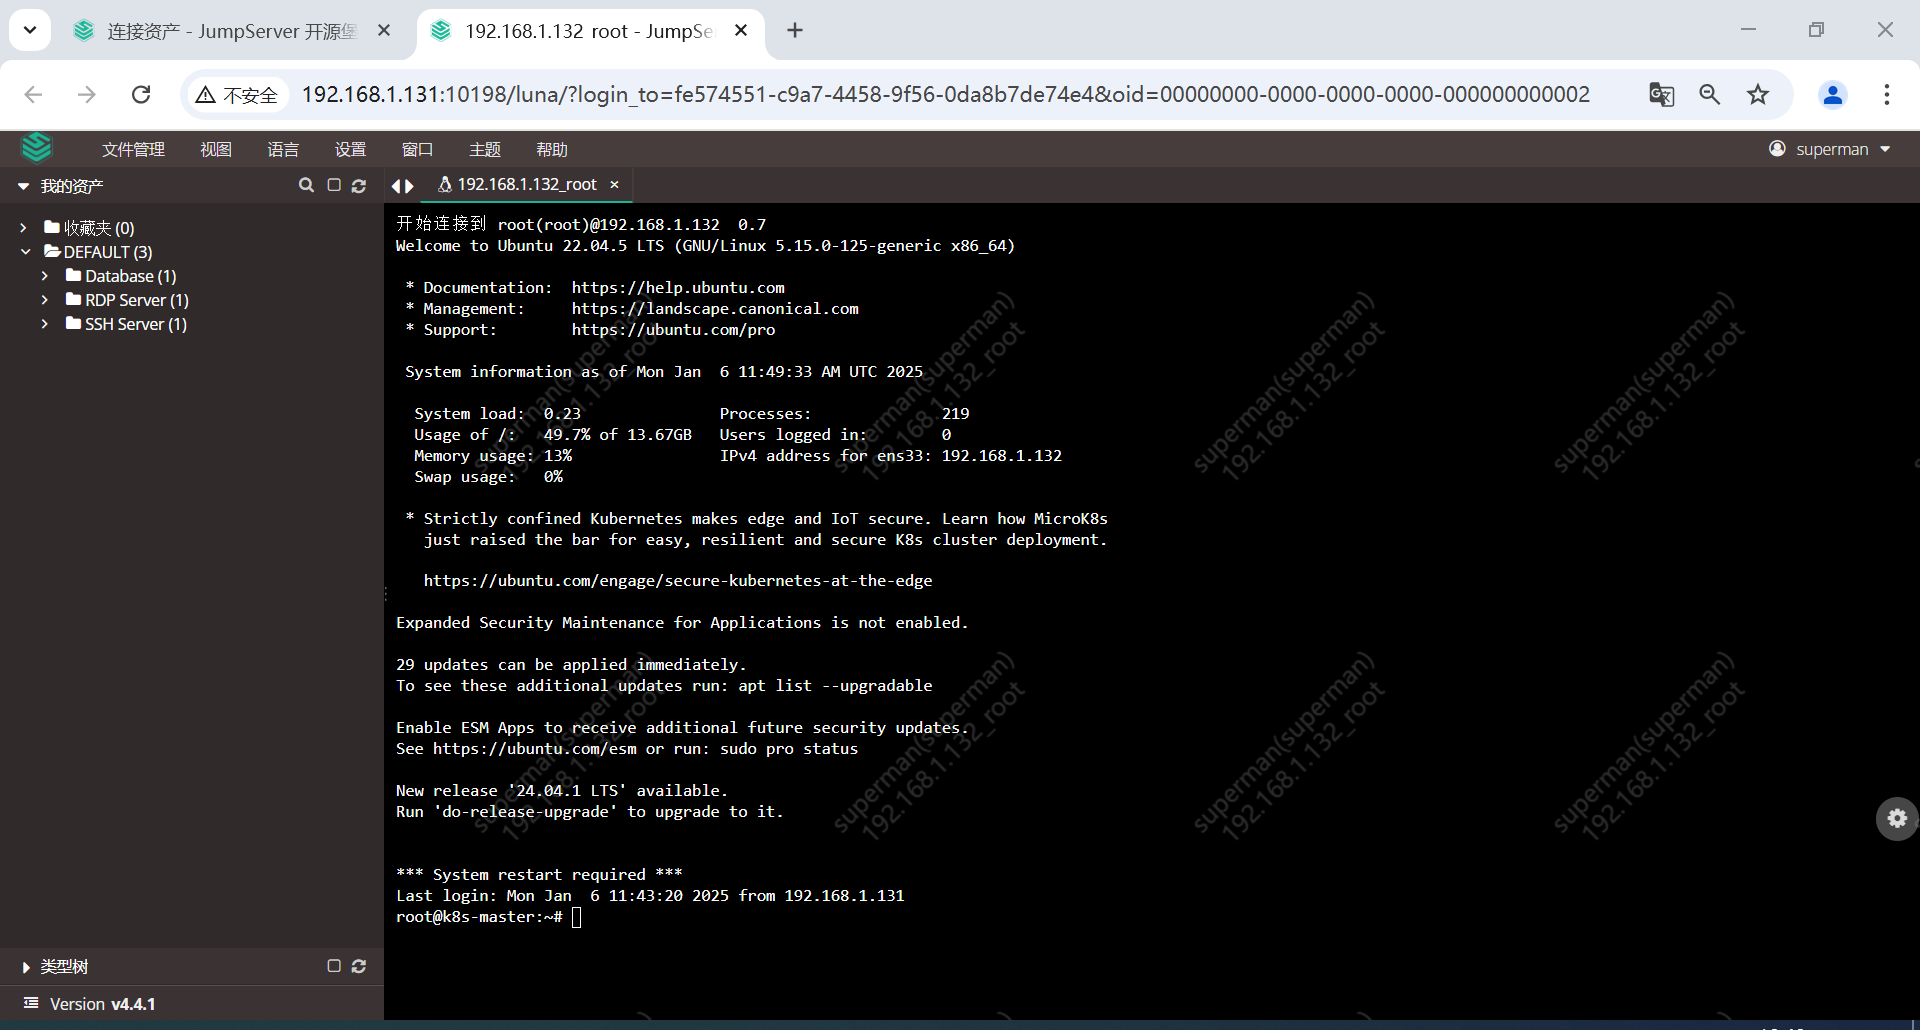
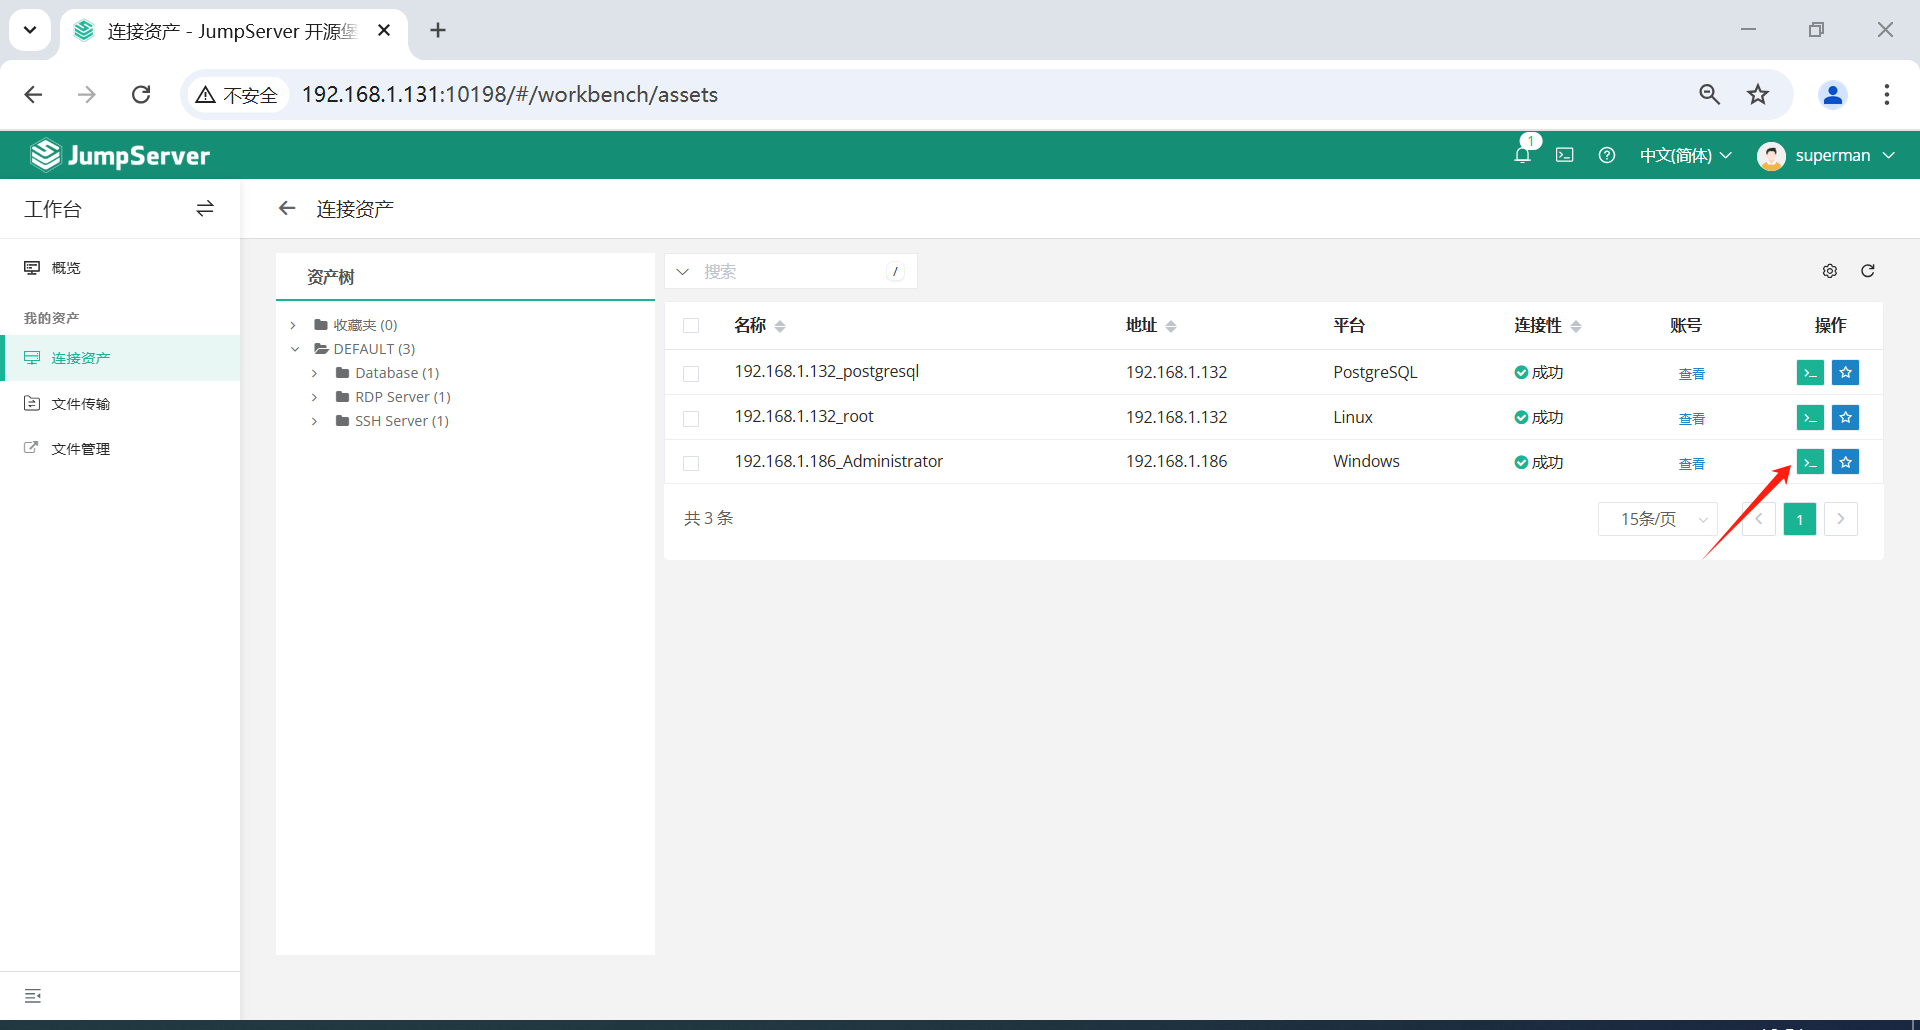
5.1.1 Linux资产登录

5.1.2 Windows资产登录

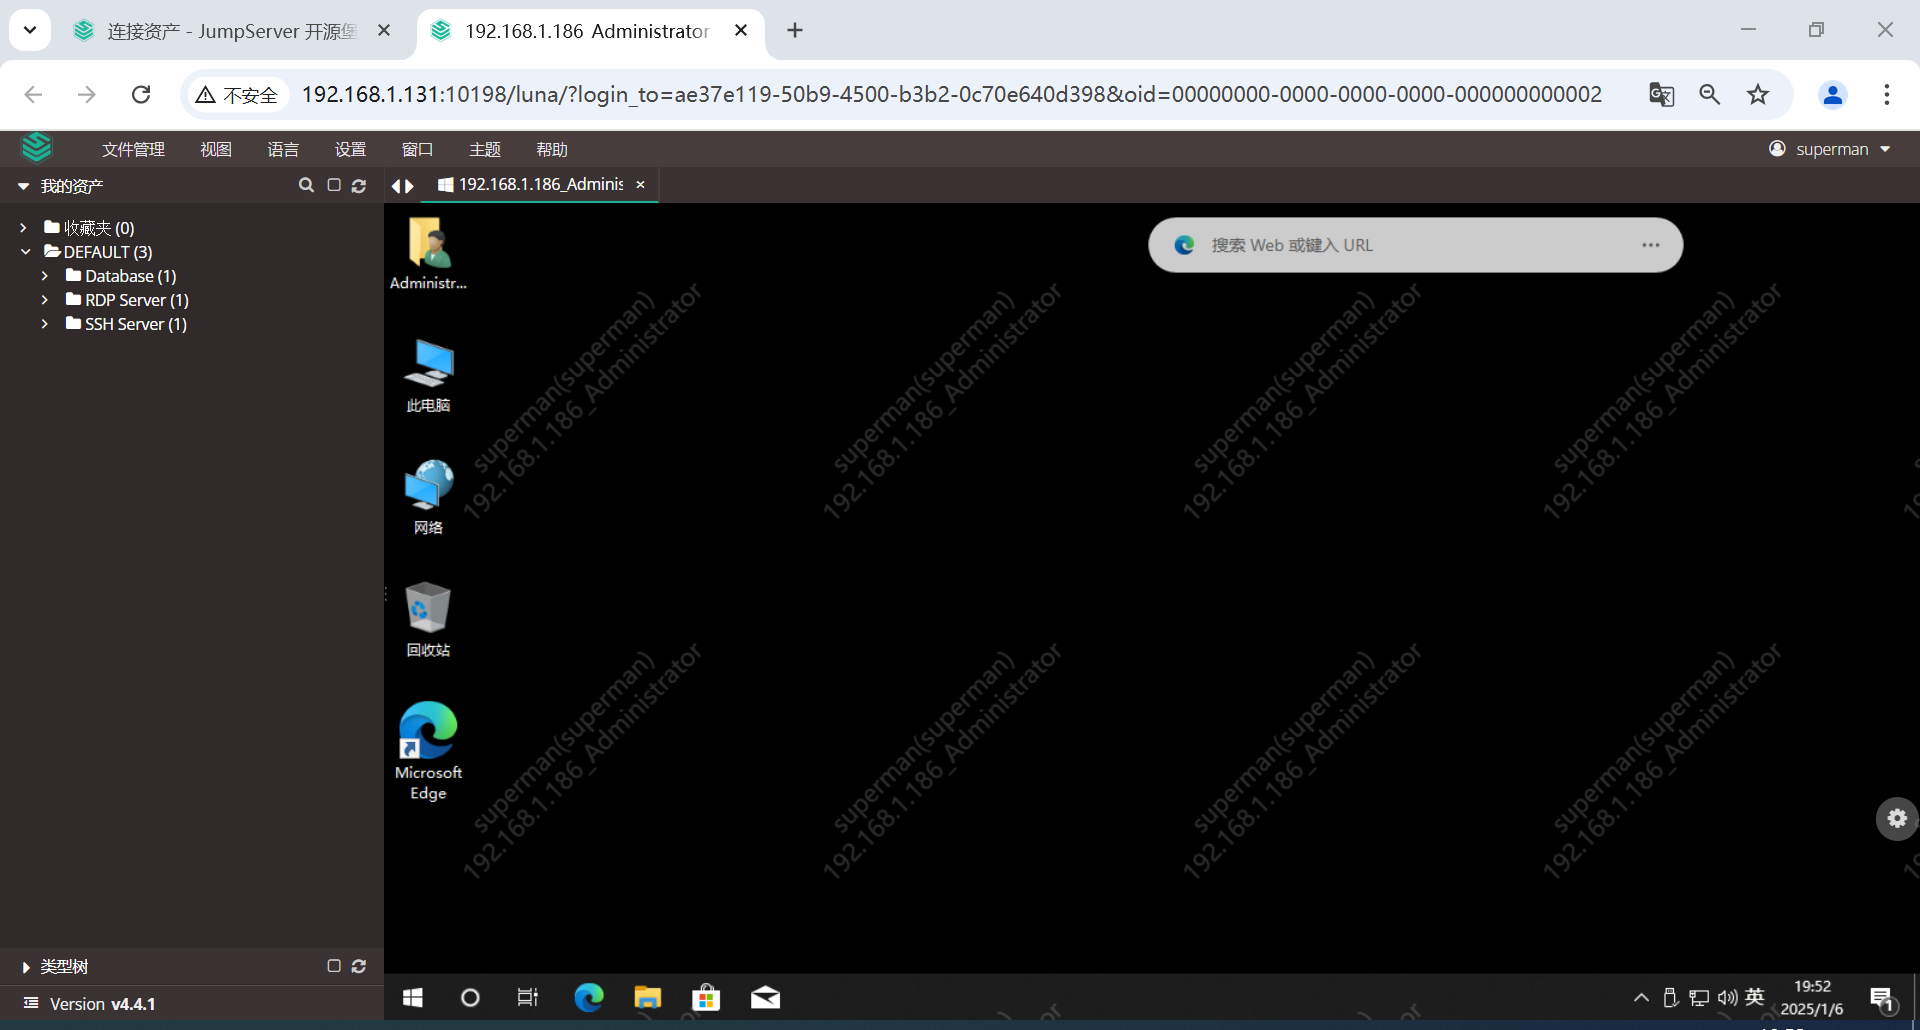
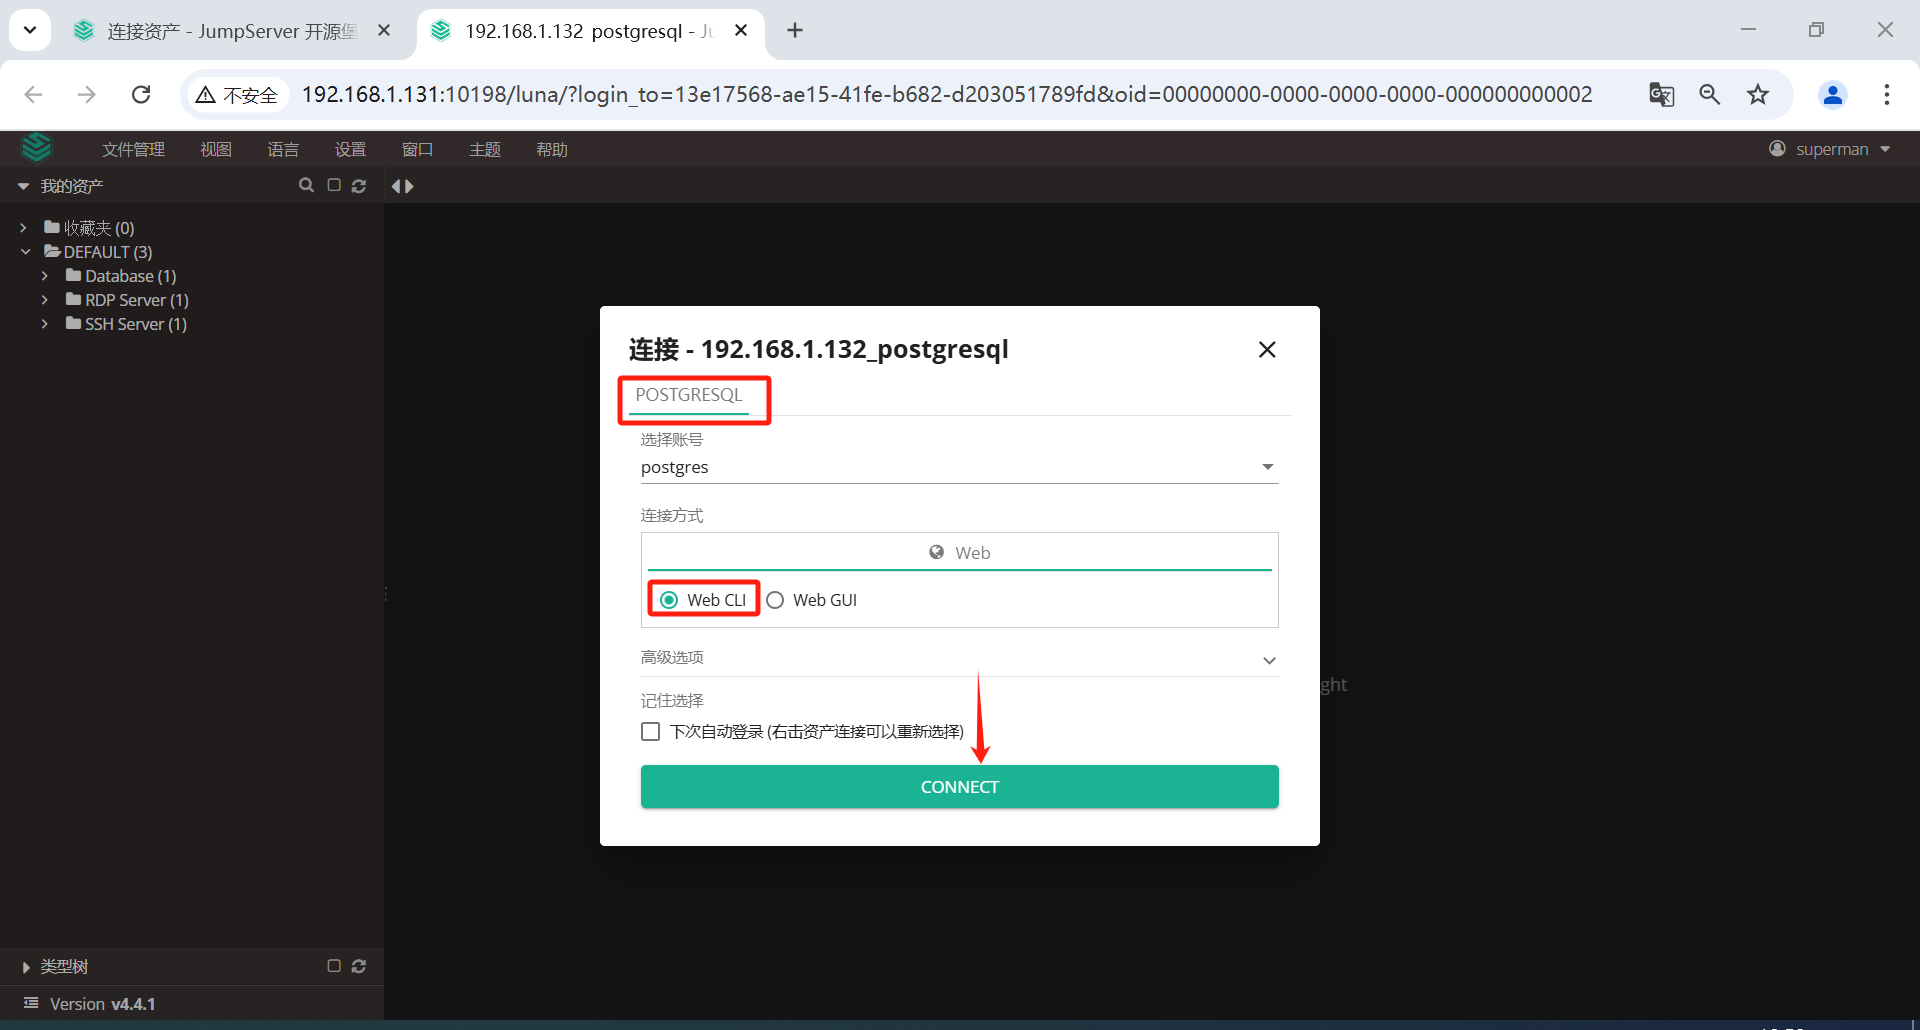
5.1.3 PostgreSQL数据库资产登录


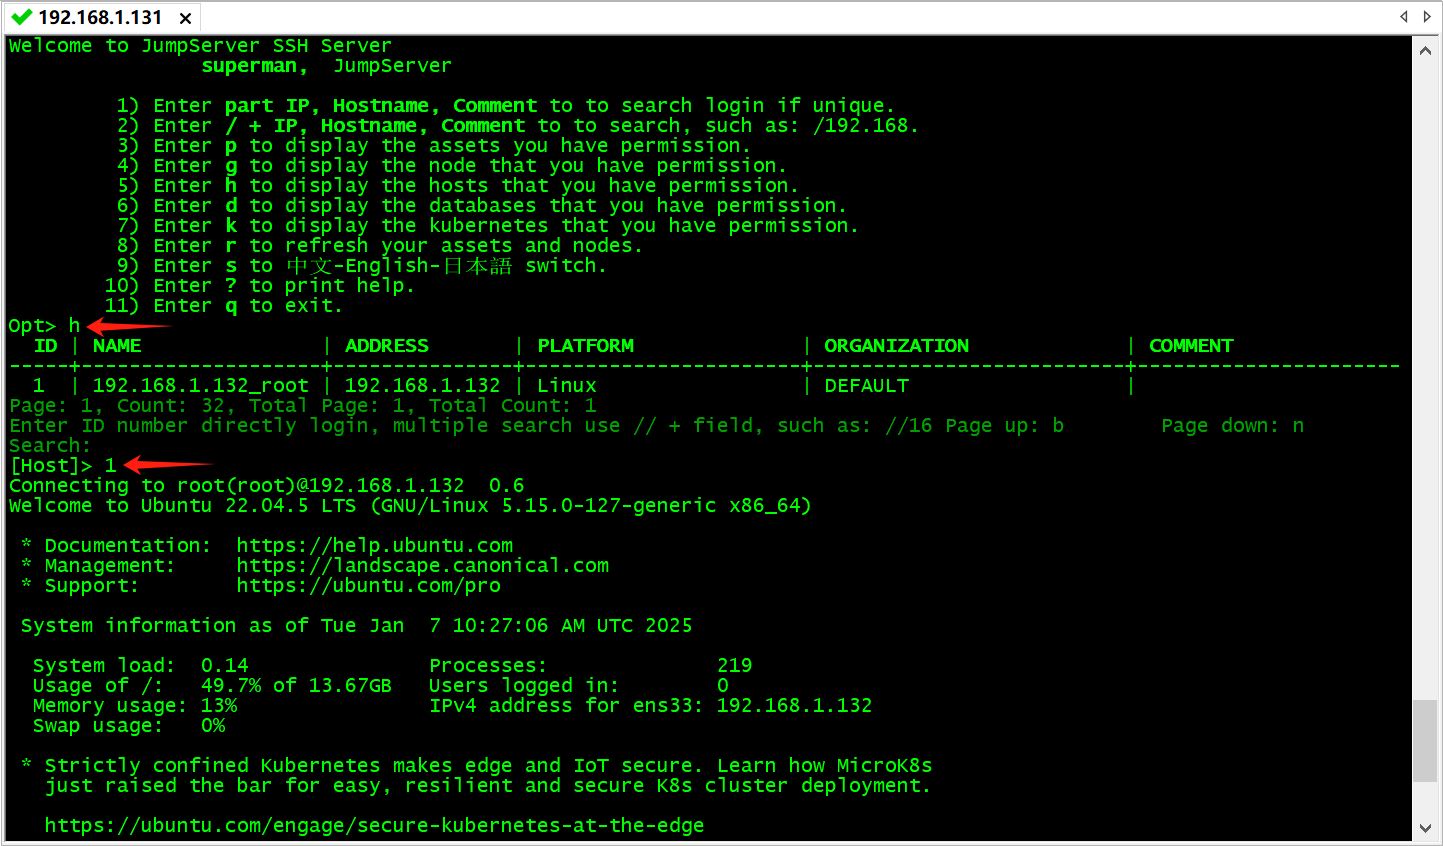
5.2 SSH工具登录
SSH工具登录只只是通过ssh服务管理的设备,不支持
5.2.1 设置SSH登录
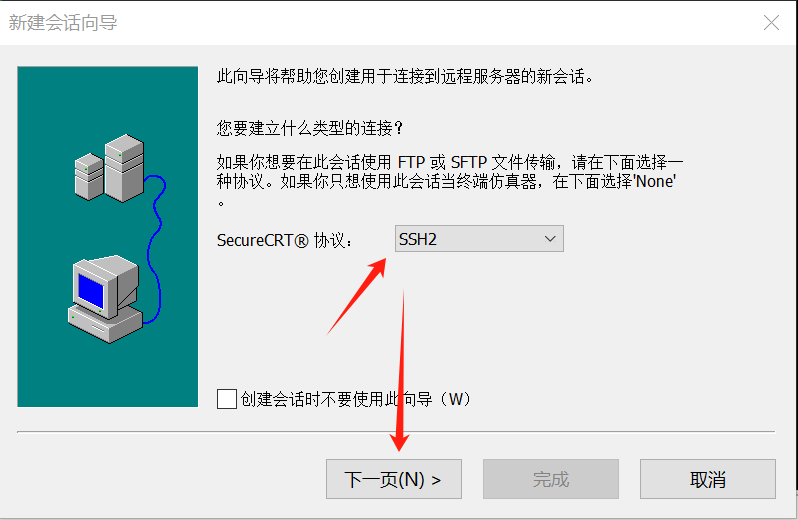
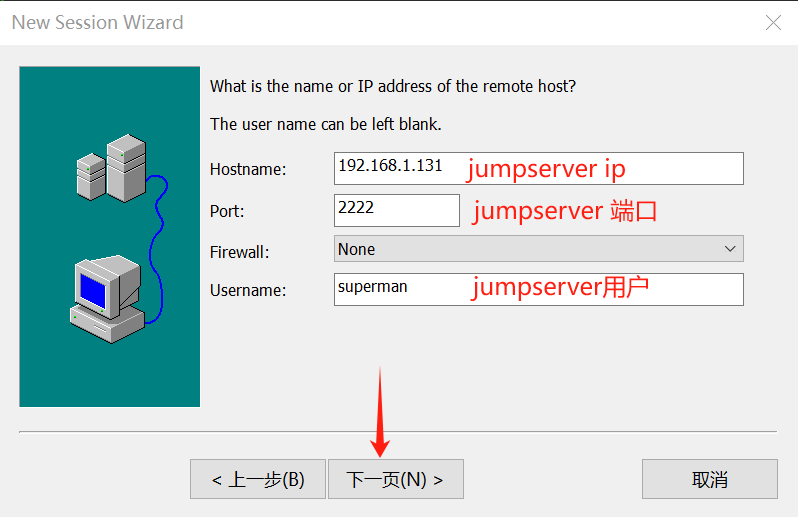
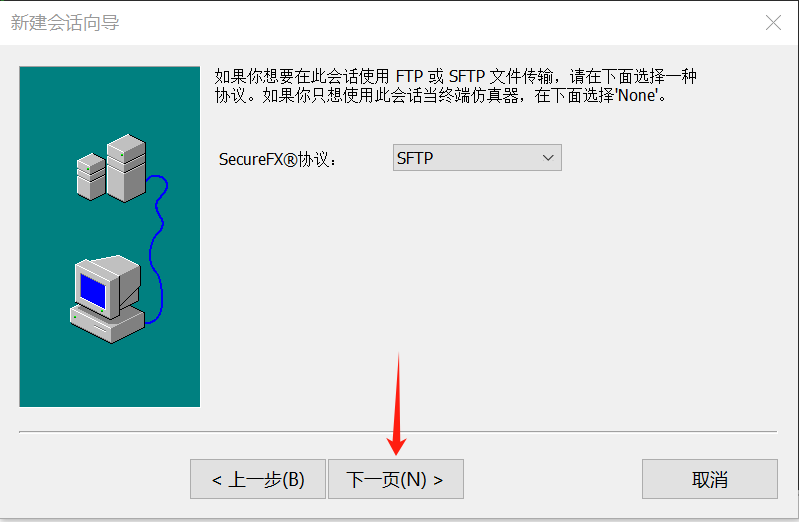
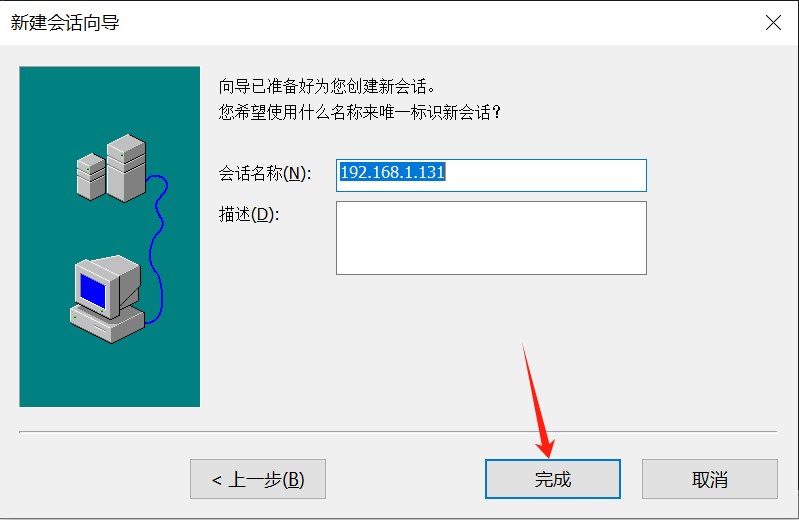
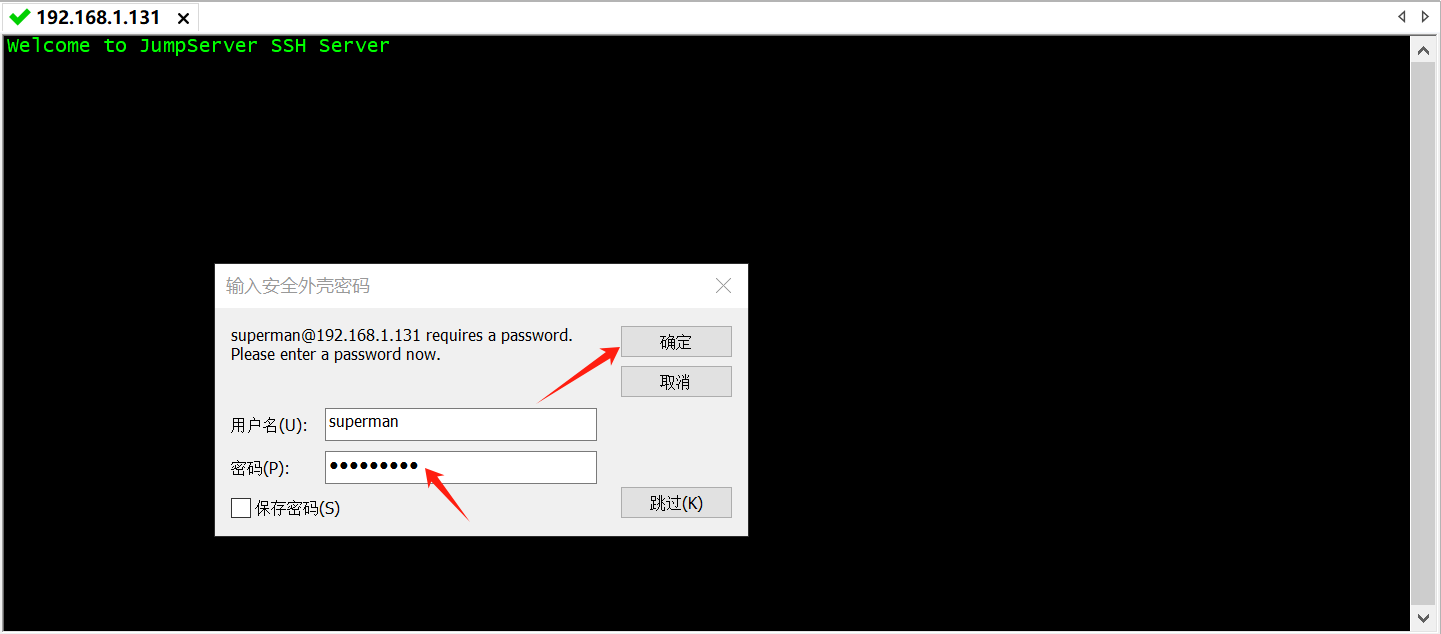
如:SecureCRT,xshell,Putty等,通过ssh堡垒机IP,端口:2222。进入根据提示选择需要登录的服务器。这里以 SecureCRT 为例。将端口改成2222,然后用户设置成 superman。
输入 superman 账户密码,确定。
登录后,根据提示进入授权服务器。
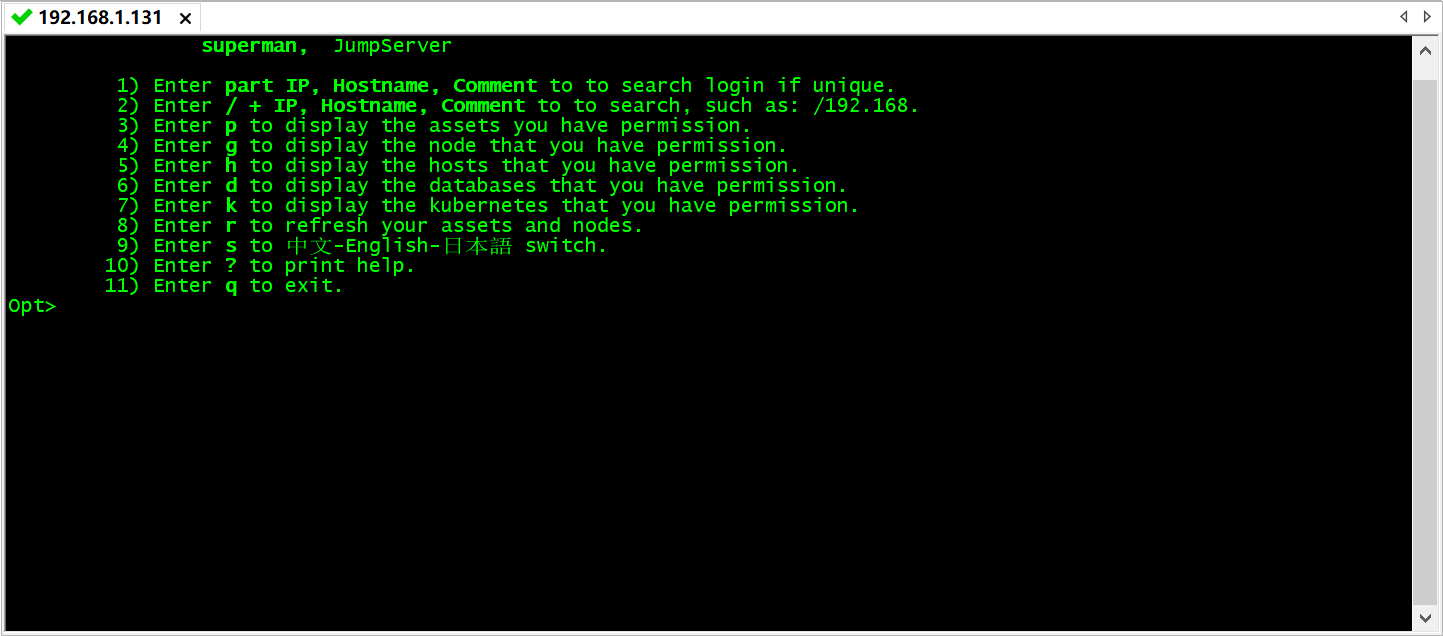
到这里就设置完成了。
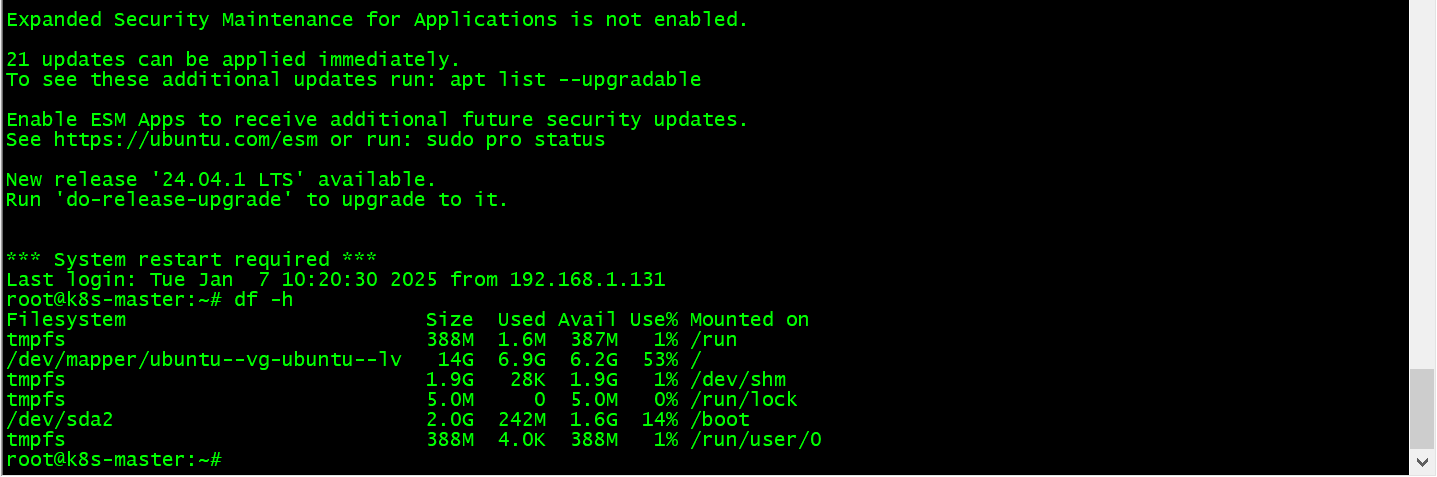
5.2.2 Linux资产登录
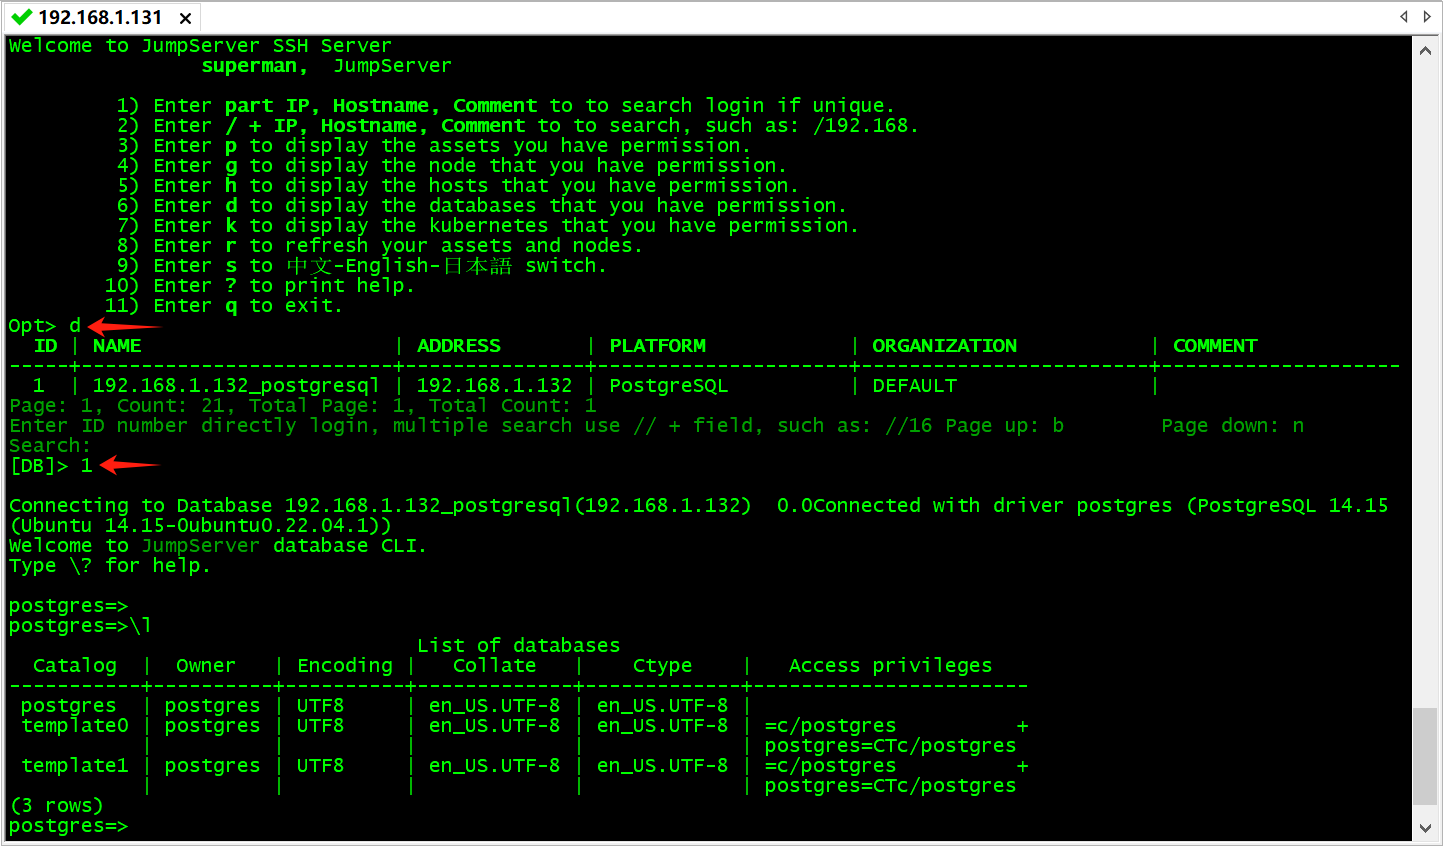
5.2.3 PostgreSQL数据库资产登录
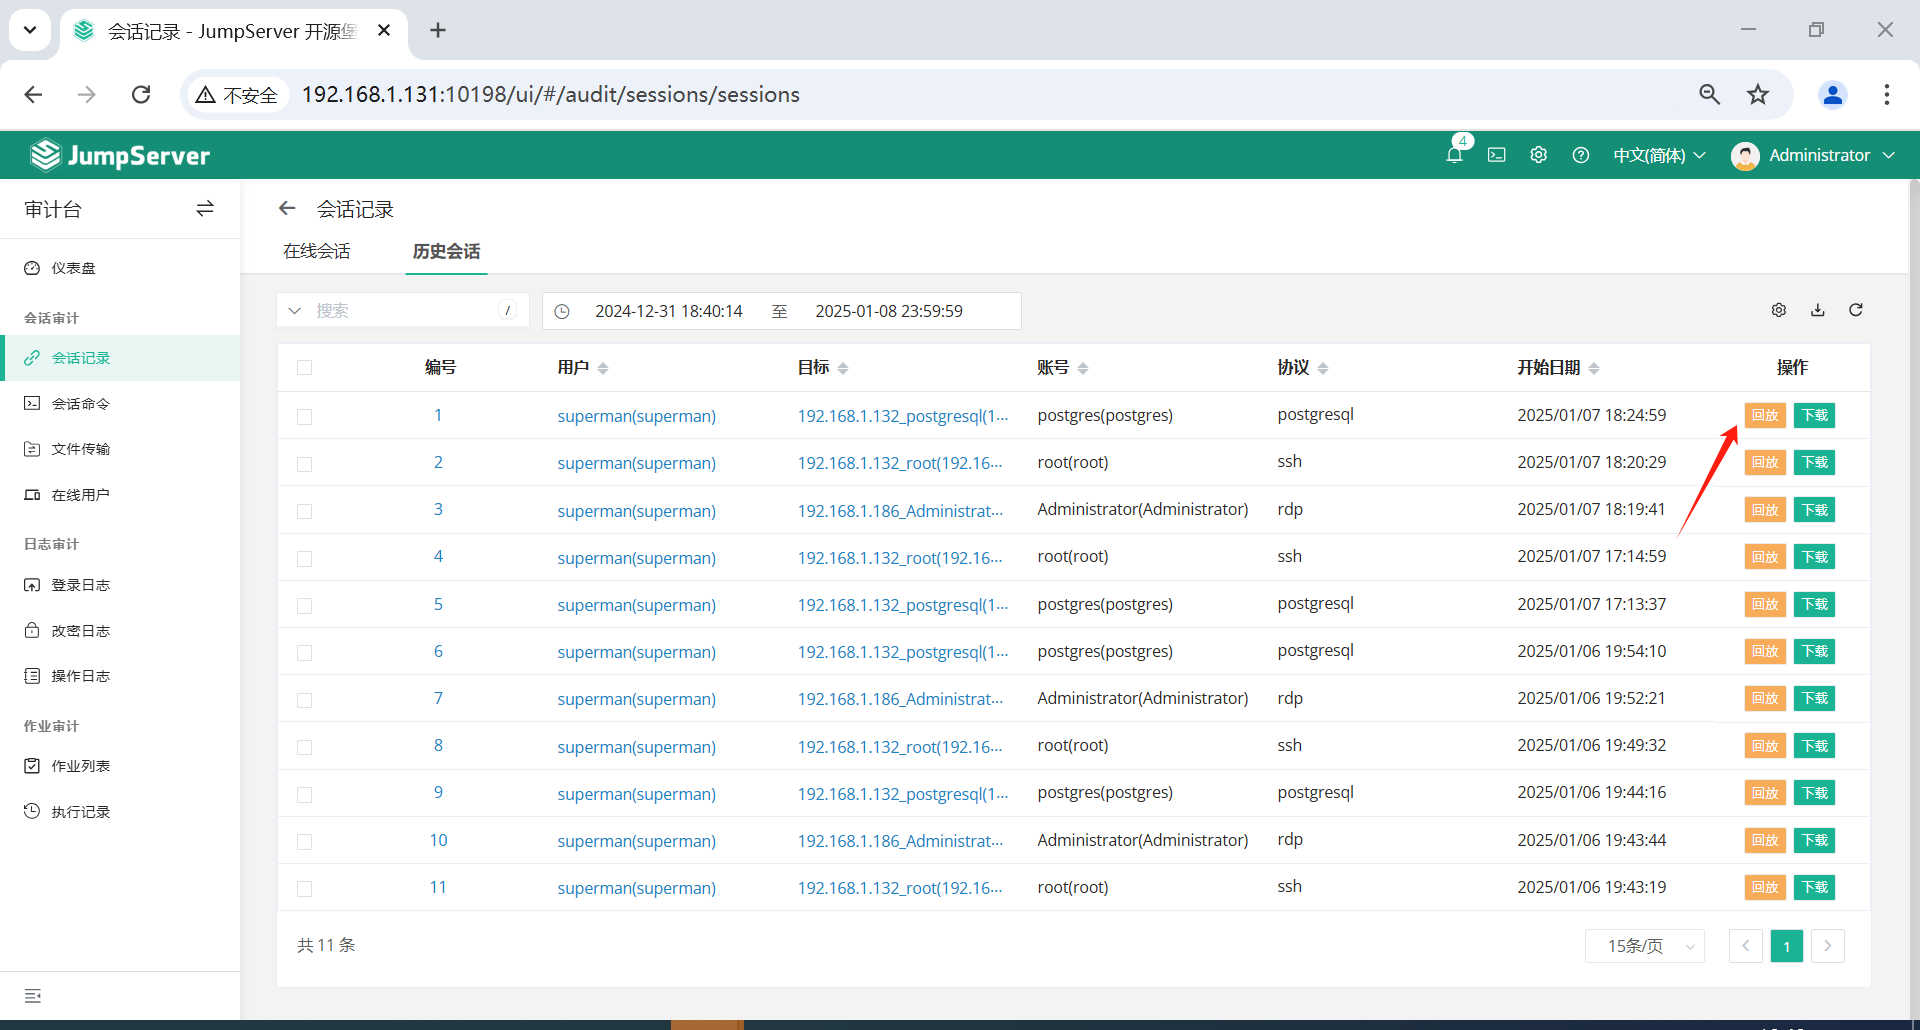
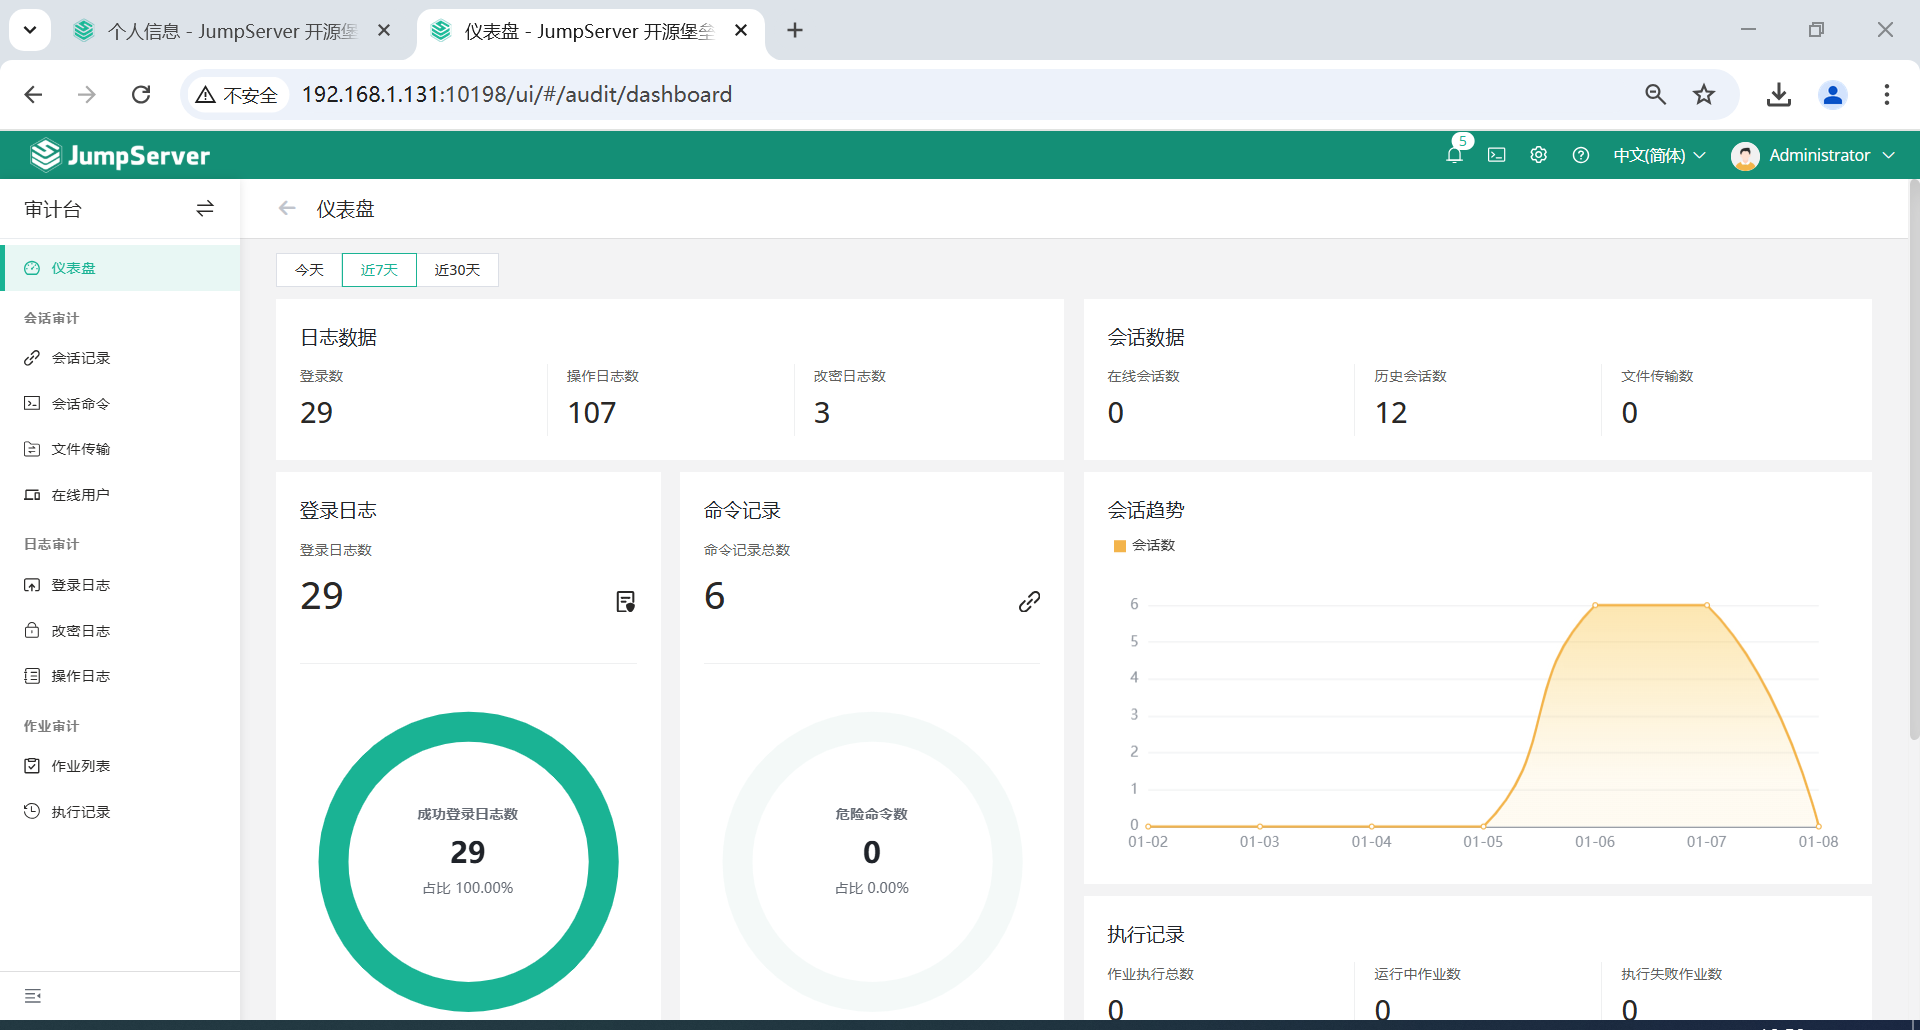
六、审计台
JumpServer 的审计台提供了全面的审计功能,可以记录和追踪用户的操作行为,包括登录记录、命令执行记录、会话操作录像等,为运维团队提供了关键的合规依据和安全溯源能力,有助于加强管理员对系统操作的监控和审计,确保系统数据的安全性和合规性。
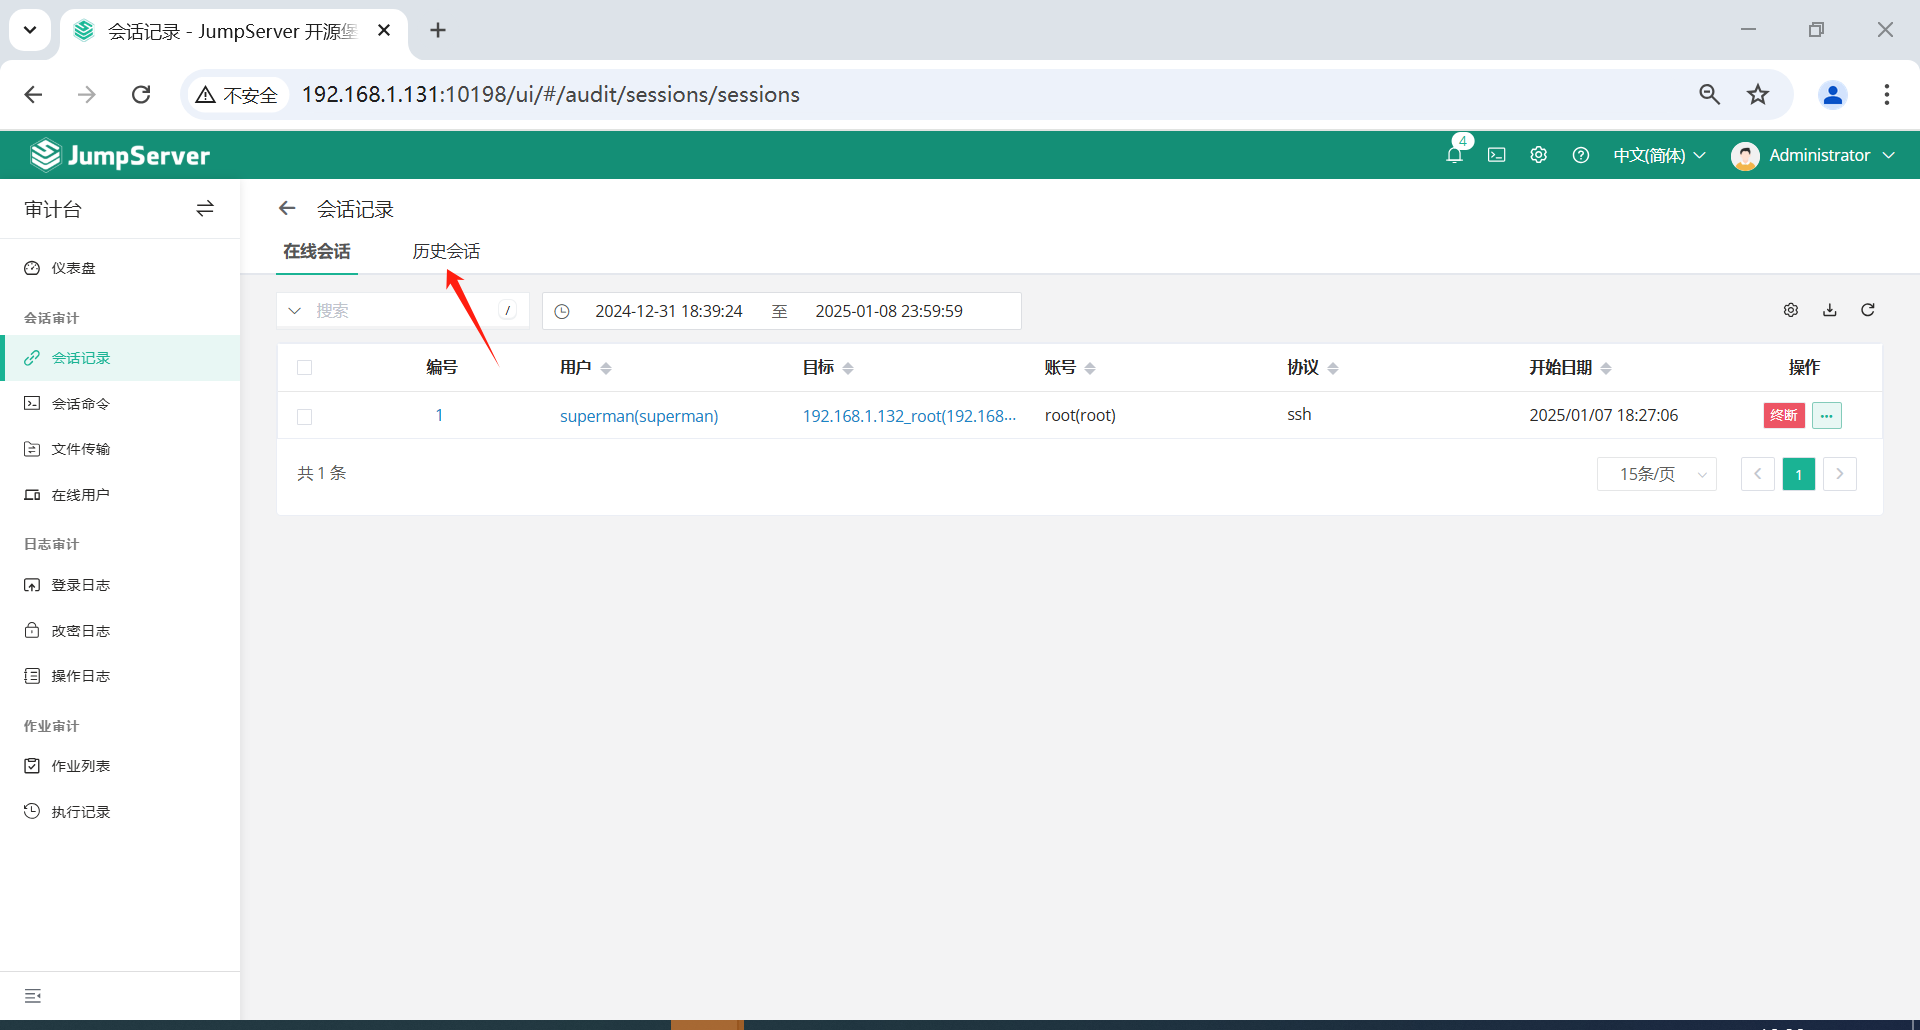
管理员用户,或者审计员用户,可以在视图审计台中,查看相关登录记录,命令记录,以及回放。
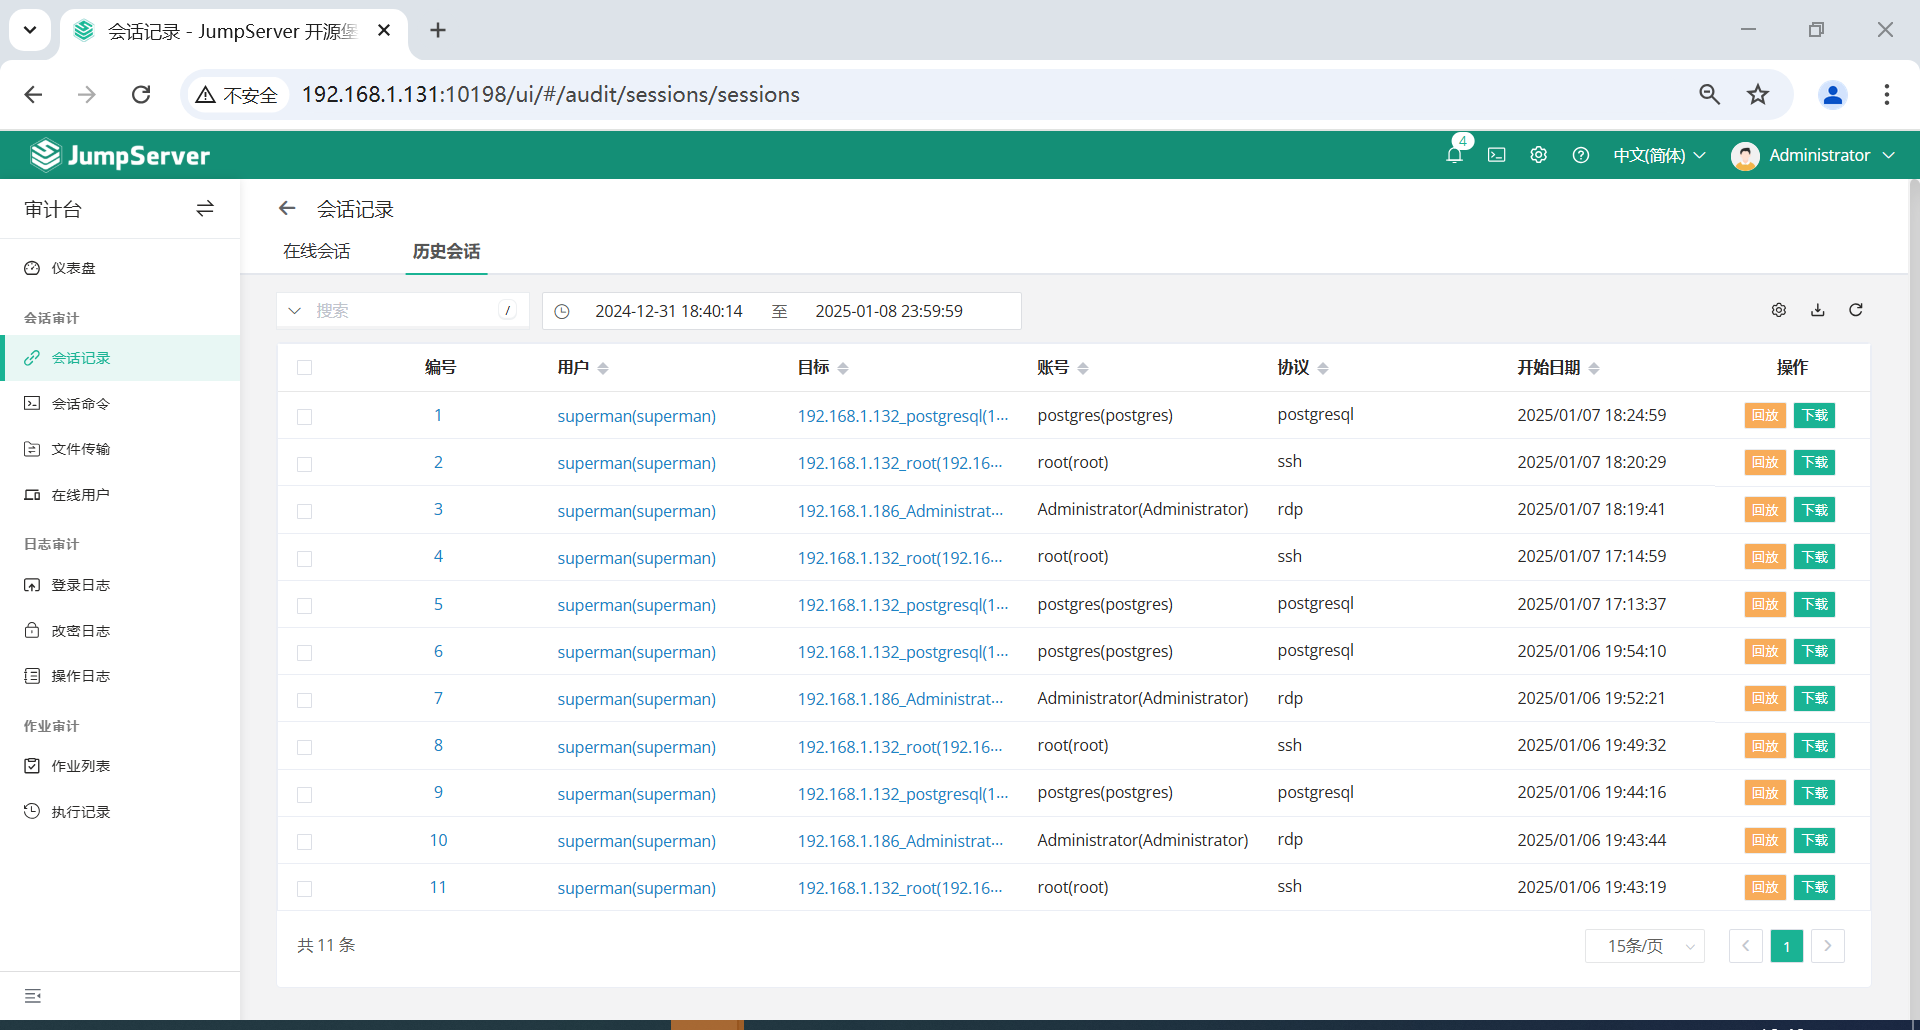
6.1 历史会话
可以查看在线会话、历史会话,一个最实用的功能就是回放和下载,回放当时的执行结果。

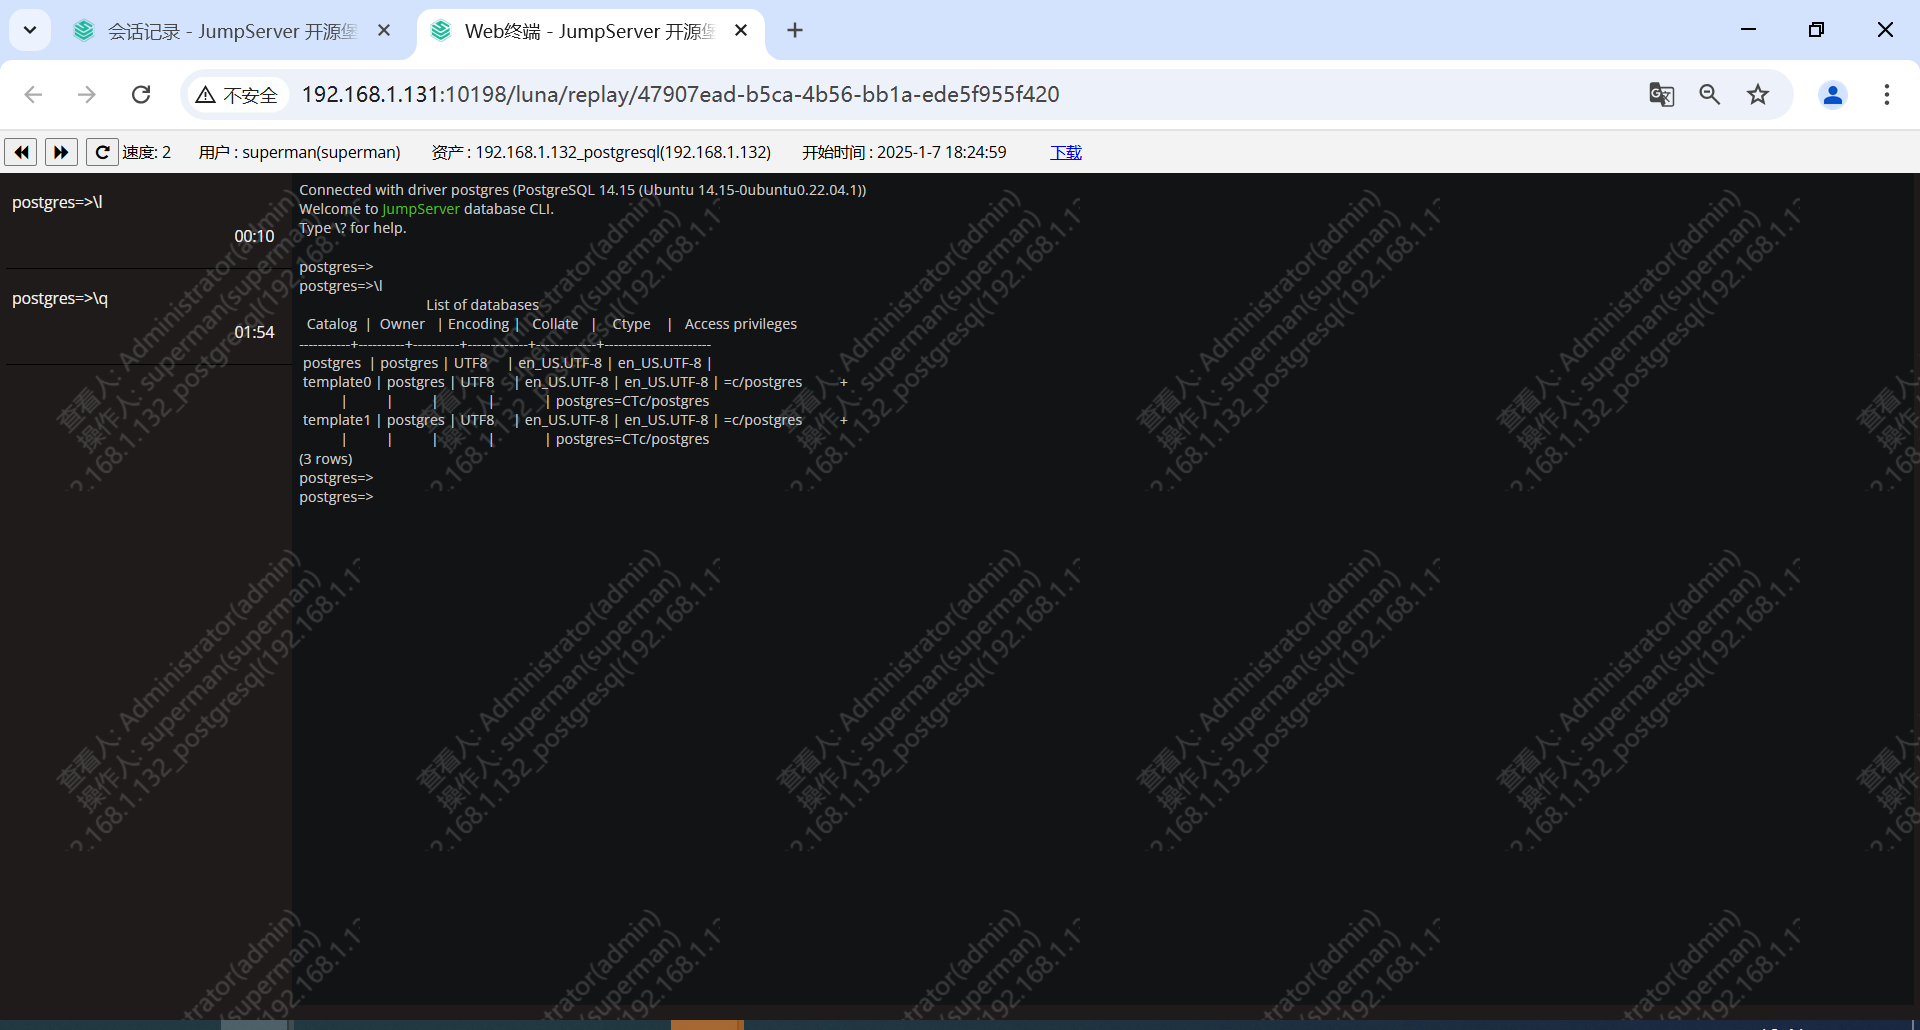
6.2 录像回放
录像回放可以在线播放,也可以直接下载下来。
七、账户登录MFA加密(建议设置)
由于登录 JumpServer 后都是免密登录,所有建议设置。
如果服务器很多,防止别人泄露,可以增加MFA加密认证。
7.1 配置MFA加密
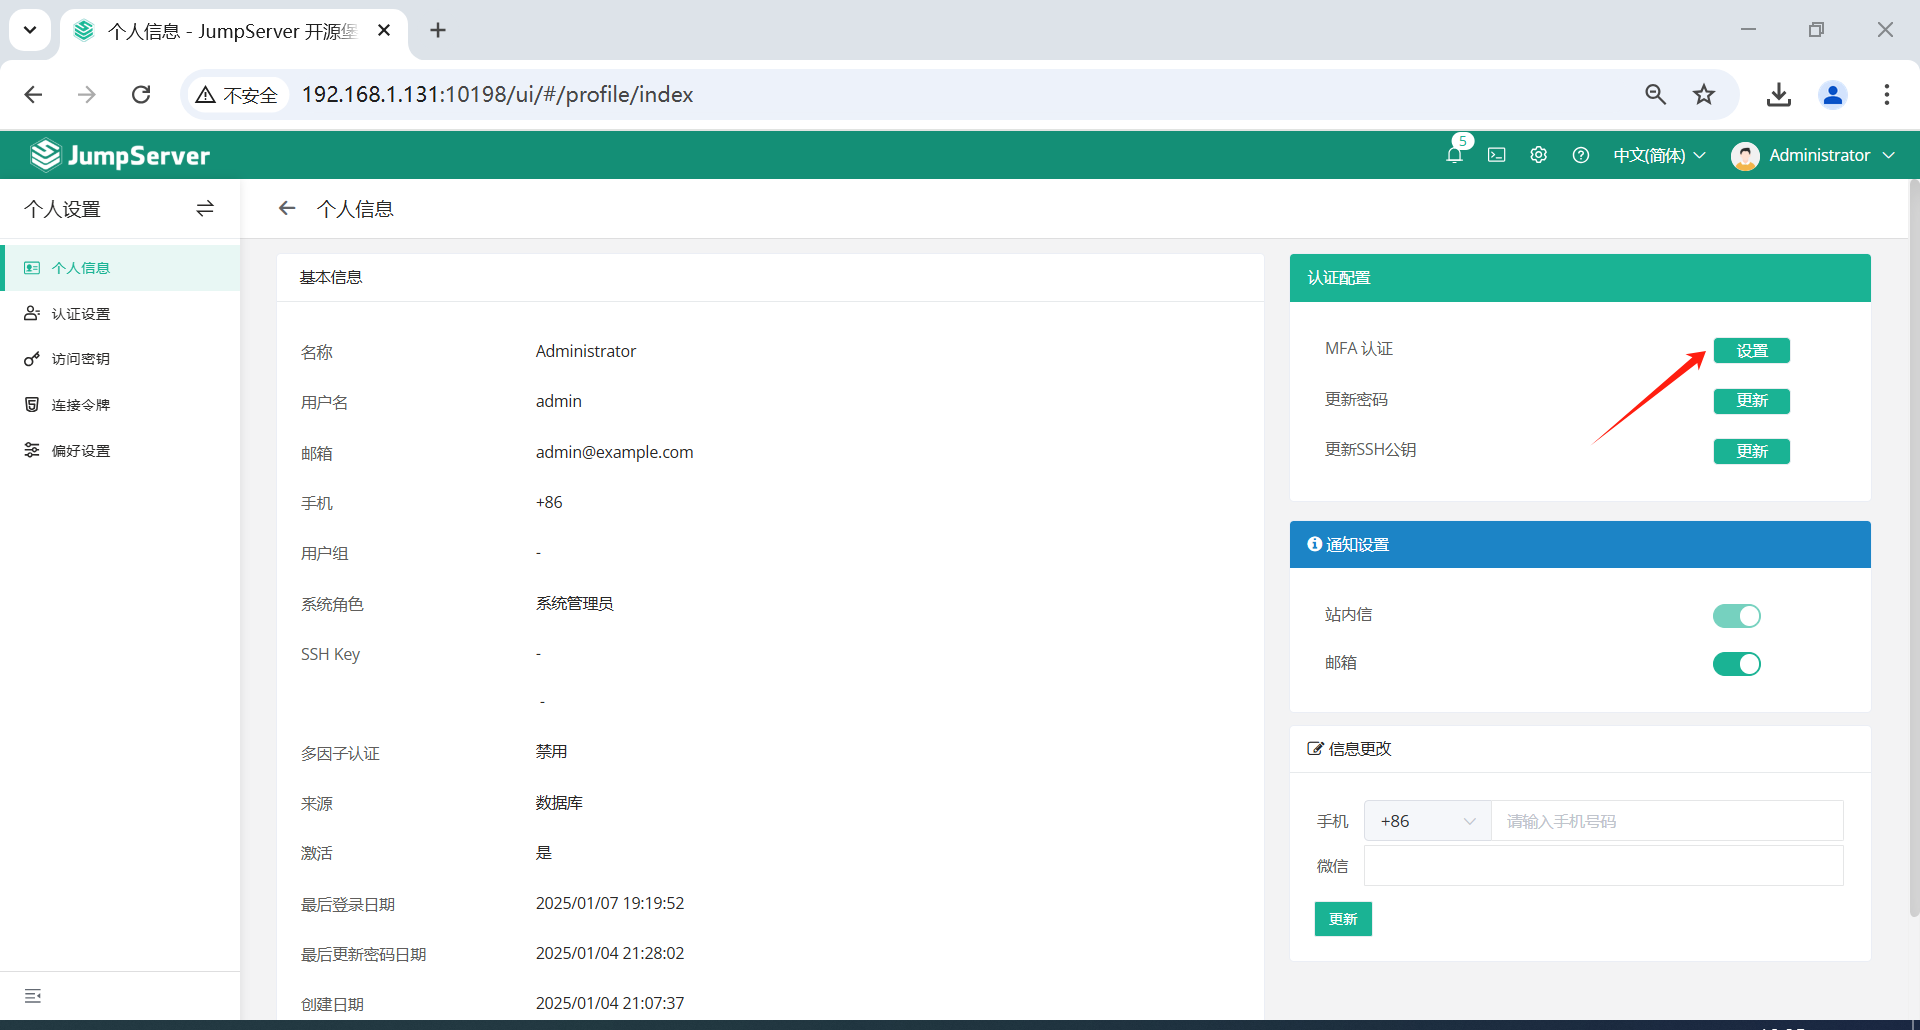
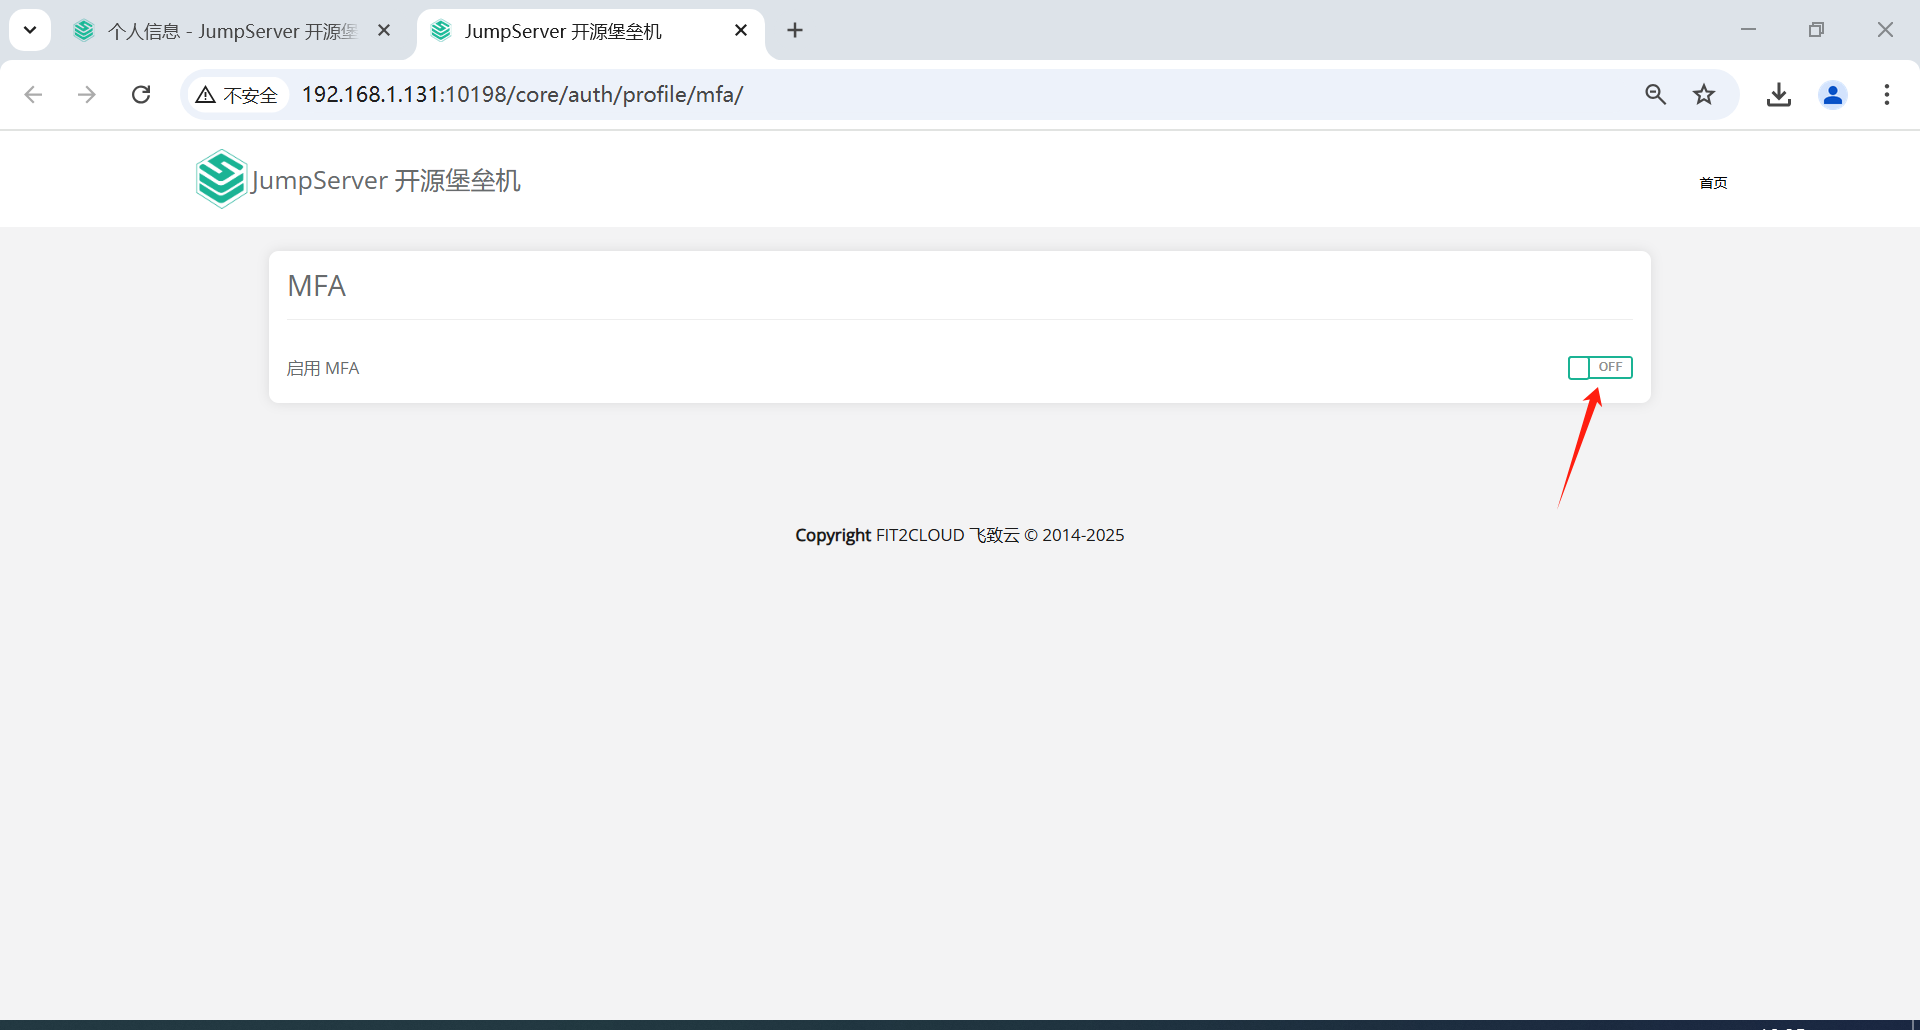

根据提示设置即可,设置完成后。再次登录则需要添加验证码
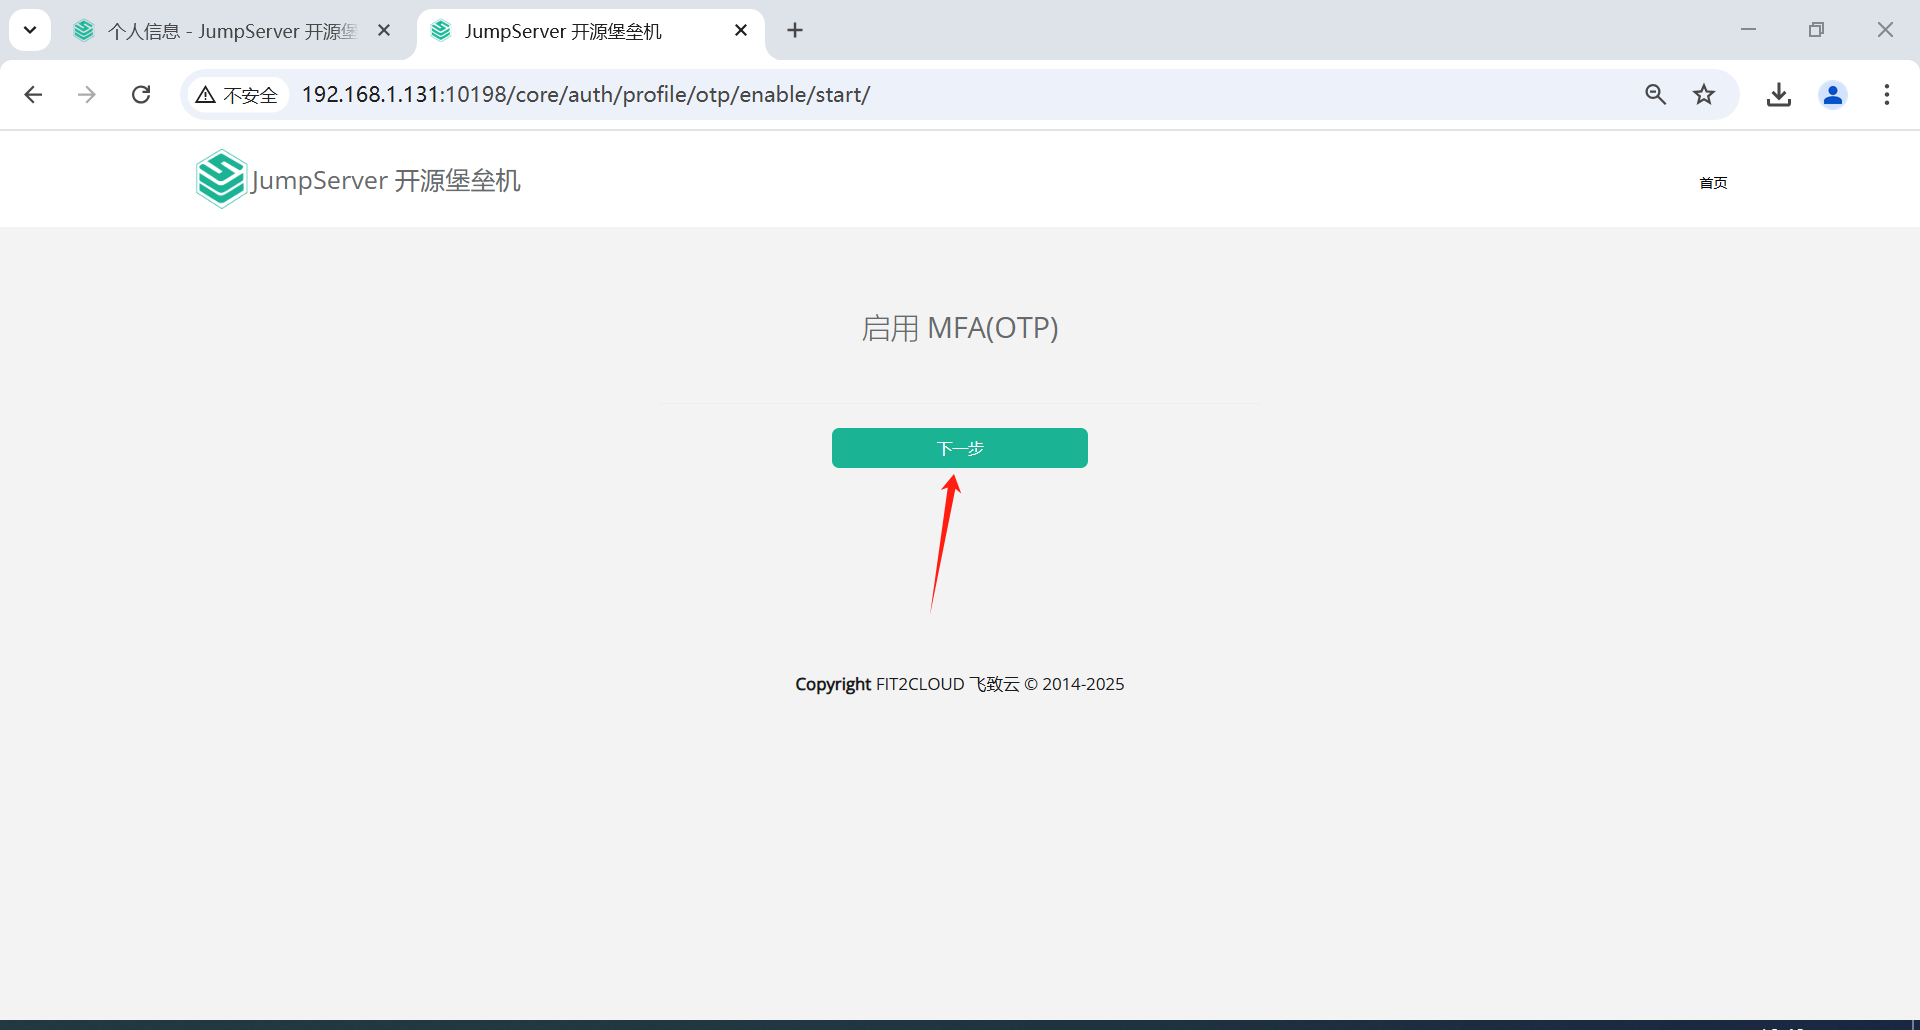

下载宁盾令牌,点击下一步

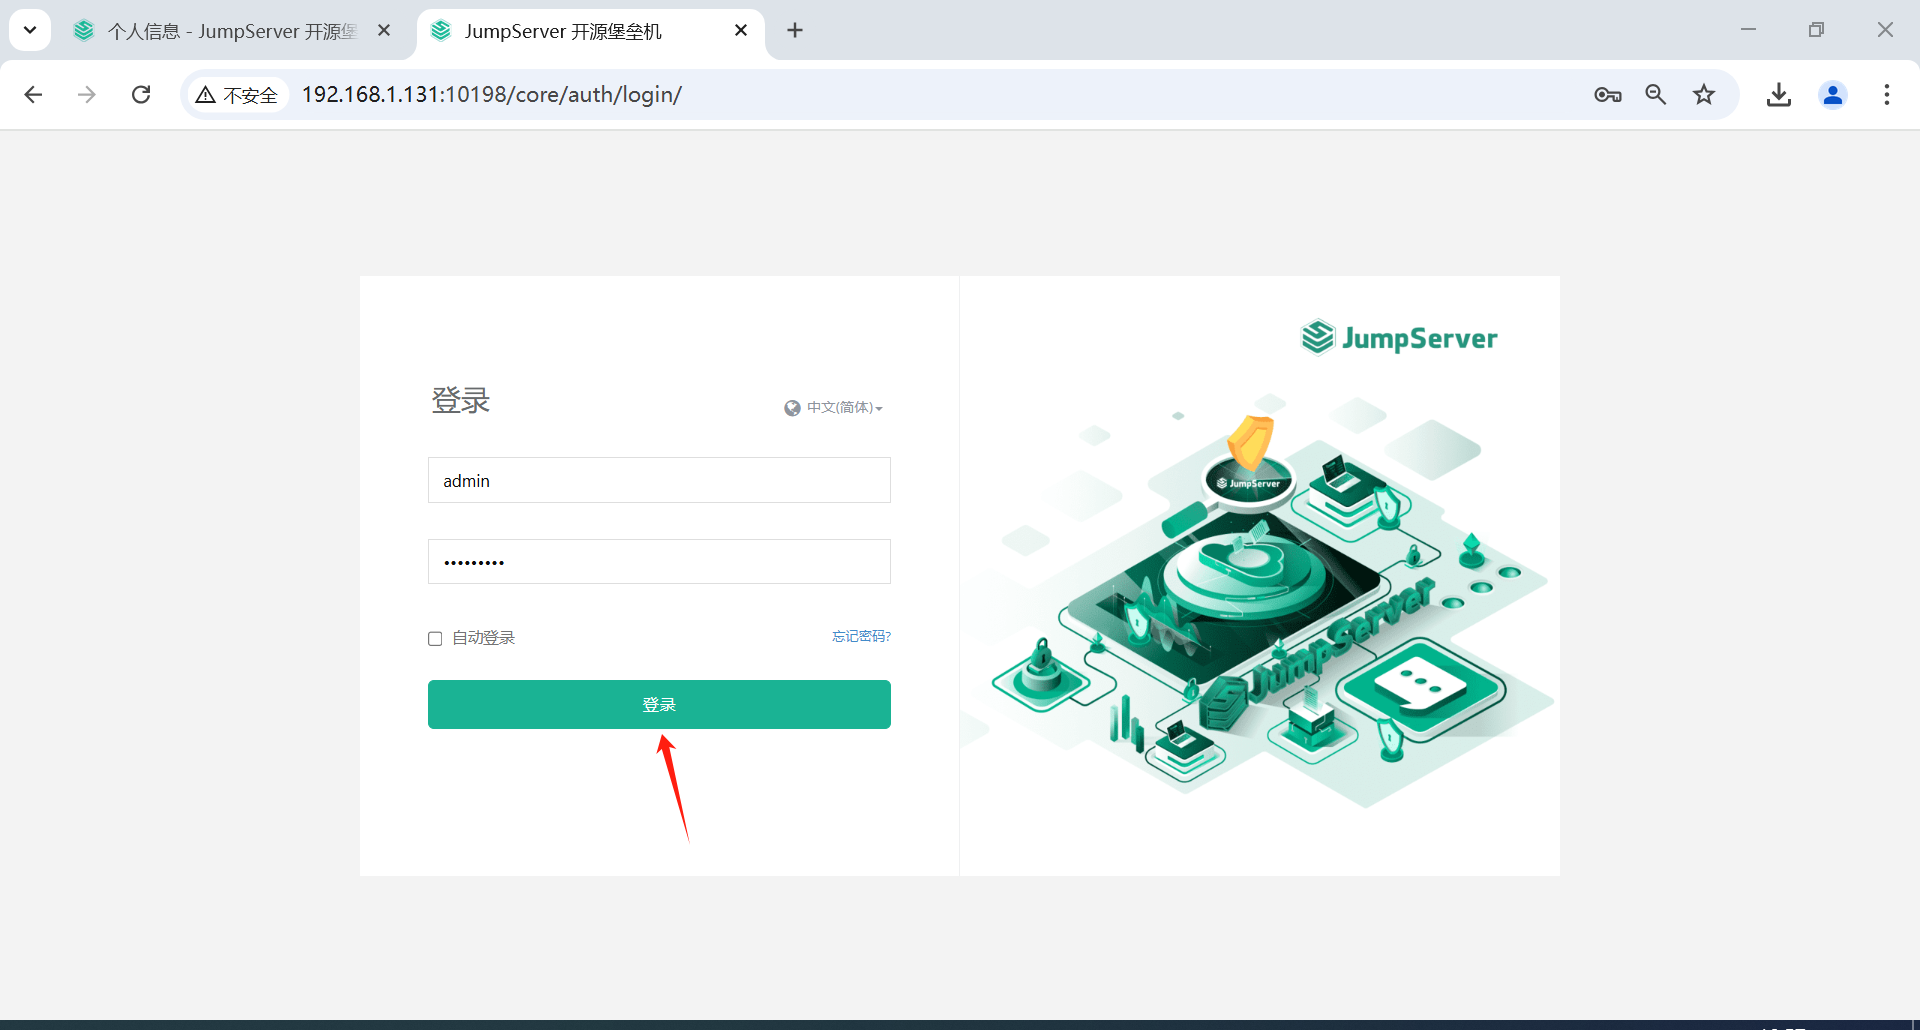
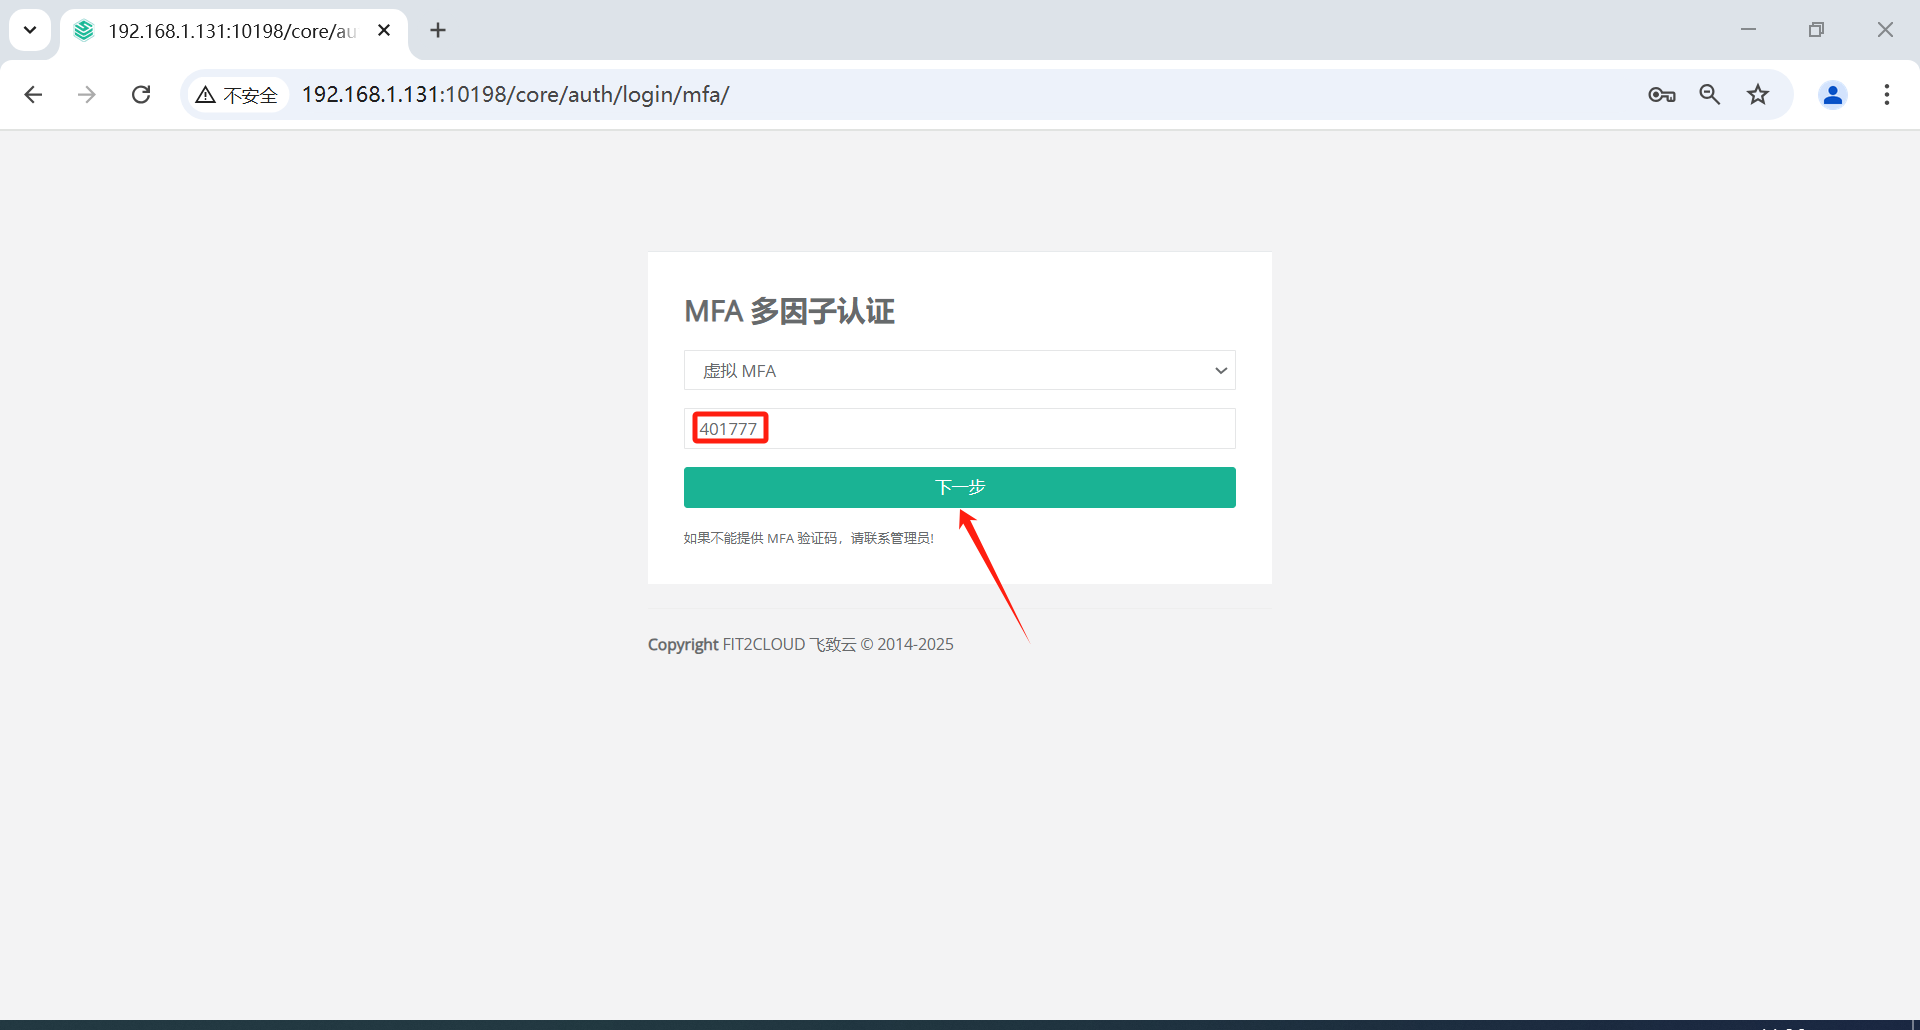
7.2 管理员MFA登录测试
管理员登录发现已启用MFA加密。
此处输入宁盾令牌信息,进行下一步
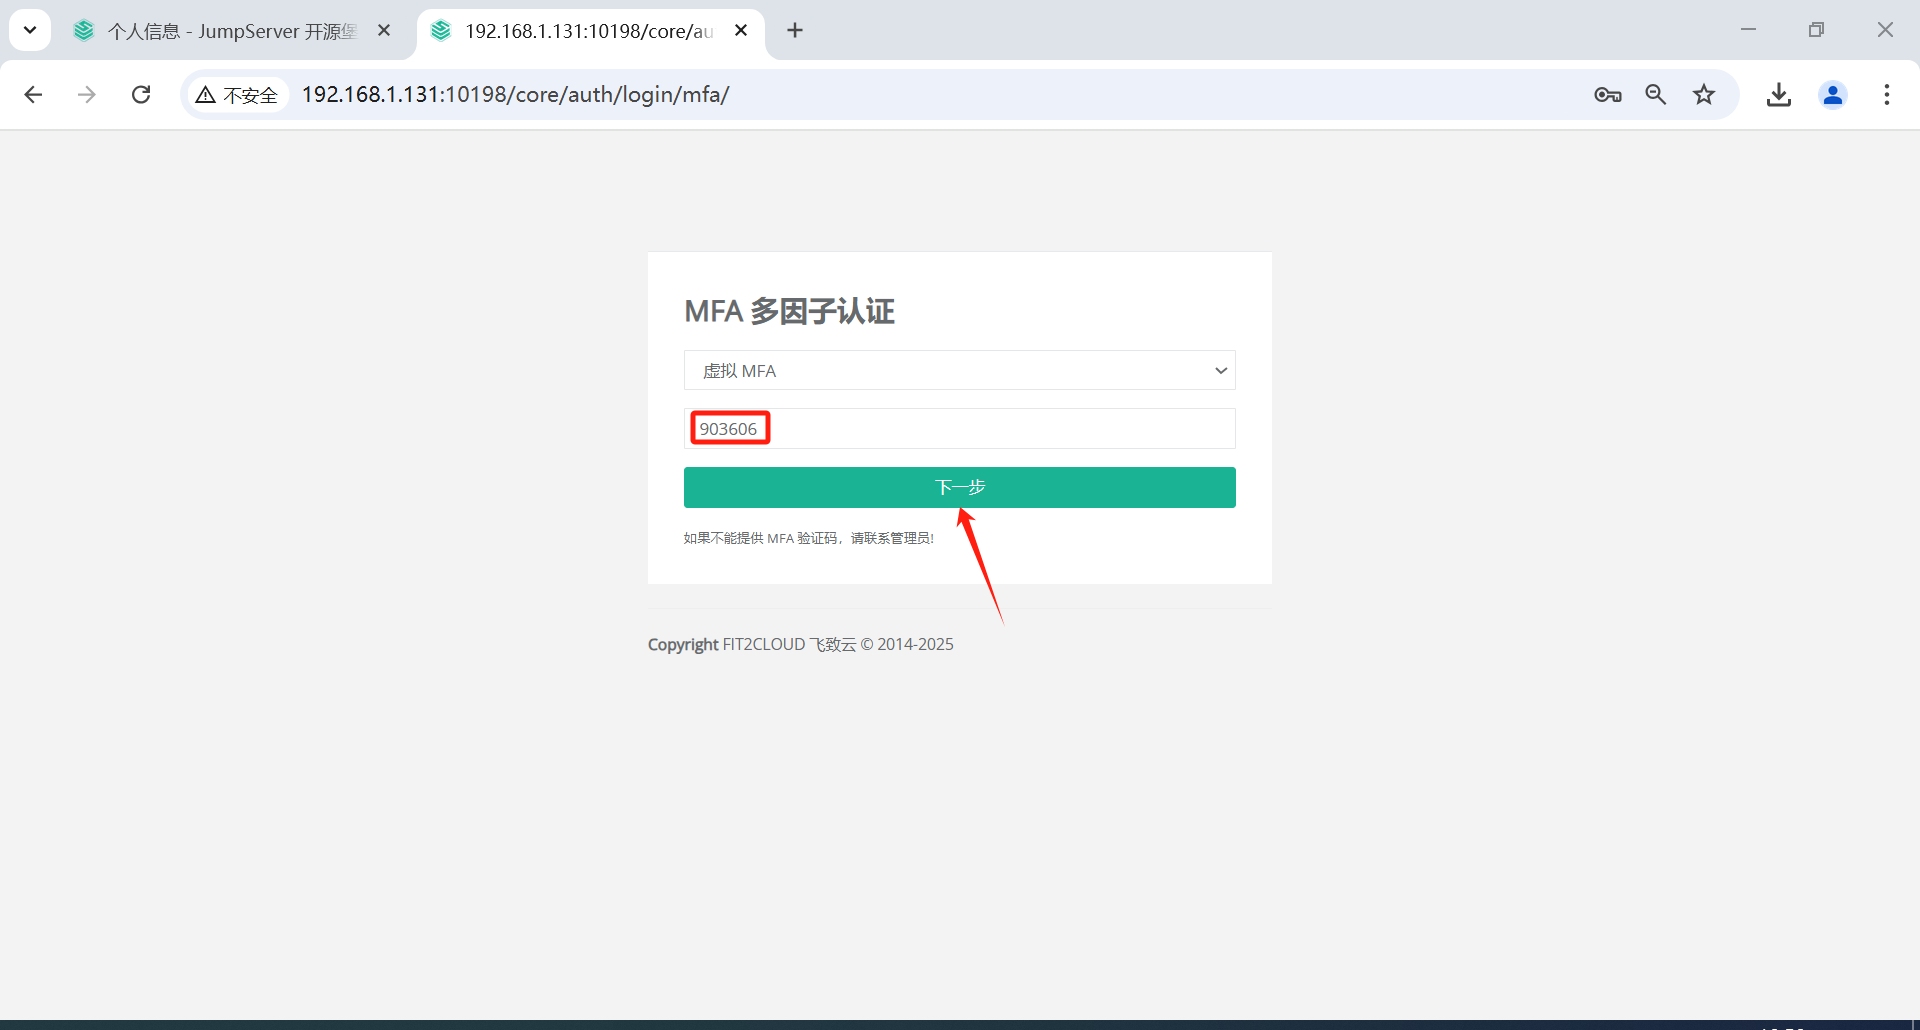
登录成功。
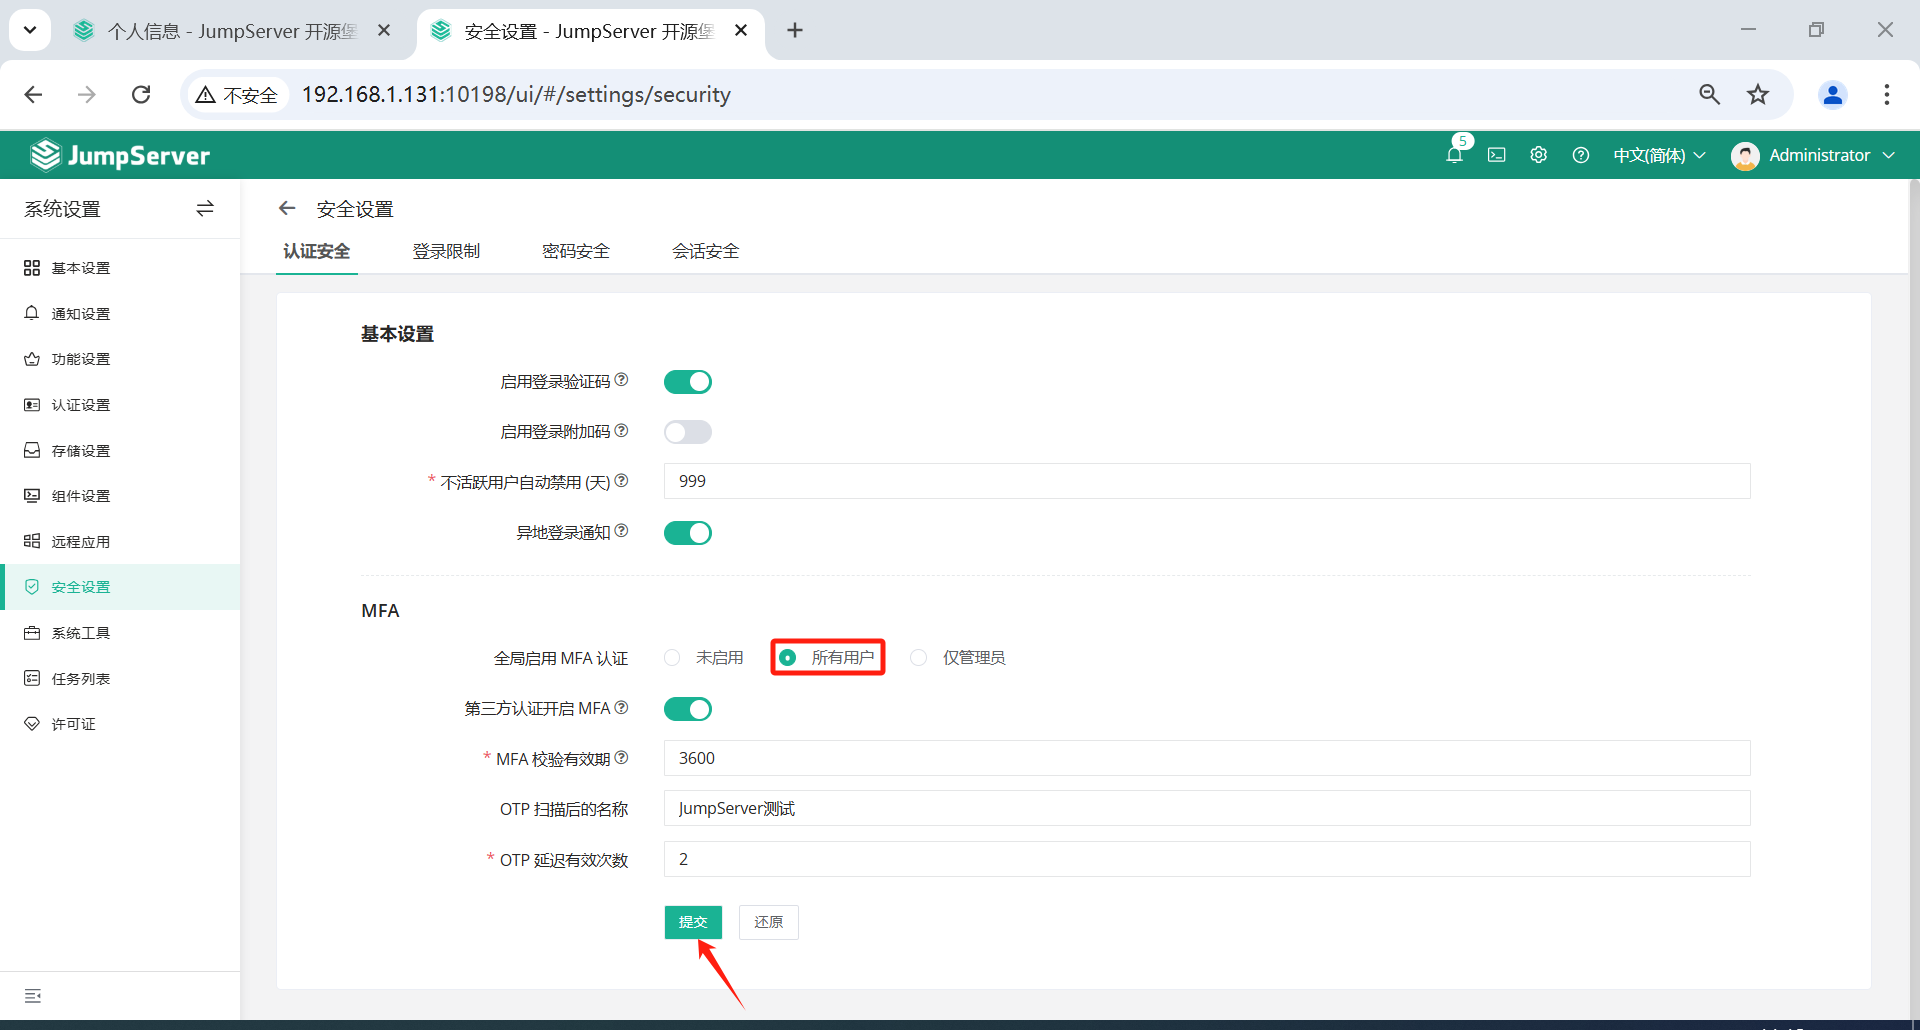
7.3 全局启用MFA加密
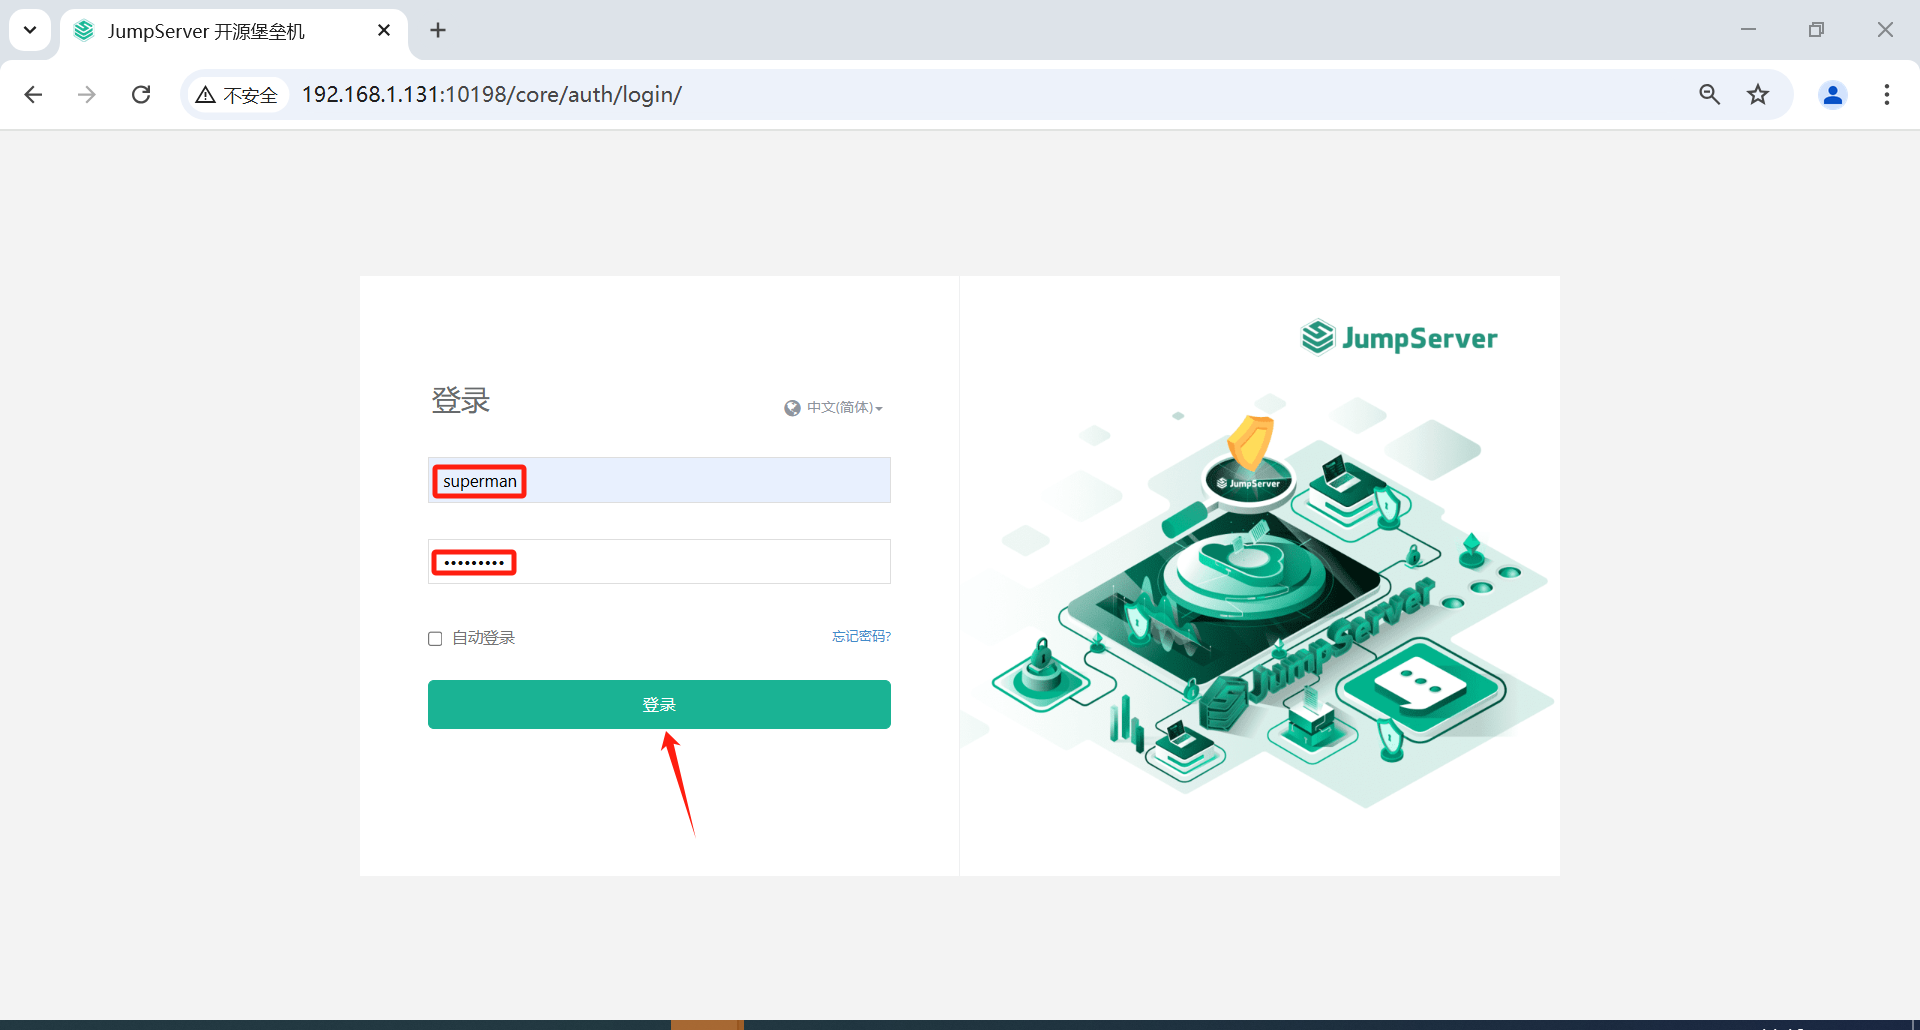
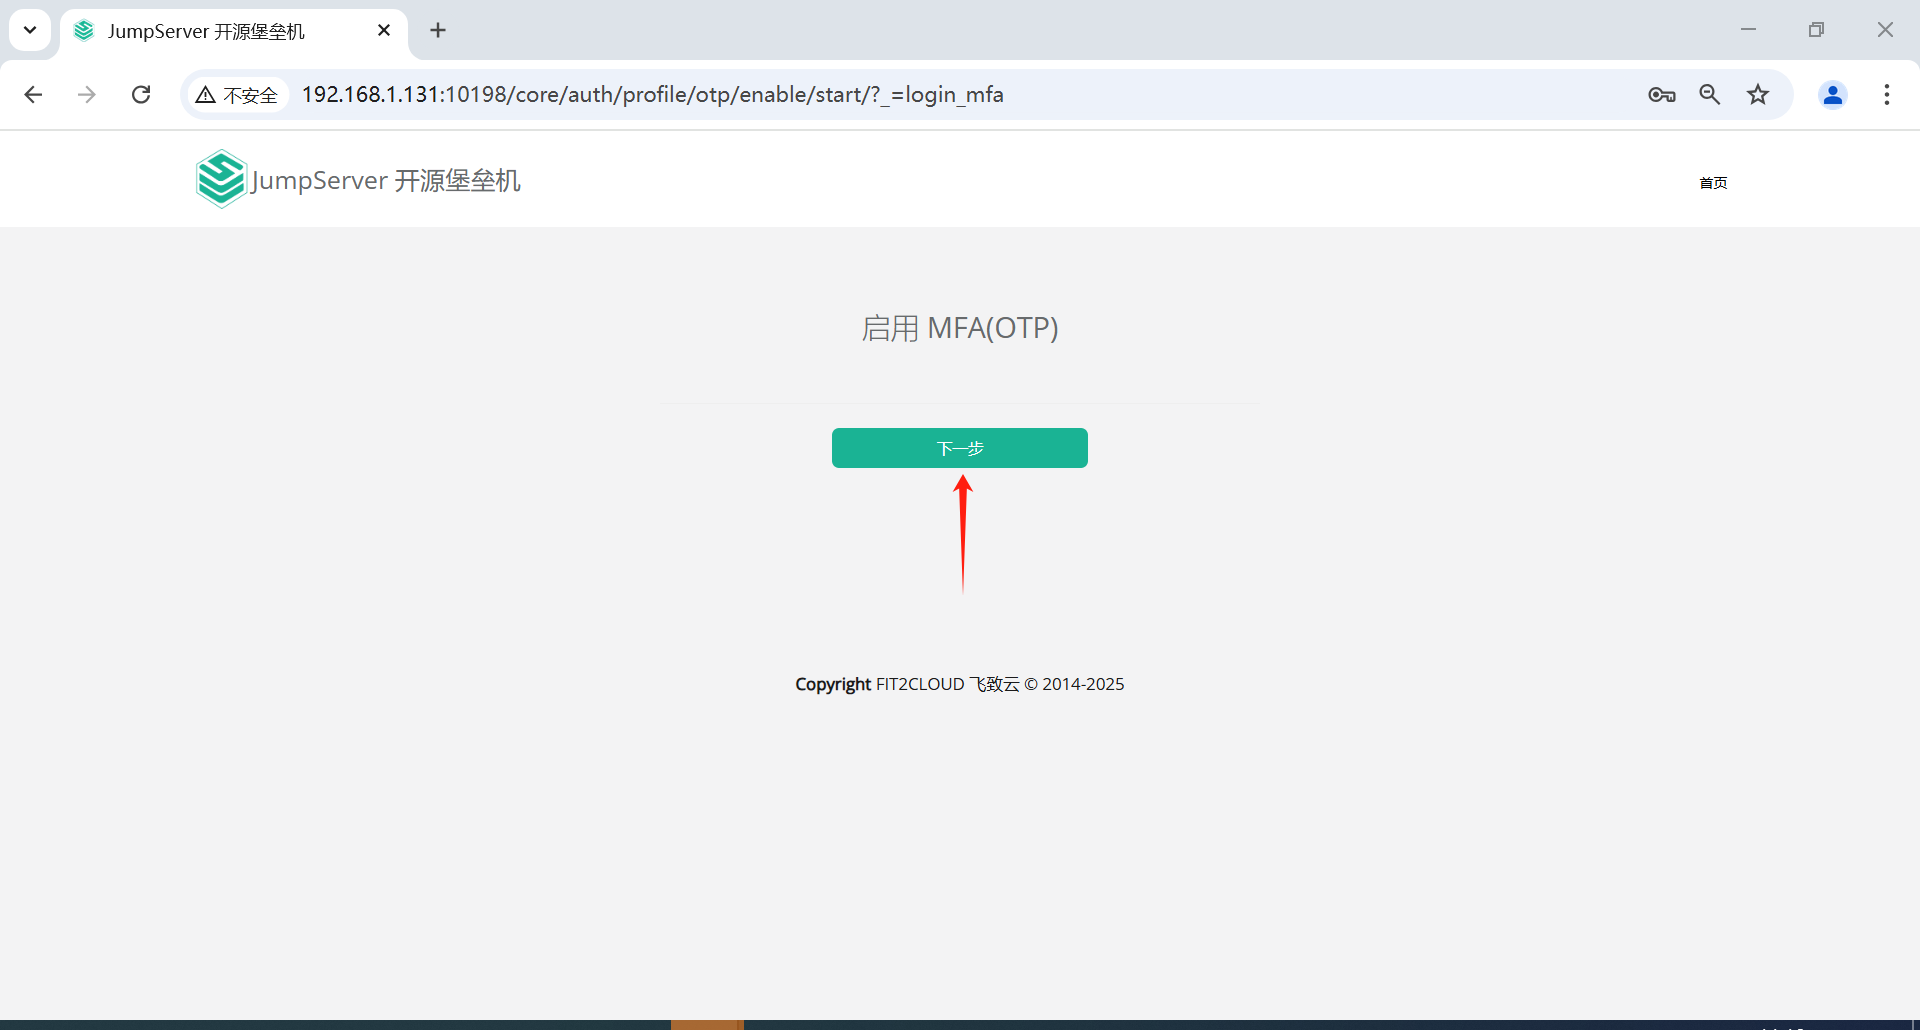
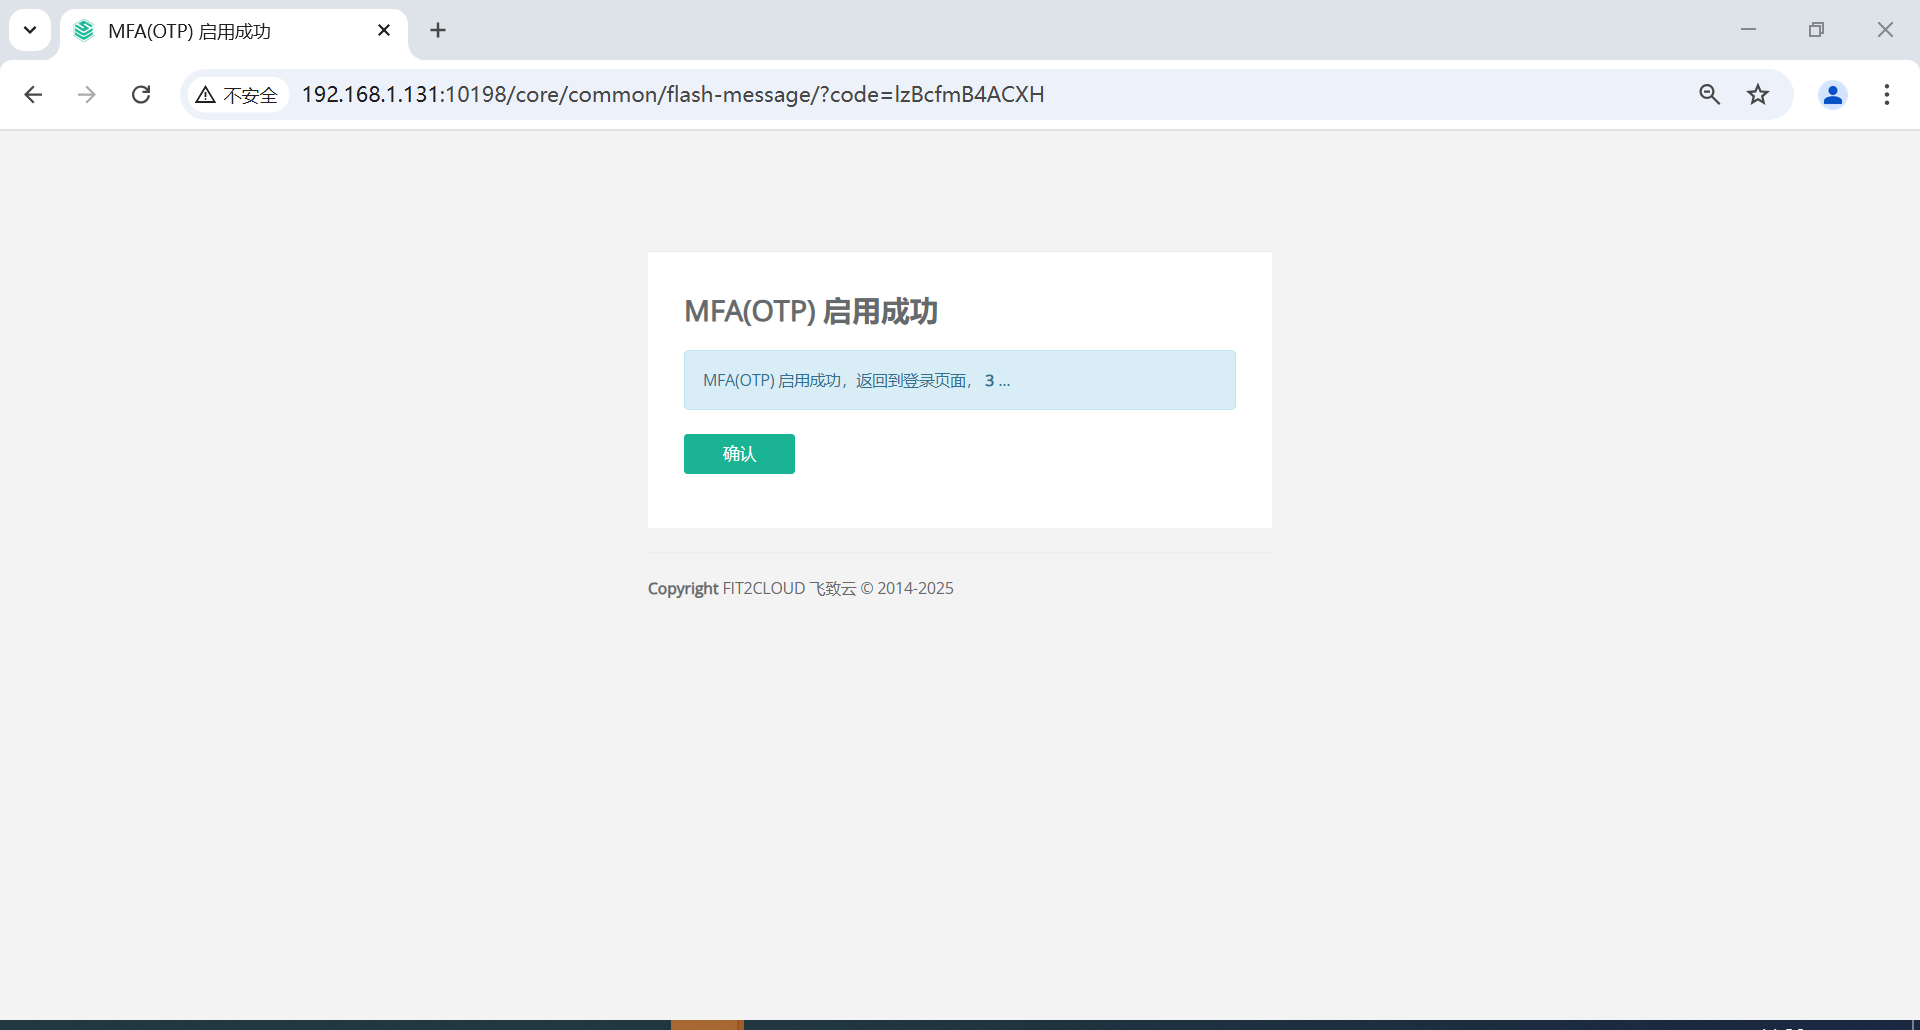
7.4 普通用户第一次登录MFA配置

7.5 普通用户MFA登录测试

通过本教程,你已经掌握了如何配置和使用开源堡垒机 JumpServer。在日常的安全运维中,JumpServer 可以帮助企业集中管理、审计和控制远程访问,提升安全性并增强审计追溯能力。
原文链接:https://mp.weixin.qq.com/s/YZqwTdWbgN86mOtSHjVWQQ?token=1329644640\&lang=zh_CN
👍 点赞,你的认可是我创作的动力!
⭐️ 收藏,你的青睐是我努力的方向!
✏️ 评论,你的意见是我进步的财富!