python一系列练习在前面几节中基本练习了一遍,本篇通过机器学习的算法加强python的训练。我印象中常用的几种算法有:线性回归、逻辑回归,决策树,向量机SVM,KNN-近邻,朴素贝叶斯,K-means,神经网络tensorflow。记起来的也就这些,那么久通过python去撸一遍看看效果。
马上开搞
1、线性回归
python
 # 导入必要的库
import numpy as np
import matplotlib.pyplot as plt
from sklearn.model_selection import train_test_split
from sklearn.linear_model import LinearRegression
from sklearn import metrics

# 创建数据集
X = np.array([[1], [2], [3], [4], [5]])
y = np.array([[2], [4], [6], [8], [10]])

# 将数据集分割为训练集和测试集
X_train, X_test, y_train, y_test = train_test_split(X, y, test_size=0.2, random_state=0)

# 创建线性回归模型
regressor = LinearRegression()

# 使用训练数据拟合模型
regressor.fit(X_train, y_train)  # 训练线性回归模型

# 预测测试集结果
y_pred = regressor.predict(X_test)

# 打印预测结果
print('预测结果:', y_pred)

# 计算并打印模型的性能
print('Mean Absolute Error:', metrics.mean_absolute_error(y_test, y_pred))
print('Mean Squared Error:', metrics.mean_squared_error(y_test, y_pred))
print('Root Mean Squared Error:', np.sqrt(metrics.mean_squared_error(y_test, y_pred)))

# 画出回归线
plt.scatter(X_test, y_test, color='gray')
plt.plot(X_test, y_pred, color='red', linewidth=2)
plt.show()
运行代码看看
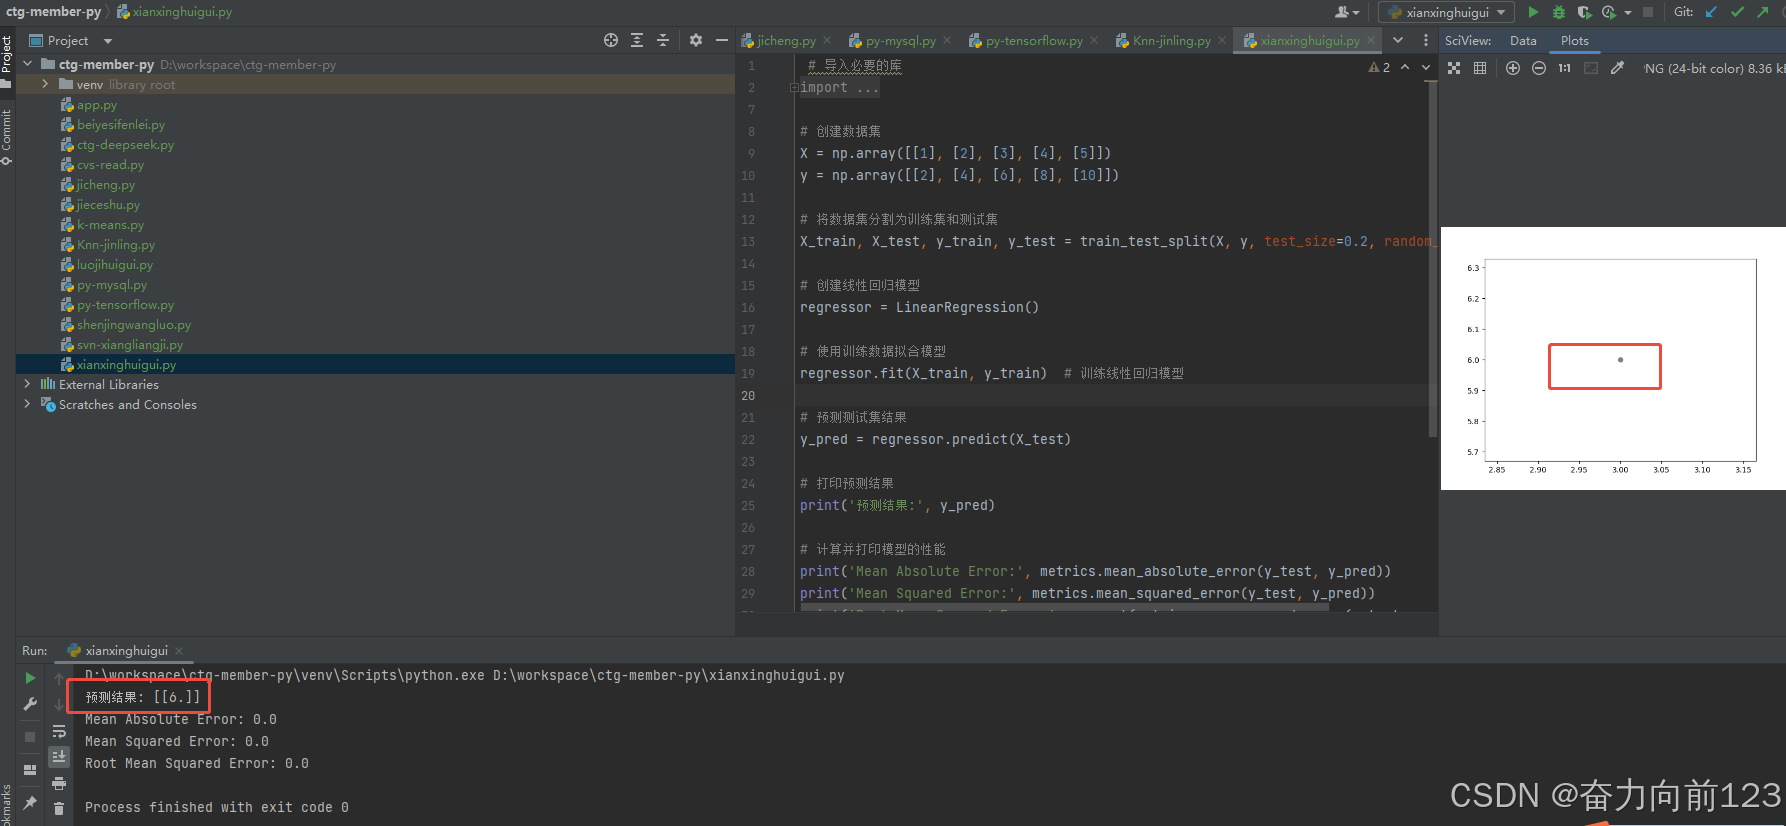
代码运行没问题
现在进行代码分析
需要的python库
import numpy as np
import matplotlib.pyplot as plt
from sklearn.model_selection import train_test_split
from sklearn.linear_model import LinearRegression
from sklearn import metrics
构造一些模拟数据
# 创建数据集
X = np.array([[1], [2], [3], [4], [5]])
y = np.array([[2], [4], [6], [8], [10]])
2、逻辑回归
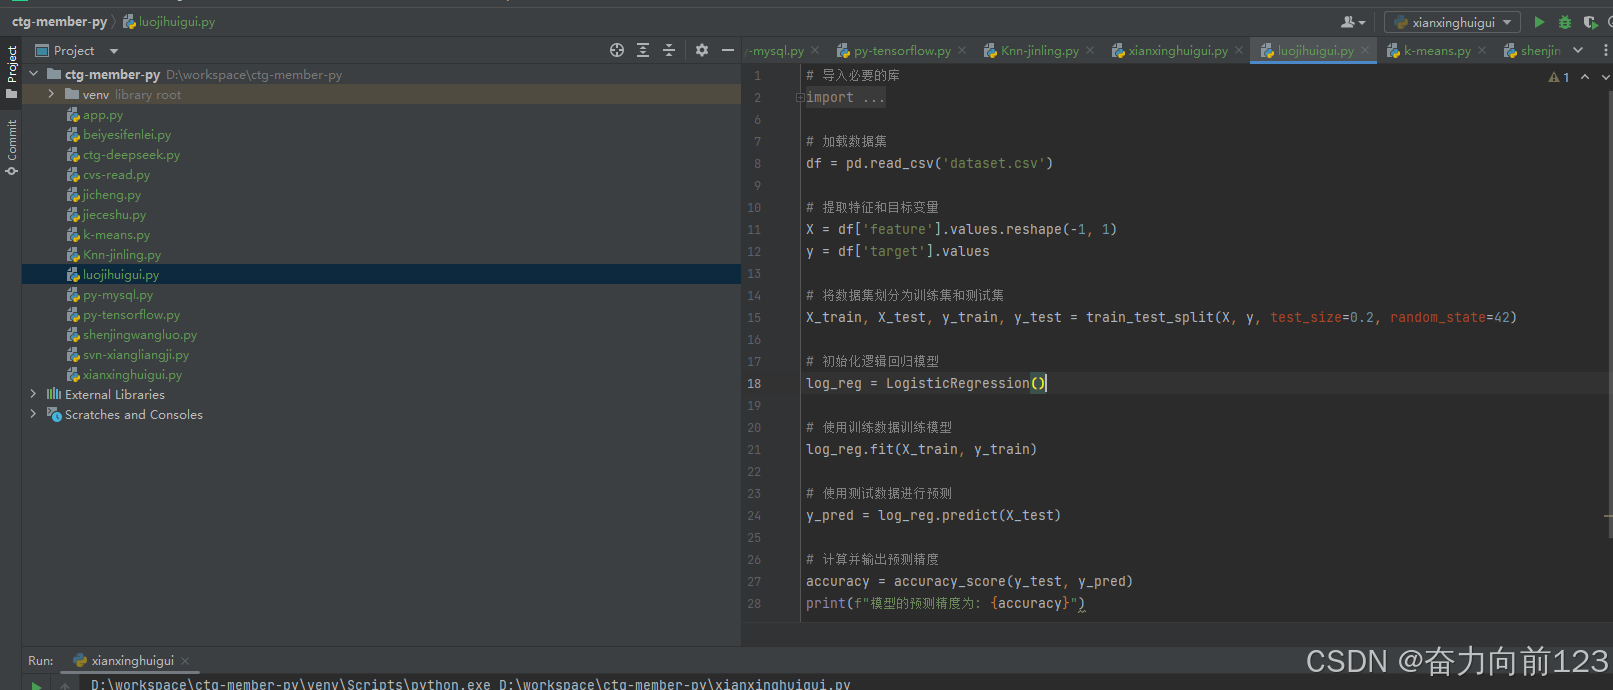
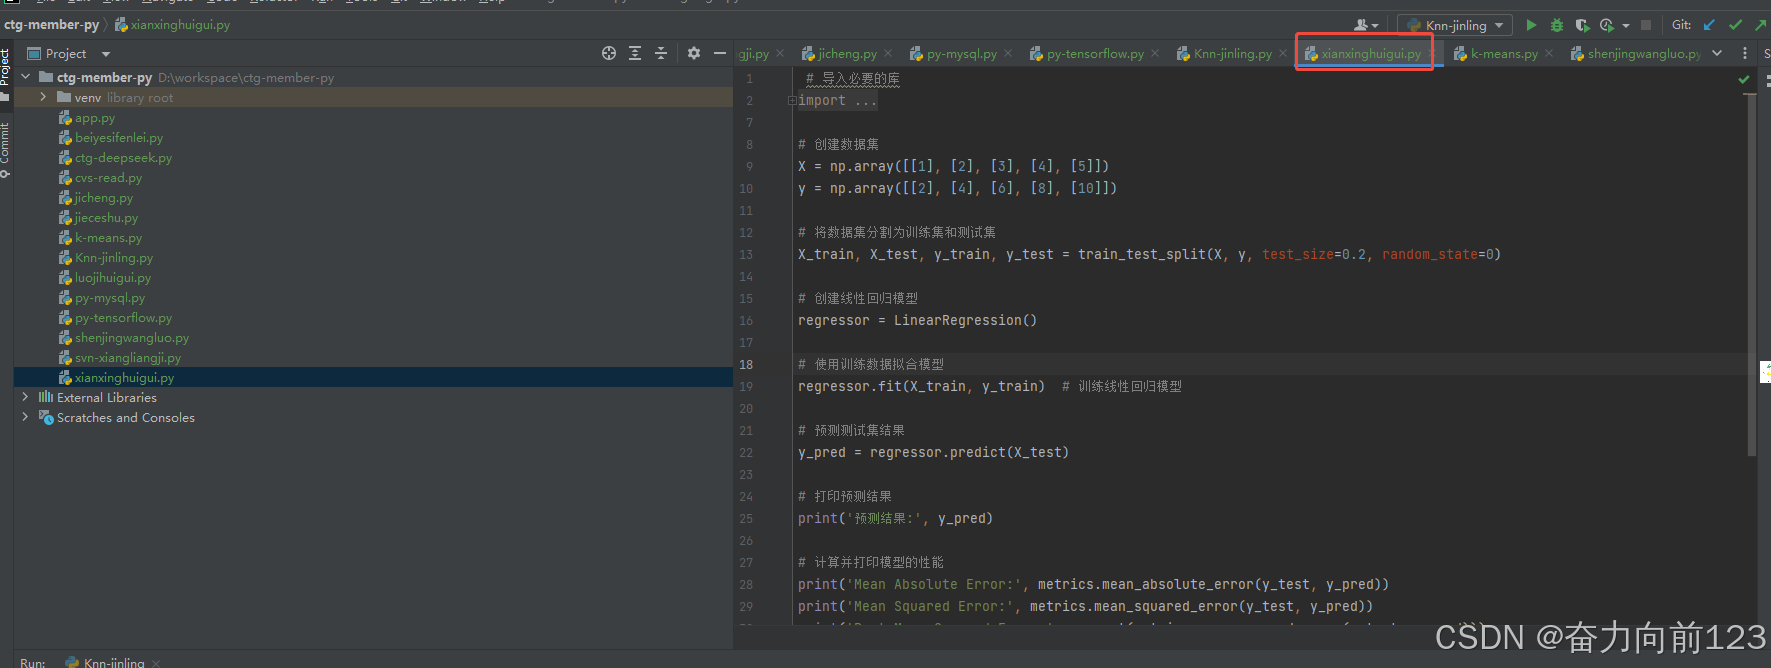
python
# 导入必要的库
import pandas as pd
from sklearn.model_selection import train_test_split
from sklearn.linear_model import LogisticRegression
from sklearn.metrics import accuracy_score

# 加载数据集
df = pd.read_csv('dataset.csv')

# 提取特征和目标变量
X = df['feature'].values.reshape(-1, 1)
y = df['target'].values

# 将数据集划分为训练集和测试集
X_train, X_test, y_train, y_test = train_test_split(X, y, test_size=0.2, random_state=42)

# 初始化逻辑回归模型
log_reg = LogisticRegression()

# 使用训练数据训练模型
log_reg.fit(X_train, y_train)

# 使用测试数据进行预测
y_pred = log_reg.predict(X_test)

# 计算并输出预测精度
accuracy = accuracy_score(y_test, y_pred)
print(f"模型的预测精度为: {accuracy}")
运行看看效果
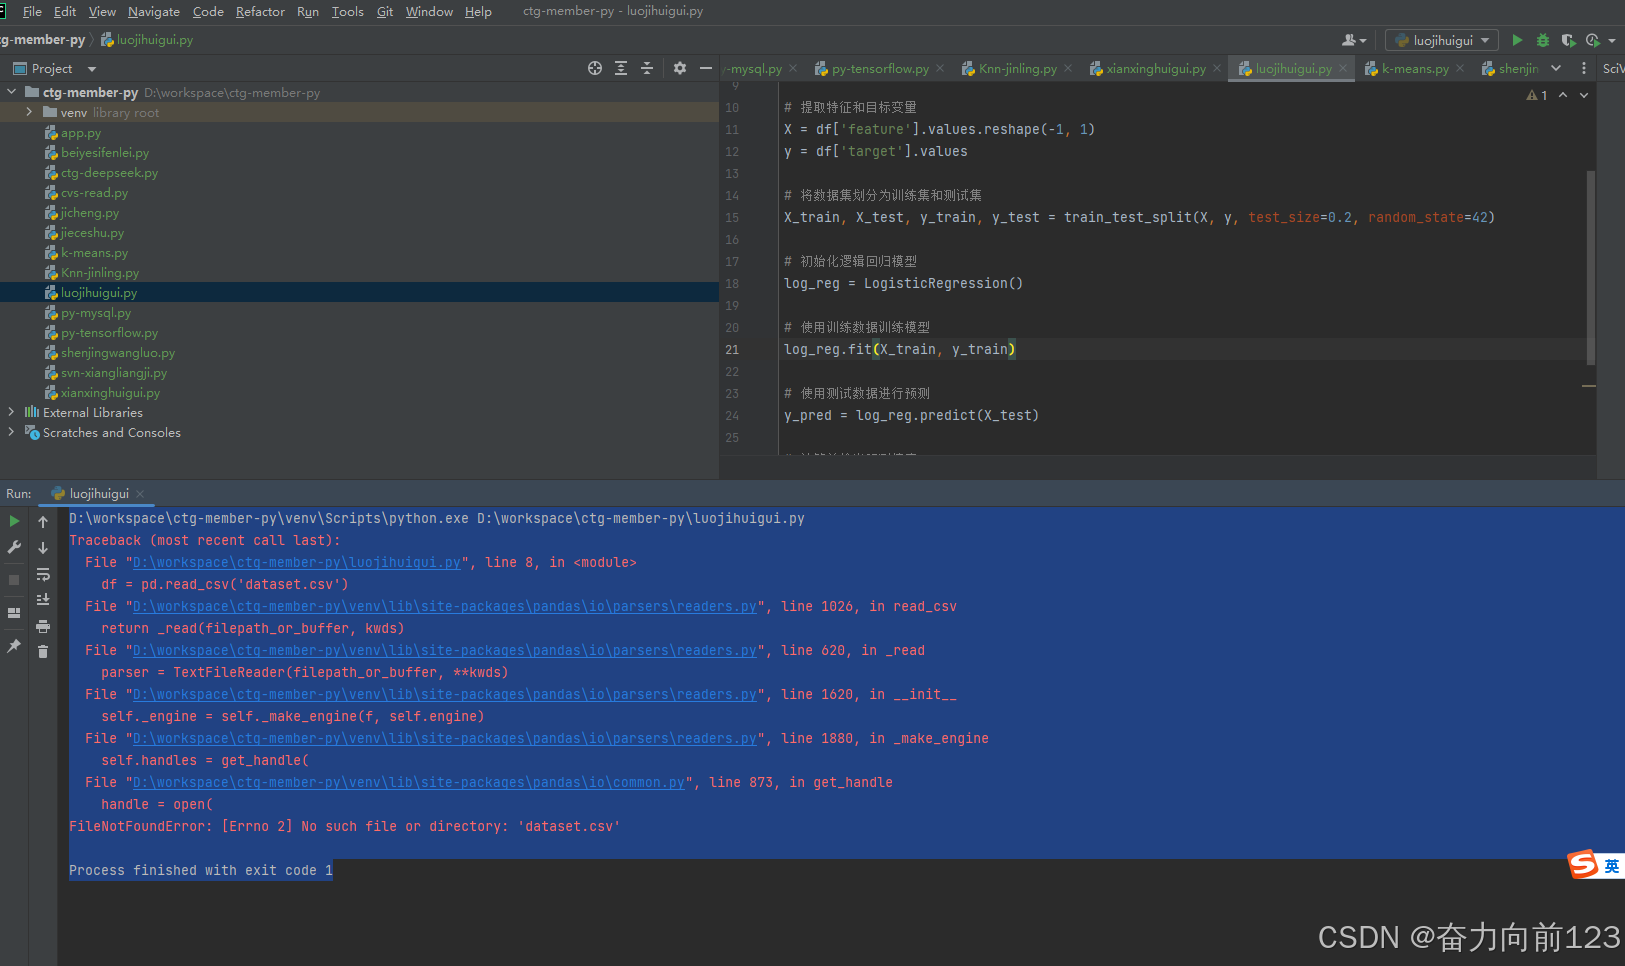
直接报错:
D:\workspace\ctg-member-py\venv\Scripts\python.exe D:\workspace\ctg-member-py\luojihuigui.py
Traceback (most recent call last):
File "D:\workspace\ctg-member-py\luojihuigui.py", line 8, in <module>
df = pd.read_csv('dataset.csv')
File "D:\workspace\ctg-member-py\venv\lib\site-packages\pandas\io\parsers\readers.py", line 1026, in read_csv
return _read(filepath_or_buffer, kwds)
File "D:\workspace\ctg-member-py\venv\lib\site-packages\pandas\io\parsers\readers.py", line 620, in _read
parser = TextFileReader(filepath_or_buffer, **kwds)
File "D:\workspace\ctg-member-py\venv\lib\site-packages\pandas\io\parsers\readers.py", line 1620, in init
self._engine = self._make_engine(f, self.engine)
File "D:\workspace\ctg-member-py\venv\lib\site-packages\pandas\io\parsers\readers.py", line 1880, in _make_engine
self.handles = get_handle(
File "D:\workspace\ctg-member-py\venv\lib\site-packages\pandas\io\common.py", line 873, in get_handle
handle = open(
FileNotFoundError: Errno 2 No such file or directory: 'dataset.csv'
Process finished with exit code 1
原因是没有准备数据;dataset.csv
先分析代码
# 导入必要的库
import pandas as pd
from sklearn.model_selection import train_test_split
from sklearn.linear_model import LogisticRegression
from sklearn.metrics import accuracy_score

# 加载数据集
df = pd.read_csv('dataset.csv')
3、决策树
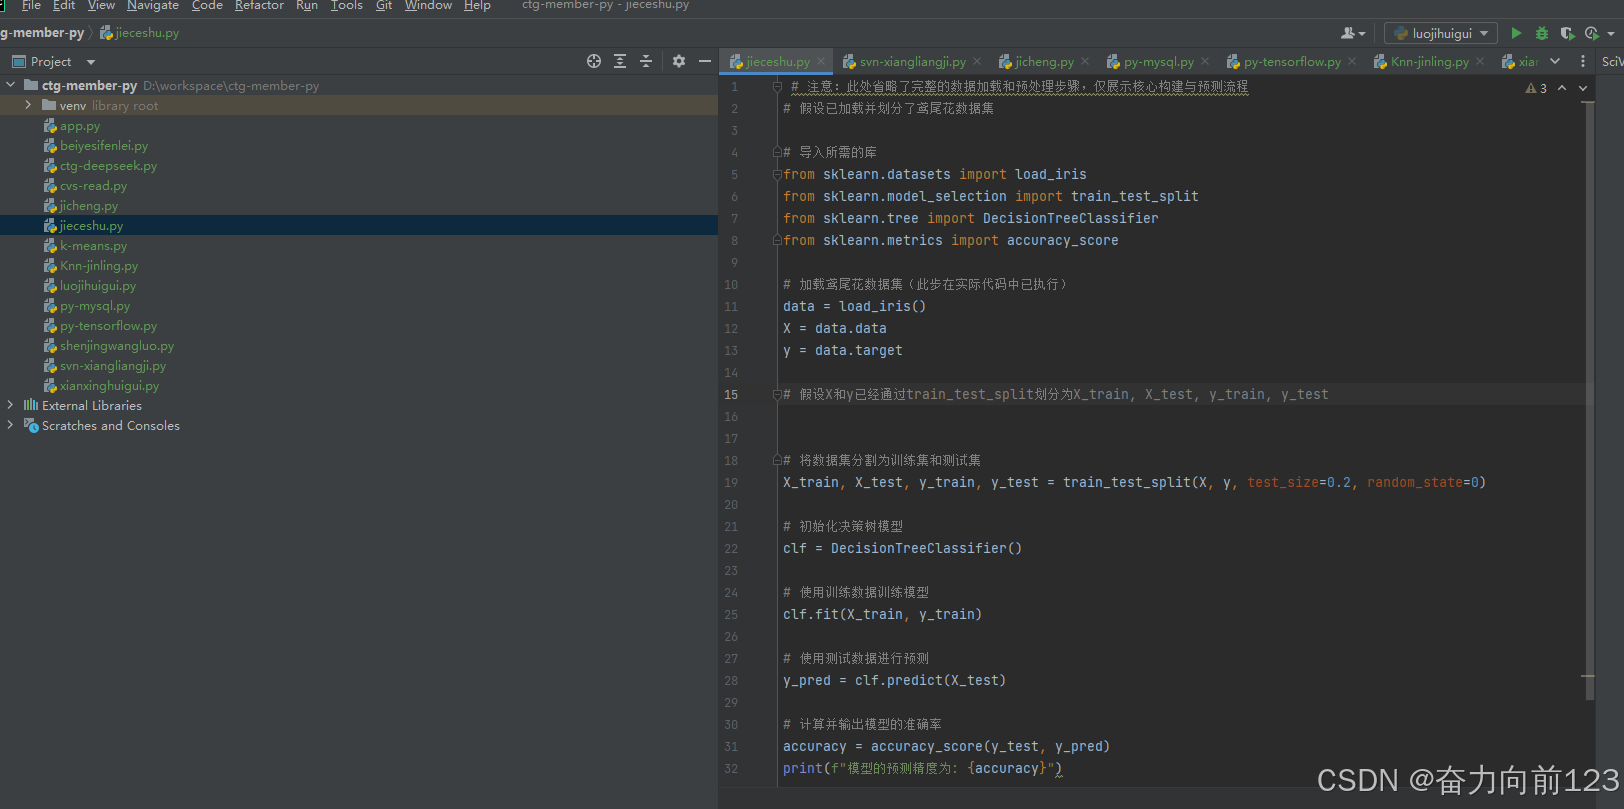
python
 # 注意:此处省略了完整的数据加载和预处理步骤,仅展示核心构建与预测流程
# 假设已加载并划分了鸢尾花数据集

# 导入所需的库
from sklearn.datasets import load_iris
from sklearn.model_selection import train_test_split
from sklearn.tree import DecisionTreeClassifier
from sklearn.metrics import accuracy_score

# 加载鸢尾花数据集(此步在实际代码中已执行)
data = load_iris()
X = data.data
y = data.target

# 假设X和y已经通过train_test_split划分为X_train, X_test, y_train, y_test


# 将数据集分割为训练集和测试集
X_train, X_test, y_train, y_test = train_test_split(X, y, test_size=0.2, random_state=0)

# 初始化决策树模型
clf = DecisionTreeClassifier()

# 使用训练数据训练模型
clf.fit(X_train, y_train)

# 使用测试数据进行预测
y_pred = clf.predict(X_test)

# 计算并输出模型的准确率
accuracy = accuracy_score(y_test, y_pred)
print(f"模型的预测精度为: {accuracy}")
运行代码
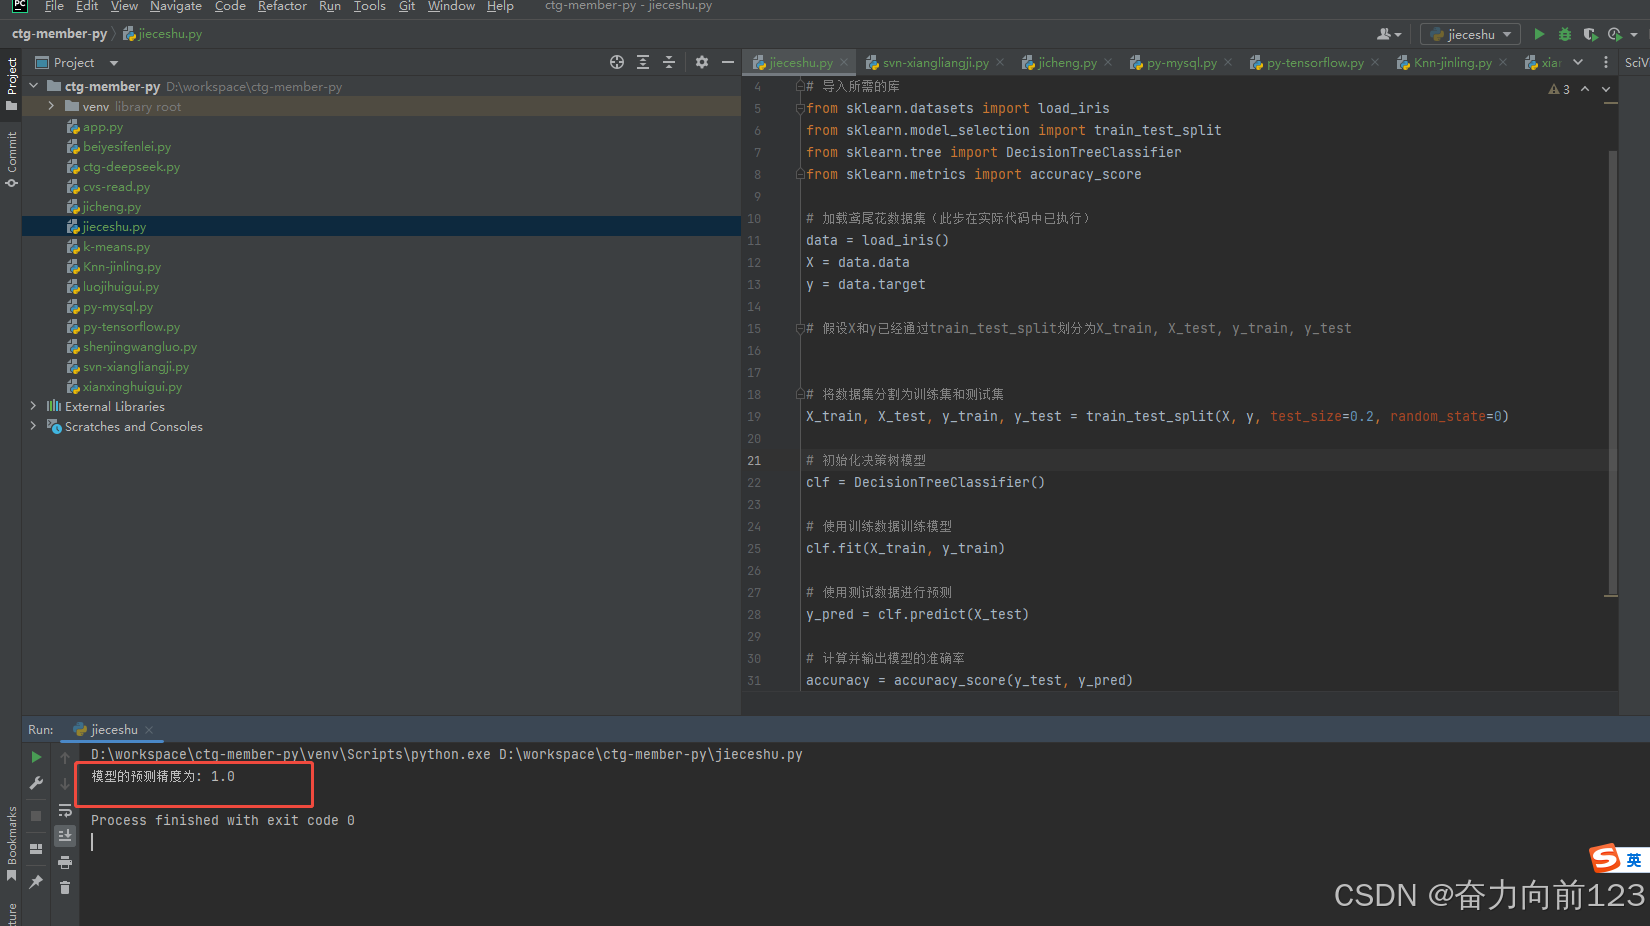
分析代码:
# 导入所需的库
from sklearn.datasets import load_iris
from sklearn.model_selection import train_test_split
from sklearn.tree import DecisionTreeClassifier
from sklearn.metrics import accuracy_score

# 加载鸢尾花数据集(此步在实际代码中已执行)
data = load_iris()
X = data.data
y = data.target
4、向量机SVM
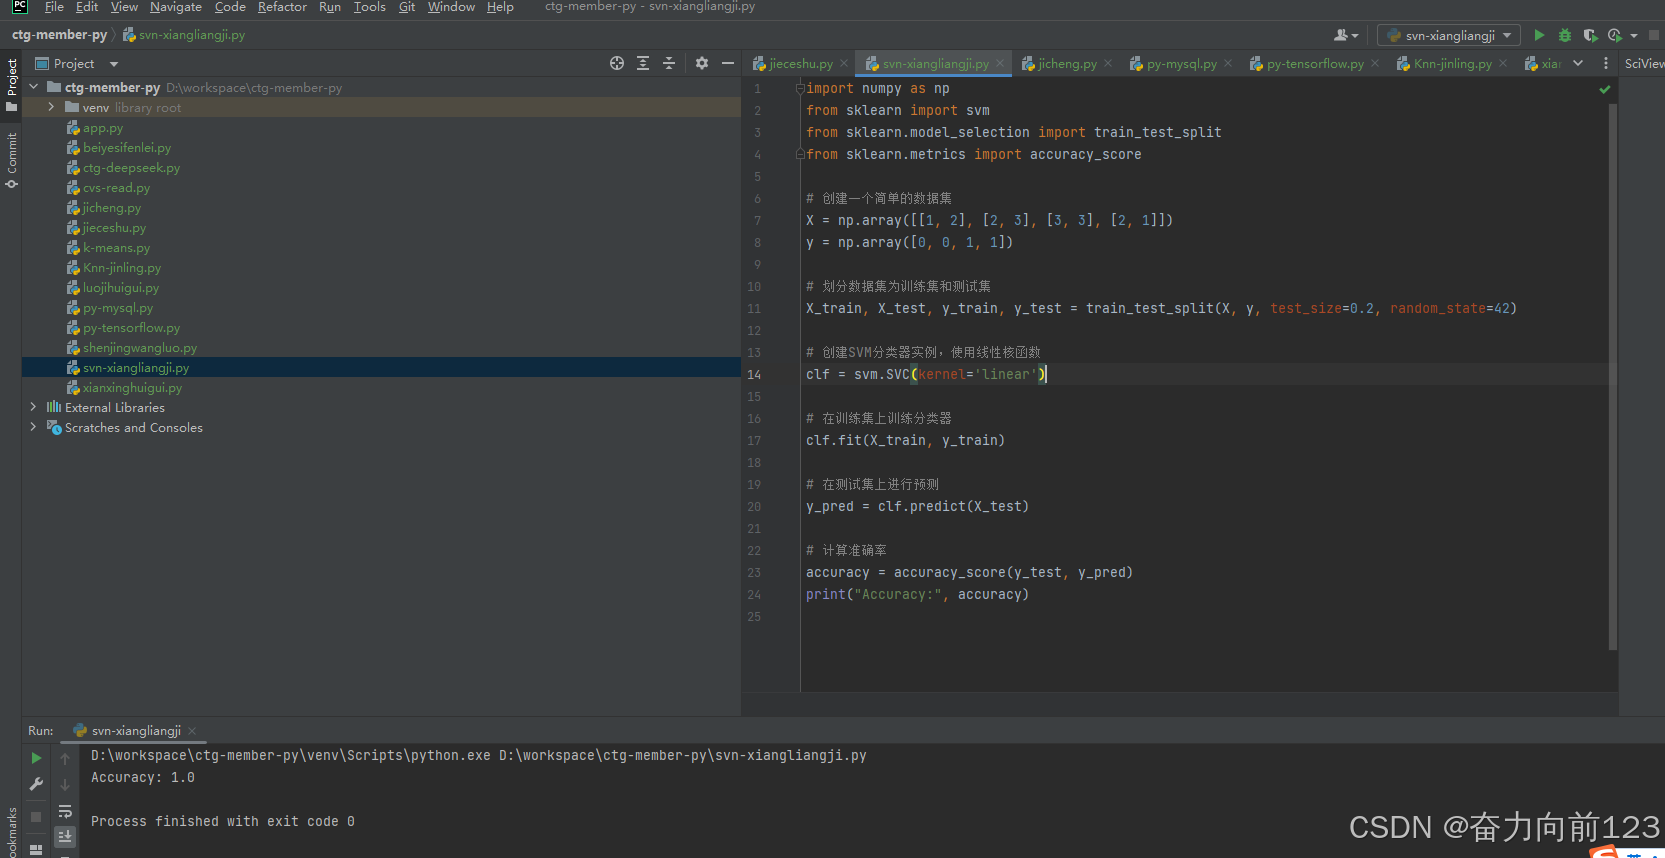
python
import numpy as np
from sklearn import svm
from sklearn.model_selection import train_test_split
from sklearn.metrics import accuracy_score

# 创建一个简单的数据集
X = np.array([[1, 2], [2, 3], [3, 3], [2, 1]])
y = np.array([0, 0, 1, 1])

# 划分数据集为训练集和测试集
X_train, X_test, y_train, y_test = train_test_split(X, y, test_size=0.2, random_state=42)

# 创建SVM分类器实例,使用线性核函数
clf = svm.SVC(kernel='linear')

# 在训练集上训练分类器
clf.fit(X_train, y_train)

# 在测试集上进行预测
y_pred = clf.predict(X_test)

# 计算准确率
accuracy = accuracy_score(y_test, y_pred)
print("Accuracy:", accuracy)
5、KNN-近邻
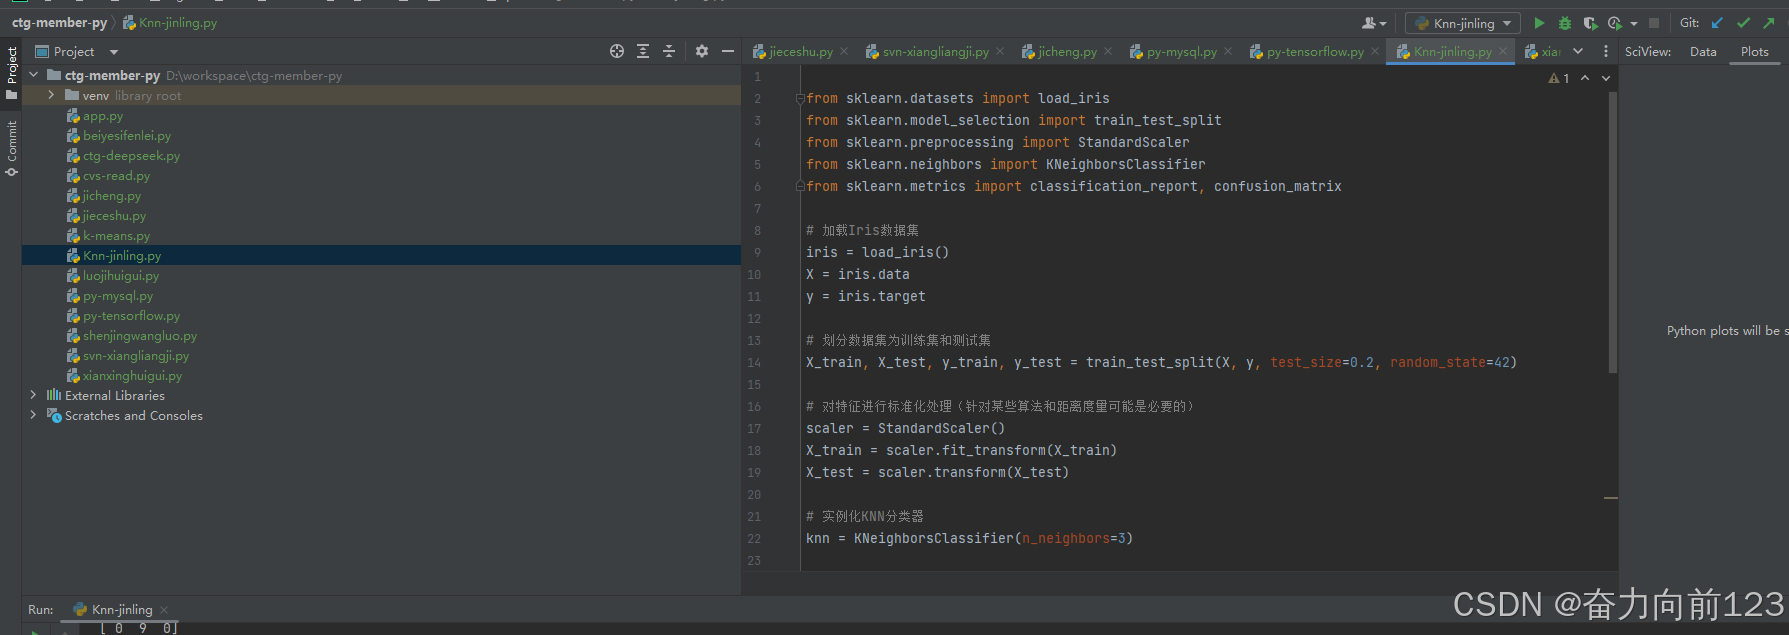
python
from sklearn.datasets import load_iris
from sklearn.model_selection import train_test_split
from sklearn.preprocessing import StandardScaler
from sklearn.neighbors import KNeighborsClassifier
from sklearn.metrics import classification_report, confusion_matrix

# 加载Iris数据集
iris = load_iris()
X = iris.data
y = iris.target

# 划分数据集为训练集和测试集
X_train, X_test, y_train, y_test = train_test_split(X, y, test_size=0.2, random_state=42)

# 对特征进行标准化处理(针对某些算法和距离度量可能是必要的)
scaler = StandardScaler()
X_train = scaler.fit_transform(X_train)
X_test = scaler.transform(X_test)

# 实例化KNN分类器
knn = KNeighborsClassifier(n_neighbors=3)

# 训练分类器
knn.fit(X_train, y_train)

# 在测试集上进行预测
y_pred = knn.predict(X_test)

# 评估分类器性能
print("混淆矩阵:")
print(confusion_matrix(y_test, y_pred))
print("\n分类报告:")
print(classification_report(y_test, y_pred))
输出结果:
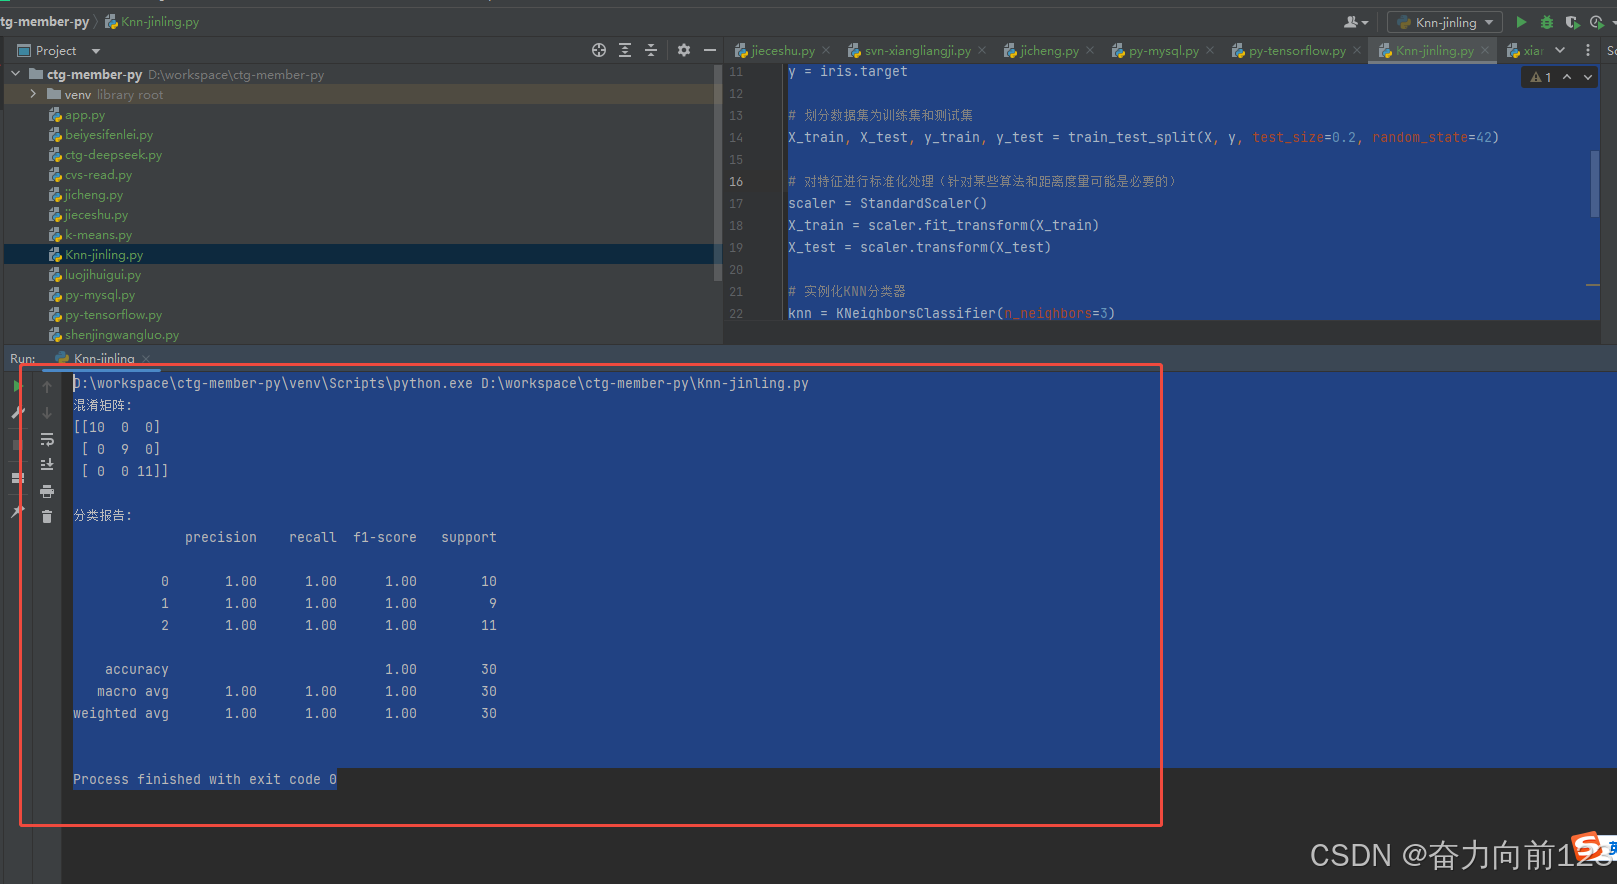
D:\workspace\ctg-member-py\venv\Scripts\python.exe D:\workspace\ctg-member-py\Knn-jinling.py
混淆矩阵:
\[10 0 0
0 9 0
0 0 11\]
分类报告:
precision recall f1-score support
0 1.00 1.00 1.00 10
1 1.00 1.00 1.00 9
2 1.00 1.00 1.00 11
accuracy 1.00 30
macro avg 1.00 1.00 1.00 30
weighted avg 1.00 1.00 1.00 30
Process finished with exit code 0
6、朴素贝叶斯

python
import numpy as np
from sklearn.datasets import load_iris
from sklearn.model_selection import train_test_split
from sklearn.naive_bayes import GaussianNB
from sklearn.metrics import accuracy_score
# 加载或创建数据集
iris = load_iris()
X = iris.data
y = iris.target
# 划分数据集为训练集和测试集
X_train, X_test, y_train, y_test = train_test_split(X, y, test_size=0.2, random_state=42)
# 创建并训练朴素贝叶斯分类器
gnb = GaussianNB()
gnb.fit(X_train, y_train)
# 评估分类器性能
y_pred = gnb.predict(X_test)
accuracy = accuracy_score(y_test, y_pred)
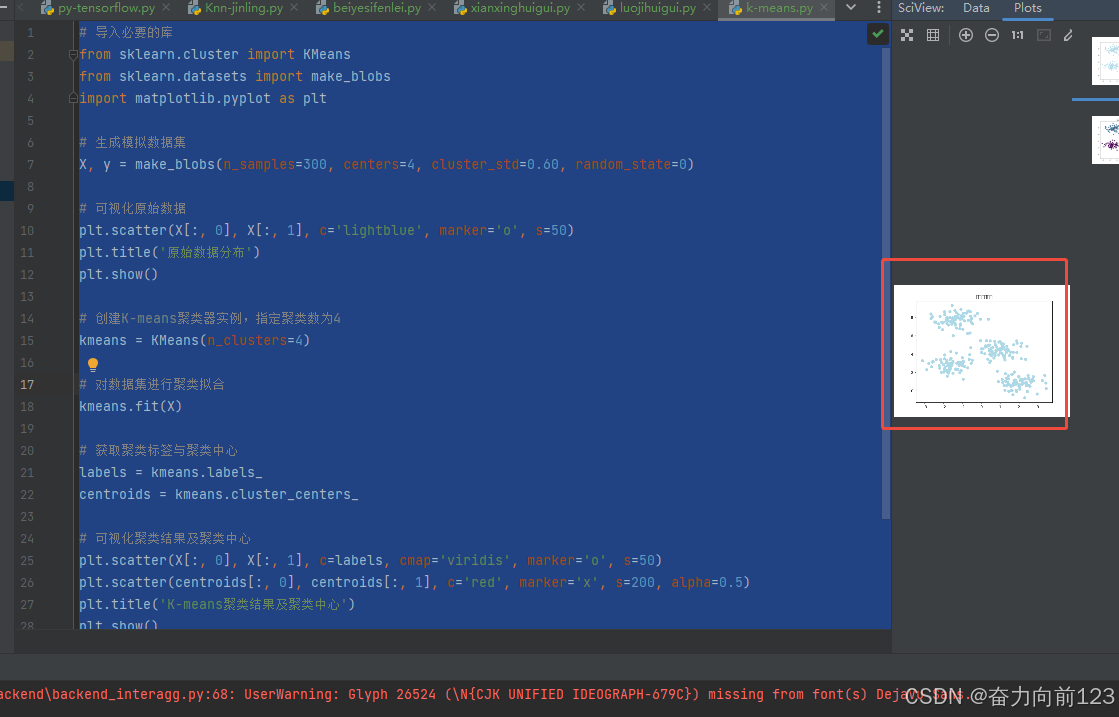
print("Accuracy:", accuracy)7、K-means(重点记住这个是无监督机器学习)

python
# 导入必要的库
from sklearn.cluster import KMeans
from sklearn.datasets import make_blobs
import matplotlib.pyplot as plt
# 生成模拟数据集
X, y = make_blobs(n_samples=300, centers=4, cluster_std=0.60, random_state=0)
# 可视化原始数据
plt.scatter(X[:, 0], X[:, 1], c='lightblue', marker='o', s=50)
plt.title('原始数据分布')
plt.show()
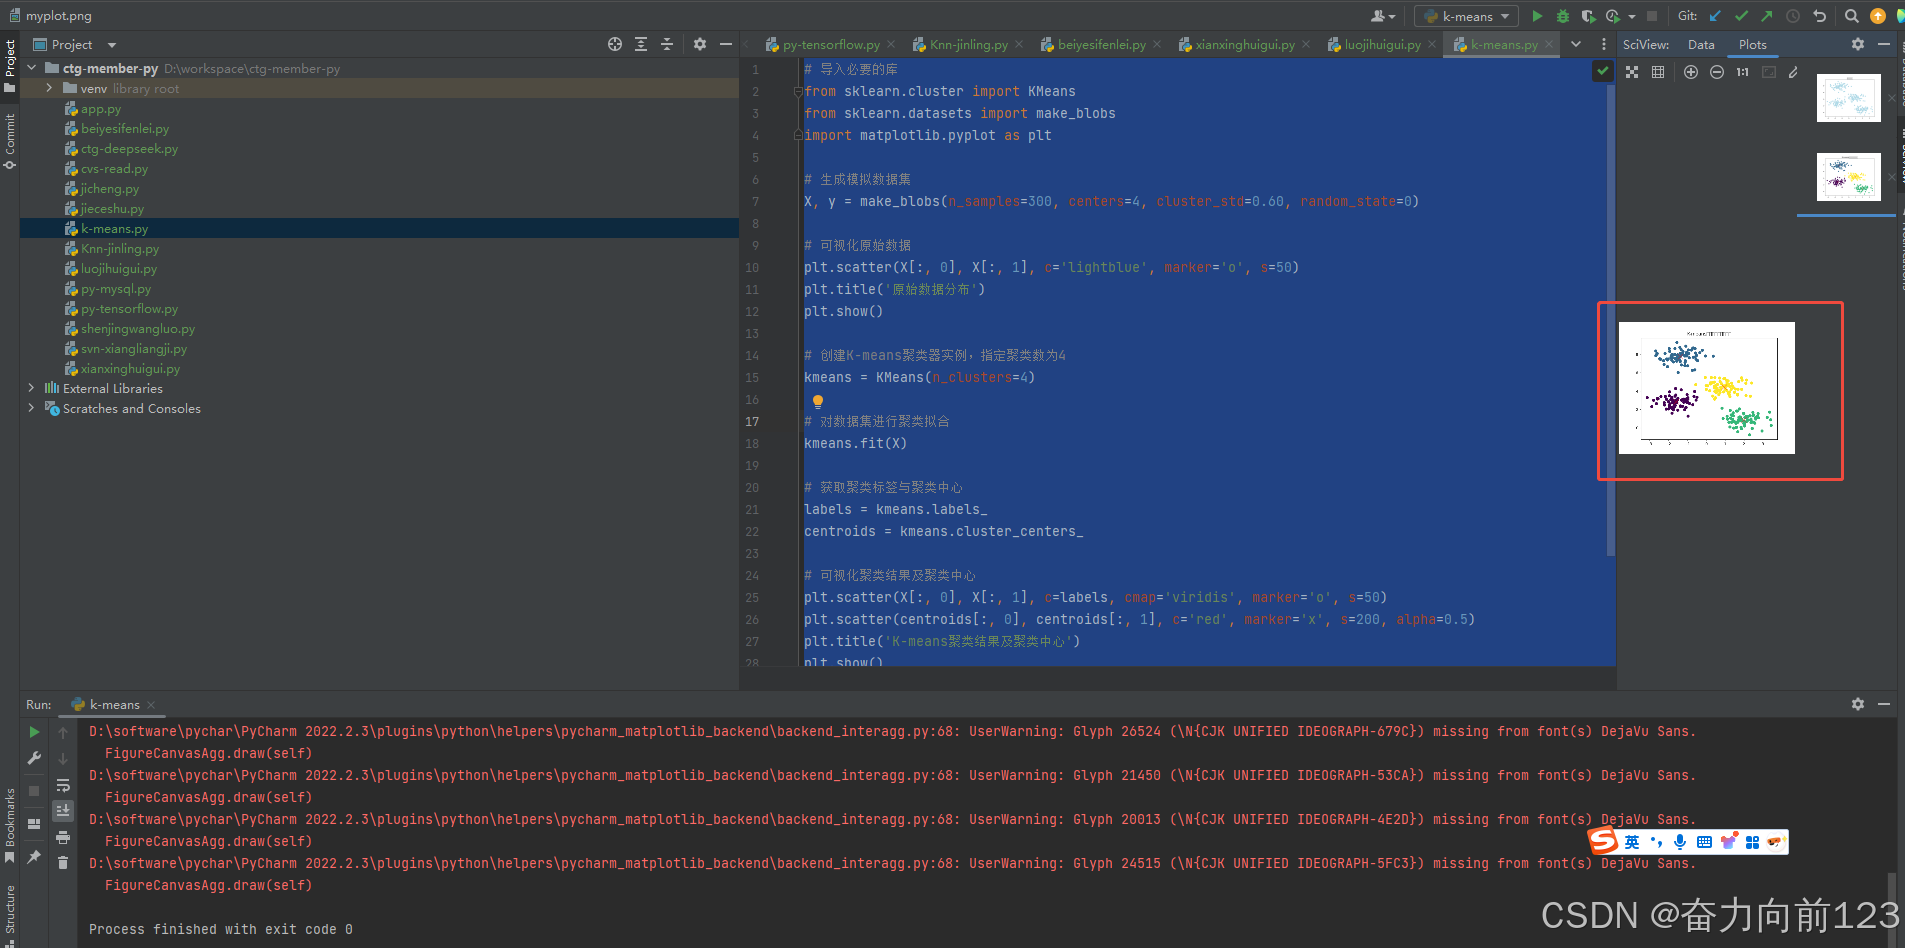
# 创建K-means聚类器实例,指定聚类数为4
kmeans = KMeans(n_clusters=4)
# 对数据集进行聚类拟合
kmeans.fit(X)
# 获取聚类标签与聚类中心
labels = kmeans.labels_
centroids = kmeans.cluster_centers_
# 可视化聚类结果及聚类中心
plt.scatter(X[:, 0], X[:, 1], c=labels, cmap='viridis', marker='o', s=50)
plt.scatter(centroids[:, 0], centroids[:, 1], c='red', marker='x', s=200, alpha=0.5)
plt.title('K-means聚类结果及聚类中心')
plt.show()运行结果:
8.神经网络tensorflow
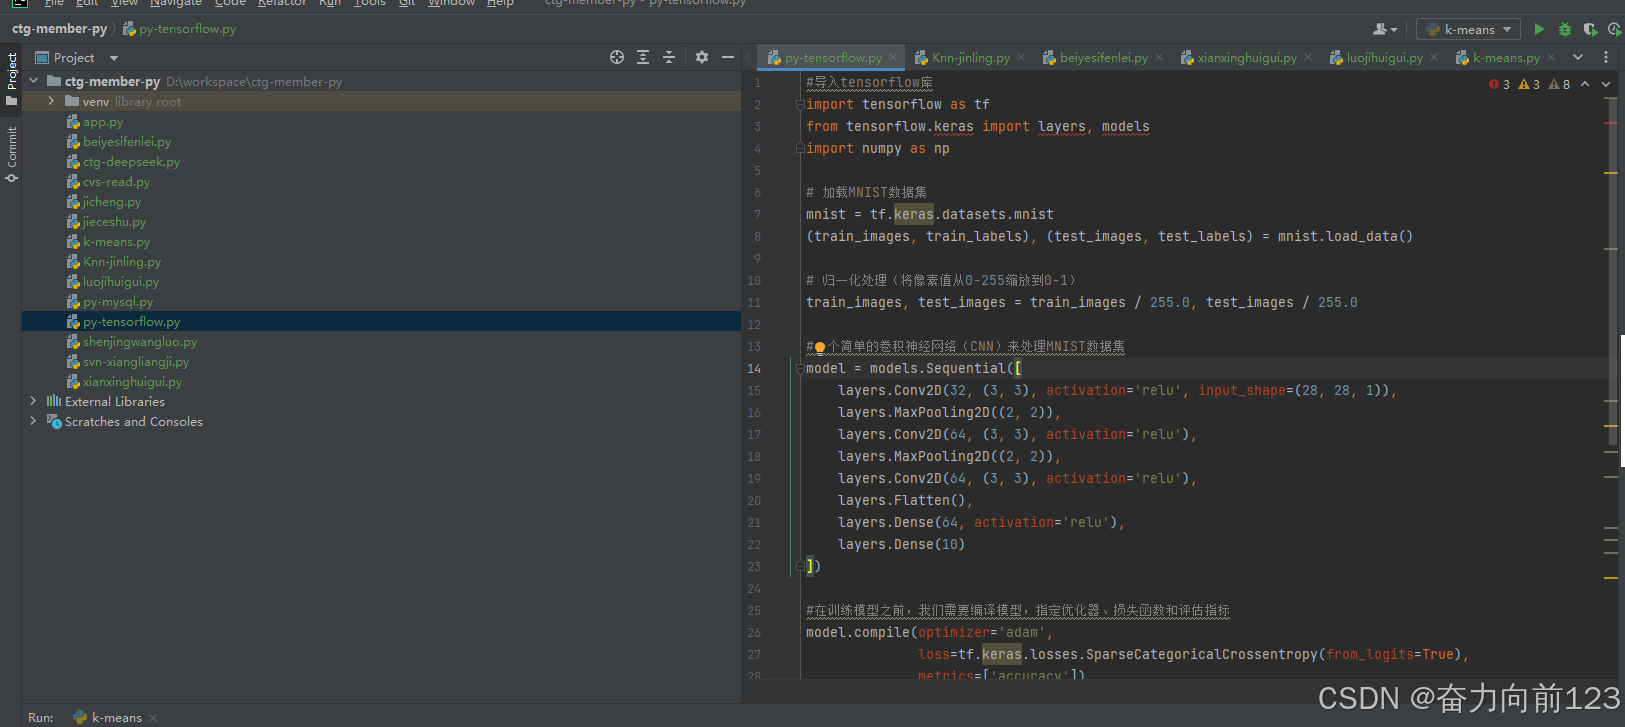
代码报错,没法安装tensorflow,搜索说是python的版本不兼容 需要在3.6到3.9之间,我的python版本是3.13.6 版本过高
python
#导入tensorflow库
import tensorflow as tf
from tensorflow.keras import layers, models
import numpy as np

# 加载MNIST数据集
mnist = tf.keras.datasets.mnist
(train_images, train_labels), (test_images, test_labels) = mnist.load_data()

# 归一化处理(将像素值从0-255缩放到0-1)
train_images, test_images = train_images / 255.0, test_images / 255.0

#一个简单的卷积神经网络(CNN)来处理MNIST数据集
model = models.Sequential([
    layers.Conv2D(32, (3, 3), activation='relu', input_shape=(28, 28, 1)),
    layers.MaxPooling2D((2, 2)),
    layers.Conv2D(64, (3, 3), activation='relu'),
    layers.MaxPooling2D((2, 2)),
    layers.Conv2D(64, (3, 3), activation='relu'),
    layers.Flatten(),
    layers.Dense(64, activation='relu'),
    layers.Dense(10)
])

#在训练模型之前,我们需要编译模型,指定优化器、损失函数和评估指标
model.compile(optimizer='adam',
              loss=tf.keras.losses.SparseCategoricalCrossentropy(from_logits=True),
              metrics=['accuracy'])
#使用训练数据训练模型。
model.fit(train_images[..., np.newaxis], train_labels, epochs=5)
#评估模型在测试数据上的表现。
test_loss, test_acc = model.evaluate(test_images[..., np.newaxis],  test_labels, verbose=2)
print('\nTest accuracy:', test_acc)

#模型可视化
import matplotlib.pyplot as plt
import random
i = random.randint(0, len(test_images))  # 选择一个随机图像进行展示
plt.imshow(test_images[i], cmap=plt.cm.binary)
plt.show()
运行看看
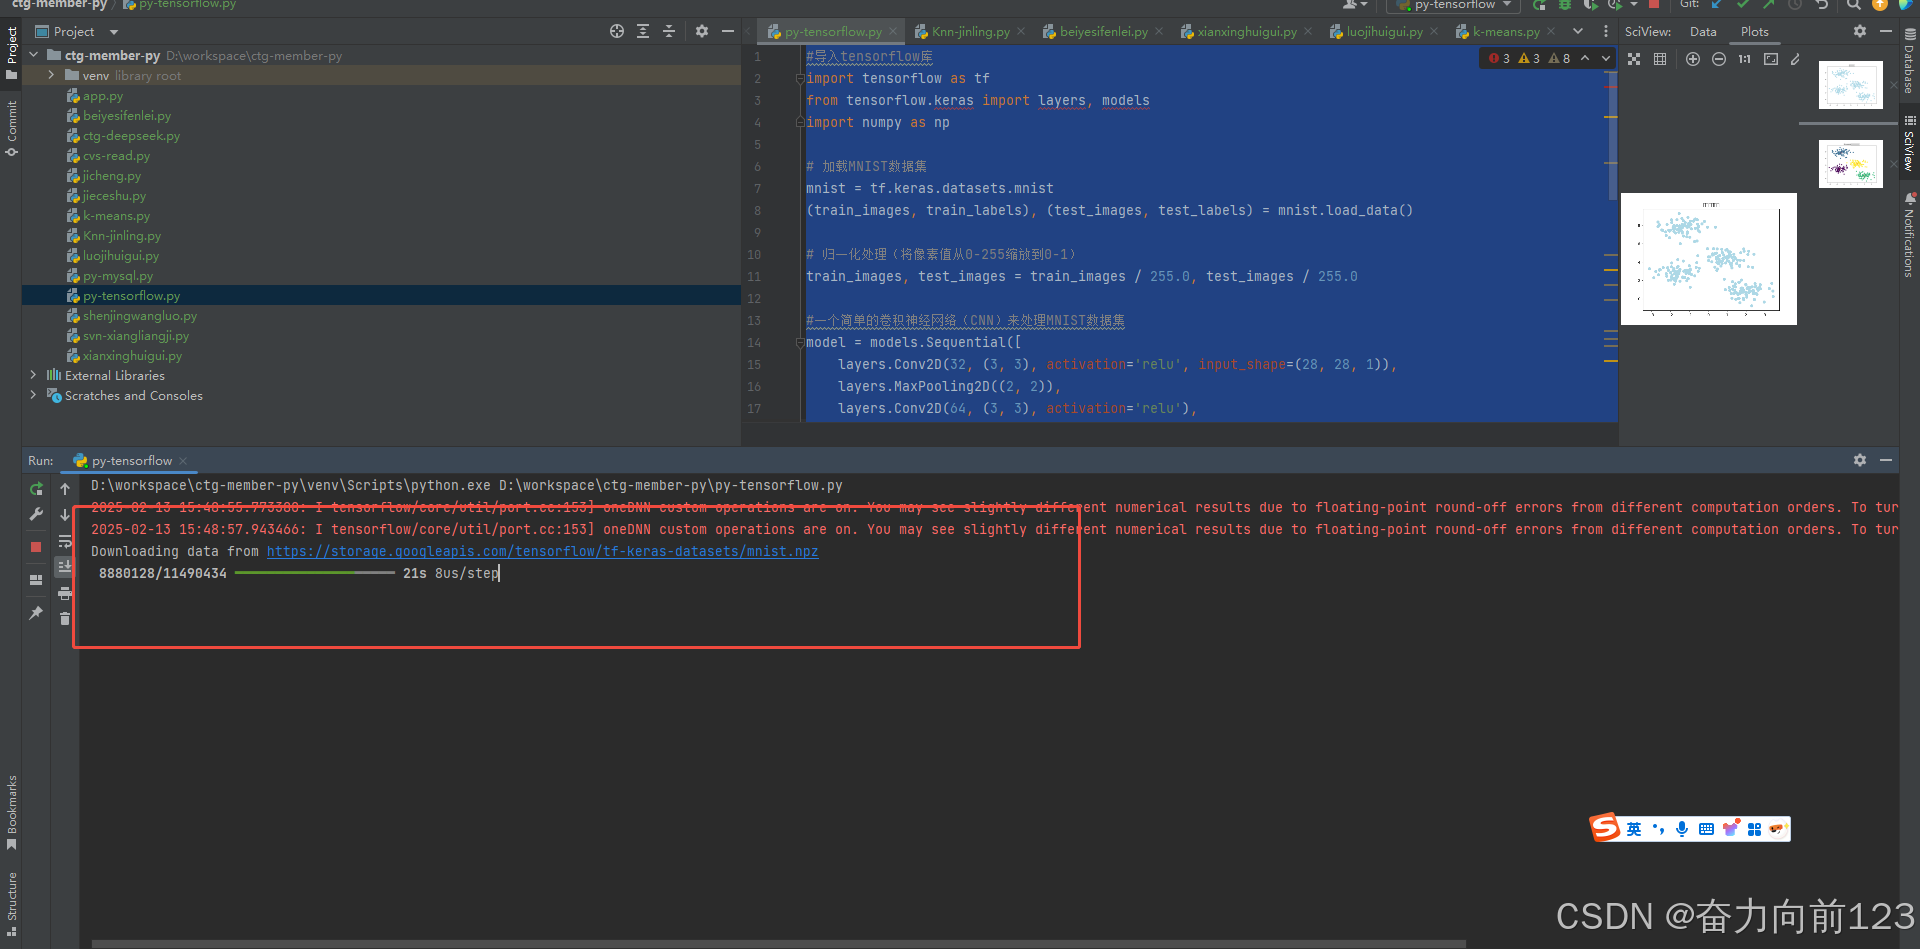
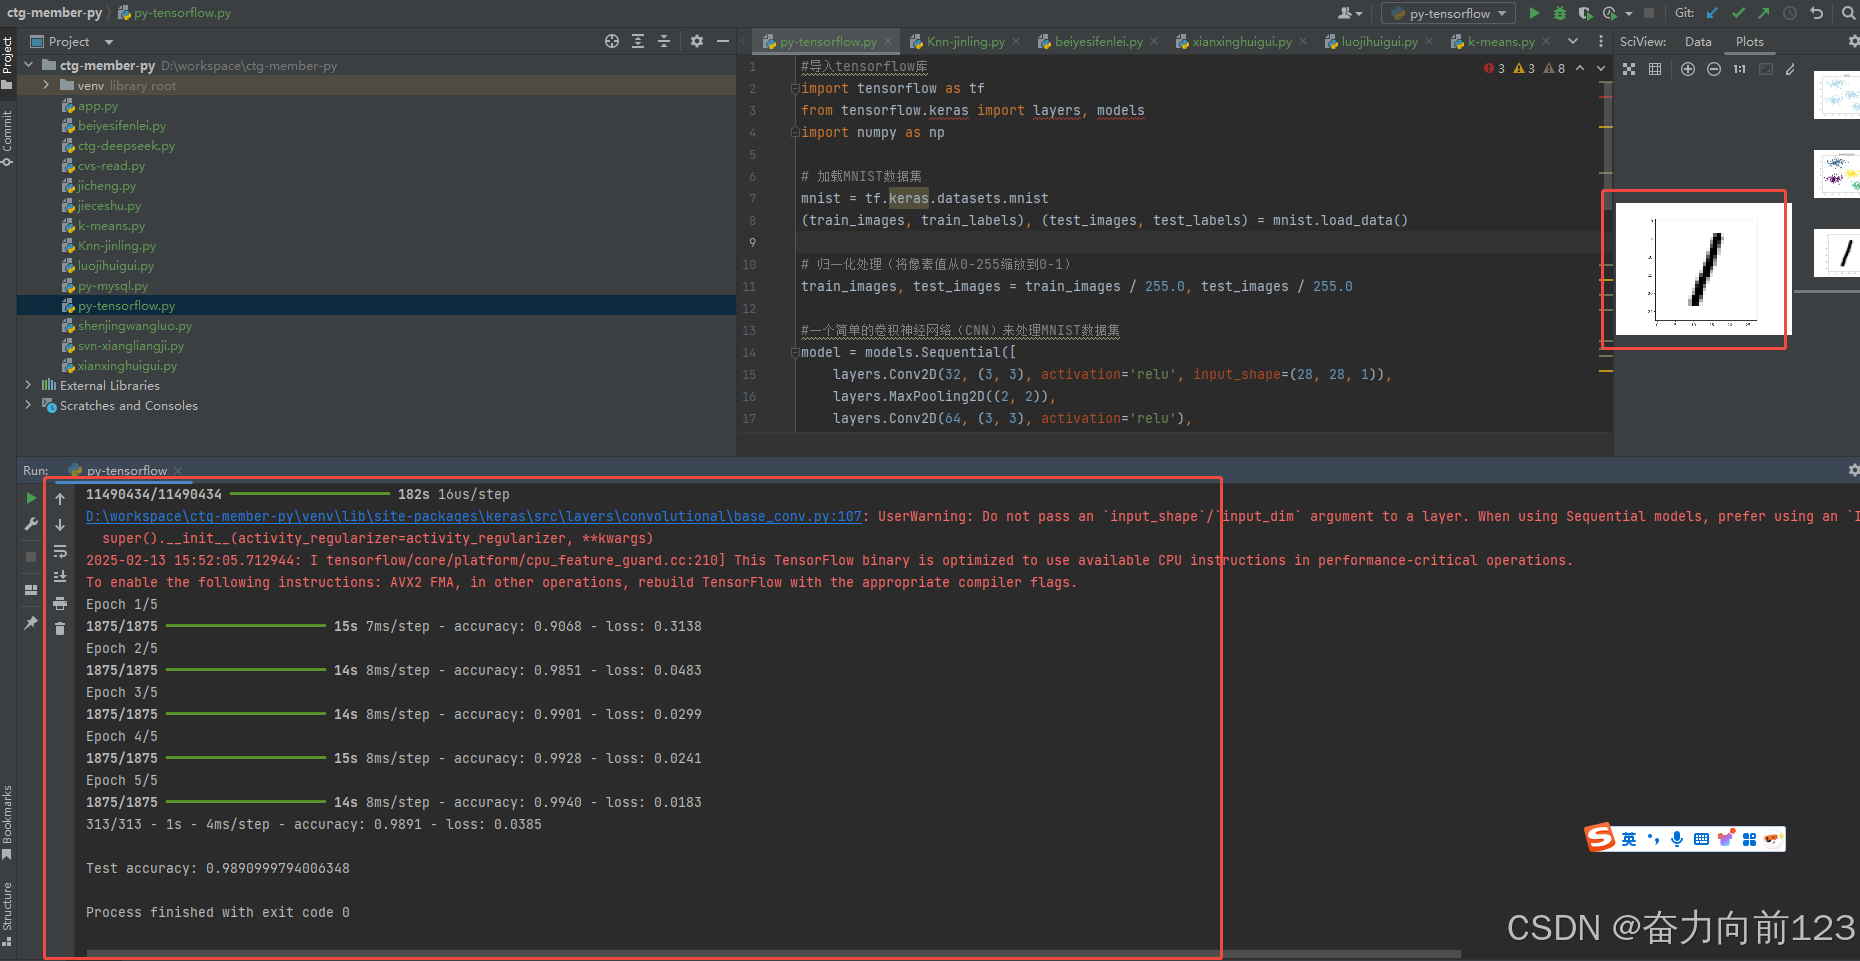
运行成功:
D:\workspace\ctg-member-py\venv\Scripts\python.exe D:\workspace\ctg-member-py\py-tensorflow.py
2025-02-13 15:48:55.773380: I tensorflow/core/util/port.cc:153] oneDNN custom operations are on. You may see slightly different numerical results due to floating-point round-off errors from different computation orders. To turn them off, set the environment variable `TF_ENABLE_ONEDNN_OPTS=0`.
2025-02-13 15:48:57.943466: I tensorflow/core/util/port.cc:153] oneDNN custom operations are on. You may see slightly different numerical results due to floating-point round-off errors from different computation orders. To turn them off, set the environment variable `TF_ENABLE_ONEDNN_OPTS=0`.
Downloading data from https://storage.googleapis.com/tensorflow/tf-keras-datasets/mnist.npz
11490434/11490434 ━━━━━━━━━━━━━━━━━━━━ 182s 16us/step
D:\workspace\ctg-member-py\venv\lib\site-packages\keras\src\layers\convolutional\base_conv.py:107: UserWarning: Do not pass an `input_shape`/`input_dim` argument to a layer. When using Sequential models, prefer using an `Input(shape)` object as the first layer in the model instead.
super().init(activity_regularizer=activity_regularizer, **kwargs)
2025-02-13 15:52:05.712944: I tensorflow/core/platform/cpu_feature_guard.cc:210] This TensorFlow binary is optimized to use available CPU instructions in performance-critical operations.
To enable the following instructions: AVX2 FMA, in other operations, rebuild TensorFlow with the appropriate compiler flags.
Epoch 1/5
1875/1875 ━━━━━━━━━━━━━━━━━━━━ 15s 7ms/step - accuracy: 0.9068 - loss: 0.3138
Epoch 2/5
1875/1875 ━━━━━━━━━━━━━━━━━━━━ 14s 8ms/step - accuracy: 0.9851 - loss: 0.0483
Epoch 3/5
1875/1875 ━━━━━━━━━━━━━━━━━━━━ 14s 8ms/step - accuracy: 0.9901 - loss: 0.0299
Epoch 4/5
1875/1875 ━━━━━━━━━━━━━━━━━━━━ 15s 8ms/step - accuracy: 0.9928 - loss: 0.0241
Epoch 5/5
1875/1875 ━━━━━━━━━━━━━━━━━━━━ 14s 8ms/step - accuracy: 0.9940 - loss: 0.0183
313/313 - 1s - 4ms/step - accuracy: 0.9891 - loss: 0.0385
Test accuracy: 0.9890999794006348
Process finished with exit code 0