flushSync确保了DOM立即更新
flushSync让你强制React同步刷新提供回调中的任何更新,这确保了DOM立即更新
flushSync是DOM更新之后的,像vue中的nextTick:
javascript
import { useState,useRef} from "react"
import { flushSync} from "react-dom"

function App(){
    const [count,setCount] = useState(0)
    const [count2,setCount2] = useState(0)
    const ref = useRef(null)
    const handleClick = ()=>{
        flushSync(()=>{
            setCount(count + 1)
            setCount2(count2+1)
        })
        console.log(ref.current.innerHTML)
    }
    return(
        <div>
            hello App
            <button onClick={handleClick}>
                点击
            </button>
            <div ref={ref}>
                {count},{count2}
            </div>
        </div>
    )
}

export default App
flushSync可以取消自动批处理(没有太大意义)
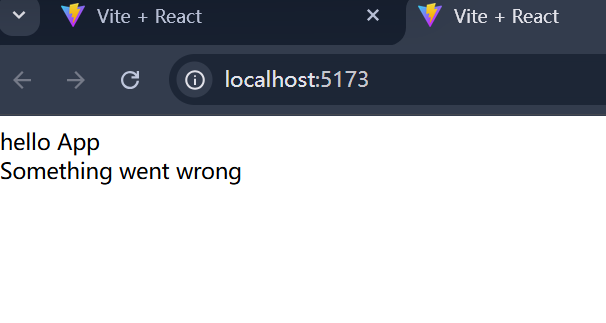
使用error bountary(错误边界)捕获渲染错误
默认情况下,如果您的应用程序在渲染期间抛出错误,React将从屏幕上移除其UI,为了防止这种情况,可以将UI的一部分包装到错误边界中,错误边界是一种特殊组件,可让我显示一些后备UI而不是崩溃的部分,例如错误信息
想要使用错误边界一般可以采用第三方支持:react-error-boundary
使用前先安装:
javascript
npm install classnames react-error-boundary
javascript
import {classNames} from 'classnames'
import { ErrorBoundary } from 'react-error-boundary'

function Head() {
  classNames()
  return <div>hello Head</div>
}

function App() {
  return (
    <div>
      hello App
      {/* <Head />   白屏崩溃    */}
      <ErrorBoundary fallback={<div>Something went wrong</div>}>
        <Head />
      </ErrorBoundary>
    </div>
  )
}

export default App
这样以后会抛出错误,让我们更加明晰错误边界
lazy与<Suspense>懒加载的组件
lazy指的是能让我在组件第一次被渲染之前延迟加载组件的代码
<Suspense/>允许您显示回退,知道子项完成加载
有的东西没有使用但是还是在加载
能不能到用的时候再加载,可以的兄弟,可以的(饿汉模式和懒汉模式一样)
lazy与懒加载的组件.jsx:
javascript
import { useState,lazy,Suspense } from "react"
// import MyHead from "./MyHead.jsx"
const MyHead = lazy(()=>import('./MyHead.jsx'))

function App(){
    const [show,setShow] = useState(false)
    return(
        <div>
            hello World
            <button onClick={()=>setShow(true)}>点击</button>
            <Suspense fallback = { <div>loading...</div> } >
                {show && <MyHead/>}
            </Suspense>
        </div>
    )
}
export default App
MyHead.jsx:
javascript
console.log('myhead')

function MyHead(){
    return(
        <div>
            hello World
        </div>
    )
}
export default MyHead
createPortal渲染到DOM的不同部分
javascript
import { useState } from 'react'
import { createPortal } from 'react-dom'

function App() {
    const [count,setCount] = useState(0)
  return (
    <div>
      hello App
      {createPortal(<p onClick={()=>setCount(count+1)}>这是一个段落,{count}</p>, document.querySelector('body'))}
    </div>
  )
}
export default App
这是把它渲染到body里面
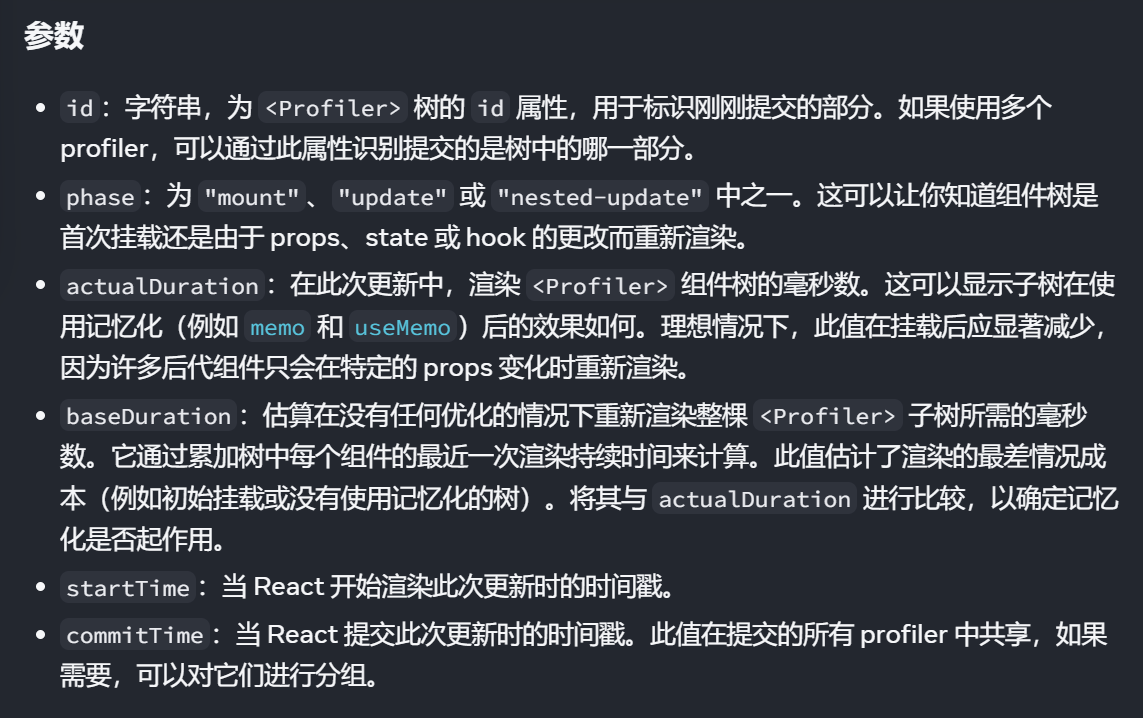
<Profiler>和ReactDevTools的性能测试
<Profiler>让您以编程方式测量React树的渲染性能
javascript
import { useState,Profiler } from "react"

function Head({count}){
    return (
        <div>
            hello Head,{count}
        </div>
    )
}

function App(){
    const [count,setCount] = useState(0)
    const onRender = (id, phase, actualDuration, baseDuration, startTime, commitTime)=>{
        console.log(id, phase, actualDuration, baseDuration, startTime, commitTime)
    }
    return (
        <div>
            hello App
            <button onClick={()=>setCount(count + 1)}>点击</button>
            {count}
            <Profiler id="App" onRender={onRender}>
                <Head count={count}/>
            </Profiler>
        </div>
    )
}

export default App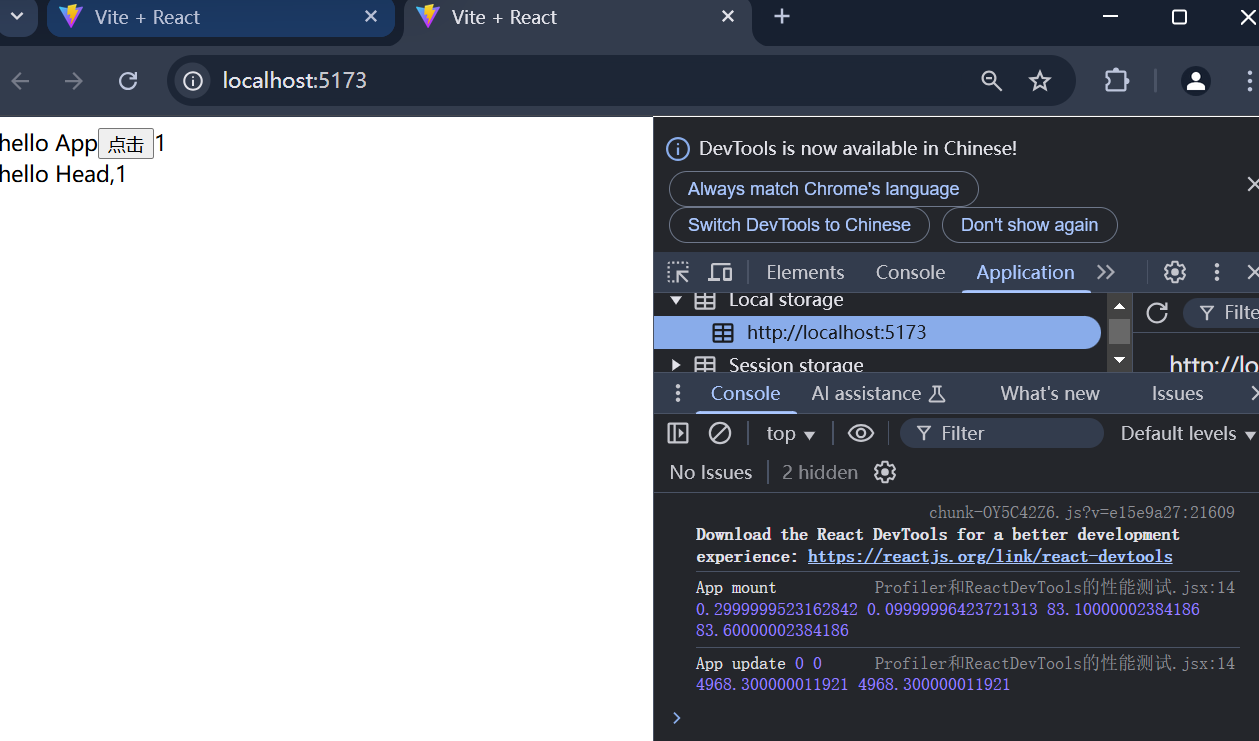
hydrateRoot水合与服务端API
SSR(服务端渲染)技术,特别☞支持在Node.js中运行相同应用程序的前端框架(例如React、Vue等),将其渲染成HTML,最后在客户端进行水合处理,SSR有利于SEO搜索引擎优化
hydrateRoot -- React 中文文档![]() https://zh-hans.react.dev/reference/react-dom/client/hydrateRoot看文档写代码
https://zh-hans.react.dev/reference/react-dom/client/hydrateRoot看文档写代码
CSS-in-JS允许直接在JS中编写CSS
这个解决方案给我们提供了新的编写CSS的方式,使用JS为基础的API来创建和编写样式
好处:动态样式,元素作用域,自定义主题,支持SSR,方便单元测试等。。。
CSS in JS library:Style-components、Linaria
使用前先安装:
bash
npm install styled-components
javascript
import { useState } from 'react'
import styled from 'styled-components'

const Div = styled.div`
  width: 200px;
  height: 200px;
  display:${({ show }) => (show ? 'block' : 'none')};
  background: red;
  &p{
       color:white;
  }
`
const Link = styled.a`
  text-decoration: underline;
  color: red;
  &:hover {
    color: yellow;
  }
`

function App() {
  const [show, setShow] = useState(false)
  return (
    <div>
      hello App
      <Div title="hello world" show={show} />
      <p>ppppppppp</p>
      <button onClick={() => setShow(prev => !prev)}>点击</button>
      <Link href="https://www.baidu.com">去百度</Link>
    </div>
  )
}
export default App
会反复横跳
React中使用Tailwind CSS
只用书写HTML代码,无需书写CSS,即可快速的构建美观的网站,Tailwind框架利用CSS原子化思想实现,优点:统一的风格,构建体积很小,具备响应式的一切,组件驱动等
比上一种常用一点,简单一点
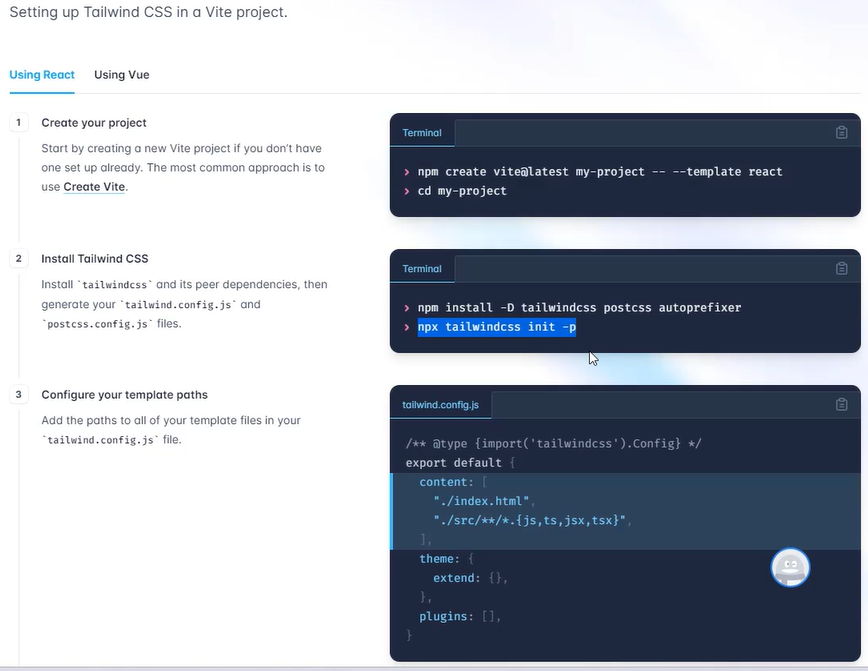
使用之前需要配置一下:
javascript
https://tailwindcss.com/docs/installation/using-vite#react有一些插件可以辅助我们写代码
1.提示Tailwind CSS IntelligentSense插件
2.@tailwind报错 -> 设置 -> unknown -> css line -> ignore
bash
npm install -D tailwindcss postcss autoprefixer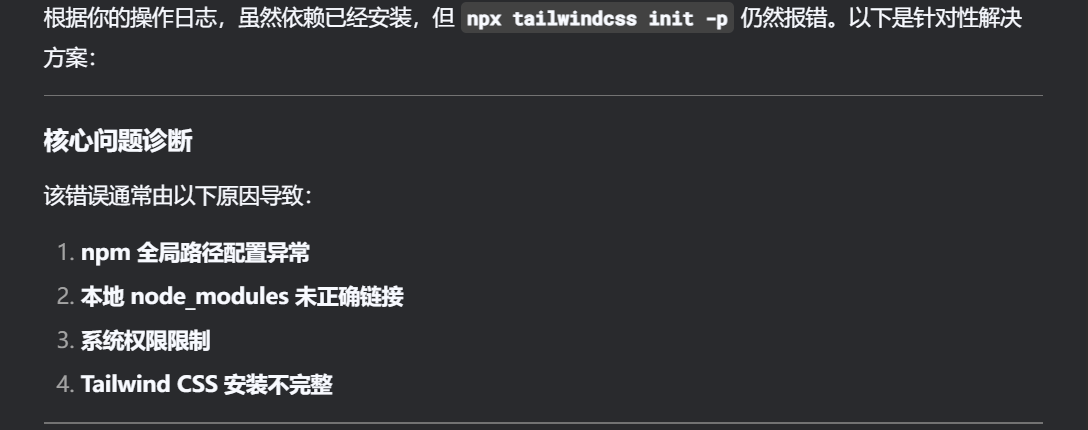
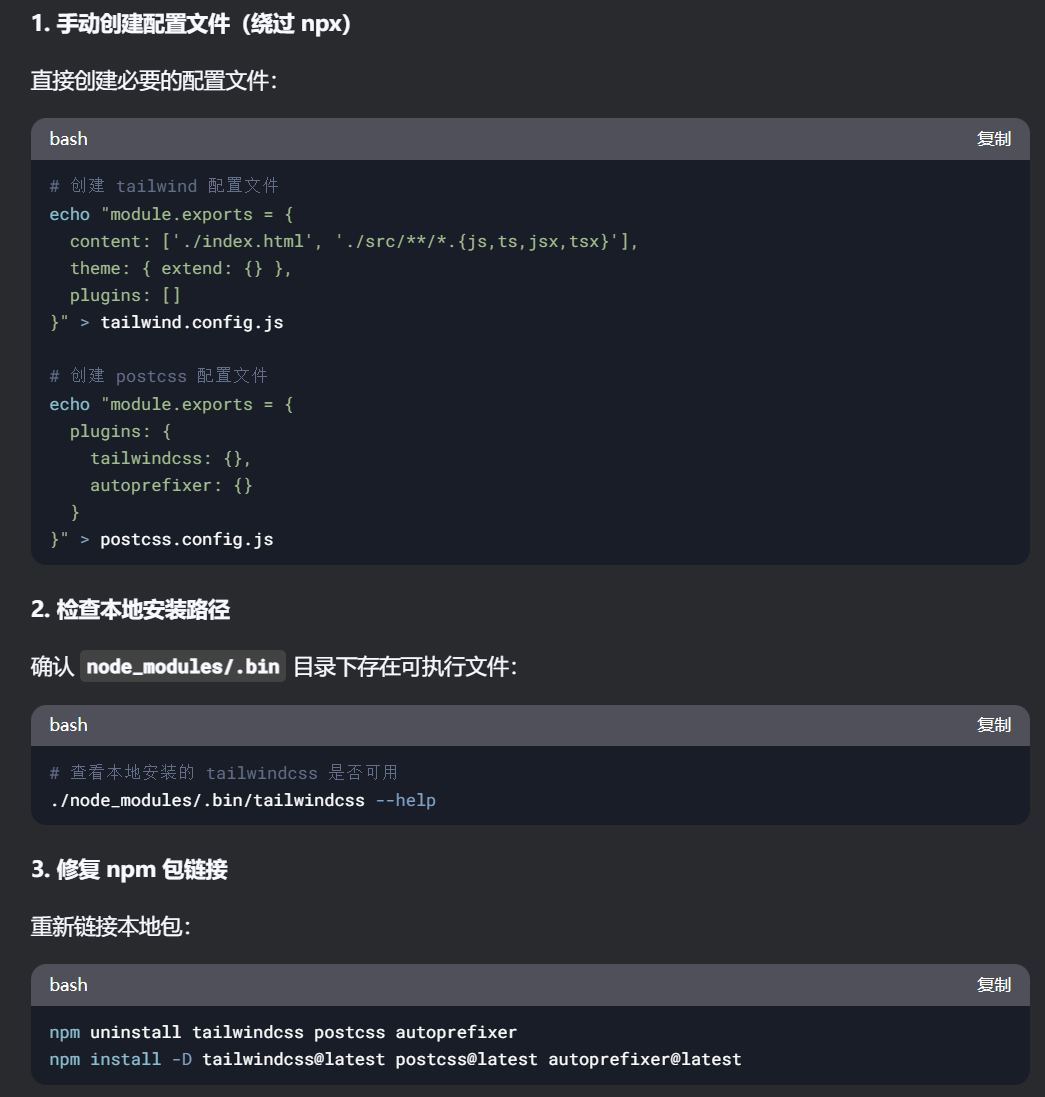
花花绿绿的全在报错(上面的试过了不好用):
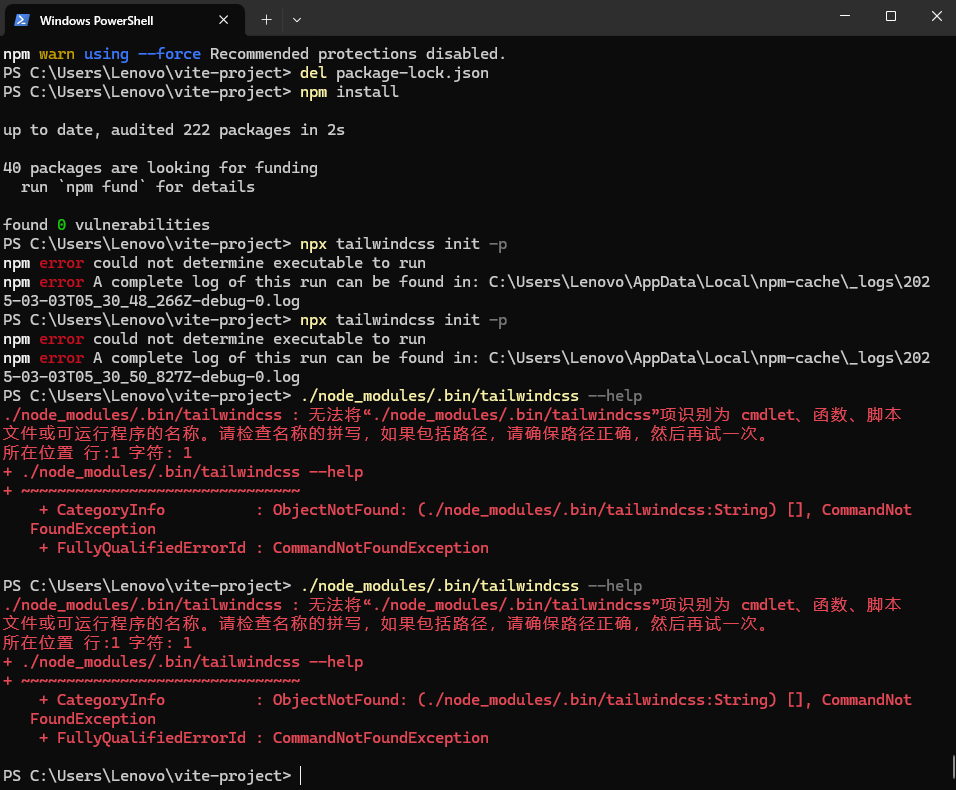
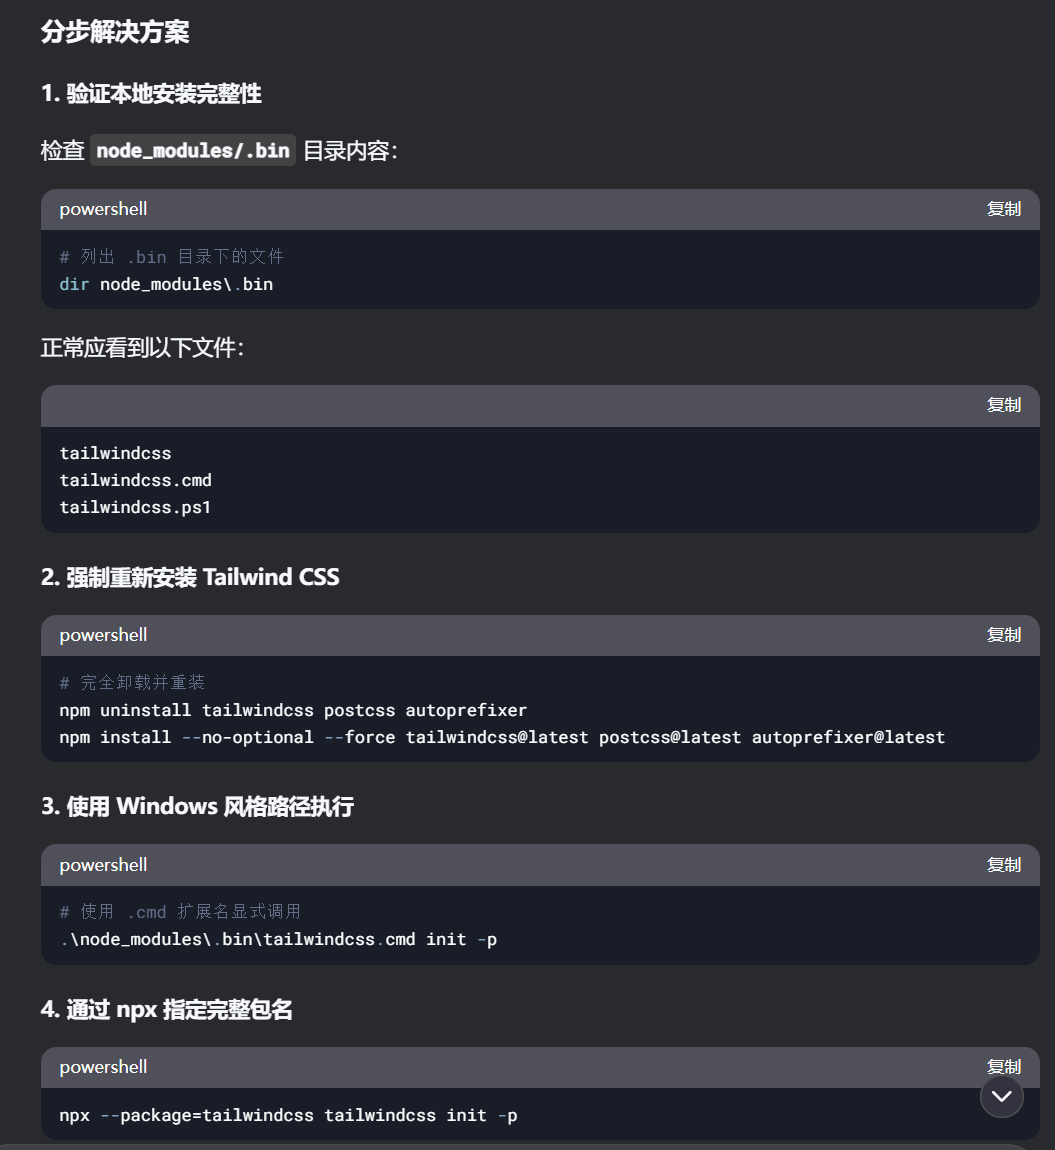
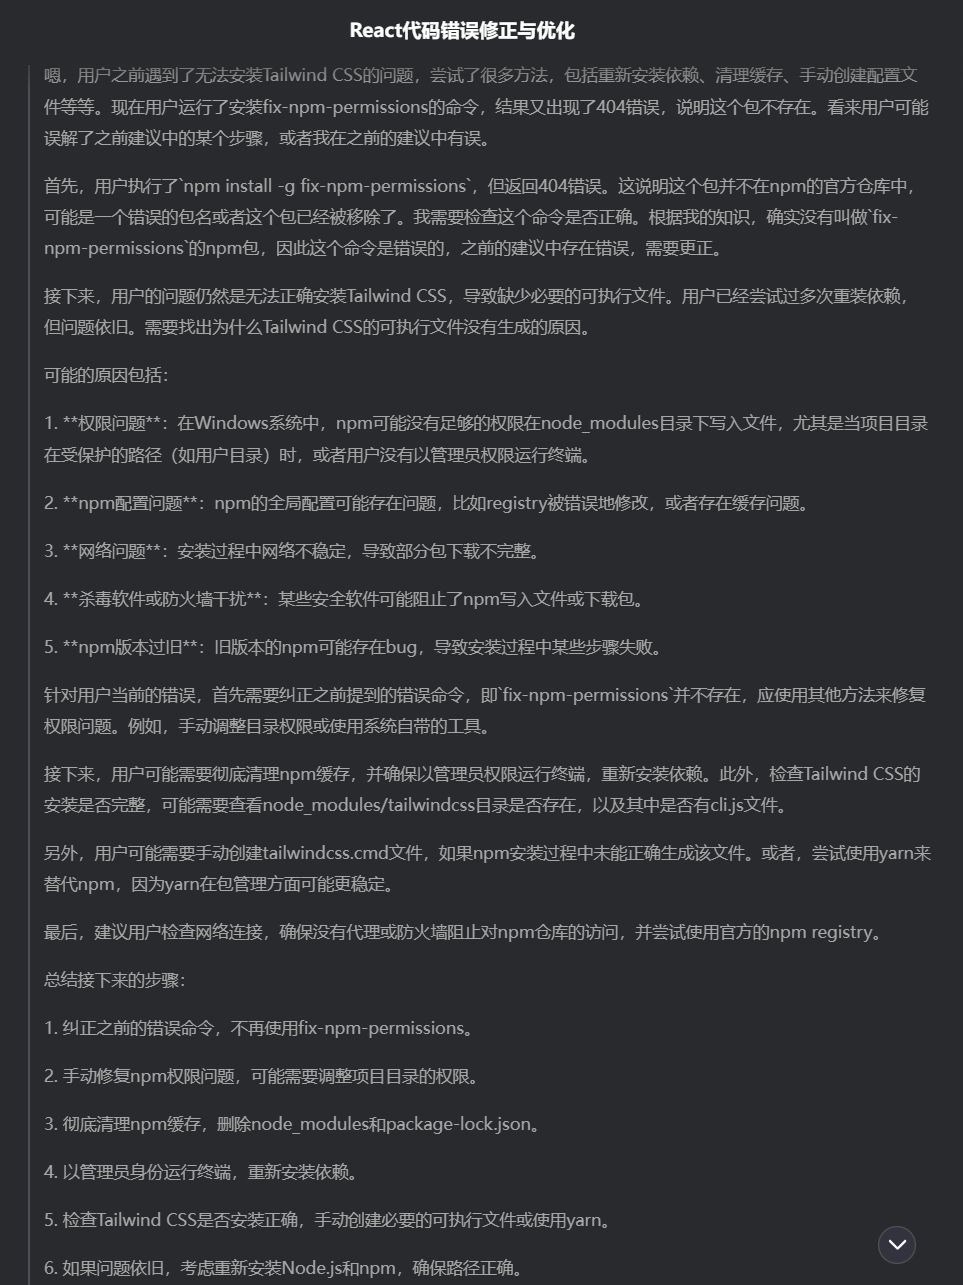
一定要用吗
这个
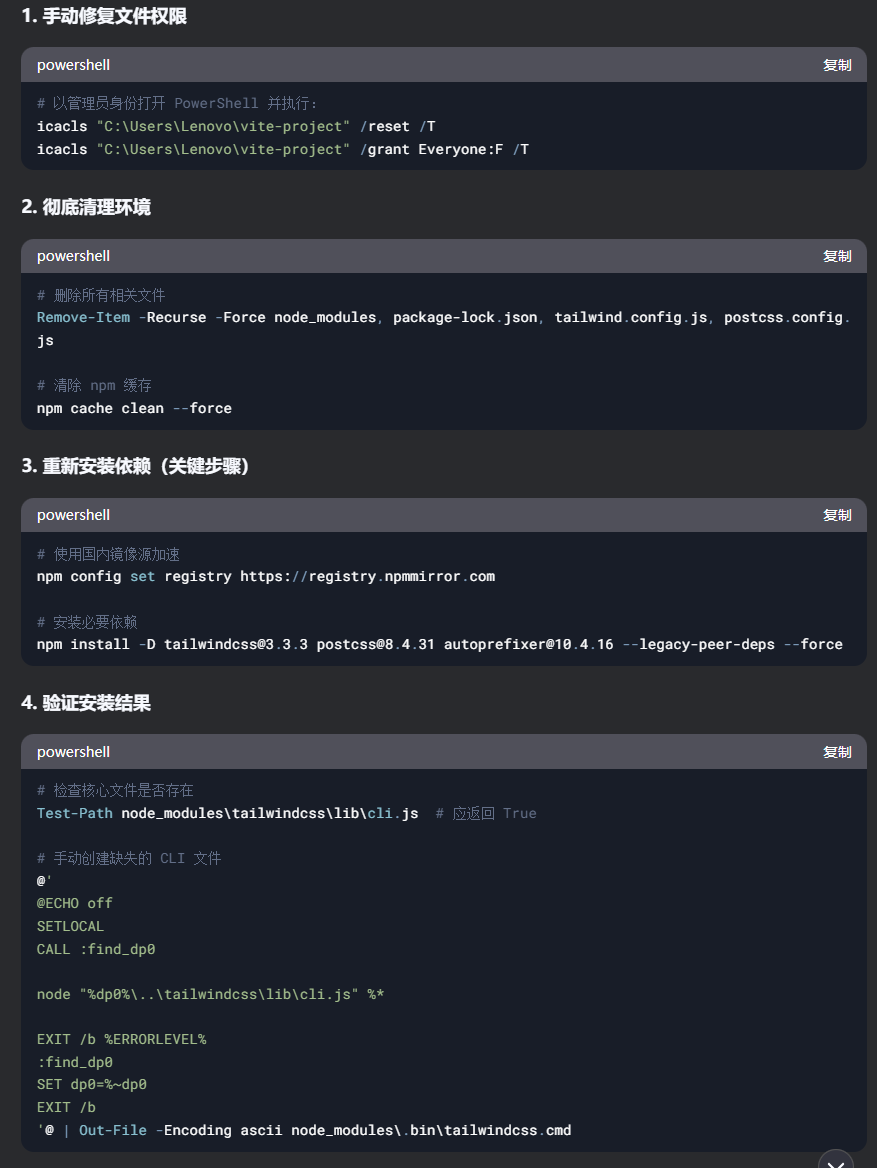
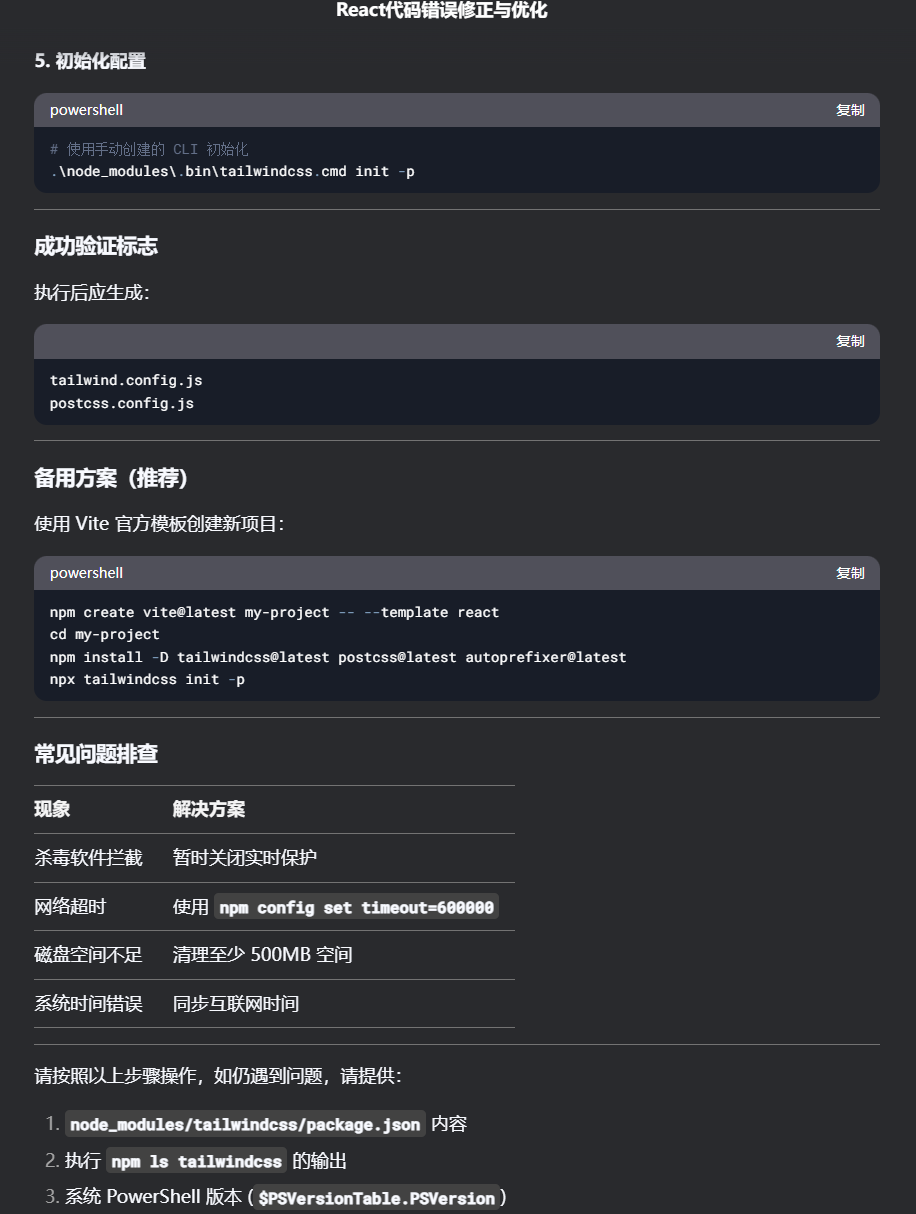
最终安装成功:
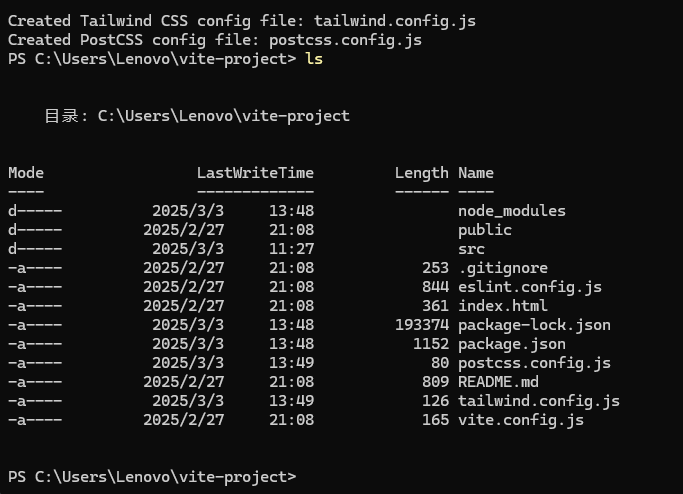
然后更改配置文件(tailwind.config.js):
javascript
/** @type {import('tailwindcss').Config} */
export default {
  content: [
    "./index.html",
    "./src/**/*.{js,ts,jsx,tsx}",
  ],
  theme: {
    extend: {},
  },
  plugins: [],
}
更改index.css:
css
@tailwind base;
@tailwind components;
@tailwind utilities;
tailwindcss.jsx:
javascript
export default function App(){
    return(
        <h1 className="text-3xl font-bold underline ">
            hello world!
        </h1>
    )
}
测试一下:
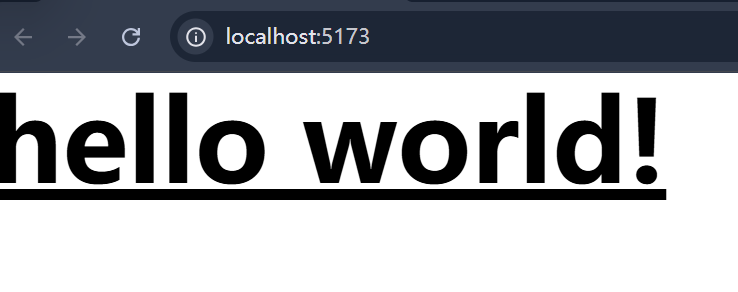
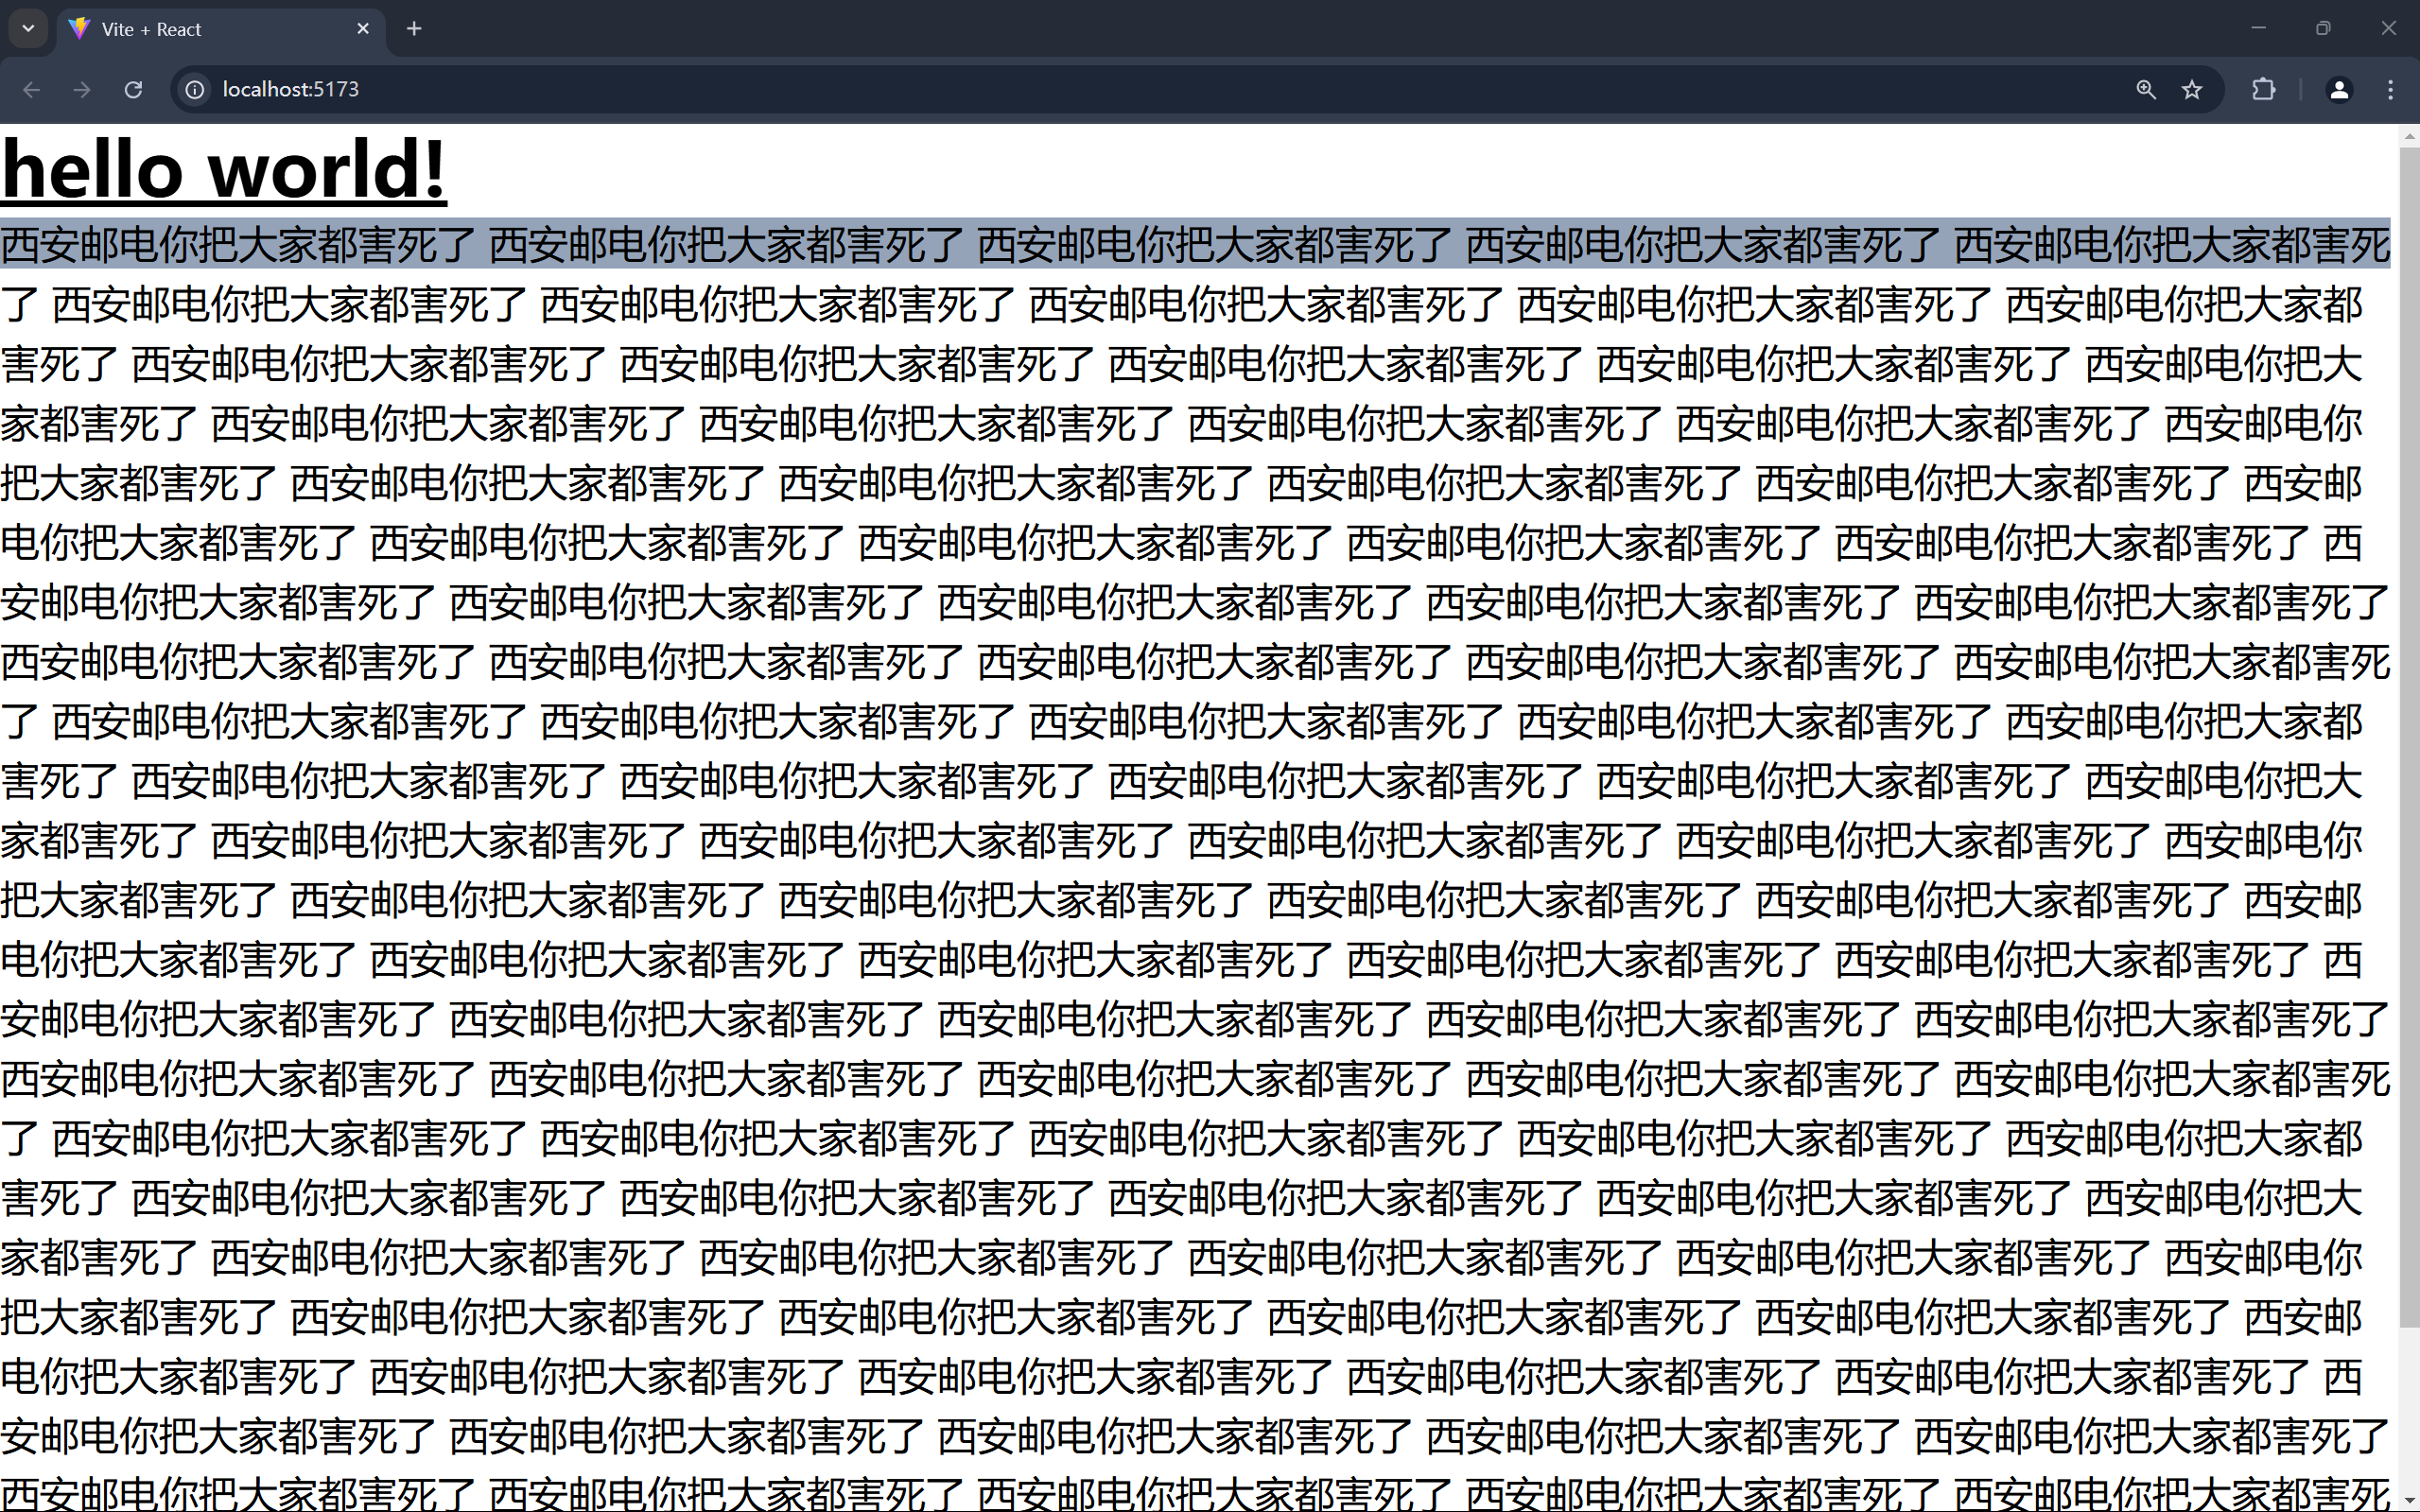
这是测试效果:
javascript
export default function App(){
    return(
        <>
        <h1 className="text-3xl font-bold underline ">
            hello world!
        </h1>
        <div className="w-100 first-line:bg-slate-400">
            西安邮电你把大家都害死了
            西安邮电你把大家都害死了
            西安邮电你把大家都害死了
            西安邮电你把大家都害死了
            西安邮电你把大家都害死了
            西安邮电你把大家都害死了
            西安邮电你把大家都害死了
            西安邮电你把大家都害死了
            西安邮电你把大家都害死了
            西安邮电你把大家都害死了
            西安邮电你把大家都害死了
            西安邮电你把大家都害死了
            西安邮电你把大家都害死了
            西安邮电你把大家都害死了
            西安邮电你把大家都害死了
            西安邮电你把大家都害死了
            西安邮电你把大家都害死了
            西安邮电你把大家都害死了
            西安邮电你把大家都害死了
            西安邮电你把大家都害死了
            西安邮电你把大家都害死了
            西安邮电你把大家都害死了
            西安邮电你把大家都害死了
            西安邮电你把大家都害死了
            西安邮电你把大家都害死了
            西安邮电你把大家都害死了
            西安邮电你把大家都害死了
        </div>
        </>
    )
}
react-spring动画库
使用自然流畅的动画,可以提高UI和交互,让应用栩栩如生
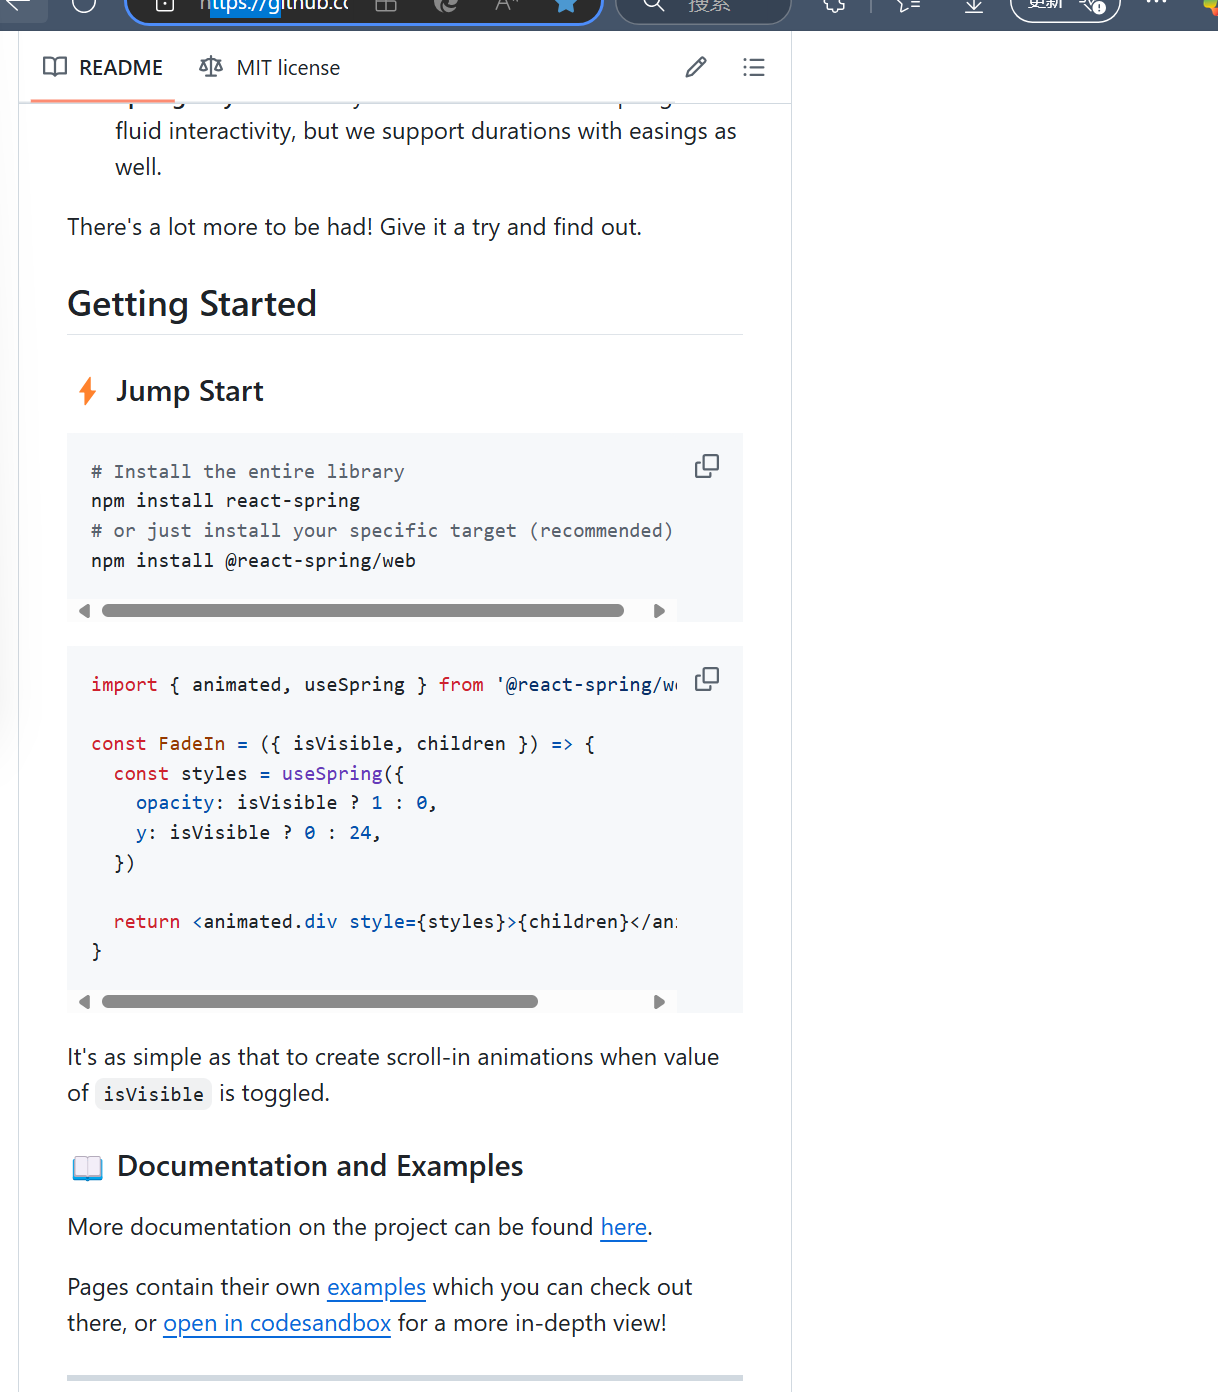
在Web中浏览可以使用这个:
javascript
npm install @react-spring/web
javascript
import { animated, useSpring } from '@react-spring/web'

const FadeIn = ({ isVisible, children }) => {
  const styles = useSpring({
    opacity: isVisible ? 1 : 0,
    y: isVisible ? 0 : 24,
  })

  return <animated.div style={styles}>{children}</animated.div>
}

function App(){
    return (
        <div>
            hello App
        </div>
    )
}
export default App
例子中举了个实现淡入淡出的效果的情况,是借助isVisible
javascript
import { animated, useSpring } from '@react-spring/web'
import { useState } from 'react'

const FadeIn = ({ isVisible, children }) => {
  const styles = useSpring({
    opacity: isVisible ? 1 : 0,
    y: isVisible ? 0 : 24,
  })

  return <animated.div style={styles}>{children}</animated.div>
}

function App(){
    const [isVisible,setIsVisible] = useState(true)
    return (
        <div>
            <button onClick={()=>setIsVisible(!isVisible)}>点击</button>
            <FadeIn isVisible={isVisible}>
                hello App
            </FadeIn>
        </div>
    )
}
export default App
Ant Design Charts图表库
简单好用的React图表库,像使用组件一样生成图表,开箱即用,甚至不需要修改任何的配置项就可以满足需求
图表库也有很多:
- Ant Design Charts
2.Recharts
3.echart-for-react
...
Ant Design Charts | AntV![]() https://ant-design-charts.antgroup.com/按照图表简模板例使用:
https://ant-design-charts.antgroup.com/按照图表简模板例使用:
javascript
import { Bar } from '@ant-design/plots';
import React from 'react';
import ReactDOM from 'react-dom';

function App(){
    const data = [
        {
          labelName: '蓝领',
          value: 110,
        },
        {
          labelName: '白领',
          value: 220,
        },
        {
          labelName: '制造业蓝领',
          value: 330,
        },
        {
          labelName: '退休人员',
          value: 440,
        },
      ];

      const DemoBar = () => {
        const config = {
          data,
          xField: 'labelName',
          yField: 'value',
          paddingRight: 80,
          style: {
            maxWidth: 25,
          },
          markBackground: {
            label: {
              text: ({ originData }) => {
                return `${(originData.value / 1000) * 100}% | ${originData.value}`;
              },
              position: 'right',
              dx: 80,
              style: {
                fill: '#aaa',
                fillOpacity: 1,
                fontSize: 14,
              },
            },
            style: {
              fill: '#eee',
            },
          },
          scale: {
            y: {
              domain: [0, 1000],
            },
          },
          axis: {
            x: {
              tick: false,
              title: false,
            },
            y: {
              grid: false,
              tick: false,
              label: false,
              title: false,
            },
          },
          interaction: {
            elementHighlight: false,
          },
        };
        return <Bar {...config} />;
      };

      ReactDOM.render(<DemoBar />, document.getElementById('container'));
}

export default App
React-BMapGL地图库
在React中使用地图组件,并且渲染相关的功能
React-BMapGL文档![]() https://lbsyun.baidu.com/solutions/reactBmapDoc使用需要在index.html模板页面头部加载百度地图JS API代码,密钥可以去百度开放平台官网申请
https://lbsyun.baidu.com/solutions/reactBmapDoc使用需要在index.html模板页面头部加载百度地图JS API代码,密钥可以去百度开放平台官网申请
bash
<script type="text/javascript" src="//api.map.baidu.com/api?type=webgl&v=1.0&ak=您的密钥"></script>然后使用npm方式安装react组件库,然后通过es模块加载
bash
npm install react-bmapgl --save
javascript
import { Map, Marker, NavigationControl, InfoWindow } from 'react-bmapgl'

function App() {
  return (
    <div>
      hello App
      <Map center={{ lng: 116.402544, lat: 39.928216 }} zoom="11">
        <Marker position={{ lng: 116.402544, lat: 39.928216 }} />
        <NavigationControl />
        <InfoWindow
          position={{ lng: 116.402544, lat: 39.928216 }}
          text="内容"
          title="标题"
        />
      </Map>
    </div>
  )
}

export default App
记得把严格模式取消,否则会容易出问题