ubuntu24.04
jdk7
mysql8
mysql-connector-java-5.1.49
1.注册驱动

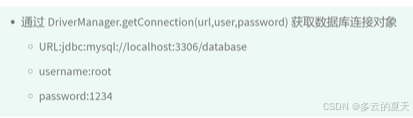
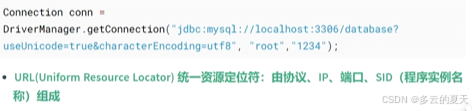
2.连接数据库
3.获得执行SQL的对象

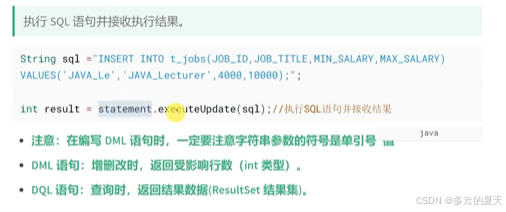
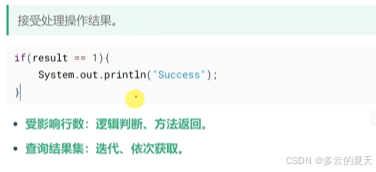
4.执行SQL语句
5.关流
6.释放资源

7.代码示例:亲测可用
7.1jar包下载地址:
https://dev.mysql.com/downloads/file/?id=537120
8.0版本的jar包下载地址,点击直接下载。
https://dev.mysql.com/get/Downloads/Connector-J/mysql-connector-java-8.0.11.zip
https://dev.mysql.com/get/Downloads/Connector-J/mysql-connector-java-8.0.12.zip
https://dev.mysql.com/get/Downloads/Connector-J/mysql-connector-java-8.0.13.zip
https://dev.mysql.com/get/Downloads/Connector-J/mysql-connector-java-8.0.14.zip
https://dev.mysql.com/get/Downloads/Connector-J/mysql-connector-java-8.0.15.zip
https://dev.mysql.com/get/Downloads/Connector-J/mysql-connector-java-8.0.16.zip
https://dev.mysql.com/get/Downloads/Connector-J/mysql-connector-java-8.0.17.zip
https://dev.mysql.com/get/Downloads/Connector-J/mysql-connector-java-8.0.18.zip
5.0版本的jar包下载地址,点击直接下载。
https://dev.mysql.com/get/Downloads/Connector-J/mysql-connector-java-5.1.47.zip
https://dev.mysql.com/get/Downloads/Connector-J/mysql-connector-java-5.1.48.zip
https://dev.mysql.com/get/Downloads/Connector-J/mysql-connector-java-5.1.49.zip
unzip Test.zip -d ~/Desktop/
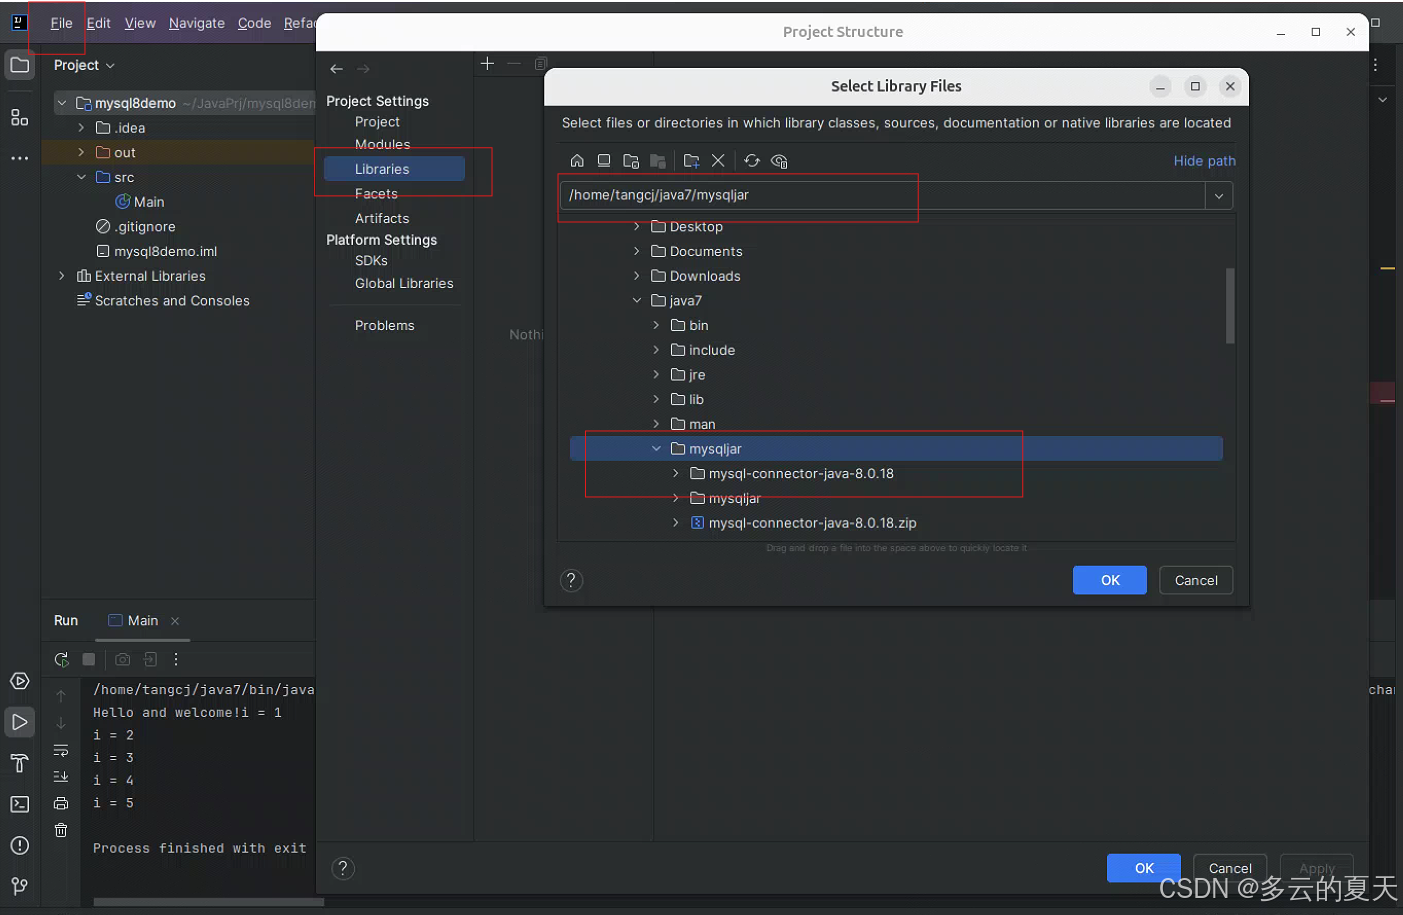
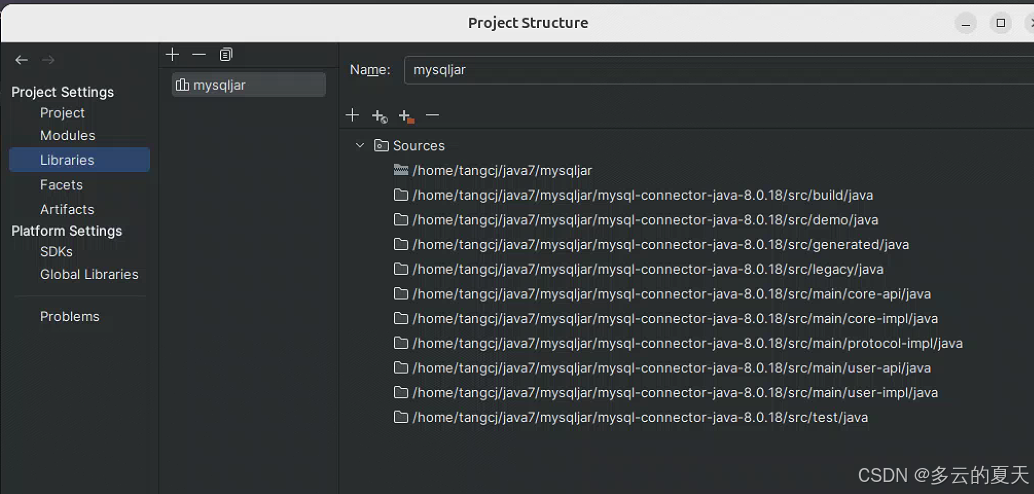
7.2 导入
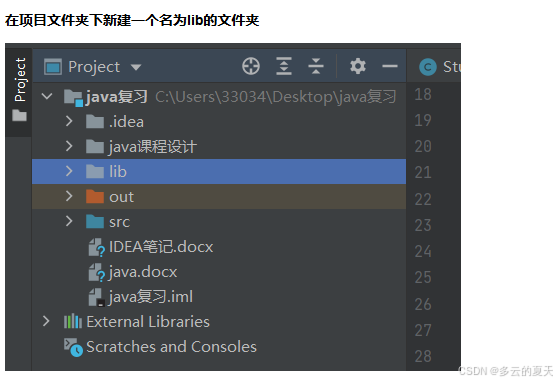
打开 File -> Project Structure
单击 Libraries -> "+" -> "Java" -> 选择我们需要导入本地jar的项目,点击OK


import java.sql.Connection;
import java.sql.DriverManager;
import java.sql.SQLException;
import java.sql.ResultSet;
import java.sql.Statement;
import java.sql.PreparedStatement;


import java.sql.*;

public class JdbcTest {
    // MySQL 8.0 以下版本 - JDBC 驱动名及数据库 URL
    static final String JDBC_DRIVER5 = "com.mysql.jdbc.Driver";
    static final String DB_URL5 = "jdbc:mysql://localhost:3306/mytest";

    // MySQL 8.0 以上版本 - JDBC 驱动名及数据库 URL
    //static final String JDBC_DRIVER = "com.mysql.cj.jdbc.Driver";
    //static final String DB_URL = "jdbc:mysql://localhost:3306/mytest?useSSL=false&allowPublicKeyRetrieval=true&serverTimezone=UTC";


    // 数据库的用户名与密码,需要根据自己的设置
    static final String USER = "root";
    static final String PASS = "123@1234";


	public static void main(String[] args) {
	Connection connection = null;
	Statement stmt = null;

	try {

   //1.注册JDBC驱动
	Class.forName(JDBC_DRIVER);

   //2. 打开链接
   System.out.println("连接数据库...");
   conn = DriverManager.getConnection(DB_URL,USER,PASS);

   //3. 执行查询
   System.out.println(" 实例化Statement对象...");
   stmt = conn.createStatement();
   String sql;
   sql = "SELECT id, name FROM mytest";
   ResultSet rs = stmt.executeQuery(sql);

   //4. 展开结果集数据库
    while(rs.next())
   {
                // 通过字段检索
                int id  = rs.getInt("id");
                String name = rs.getString("name");
                String url = rs.getString("url");

                // 输出数据
                System.out.print("ID: " + id);
                System.out.print(", 名称: " + name);
                System.out.print("\n");
            }
            // 完成后关闭
            rs.close();
            stmt.close();
            conn.close();
        }
      catch(SQLException se)
      {
            // 处理 JDBC 错误
            se.printStackTrace();
      }
       catch(Exception e)
      {
            // 处理 Class.forName 错误
            e.printStackTrace();
        }
       finally
       {
            // 关闭资源
            try
            {
                if(stmt!=null) stmt.close();
            }
            catch(SQLException se2)
            {
            }// 什么都不做
            try
            {
                if(conn!=null) conn.close();
            }
            catch(SQLException se)
            {
                se.printStackTrace();
            }
        }
        System.out.println("Goodbye!");
    }
备注:
1.mysql8.0;
2.JDK7: JDK7
3.JDBC :java-mysql 5.1.49 是可以在 JDK7下连mysql 8.0的
4.但是驱动写法都要用mysql 5的写法,不是mysql8.0的写法。
