原始用法:(这里不使用)
配置launch.json,里面传入参数然后debug,这里我们通常需要传入的参数比较多,而且经常修改参数,直接去修改launch.json会比较麻烦,所以使用sh脚本比较方便。
bash
{
    // Use IntelliSense to learn about possible attributes.
    // Hover to view descriptions of existing attributes.
    // For more information, visit: https://go.microsoft.com/fwlink/?linkid=830387
    "version": "0.2.0",
    "configurations": [
        {
            "name": "image_demo.py",
            "type": "debugpy",
            "request": "launch",
            "program": "demo/image_demo.py",
            "console": "integratedTerminal",
            "justMyCode": false,
            "args": [
                "demo/demo.jpg",
                "my_configs/mobilenetv2_8xb24-ms-416-300e_coco.py",
                "--weight","checkpoints/yolov3_mobilenetv2_mstrain-416_300e_coco_20210718_010823-f68a07b3.pth",
                "--out-dir","outputs"
            ]
        }
    ]
}
(优雅的用法)直接使用sh文件命令运行debug
1. 安装
- 安装包
pip install debugpy -U - 安装vscode关于python的相关插件
2. 创建sh文件
文件内容如下:train.sh
bash
python tools/train.py my_configs/ssdlite_mobilenetv2-scratch_8xb24-600e_coco.py修改文件权限,变成可运行的文件。
bash
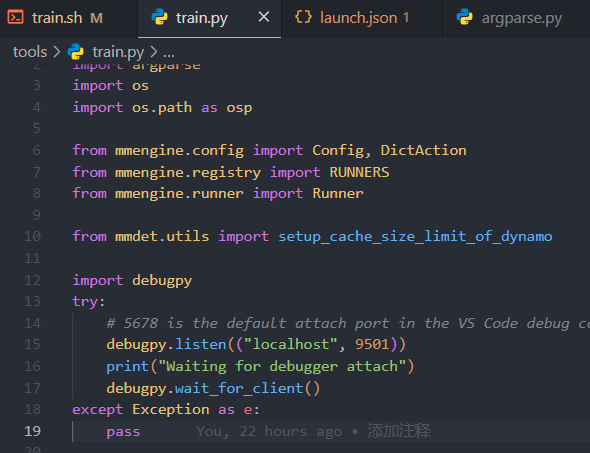
chmod +x train.sh3. 在python代码里面(最前面加上这句话)
bash
import debugpy
try:
# 5678 is the default attach port in the VS Code debug configurations. Unless a host and port are specified, host defaults to 127.0.0.1
debugpy.listen(("localhost", 9501))
print("Waiting for debugger attach")
debugpy.wait_for_client()
except Exception as e:
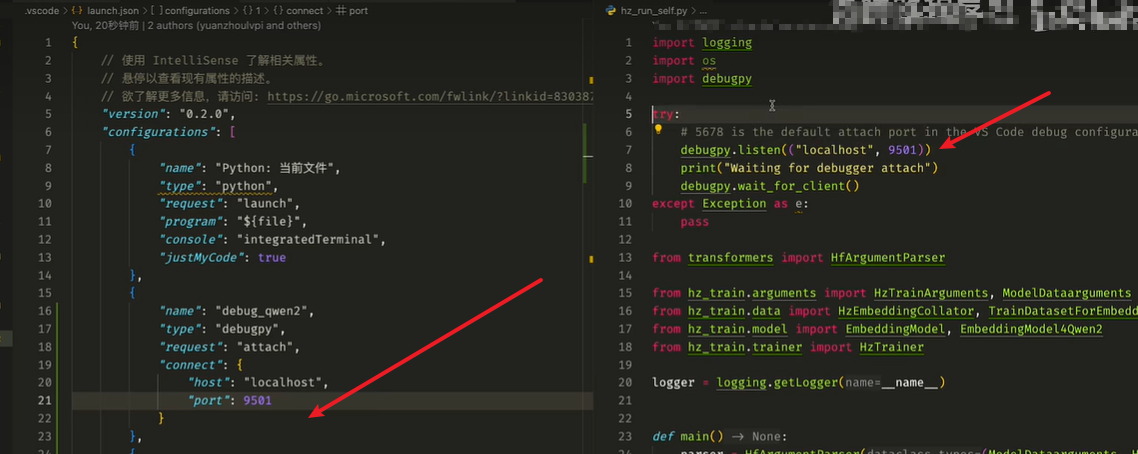
pass4. 在vscode的launch.json的configuration里面,加上这个配置
bash
{
            "name": "sh_file_debug",
            "type": "debugpy",
            "request": "attach",
            "connect": {
                "host": "localhost",
                "port": 9501
            }
        },
🚨 上面的端口号都写一样。别搞错了。
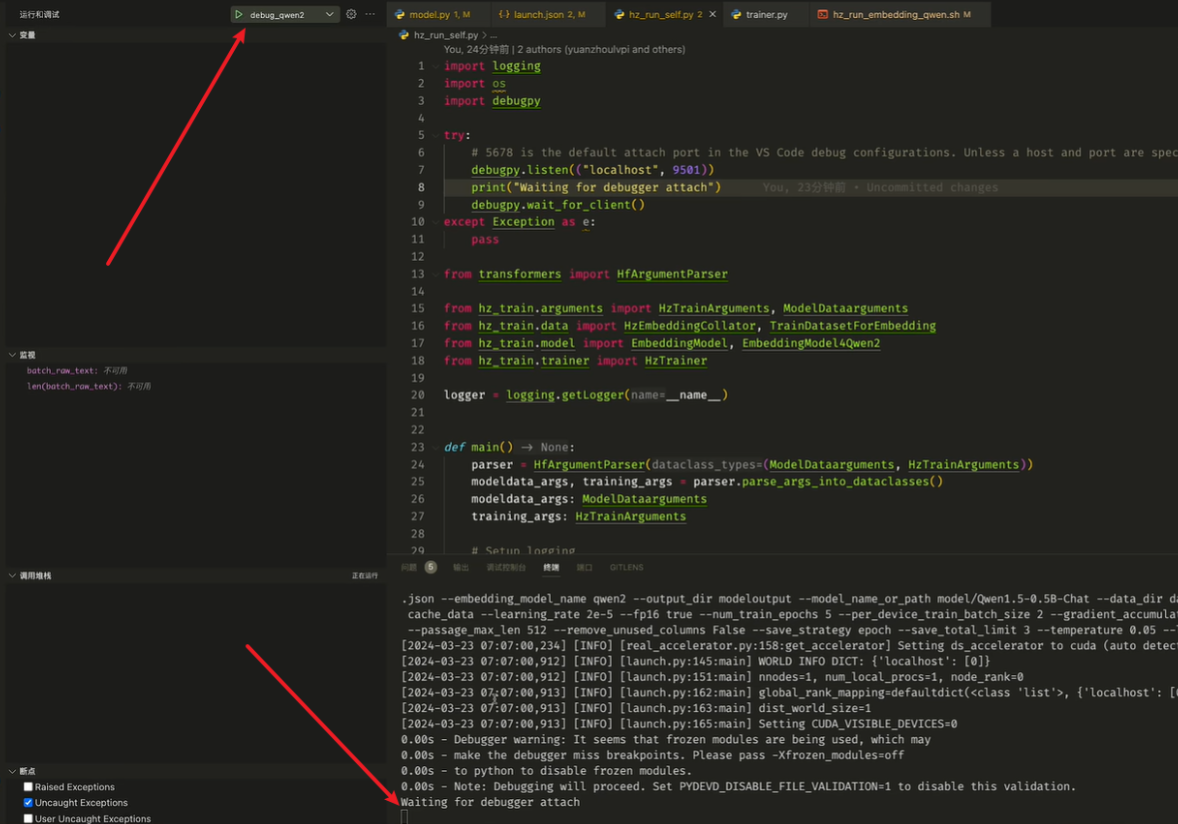
5. 运行sh脚本
例如 ./train.sh
这里我们会看到Waiting for debugger attach,这时候我点击下面图片中左上角的运行按钮,对应我们上面"name": "sh_file_debug",这个的名称,这样就进入Debug,我们要传入的参数都在sh脚本里面,然后就愉快的代码调试。